Articles
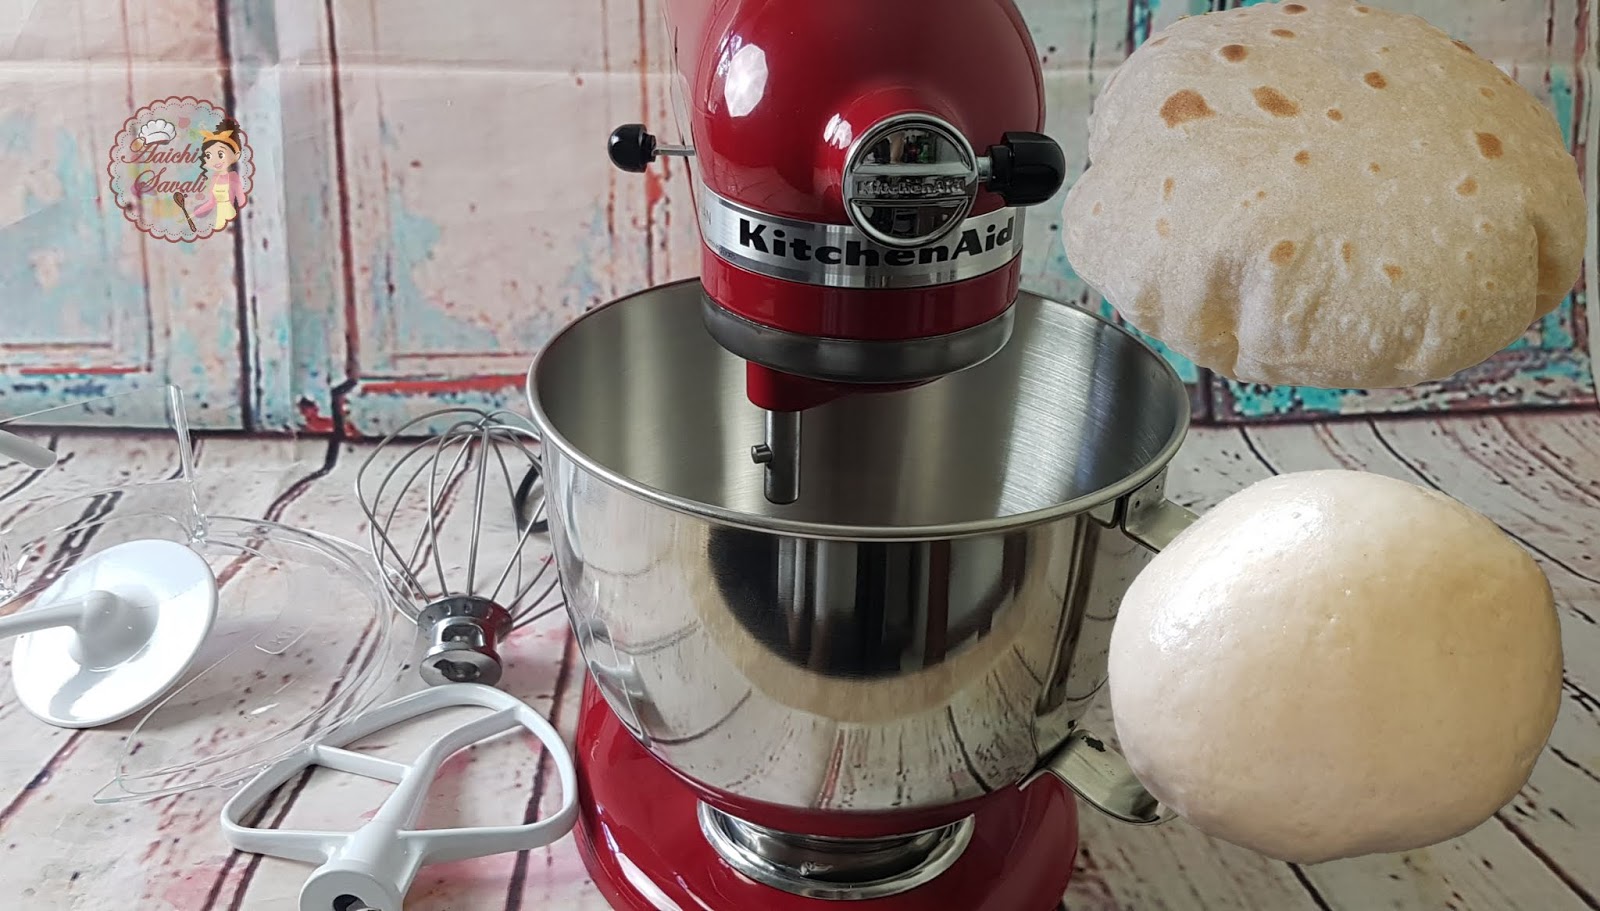
How to Pack KitchenAid Mixer for Moving
Modified: October 20, 2024
Learn the best techniques for packing your Kitchen Aid mixer when moving. Find expert articles and tips to ensure your mixer arrives safely at its new destination.
(Many of the links in this article redirect to a specific reviewed product. Your purchase of these products through affiliate links helps to generate commission for Storables.com, at no extra cost. Learn more)
Importance of Proper Packing
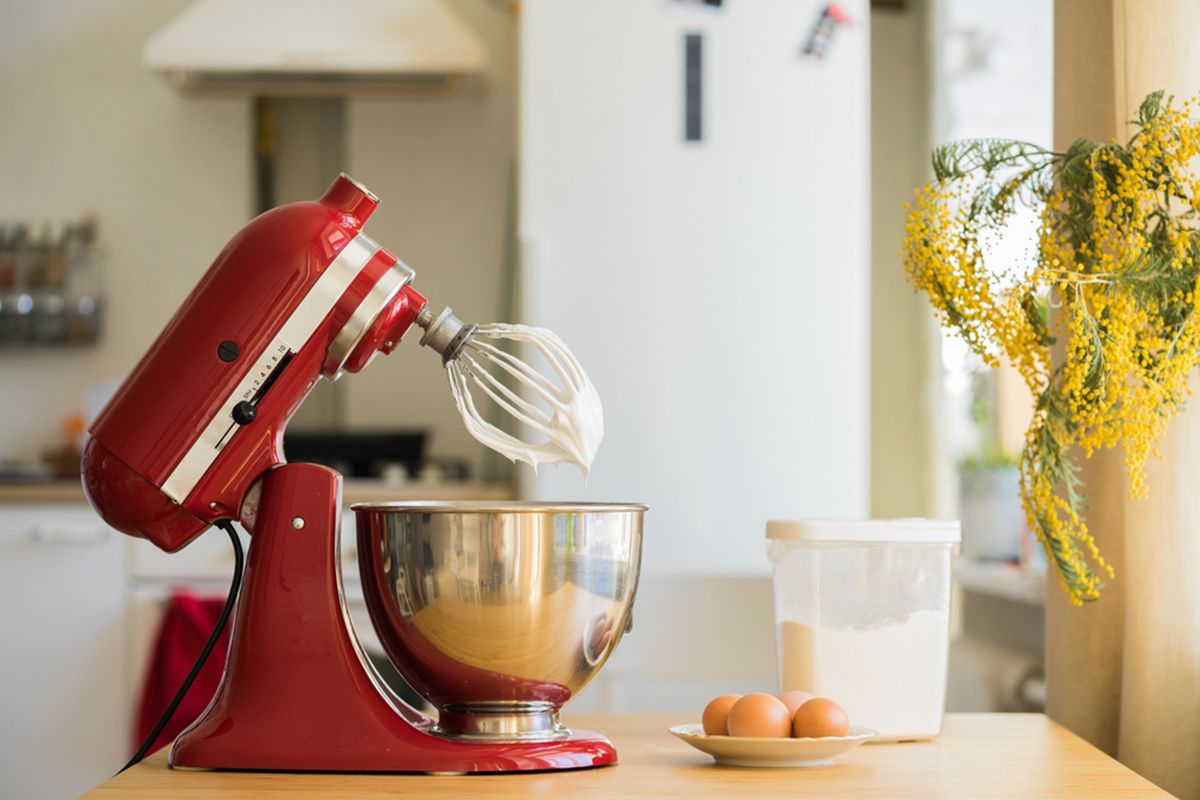
When it comes to moving your beloved Kitchen Aid Mixer to a new location, proper packing is of utmost importance. The mixer is a valuable and delicate appliance that requires extra care to ensure it arrives at its destination safely. By investing some time and effort into packing it correctly, you will be safeguarding it against damage during transit.
The main reason for packing your Kitchen Aid Mixer properly is to reduce the risk of any potential damage. During the moving process, items can shift, collide, or get jostled around, which can result in scratches, dents, or even more severe damage. By taking the necessary precautions and packing it securely, you can minimize the chances of any harm befalling your mixer.
Another vital aspect of proper packing is ensuring the mixer’s components remain intact. The Kitchen Aid Mixer consists of various detachable parts, such as the bowl, beaters, and attachments. Failing to pack these components appropriately may result in them getting lost or damaged. By following the correct packing procedures, you can ensure that all the parts will be well-protected and arrive safely at your new home.
Proper packing also facilitates the organization and efficiency of the overall moving process. When all your belongings, including the Kitchen Aid Mixer, are packed securely, it becomes easier to stack and arrange them in the moving vehicle. This, in turn, ensures that space is used efficiently and reduces the risk of items shifting or toppling during transportation.
Lastly, when you pack your Kitchen Aid Mixer with care, you are demonstrating your commitment to preserving its quality and longevity. Giving it the attention it deserves during the packing process will not only protect it during the move but also maintain its functionality and aesthetics for years to come.
By understanding the importance of proper packing, you can take the necessary steps to ensure the safety and preservation of your Kitchen Aid Mixer. In the following sections, we will guide you through the process of gathering the necessary supplies and provide detailed instructions on how to pack your mixer securely.
Key Takeaways:
- Proper packing of your Kitchen Aid Mixer is crucial to minimize the risk of damage during a move. Disassemble, clean, wrap, and secure the components in a well-sized box for safe transportation.
- Label the box clearly, handle with care, and consider professional movers for fragile items. Plan ahead, document the condition, and monitor temperature and humidity to ensure the safe and secure transportation of your Kitchen Aid Mixer.
Read more: How To Pack A Mattress For Moving
List of Supplies Needed
Before you start disassembling your Kitchen Aid Mixer for moving, gather the following supplies:
- Cardboard box: Choose a sturdy box that is slightly larger than the mixer. This will provide enough space for proper padding and protection.
- Packing paper or bubble wrap: Use these materials to wrap the individual components of the mixer and provide cushioning inside the box.
- Packing tape: Securely seal the box with packing tape to prevent it from opening during transit.
- Zip-top plastic bags: Use these bags to store small parts, such as screws and attachments, so they remain together and don’t get lost.
- Marker or label: Have a marker or label ready to mark the box with the contents and destination address.
- Protective padding: Consider using blankets, towels, or foam pads to provide extra protection and cushioning for the mixer inside the box.
Disassembling the Mixer
To ensure the safe transportation of your Kitchen Aid Mixer, follow these steps to disassemble it:
- Unplug the mixer: Before you begin disassembling, make sure the mixer is turned off and unplugged from the power source.
- Remove the attachments: Take off any attachments, such as the paddle, wire whisk, or dough hook, and set them aside.
- Detach the bowl: Lift the mixing bowl from the base of the mixer by twisting it counterclockwise. If your mixer has a tilt-head design, tilt the head back before removing the bowl.
- Remove the beater: Depending on your mixer model, you may need to unscrew or release a lever to remove the beater. Follow the manufacturer’s instructions for your specific model.
- Secure loose parts: Place any small detachable parts, such as screws or attachments, in the zip-top plastic bags. Ensure they are closed securely.
Once you have disassembled your Kitchen Aid Mixer, you are ready to clean and pack it safely. The next section will guide you through the cleaning and drying process to prepare your mixer for packing.
Steps to Disassemble the Kitchen Aid Mixer
To ensure the safe transportation of your Kitchen Aid Mixer, follow these steps to disassemble it:
- Unplug the mixer: Before you begin disassembling, make sure the mixer is turned off and unplugged from the power source.
- Remove the attachments: Take off any attachments, such as the paddle, wire whisk, or dough hook, and set them aside.
- Detach the bowl: Lift the mixing bowl from the base of the mixer by twisting it counterclockwise. If your mixer has a tilt-head design, tilt the head back before removing the bowl.
- Remove the beater: Depending on your mixer model, you may need to unscrew or release a lever to remove the beater. Follow the manufacturer’s instructions for your specific model.
- Secure loose parts: Place any small detachable parts, such as screws or attachments, in the zip-top plastic bags. Ensure they are closed securely.
Cleaning and Drying
Before packing your disassembled Kitchen Aid Mixer, it is essential to clean and dry each component thoroughly to prevent the growth of mold or mildew during transit. Follow these steps to clean and dry your mixer:
- Wipe the mixer body: Use a damp cloth or sponge to wipe down the exterior of the mixer body. Pay attention to any spills or stains and clean them carefully.
- Clean the attachments: Wash the attachments, such as the paddle, wire whisk, and dough hook, with warm, soapy water. Rinse them thoroughly and let them air dry completely.
- Clean the bowl: Wash the mixing bowl with warm, soapy water. Use a sponge or brush to remove any remaining residue. Rinse the bowl thoroughly and allow it to air dry completely.
- Dry all components: Ensure that all components of the mixer, including the body, attachments, and bowl, are completely dry before packing them. Use a clean towel or air dry them for a few hours to ensure there is no moisture remaining.
By disassembling, cleaning, and drying your Kitchen Aid Mixer, you are ready to proceed with the packing process. In the next section, we will guide you through the necessary steps to properly wrap your mixer for safe transportation.
Read more: How To Pack A Dresser For Moving
Proper Cleaning and Drying Procedures
Before packing your disassembled Kitchen Aid Mixer, it is crucial to clean and dry each component thoroughly to prevent the growth of mold or mildew during transit. Follow these procedures to ensure the cleanliness and dryness of your mixer:
- Wipe the mixer body: Use a damp cloth or sponge to carefully wipe down the exterior of the mixer body. Pay close attention to any spills or stains and ensure they are thoroughly cleaned.
- Clean the attachments: Wash the attachments, such as the paddle, wire whisk, and dough hook, with warm, soapy water. Scrub them gently to remove any remaining food particles or residue. Rinse them thoroughly with clean water and let them air dry completely.
- Clean the bowl: Wash the mixing bowl with warm, soapy water. Use a sponge or brush to remove any buildup or residue. Rinse the bowl thoroughly and make sure there is no soap residue left behind. Allow the bowl to air dry completely.
- Dry all components: After cleaning, ensure that all components of the mixer, including the body, attachments, and bowl, are completely dry. Use a clean towel to dry them thoroughly. If possible, let them air dry for a few hours to ensure there is no moisture remaining.
Wrapping the Mixer
Now that your Kitchen Aid Mixer is clean and dry, it’s time to properly wrap it to ensure its protection during the moving process. Follow these steps to wrap your mixer securely:
- Prepare the mixer for packing: Place a clean, soft towel or cloth underneath the mixer to provide cushioning and protection for the base.
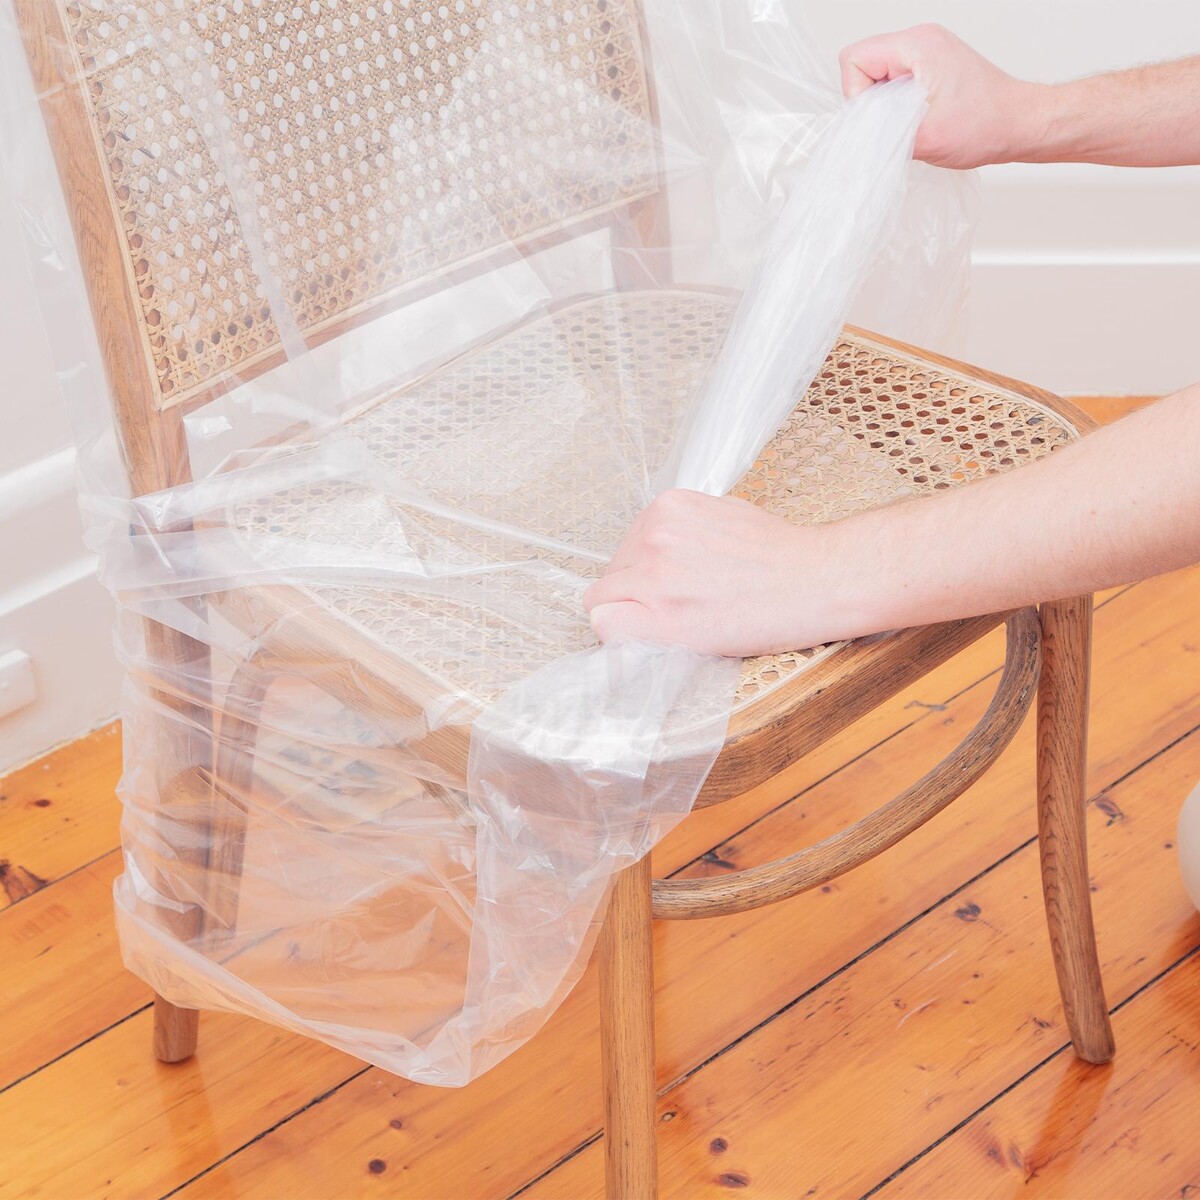
- Wrap the mixer body: Start by covering the mixer body with a layer of packing paper or bubble wrap. Make sure to cover all sides and edges. Secure the wrapping material with tape if needed.
- Wrap the attachments and bowl: Individually wrap each attachment and the mixing bowl with packing paper or bubble wrap. Ensure that each item is well-padded and protected.
- Secure the wrapped components: Use packing tape or rubber bands to secure the wrapping around the mixer body, attachments, and bowl. This will prevent them from becoming loose or unwrapped during transit.
By following these proper cleaning and drying procedures and wrapping your Kitchen Aid Mixer securely, you are one step closer to ensuring its safe transportation. In the next section, we will guide you through the process of securing your mixer in a box for added protection.
Preparing the Mixer for Packing
Before you pack your Kitchen Aid Mixer for moving, it’s important to properly prepare it to ensure its safety and protection during transit. Follow these steps to prepare your mixer for packing:
- Ensure the mixer is clean and dry: Before packing, make sure that your Kitchen Aid Mixer is thoroughly cleaned and dried. This will help prevent any residue or moisture from causing damage or mold growth during transportation.
- Remove any loose or detachable parts: Take a final check to ensure there are no loose parts or accessories left on the mixer. Remove any detachable components, such as the power cord, speed control knob, or additional attachments, and pack them separately.
- Secure the power cord: Ensure that the power cord is neatly wrapped or secured to avoid any tangling or damage during transit. You can use twist ties or Velcro straps to keep it in place.
- Protect the sensitive areas: Place small pieces of cardboard or foam padding around the exposed areas of the mixer, such as the attachment hub or power outlet. This will provide additional protection against any potential impacts or bumps during the move.
- Double-check the stability: Gently shake the mixer to make sure there are no loose parts or unexpected movements. If you notice any instability, recheck the attachment or component connections and tighten as necessary.
- Document the condition: Before packing the mixer, take photos of its current condition from various angles. This will serve as a reference in case of any damage claims during the moving process.
By properly preparing your Kitchen Aid Mixer for packing, you are taking the necessary steps to ensure its safety and minimize the risk of any damage during transportation. Once your mixer is prepared, you are ready to move on to the next step: wrapping the mixer components individually for added protection.
Wrapping the Mixer Components Individually
When packing your Kitchen Aid Mixer for moving, it’s important to wrap each component individually to provide maximum protection during transit. Follow these steps to wrap the mixer components:
- Start with the mixer body: Place a layer of packing paper or bubble wrap around the mixer body. Make sure to cover all sides and corners. Secure the wrapping material with tape to keep it in place.
- Wrap the attachments: Individually wrap each attachment, such as the paddle, wire whisk, and dough hook, with packing paper or bubble wrap. Make sure to provide enough padding to protect them from any potential damage.
- Wrap the mixing bowl: Wrap the mixing bowl separately with packing paper. If the bowl has a lid, make sure to wrap it as well. Ensure that the bowl is fully covered and protected.
- Secure each wrapped component: Use packing tape or rubber bands to secure the wrapping around the mixer body, attachments, and mixing bowl. This will keep them securely wrapped during transit.
By wrapping each mixer component individually, you are providing an extra layer of protection against potential impacts or movement during the move. The next step is securing the wrapped mixer components in a box for added stability and protection.
Read more: How To Pack Pillows For Moving
Securing the Mixer in a Box
Choosing the right box and properly securing your Kitchen Aid Mixer inside it is essential for safe transport. Follow these steps to secure the mixer in a box:
- Choose the right box size: Select a sturdy box that is slightly larger than the mixer and its components. This will allow for proper padding and protection inside the box.
- Line the bottom of the box: Place a layer of cushioning material, such as packing peanuts or crumpled packing paper, at the bottom of the box to create a protective base.
- Position the mixer: Carefully place the wrapped mixer in the center of the box. Make sure it is positioned upright and does not lean or touch the sides of the box.
- Add more padding: Fill any empty spaces around the mixer with additional packing paper or bubble wrap. This will help prevent any movement or shifting inside the box during transit.
- Close and secure the box: Once the mixer is securely positioned and padded, close the box and seal it with packing tape. Ensure all seams are sealed to prevent the box from opening during transit.
By following these steps to secure your Kitchen Aid Mixer in a box, you are taking the necessary precautions to protect it from any potential damage during transportation. In the next section, we will discuss how to seal and label the box for easy identification.
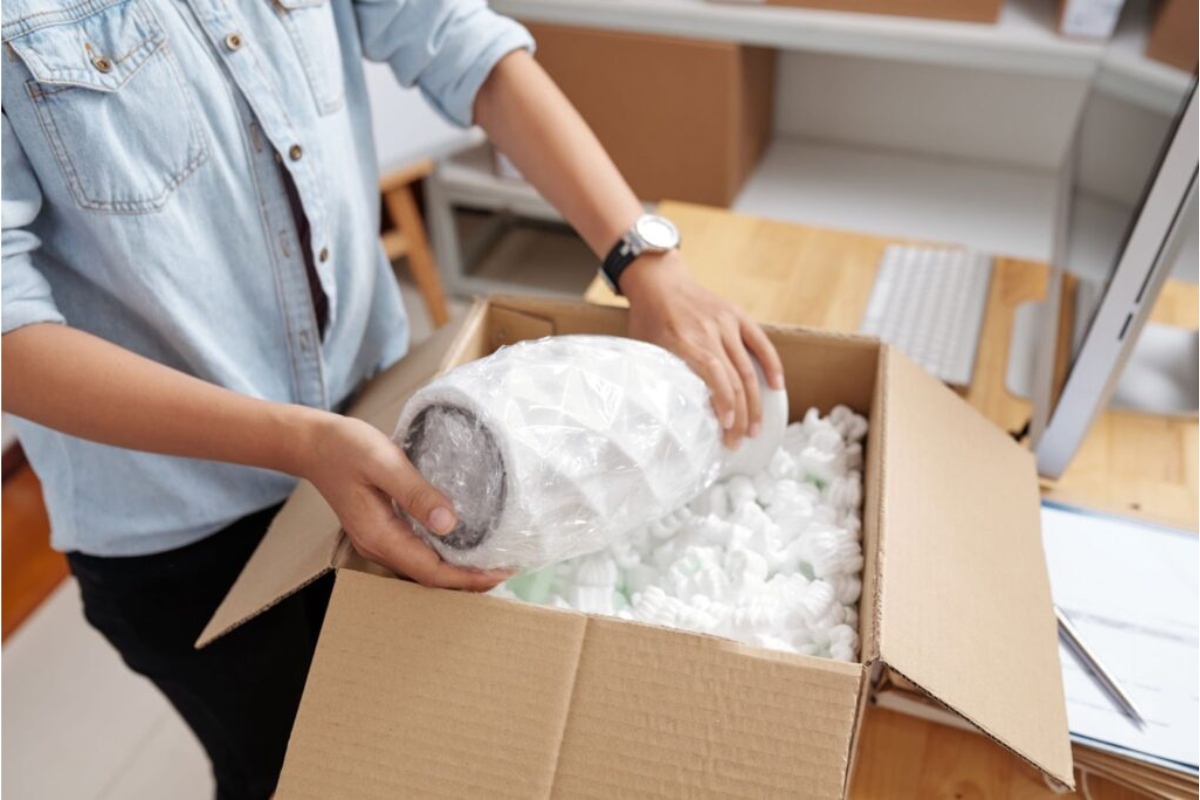
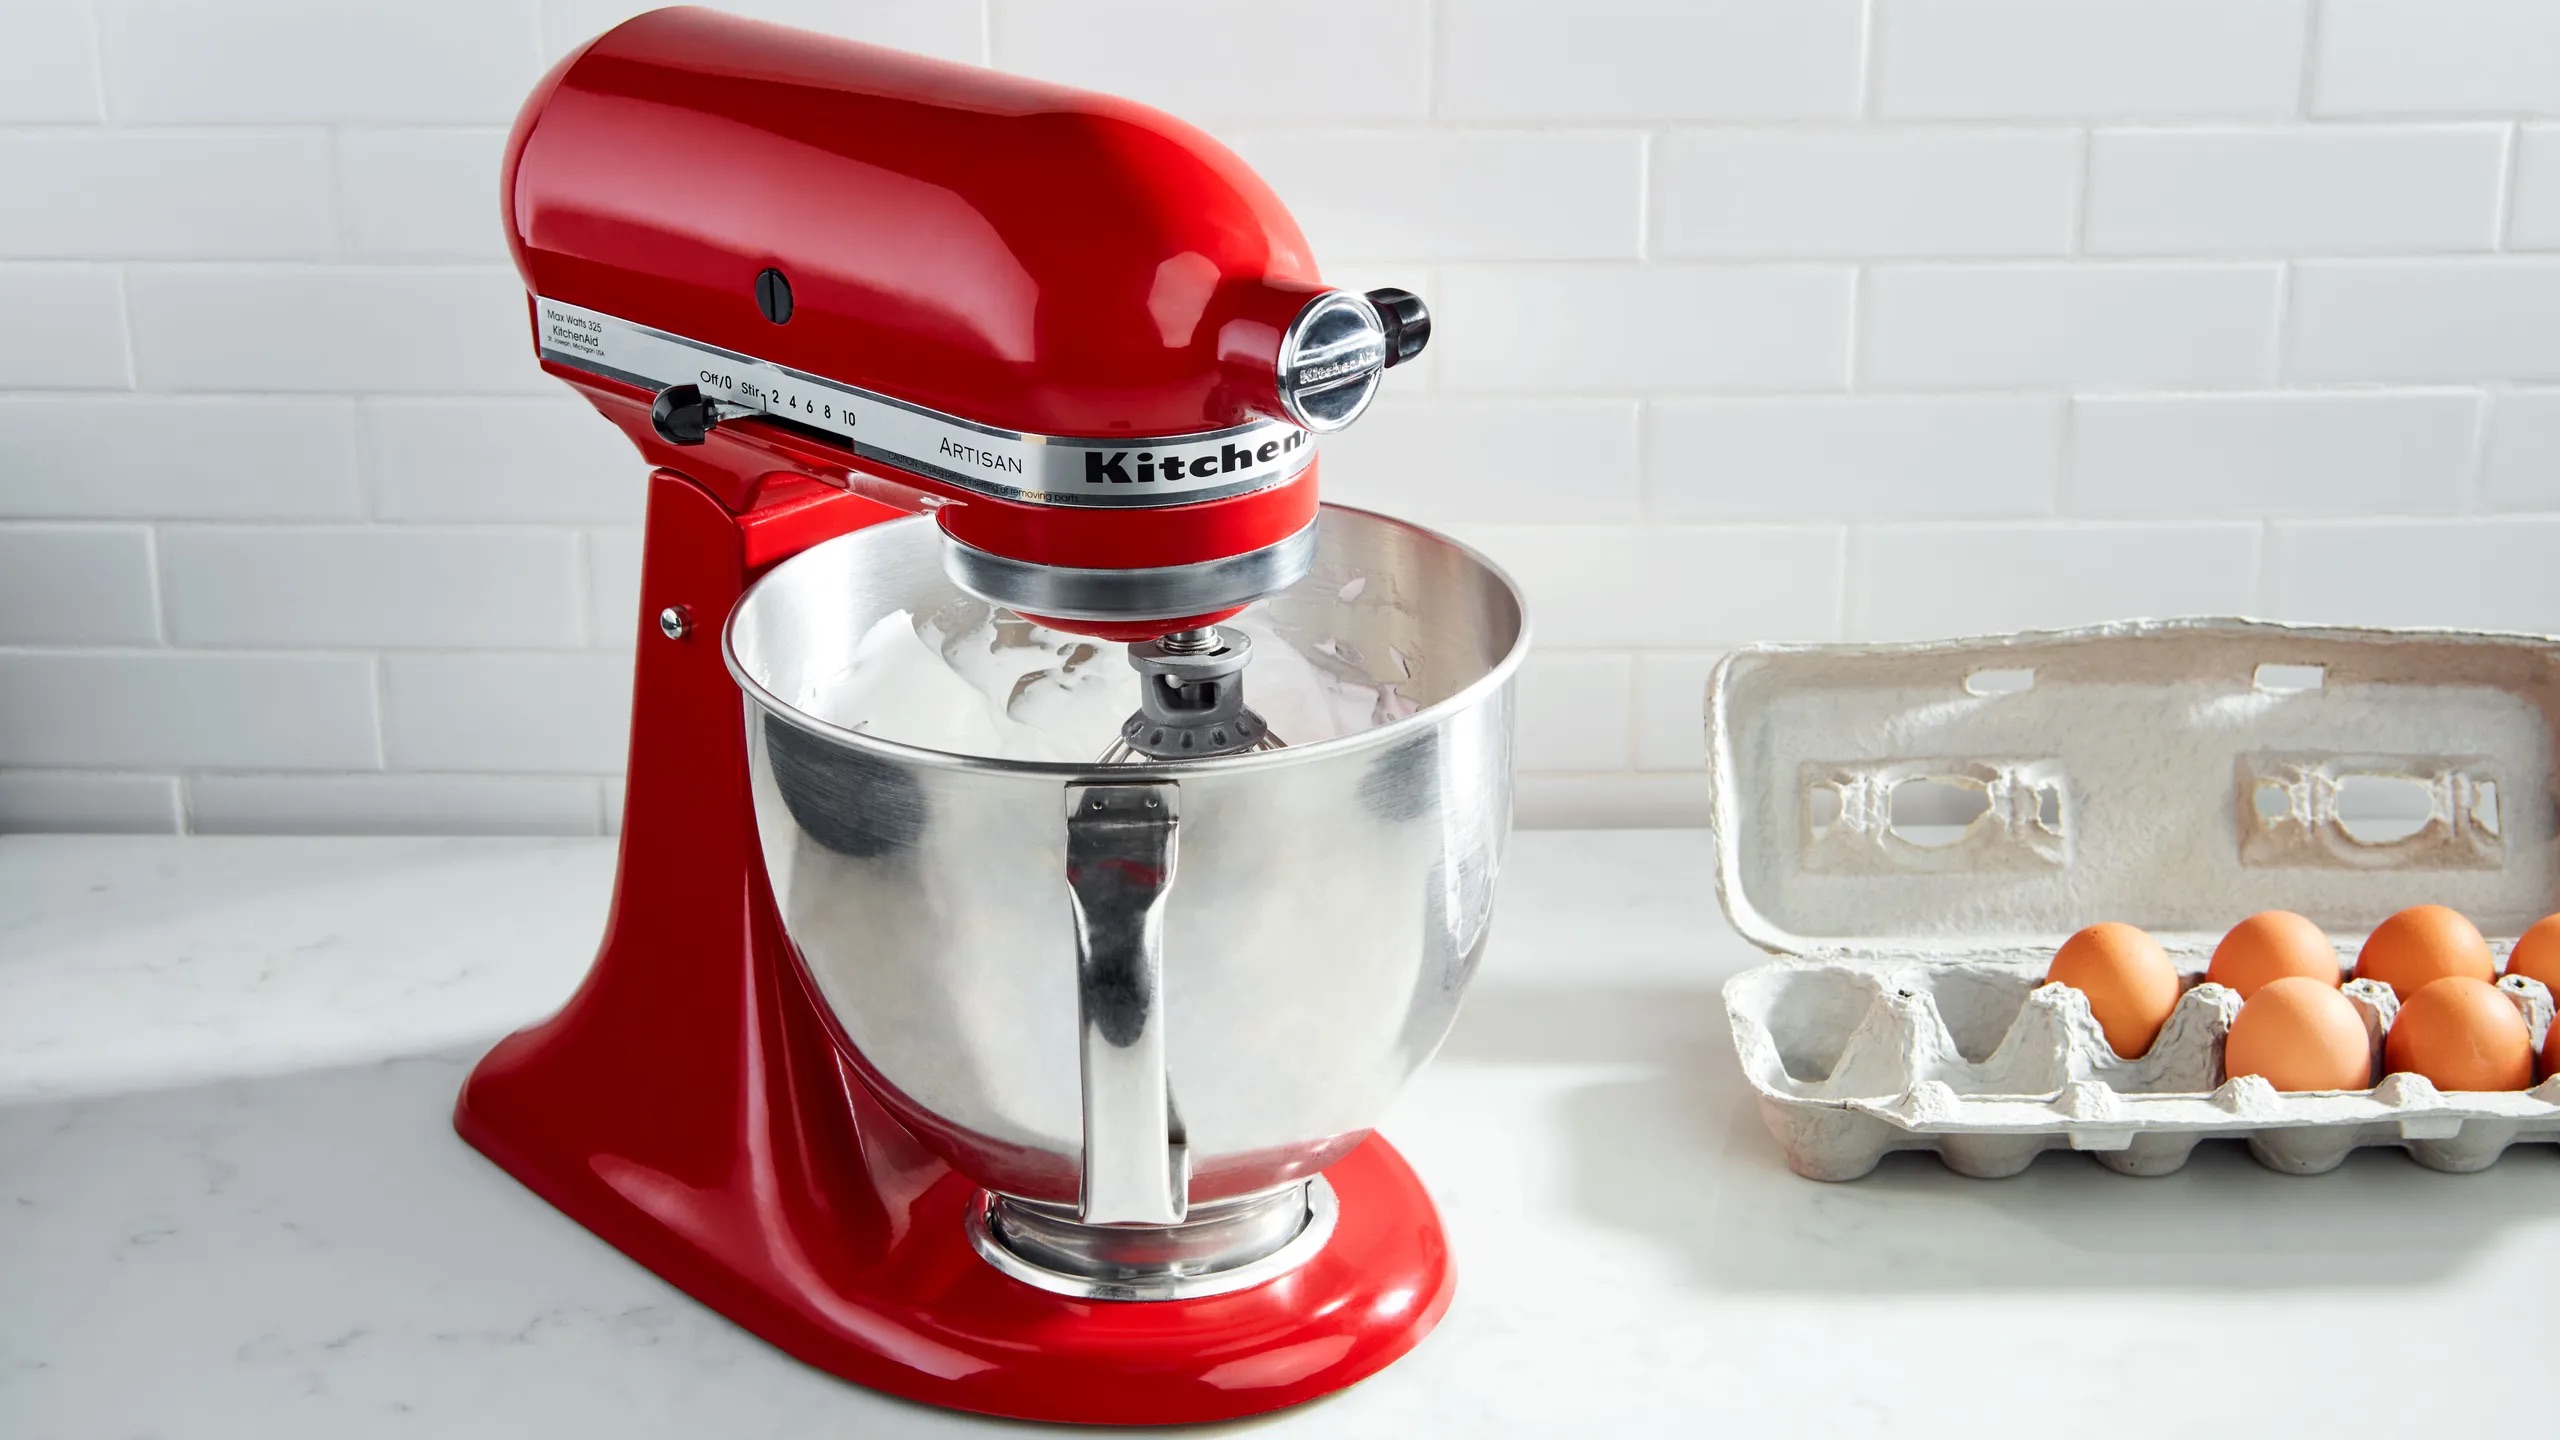
When packing a Kitchen Aid mixer for moving, be sure to remove any attachments and wrap the mixer in bubble wrap or packing paper to protect it from damage. Place it in a sturdy box with plenty of padding to prevent it from shifting during transit.
Choosing the Right Box Size
When it comes to packing your Kitchen Aid Mixer for moving, choosing the right box size is crucial to ensure proper protection and stability. Follow these guidelines to select the appropriate box size:
- Measure the dimensions: Use a tape measure to measure the height, width, and depth of your disassembled mixer and its components. These measurements will help you determine the appropriate box size.
- Consider the size of the mixer: Take into account the size of your Kitchen Aid Mixer and its attachments when choosing a box. Ensure that the box is large enough to accommodate all the components with some extra space for protective padding.
- Allow room for padding: It’s important to have enough space in the box to add padding around the mixer. This will provide cushioning and protection during transit. Aim for about 2-3 inches of padding on all sides of the mixer.
- Choose a sturdy box: Opt for a strong and durable box made of heavyweight cardboard. This will provide better structural integrity and protect the mixer from any potential impacts or crushing during the move. Consider using a double-walled box for added protection.
- Avoid oversized boxes: While it’s important to choose a box with enough room for padding, selecting an overly large box can lead to instability and potential shifting during transit. A box that is just slightly larger than the mixer and its components is ideal.
By choosing the right box size for your Kitchen Aid Mixer, you can ensure a snug fit with adequate padding, providing optimal protection during the moving process. Once you have the right-sized box, you can proceed to packing the mixer with proper padding and securing it for safe transport.
Packing the Mixer in the Box
Now that you have chosen the right box size and gathered all the necessary supplies, it’s time to pack your Kitchen Aid Mixer securely. Follow these steps to pack the mixer in the box:
- Prepare the box: Ensure that the box is clean and in good condition. Tape any open seams to reinforce the box’s structure.
- Add cushioning at the bottom: Place a layer of cushioning material, such as packing peanuts or crumpled packing paper, at the bottom of the box. This will provide a protective base for the mixer.
- Position the wrapped mixer: Carefully place the wrapped mixer in the center of the box. Make sure it is upright and does not touch the sides of the box.
- Add more packing material: Fill any empty spaces around the mixer with additional cushioning material, such as packing paper or bubble wrap. This will help prevent any movement or shifting during transit.
- Secure the top: Once the mixer is securely positioned and surrounded by padding, add another layer of cushioning material on top. This will provide extra protection for the mixer during transit.
It’s important to create a snug and stable packing environment for your Kitchen Aid Mixer to minimize the risk of damage. Ensure that the mixer is well-protected and immobilized inside the box to prevent any unnecessary movement during the move.
By following these steps and properly packing your Kitchen Aid Mixer in the box, you are taking the necessary precautions to ensure its safety during transportation. The next step is to add additional protective padding to the box to further secure the mixer.
Adding Protective Padding
To provide an extra layer of protection for your Kitchen Aid Mixer during transit, it’s important to add additional protective padding inside the box. Follow these steps to properly secure the mixer with protective padding:
- Add a layer of cushioning material: Place a layer of packing peanuts, crumpled packing paper, or foam padding on top of the mixer. This will provide a protective barrier between the top of the mixer and the box’s lid.
- Fill any remaining empty spaces: Fill any remaining gaps or empty spaces inside the box with additional cushioning material. Make sure to pack it tightly to minimize any potential movement of the mixer during transit.
- Test for stability: Gently shake the box to ensure that the mixer and padding stay in place. If there is any movement, add more cushioning material as needed to ensure a secure fit.
By adding protective padding to the box, you are creating a buffer that will help absorb any shocks or impacts during the moving process. This will minimize the risk of damage and ensure the safe arrival of your Kitchen Aid Mixer at its destination.
Read more: How To Pack Cutlery For Moving
Sealing and Labeling the Box
Once the mixer is securely packed and surrounded by protective padding, it’s time to seal and label the box for easy identification. Follow these steps to properly seal and label the box:
- Use high-quality packing tape: Seal all the openings of the box with high-quality packing tape. Make sure to reinforce the seams and corners to prevent the box from accidentally opening during transit.
- Label the box: Using a marker or label, clearly mark the box with the contents “Kitchen Aid Mixer” and indicate that it is fragile. You can also include your name, contact information, and the destination address on the label.
- Consider using “Fragile” stickers: If available, affix “Fragile” stickers on different sides of the box. This will alert the movers or handlers to exercise caution while handling the box.
- Keep a record: Take a photo or jot down the box’s identification number or tracking information for your reference. This will be helpful for tracking purposes in case of any issues or inquiries during transit.
By sealing and labeling the box properly, you are ensuring that your Kitchen Aid Mixer is handled with care and that it can be easily identified during the moving process. It’s also a good practice to keep any related documents or receipts in a safe place for future reference.
With the box securely sealed and labeled, you are now ready to handle and transport the box to its new location with the utmost care.
Proper Sealing Techniques
Sealing the box containing your Kitchen Aid Mixer properly is crucial for ensuring its safety during the moving process. Follow these techniques to seal the box securely:
- Use high-quality packing tape: Invest in a strong and durable packing tape that is specifically designed for moving. Avoid using regular tape or low-quality tape, as they may not provide the necessary strength and adhesion.
- Overlap the flaps: When closing the box, make sure to overlap the flaps to create a secure seal. This will prevent the flaps from easily opening during transit.
- Tape all seams: Use the packing tape to reinforce all the seams of the box. Start by taping along the bottom seam, ensuring that the tape extends onto both sides of the box for added strength. Repeat this process for the top seam as well.
- Apply multiple layers of tape: To further enhance the box’s stability and security, apply multiple layers of tape along the seams. Crisscross the tape across the seams to provide maximum reinforcement.
- Smooth out the tape: After applying the tape, use your hand or a smooth surface to press firmly along the tape to ensure proper bonding. This will help prevent any air pockets or loose ends that could compromise the seal.
- Inspect for any openings: After sealing the box, carefully inspect all sides and corners to ensure there are no openings or gaps where the tape may have come loose. If you find any openings, retape those areas for a secure seal.
By following these proper sealing techniques, you can minimize the risk of the box accidentally opening and ensure the protection of your Kitchen Aid Mixer throughout the moving process.
Remember to label the box appropriately and handle it with care during transportation. With the box securely sealed and labeled, you are now ready to transport your Kitchen Aid Mixer to its new destination.
Labeling the Box for Easy Identification
Properly labeling the box containing your Kitchen Aid Mixer is essential for easy identification and efficient handling during the moving process. Follow these steps to effectively label the box:
- Use a bold and legible marker: Choose a marker with a bold, permanent ink color that is easy to read. Avoid using a pen or a marker that may fade or smudge over time.
- Write the contents: Clearly write “Kitchen Aid Mixer” on the label or directly on the box itself. This will indicate the contents of the box and alert movers or handlers to exercise caution.
- Indicate “Fragile”: Write or affix a “Fragile” label on various sides of the box. This will ensure that the movers or handlers are aware that the box contains delicate equipment that requires careful handling.
- Include your contact information: Write your name, contact number, and new address on the label or the box. This information will assist in case the box gets misplaced or any further clarification is needed during transit.
- Include destination address: Clearly write the complete destination address on the label or the box. This will ensure that the box is delivered to the correct location.
By labeling the box with the appropriate information, you are facilitating easy identification and ensuring that your Kitchen Aid Mixer receives the necessary care and attention throughout the moving process. Labeling is an essential step to avoid mix-ups and minimize the risk of mishandling.
Handling and Transporting the Box
Once your Kitchen Aid Mixer box is properly sealed and labeled, it’s important to handle and transport it with care to ensure its safe arrival at your new location. Follow these tips for handling and transporting the box:
- Lift with proper technique: When lifting the box, use proper lifting techniques by bending your knees and using your leg muscles. Avoid putting strain on your back by lifting with your back in a bent or awkward position.
- Carry with caution: Hold the box with a steady grip and carry it close to your body. Avoid swinging or tossing the box, as it may cause the contents to shift or become damaged.
- Avoid placing heavy objects on top: When loading the box into a moving vehicle, be mindful of placing heavy objects on top of it. This can lead to crushing or damage to the mixer and its components.
- Secure the box during transportation: Make sure the box is securely placed in the moving vehicle and does not have the potential to slide or tip over during transportation. Use straps or ties to anchor the box if necessary.
- Avoid extreme temperatures: Try to keep the box away from extreme temperatures, such as direct sunlight or freezing conditions. Extreme temperatures can affect the mixer, its components, and the box itself.
By following these handling and transporting tips, you can ensure that your Kitchen Aid Mixer box is handled with care and arrives safely at its new destination.
Remember, it’s always a good idea to keep track of your moving documents and insurance information in case of any unexpected incidents during transportation. With proper handling and transportation, you can look forward to enjoying your Kitchen Aid Mixer in your new home.
Read more: How To Pack A Chandelier For Moving
Tips for Handling and Moving the Box
To ensure the safe transportation of your Kitchen Aid Mixer, consider the following tips for handling and moving the box:
- Communicate with the movers: If you have hired professional movers, make sure to communicate with them about the fragile nature of the box and its contents. Provide them with any specific instructions or precautions.
- Use a dolly or handcart: If the box is heavy or you have multiple boxes to move, consider using a dolly or handcart to transport them. This will reduce the risk of dropping or mishandling the box.
- Secure the box while in transit: If you are transporting the box in your own vehicle, ensure it is securely placed and does not have the potential to shift or tip over during the journey.
- Take your time: When loading and unloading the box, take your time and move with caution. Rushing or being careless can lead to accidents and damage to the mixer or yourself.
- Seek assistance if needed: If the box is too heavy or it’s challenging to handle on your own, don’t hesitate to ask for help. Enlist the assistance of a friend or family member to ensure the safe movement of the box.
By following these tips, you can minimize the risk of accidents and ensure that your Kitchen Aid Mixer box is handled and moved with utmost care and attention.
Conclusion
Packing your Kitchen Aid Mixer properly for a move is essential to keep it safe and protected during transportation. By following the steps outlined in this article, from gathering supplies to sealing and labeling the box, you can ensure that your mixer arrives intact and ready to use in your new home.
Remember the importance of proper packing, using the right supplies, and disassembling and cleaning the mixer before packing. Wrap each component individually, secure the mixer in a properly sized box with adequate padding, and seal and label the box clearly for easy identification. Finally, handle and transport the box with care, utilizing proper lifting techniques and seeking assistance if needed.
By taking these precautions and following the tips provided, you can confidently move your Kitchen Aid Mixer to its new destination, ensuring that it remains in excellent condition and ready to serve you in your new kitchen.
Final Tips for Safely Packing Your Kitchen Aid Mixer
As you prepare to pack your Kitchen Aid Mixer for a move, here are some final tips to ensure its safe and secure transportation:
- Plan ahead: Start the packing process well in advance to allow sufficient time for disassembly, cleaning, and packing with care. Rushing can lead to mistakes and potential damage to your mixer.
- Keep track of small parts: Use zip-top plastic bags or small containers to store screws, attachments, and other small parts. Label each bag or container and keep them together to avoid misplacing or losing any components during the move.
- Wrap delicate parts separately: If your mixer has any delicate or easily scratched parts, such as a glass bowl or special attachments, wrap them individually with extra padding to provide additional protection during transit.
- Label fragile items clearly: Aside from labeling the box, consider placing a “Fragile” sticker on delicate components or areas of the mixer that require extra care during handling and transportation.
- Document the condition: Take photos of your mixer before packing it. This will serve as evidence of its condition prior to the move and can be helpful if any damage claims need to be made during or after the relocation.
- Monitor temperature and humidity: Ensure that the storage area or moving vehicle is climate-controlled to prevent any potential damage from extreme temperatures or high humidity levels.
- Consider professional movers: If you are concerned about the safety of your mixer or are unsure about handling it yourself, consider hiring professional movers who specialize in fragile items. They have the expertise and equipment to safely transport delicate appliances like your Kitchen Aid Mixer.
- Verify insurance coverage: Check with your moving company or home insurance provider to understand the extent of coverage for any potential damage to your mixer during transit. Consider obtaining additional insurance if necessary.
- Keep the user manual handy: Store the user manual and any related documentation in a safe place for future reference. This will be helpful for reconnecting and setting up your mixer properly in your new home.
By following these final tips, you can have peace of mind knowing that your Kitchen Aid Mixer is packed with care and will arrive safely at its new destination. Proper packing and handling will ensure that your mixer remains in excellent condition and continues to contribute to your culinary adventures in your new kitchen.
Frequently Asked Questions about How To Pack KitchenAid Mixer For Moving
Was this page helpful?
At Storables.com, we guarantee accurate and reliable information. Our content, validated by Expert Board Contributors, is crafted following stringent Editorial Policies. We're committed to providing you with well-researched, expert-backed insights for all your informational needs.


0 thoughts on “How to Pack KitchenAid Mixer for Moving”