Articles
How To Store Candied Walnuts
Modified: October 28, 2024
Learn how to store candied walnuts with these helpful articles. Find out the best methods for keeping your walnuts fresh and delicious.
(Many of the links in this article redirect to a specific reviewed product. Your purchase of these products through affiliate links helps to generate commission for Storables.com, at no extra cost. Learn more)
Introduction
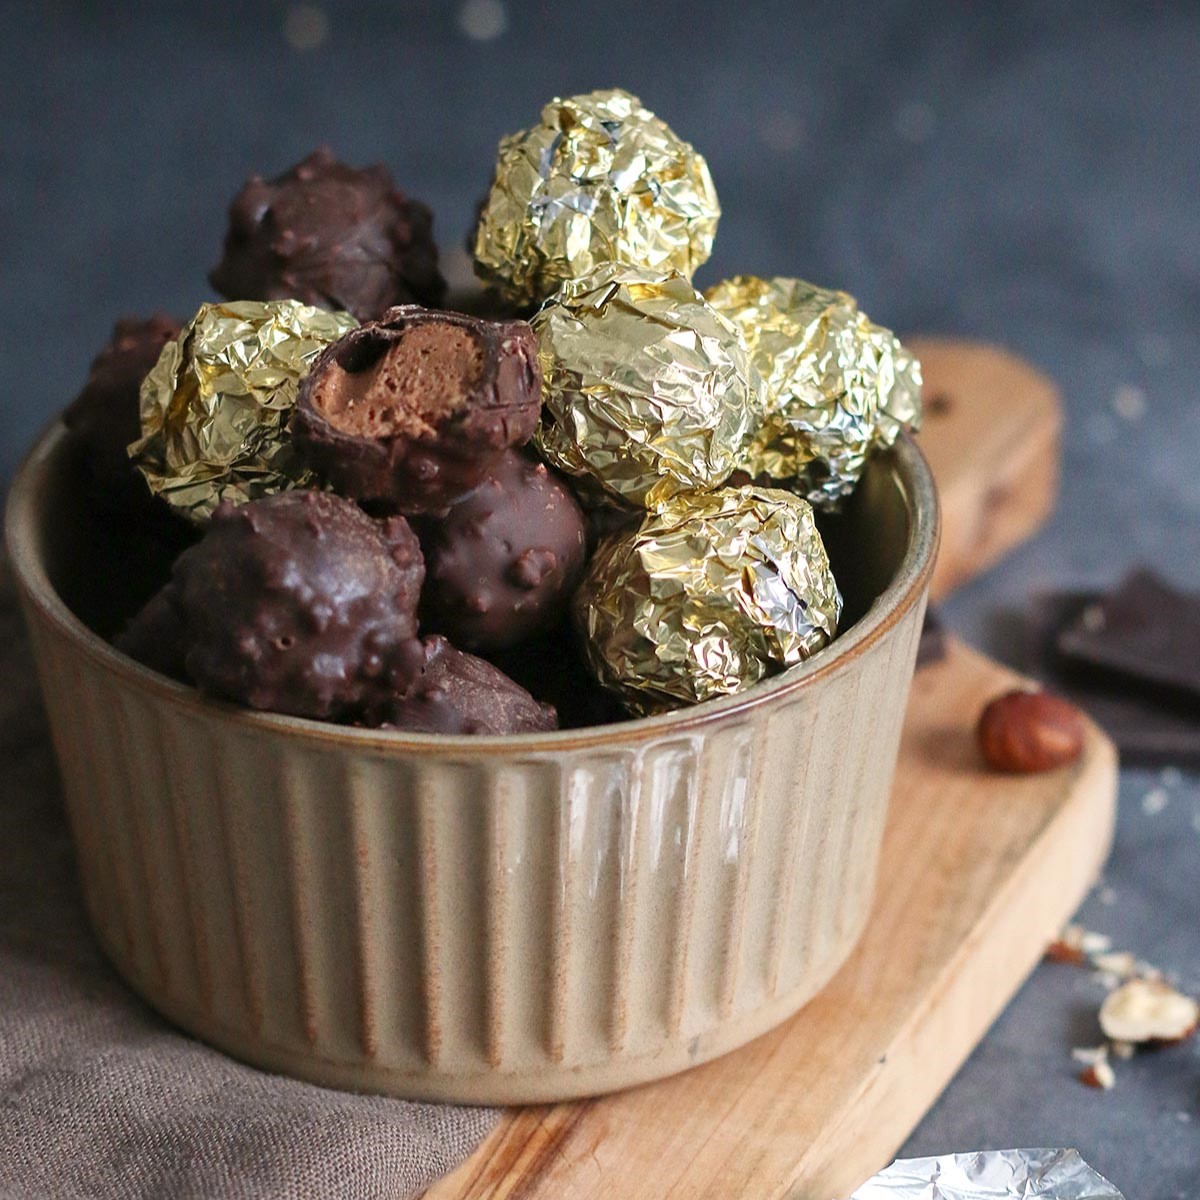
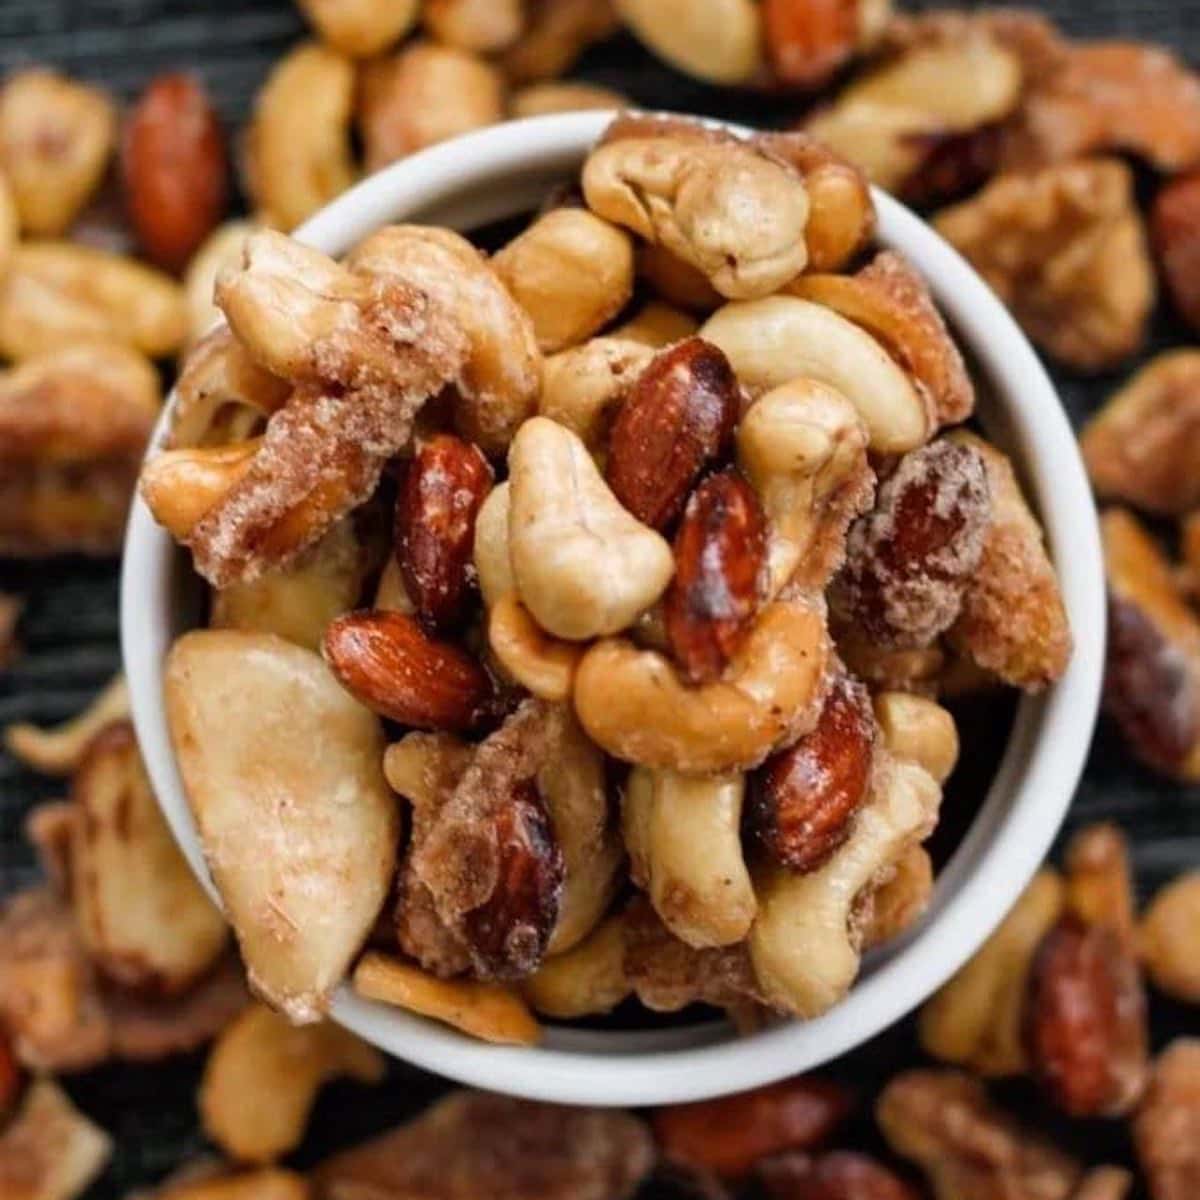
Are you a fan of the irresistible crunch and sweet flavor of candied walnuts? If so, then you know just how addictive these delectable treats can be. Whether you enjoy them as a snack on their own or use them to add a delightful twist to salads, desserts, or even your morning oatmeal, having a batch of homemade candied walnuts on hand is always a good idea.
In this article, we’ll guide you through the process of making and storing your very own candied walnuts. With just a few simple ingredients and some basic kitchen tools, you can create a supply of these delicious treats to enjoy whenever your cravings strike.
So, let’s gather our materials, roll up our sleeves, and dive into the delightful world of candied walnuts!
Key Takeaways:
- Create irresistible candied walnuts by preparing a sweet sugar syrup and coating the walnuts evenly. Store them in a cool, dry place to maintain their delightful crunch and enjoy as a snack or in your favorite dishes.
- Elevate your dishes with homemade candied walnuts. Prepare the walnuts, make a delicious sugar syrup, and store them properly for weeks of delightful snacking.
Read more: How To Store Walnuts
Materials Needed
Before we get started with the process of making and storing candied walnuts, let’s take a moment to gather all the materials we’ll need for this delicious endeavor. In order to achieve the perfect balance of sweetness and crunch, you’ll need the following:
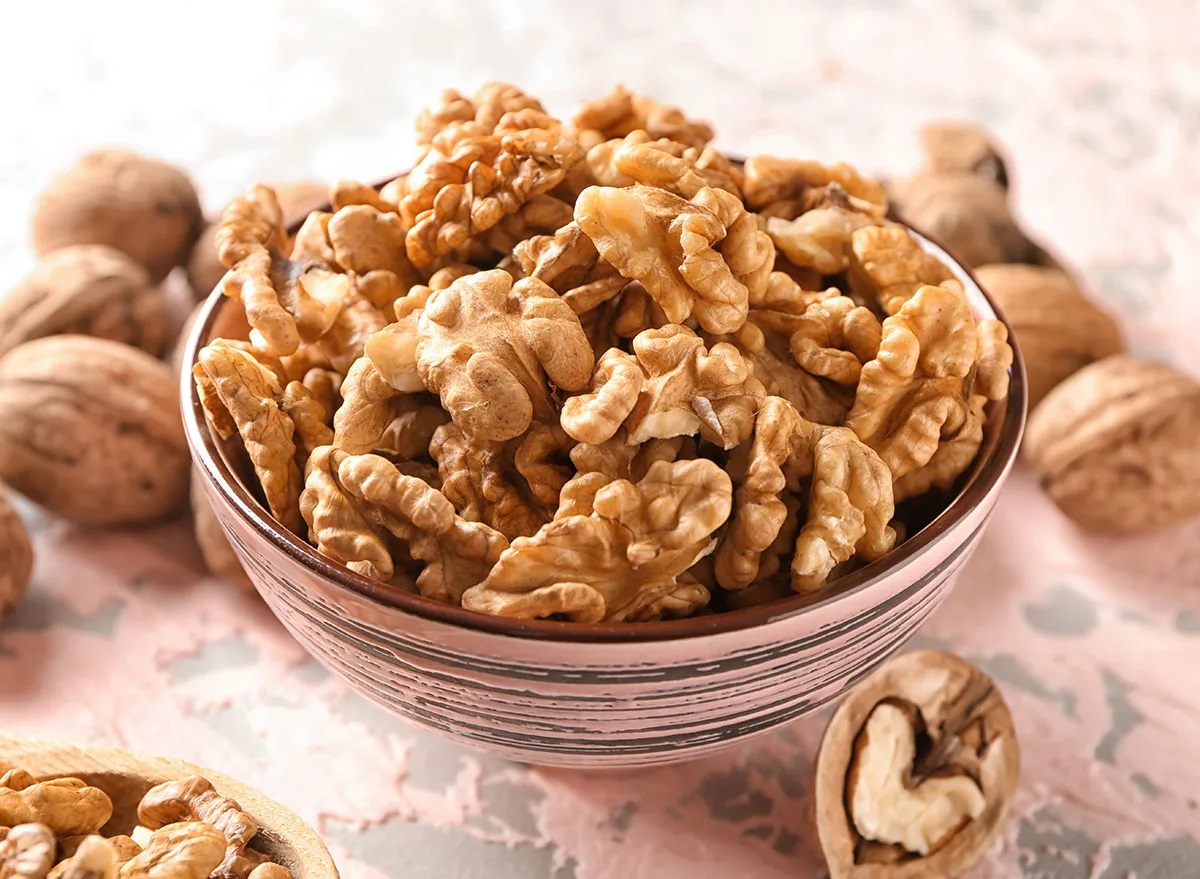
- Fresh walnuts: Look for high-quality walnuts that are free from any signs of mold or rancidity. Aim for about 2 cups of shelled walnuts.
- Granulated sugar: This will be the main ingredient for creating the sweet coating for your candied walnuts. Plan on using about 1 cup of sugar.
- Water: You’ll need about ¼ cup of water to create a syrup with the sugar.
- Optional flavorings: If you want to add an extra layer of flavor to your candied walnuts, consider incorporating ingredients such as cinnamon, vanilla extract, or a pinch of salt. These additions are entirely optional but can elevate the taste of your finished product.
- A large saucepan: A saucepan with high sides will ensure that you have enough space to coat the walnuts in the sugar syrup without any spills.
- A wooden spoon or heat-resistant spatula: This will be used to stir the walnuts and sugar syrup as they cook together.
- A baking sheet lined with parchment paper: This will serve as a surface for drying and storing the candied walnuts. Make sure the baking sheet is large enough to accommodate a single layer of walnuts without overcrowding.
With these materials on hand, you’re ready to embark on your candied walnut-making adventure!
Step 1: Preparing the Walnuts
Before we can begin the process of creating our scrumptious candied walnuts, we need to ensure that the walnuts are properly prepared. Follow these steps to get your walnuts ready for the next stage:
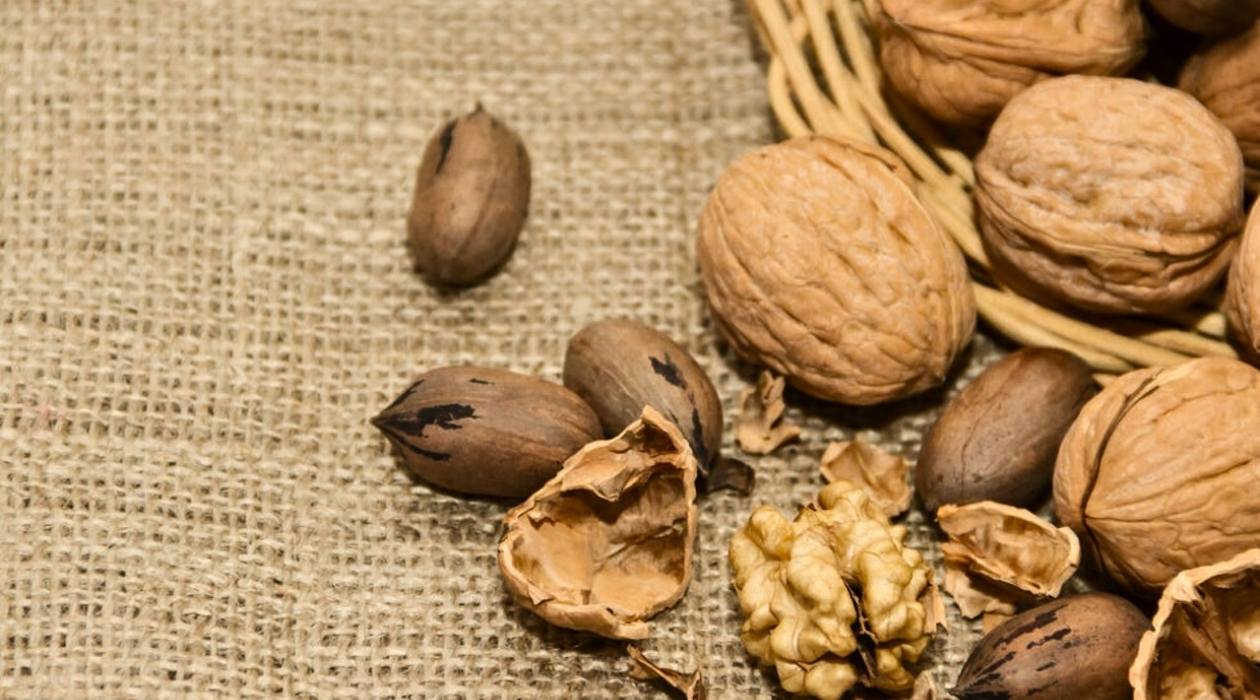
- Shell and chop the walnuts: If your walnuts are still in their shells, crack them open using a nutcracker. Once shelled, give the walnuts a rough chop using a sharp knife. You can choose to chop them into smaller or larger pieces depending on your preference.
- Toast the walnuts (optional): Toasting the walnuts can enhance their flavor and add an extra layer of depth to the candied walnuts. To toast the walnuts, spread them out on a baking sheet and place them in a preheated oven at 350°F (175°C) for about 8-10 minutes. Keep a close eye on them to prevent burning.
By shelling and chopping the walnuts, you ensure that they are ready to absorb the sweet sugar syrup and infuse them with a delightful crunch. Toasting the walnuts adds a touch of richness to their flavor profile, but it’s entirely optional.
Now that our walnuts are prepared, let’s move on to the next step of the process: making the sugar syrup.
Step 2: Making the Sugar Syrup
Now that our walnuts are prepped and ready, it’s time to move on to creating the sweet and sticky sugar syrup that will coat them. Follow these steps to make the sugar syrup:
- Combine sugar and water: In a large saucepan, combine 1 cup of granulated sugar with ¼ cup of water. Stir well to dissolve the sugar and create a syrupy consistency.
- Add optional flavorings: If desired, now is the time to add any optional flavorings such as a sprinkle of cinnamon, a splash of vanilla extract, or a pinch of salt. These additions will enhance the taste of the candied walnuts.
- Heat the syrup: Place the saucepan over medium heat and bring the sugar syrup to a gentle simmer. Stir occasionally to ensure even heating and dissolving of the sugar.
- Cook until syrup thickens: Allow the syrup to simmer for about 5-7 minutes or until it reaches a slightly thickened consistency. You want the syrup to be just thick enough to coat the walnuts without becoming overly sticky.
Once the sugar syrup has reached the desired consistency, it’s time to move on to the next step: coating the walnuts with the syrup.
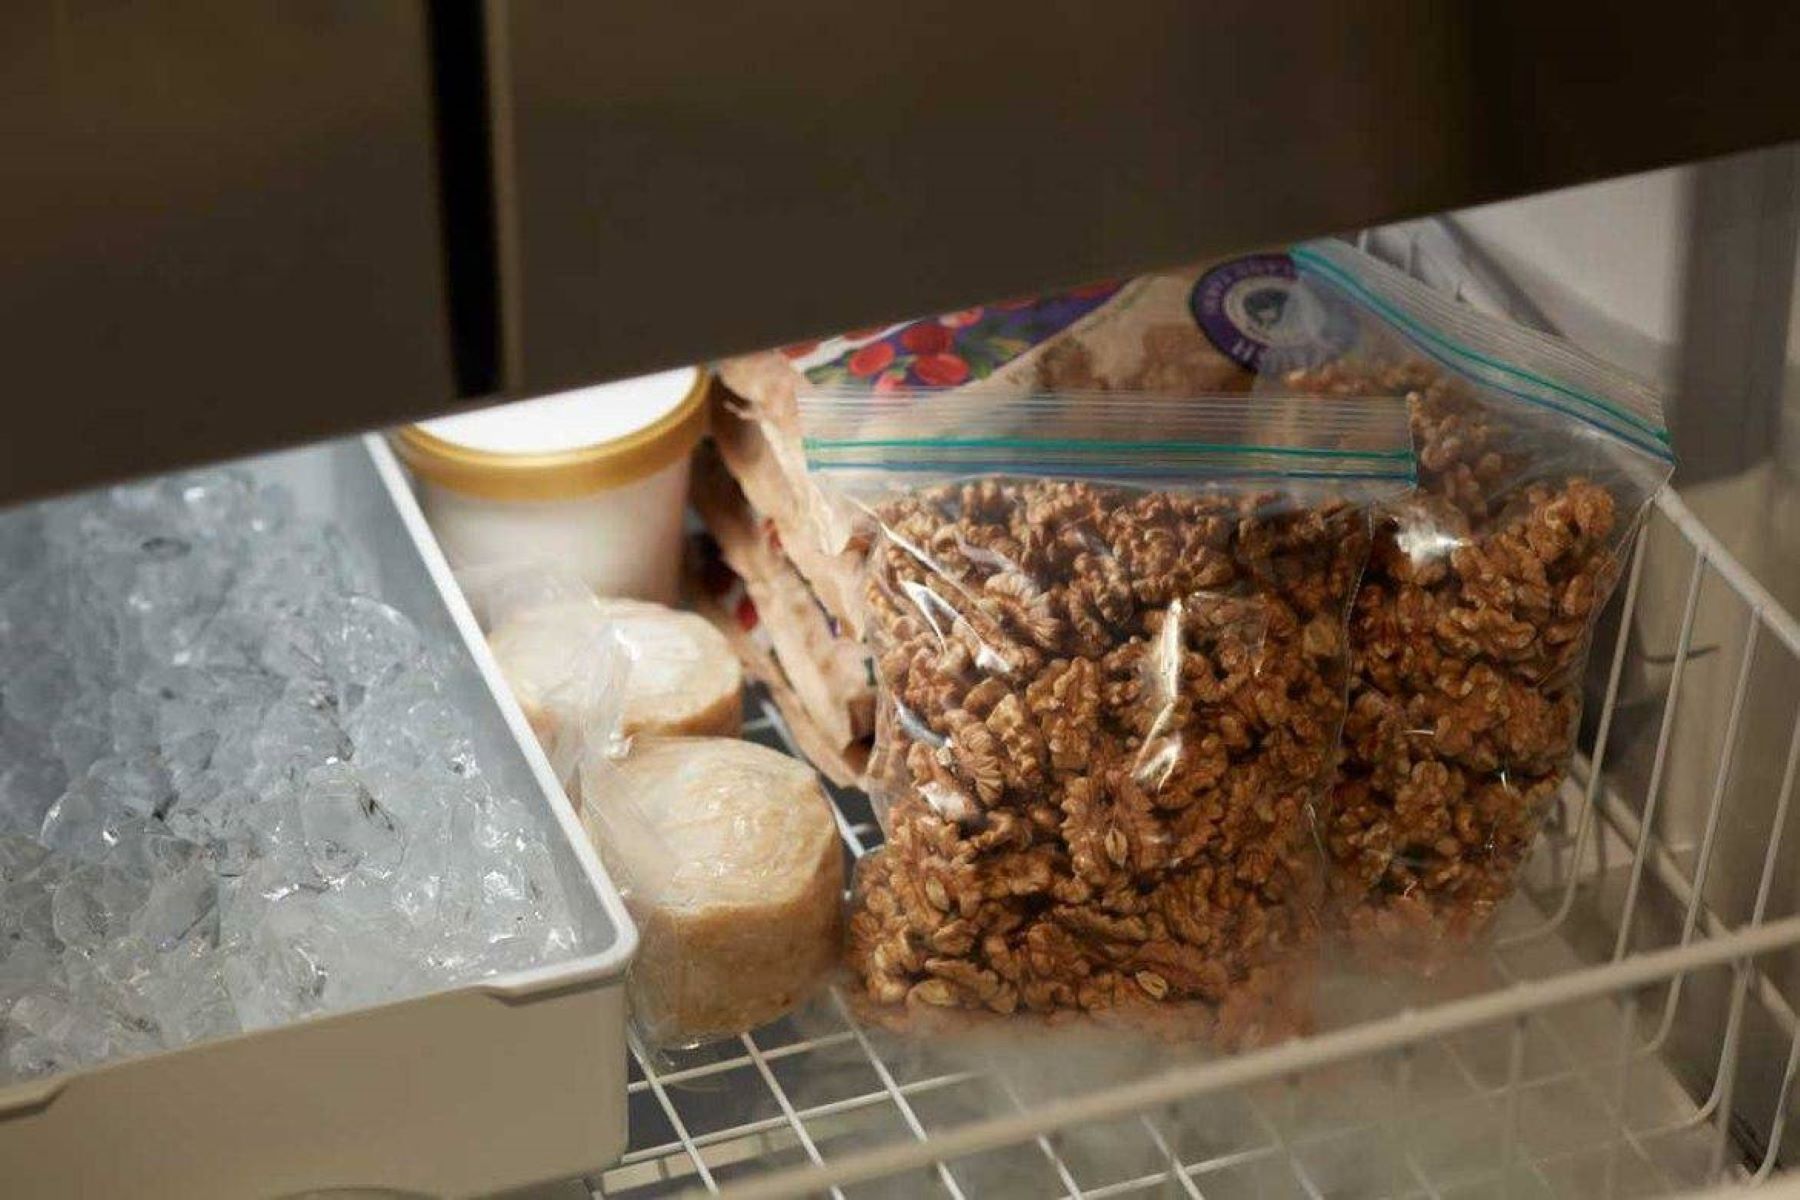
Store candied walnuts in an airtight container at room temperature for up to 2 weeks, or in the refrigerator for up to 1 month. This will help maintain their freshness and crunchiness.
Step 3: Coating the Walnuts
With the sugar syrup ready, it’s time to coat the walnuts and transform them into irresistibly sweet and crunchy treats. Follow these steps to coat the walnuts with the sugar syrup:
- Add the walnuts to the syrup: Carefully add the chopped walnuts into the saucepan with the sugar syrup. Use a wooden spoon or heat-resistant spatula to gently stir and coat the walnuts evenly with the syrup.
- Continue stirring: Keep stirring the walnuts in the syrup over medium heat for about 3-4 minutes. This ensures that the syrup evenly coats each walnut and caramelizes slightly.
- Watch for color change: As you stir, you’ll notice the walnuts starting to turn a slightly deeper shade of golden brown. This is a sign that they are getting coated and caramelized by the sugar syrup.
- Remove from heat: Once the walnuts are evenly coated and have reached your desired level of caramelization, remove the saucepan from heat. Be careful as the syrup may be very hot.
As you coat the walnuts in the sugar syrup, it’s important to keep a close eye on them to prevent burning. The gentle heat and constant stirring help to evenly distribute the syrup and create a delicious caramelization on the walnuts.
Now that the walnuts are coated in the sugar syrup, it’s time to move on to the final step: drying and storing the candied walnuts.
Read more: How To Store Walnuts In Shell
Step 4: Drying and Storing the Candied Walnuts
Now that we have beautifully coated candied walnuts, it’s time to dry them and ensure they stay fresh for as long as possible. Follow these steps to dry and store your candied walnuts:
- Prepare a baking sheet: Line a baking sheet with parchment paper or a silicone baking mat. This will prevent the candied walnuts from sticking to the surface and make it easier to remove them later.
- Spread the walnuts: Carefully transfer the coated walnuts onto the prepared baking sheet, spreading them out in a single layer. Make sure there is enough space between the walnuts to allow for proper airflow.
- Let them cool: Allow the candied walnuts to cool completely at room temperature. This will allow the sugar coating to harden and set, giving the walnuts their signature crunchy texture.
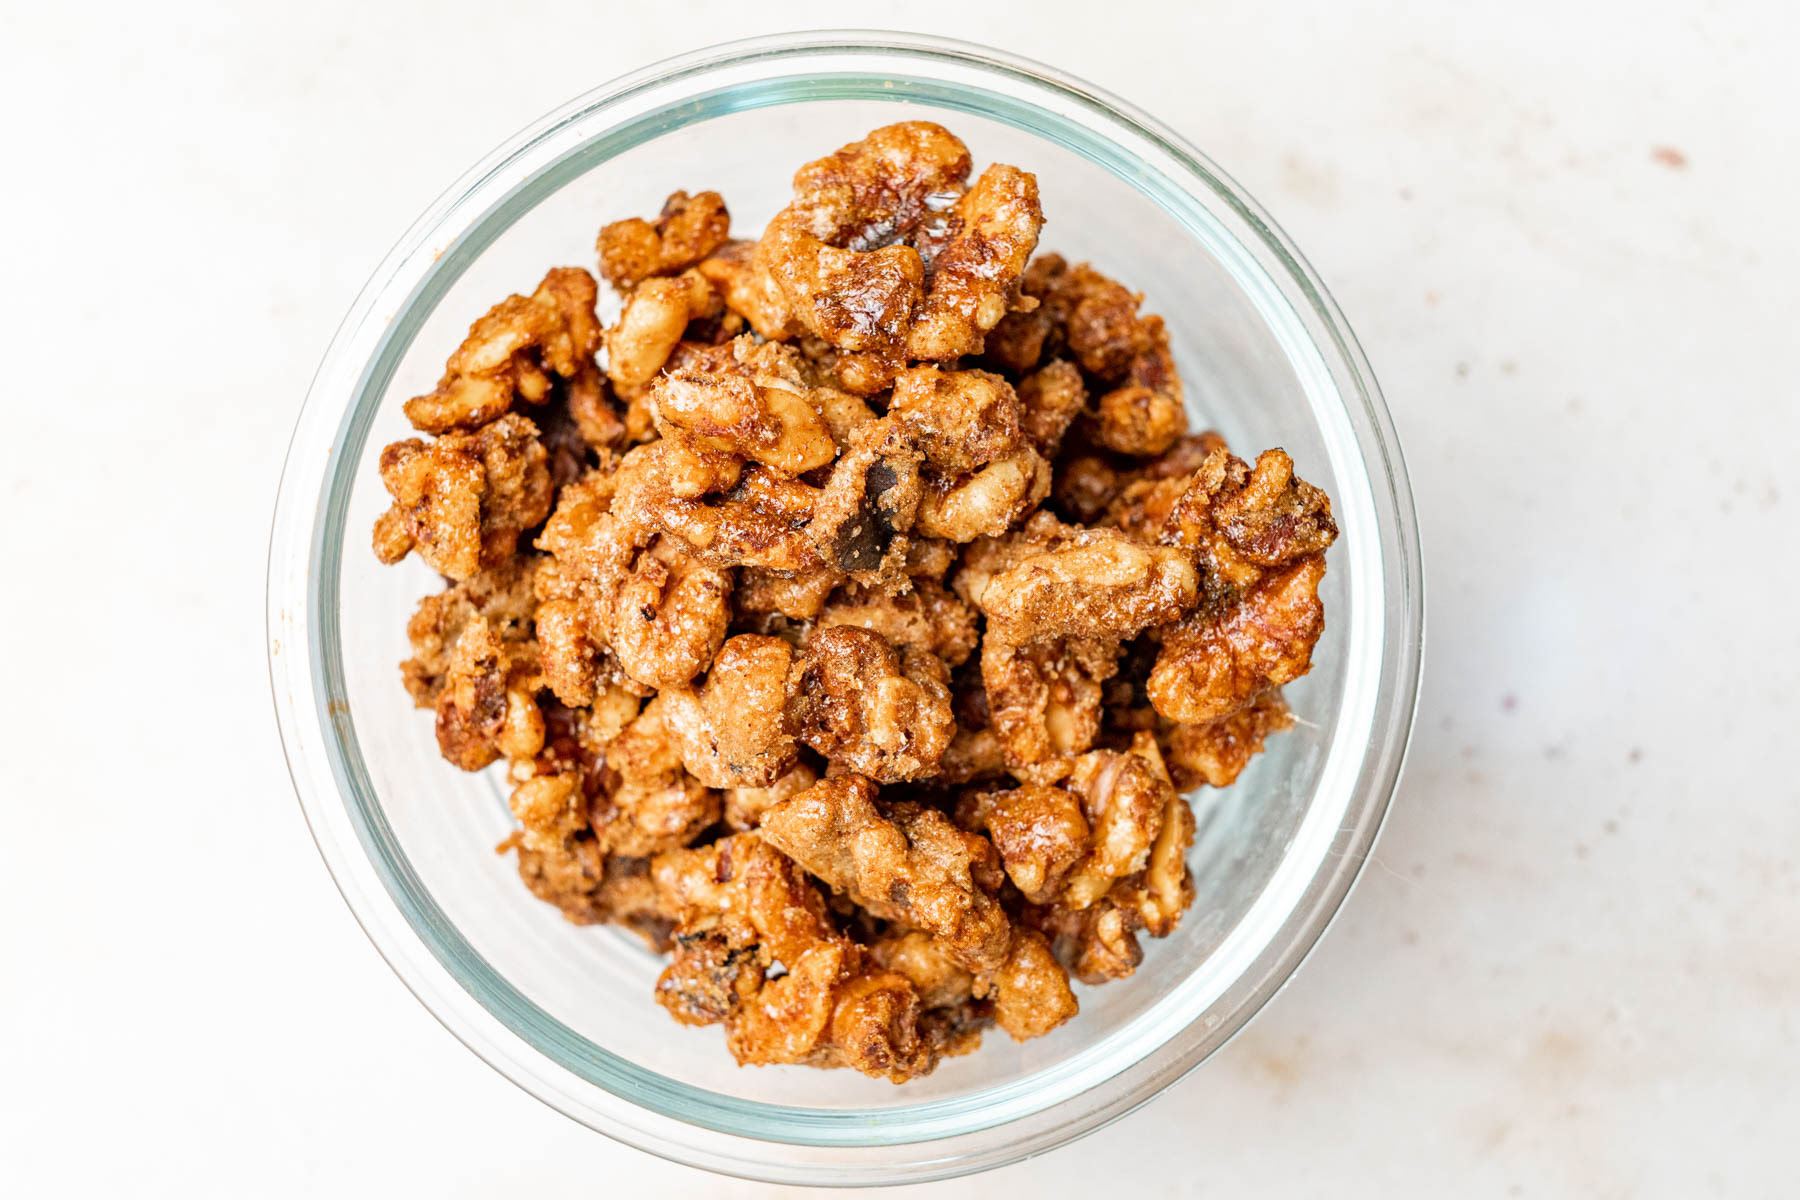
- Store in an airtight container: Once the candied walnuts are thoroughly cooled, transfer them into an airtight container. This could be a glass jar, a plastic container with a tight-fitting lid, or a resealable plastic bag. Make sure the container is clean and dry before adding the walnuts.
- Keep in a cool, dry place: Store the container of candied walnuts in a cool, dry place away from direct sunlight and humidity. A pantry or cupboard is an ideal location.
- Check for freshness: Periodically check the candied walnuts for any signs of spoilage or staleness. If you notice any changes in taste, texture, or appearance, it may be time to discard them and make a fresh batch.
By drying and storing the candied walnuts properly, you can enjoy their delightful flavor and crunch for weeks to come. They make a wonderful snack on their own, or you can sprinkle them over salads, desserts, or breakfast bowls for an extra touch of sweetness.
Now that you’ve completed all the steps, you can sit back and enjoy the fruits (or rather, nuts!) of your labor. Treat yourself to a handful of these homemade candied walnuts whenever you’re in need of a delicious and satisfying treat.
Happy snacking!
Conclusion
Congratulations on successfully making and storing your very own batch of candied walnuts! With just a few simple steps, you’ve transformed fresh walnuts into irresistible sweet and crunchy treats. Now you have a supply of candied walnuts to enjoy whenever you’re in the mood for a delicious snack or want to add a touch of sweetness to your favorite dishes.
Remember, the key to perfectly candied walnuts lies in properly preparing the walnuts, creating a delicious sugar syrup, and coating the walnuts evenly. After that, it’s all about drying and storing them in a cool, dry place to maintain their freshness and crunch.
Whether you choose to enjoy these candied walnuts on their own, toss them in salads, sprinkle them over desserts, or incorporate them into your morning oatmeal, these homemade treats are sure to elevate any dish.
So don’t wait any longer—grab a handful of your freshly made candied walnuts, sit back, and savor the delightful combination of crunch and sweetness that these treats offer. You deserve it!
Happy indulging!
Frequently Asked Questions about How To Store Candied Walnuts
Was this page helpful?
At Storables.com, we guarantee accurate and reliable information. Our content, validated by Expert Board Contributors, is crafted following stringent Editorial Policies. We're committed to providing you with well-researched, expert-backed insights for all your informational needs.


0 thoughts on “How To Store Candied Walnuts”