Home>Storage Ideas>Storage Baskets>How To Make Candy Baskets
Storage Baskets
How To Make Candy Baskets
Modified: December 7, 2023
Learn how to create beautiful candy baskets with our step-by-step guide. Perfect for storage and organization purposes, these baskets are a must-have for any home.
(Many of the links in this article redirect to a specific reviewed product. Your purchase of these products through affiliate links helps to generate commission for Storables.com, at no extra cost. Learn more)
Introduction
Welcome to the world of delightful and mesmerizing candy baskets! Creating a candy basket is not only a fun and creative activity, but it also makes for a wonderful gift for any occasion. Whether you want to surprise a loved one, celebrate a special event, or simply indulge in some sweet treats, a carefully curated candy basket is the perfect choice.
In this article, we will guide you through the process of making your own candy baskets, showcasing your creativity and personal touch. We will cover everything from choosing the basket and selecting the candy to arranging the treats and adding decorative elements. So, let’s dive in and discover how you can create stunning candy baskets that will surely bring joy and happiness to whoever receives them.
Before we get started, let’s gather all the materials we’ll need:
- A suitable basket or container
- A variety of candies
- Tissue paper or shredded paper
- Cellophane or gift wrap
- Ribbon or bows
- Scissors
- Tape
Now that we have everything ready, let’s move on to the first step – choosing the perfect basket for our candy creation.
Key Takeaways:
- Creating a stunning candy basket involves choosing the perfect basket, selecting a variety of delicious candies, arranging them attractively, and adding decorative elements. The presentation adds an extra touch of excitement and makes the gift even more special.
- Tailoring the presentation to the recipient’s preferences and lifestyle enhances the significance of the candy basket. The joy of giving and witnessing the delight it brings is as fulfilling as the joy of receiving.
Read more: How To Make Glass Candy
Materials Needed
Before we start making our candy basket, let’s gather all the materials we’ll need to bring our creation to life. Having everything prepared in advance will make the process smoother and more enjoyable. Here’s a list of the essential materials:
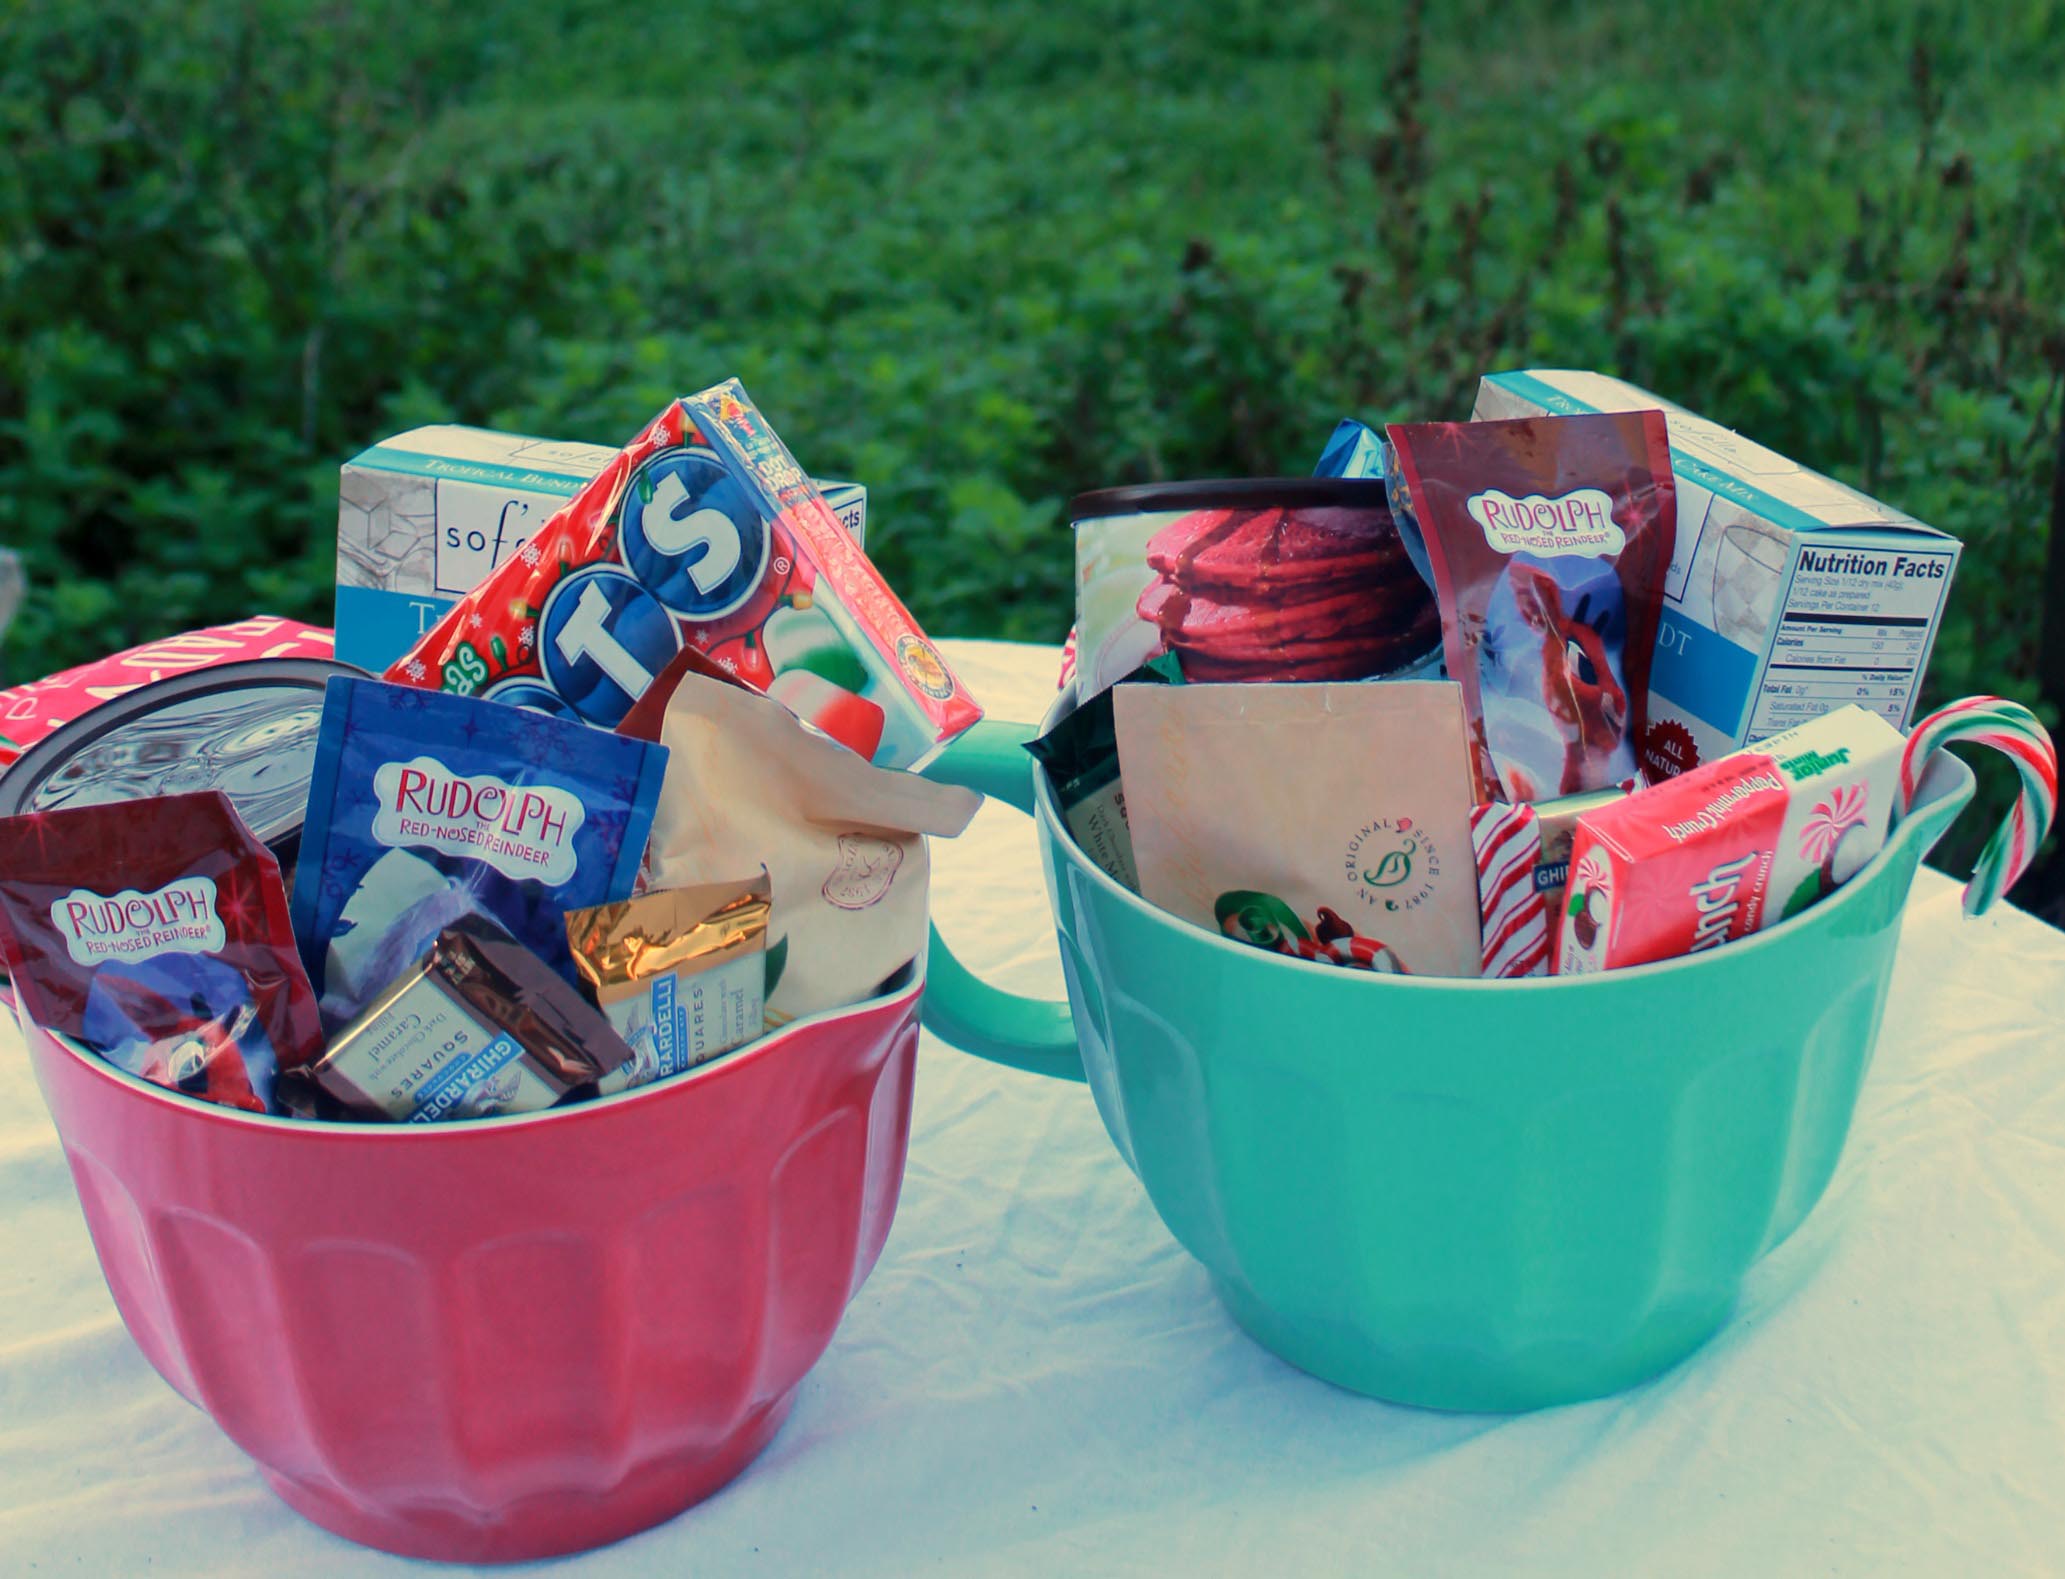
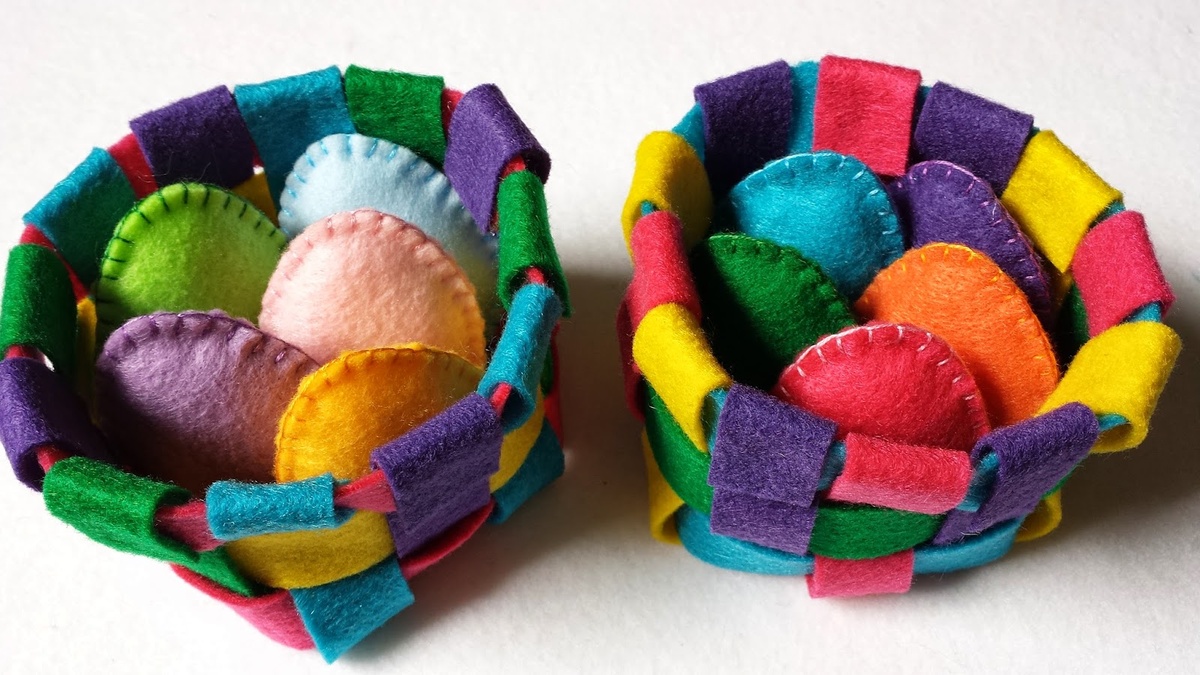
- A suitable basket or container: Choose a basket that suits the occasion and the size of the candy assortment you plan to include. It could be a traditional wicker basket, a decorative tin, or even a colorful plastic container.
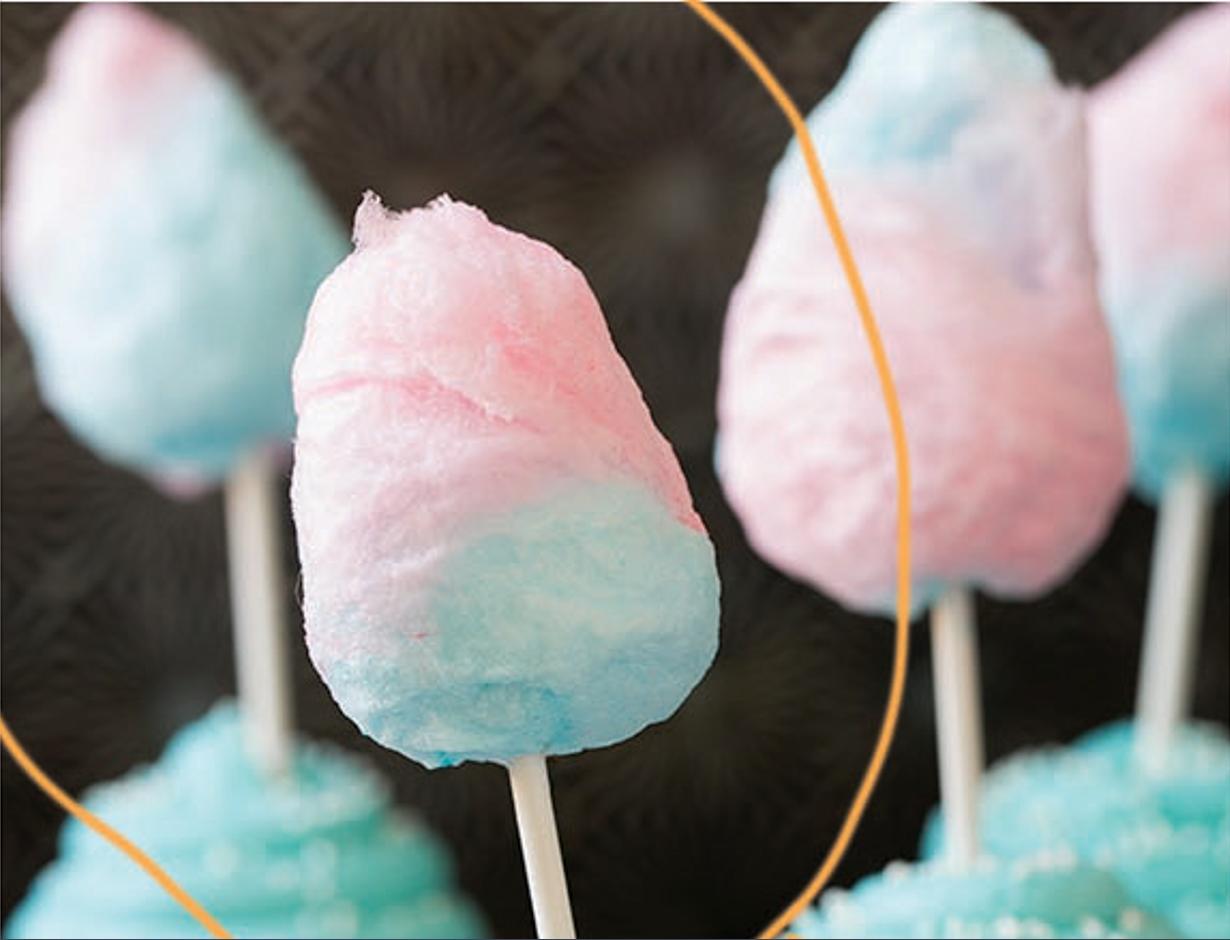
- A variety of candies: Select a mix of candies to cater to different tastes. Include chocolates, gummy candies, hard candies, and any other treats that you think the recipient will enjoy. Consider their preferences and any dietary restrictions they might have.
- Tissue paper or shredded paper: This will be used as a filler to provide a cushion for the candies and add visual appeal to the basket. Opt for colorful tissue paper or shredded paper that complements the candies.
- Cellophane or gift wrap: To give your candy basket a professional finish, you’ll need cellophane or gift wrap. This will help keep the candies in place and protect them from dust or damage. Choose a transparent cellophane to showcase the goodies inside or pick a decorative gift wrap that matches the theme of your basket.
- Ribbon or bows: Decorative ribbons or bows will add a touch of elegance and charm to your candy basket. Select ribbons in coordinating colors or patterns to tie around the cellophane or gift wrap, giving the basket a polished and festive look.
- Scissors: You’ll need a pair of scissors to trim the excess cellophane or gift wrap, cut the ribbons to the desired length, and make any necessary adjustments during the assembly process.
- Tape: Use clear tape to secure the cellophane or gift wrap in place and attach the ribbons or bows to the basket. It’s always handy to have some tape nearby to help with any unexpected situations during the construction of your candy basket.
Now that we have all our materials prepared, it’s time to dive into the exciting process of creating our candy basket. Let’s move on to the first step – choosing the perfect basket.
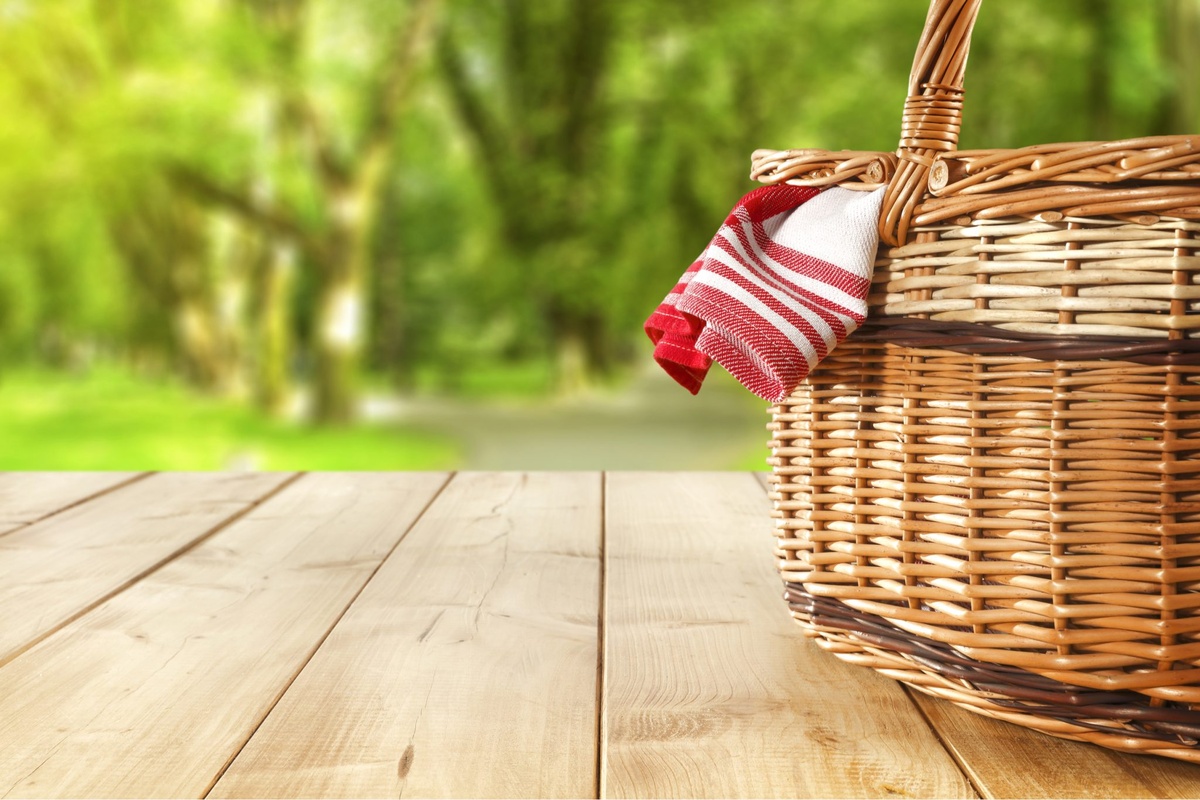
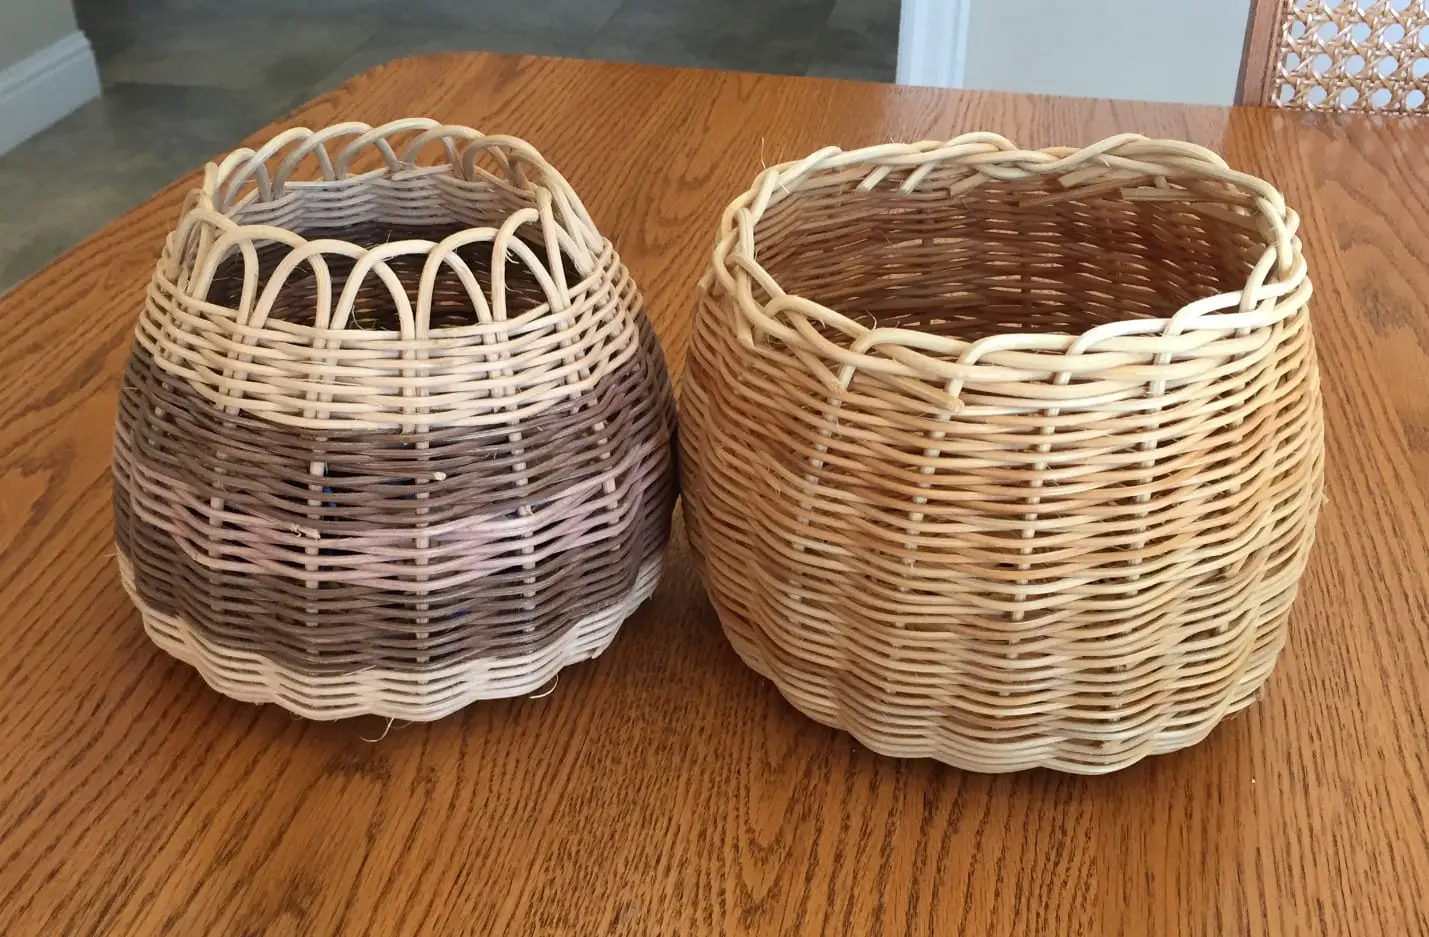
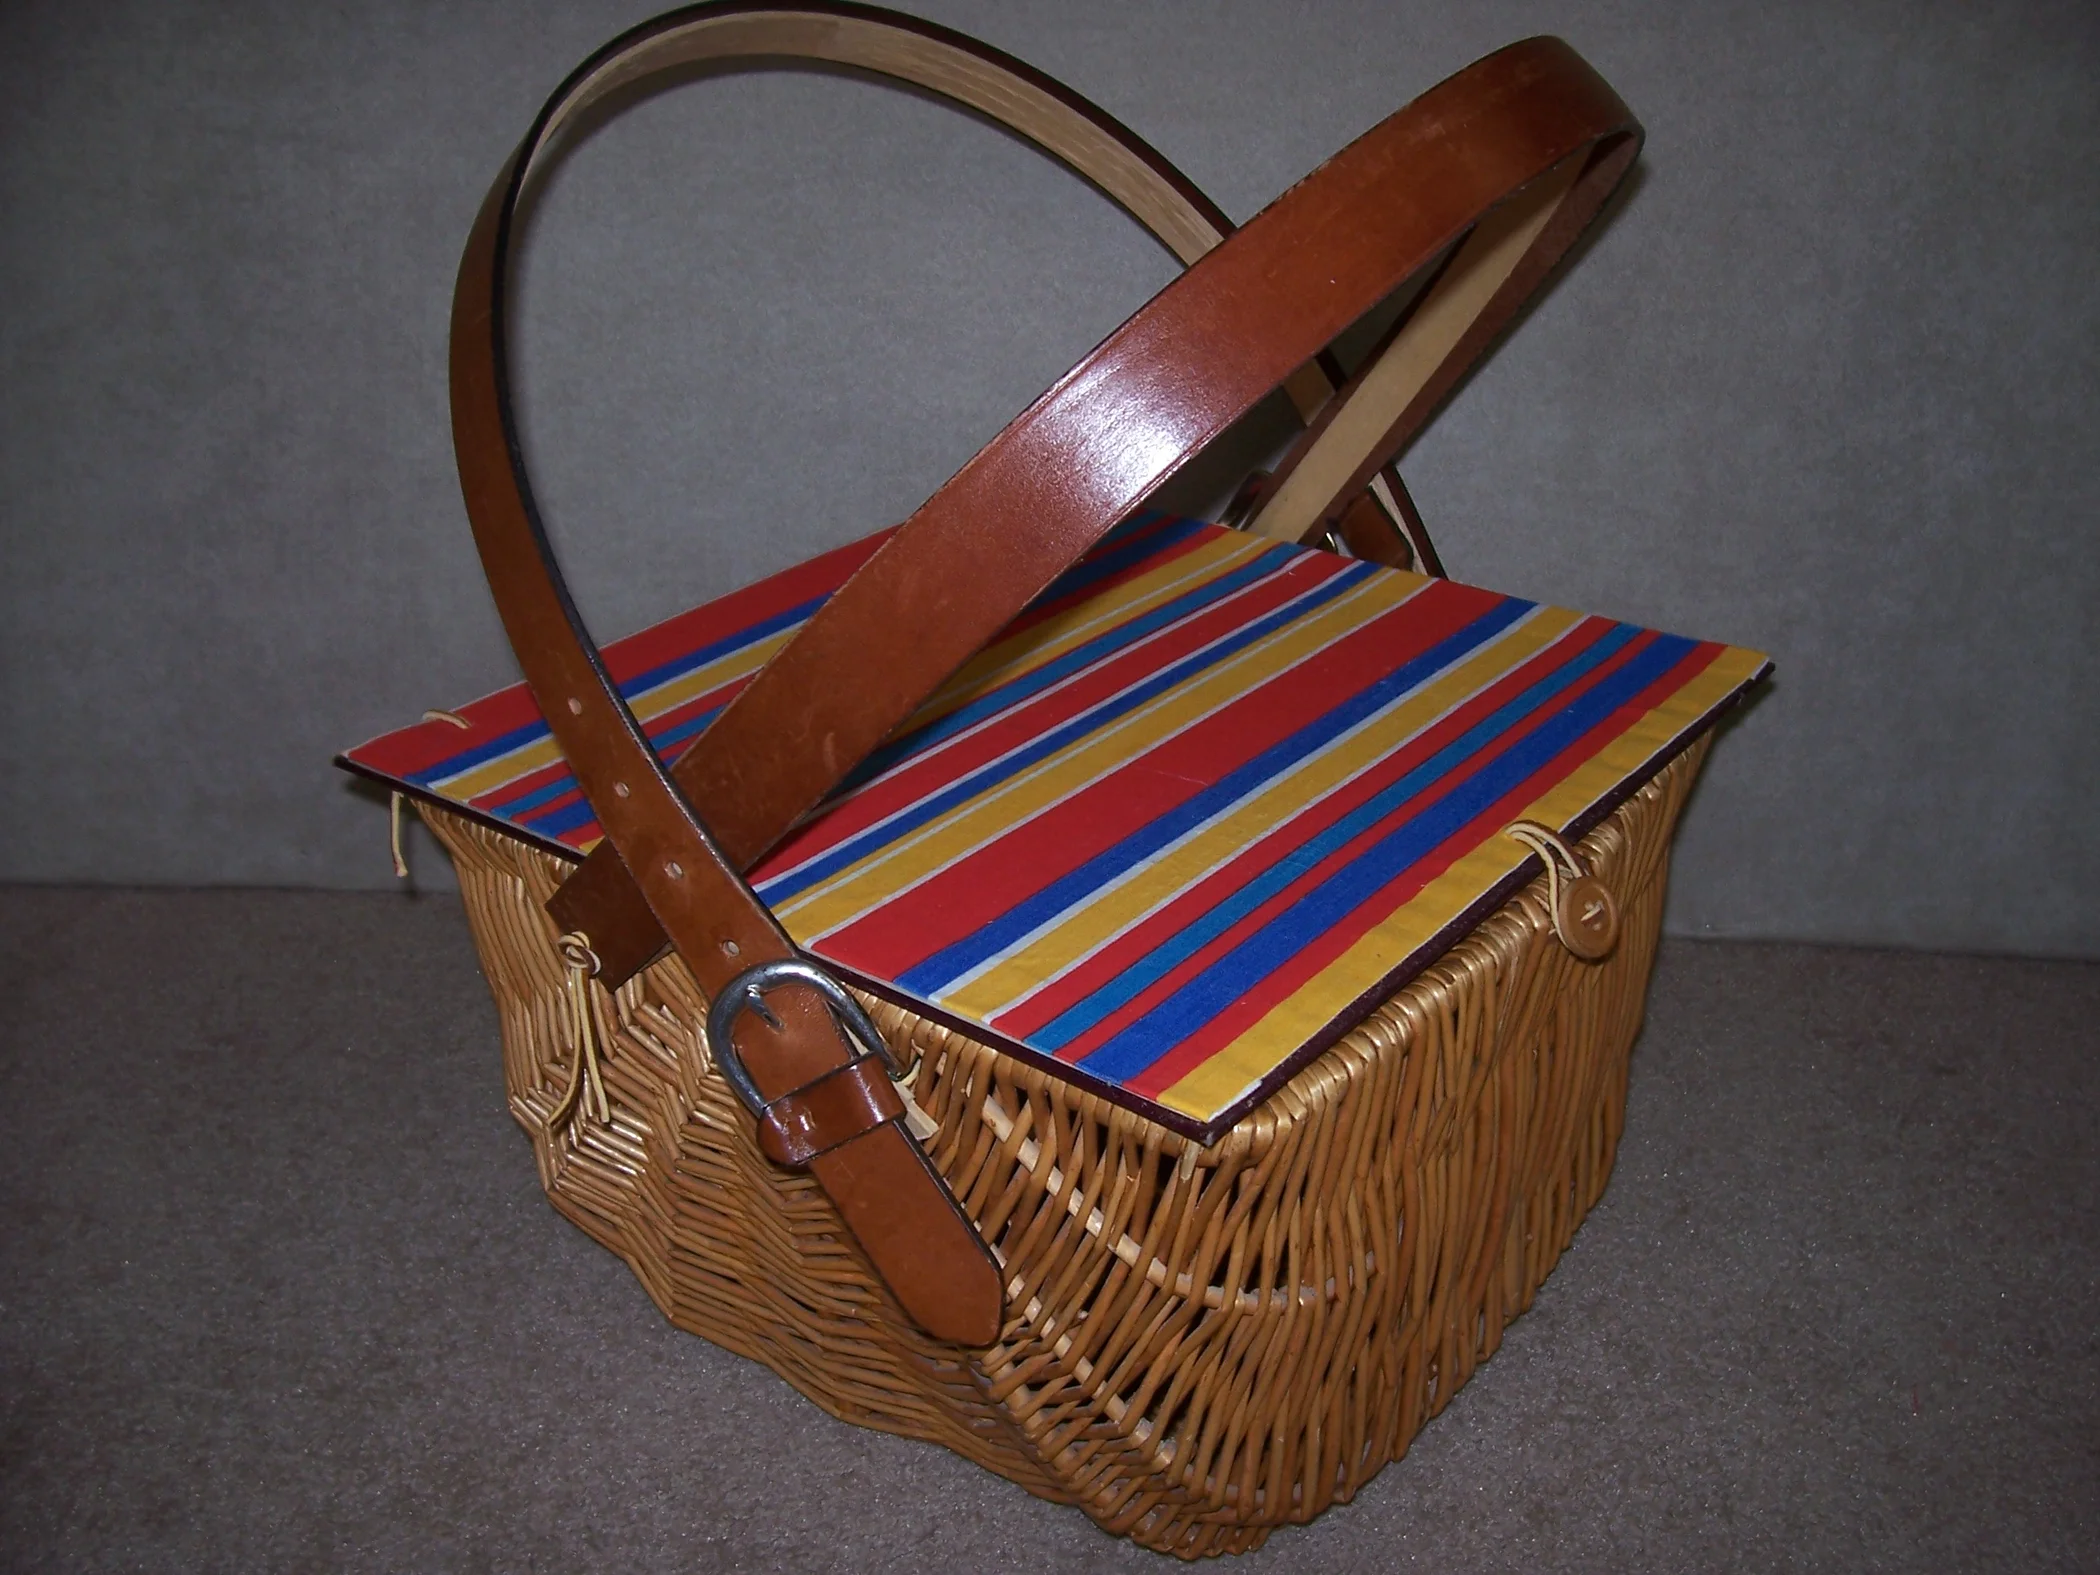
Step 1: Choosing the Basket
When it comes to creating a candy basket, the first and most crucial step is selecting the right basket. The choice of basket will determine the overall aesthetic and functionality of your creation. Here are some tips to help you choose the perfect basket:
- Consider the occasion: Think about the purpose of the candy basket. Is it for a birthday, a holiday, or a special milestone? The occasion will guide you in selecting the appropriate style and theme for the basket. For example, a heart-shaped basket for Valentine’s Day or a colorful Easter-themed basket.
- Size matters: Take into account the amount of candy you plan to include in the basket. Ensure that the basket is spacious enough to hold all your treats without overcrowding. You want the candies to be neatly arranged and easily accessible.
- Material and texture: Choose a basket made of sturdy and durable material. Wicker baskets are a classic choice as they provide a rustic and charming look. If you want something more modern, consider a metal or plastic container. Pay attention to the overall texture of the basket and make sure it complements the candies you’ll be filling it with.
- Handle or no handle: Decide whether you prefer a basket with a handle or without. A handle can make the basket easier to carry and adds a decorative element. However, if you plan to fill the basket to the brim, a handle might not be necessary as it might not be able to support the weight.
- Theme and color: Select a basket that aligns with the theme or color scheme of the candy basket. If you’re creating a spring-themed basket, opt for pastel-colored baskets. For a more elegant and sophisticated look, choose a basket in neutral tones or metallic finishes. The goal is to create a cohesive and visually appealing presentation.
Once you have considered these factors, head to your local craft store, or explore online options to find the perfect basket that meets your preferences. Don’t be afraid to let your creativity shine through in this step, as the basket sets the foundation for the entire candy arrangement.
Now that we have our basket in hand, it’s time to move on to the next step – selecting the delicious candies that will fill our candy basket.
Step 2: Selecting the Candy
Choosing the right candies for your candy basket is an exciting and crucial step. The selection of candies will not only determine the taste experience but also contribute to the overall visual appeal of the basket. Here are some tips to help you make the perfect candy choices:
- Variety is key: Aim for a diverse range of candies to cater to different preferences and tastes. Include a mix of chocolates, gummy candies, hard candies, and any other favorites that the recipient will enjoy. This variety will add excitement and ensure there’s something for everyone.
- Theme and occasion: Consider the theme or occasion for the candy basket. If it’s for a specific holiday or event, include candies that align with the theme. For example, chocolates in the shape of hearts for Valentine’s Day or candy canes for Christmas. This will enhance the visual appeal and make the basket more cohesive.
- Personalize it: Take into account the recipient’s preferences and any dietary restrictions they may have. If they have a favorite chocolate brand or a particular candy they adore, be sure to include it. Personalizing the candy selection shows thoughtfulness and makes the gift even more special.
- Color coordination: Consider the colors of the candies and how they will complement each other when placed in the basket. Opt for a mix of vibrant and pastel colors to create an eye-catching and visually appealing arrangement. Play with different shapes, sizes, and textures to add depth and interest to the basket.
- Quantity and balance: Think about the quantity of candies you want to include in the basket. Avoid overcrowding it, as it might make the candies look messy and unappealing. Strike a balance between having enough candies to create an impact and leaving some space for the arrangement to breathe.
Once you’ve considered these factors, head to your local candy store or browse online to find the perfect assortment of candies. Remember to have fun during the selection process and explore different flavors and varieties. With the candies now in hand, we can move on to the next step – preparing the basket.
Step 3: Preparing the Basket
Now that we have our chosen basket and a delightful selection of candies, it’s time to prepare the basket for the candy arrangement. The preparation step will ensure that the candies are displayed beautifully and securely. Follow these steps to get your basket ready:
- Line the basket: Start by lining the bottom of the basket with tissue paper or shredded paper. This will provide a cushion for the candies and add visual appeal. You can choose paper in a color that complements the candies or opt for a neutral shade.
- Secure the paper: Use tape or adhesive to secure the tissue paper or shredded paper in place. Take care not to use too much tape, as it might interfere with the candy arrangement later on. Press down gently to ensure the paper is firmly attached to the bottom of the basket.
- Add stability: If needed, you can place a piece of cardboard or foam at the bottom of the basket to create a stable base. This will prevent the candies from shifting or toppling over when the basket is moved.
- Arrange the candies: Now comes the fun part – arranging the candies in the basket. Start by strategically placing larger candies or chocolates in the center or at the back of the basket. Then, gradually fill in the empty spaces with smaller candies, ensuring a balanced distribution of colors and shapes.
- Consider height: To create visual interest, vary the height of the candies by using different-sized containers or wrapping some candies in decorative foil. This will add dimension to the arrangement and make it more visually appealing.
- Leave extra space: Don’t completely fill the basket with candies. Leave some space around the edges to allow for the addition of decorative elements and for the candies to be easily seen and accessed.
Once you are satisfied with the candy arrangement in the basket, take a step back and assess the overall visual appeal. Make any necessary adjustments to ensure that the arrangement is balanced and aesthetically pleasing.
With the basket prepared and the candies beautifully arranged, we are now ready to move on to the next step – adding decorative elements to enhance the presentation of the candy basket.
When making candy baskets, choose a variety of candies in different shapes, sizes, and flavors to create visual interest and appeal to different tastes.
Read more: How To Make Centerpieces With Candy
Step 4: Arranging the Candy
Arranging the candies in a visually appealing and enticing way is the key to creating a stunning candy basket. This step will bring your candy arrangement to life and make it even more irresistible. Follow these tips to arrange the candies in an attractive manner:
- Create focal points: Select a few standout candies or chocolates to serve as focal points in the arrangement. Place these candies strategically, such as in the center or at the corners of the basket. This will draw attention and create a visually pleasing focal point.
- Group similar candies: Group candies of similar colors or shapes together. This creates a cohesive and organized look. For example, place all the gummy candies together, separate chocolates from hard candies, or group candies by flavor.
- Consider layers: Add depth to your candy arrangement by creating layers. Place larger candies at the back and gradually build up the front with smaller candies. This gives the arrangement a sense of dimension and makes it more visually interesting.
- Balance the colors: Ensure that the colors of the candies are evenly distributed and balanced throughout the basket. Avoid clumping candies of the same color together. Instead, intersperse different colors to create an eye-catching and vibrant display.
- Use containers or cups: Incorporate small containers or cups to hold individual candies or to create mini candy displays within the basket. This adds visual interest and makes it easier for the recipient to select their favorite treats.
- Fill gaps: Fill any empty spaces or gaps with smaller candies or decorative elements like confetti or edible sprinkles. This will create a visually pleasing and complete look. Be careful not to overcrowd the basket, as it may make the candies difficult to access.
While arranging the candies, it’s essential to step back and assess the balance and overall visual appeal of the basket. Make any necessary adjustments to ensure that the arrangement is visually pleasing from all angles. The goal is to create a candy display that is not only tempting but also aesthetically pleasing.
With the candies artfully arranged, we can now move on to the next step – adding decorative elements to further enhance the presentation of the candy basket.
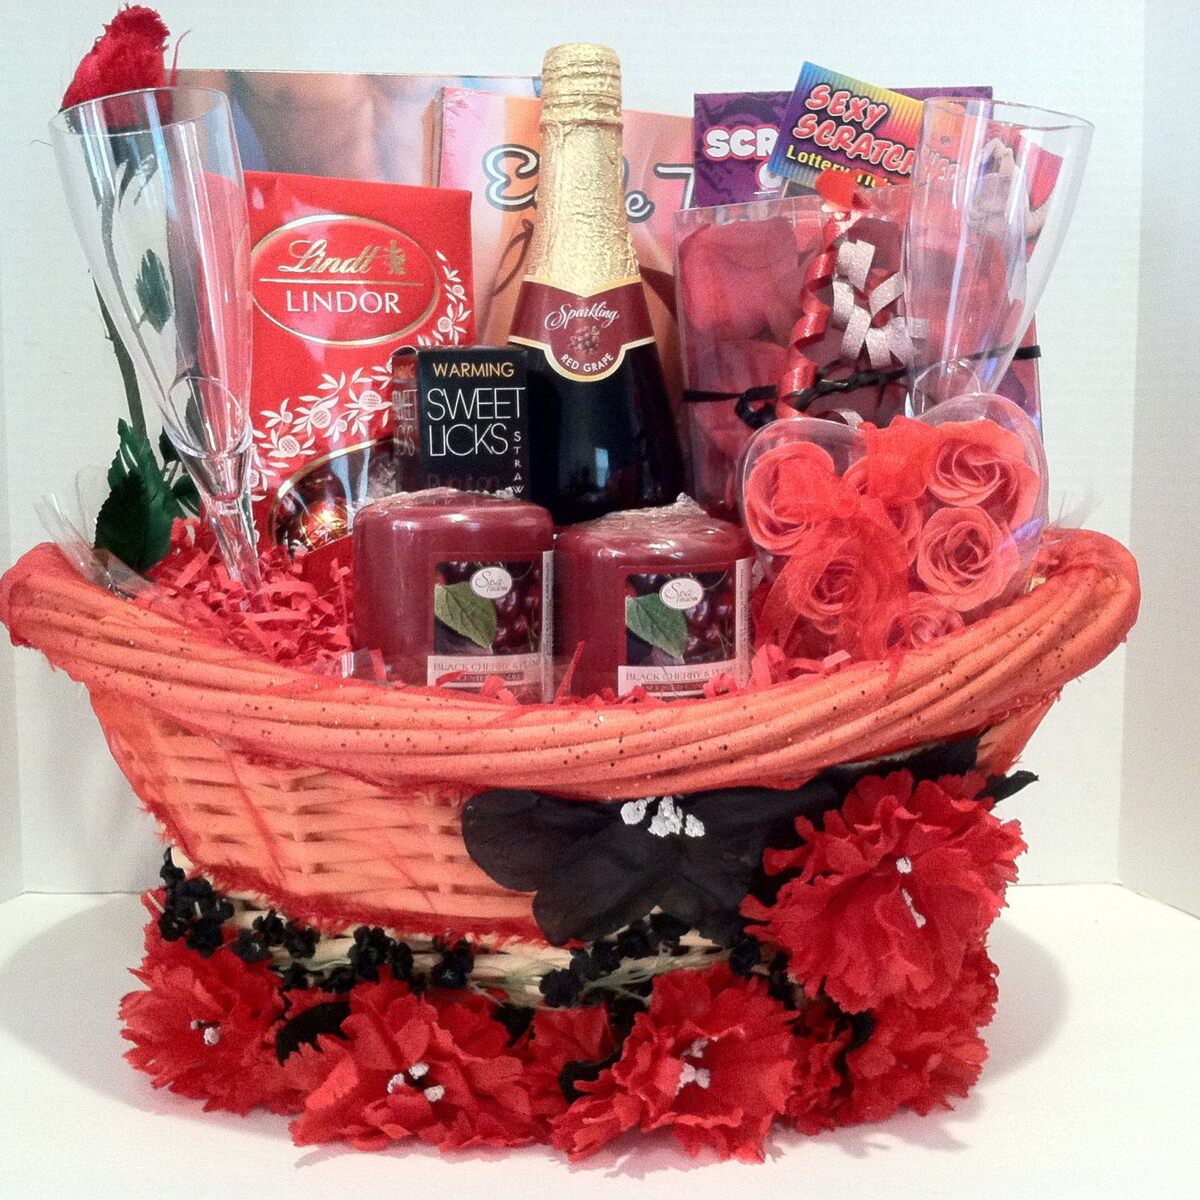
Step 5: Adding Decorations
Adding decorative elements to your candy basket helps elevate its visual appeal and adds that extra touch of charm. Decorations can enhance the theme or occasion of the basket and make it even more enticing. Here are some ideas to consider when adding decorations:
- Ribbons and bows: Wrap colorful ribbons or bows around the handle or sides of the basket to provide a festive and decorative touch. Choose ribbons that match the theme or color scheme of your basket to create a cohesive look.
- Gift tags or labels: Attach a personalized gift tag or label to the basket to add a personal touch. You can write a heartfelt message or the recipient’s name to make the gift extra special.
- Festive themed items: Incorporate festive themed items, such as small holiday ornaments or seasonal decorations, into the arrangement. For example, you could add mini Easter eggs or Christmas baubles to add a festive touch.
- Edible decorations: Consider adding edible decorations like chocolate curls, sprinkles, or colorful sugar crystals to the candies in the basket. This will not only enhance the visual appeal but also make the basket even more delicious.
- Fresh flowers or foliage: For a touch of natural beauty, tuck in some fresh flowers or green foliage around the edges of the basket. This adds a pop of color and freshness to the overall presentation.
- Themed accessories: Depending on the occasion or theme of your candy basket, you can include themed accessories such as small plush toys, themed figurines, or holiday-themed trinkets. These items will further enhance the visual appeal and create a memorable gift.
When adding decorations, it’s crucial to strike a balance. Avoid overloading the basket with too many embellishments, as it can overpower the beauty of the candies. The decorations should complement the candy arrangement without overshadowing it.
Take a step back to evaluate the overall presentation of the candy basket. Make any adjustments or additions as needed to achieve a visually appealing and harmonious display. Once you’re satisfied with the decorations, it’s time to move on to the next step – wrapping the basket.
Step 6: Wrapping the Basket
Wrapping the candy basket adds the final touch of elegance and creates a sense of anticipation for the recipient. It enhances the presentation and protects the candies inside. Follow these steps to effectively wrap your candy basket:
- Prepare the cellophane or gift wrap: Measure and cut a piece of cellophane or gift wrap that is large enough to completely cover the basket, with some extra to create a gathered effect at the top. If using gift wrap, ensure it is of sufficient size to cover the entire basket.
- Center the basket: Place the basket in the center of the cellophane or gift wrap. Make sure the candy arrangement is facing upward and the handles, if any, are positioned flat against the sides of the basket.
- Gather the cellophane or gift wrap: Bring the edges of the cellophane or gift wrap up to the top of the basket, creating a gathered effect. Hold it in place with one hand while maintaining the position of the candy arrangement with the other.
- Tie a ribbon or secure with tape: Use a colorful ribbon to tie a bow securely around the gathered cellophane or gift wrap at the top of the basket. Alternatively, you can use clear tape to secure the cellophane or gift wrap in place if you prefer a cleaner look.
- Trim excess cellophane or gift wrap: Use scissors to neatly trim any excess cellophane or gift wrap from the top of the basket. Take care not to cut too close to the gathered section to ensure the wrapping remains secure.
- Fluff and adjust: Gently fluff the cellophane or gift wrap around the gathered section to create an aesthetically pleasing appearance. Adjust the ribbon, ensuring it sits neatly atop the gathering and complements the overall look.
Wrapping the candy basket provides a professional and polished finishing touch. It protects the candies from dust and damage while adding an element of anticipation and surprise for the recipient.
Once your candy basket is wrapped, take a moment to admire the beautifully presented gift. Now, we move on to the final step – presenting the candy basket in all its glory.
Step 7: Presenting the Candy Basket
Now that you have put in all the effort to create a stunning candy basket, it’s time to present it in a way that will surely impress the recipient. The presentation adds that extra touch of excitement and makes the gift even more special. Follow these steps to present your candy basket:
- Choose a special occasion: Select a suitable occasion to present the candy basket. It could be a birthday, anniversary, holiday celebration, or simply a spontaneous gesture of love and appreciation. By aligning the presentation with a meaningful event, you enhance the significance of the gift.
- Set the stage: Find a visually appealing location to present the candy basket. It could be on a beautifully decorated table, a festive display, or even a surprise hiding spot. Consider the ambiance and create an atmosphere that enhances the excitement and anticipation for the recipient.
- Arrange complementary items: If you like, you can include additional complementary items alongside the candy basket. This could be a handwritten note, a small gift, or a bouquet of flowers. These extra touches add a personal and thoughtful element to the presentation.
- Be creative: Think of creative ways to present the candy basket. You could hide it and give the recipient clues leading to its location, create a scavenger hunt, or surprise them with a beautifully wrapped basket. Tailor the presentation to the preferences and personality of the person you’re gifting it to.
- Share the joy: Present the candy basket with enthusiasm and joy. Express your heartfelt wishes and enjoy the moment of giving. Seeing the delight on the recipient’s face will be a rewarding experience in itself.
Remember to consider the preferences and lifestyle of the recipient when presenting the candy basket. Tailor the presentation to create a memorable and personalized experience for them.
By following these steps, you can ensure that the presentation of your candy basket is as remarkable as the basket itself. It’s time to share the joy and surprise someone with your heartfelt creation.
With Step 7 complete, we have reached the end of our journey in creating a beautiful candy basket. Congratulations on your creativity and dedication. Now go ahead and present your candy basket with pride!
Enjoy the experience of giving and witnessing the joy it brings to the lucky recipient.
Happy gifting!
Read also: 10 Best Candy Gift Baskets for 2025
Conclusion
Creating a candy basket is a delightful and rewarding experience that allows you to showcase your creativity while bringing joy to others. Throughout this guide, we’ve explored the step-by-step process of making a candy basket, from choosing the perfect basket and selecting a variety of delicious candies to arranging them in an aesthetically pleasing way and adding decorative elements.
By following the steps outlined in this article, you can create a stunning candy basket that will impress and delight the recipient. Remember to consider the occasion, personalize the candy selection, and pay attention to the visual appeal of the arrangement. Adding decorations, wrapping the basket, and presenting it with love and excitement will elevate the overall experience.
Whether you’re preparing a candy basket for a birthday, a holiday celebration, or simply to show someone you care, the effort and thought you put into the creation process will shine through and make the gift extra special. The joy and anticipation of receiving a beautifully presented candy basket are unmatched.
So, let your creativity soar, select the finest candies, and design a visually stunning arrangement. Watch as the recipient’s face lights up with delight when they receive their unique and personalized candy basket.
Remember, the joy of giving is as fulfilling as the joy of receiving. So, enjoy the process, put your heart into it, and share the happiness that a carefully crafted candy basket brings.
Now, it’s time to gather your materials, let your imagination run wild, and create a candy basket masterpiece that will leave a lasting impression.
Happy candy basket making!
Frequently Asked Questions about How To Make Candy Baskets
Was this page helpful?
At Storables.com, we guarantee accurate and reliable information. Our content, validated by Expert Board Contributors, is crafted following stringent Editorial Policies. We're committed to providing you with well-researched, expert-backed insights for all your informational needs.


0 thoughts on “How To Make Candy Baskets”