Articles
How To Store Candy Apples
Modified: February 27, 2024
Learn the best techniques and tips for storing candy apples in this informative article. Ensure your treats stay fresh and delicious for longer.
(Many of the links in this article redirect to a specific reviewed product. Your purchase of these products through affiliate links helps to generate commission for Storables.com, at no extra cost. Learn more)
Introduction
Welcome to the wonderful world of candy apples! These delectable treats are not only delicious but also visually appealing, making them a favorite for kids and adults alike. Whether you’re planning a party or simply want to indulge your sweet tooth, knowing how to store candy apples properly is essential to ensure they stay fresh and retain their irresistible flavor.
In this article, we will guide you through the process of storing candy apples to maintain their quality and taste. From selecting the right apples to preparing the candy coating and decorating the final product, we’ll cover every step of the process.
So, let’s dive into the world of candy apples and discover how to store them to perfection!
Key Takeaways:
- Choose firm, crisp apples like Granny Smith or Honeycrisp for perfect candy apples. Experiment with flavors and decorations to create unique and visually appealing treats that are sure to be a hit at any occasion.
- Store candy apples in the refrigerator for freshness, and consider freezing for longer shelf life. Enjoy these delightful treats within 2-3 days for the best flavor and texture.
Read more: How To Store Candied Fruit
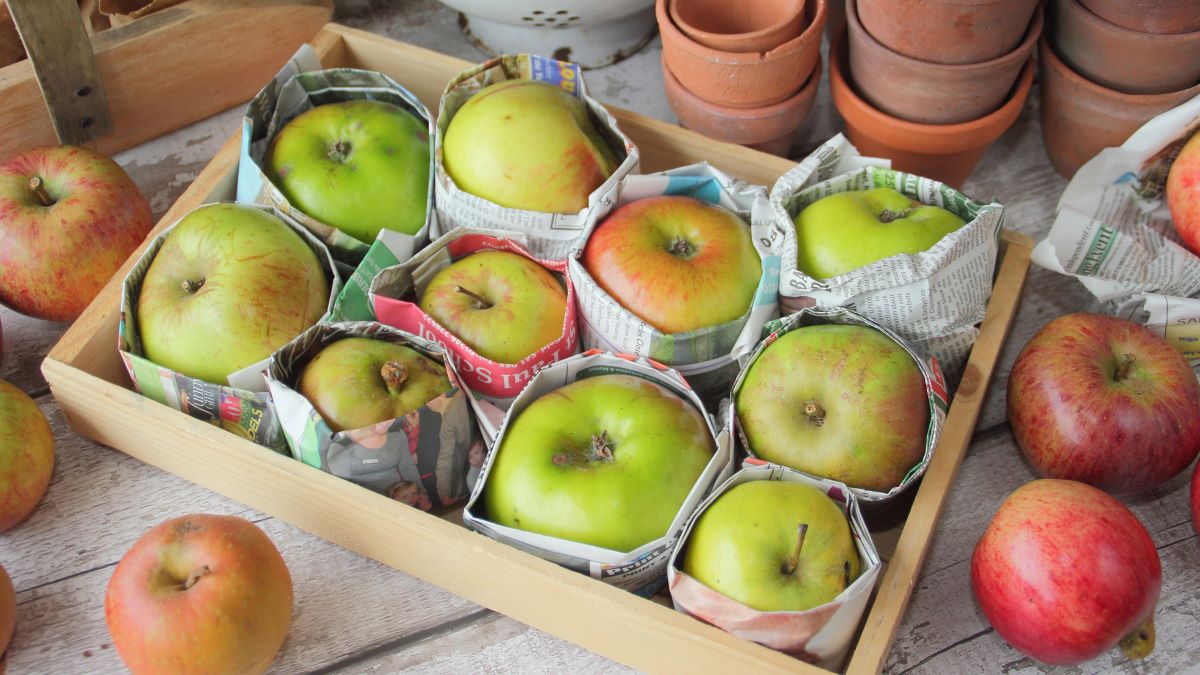
Choosing the Right Apples
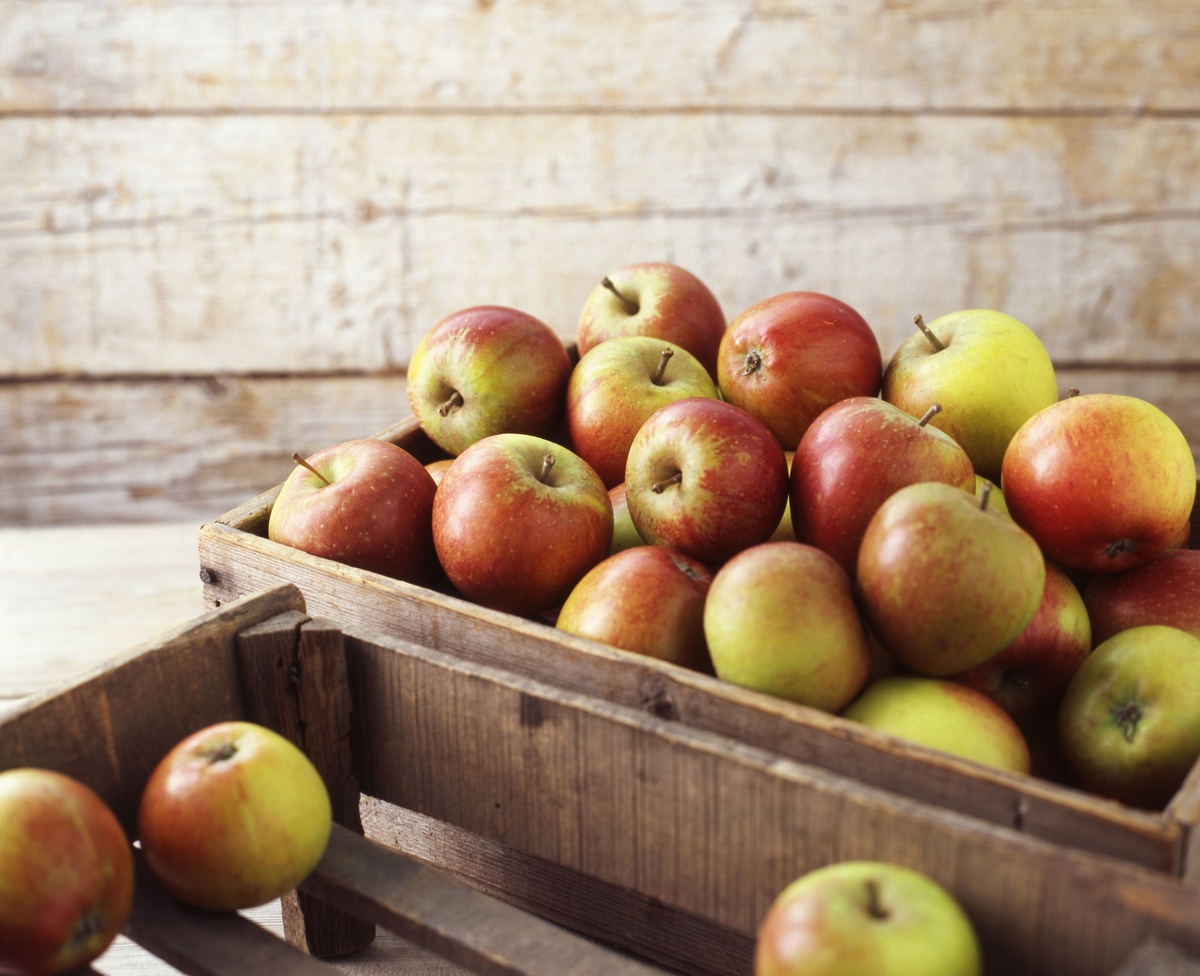
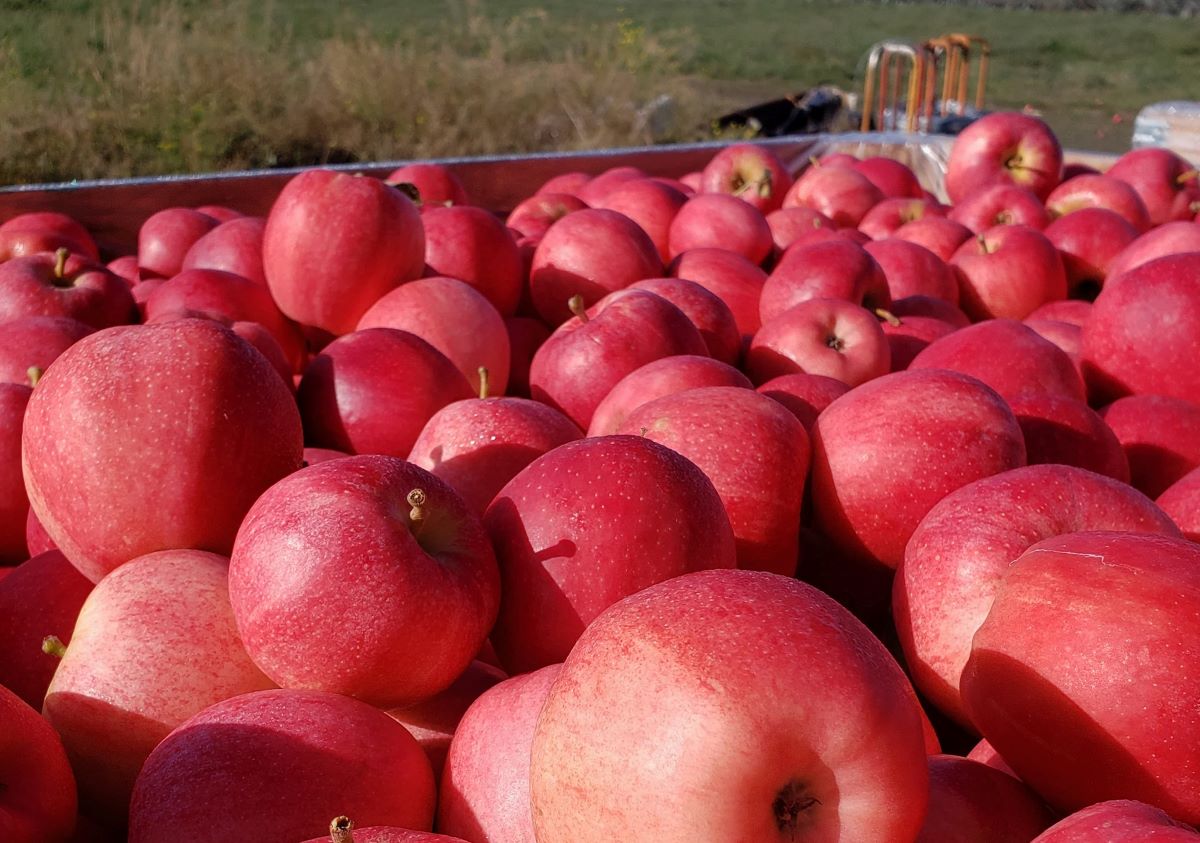
When it comes to making candy apples, selecting the right type of apple is crucial. You want an apple that is crisp, firm, and able to hold up well when coated in caramel or candy. Here are a few apple varieties that work well for making candy apples:
- Granny Smith: Known for their tartness and sturdy texture, Granny Smith apples are a popular choice for candy apples. The tartness of the apple complements the sweet candy coating, creating a perfect balance of flavors.
- Honeycrisp: With their sweet and juicy flesh, Honeycrisp apples provide a delightful contrast to the sugary candy coating. They also have a firm texture that holds up well when dipped in caramel or candy.
- Gala: Gala apples are another excellent option for candy apples. They have a mildly sweet flavor and a crisp texture, making them a great choice for those who prefer a milder taste.
When selecting apples for candy apples, make sure they are free from blemishes, bruises, or soft spots. These imperfections can affect the overall quality and shelf life of the candy apples. Additionally, choose apples that are uniform in size, as this will ensure even and consistent coating.
It’s worth noting that you can experiment with different apple varieties to suit your personal taste preferences. Don’t be afraid to try new combinations and discover unique flavor profiles for your candy apples.
Preparing the Candy Coating
The candy coating is what gives candy apples their signature glossy and sweet exterior. Here’s how you can prepare the perfect candy coating:
- Gather your ingredients: To make the candy coating, you’ll need sugar, corn syrup, water, and any desired flavorings or food colorings. Popular flavor options include vanilla, cinnamon, or even a hint of mint.
- Combine the ingredients: In a saucepan, mix together the sugar, corn syrup, and water. Heat the mixture over medium heat, stirring occasionally until the sugar dissolves completely.
- Boil the mixture: Increase the heat to high and bring the mixture to a boil. Use a candy thermometer to monitor the temperature. Cook the mixture until it reaches the hard crack stage, which is around 300 degrees Fahrenheit.
- Add flavor and coloring: Once the mixture reaches the desired temperature, remove it from the heat and stir in your chosen flavorings and food colorings. This step is optional but adds a delightful twist to the candy coating.
It’s important to note that the candy coating can reach extremely high temperatures, so exercise caution while working with it to avoid burns. Keep a bowl of ice water nearby in case of accidental contact with the hot candy coating.
Once you’ve prepared the candy coating, it’s time to move on to the next step: creating the candy apple mixture.
Creating the Candy Apple Mixture
Now that you have your candy coating ready, it’s time to prepare the candy apple mixture. This mixture will not only serve as the base for your candy coating, but it also adds an extra layer of flavor to the candy apples. Follow these steps to create the perfect candy apple mixture:
- Choose your desired flavor: Determine the flavor you want to infuse into your candy apple mixture. You can opt for traditional flavors like caramel or explore more adventurous options like chocolate or fruity flavors.
- Prepare the flavoring: Depending on the flavor you choose, you may need to melt caramel, chocolate, or other ingredients. Follow the specific instructions for melting and preparing your chosen flavoring.
- Enhance the mixture: Once you have your flavoring prepared, you can amp up the taste of the mixture by adding additional ingredients. This could include spices like cinnamon or nutmeg, or even chopped nuts, sprinkles, or crushed candies for added texture.
Combine the flavoring and additional ingredients with the candy coating, stirring well to ensure a smooth and homogeneous mixture. The candy apple mixture should have a thick and velvety consistency to ensure it adheres well to the apples during the dipping process.
Remember, the candy apple mixture should complement the flavor of the apple you chose earlier. For example, a tart Granny Smith apple may pair well with a sweet and creamy caramel mixture, while a Honeycrisp apple could be delicious with a rich chocolate coating.
With the candy apple mixture prepared, it’s time to move on to the fun part – dipping the apples!
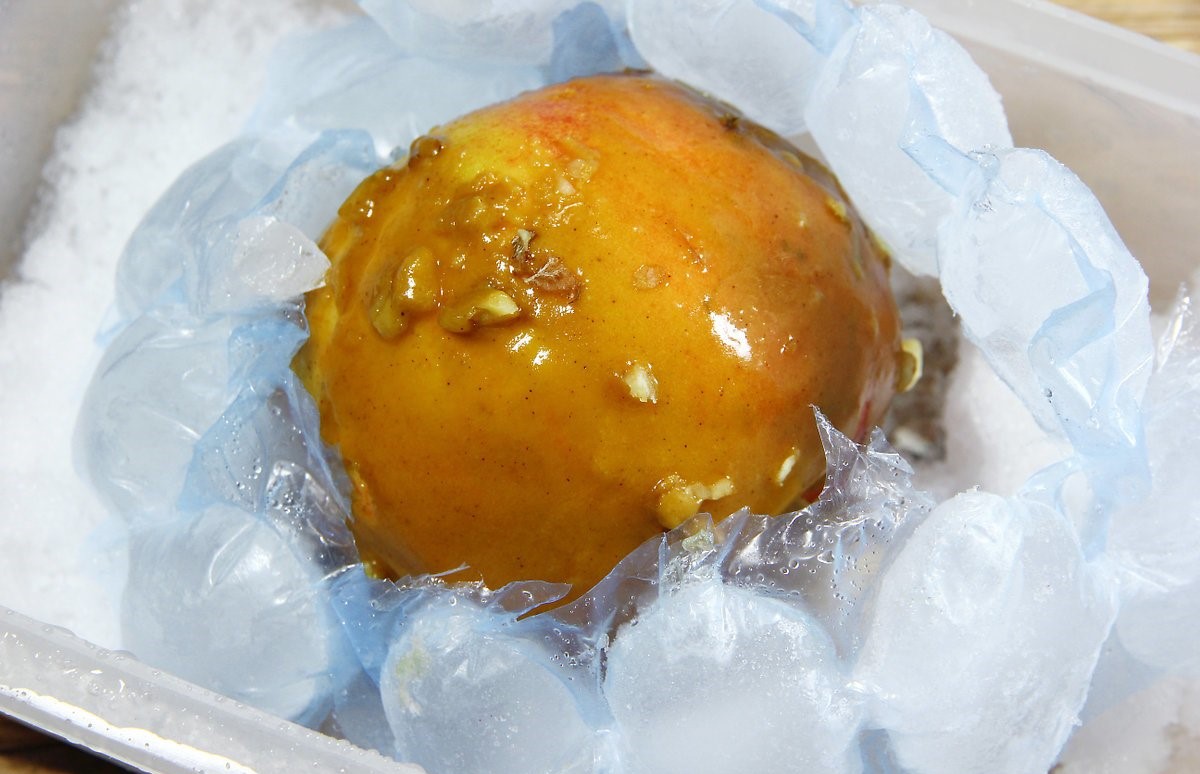
Store candy apples in a cool, dry place away from direct sunlight to prevent them from melting or becoming too sticky. You can also wrap them individually in wax paper to keep them fresh for longer.
Dipping the Apples
Now that you have your candy apple mixture ready, it’s time to dip the apples and give them their signature candy coating. Follow these steps for a successful dipping process:
- Prep the apples: Wash and dry the apples thoroughly to remove any dirt or wax. Remove the stems and insert sturdy wooden sticks or skewers into the core of each apple, making sure they are secure.
- Prepare a parchment-lined baking sheet: Line a baking sheet with parchment paper or a silicone mat to prevent the candy apples from sticking during the drying process.
- Dip the apples: Holding onto the stick, carefully dip each apple into the candy coating mixture. Rotate the apple to ensure an even coating, allowing any excess coating to drip back into the saucepan.
- Allow excess coating to drip off: Hold the dipped apple over the saucepan for a few seconds to allow any excess coating to drip off. This will help prevent pools of candy coating from forming at the base of the apple.
Place the dipped apples onto the prepared baking sheet, making sure to space them apart to avoid touching. Allow the candy coating to cool and harden completely before moving on to the next step.
Pro tip: For an added touch of creativity, consider adding sprinkles, crushed candies, or drizzling melted chocolate on top of the freshly dipped apples while the coating is still wet. This will give your candy apples an extra pop of color and texture!
Once the candy coating has hardened, it’s time to move on to the final step – decorating the candy apples to make them even more appealing!
Read more: How To Store Candied Walnuts
Decorating the Candy Apples
Now that you have perfectly coated candy apples, it’s time to let your creativity shine and decorate them to make them even more visually appealing. Here are some fun and creative ways to decorate your candy apples:
- Sprinkles and toppings: Sprinkle your candy apples with colorful sprinkles, crushed nuts, or even small candies. This adds texture and a burst of flavor to each bite.
- Drizzles and patterns: Melt different colored chocolates, such as white and dark chocolate, and drizzle them over the candy coating to create beautiful patterns. You can use a piping bag or a spoon to create swirls, lines, or any design you desire.
- Edible glitter or shimmer dust: Add a touch of glamour to your candy apples by dusting them with edible glitter or shimmer dust. This will give them a sparkly, eye-catching appearance.
- Customize with designs: Use food-safe markers or edible paint to draw on the candy coating. You can create personalized messages, drawings, or even intricate designs to make your candy apples truly unique.
Get creative with your decorations and let your imagination run wild. Whether you prefer a classic and elegant design or something whimsical and playful, the sky’s the limit when it comes to decorating candy apples.
Once you’ve finished decorating your candy apples, it’s time to store them properly to maintain their freshness and deliciousness.
Storing the Candy Apples
Properly storing candy apples is key to ensuring they stay fresh, maintain their texture, and remain visually appealing. Follow these guidelines for storing your candy apples:
- Allow them to cool completely: After decorating the candy apples, allow them to cool completely at room temperature. This will ensure that the candy coating sets properly.
- Packaging: Once the candy apples have cooled, individually wrap them in cellophane or place them in food-safe treat bags. This will help protect them from moisture and prevent sticking.
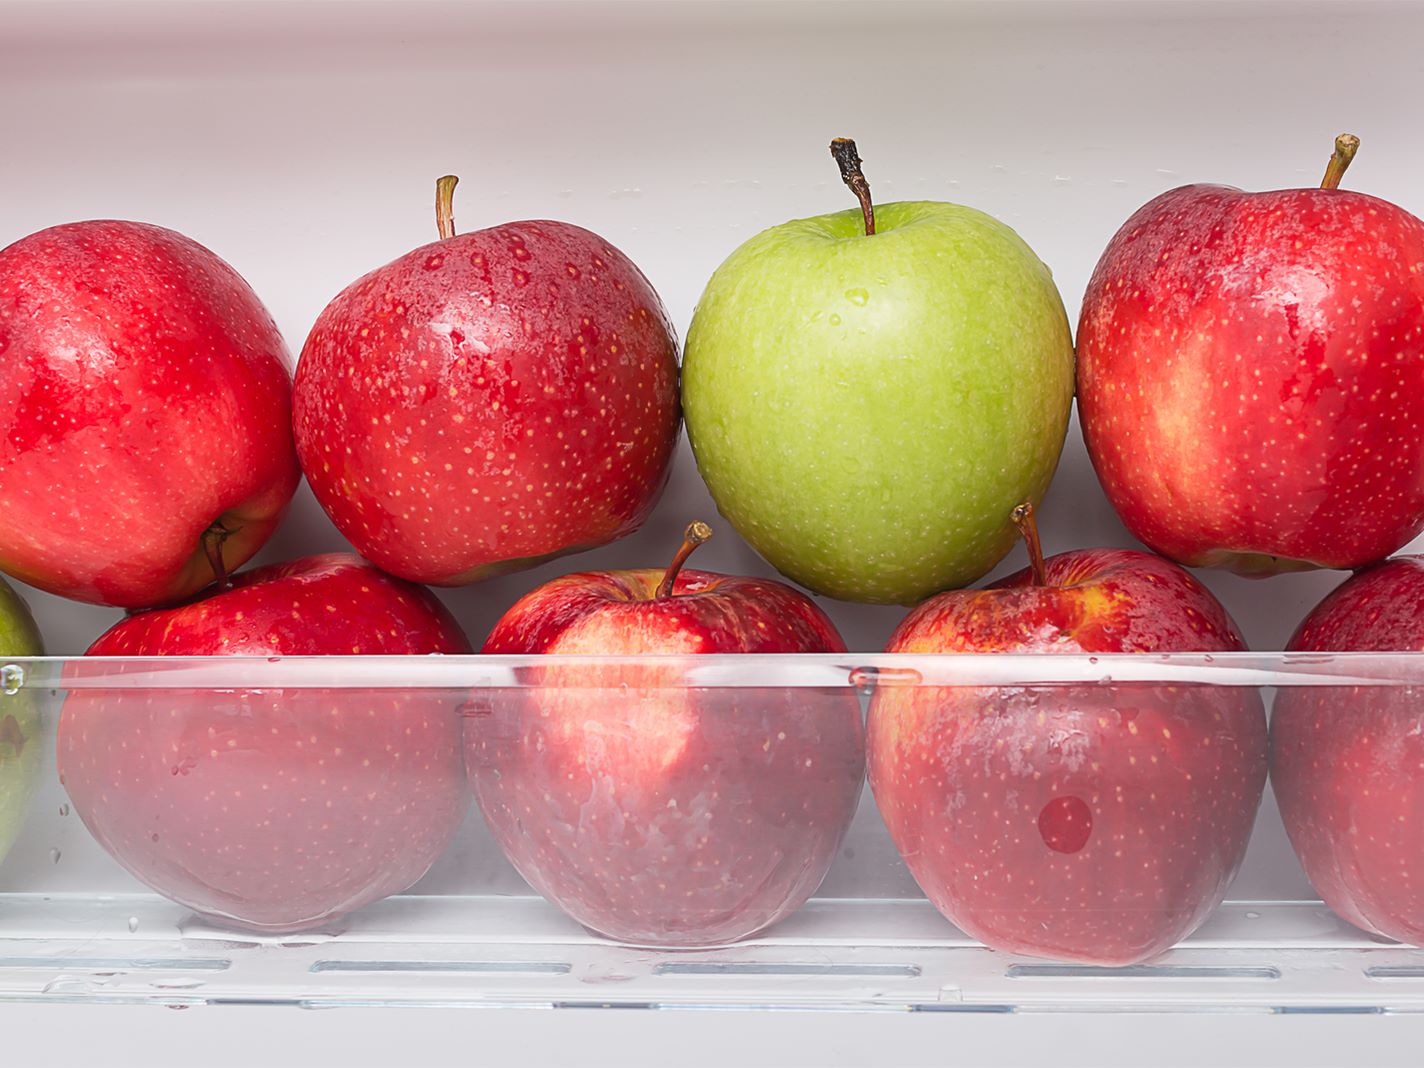
- Refrigeration: It is generally recommended to store candy apples in the refrigerator to prolong their shelf life. Place them in an airtight container or wrap them tightly in plastic wrap before refrigerating.
- Separation: When storing candy apples in the refrigerator, ensure there is enough space between them to prevent any decorations or coatings from sticking together.
- Best kept fresh: Candy apples are best enjoyed within 2-3 days of making them. As time passes, the candy coating may become stickier, and the texture of the apple may change.
It’s important to note that the candy apples may start to sweat and develop moisture while stored in the refrigerator. To remedy this, allow them to come to room temperature before serving, and gently blot away any excess moisture with a paper towel if necessary.
If you plan to store the candy apples for a longer period, you can also consider freezing them. Simply wrap them tightly in plastic wrap and place them in a freezer-safe bag or container. Frozen candy apples can be stored for up to a month.
Remember, while storing candy apples can help preserve their freshness, they are at their best when consumed as soon as possible. So, gather your friends and loved ones, and enjoy these delicious treats!
Conclusion
Candy apples are a delightful treat that brings joy to any occasion. Knowing how to store candy apples properly will ensure that they remain fresh, flavorful, and visually appealing for as long as possible.
From choosing the right apples to preparing the candy coating, creating the candy apple mixture, dipping the apples, decorating them, and finally, storing them, each step contributes to the overall quality of the candy apples.
By following the guidelines outlined in this article, you can confidently create and store delicious candy apples that will be a hit at parties, gatherings, or simply as a sweet indulgence for yourself and your loved ones.
Remember to select apples that are firm and crisp, and experiment with different flavor combinations to find your perfect candy apple creation. Make sure to wrap the candy apples individually in cellophane or treat bags, and store them in the refrigerator to maintain their freshness. If you plan to store them for longer periods, consider freezing them instead.
So, don’t hesitate to try your hand at making candy apples and enjoy the delightful experience of biting into a crunchy apple covered in a sweet candy coating. Whether it’s for Halloween, a birthday party, or simply a special treat, these homemade candy apples are sure to be a hit!
Frequently Asked Questions about How To Store Candy Apples
Was this page helpful?
At Storables.com, we guarantee accurate and reliable information. Our content, validated by Expert Board Contributors, is crafted following stringent Editorial Policies. We're committed to providing you with well-researched, expert-backed insights for all your informational needs.


0 thoughts on “How To Store Candy Apples”