Articles
How To Store Canning Jars
Modified: January 8, 2024
Learn how to properly store your canning jars with these informative articles. Find tips and tricks for prolonging the shelf life of your preserved foods.
(Many of the links in this article redirect to a specific reviewed product. Your purchase of these products through affiliate links helps to generate commission for Storables.com, at no extra cost. Learn more)
Introduction
Storing canning jars properly is crucial for preserving the quality and longevity of your home-canned goods. Whether you’re a seasoned canner or just starting out, knowing how to store your jars correctly will ensure that the contents remain safe, fresh, and flavorful. In this article, we will guide you through the best practices for storing canning jars, from choosing the right location to maintaining the proper temperature and humidity levels.
Proper storage not only protects your precious canned goods but also helps to prevent breakage, spoilage, and potential health risks. By following these guidelines, you’ll be able to keep your pantry stocked with delicious, homemade treats that can be enjoyed for months or even years to come.
So let’s dive in and learn how to store canning jars like a pro!
Key Takeaways:
- Properly storing canning jars in a cool, dark, and dry location is essential for preserving the quality and longevity of home-canned goods. Cleaning, labeling, and organizing jars ensures easy access and rotation for maintaining freshness.
- Regularly checking and rotating your canning jar stock, protecting jars from breakage, and maintaining proper temperature and humidity levels are key practices for ensuring the safety, flavor, and quality of home-canned goods.
Read more: How To Store Empty Canning Jars
Choosing the Right Location
When it comes to storing canning jars, one of the key factors to consider is the location. You’ll want to choose a spot that is cool, dark, and dry. Exposing your jars to direct sunlight or extreme temperatures can lead to spoilage and decrease the shelf life of your preserves.
Look for a storage area that maintains a consistent temperature, preferably between 50°F and 70°F (10°C and 21°C). Fluctuations in temperature can cause the jars to expand and contract, potentially leading to seal failure. Avoid storing your jars near heat sources such as ovens, stoves, or radiators.
Additionally, it’s important to keep the jars away from areas with high humidity or excessive moisture. Moisture can lead to the growth of mold and bacteria, which can spoil your canned goods and pose health risks. Basements and crawl spaces may not be ideal due to their tendency to have higher humidity levels. Instead, opt for a dry, well-ventilated area, such as a pantry or a dedicated storage shelf.
Furthermore, consider the stability of the location. Choose a spot where the jars won’t be at risk of falling or being knocked over. This will help prevent breakage and ensure the safety of both the jars and anyone accessing the storage area.
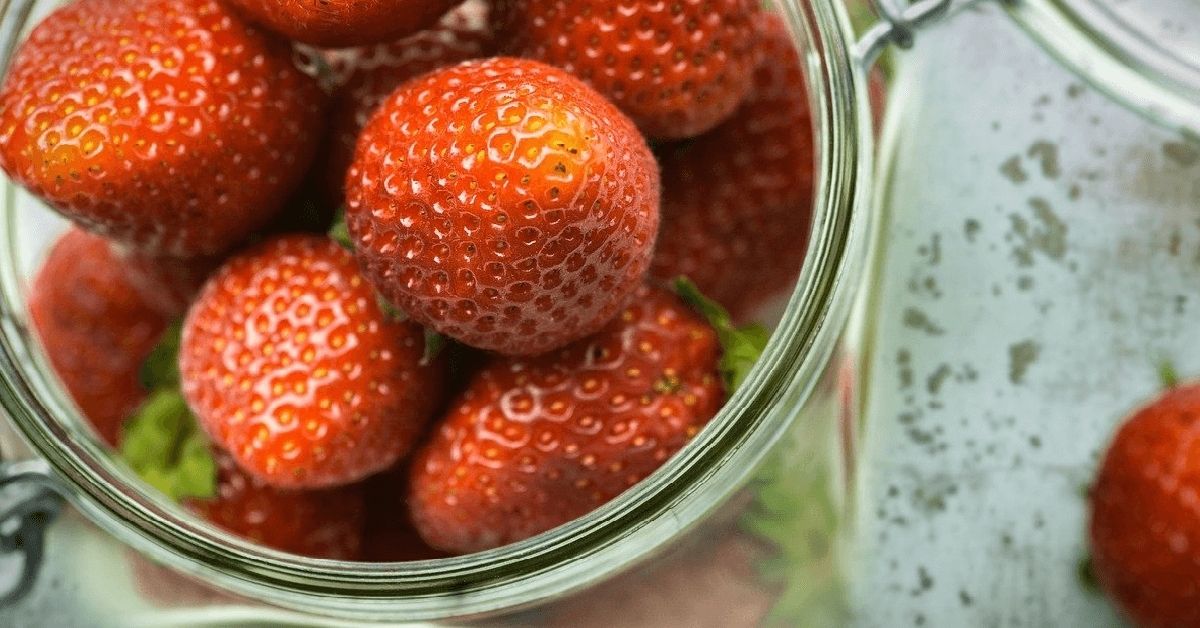
By selecting the right location for your canning jars, you’ll create an optimal environment that will help prolong the shelf life of your preserved fruits, vegetables, jams, pickles, and more.
Preparing the Storage Space
Before you start storing your canning jars, it’s important to properly prepare the storage space. This includes cleaning the area and making sure it’s free from any potential contaminants.
First, clear out the storage space and remove any debris or clutter. This will give you a clean and organized area to work with. Dust shelves, sweep the floor, and wipe down any surfaces to ensure they are clean and free from dirt or grime.
Next, inspect the storage area for any signs of pests. Mice, insects, and other critters can be attracted to the food smells and may try to access your jars. Seal any cracks or openings in walls or floors to prevent pests from entering. Consider using pest deterrents like traps or repellents if necessary.
Once the storage space is clean and pest-free, consider lining the shelves with clean, food-grade liners. This will provide an extra layer of protection against any potential spills or leaks from the jars. Plastic or rubber shelf liners are recommended as they are easy to clean and can help absorb any excess moisture.
Additionally, it’s important to ensure proper air circulation in the storage area. Good ventilation helps prevent the buildup of moisture and reduces the risk of mold or mildew. If your storage space has limited airflow, consider using a small fan to improve circulation.
By taking the time to prepare the storage space, you’ll create a clean and safe environment for your canning jars. This will help maintain the quality and integrity of your preserved foods for an extended period of time.
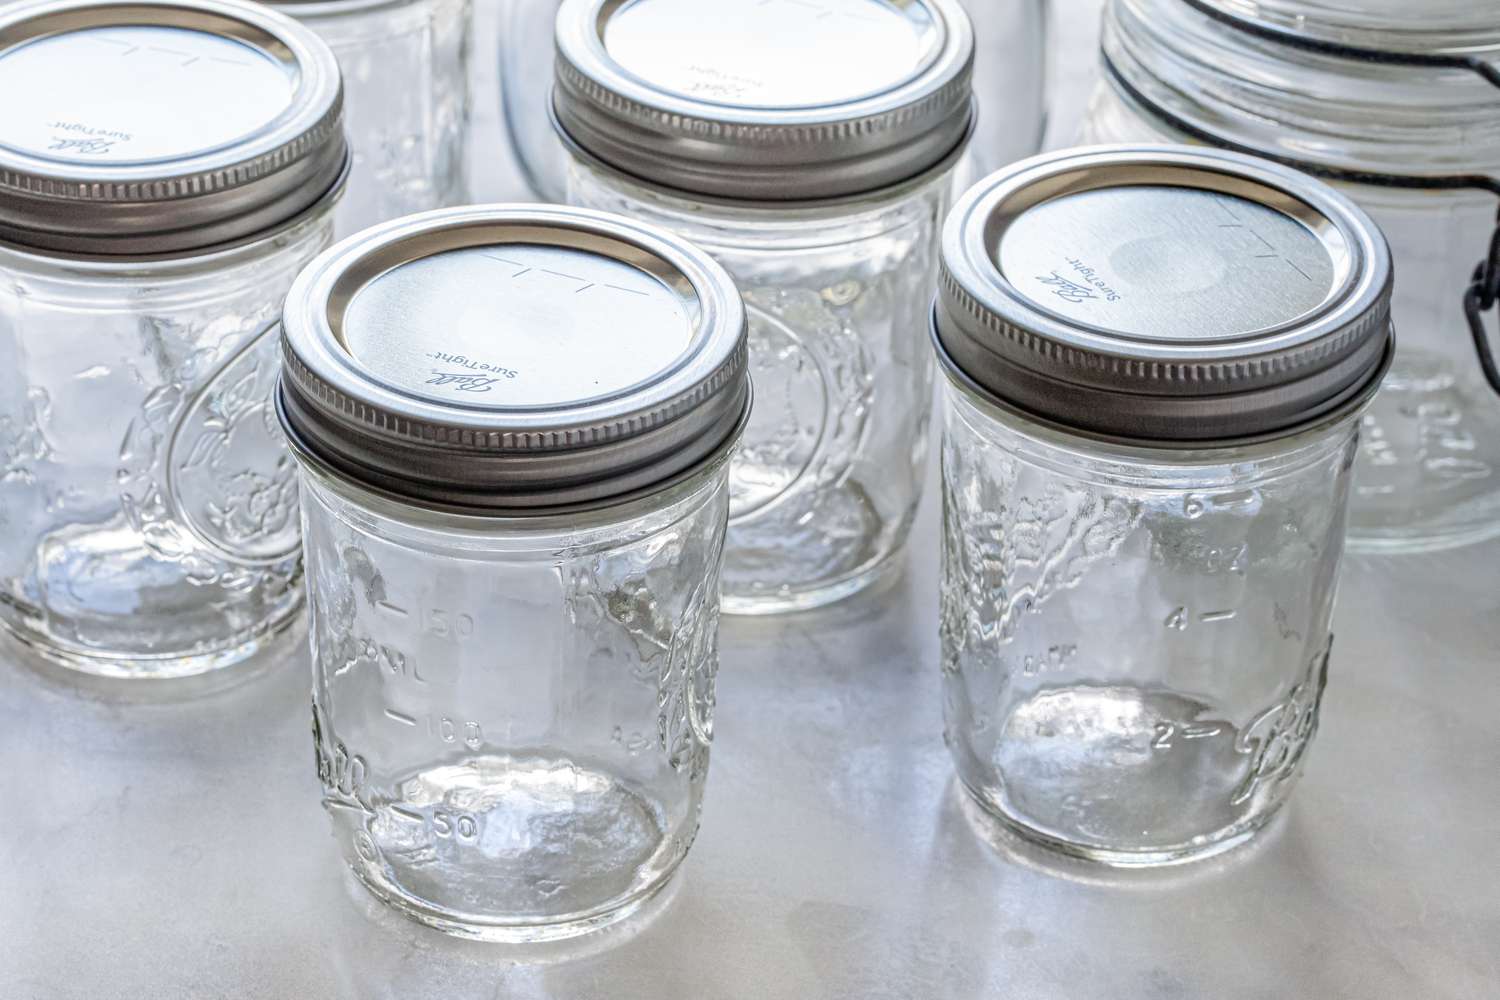
Cleaning and Storing Empty Jars
Before storing empty canning jars, it’s crucial to ensure they are thoroughly cleaned and free from any food residue. Cleaning your jars properly will help prevent bacterial growth, maintain the integrity of the jars, and prevent any off-flavors or odors.
Here are the steps to clean and store empty canning jars:
- Remove any leftover food or labels from the jars. You can soak the jars in warm, soapy water to loosen stubborn residue. Scrub the jars with a sponge or brush, paying special attention to the rim and threads.
- Rinse the jars thoroughly with hot water to remove any soap residue. Inspect each jar for any visible signs of damage or cracks. Discard any jars that are chipped, cracked, or have damaged seals.
- Sterilize the jars by placing them in a large pot of boiling water. Ensure that the water covers the jars completely. Boil the jars for 10 minutes to kill any remaining bacteria. This step is especially important if you’re reusing jars from previous canning projects.
- Carefully remove the sterilized jars from the boiling water using jar tongs. Place them upside down on a clean and dry dish towel or on a clean drying rack. Allow the jars to air dry completely before storing them.
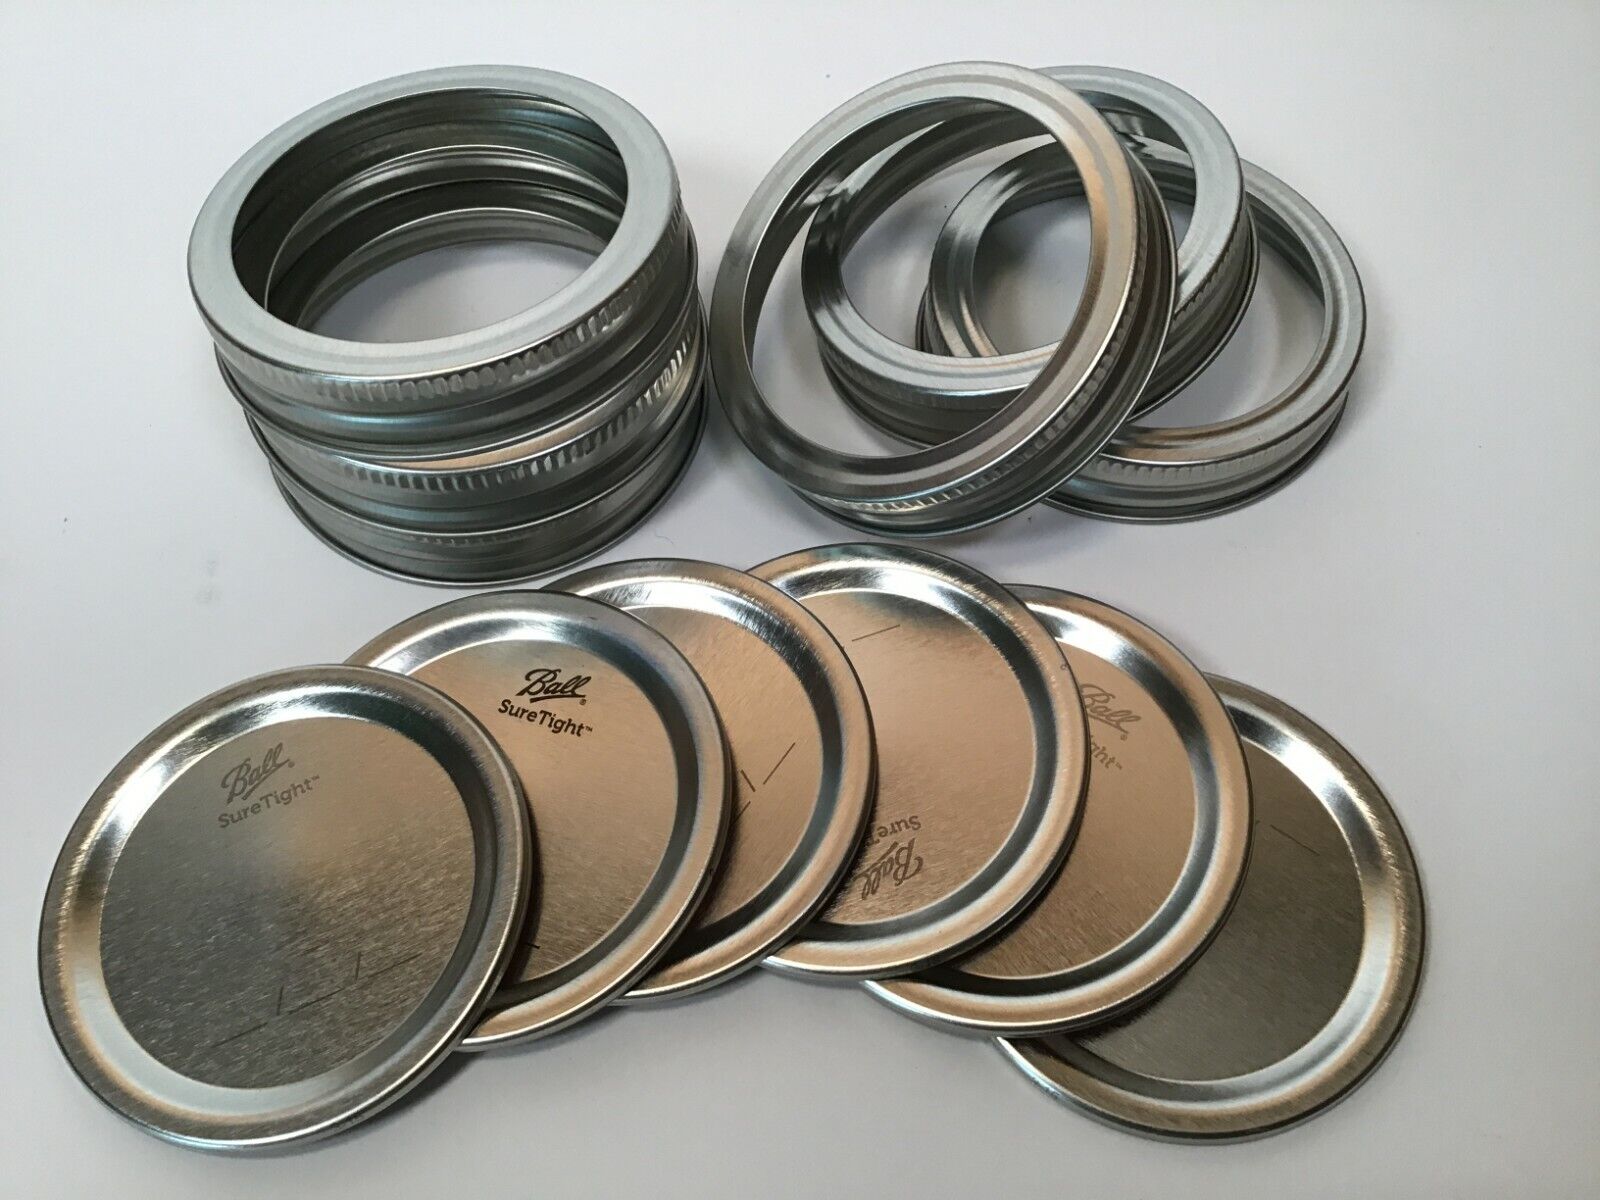
- Once the jars are dry, inspect the seals and wipe them clean with a lint-free cloth. This will help remove any moisture and prevent mold or mildew from forming.
- Store the clean and dry jars in a cool, dry place. Place them upright on a sturdy shelf or in a designated storage box. Avoid stacking the jars on top of each other, as this may increase the risk of breakage.
By following these steps, you’ll ensure that your empty canning jars are clean, sterilized, and ready for future use. Storing them properly will help maintain their quality and prevent any potential contamination during storage.
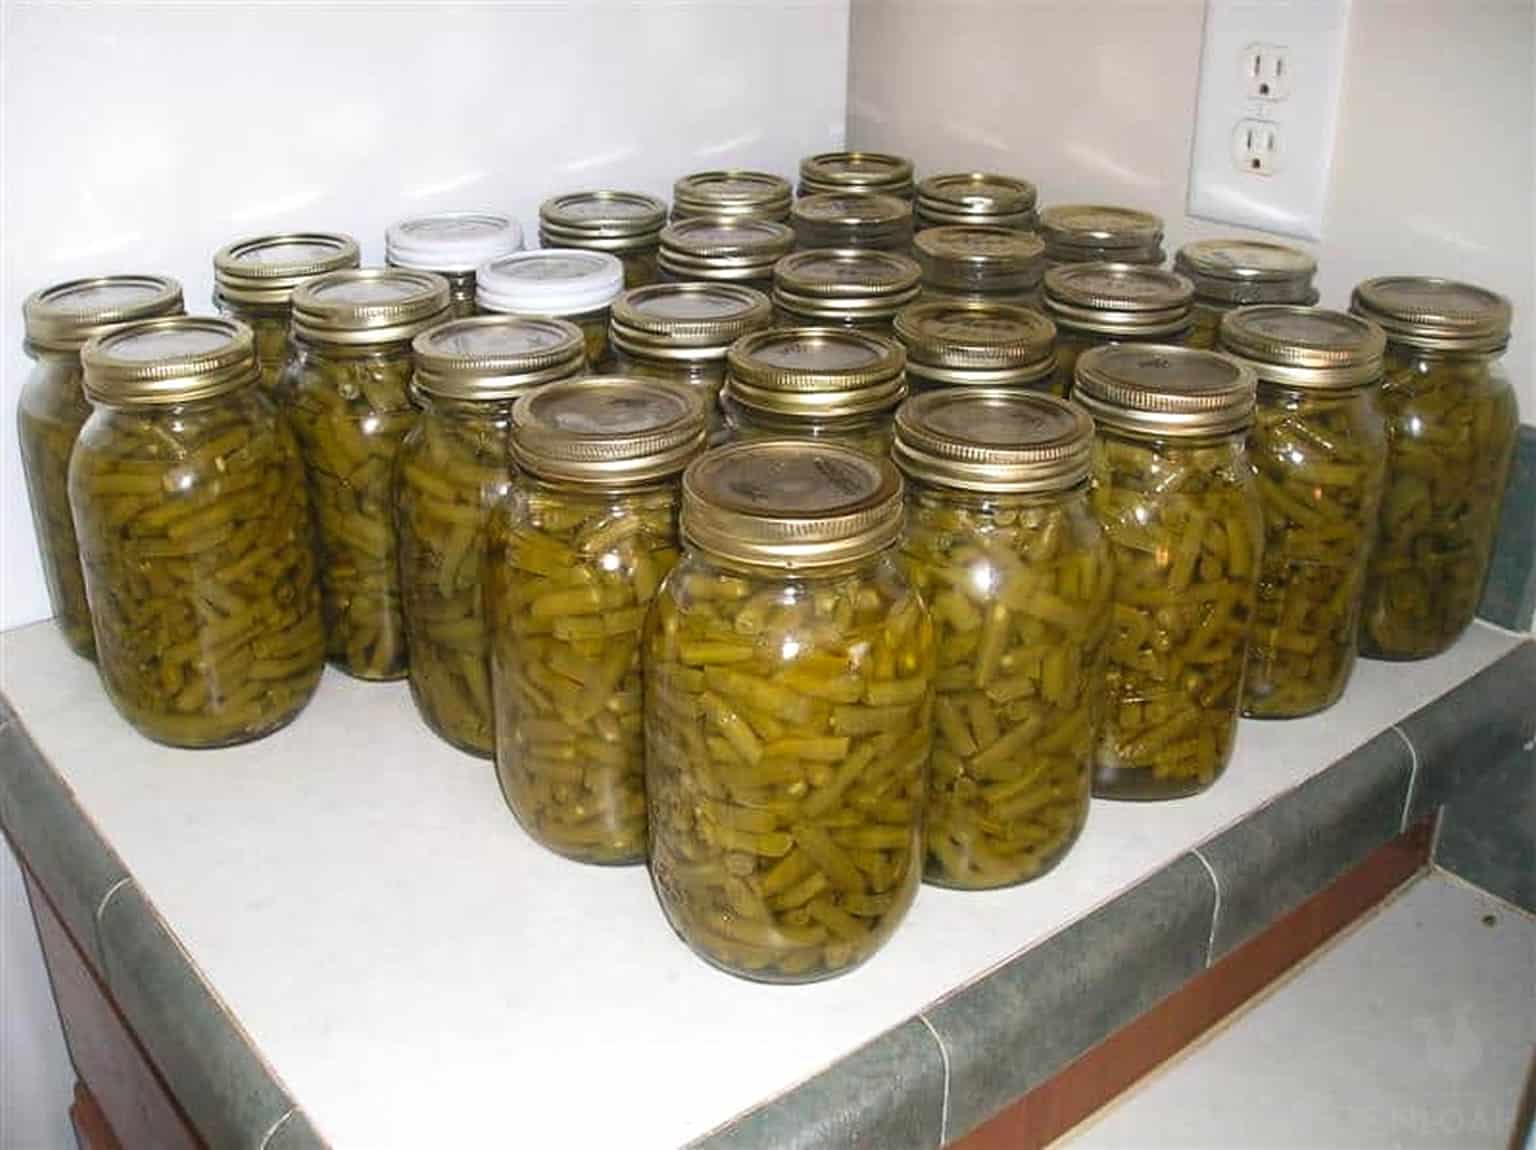
Storing Full Jars
Once you’ve successfully canned your fruits, vegetables, jams, or other delicious treats, it’s important to store the full jars properly to maintain their quality and ensure their long-term preservation.
Here are some guidelines for storing full canning jars:
- Allow the jars to cool completely after the canning process. This ensures that the seals have properly formed and are airtight. Avoid moving or disturbing the jars while they cool.
- Inspect each jar for proper sealing. The lids should be concave and should not flex when pressed down on the center. Any jars with compromised seals should be refrigerated and consumed within a few days.
- Once the jars are cool and sealed, wipe them clean with a damp cloth to remove any residue or stickiness. This will help maintain the cleanliness of the jars and prevent any potential pest attraction.
- Label each jar with the contents and the date of canning. This will help you keep track of freshness and rotational use. Use permanent markers or adhesive labels that are waterproof and won’t smear or fade over time.
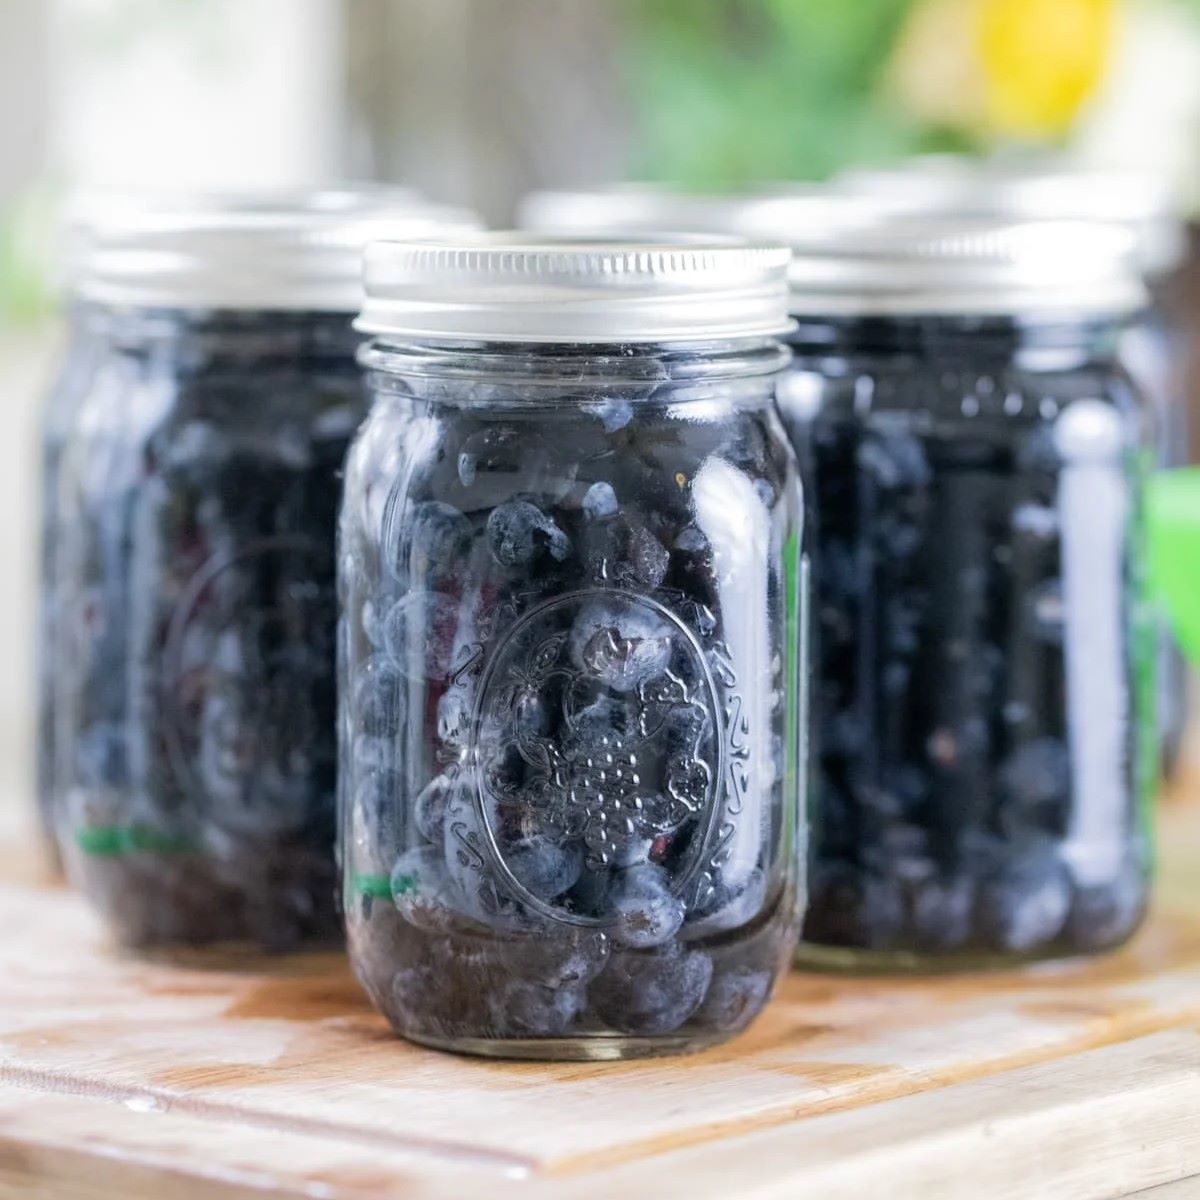
- Store the full jars upright in a cool, dark, and dry environment. Consider placing a layer of cardboard or a clean dish towel between layers of jars to provide additional protection against breakage. Avoid storing jars near sources of heat or direct sunlight.
- Organize your jars in a way that makes it easy to access and rotate your stock. Group similar items together, such as all the tomato sauces or fruit jams. This will help you quickly find what you need and keep track of your inventory.
Remember to regularly check your stored jars for any signs of spoilage or leakage. If you notice any issues, promptly dispose of the affected jar to prevent contamination to other jars.
By storing your full canning jars properly, you’ll be able to enjoy your canned goods for months or even years to come. Plus, having an organized and well-maintained storage area will make it easier to access and utilize your homemade preserves.
Store canning jars in a cool, dry, and dark place to maintain the quality of the preserved food. Avoid direct sunlight and extreme temperatures to prevent spoilage.
Read more: How To Store Canning Rings
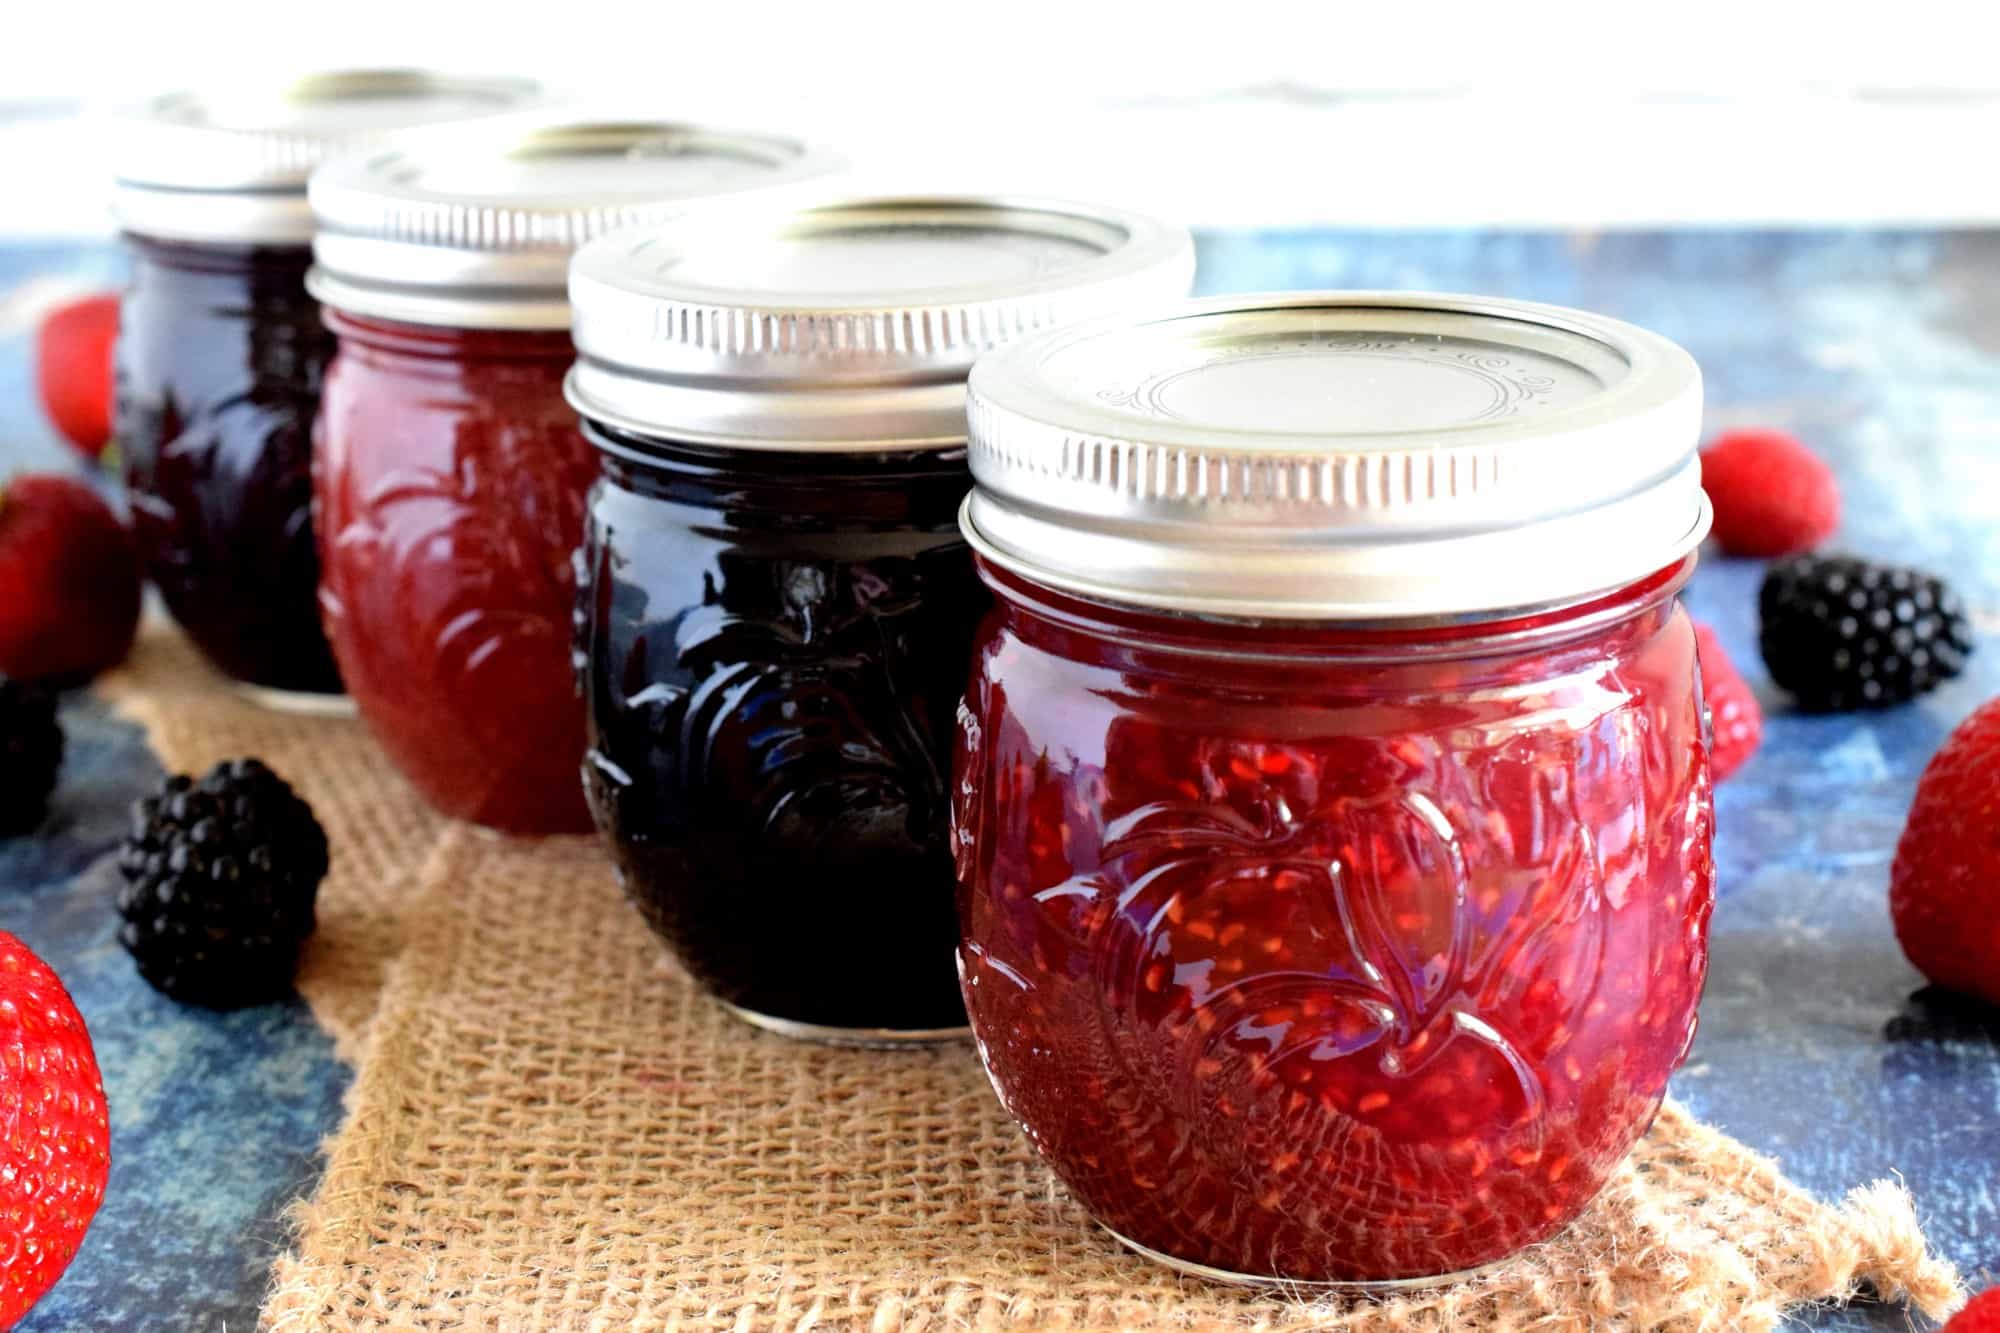
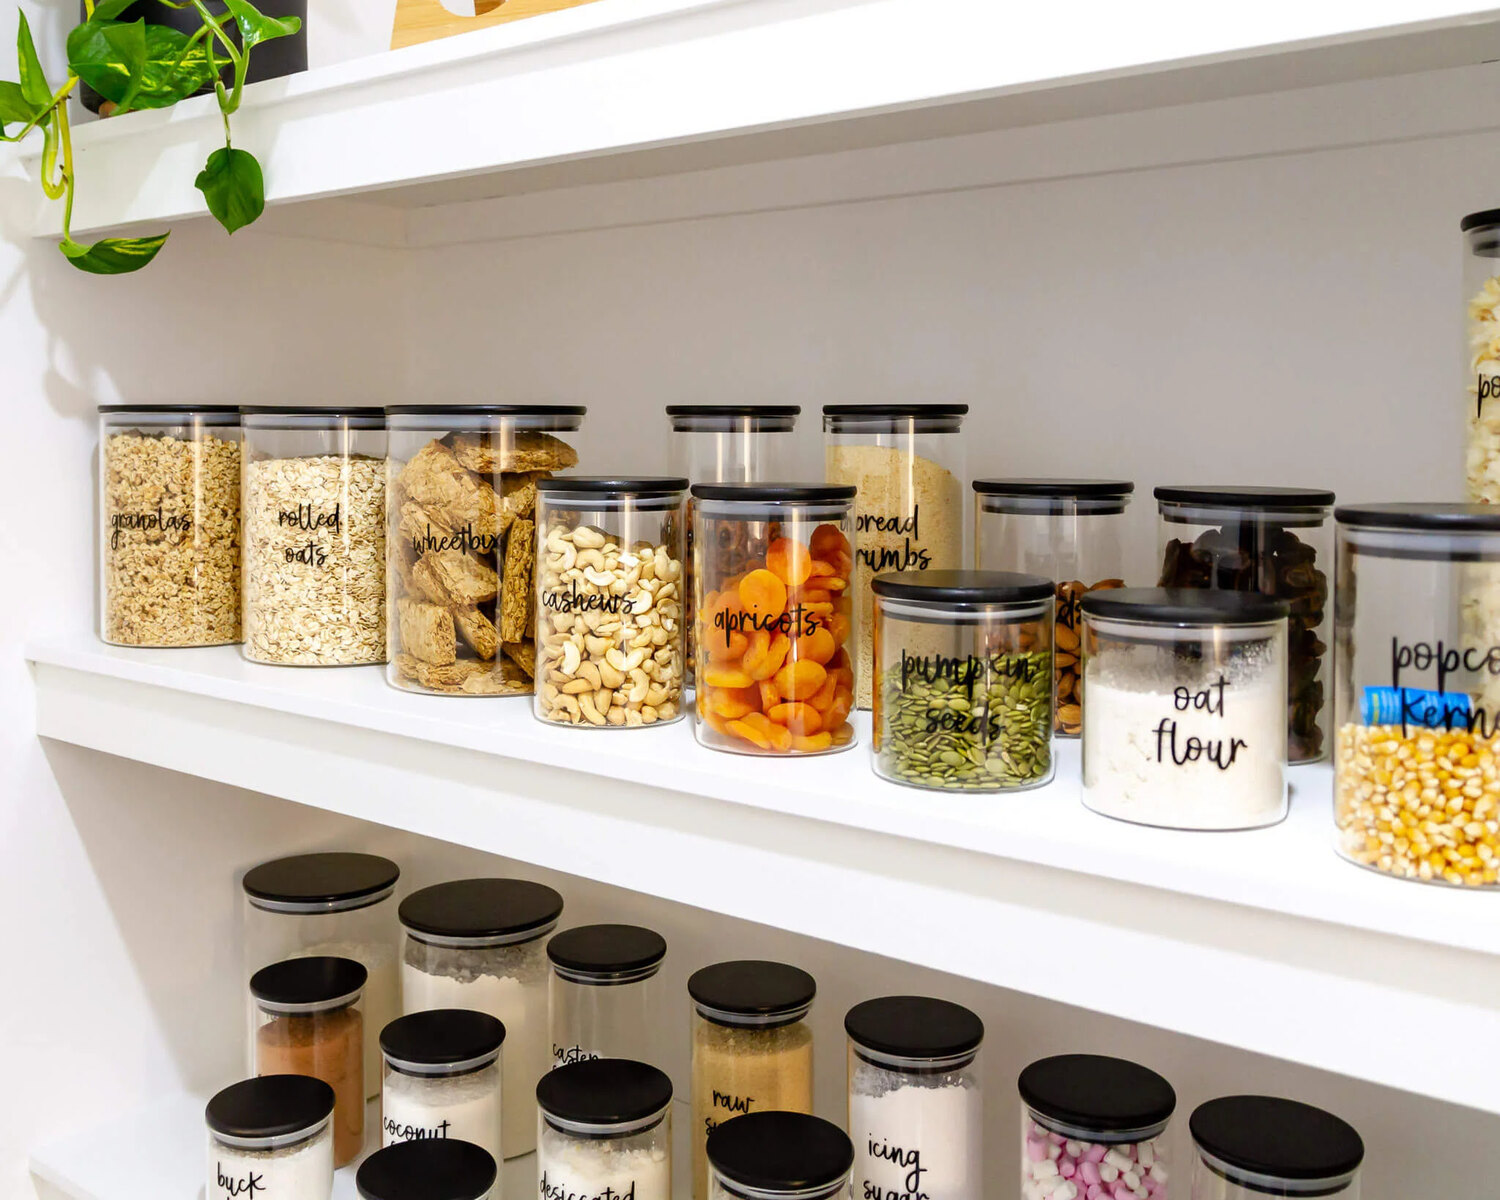
Labeling and Organizing Jars
Properly labeling and organizing your canning jars is an essential step in maintaining an efficient and well-managed storage system. By clearly identifying the contents and dates of canning, you’ll be able to easily locate specific items and ensure that your stock is rotated properly to maintain freshness. Here are some tips for labeling and organizing your jars:
- Use waterproof and smudge-proof labels or markers to write the contents and date on each jar. This will help you quickly identify what’s inside without having to open the jar.
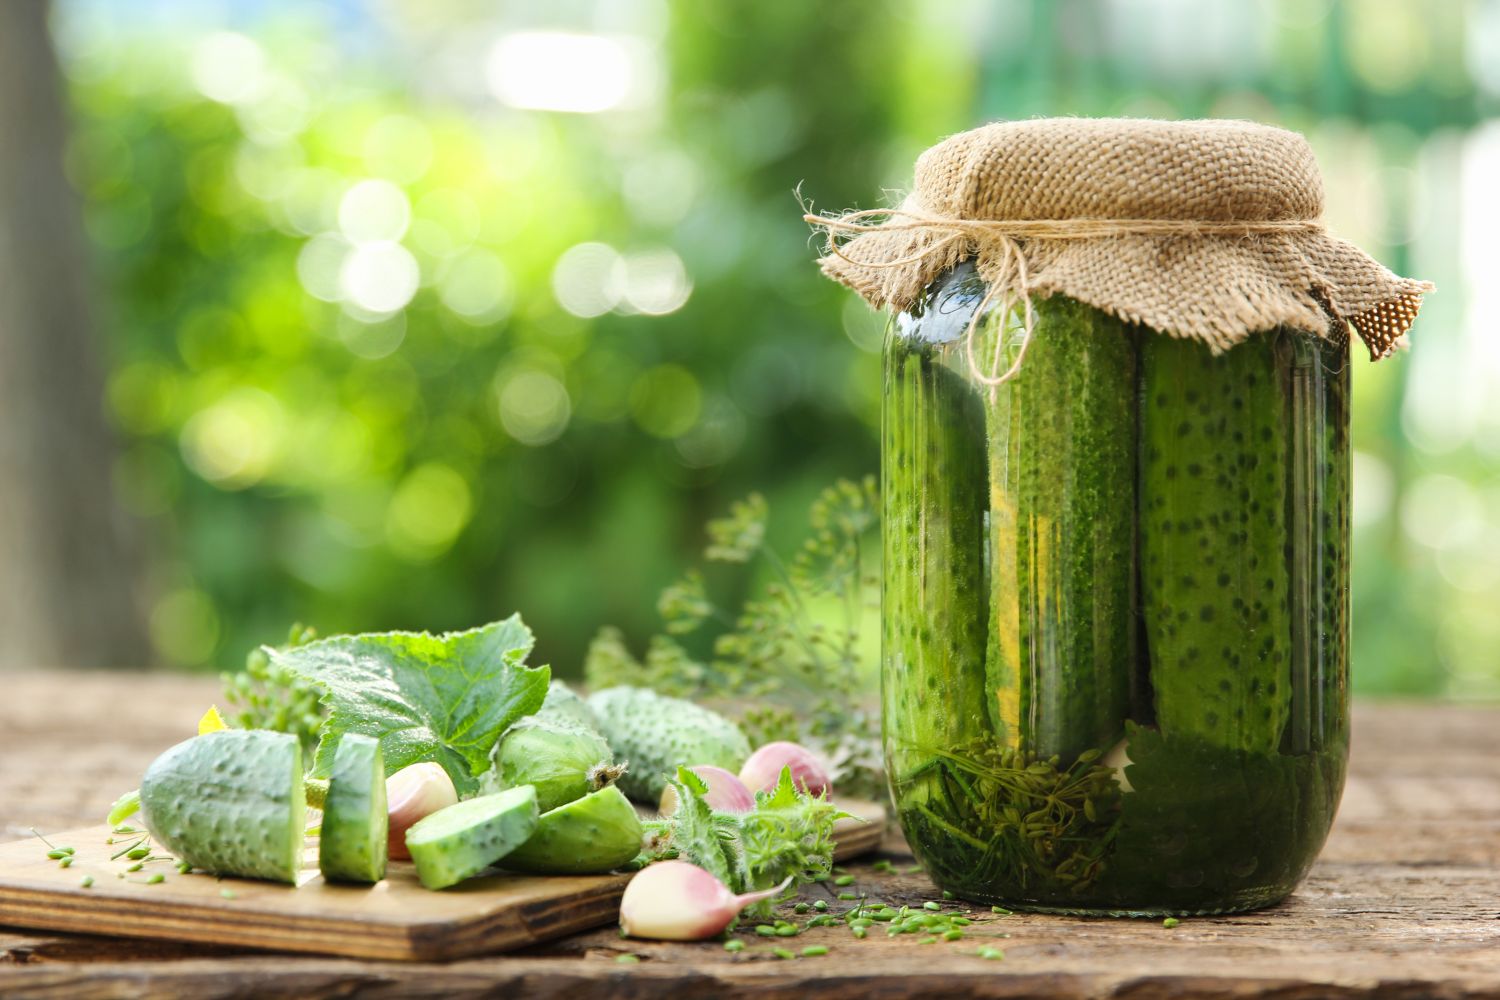
- Consider using color-coded labels or stickers to further differentiate between different types of preserves or categories. For example, you can use green labels for pickles and red labels for jams.
- Create a system for organizing your jars. You can arrange them alphabetically, by size, or by type of preserve. Choose a method that works best for your needs and helps you easily locate specific jars when needed.
- If you have a large collection of jars, consider using shelving units or storage containers with adjustable dividers. This will allow you to customize the space to fit your jars and keep them neatly organized.
- Keep a record of your inventory and update it whenever you add or remove jars from your stock. This will help you keep track of what you have and avoid any unnecessary duplication.
- Regularly check your inventory for any expired or spoiled items. Remove and dispose of any jars that show signs of spoilage, leakage, or bulging lids.
- Consider creating a separate section or shelf for newly canned items. This will allow you to easily access and use the most recently preserved items first, ensuring that you rotate your stock effectively.
By labeling and organizing your canning jars, you’ll be able to maintain a well-managed storage system that streamlines the process of finding and using your home-preserved goods. It will also help you keep track of freshness and ensure you are consuming the oldest items first.
Checking and Rotating Stock
Regularly checking and rotating your canning jar stock is an important practice to ensure that you consume your preserved goods while they are still at their best quality. Here are some guidelines for checking and rotating your stock:
- Inspect your jars periodically for any signs of spoilage or deterioration. Look for bulging lids, mold growth, off-putting odors, or any visible changes in color or texture. Discard any jars that show these signs.
- Follow the principle of “first in, first out” (FIFO) when it comes to using your canned goods. Place the older jars at the front of your storage area or on the top shelf, and the newer jars at the back or lower down. This ensures that you use the oldest items first and avoid them sitting in storage for too long.
- Regularly rotate your stock by using the older jars before the newer ones. When you use a jar, make note of it in your inventory and replace it with a fresh jar from the back of the storage area. This helps maintain a constant cycle of jar usage and ensures that nothing goes unused or expires.
- Consider setting reminders or establishing a schedule for checking and rotating your stock. This will help you stay on top of the process and prevent jars from being forgotten or left unused for too long.
- Occasionally take inventory of your preserved goods to assess what you have on hand and what needs to be replenished. This allows you to plan your canning projects accordingly and ensure that you have a well-stocked pantry.
- Keep track of the shelf life of different types of preserved goods. Some items, such as jams or pickles, may last for several years when stored properly, while others, like canned vegetables, may have a shorter shelf life. Knowing the recommended shelf life will help you prioritize consumption and prevent any overlooked jars from going bad.
By regularly checking and rotating your canning jar stock, you’ll be able to maintain the quality of your preserved goods and avoid waste. This practice also allows you to stay organized and ensures that you always have fresh and delicious homemade treats on hand.
Protecting Jars from Breakage
It’s essential to protect your canning jars from breakage to avoid the risk of injury and loss of your hard work. Here are some tips to help you protect your jars from breakage:
- Choose sturdy, high-quality canning jars that are specifically designed for pressure canning or hot water bath canning. These jars are more durable and less likely to break under the heat and pressure of the canning process.
- Inspect each jar before use to ensure it is free from cracks, chips, or any other damage. Discard any jars that show signs of weakness as they are more prone to breakage.
- Handle jars with care during the canning process and while storing them. Avoid banging or slamming them against hard surfaces, as this can weaken the glass and increase the risk of breakage.
- Opt for safe storage containers or shelves that provide adequate support for your jars. Avoid overcrowding the shelves or stacking jars too high, as this can increase the risk of jars toppling over and breaking.
- Consider using storage containers or boxes with dividers to keep each jar separated and cushioned. This helps to prevent jars from touching each other, reducing the likelihood of breakage due to impact or pressure.
- Place a layer of padding, such as a clean dish towel or bubble wrap, on the bottom of your storage area to provide additional cushioning for the jars. This helps absorb any shocks or vibrations and protects them from breakage.
- Avoid storing heavy items or other objects on top of your canning jars, as this can put unnecessary pressure on the glass and increase the risk of breakage.
- When moving or transporting your jars, use caution and secure them in a sturdy box or container. Avoid rough handling or sudden movements that can cause the jars to bump into each other.
By following these guidelines and taking precautions, you can significantly reduce the risk of breakage and ensure the safety and longevity of your canning jars. Remember, prevention is key to preserving your delicious homemade goods!
Maintaining Proper Temperature and Humidity
Maintaining the proper temperature and humidity levels in your storage area is crucial for preserving the quality and integrity of your canning jars and their contents. Here are some tips to help you maintain optimal conditions:
- Keep the storage area at a consistent temperature between 50°F and 70°F (10°C and 21°C). Fluctuations in temperature can cause the jars to expand and contract, leading to potential seal failure and spoilage. Avoid storing jars in areas prone to extreme heat or cold, such as attics or garages.
- Avoid exposing your canning jars to direct sunlight. Sunlight can cause the contents of the jars to heat up, potentially leading to spoilage and loss of quality. Store your jars in a cool, dark place to protect them from UV rays.
- Monitor and control the humidity level in your storage area. High humidity can promote the growth of mold and bacteria, while low humidity can cause the contents of the jars to dry out. Aim for a humidity level between 50% and 70% to keep your jars in optimal condition.
- If your storage area has high humidity, consider using moisture-absorbing products like silica gel packs or desiccants to help control moisture levels. Place them strategically around the storage area, away from the jars, to prevent any direct contact.
- Ensure proper air circulation in the storage area. Good ventilation helps prevent the buildup of moisture, reducing the risk of mold or mildew. If necessary, use fans or dehumidifiers to improve airflow and maintain the desired humidity level.
- Regularly check for any signs of condensation or moisture buildup on the jars or the storage area. Wipe away any moisture promptly and address any issues that may be causing excessive humidity, such as leaks or poor ventilation.
- Consider investing in a digital hygrometer to accurately measure the temperature and humidity levels in your storage area. This will allow you to monitor and adjust conditions as necessary to maintain an optimal environment for your canning jars.
By maintaining proper temperature and humidity levels, you can ensure that your canning jars remain in excellent condition and that their contents stay fresh and safe for an extended period of time. Taking these precautions will help preserve the quality and flavor of your homemade delicacies.
Read more: How To Store Canning Lids
Summary
Proper storage of canning jars is crucial for ensuring the longevity and quality of your home-canned goods. Following the guidelines outlined in this article will help you create an optimal storage system and protect your jars from breakage, spoilage, and other potential risks.
Start by choosing the right location for your storage area. Look for a cool, dark, and dry spot, away from direct sunlight and extreme temperatures. Ensure proper ventilation and stability to maintain the integrity of your jars.
Prepare the storage space by cleaning it thoroughly, removing any pests, and providing proper air circulation. Use food-grade liners to protect shelves, and consider using dividers or padding to prevent jars from bumping into each other.
When storing empty jars, clean them thoroughly, sterilize them if necessary, and store them in a cool, dry place. Label each jar with its contents and date to keep track of freshness and rotational use.
For full jars, allow them to cool completely before storing, wipe them clean, and check for proper sealing. Store them upright in a cool, dark, and dry environment, and organize them for easy access and rotation.
Regularly check your stored jars for any signs of spoilage or leakage. Use the FIFO method to ensure that you use the oldest jars first, and periodically take inventory to assess your stock levels.
Protect your jars from breakage by handling them with care, using sturdy storage containers, and avoiding overcrowding or stacking. Be mindful of the temperature and humidity levels, keeping them consistent and within the recommended ranges.
By following these guidelines and practicing proper storage techniques, you can enjoy your home-canned goods for an extended period of time, ensuring their safety, flavor, and quality. Start implementing these practices today to create a well-maintained and efficient storage system for your canning jars.
Frequently Asked Questions about How To Store Canning Jars
Was this page helpful?
At Storables.com, we guarantee accurate and reliable information. Our content, validated by Expert Board Contributors, is crafted following stringent Editorial Policies. We're committed to providing you with well-researched, expert-backed insights for all your informational needs.

0 thoughts on “How To Store Canning Jars”