Articles
How To Store Mason Jars
Modified: August 28, 2024
Discover the best ways to store your mason jars with these helpful articles. Learn how to organize and protect your jars for long-lasting use.
(Many of the links in this article redirect to a specific reviewed product. Your purchase of these products through affiliate links helps to generate commission for Storables.com, at no extra cost. Learn more)
Introduction
Mason jars have become a popular choice for storage due to their versatility and aesthetic appeal. Whether you want to organize your pantry, store leftovers, or create homemade gifts, mason jars offer a practical and stylish solution. However, proper storage techniques are crucial to ensure the longevity and safety of your stored items.
In this article, we will guide you through the process of storing mason jars effectively. From selecting the right jars to cleaning and organizing them, we will provide you with valuable tips and insights. So, read on to learn how to make the most of your mason jars and keep your stored items fresh and accessible.
Key Takeaways:
- Mason jars are a versatile and practical storage solution for a variety of items, from dry goods to liquids and fresh ingredients. Proper selection, cleaning, and maintenance ensure longevity and quality.
- Labeling and organizing mason jars is crucial for maintaining an efficient storage system, minimizing food waste, and quickly locating desired items. Regular maintenance checks ensure safety and freshness for extended use.
Read more: How To Store Blueberries In Mason Jars
Selecting Mason Jars
When it comes to selecting mason jars for storage purposes, it’s important to consider the size, material, and seal of the jar.
Size: Mason jars come in a variety of sizes, ranging from small half-pint jars to larger quart and gallon-sized jars. Consider the quantity of the items you plan to store and choose jars that will accommodate them comfortably. It’s always wise to have a mix of sizes on hand to meet different storage needs.
Material: Mason jars are primarily made of glass, which is an excellent choice for storing various types of items. Glass is non-reactive, meaning it won’t interact with the contents of the jar. Additionally, glass is easy to clean and doesn’t retain odors like some other materials might.
Seal: A good seal is crucial for maintaining the freshness and longevity of stored items. Look for mason jars with a rubber gasket and a two-part lid system, including a metal band and a flat disk. The metal band secures the lid tightly onto the jar, creating an airtight seal.
If you plan to store items for an extended period or want to preserve the freshness of perishable goods, consider investing in jars with a vacuum seal feature. These jars allow you to remove air from the jar, reducing the risk of spoilage.
Lastly, if you are using recycled jars, ensure that they are in good condition, with no chips or cracks that could compromise the seal. It’s also a good practice to sterilize recycled jars before use to eliminate any potential bacteria or contaminants.
Cleaning and Sterilizing Mason Jars
Before using mason jars for storage, it is essential to clean and sterilize them properly to ensure the safety and cleanliness of your stored items.
Start by removing any labels or adhesive residue from the jars. You can soak them in warm, soapy water to help loosen stubborn labels. Once the labels are removed, wash the jars with hot water and dish soap to remove any grease or dirt. Use a bottle brush or a sponge to reach into the corners of the jar.
After washing, rinse the jars thoroughly to remove all traces of soap. Residual soap can affect the taste or quality of your stored items. Inspect the jars for any remaining debris or particles, and rerun them under water if necessary.
Sterilizing the jars is the next crucial step. Boiling and oven sterilization are two common methods:
- Boiling method: Place the jars, lids, and bands in a large pot filled with water. Bring the water to a rolling boil and let the jars boil for 10 minutes to sterilize them. Use tongs to remove the jars from the water and place them on a clean towel to cool.
- Oven method: Preheat your oven to 275°F (135°C). Place the jars, lids, and bands on a baking sheet and put them in the oven for 20 minutes. After sterilizing, remove the jars carefully using oven mitts and allow them to cool on a heat-resistant surface.
Regardless of the sterilization method you choose, make sure the jars are fully dry before using them for storage. Moisture can promote the growth of mold or bacteria in the jars.
Remember, if you’re using recycled jars, ensure that they are free of any residue from previous contents. It’s also a good idea to sterilize recycled jars to eliminate any potential contaminants that may compromise the quality and safety of your stored items.
Choosing a Storage Location
Once you have selected and prepared your mason jars, it’s important to choose an appropriate storage location that will ensure the longevity and accessibility of your stored items.
Here are some factors to consider when selecting a storage location for your mason jars:
- Away from direct sunlight: Sunlight can cause degradation and spoilage of certain stored items, especially those that are light-sensitive or perishable. Choose a storage area that is away from direct sunlight to preserve the quality and freshness of your stored items.
- Cool and dry environment: Mason jars are best stored in a cool, dry place. High temperatures and humidity can lead to condensation inside the jars, potentially causing mold or spoilage. Avoid storing jars in areas such as basements or attics, where temperature and humidity fluctuations are common.
- Avoid extreme temperatures: Extreme temperatures, both hot and cold, can impact the integrity of the jars and their seal. For example, if exposed to freezing temperatures, the glass or seal may crack or break. Similarly, excessive heat can weaken the seal, leading to spoilage. Choose a storage location that maintains a moderate and consistent temperature.
- Accessible and organized: Creating a well-organized storage system will make it easier for you to locate and access your stored items. Consider using shelves, racks, or storage bins to keep your mason jars neatly arranged and easily accessible.
- Avoid overcrowding: Do not overcrowd your storage area with too many jars or items. Proper air circulation is crucial for maintaining the freshness and quality of stored goods. Leave enough space between jars to allow for adequate ventilation.
Ultimately, the ideal storage location for your mason jars will depend on the specific items you plan to store. Assess the conditions in different areas of your home and choose the location that best meets the requirements of your stored items.
By selecting an appropriate storage location, you can ensure that your mason jars and their contents remain in optimal condition, ready for your future use or enjoyment.
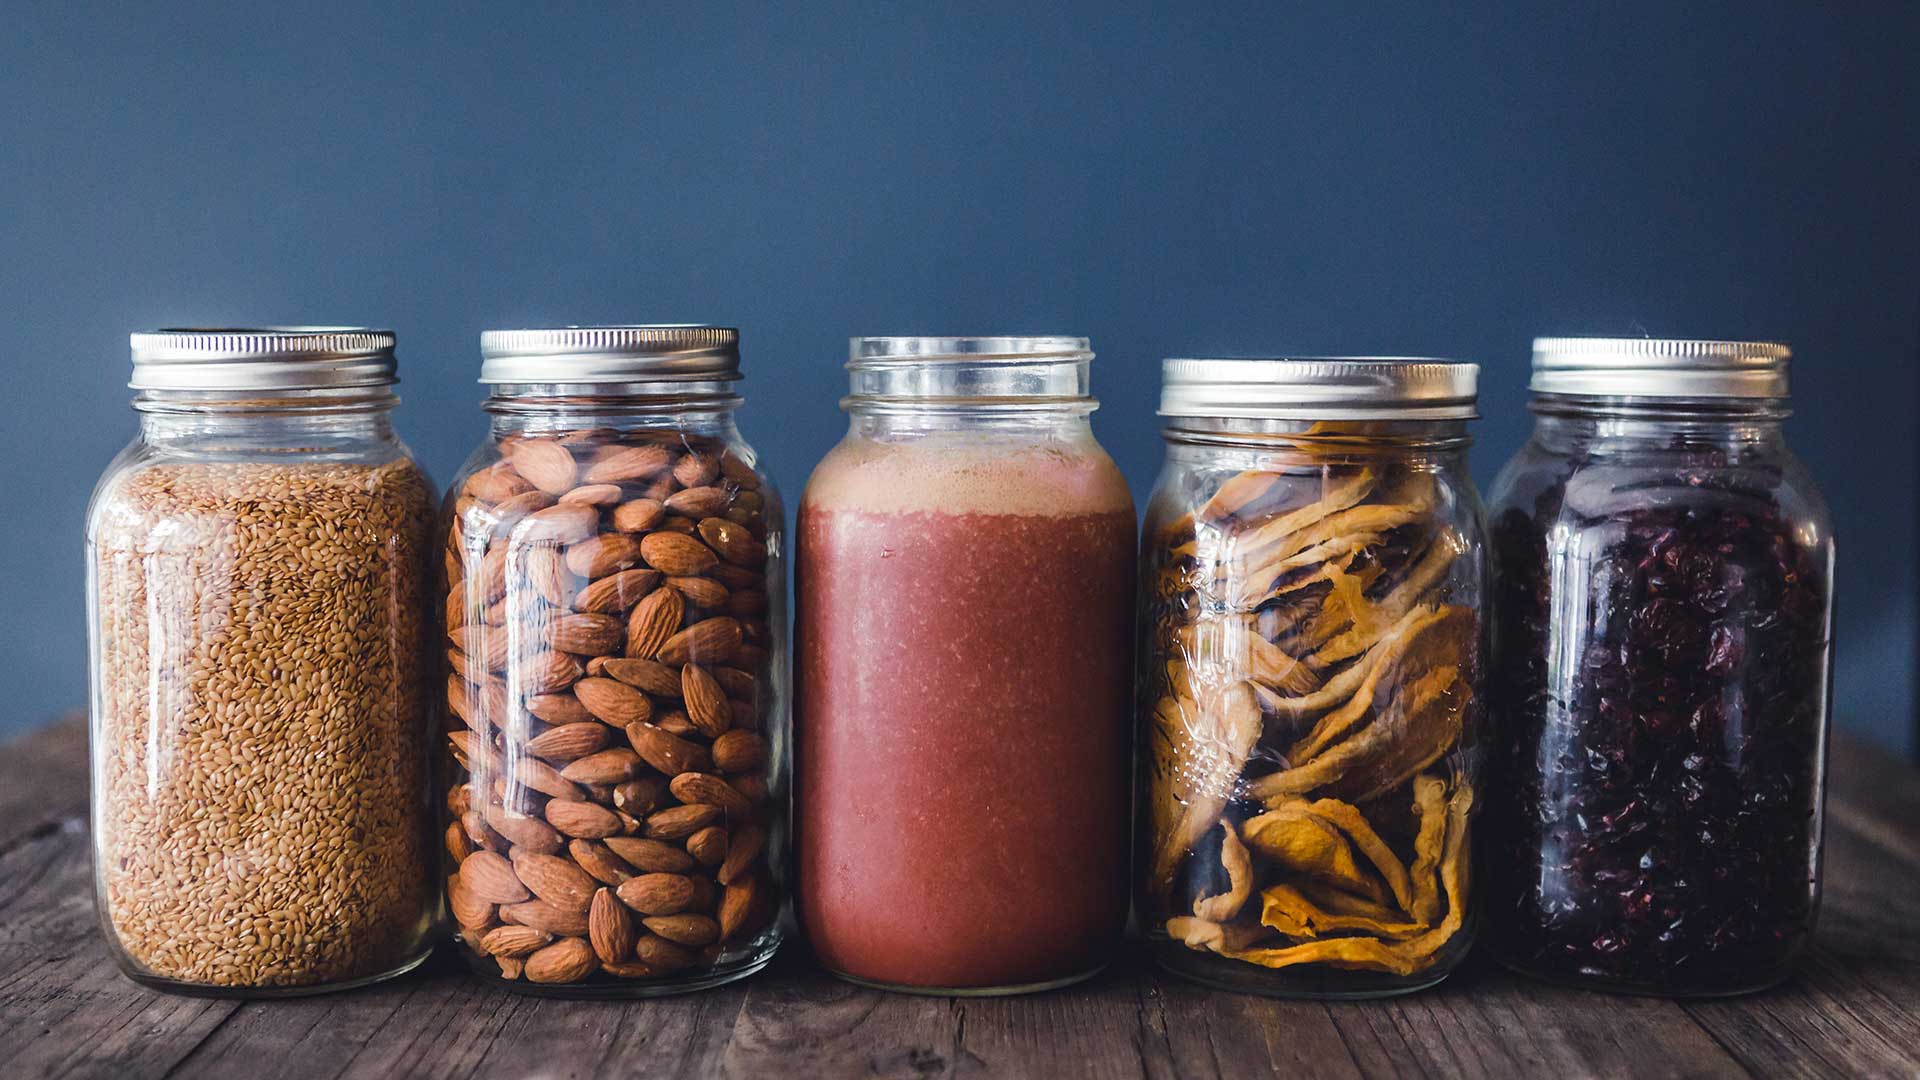
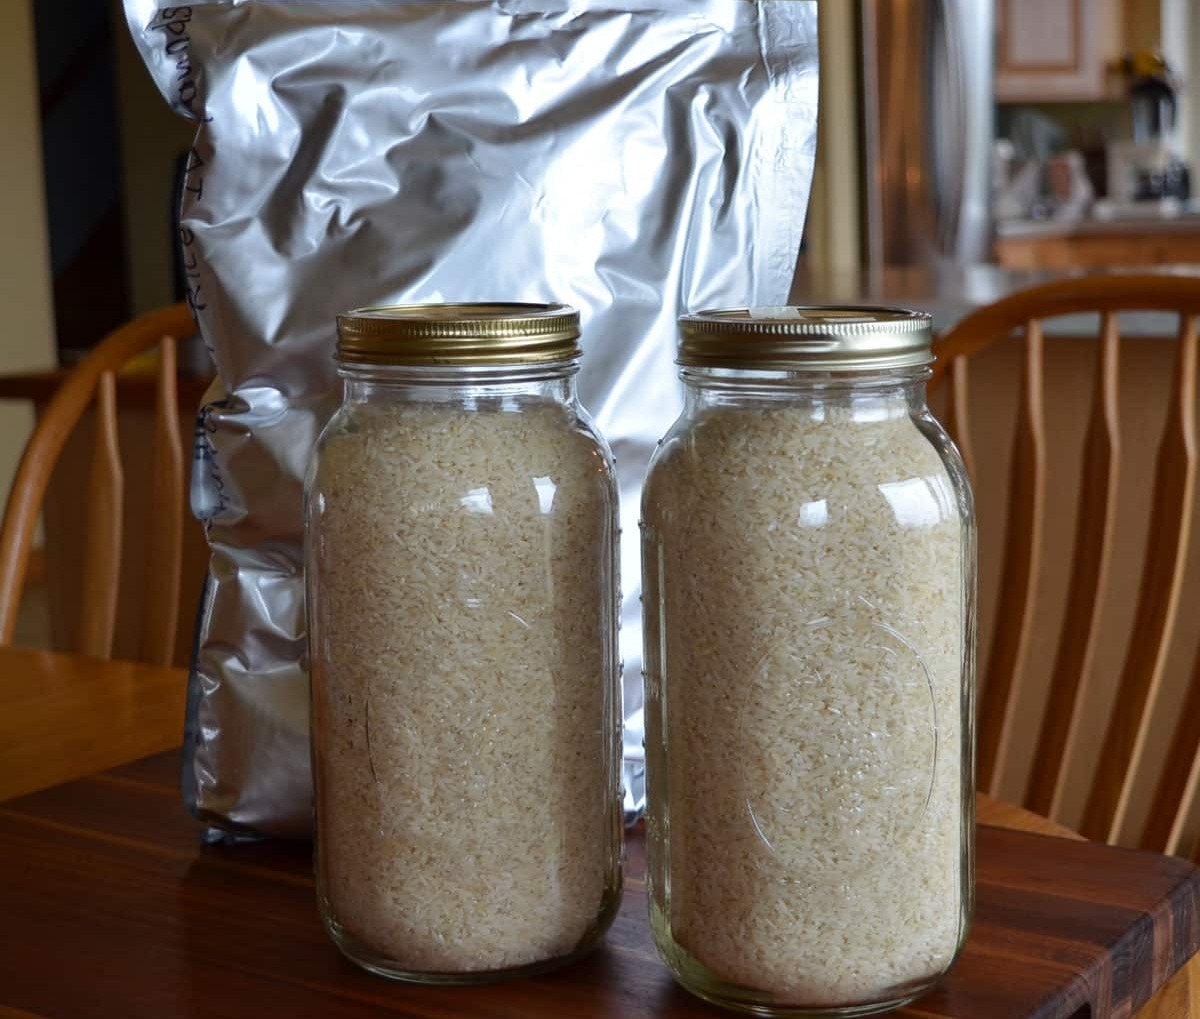
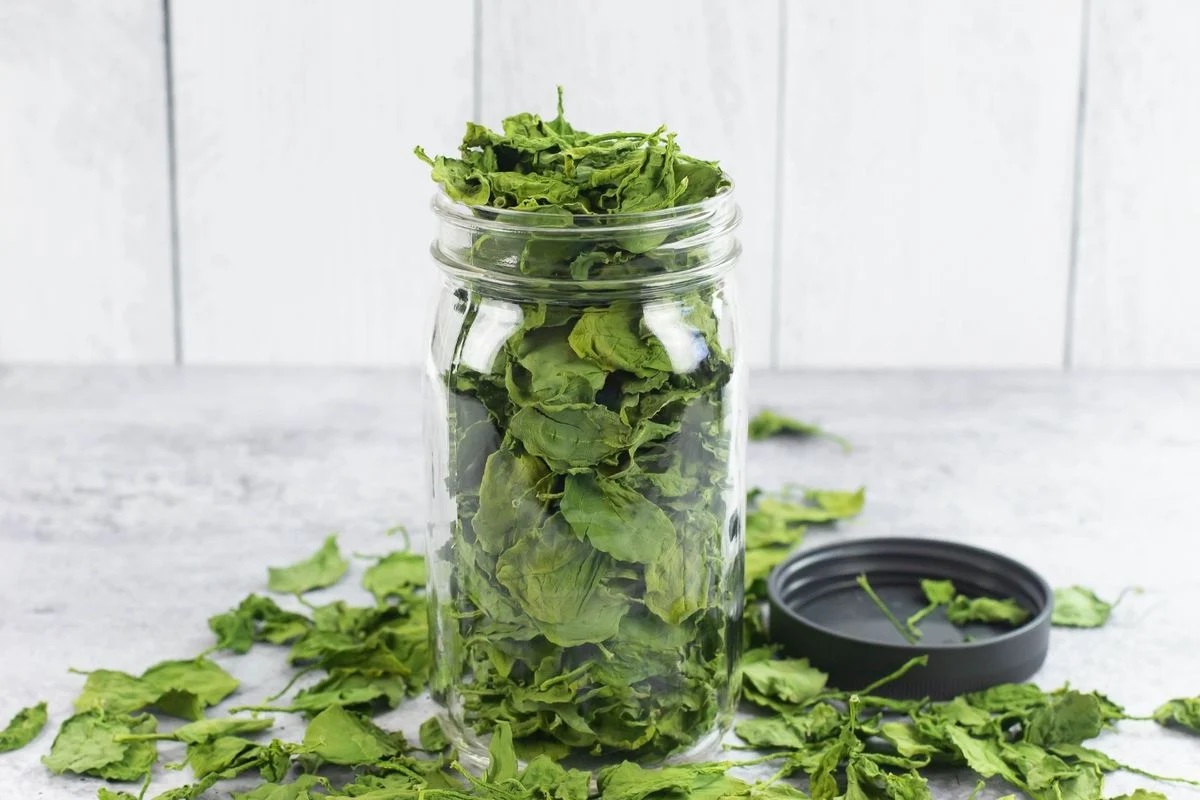
Storing Dry Goods in Mason Jars
Mason jars are an excellent choice for storing dry goods such as grains, beans, nuts, and dried herbs. They help keep these items fresh and free from moisture, pests, and contaminants. Here are some tips on effectively storing dry goods in mason jars:
- Choose the right size jar: Select jars that are appropriate for the quantity of dry goods you plan to store. It’s best to fill the jar to the top to minimize air exposure. However, leave some headspace if you plan to shake or stir the contents regularly.
- Use airtight lids: Ensure the lids provide an airtight seal to keep the dry goods fresh. Mason jar lids with rubber gaskets work well for this purpose. Tighten the lid securely, but avoid overtightening, as it may weaken the seal.
- Label the jars: Clearly label each jar with the contents and date of storage. This will help you easily identify and rotate your dry goods, ensuring that older items are used first.
- Keep jars clean and dry: Before filling the jars, make sure they are clean and completely dry to prevent moisture buildup. If storing particularly moisture-sensitive items, consider using a desiccant packet inside the jar to absorb any residual moisture.
- Store in a cool, dark place: Find a cool, dark location to store your mason jars filled with dry goods. Avoid areas that are exposed to direct sunlight or heat sources, as they can accelerate the degradation of the stored items.
- Be mindful of shelf life: Different dry goods have varying shelf lives. Keep track of expiration dates and try to use older items first. When transferring dry goods to a new jar, check for signs of spoilage, such as mold or pest infestation.
By following these guidelines, you can effectively store and preserve dry goods in mason jars, keeping them fresh for an extended period. The airtight seal and the quality of the glass will protect your dry goods from moisture, pests, and contaminants, ensuring the best quality for your future use or consumption.
Store mason jars in a cool, dry place away from direct sunlight to prevent discoloration and preserve the contents. Keep them organized and easily accessible for efficient use.
Read more: How To Store Cucumbers In Mason Jars
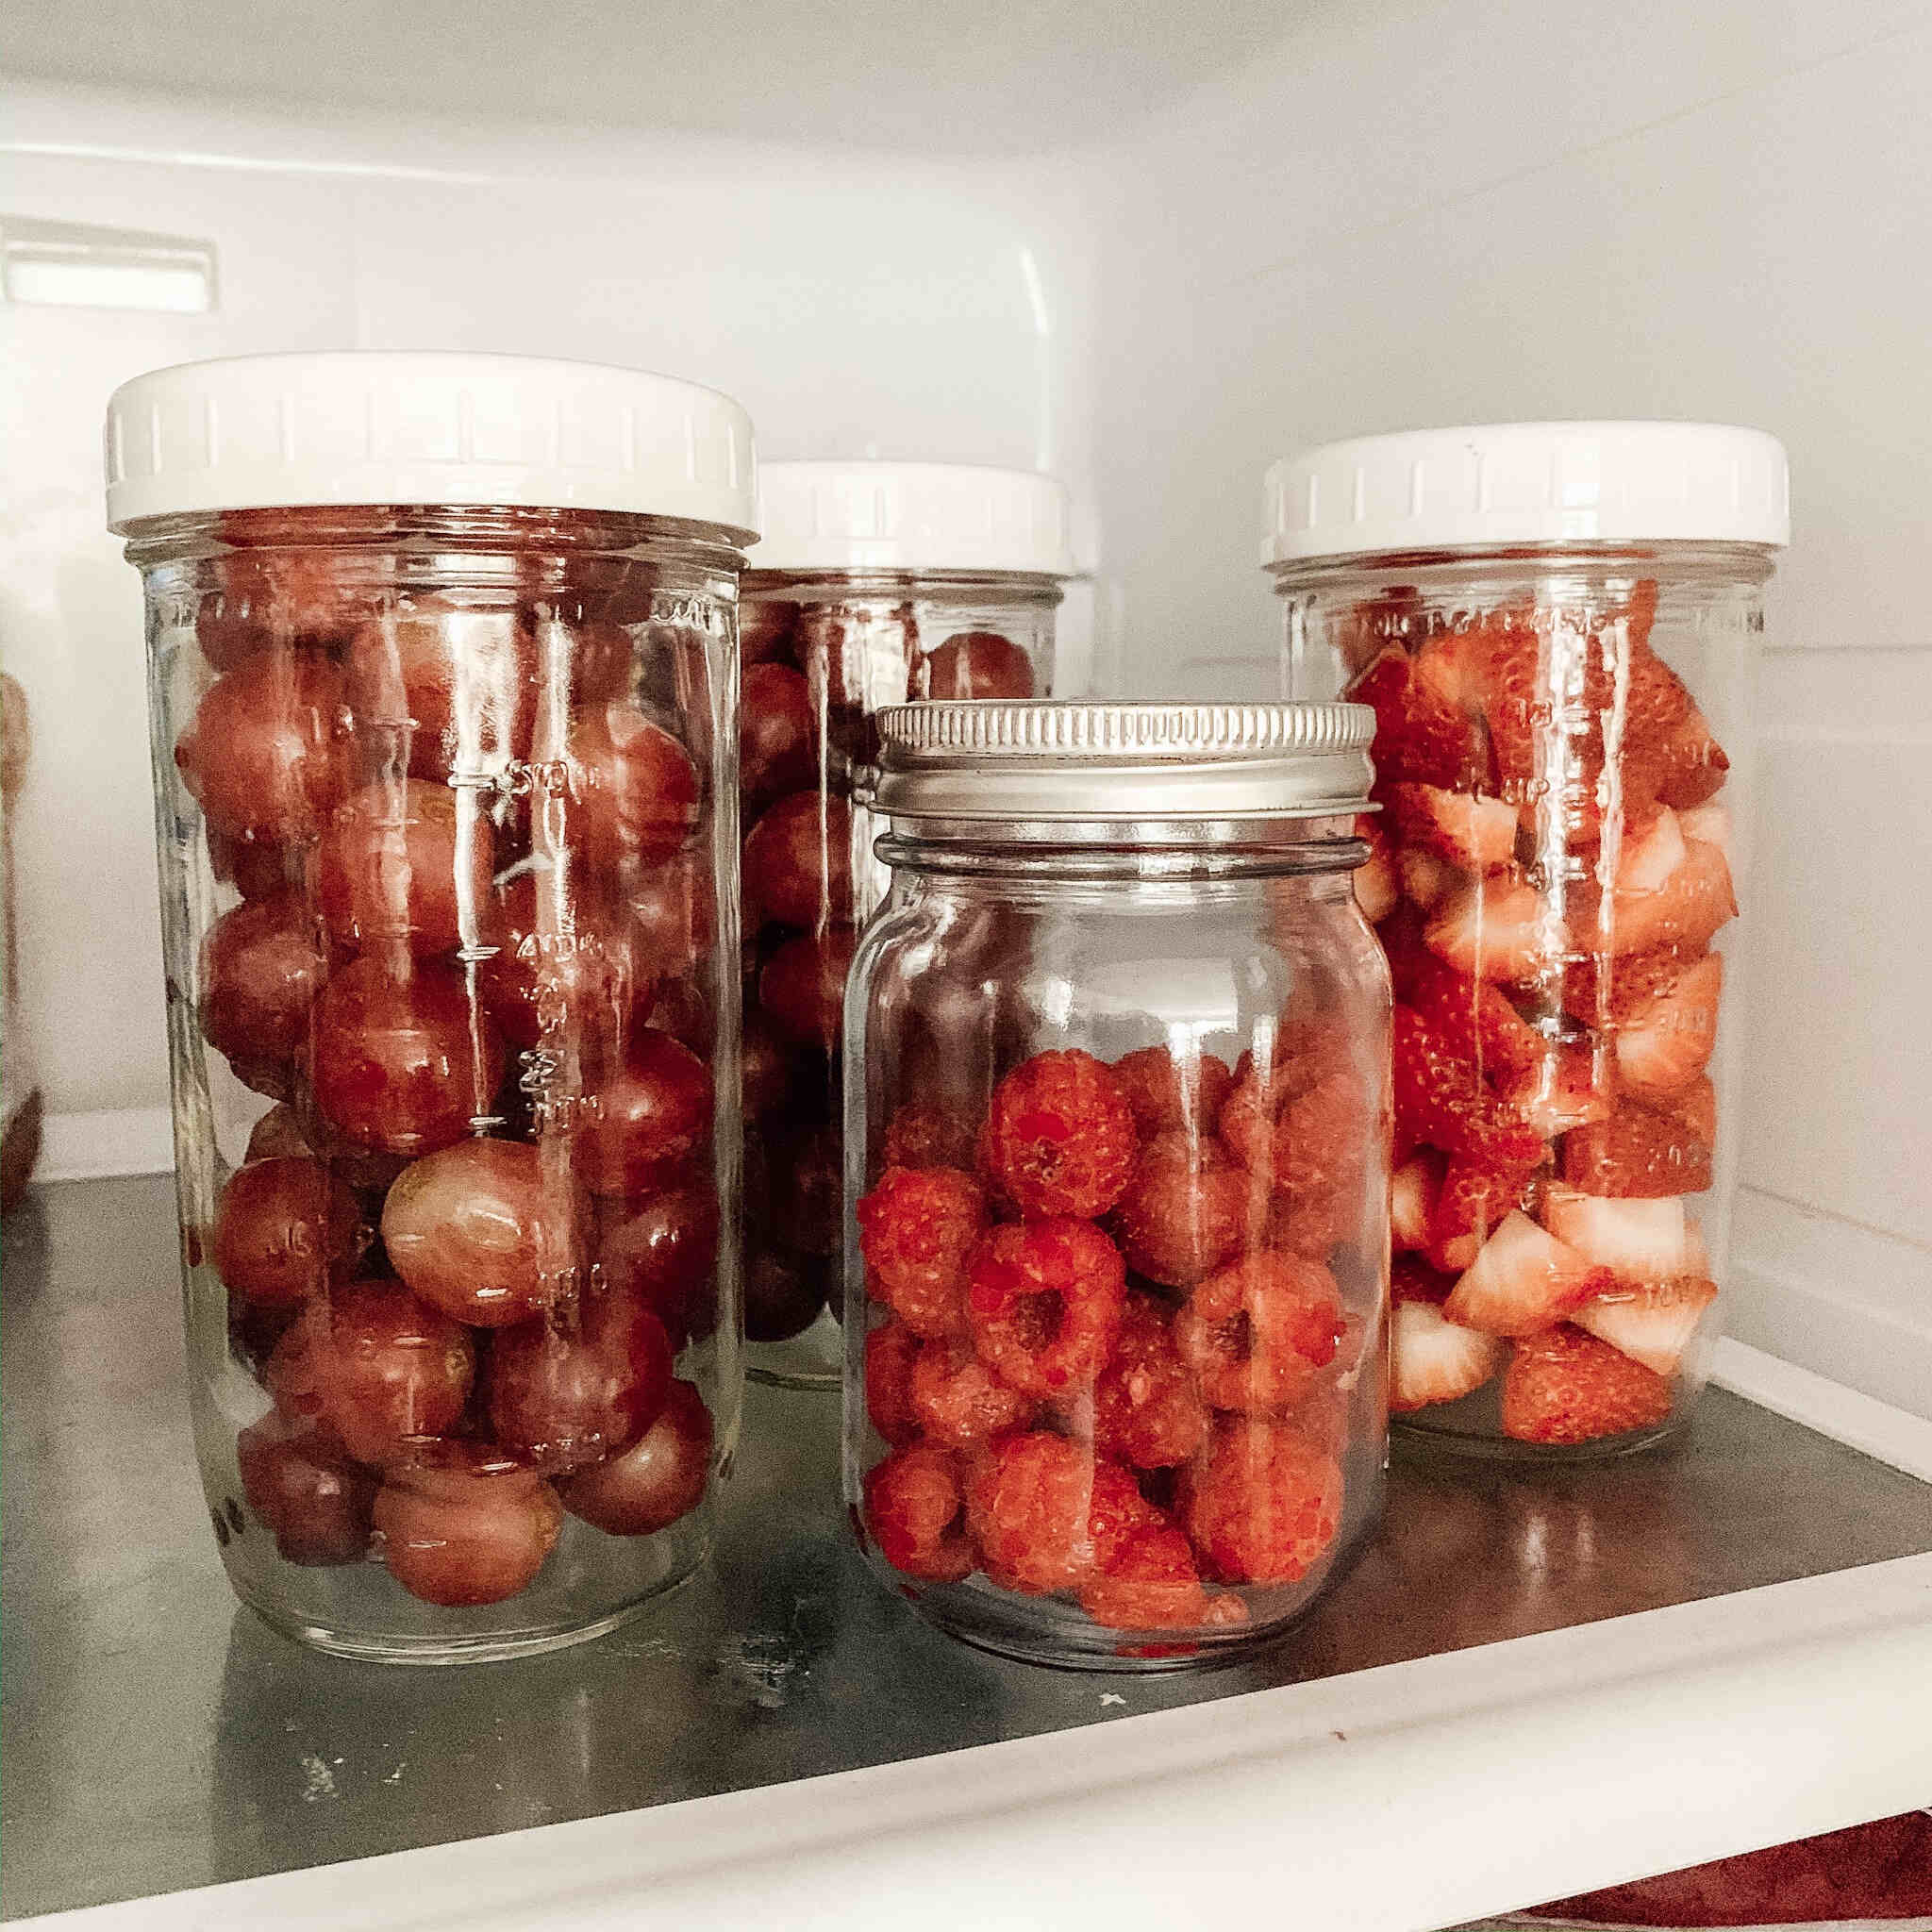
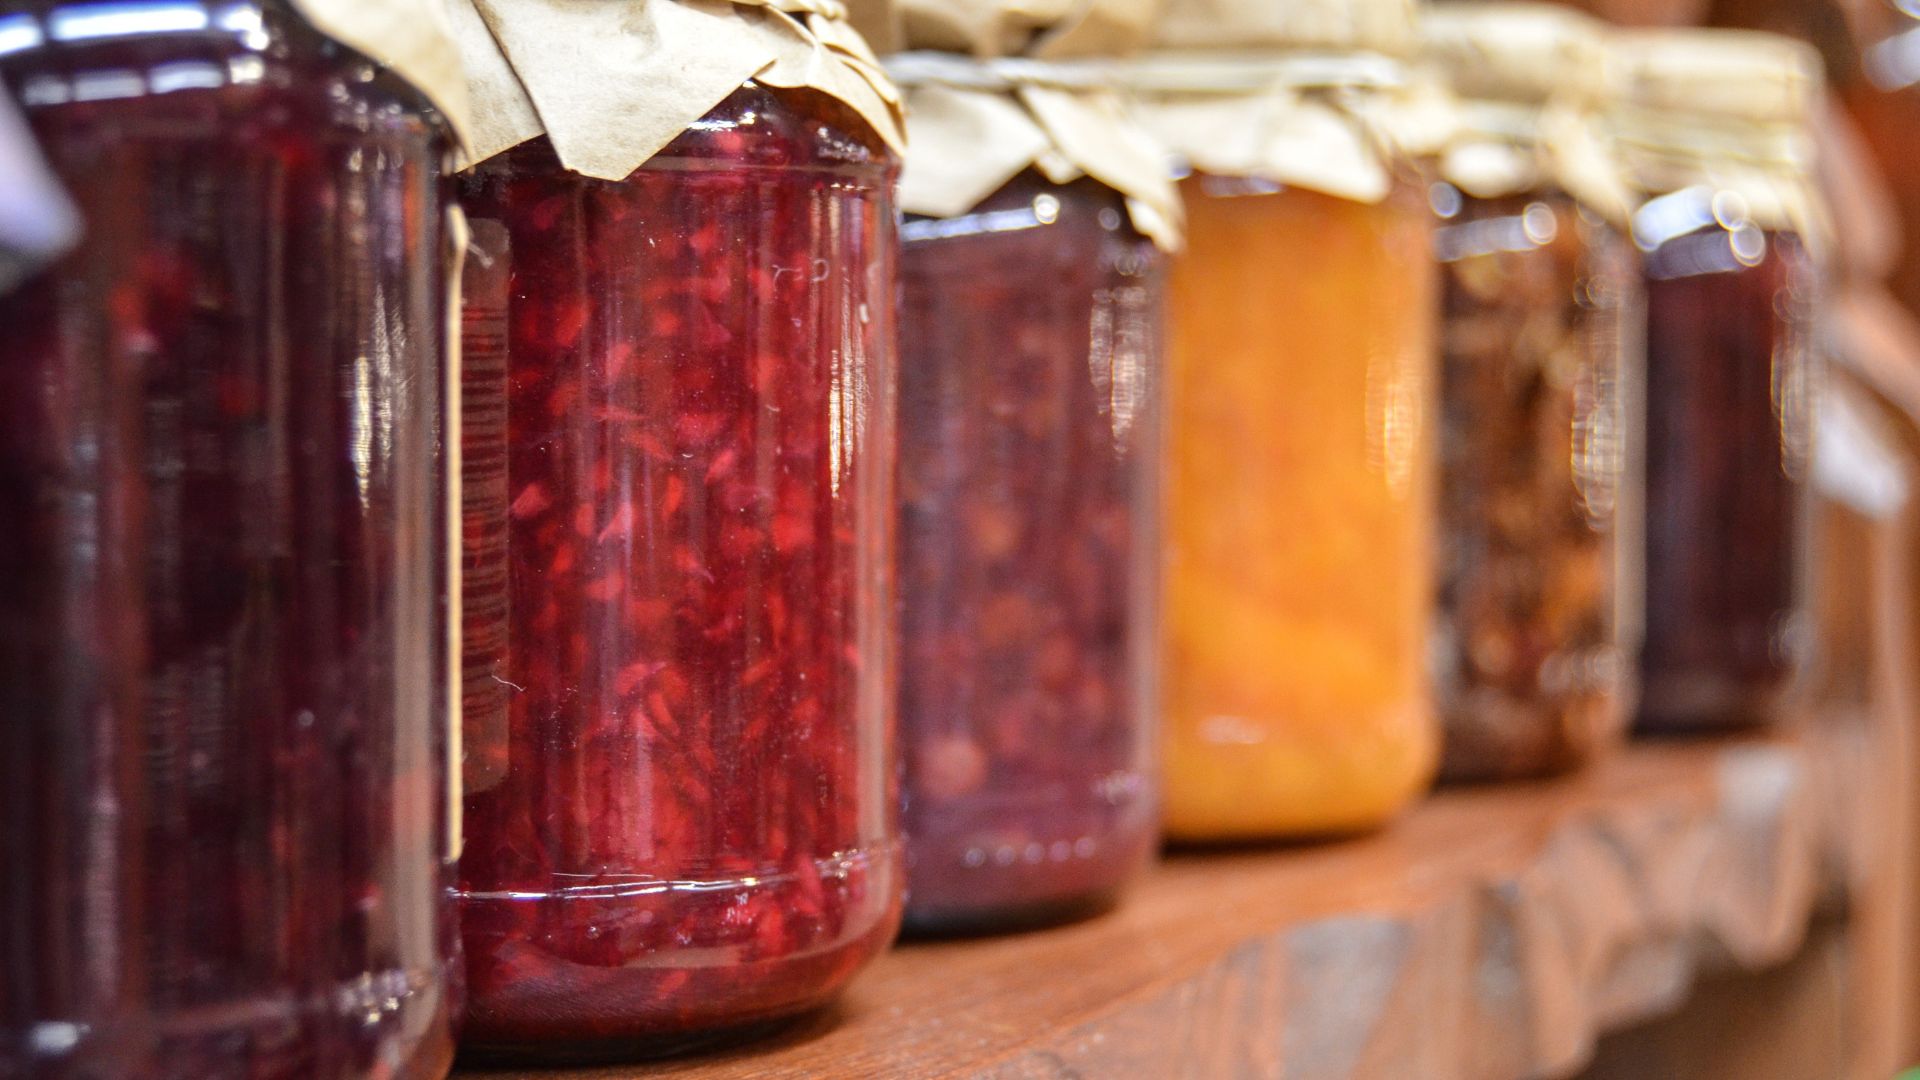
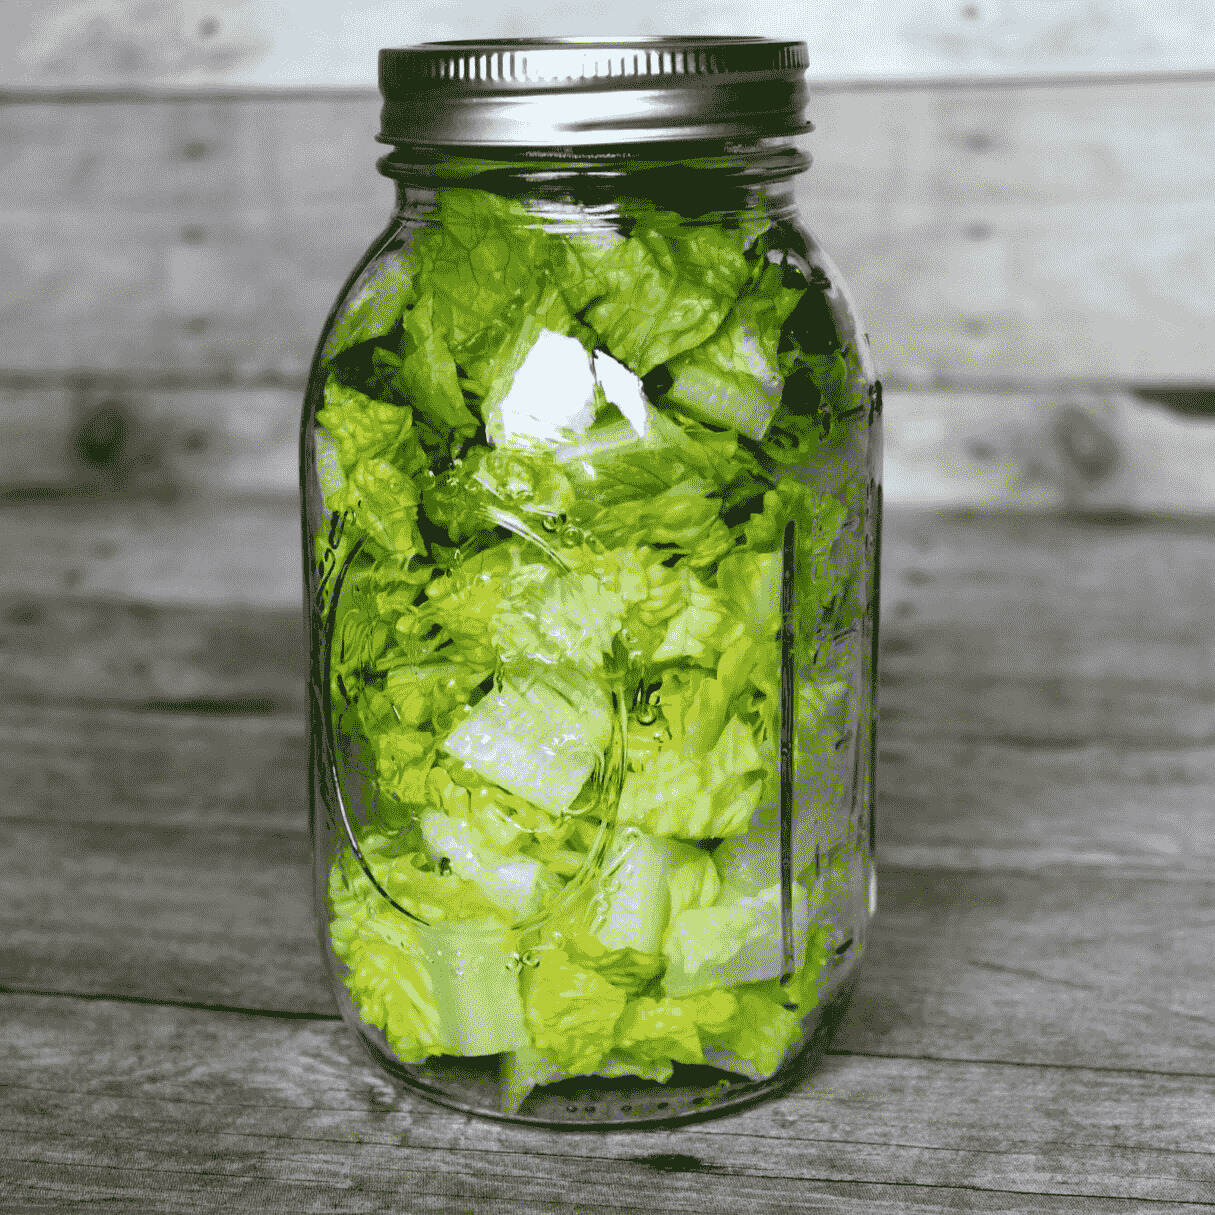
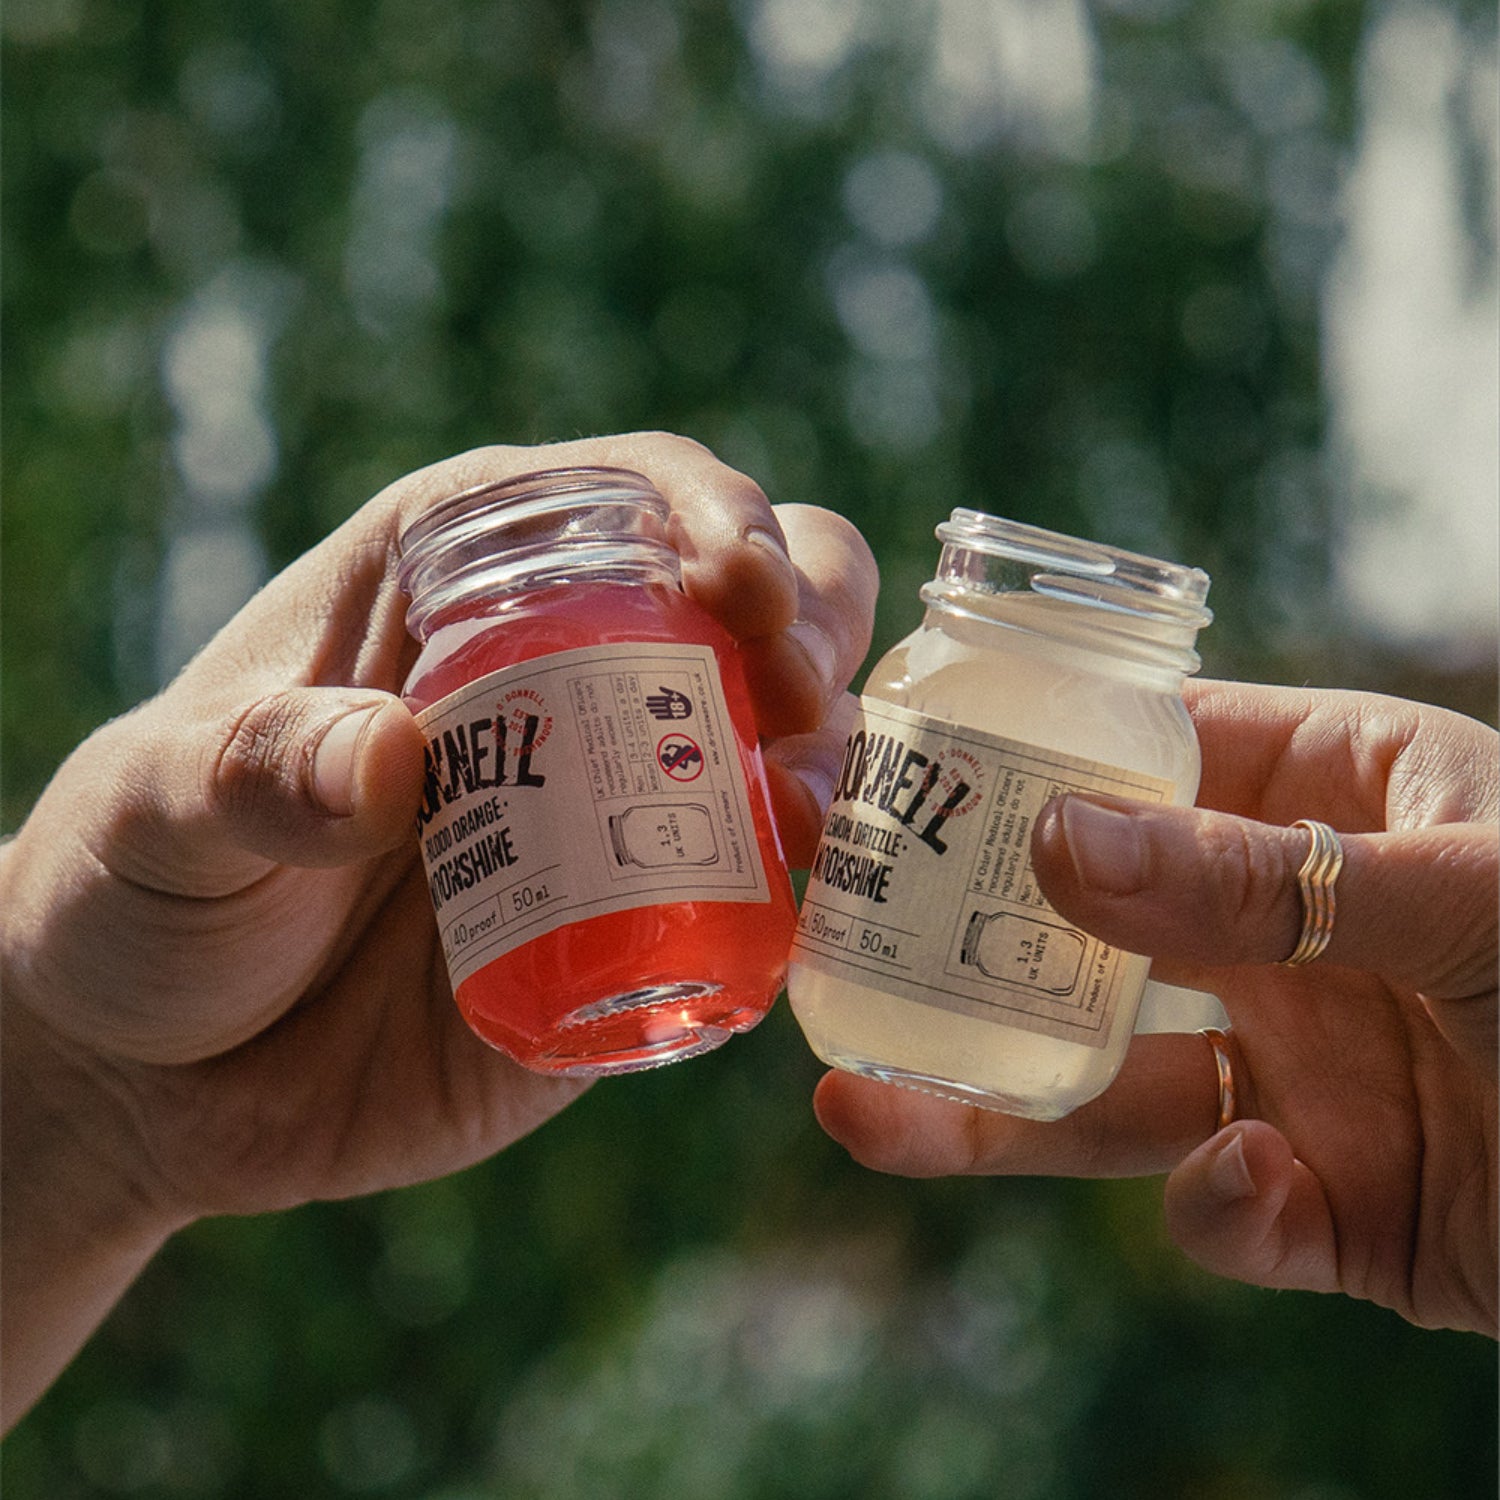
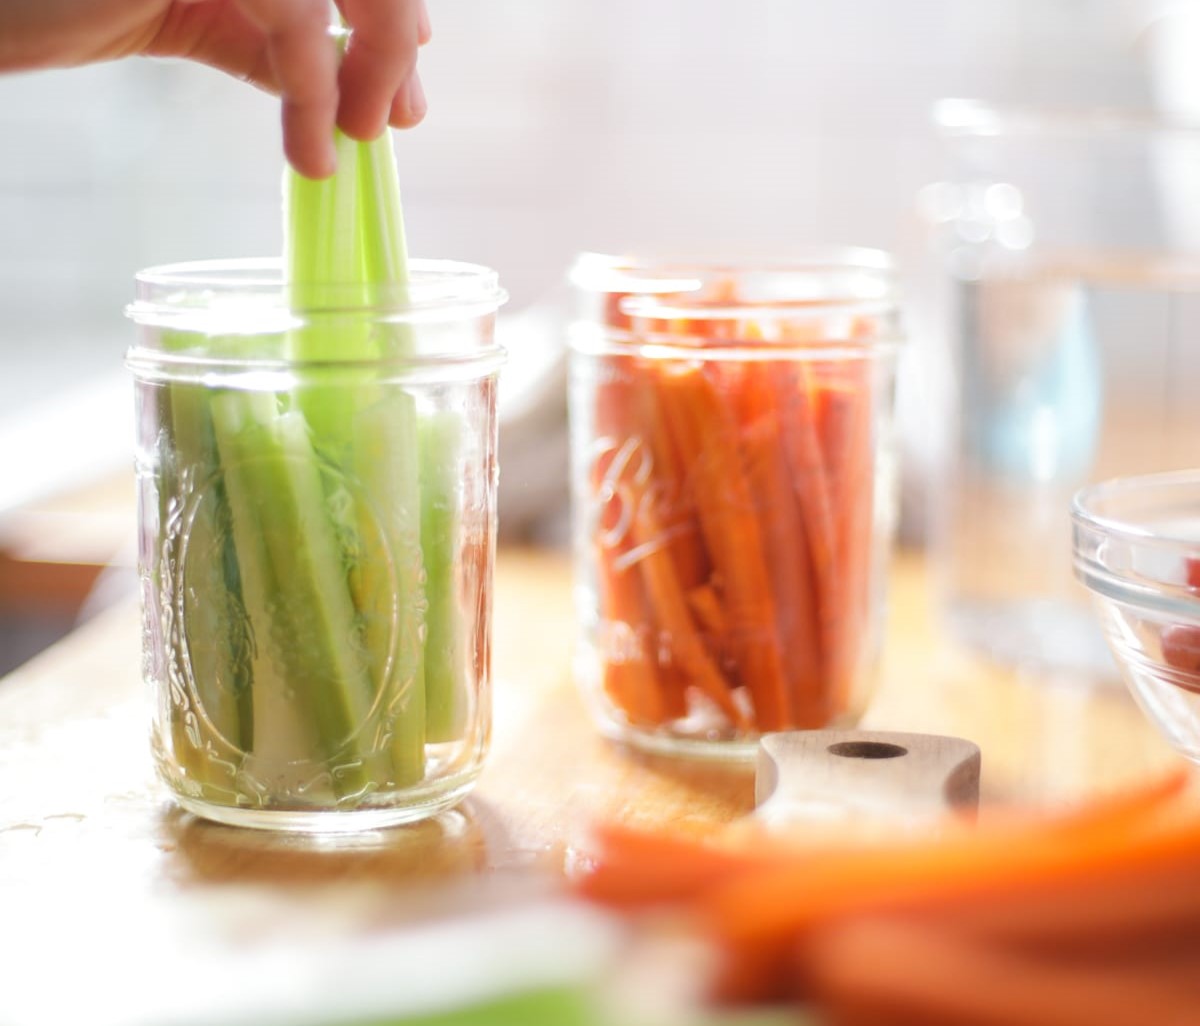
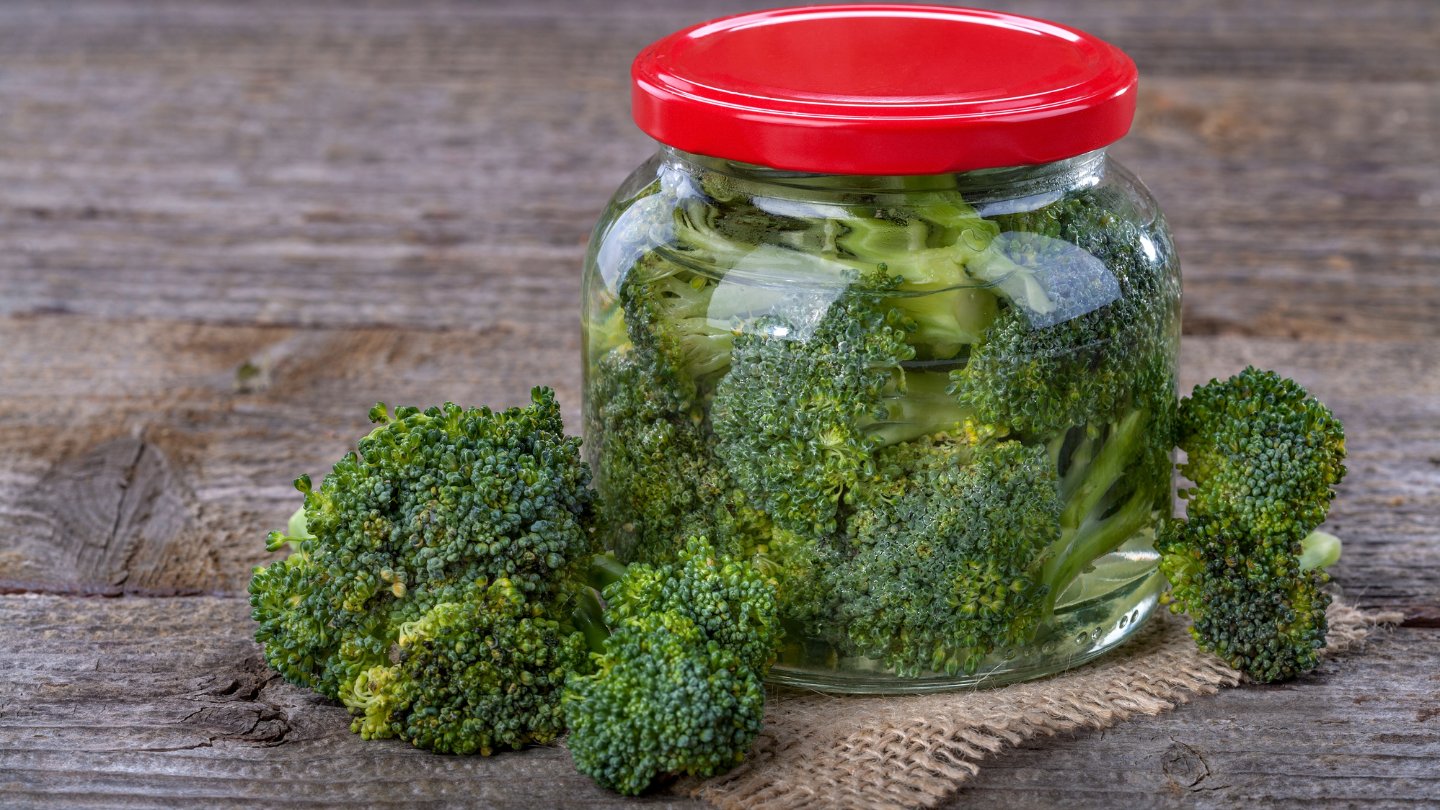
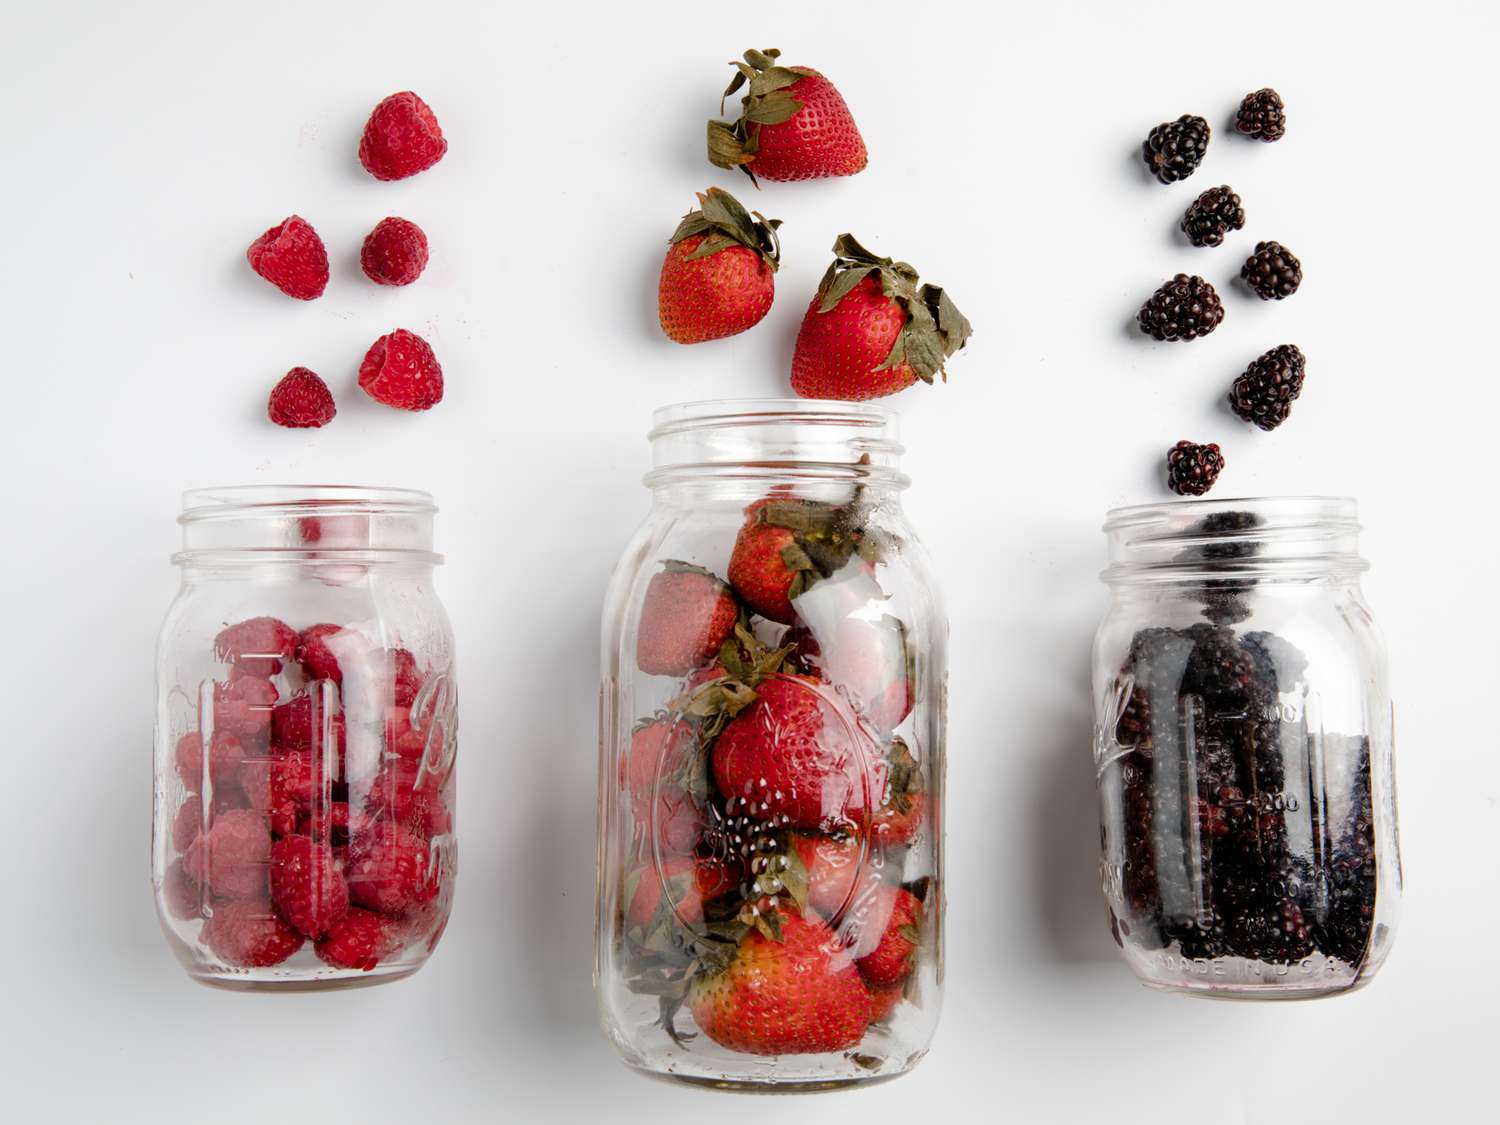
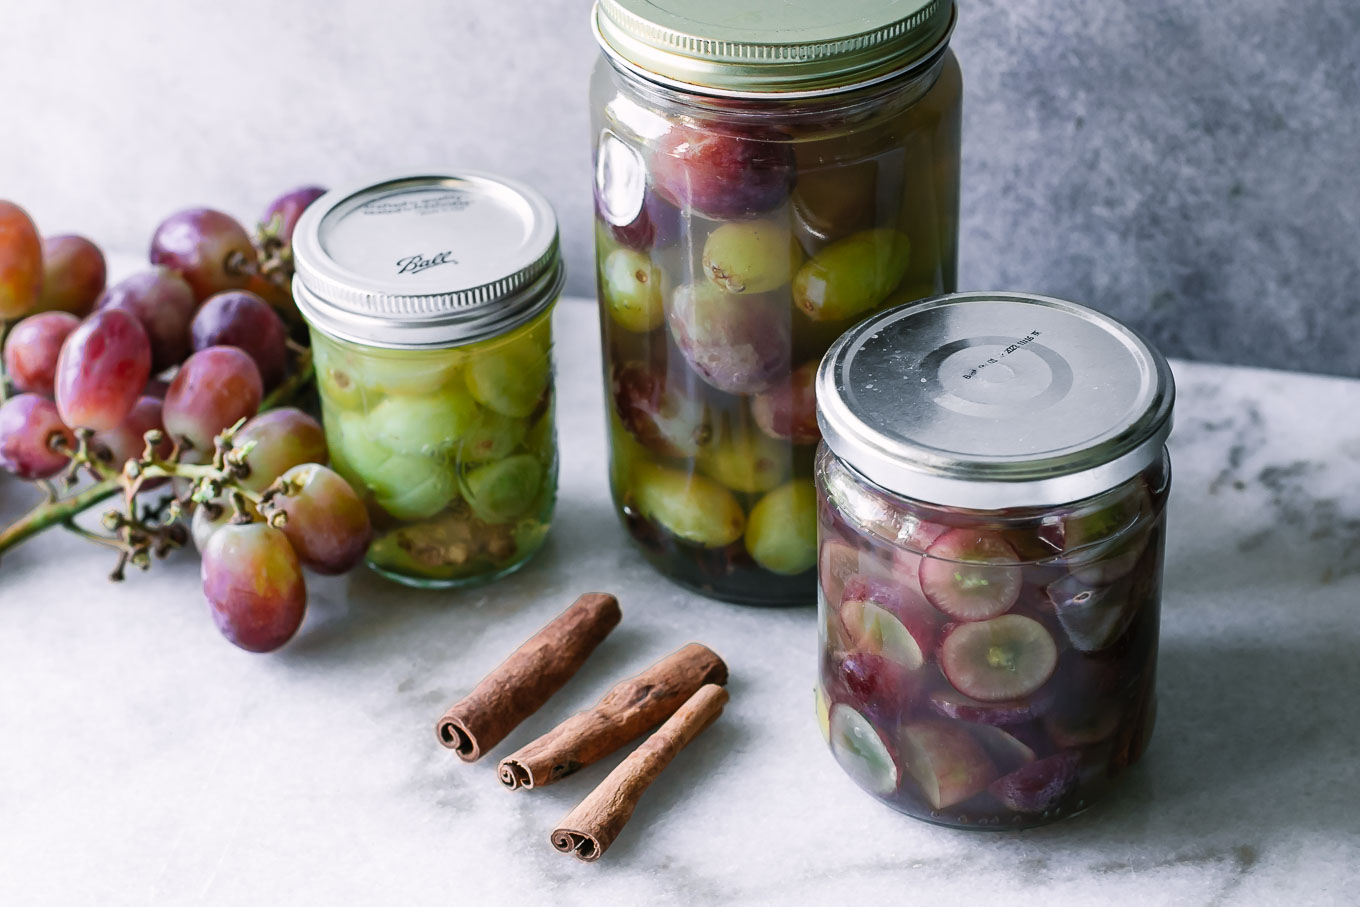
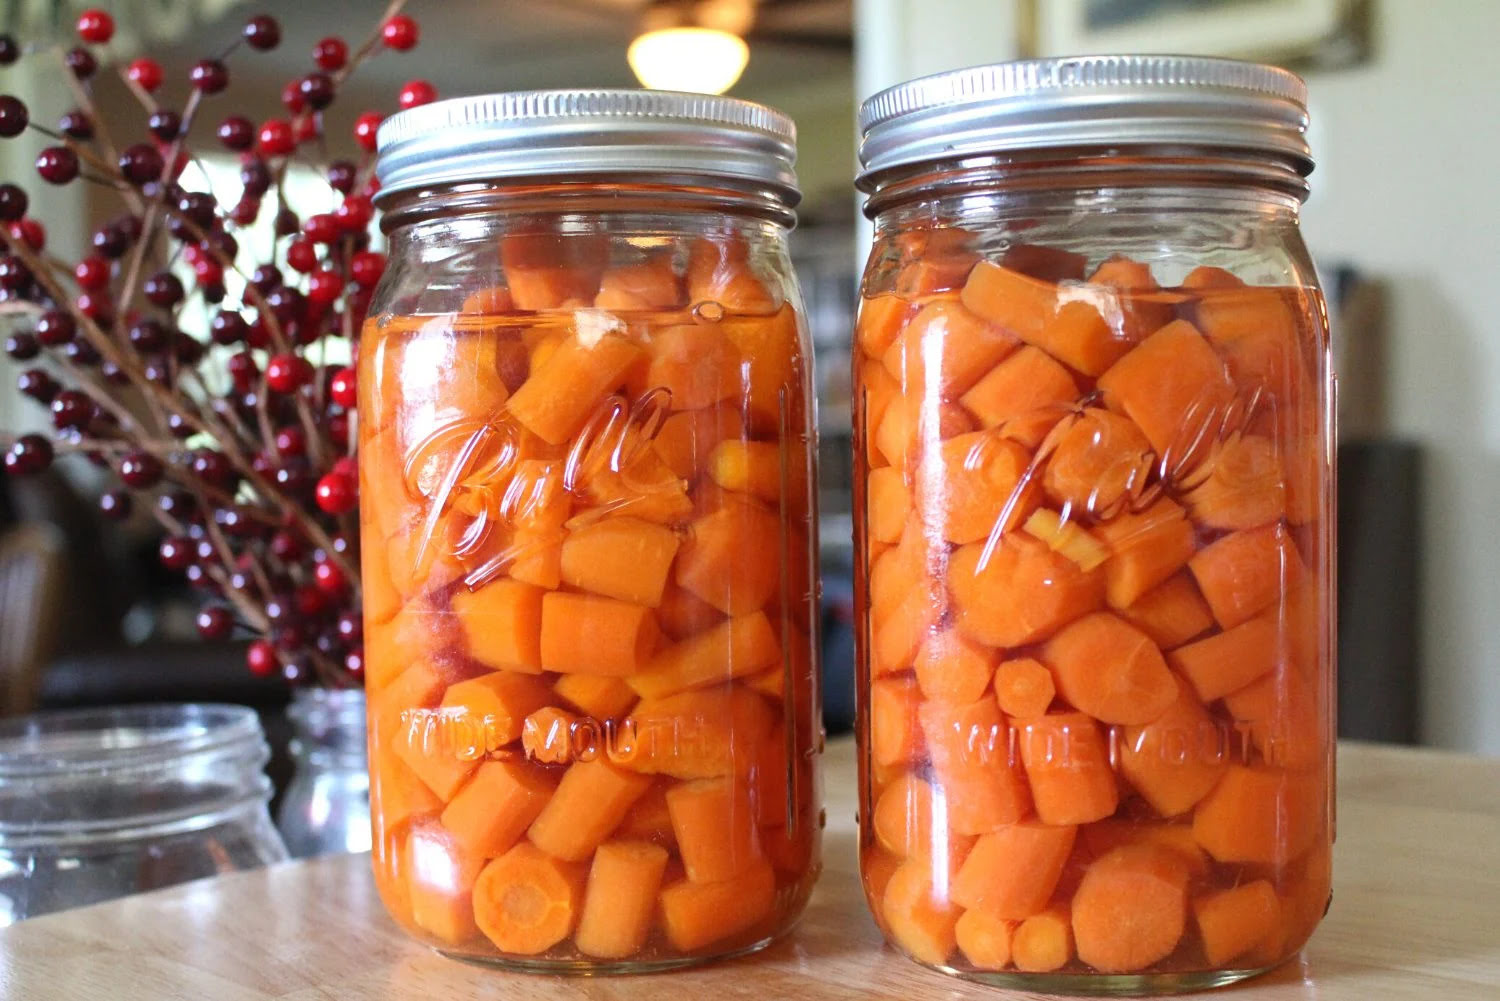
Storing Liquid or Fresh Ingredients in Mason Jars
Mason jars are not just for storing dry goods; they are also great for preserving and storing liquid or fresh ingredients. Whether you want to store homemade jams, sauces, or freshly prepared juices, mason jars offer a practical and convenient solution. Here are some tips for storing liquid or fresh ingredients in mason jars:
- Choose the right size jar: Select jars that provide enough space to accommodate the quantity of liquid or fresh ingredients you plan to store. Leave some headspace if the contents may expand or if you want to shake or stir the jar.
- Use appropriate lids: Mason jar lids with airtight seals are necessary for storing liquids or ingredients with high moisture content. Ensure that the lids are in good condition and properly fitted to maintain a tight seal.
- Consider the jar’s mouth size: Depending on the type of liquid or ingredient you’re storing, you may prefer wide-mouthed jars for easier pouring or accessing with a spoon. Narrow-mouthed jars are better suited for liquids that you plan to pour into smaller containers during use.
- Label the jars: It’s essential to label each jar with the name of the contents and the date of preparation or storage. This will help you keep track of the freshness and usage timeline of the stored liquids or ingredients.
- Store in the refrigerator or freezer: If storing perishable liquids or fresh ingredients, it’s best to store the jars in the refrigerator or freezer, depending on their shelf life. The cold temperature will help maintain the freshness and prevent spoilage.
- Be cautious with hot liquids: When filling jars with hot liquids, such as soups or sauces, ensure that the jars and lids are heat-resistant to avoid breakage or warping. Allow hot liquids to cool before sealing the jars tightly.
- Regularly check for spoilage: Keep an eye out for signs of spoilage, such as mold growth or off smells. If you notice any indications of spoilage, discard the contents and properly clean and sterilize the jar before using it again.
By following these storage guidelines, you can safely store liquid or fresh ingredients in mason jars, preserving their quality and flavor. Mason jars offer an excellent solution for long-term storage or even for on-the-go use, allowing you to enjoy homemade creations for an extended period.
Labeling and Organizing Mason Jars
Labeling and organizing your mason jars is crucial for maintaining a well-structured storage system and quickly locating your desired items. It helps you stay organized, minimize food waste, and keep track of shelf life. Here are some tips for properly labeling and organizing your mason jars:
- Use clear and legible labels: When labeling your jars, use clear and legible labels that are easy to read. You can use adhesive labels, chalkboard labels, or even write directly on the jar with a permanent marker. Ensure the labels adhere securely to the jars and won’t smudge or fade over time.
- Include important information: Along with the name of the contents, consider including additional information such as the date of storage or expiration, cooking instructions, or any other relevant details about the item. This can help you make informed decisions about usage and ensure the best quality.
- Categorize similar items: Group similar items together and label them accordingly. For example, you can have separate categories for different types of grains, spices, or homemade sauces. This makes it easier to locate specific items and maintain an organized storage system.
- Arrange jars by size or frequency of use: Consider arranging your mason jars based on their size or how frequently you use them. This can help optimize space and ensure that frequently used items are easily accessible. You can also use storage racks or shelves to keep the jars neatly organized.
- Consider color-coded labels: If you’re storing different types of items, you can use color-coded labels to visually distinguish between them. This adds an extra layer of organization and makes it easier to identify specific categories of items at a glance.
- Keep an inventory list: Consider maintaining an inventory list of the items you have stored in your mason jars. This can be a simple spreadsheet or a note on your phone. Regularly update the list as you add or use items, ensuring you have a clear overview of your stored inventory.
By diligently labeling and organizing your mason jars, you can create an efficient and easily accessible storage system. Whether you’re looking for a specific spice, homemade sauce, or leftover meal, you’ll be able to locate it quickly and efficiently, saving time and minimizing food waste in the process.
Maintaining and Checking Stored Mason Jars
Regular maintenance and periodic checks of your stored mason jars are essential to ensure the safety and quality of your stored items. Here are some important tips for maintaining and checking your stored mason jars:
- Inspect the seals: Periodically check the seals on your mason jars to ensure they are intact and in good condition. If you notice any signs of damage, such as cracks, warping, or deterioration, replace the lids to maintain an airtight seal.
- Check for leaks or spoilage: Routinely inspect your jars for any signs of leaks or spoilage. Check for mold growth, unusual odors, or any other indications that the contents may have spoiled. If any jars show signs of spoilage, discard the contents and properly clean and sterilize the jar before reusing it.
- Rotate your inventory: Take note of the expiration dates or recommended storage periods for the items in your mason jars. Make sure to use older items first and rotate your inventory accordingly. By regularly checking and utilizing your stored items, you can minimize waste and maintain freshness.
- Reorganize as needed: Over time, your storage needs may change, and your inventory may shift. Take the opportunity to reorganize your mason jars as needed. Rearrange shelves, update labels, and ensure that similar items are grouped together for easy access.
- Clean and sterilize reused jars: If you reuse jars, always clean and sterilize them before filling them with new contents. This helps eliminate any potential bacteria or contaminants that may compromise the safety and quality of your stored items.
- Regularly clean storage areas: Along with maintaining your jars, periodically clean and organize the storage area itself. Remove any dust, debris, or spilled contents to keep the area clean and prevent potential contamination.
By incorporating these maintenance practices into your routine, you can ensure the longevity and safety of your stored mason jars and their contents. Regular checks and proper maintenance will help you avoid issues such as spoilage, contamination, or compromised seals, allowing you to enjoy the convenience and benefits of mason jar storage for a long time to come.
Conclusion
Storing mason jars effectively is an important aspect of maintaining a well-organized and functional storage system. With the right selection, proper cleaning and sterilization, and careful consideration of storage conditions, you can ensure the longevity and quality of the items stored in your mason jars.
By following the guidelines outlined in this article, you can confidently store a variety of items, including dry goods, liquids, and fresh ingredients, in your mason jars. Labeling and organizing your jars will help you quickly locate the items you need and make the most of your stored inventory, reducing food waste and saving time in the process. Regular checks and maintenance of your stored mason jars will ensure the safety and freshness of your stored items, allowing you to enjoy the benefits of mason jar storage for an extended period.
So, whether you’re organizing your pantry, preserving homemade goods, or creating personalized gifts, make the most of your mason jars by implementing these best practices. With proper care and attention, your mason jars will continue to serve as a versatile and practical storage solution for years to come.
Frequently Asked Questions about How To Store Mason Jars
Was this page helpful?
At Storables.com, we guarantee accurate and reliable information. Our content, validated by Expert Board Contributors, is crafted following stringent Editorial Policies. We're committed to providing you with well-researched, expert-backed insights for all your informational needs.


0 thoughts on “How To Store Mason Jars”