Articles
How To Store Empty Canning Jars
Modified: August 27, 2024
Discover the best way to store empty canning jars with our informative articles. Find tips and tricks to keep your jars organized and ready for future use.
(Many of the links in this article redirect to a specific reviewed product. Your purchase of these products through affiliate links helps to generate commission for Storables.com, at no extra cost. Learn more)
Introduction
Welcome to our guide on how to store empty canning jars. Canning is a popular food preservation method that allows you to enjoy fresh and homemade foods all year round. However, after using your canning jars to store jams, pickles, or other goodies, you may find yourself wondering how to store them efficiently and safely until your next round of preserving. In this article, we will walk you through the steps to properly clean, dry, organize, label, and store your empty canning jars.
Whether you’re an experienced canner or new to the world of preserving, it’s important to properly store your empty jars to maintain their quality and extend their lifespan. By following these steps, you can ensure that your canning jars remain in good condition, ready for future use.
Cleaning and storing empty canning jars not only keeps your kitchen organized but also preserves the integrity of the jars. Proper storage prevents dust, moisture, and other contaminants from compromising the jars’ ability to seal and keep your preserved foods fresh.
So, let’s dive into the step-by-step process of storing your empty canning jars!
Key Takeaways:
- Properly storing empty canning jars involves thorough cleaning, drying, organizing, labeling, and safely storing them. This ensures the jars remain in pristine condition, ready for future preserving projects.
- By following the steps outlined in this guide, you can maintain a well-organized pantry of canning jars, ensuring a readily available supply for your canning projects and preserving the quality of your home-canned goods.
Read more: How To Store Empty Mason Jars
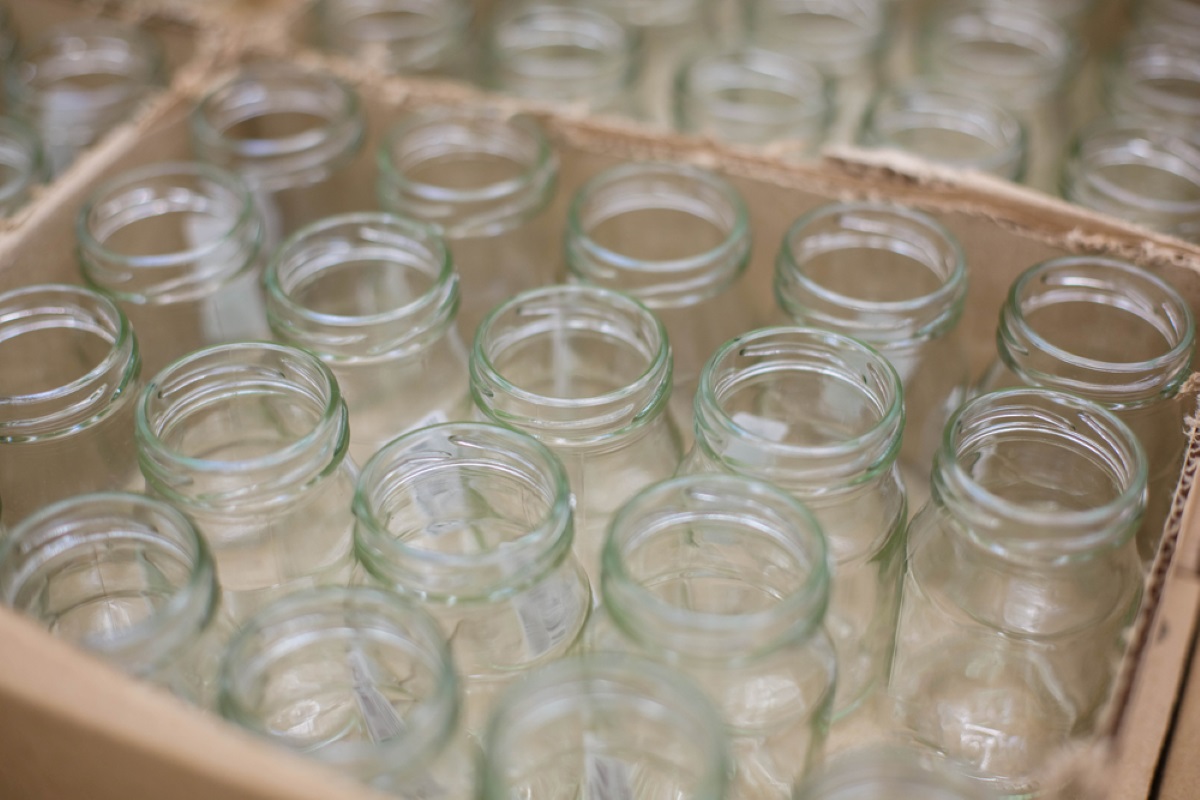
Step 1: Cleaning the Jars
Before storing your empty canning jars, it’s essential to thoroughly clean them to remove any residue from previous use. Here’s how to clean your jars:
- Start by removing any labels or stickers from the jars. Soak them in warm, soapy water to loosen the adhesive, and use a scrub brush or sponge to gently scrub off the residue.
- Once the labels are removed, rinse the jars with warm water to remove any soap or cleaning solution. Check the insides of the jars to ensure they are free from any lingering food particles.
- If needed, fill a sink or a basin with warm water and add a small amount of dish soap or vinegar. Submerge the jars in the soapy water and use a bottle brush to scrub the insides of the jars, paying extra attention to the rims and bottoms where residue can accumulate.
- Rinse the jars thoroughly with warm water to remove any soap or cleaning solution.
- Inspect the jars for any signs of cracks or chips. Discard any jars that are damaged as they may not seal properly or pose a risk of breakage during storage.
- Allow the jars to air dry completely before moving on to the next step.
By following these cleaning steps, you will ensure that your canning jars are free from any contaminants and ready for safe storage. Taking the time to clean your jars properly will ensure the longevity of your canning equipment and help maintain the quality of your home-preserved foods.
Step 2: Drying the Jars
Once your canning jars are clean, the next step in storing them is to ensure they are completely dry. Moisture left in the jars can lead to mold and bacteria growth, compromising the quality of the jars and any subsequent preserves you store in them. Follow these steps to properly dry your jars:
- After cleaning the jars, shake off any excess water and use a clean dish towel or paper towels to remove any remaining moisture from the inside and outside of the jars.
- Place the jars upside down on a clean dish towel or drying rack to allow any remaining water to drip out. Make sure the jars are well spaced to allow for proper airflow.
- Allow the jars to air dry completely. Depending on the humidity in your area, this may take a few hours to overnight.
- Avoid using a cloth or towel to dry the inside of the jars, as these can leave behind fibers or lint. It’s best to let them air dry naturally.
- Once the jars are fully dry, visually inspect them for any signs of moisture or condensation. If any jars appear damp, give them additional time to dry or wipe them down again with a clean, dry cloth.
Properly drying your canning jars is crucial to prevent the growth of mold and bacteria, which can lead to spoilage of your preserved foods. By ensuring that the jars are fully dry before storing them, you can maintain their integrity and protect the quality of your future preserves.
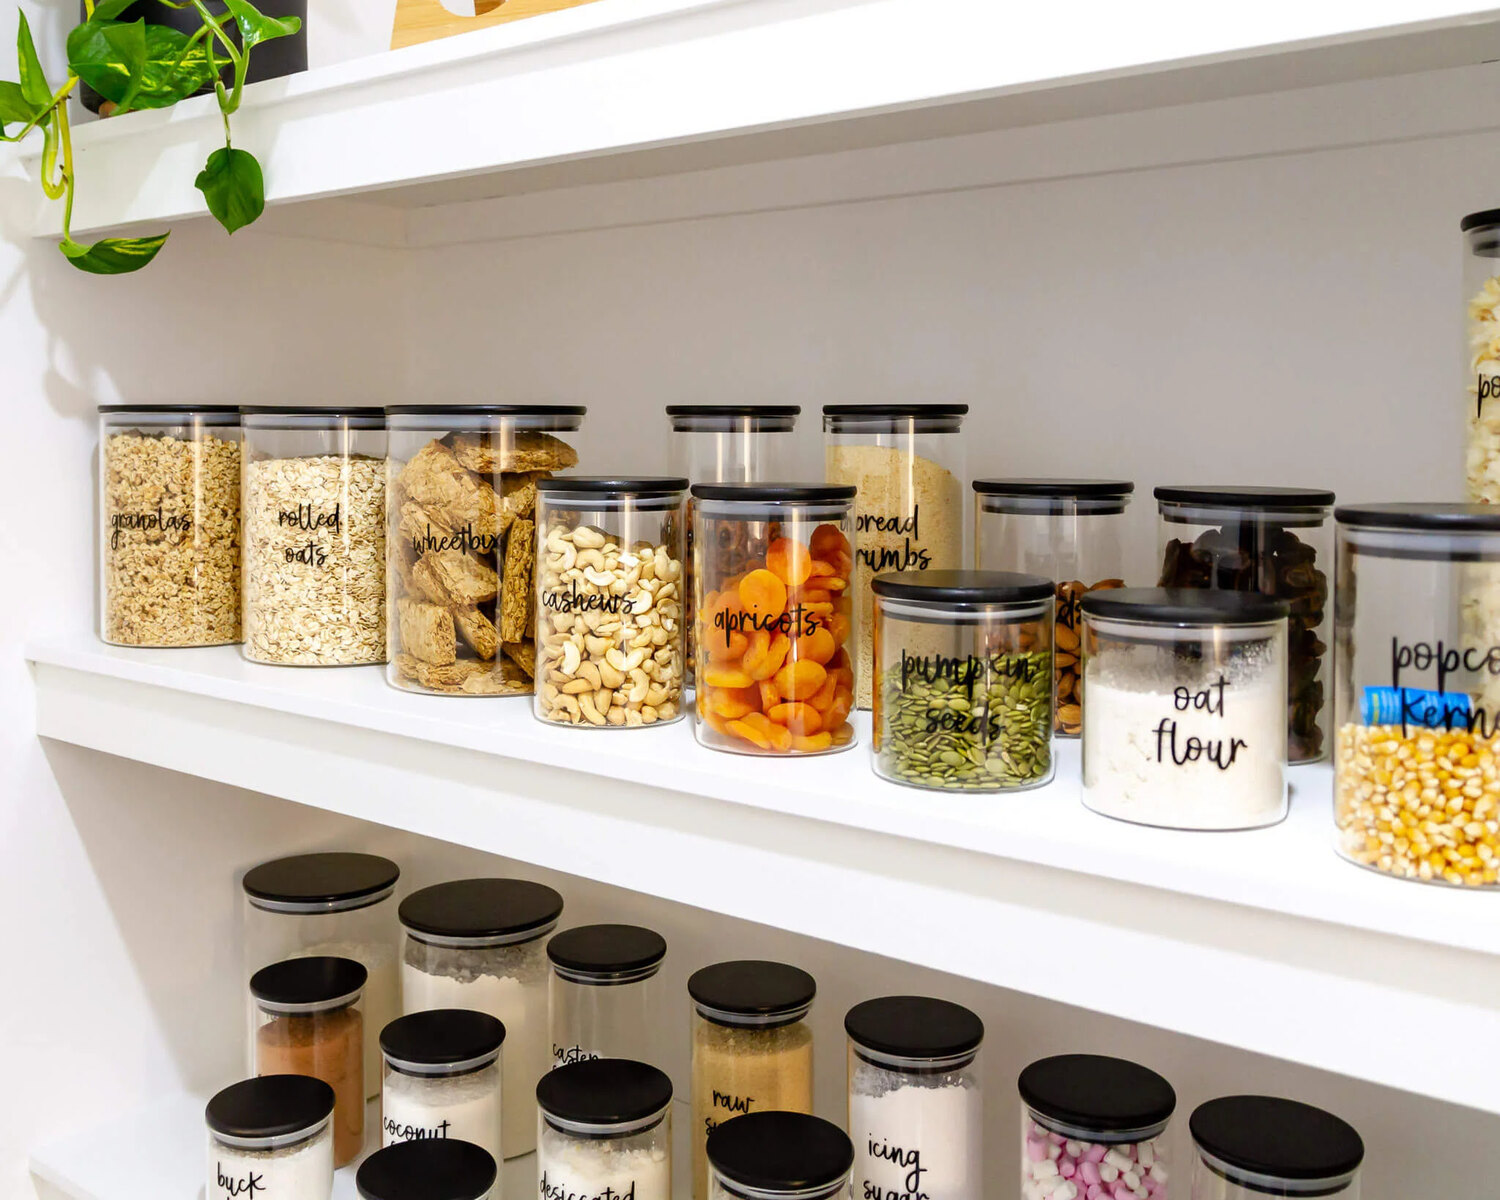
Step 3: Organizing the Jars
Once your canning jars are clean and dry, it’s time to organize them to make the most efficient use of your storage space. Proper organization not only helps keep your kitchen tidy but also makes it easier to locate the jars you need for your next canning project. Here are some tips for organizing your canning jars:
- Sort your canning jars by size. Group together quart-sized jars, pint-sized jars, and any other specific sizes you may have. This will make it easier to find the right jar when you need it.
- If you have different types of canning jars, such as regular-mouth and wide-mouth jars, consider organizing them separately. This can help prevent confusion when you’re searching for the right size and style of jar.
- Stack smaller jars inside larger ones. This can save space and prevent the jars from rolling around and potentially breaking during storage.
- If you have limited shelf space, consider investing in stackable storage containers or racks specifically designed for canning jars. These can maximize your storage space and keep your jars neatly organized.
- Label the shelves or containers where you store your canning jars to easily identify the different jar sizes and types. This can save you time and effort when you’re looking for a specific jar.
By organizing your canning jars, you can optimize your storage space and have a better overview of what you have on hand for future canning projects. It also reduces the risk of accidentally dropping or damaging jars when searching for a specific size, making the entire process more efficient and enjoyable.
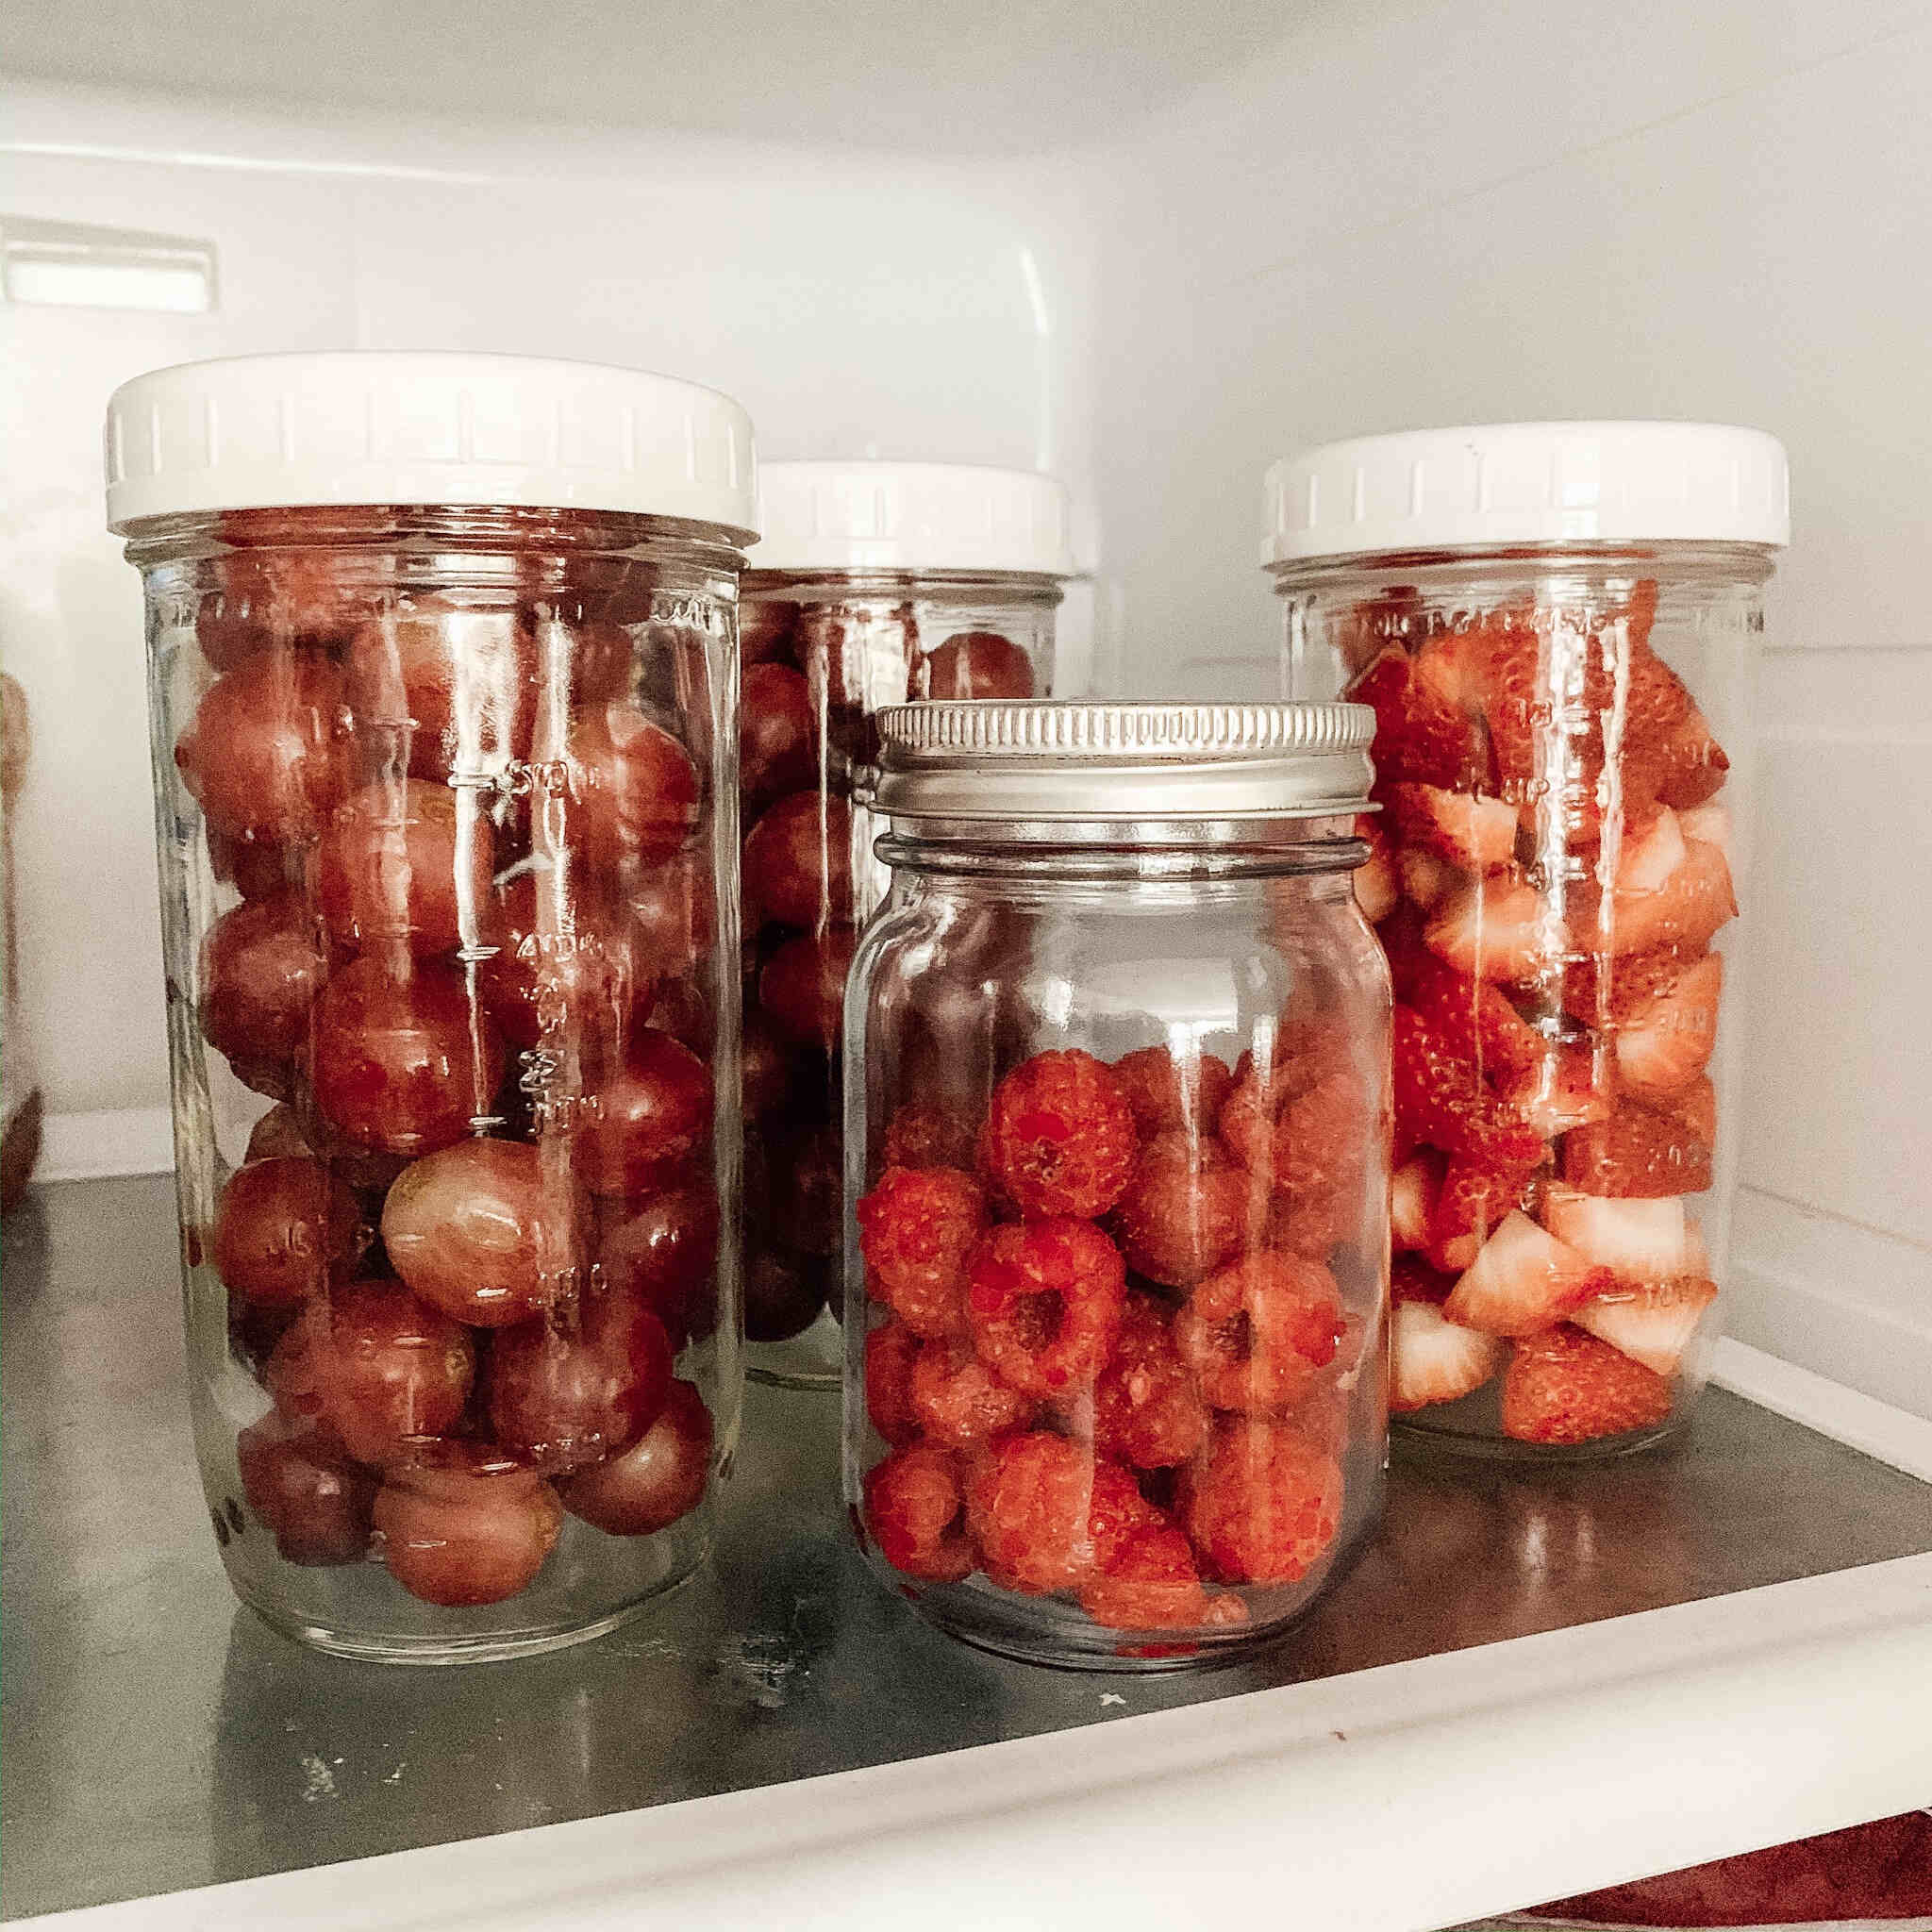
Store empty canning jars in a cool, dry place to prevent rust and damage. Keep them organized and stacked to save space and make them easy to access when needed.
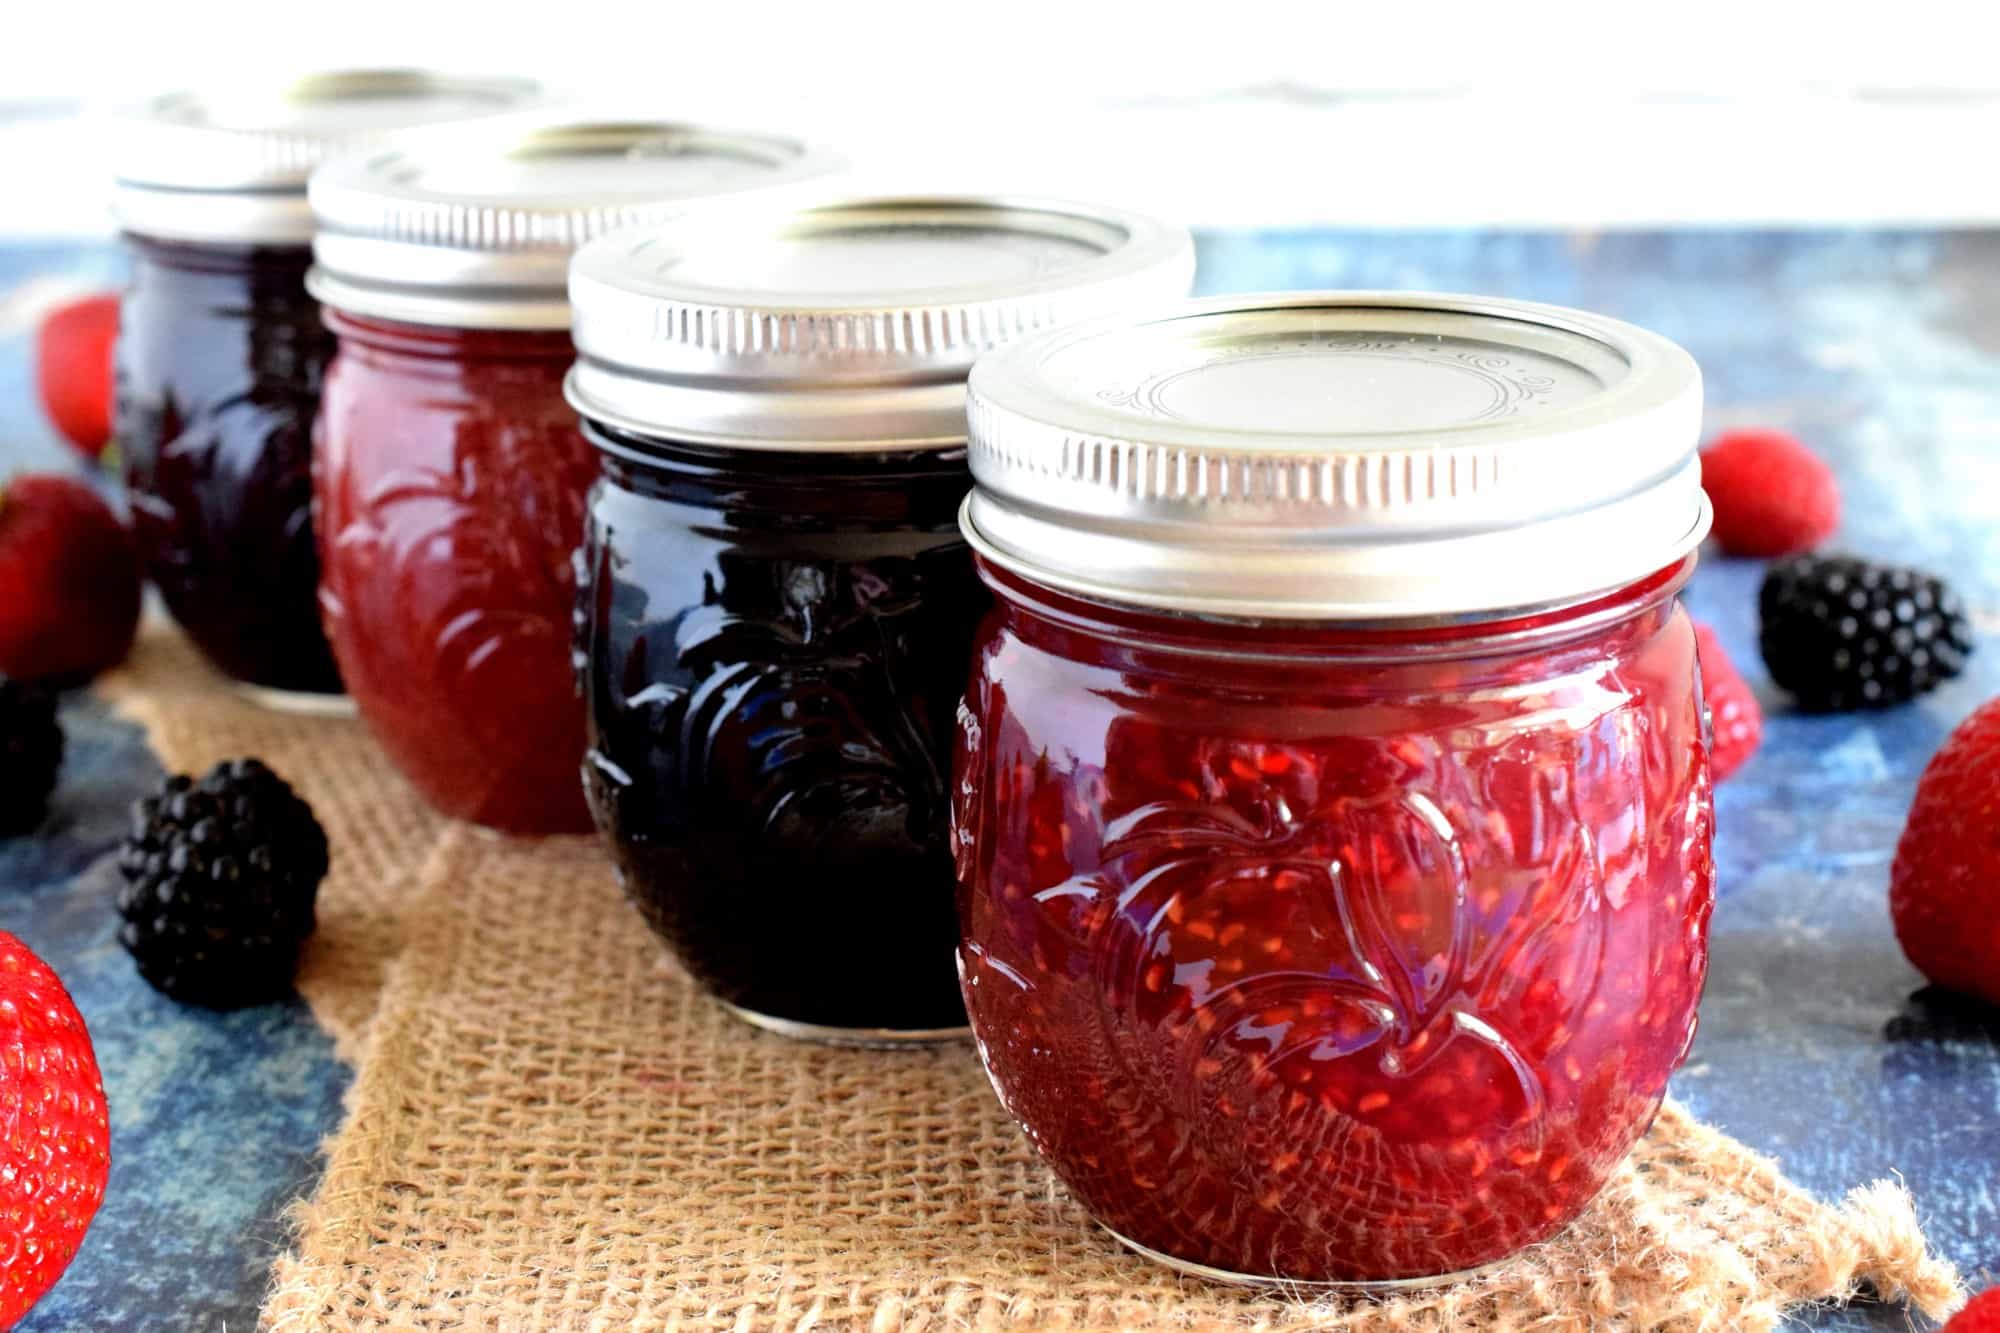
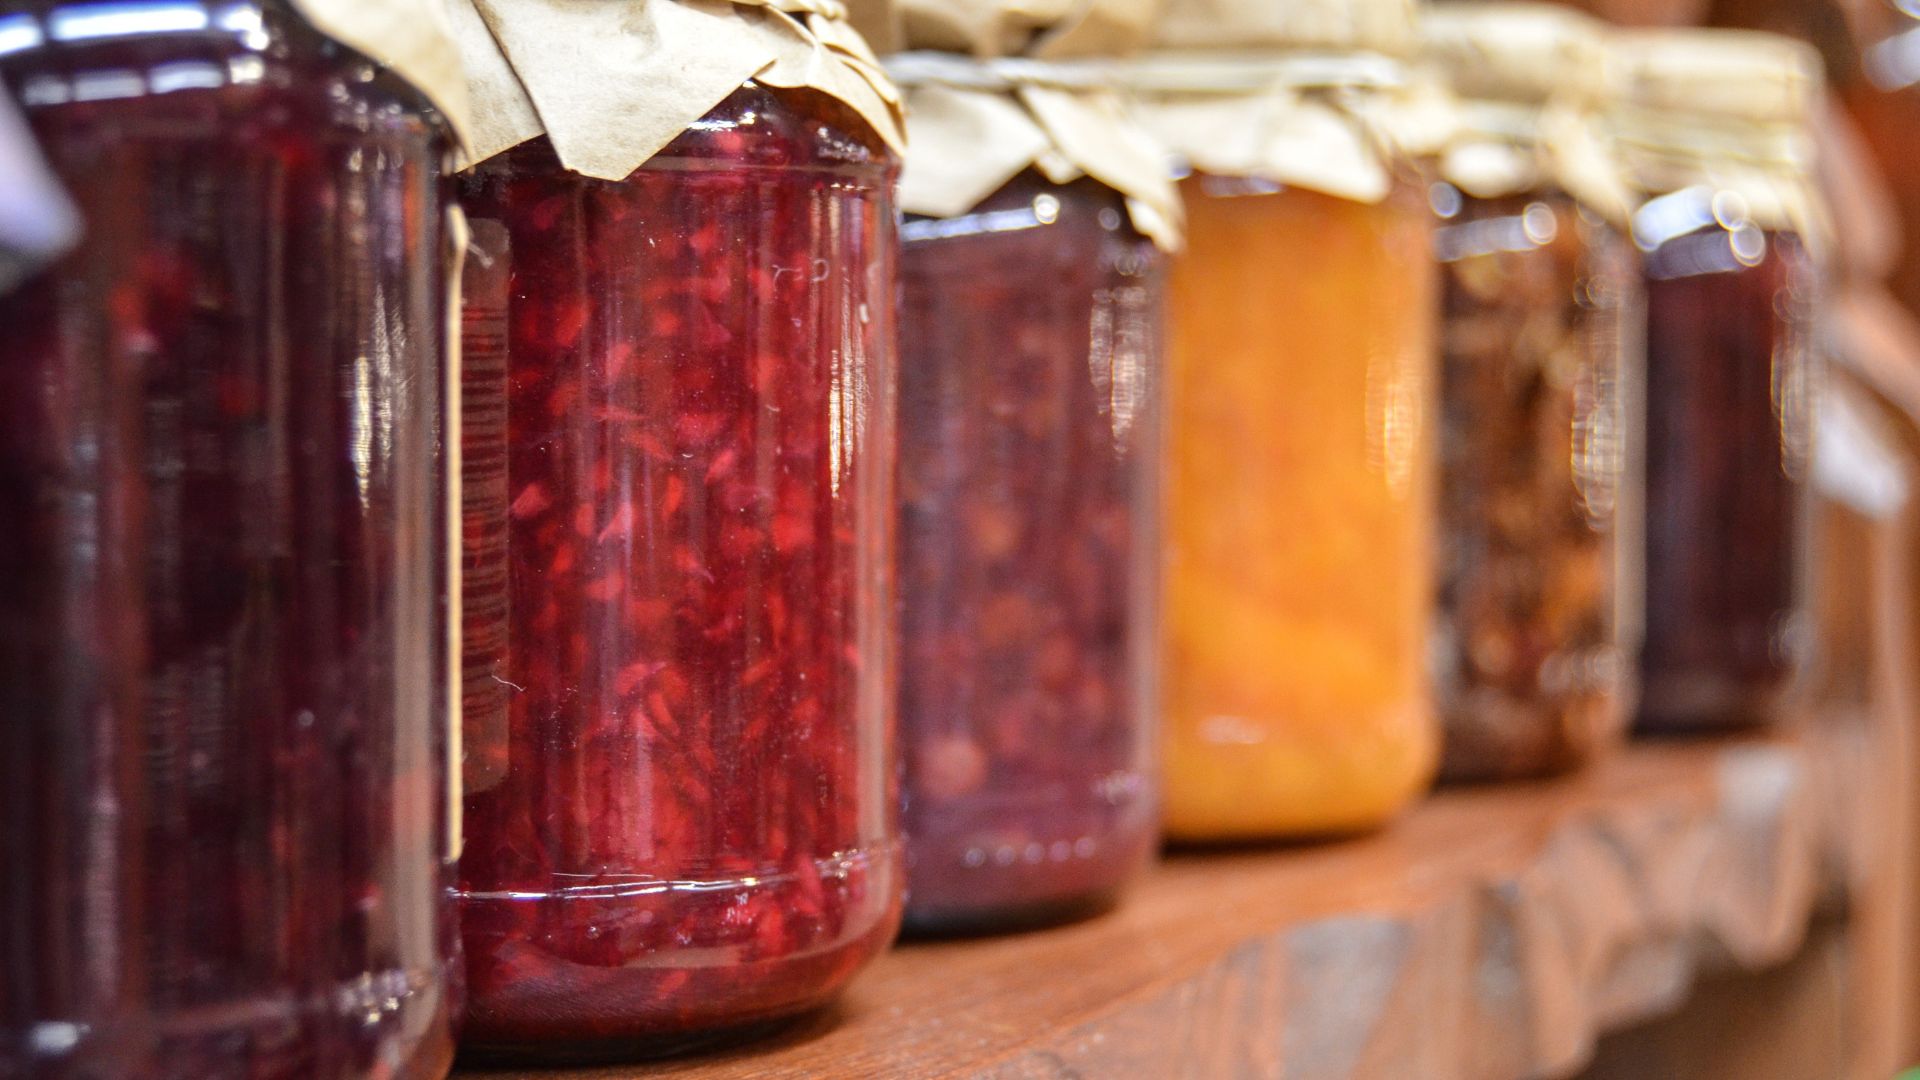
Step 4: Labeling the Jars
Labeling your canning jars is an important step in the storing process. Proper labeling ensures that you can easily identify the contents of each jar, saving you time and potential confusion when you’re ready to use them. Follow these guidelines to effectively label your canning jars:
- Choose a labeling method that works best for you. Options include writing directly on the jar lids with a permanent marker, using adhesive labels or stickers, or tying tags around the jar necks.
- When labeling, be sure to include the contents of the jar and the date it was preserved. This information is essential for keeping track of freshness and knowing when to use the contents.
- Use clear and legible writing when labeling your jars to ensure easy readability.
- If you’re using adhesive labels or stickers, make sure they are water-resistant and won’t peel off during storage. This is especially important in humid environments or if you plan to store the jars in a basement or cellar.
- If you prefer a more decorative approach, enhance your labels with colorful markers or include additional information such as spices used or specific variations of the preserved item. This can add a personal touch to your jars.
- Consider creating a labeling system that works for you. For example, you could assign different colors or symbols to different types of preserves for quick and easy identification.
By properly labeling your canning jars, you’ll be able to quickly identify the contents and know when they were preserved. This helps you maintain a well-organized pantry and ensures that you can enjoy your preserved foods at their best quality.
Read more: How To Store Canning Lids
Step 5: Finding Proper Storage Space
Now that your canning jars are clean, dry, organized, and labeled, it’s time to find suitable storage space for them. Finding the right storage location is crucial to maintain the quality and longevity of your jars. Consider the following factors when selecting a storage space:
- Choose a cool and dry location to store your canning jars. Avoid areas that are prone to temperature fluctuations or high humidity, such as near the stove or in a damp basement.
- Ensure that the storage space is well-ventilated to prevent the build-up of moisture. Good air circulation helps to prevent mold and mildew growth.
- Keep the jars away from direct sunlight. Prolonged exposure to sunlight can degrade the quality of the glass and potentially affect the seal of the jars.
- Consider utilizing pantry shelves, cabinets, or dedicated racks specifically designed for canning jars. These storage options provide a stable and organized environment, protecting your jars from accidental bumps and falls.
- If you have limited storage space, consider creative storage solutions such as wall-mounted shelves or utilizing the height of your kitchen cabinets. Just make sure the storage area is sturdy enough to support the weight of the jars.
- Keep an eye on the temperature of the storage location. Extreme cold or heat can cause the glass to expand or contract, affecting the integrity of the jars and the seals. Aim for a consistent temperature range of around 50-70°F (10-21°C).
By finding proper storage space for your canning jars, you’ll ensure that they remain in optimal condition. Taking these factors into consideration will help extend the shelf life of your jars and preserve the quality of your home-canned goods.
Step 6: Safely Storing the Jars
The final step in storing empty canning jars is to ensure their safety and protection. Proper storage techniques will help prevent damage and maintain the integrity of your jars. Follow these guidelines for safely storing your canning jars:
- Avoid stacking jars too high to prevent them from toppling over. Be mindful of the weight and stability of the storage area.
- Leave enough space between jars to prevent them from knocking into each other and potential breakage. Consider using cardboard dividers or cushioning material, such as bubble wrap or foam, to create a protective barrier.
- Store jars with their lids securely tightened to maintain their seal and prevent any air or moisture from entering.
- Periodically inspect your stored jars for any signs of damage, such as cracks or chips, and promptly replace them if necessary. Damaged jars may not seal properly or pose a safety risk.
- Consider storing jars upside down to protect the seals and reduce the risk of any debris settling on the inside of the jars.
- Keep an inventory of your stored jars, noting the size, contents, and dates of preservation. This will help you stay organized and keep track of what you have available.
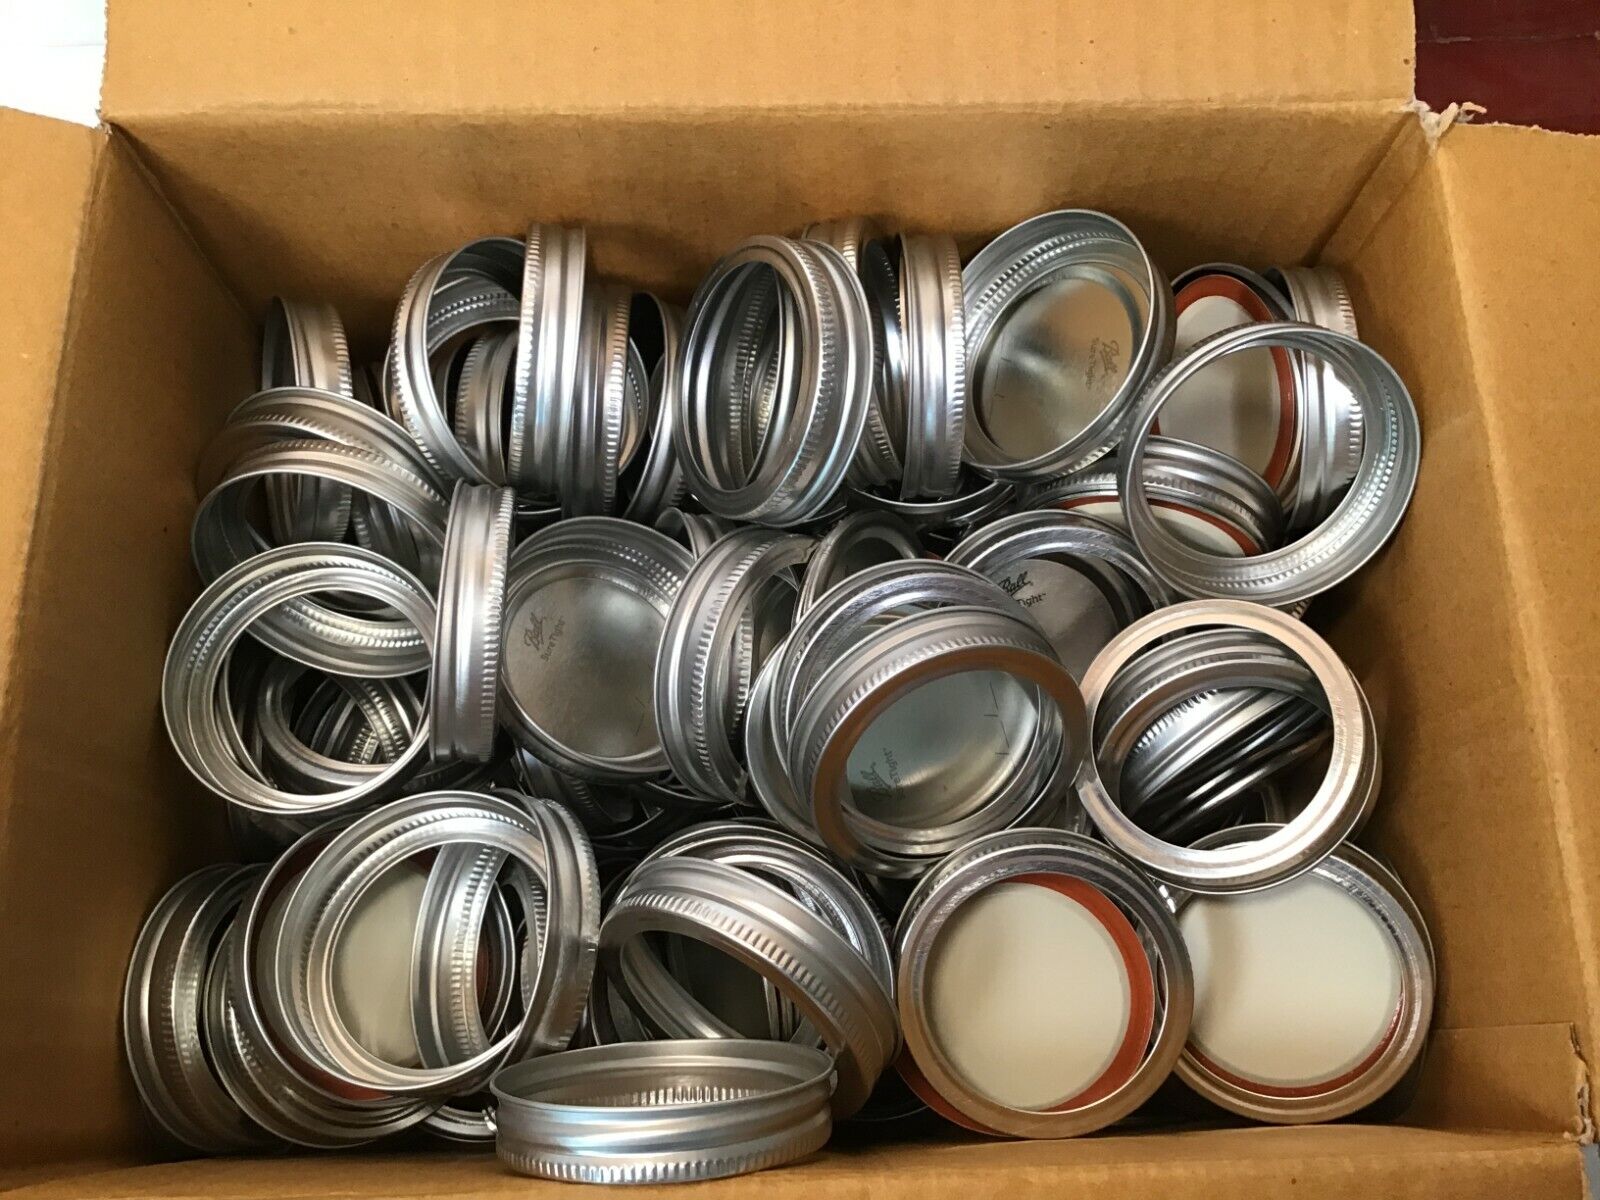
- If you have jars with metal lids, ensure they are stored in a dry environment to prevent rusting. Consider using moisture-absorbing packets or desiccant packs to help control humidity levels.
By following these safety storage measures, you can protect your canning jars from damage and maintain their quality for future use. Properly stored jars will be ready and reliable for your next round of canning adventures.
Conclusion
Storing empty canning jars is a crucial part of the canning process. By cleaning, drying, organizing, labeling, and safely storing your jars, you can help maintain their quality and prolong their lifespan. Following the steps outlined in this guide ensures that your canning jars remain in pristine condition, ready to be used for future preserving projects.
Properly cleaning the jars removes any residue and ensures they are free from contaminants. Thoroughly drying the jars prevents the growth of mold and bacteria. Organizing the jars allows for easy access and efficient use of storage space, while labeling them ensures you can quickly identify the contents. Finding a suitable storage location safeguards the jars from damage caused by temperature fluctuations, moisture, and sunlight. And finally, safely storing the jars by preventing them from tipping over or colliding with each other helps maintain their integrity.
By taking the time to properly store your empty canning jars, you are not only preserving the jars themselves but also protecting the quality of the food you will later preserve in them. Maintaining a well-organized pantry of canning jars ensures that you have a readily available supply for your canning projects, helping you enjoy the taste of homemade goodness throughout the year.
Follow these steps and guidelines to keep your canning jars in optimal condition, and you’ll have a well-organized and efficient canning system that brings joy and delicious homemade flavors to your meals.
Excited about getting your jars in order? Keep up that momentum and check out our guide on the best jar storage options available for next year. For those who are tight on space, our tips on kitchen organization will transform your cramped cooking area into a neatly arranged haven. Don't miss our curated list of top glass jars, perfect for anyone looking to upgrade their storage solutions. These guides ensure your spaces are not just tidy but styled smartly, too!
Frequently Asked Questions about How To Store Empty Canning Jars
Was this page helpful?
At Storables.com, we guarantee accurate and reliable information. Our content, validated by Expert Board Contributors, is crafted following stringent Editorial Policies. We're committed to providing you with well-researched, expert-backed insights for all your informational needs.


0 thoughts on “How To Store Empty Canning Jars”