Articles
How To Store Fruit In Jars
Modified: December 7, 2023
Learn how to store fruit in jars with these helpful articles. Discover tips and tricks for preserving your favorite fruits to enjoy all year round.
(Many of the links in this article redirect to a specific reviewed product. Your purchase of these products through affiliate links helps to generate commission for Storables.com, at no extra cost. Learn more)
Introduction:
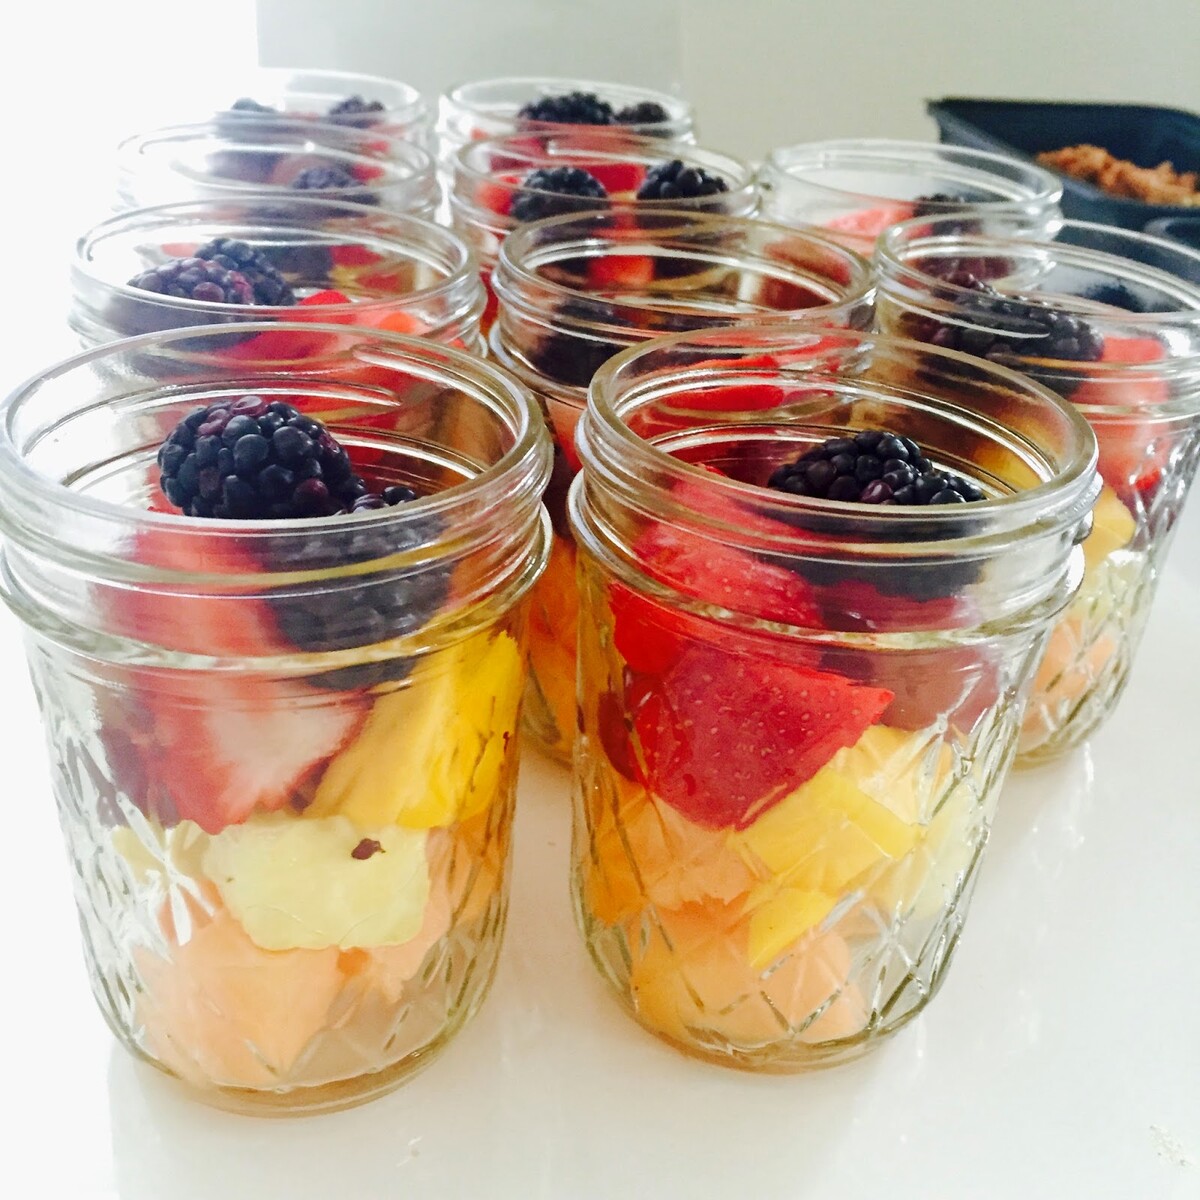
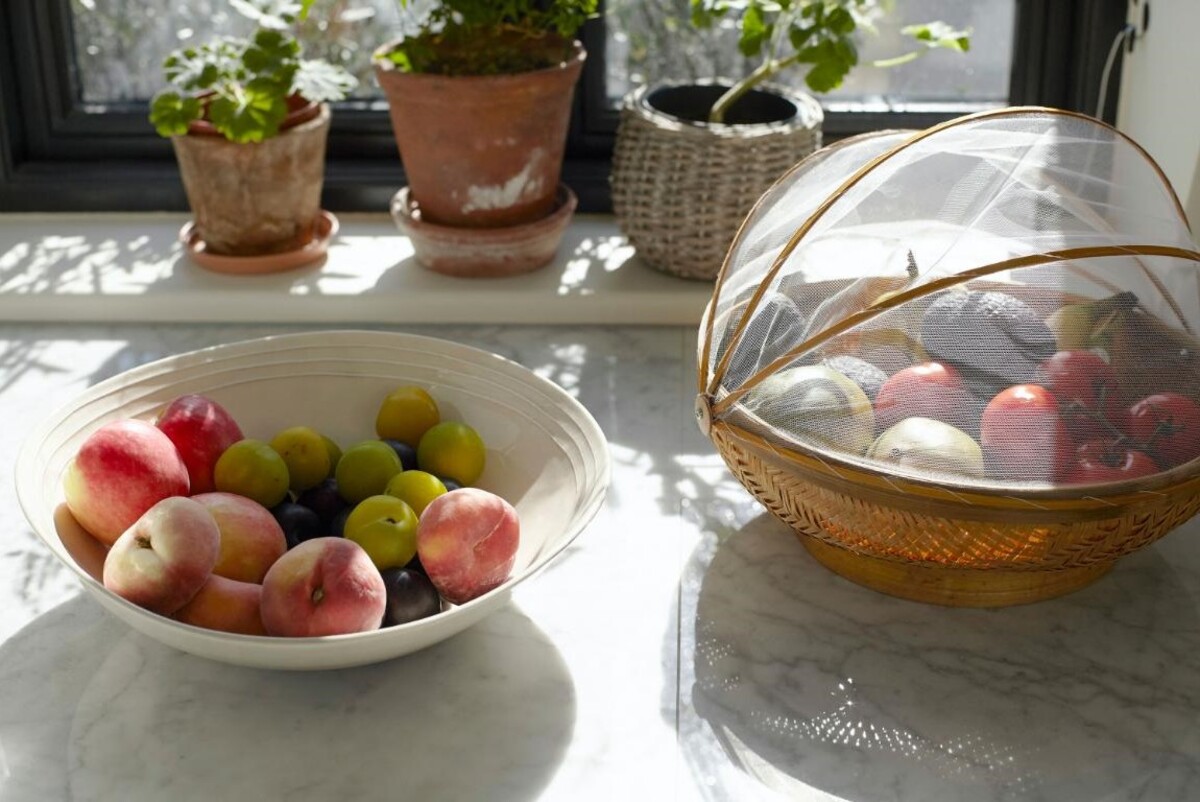
Preserving fruit in jars is a great way to enjoy fresh, flavorful fruit long after the harvest season has passed. Whether you have an abundance of fruit from your own garden or you want to take advantage of a great deal at the local farmers market, storing fruit in jars allows you to savor the taste of summer all year round. Not only does it provide a convenient and cost-effective way to enjoy your favorite fruits, but it also allows you to minimize food waste and take control of the ingredients in your pantry.
Choosing the right jars, preparing the fruit, and properly storing the jars are key factors in successful fruit preservation. In this article, we will guide you through the process step-by-step, providing tips and tricks along the way to help you achieve optimal results.
So, roll up your sleeves, grab your favorite fruits, and let’s dive into the world of storing fruit in jars!
Key Takeaways:
- Preserve the taste of summer by storing fruit in jars! Choose the right jars, prepare the fruit, and follow proper storage techniques to enjoy fresh, flavorful fruit all year round.
- Experiment with flavor combinations, maintain proper sanitation, and enjoy the fruits of your labor with homemade preserved fruit. Follow tested recipes and storage tips for successful fruit preservation.
Read more: How To Store Fruit In Glass Jars
Choosing the Right Jars:
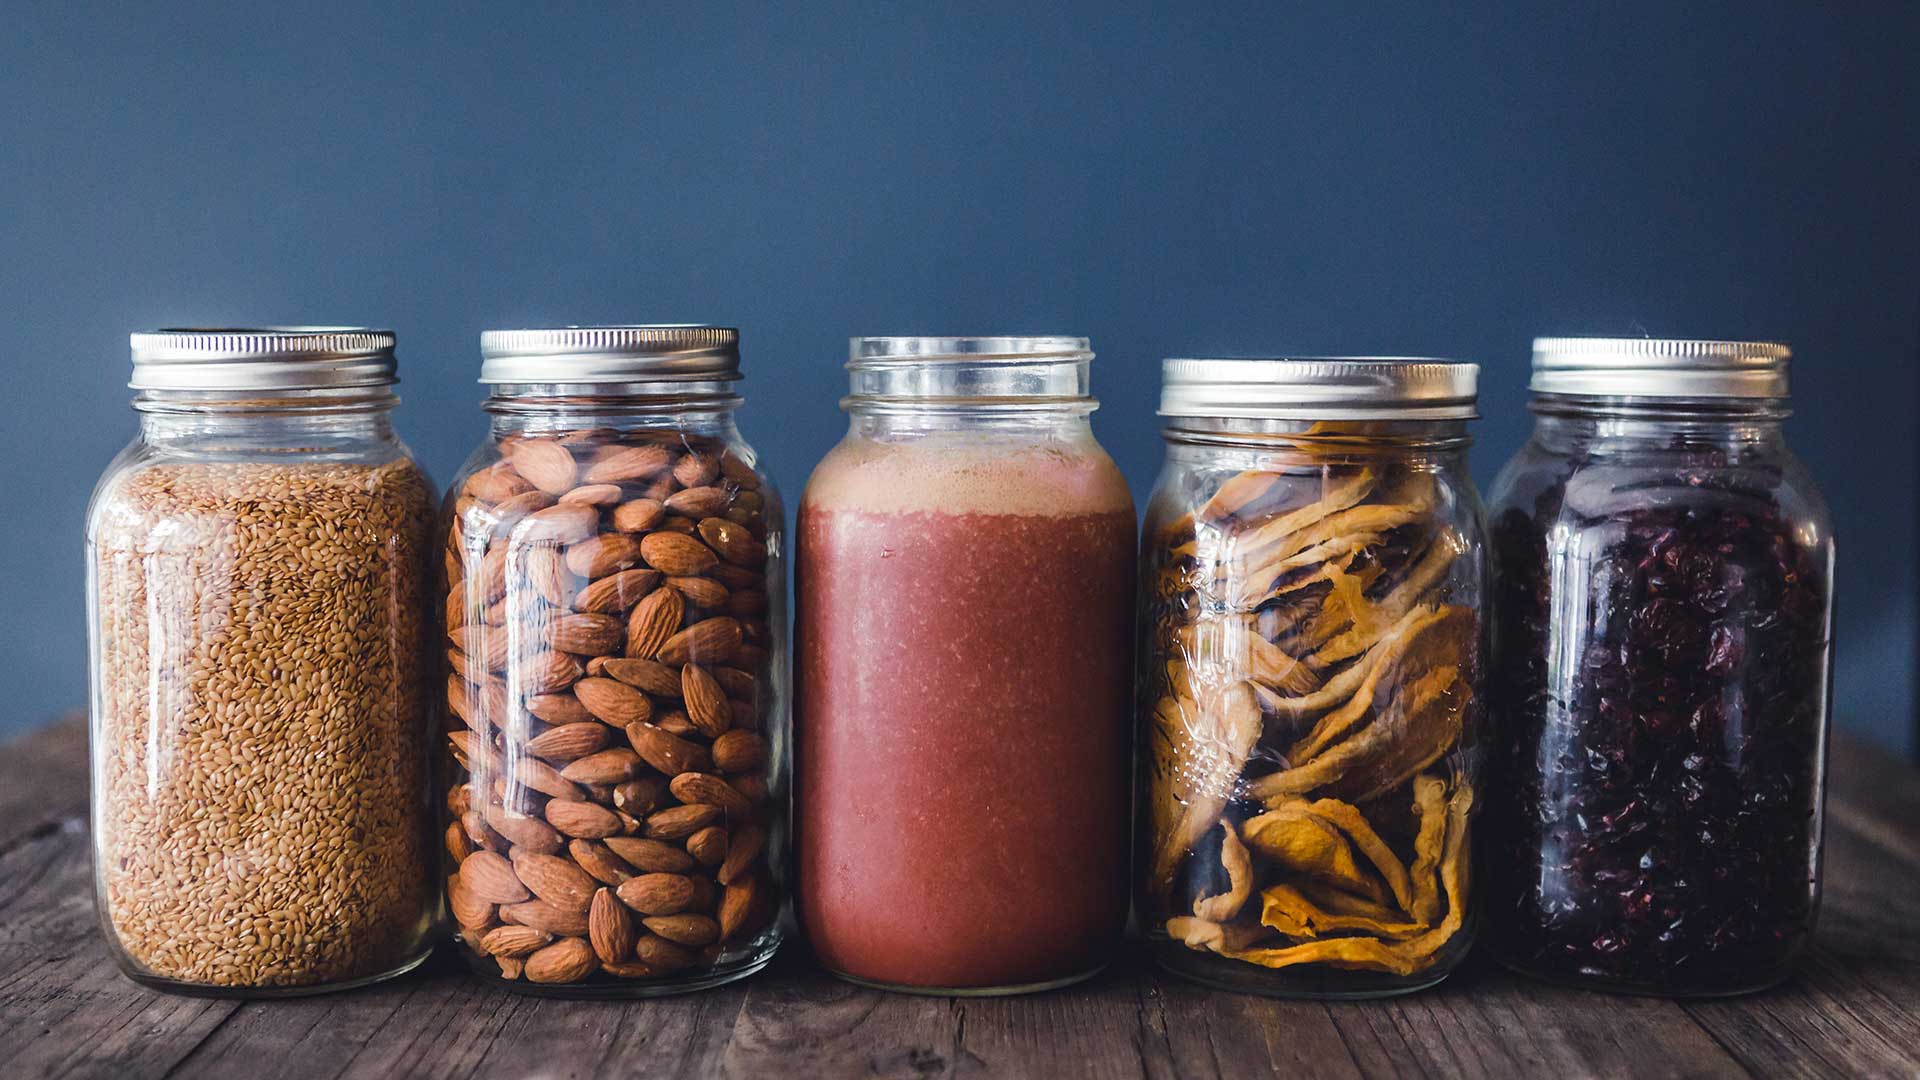
When it comes to storing fruit in jars, selecting the appropriate jar is crucial for ensuring the quality and longevity of your preserved fruit. Here are some factors to consider when choosing the right jars:
- Size: The size of the jar will depend on the quantity of fruit you plan to preserve. For smaller batches, use pint-sized jars, while quart-sized jars are ideal for larger quantities.
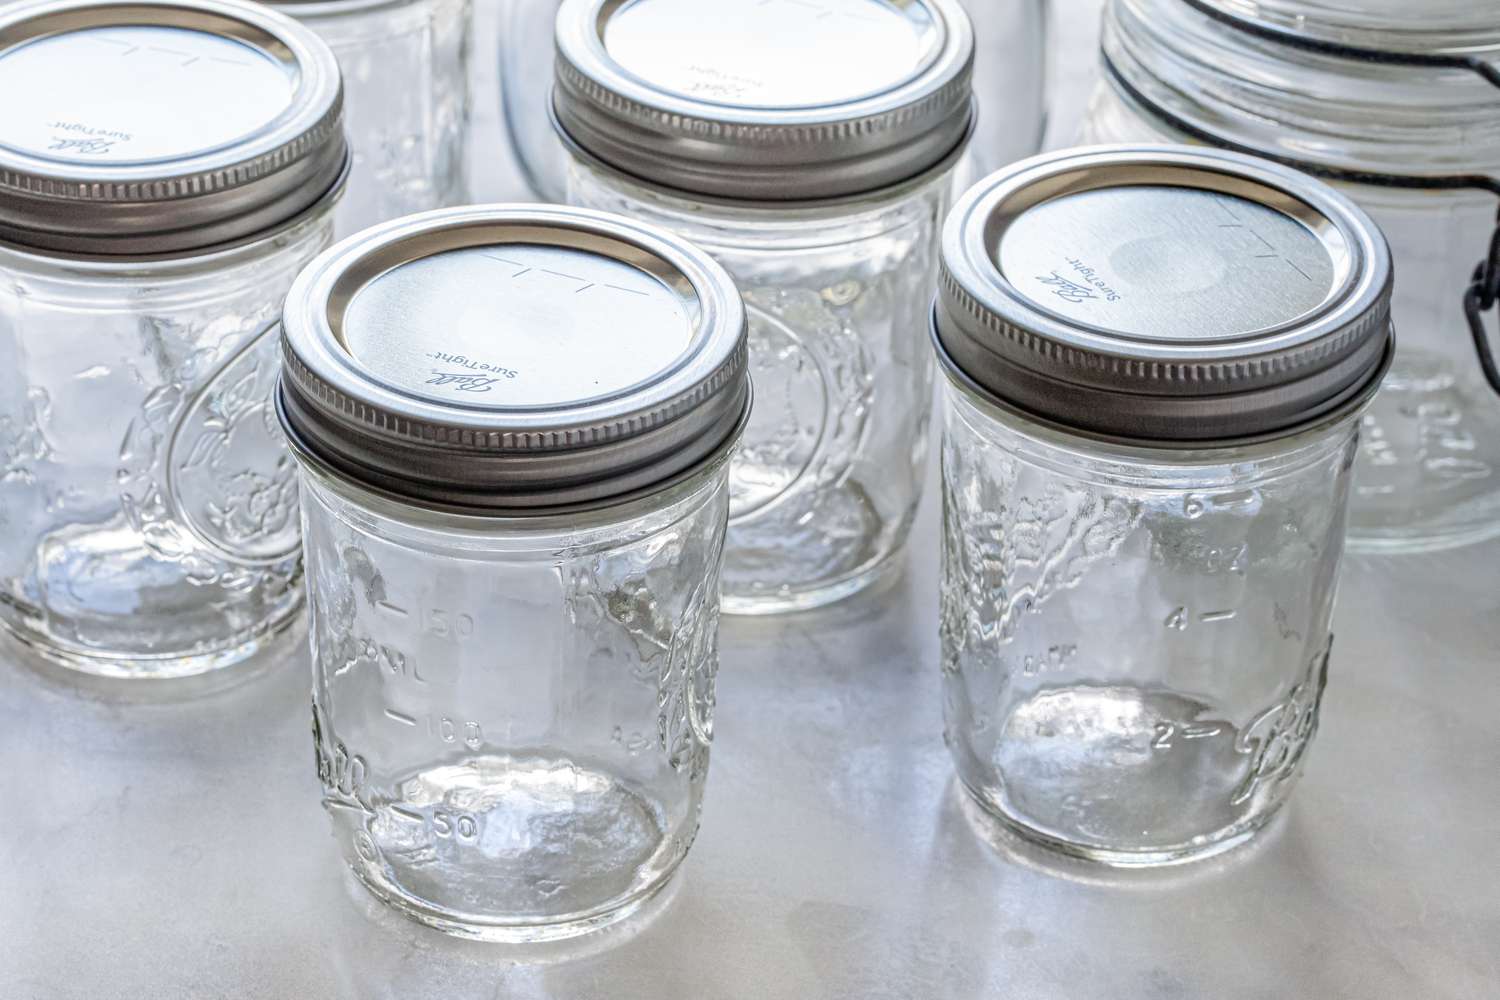
- Material: Glass jars are the most commonly used type for fruit preservation. They are non-reactive, ensuring that the flavor and quality of the fruit remain intact. Look for jars specifically designed for canning, as they are designed to withstand high temperatures during the canning process.
- Lids: Choose jars with two-piece lids, which consist of a flat metal lid and a screw-on band. These lids create an airtight seal, preventing any spoilage or contamination.
- Shape: Opt for jars with a straight-sided, wide-mouth design. This shape makes it easier to fill the jars and extract the fruit when you are ready to use it.
- Reusable: Consider investing in reusable jars. Not only does this reduce waste, but it also allows you to easily restock your pantry with preserved fruit in the future.
By choosing the right jars, you can ensure that your preserved fruit stays fresh and flavorful for months to come. Now that you have selected your jars, it’s time to move on to preparing the fruit!
Preparing the Fruit:
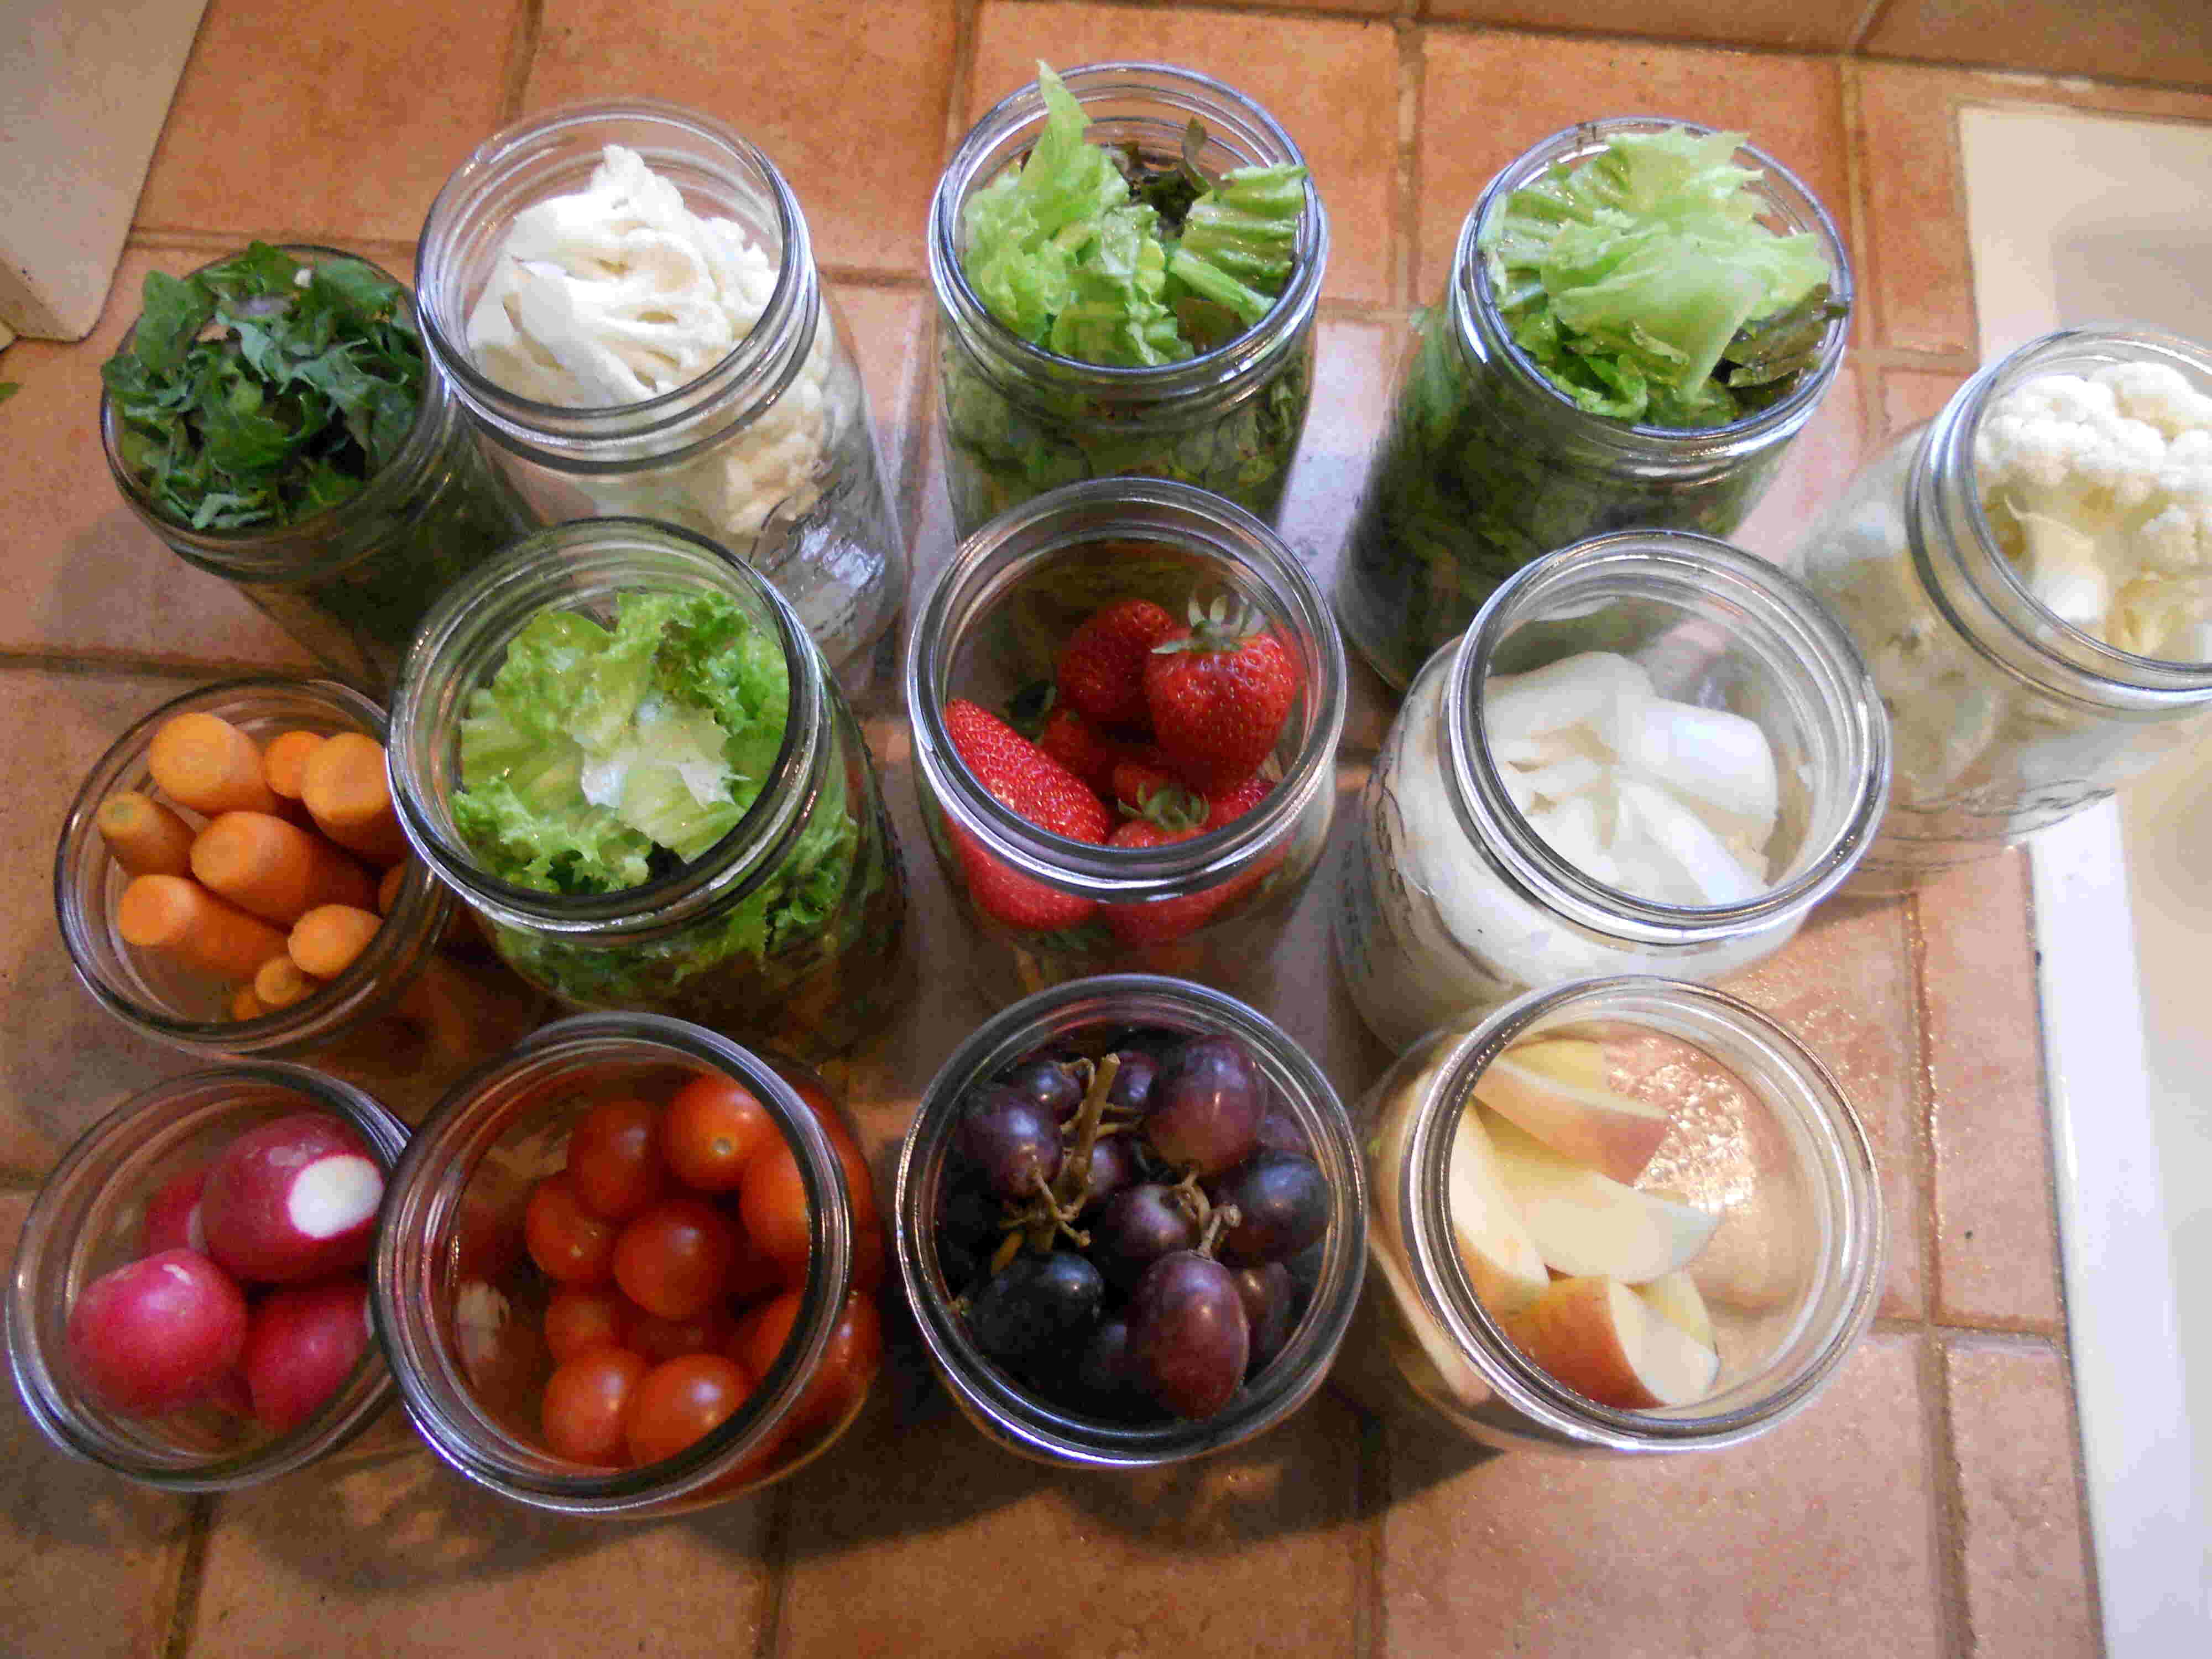
Properly preparing the fruit is essential for successful fruit preservation. Follow these steps to ensure that your fruit is ready for canning:
- Wash Thoroughly: Start by washing the fruit under running water. Use a produce brush if necessary to remove any dirt or debris. Pat the fruit dry with a clean towel.
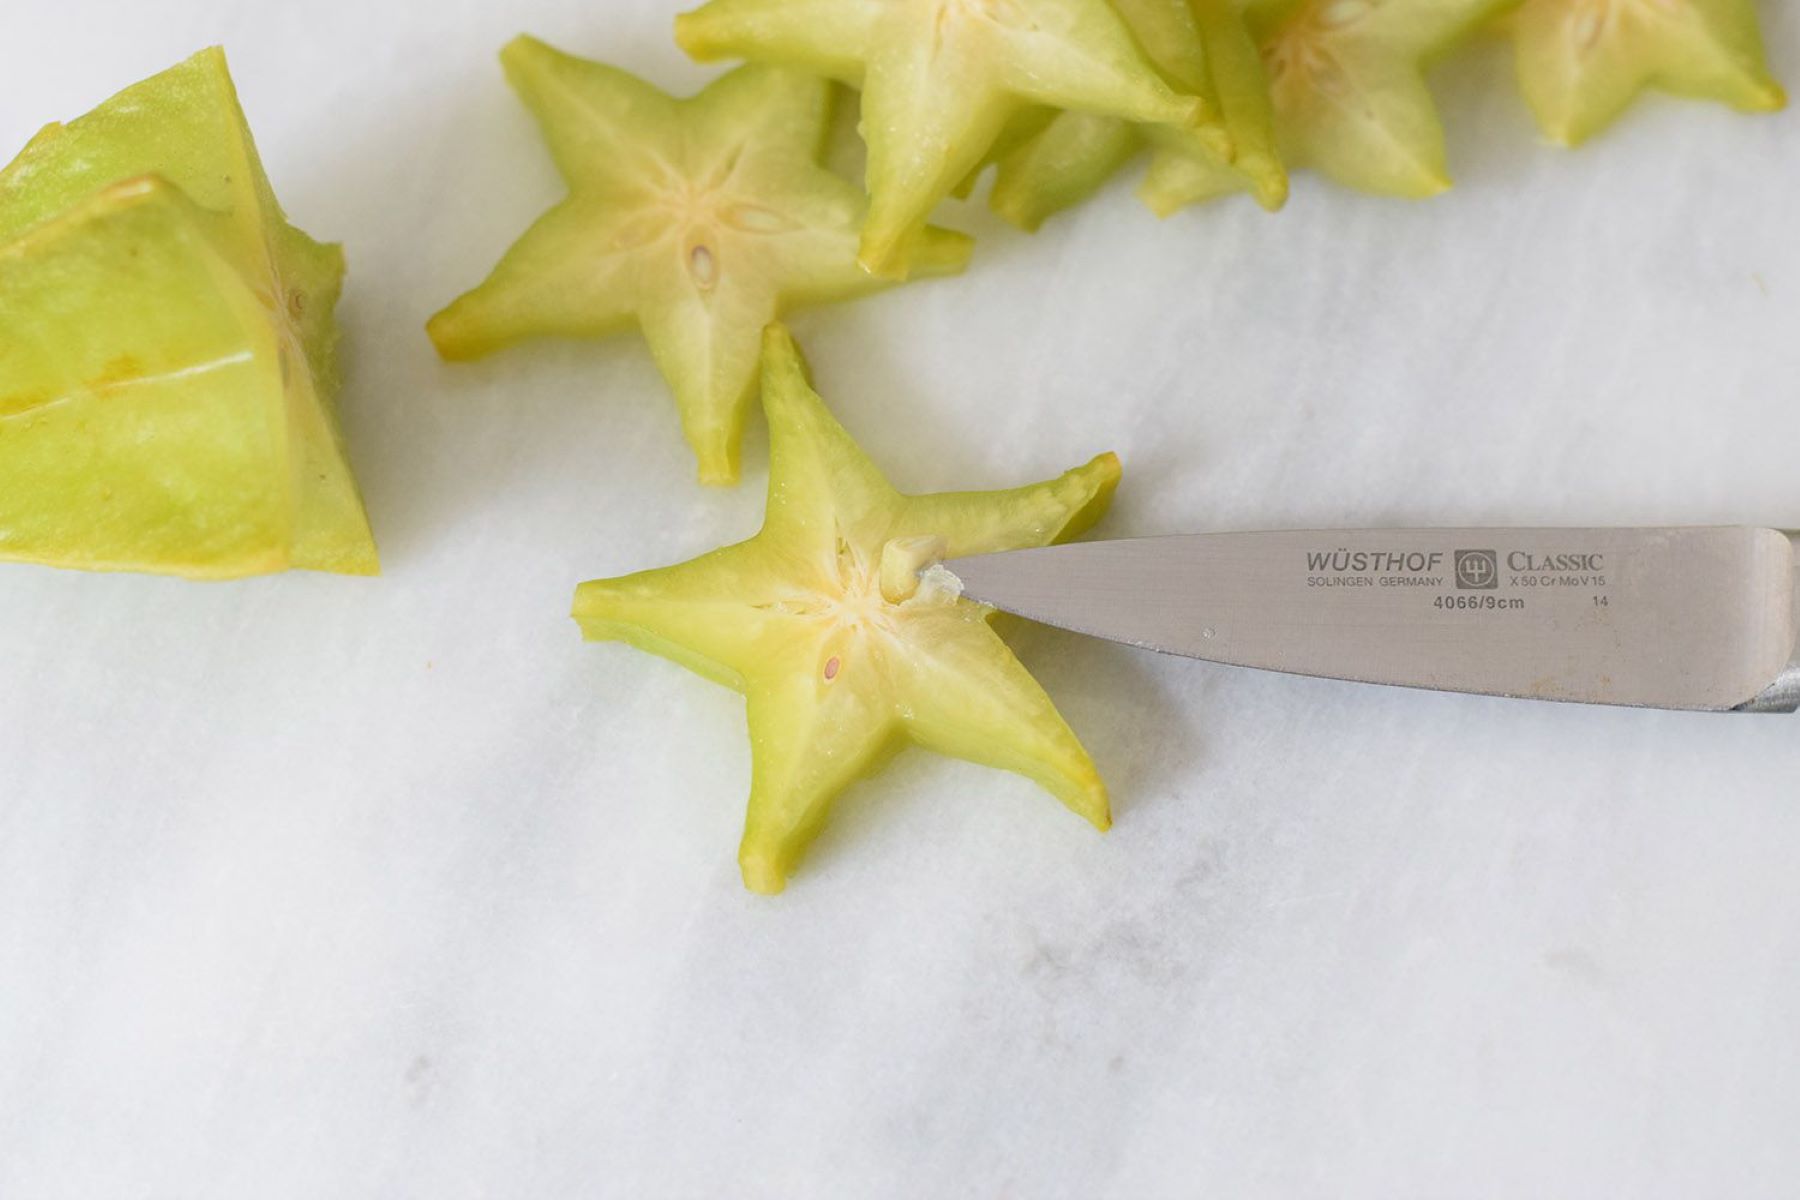
- Remove Skin and Pits: Depending on the type of fruit, you may need to peel it or remove the pits. Peaches, plums, and nectarines, for example, should have their skins removed and pits carefully extracted.
- Slice or Dice: Slice or dice the fruit into your desired size. Keep in mind that larger pieces may require longer processing times.
- Pack in Syrup or Juice: Some fruits, like berries or grapes, can be packed directly into the jars. For other fruits, such as peaches or pears, it is recommended to pack them in a syrup or juice to maintain their texture and flavor.
- Add Lemon Juice: To prevent browning, add a small amount of lemon juice to the fruit. The acid in the lemon juice helps to preserve the natural color of the fruit.
Remember to always work with fresh, ripe fruit for the best results. Avoid using overripe or bruised fruit, as it may affect the quality of your preserved fruit. Once your fruit is prepared, it’s time to move on to preparing the syrup or juice!
Preparing the Syrup:
Creating a syrup or juice is an important step in the fruit preservation process. It helps to enhance the flavor, texture, and longevity of the preserved fruit. Here’s how to prepare the syrup:
- Choose the Type of Syrup: The type of syrup you use will depend on your personal preference and the type of fruit you are preserving. There are three common types of syrups: light, medium, and heavy. Light syrup is made by mixing 1 cup of sugar with 4 cups of water. Medium syrup involves mixing 2 cups of sugar with 4 cups of water. And heavy syrup is made by combining 3 cups of sugar with 4 cups of water.
- Heat the Syrup: In a large pot, heat the desired amount of water and sugar, stirring until the sugar dissolves completely. Bring the syrup to a boil and then turn off the heat.
- Add Flavorings (Optional): For added flavor, you can infuse the syrup with various ingredients such as vanilla beans, cinnamon sticks, or citrus zest. Simply add these ingredients to the syrup while it is still hot and allow them to steep for a few minutes before proceeding.
- Let the Syrup Cool: Allow the syrup to cool completely before using it to pack the fruit into the jars. This will prevent the fruit from overcooking or becoming too soft during the canning process.
By preparing the syrup, you can enhance the taste and texture of your preserved fruit. The next step is to fill the jars with the prepared fruit and syrup.
Filling the Jars:
Now that your fruit is prepared and the syrup is ready, it’s time to fill the jars with your delicious creations. Follow these steps to ensure proper filling:
- Sterilize the Jars: Before filling the jars, make sure they are clean and sterilized. You can do this by washing them in hot, soapy water or by running them through a dishwasher cycle.
- Hot Pack Method: If you prefer a softer texture, you can opt for the hot pack method. In this method, you heat the fruit gently in the syrup or juice before packing it into the jars.
- Cold Pack Method: The cold pack method involves packing the raw fruit directly into the jars without preheating it. This method is suitable for fruits that are naturally firm, such as berries or cherries.
- Pack the Jars: Carefully pack the fruit into the sterilized jars, leaving a bit of headspace at the top to allow for expansion during the canning process. Ensure that the fruit is fully submerged in the syrup or juice.
- Remove Air Bubbles: To remove air bubbles, gently tap the jars on the countertop or use a non-metallic utensil, such as a chopstick, to release any trapped air.
- Adjust the Syrup Level: If necessary, add more syrup or juice to the jars to ensure that there is enough liquid to cover the fruit completely.
- Wipe the Jar Rims: Before sealing the jars, wipe the rims with a clean, damp cloth to remove any residue or stickiness. This will allow for a proper seal.
By following these steps, you can ensure that the jars are properly filled, allowing for successful fruit preservation and long shelf life. Now, let’s move on to the next step: cleaning and sealing the jars.
When storing fruit in jars, make sure to clean and sterilize the jars thoroughly before filling them with the fruit. This will help prevent the growth of bacteria and mold, and keep the fruit fresh for longer.
Read more: How To Store Fruit In Mason Jars
Cleaning and Sealing the Jars:
After filling the jars with your delicious fruit and syrup, it’s important to clean and seal them properly to ensure the preservation of your fruity creations. Follow these steps to clean and seal the jars:
- Clean the Jar Lids: Ensure that the jar lids are clean and free from any debris or sticky residue. You can wash them in hot, soapy water or run them through a dishwasher cycle.
- Apply the Lids: Place the lids on top of the jars, ensuring that they are centered. The flat metal lid should sit snugly on the rim of the jar.
- Secure with Bands: Screw the metal bands onto the jars, applying firm but not excessive pressure. This will secure the lids in place during the canning process.
- Check for Tightness: Ensure that the lids are tightened properly, but be careful not to overtighten. The bands should be snug, allowing for proper sealing but still allowing air to escape during processing.
- Process the Jars: Depending on the type of fruit and the recipe you’re following, you will need to process the jars in a water bath canner or using a pressure canner. Follow the guidelines specific to your recipe to ensure the jars are processed for the appropriate amount of time and at the correct temperature.
- Remove from Canner: Once the processing time is complete, carefully remove the jars from the canner using canning tongs or a jar lifter. Place them on a towel or rack to cool.
- Check for Seal: After the jars have cooled, check for proper sealing. Press down on the center of each lid to ensure it is firm and does not pop back. A properly sealed lid should not move or make a clicking sound.
- Label and Store: Finally, label each jar with the date and contents. Store the sealed jars in a cool, dark place such as a pantry or cellar. They can be stored for up to a year, although it’s best to consume them within 6-8 months for optimal flavor.
By following these steps, you can ensure that your jars are clean, sealed, and ready for long-term storage. Now that you have successfully preserved your fruit, let’s explore some additional tips and tricks for successful fruit preservation.
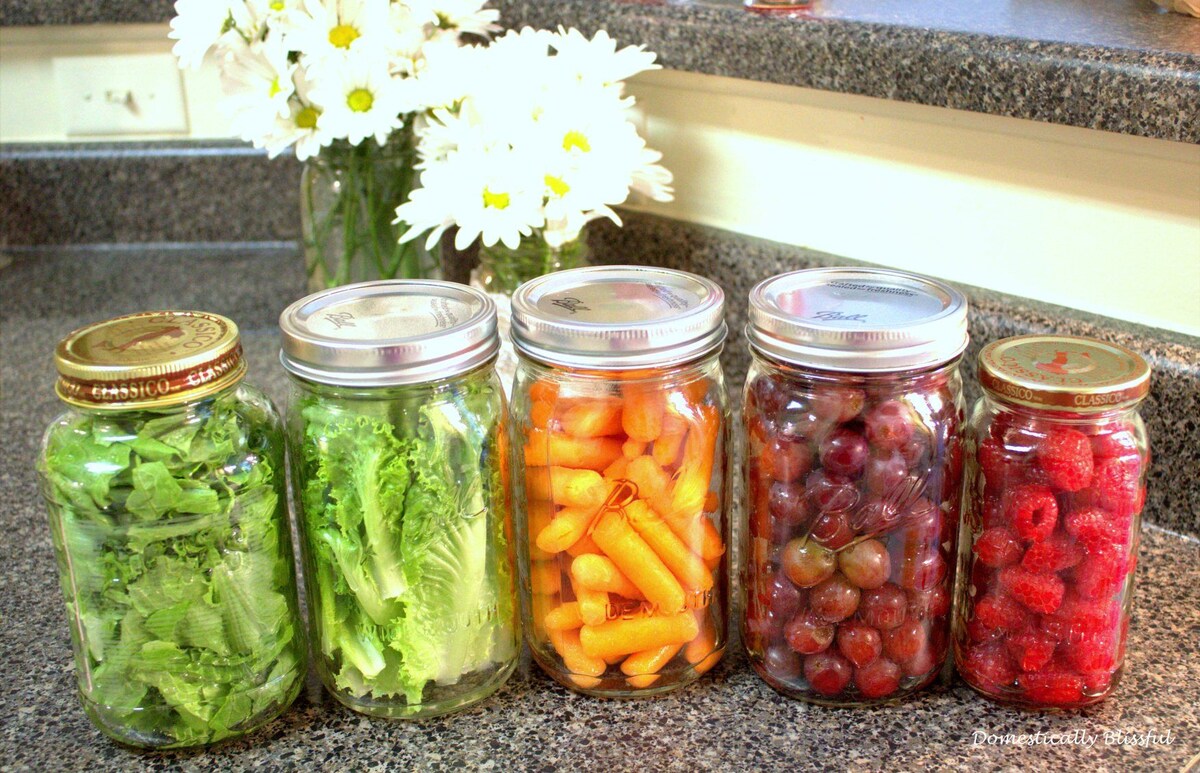
Storing the Jars:
Proper storage is crucial to maintain the quality and safety of your preserved fruit. Here are some tips for storing the jars:
- Choose the Right Location: Store the jars in a cool, dark place away from direct sunlight. Excessive heat and light can cause the fruit to deteriorate and lose its flavor.
- Arrange the Jars Properly: Ensure that the jars are arranged in a stable position, away from any potential hazards. This will help prevent them from falling or getting damaged.
- Organize by Date: Organize the jars by date, placing the oldest jars at the front. This will make it easier to consume them in a timely manner and prevent any jars from being forgotten.
- Regularly Check for Spoilage: Periodically inspect the jars for signs of spoilage, such as mold growth, off odors, or pressurized lids. If any jars show signs of spoilage, discard them immediately.
- Rotate the Stock: To ensure that you consume the fruit while it is still at its best quality, practice a first-in, first-out (FIFO) system. This means using the older jars before opening the newer ones.
- Keep an Inventory: Maintain an inventory of the preserved fruit and regularly update it as you consume the jars. This will help you keep track of what you have and plan your menu accordingly.
By following these storage tips, you can prolong the shelf life of your preserved fruit and enjoy it for months to come. As a bonus, you’ll have a delightful supply of homemade fruit to add to your favorite recipes whenever you desire.
Tips and Tricks for Successful Fruit Preservation:
Preserving fruit in jars can be a rewarding and flavorful experience. To ensure successful fruit preservation, consider these helpful tips and tricks:
- Use High-Quality Fruit: Start with fresh, ripe fruit for the best flavor and texture. Avoid using overripe or bruised fruit, as it may affect the quality of the preserved fruit.
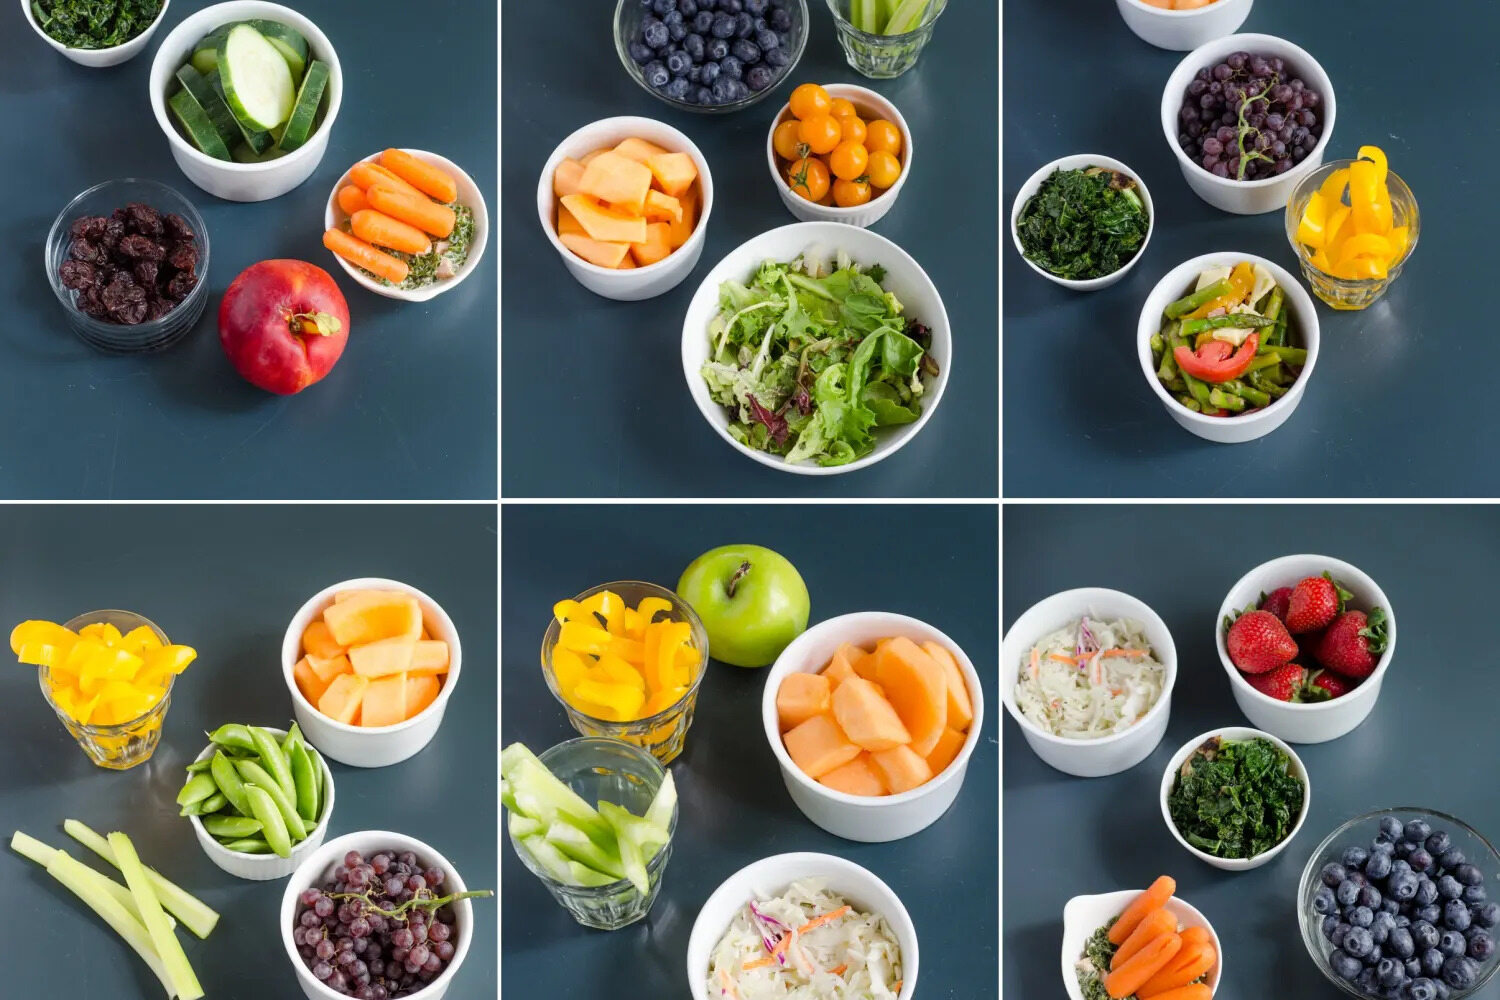
- Experiment with Flavor Combinations: Don’t be afraid to get creative with your fruit combinations! Mix different fruits together or add herbs and spices to the syrup for unique flavor profiles.
- Adjust Sugar Levels: If you prefer a less sweet preserve, you can reduce the amount of sugar in the syrup. However, keep in mind that sugar acts as a preservative and helps maintain the quality of the fruit.
- Follow Approved Recipes: When it comes to canning and preserving, it’s important to use tested and approved recipes from reliable sources. This ensures that you are following proper techniques and processing times.
- Practice Proper Sanitation: Maintain cleanliness throughout the entire preservation process. Clean and sterilize your jars, utensils, and work area to prevent any contamination or spoilage.
- Label and Date Your Jars: Properly label each jar with the date and contents. This will help you keep track of the age of your preserved fruit and ensure you use them within the recommended timeframe.
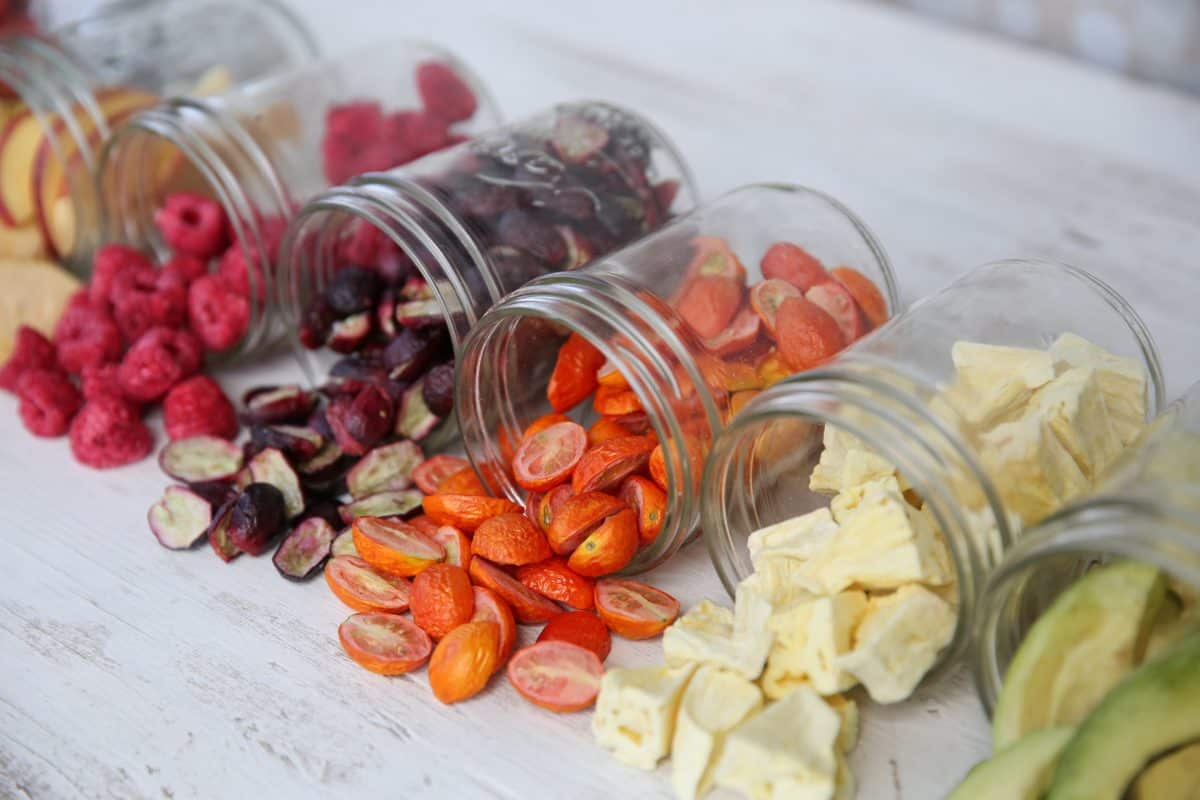
- Consider Freezing: If you don’t have the equipment or time for canning, consider freezing your fruit instead. Freezing is a simple and convenient preservation method that can yield excellent results.
- Rotate Your Stock: As you store your preserved fruit, make sure to rotate your stock. Always use the oldest jars first to ensure that nothing goes to waste.
- Experiment with Small Batches: If you’re new to fruit preservation, start with small batches to fine-tune your techniques and flavors. This allows you to learn from any mistakes and tweak the recipes to your liking.
- Enjoy Your Preserved Fruit: Finally, don’t forget to enjoy the fruits of your labor! Incorporate your preserved fruit into delicious recipes, such as pies, jams, or desserts, to savor the taste of summer even during the colder months.
By following these tips and tricks, you’ll be well-equipped to embark on a successful fruit preservation journey. Get creative, experiment with flavors, and enjoy the satisfaction of having your own homemade preserved fruit on hand throughout the year!
Conclusion:
Preserving fruit in jars is a wonderful way to capture the flavors of the harvest season and enjoy them all year round. From selecting the right jars and preparing the fruit to filling, sealing, and storing the jars, each step in the process contributes to successful fruit preservation.
By following the techniques and tips outlined in this article, you can ensure that your preserved fruit maintains its freshness, flavor, and nutritional value. Whether you choose to enjoy your preserved fruit straight from the jar, incorporate it into recipes, or give it as homemade gifts, the possibilities are endless.
Remember to source high-quality fruit, experiment with different flavor combinations, and follow proper sanitation practices. Stay organized, rotate your stock, and regularly check for spoilage to ensure a well-maintained pantry of preserved fruits.
So why not embark on your own fruit preservation journey? Gather your favorite fruits, sterilize your jars, and dive into the art of preserving. With a little effort and a lot of love, you can savor the taste of delicious fruits throughout the year and revel in the joy of having your own stash of preserved goodies.
Happy preserving!
Frequently Asked Questions about How To Store Fruit In Jars
Was this page helpful?
At Storables.com, we guarantee accurate and reliable information. Our content, validated by Expert Board Contributors, is crafted following stringent Editorial Policies. We're committed to providing you with well-researched, expert-backed insights for all your informational needs.


0 thoughts on “How To Store Fruit In Jars”