Articles
How To Store Berries In Mason Jars
Modified: August 27, 2024
Learn how to store berries in mason jars to extend their freshness and shelf life. Check out our comprehensive articles for useful tips and tricks.
(Many of the links in this article redirect to a specific reviewed product. Your purchase of these products through affiliate links helps to generate commission for Storables.com, at no extra cost. Learn more)
Introduction
Berries are delicious and nutritious fruits that are loved by many. Whether you have freshly picked berries from your garden or bought them from the grocery store, storing them properly is essential to maintain their flavor and freshness. One effective method of storage is using mason jars. Mason jars not only provide an airtight seal but also add a rustic charm to your kitchen shelves.
In this article, we will explore the benefits of storing berries in mason jars and guide you through the process of properly storing them. From choosing the right jars to sealing and labeling, you’ll learn everything you need to know to keep your berries fresh for longer periods.
So, let’s dive in and discover the best practices for storing berries in mason jars!
Key Takeaways:
- Preserve the freshness and flavor of your berries by storing them in mason jars. The airtight seal, protection from contamination, and easy visibility make mason jars an ideal choice for berry storage.
- Properly prepare, layer, and seal your berries in mason jars for optimal storage. Label and date the jars, and follow best practices for refrigeration or freezing to enjoy fresh berries year-round.
Read more: How To Store Mason Jars
Benefits of Storing Berries in Mason Jars
Storing berries in mason jars offer numerous benefits that help to preserve their freshness and extend their shelf life. Here are some key benefits:
- Airtight Seal: Mason jars have airtight lids that create a barrier against air and moisture. This helps to minimize the chances of spoilage and keeps the berries fresh for longer.
- Protection from Contamination: Mason jars provide a secure and sealed environment for your berries, protecting them from external contaminants such as bacteria and mold.
- Easy Visibility: Transparent mason jars allow you to see the contents without opening them. This is particularly helpful when you have multiple jars of berries, making it easy to locate the specific berry variety you want.
- Portability: Mason jars are sturdy and portable, making them ideal for on-the-go snacking or for packing berries for picnics, road trips, or lunchboxes.
- Reusable and Eco-friendly: Mason jars are reusable, reducing your reliance on single-use plastic containers. By opting for mason jars, you contribute to reducing plastic waste and promoting a more sustainable lifestyle.
- Enhanced Shelf Appeal: Storing berries in mason jars not only helps to preserve their freshness but also adds a visually appealing touch to your pantry or refrigerator. The vibrant colors of the berries showcased in the jars create an inviting display.
These benefits make mason jars an excellent choice for storing berries and ensuring their optimal quality and taste over an extended period.
Choosing the Right Mason Jars for Berry Storage
When it comes to choosing mason jars for berry storage, there are a few factors to consider. Here are some key points to keep in mind:
- Size: Select mason jars that are appropriate for the quantity of berries you plan to store. For smaller quantities, 8-ounce or 16-ounce jars should suffice. If you have a larger harvest or want to store berries for a longer period, opt for quart-sized jars.
- Material: Mason jars are typically made of glass, which is ideal for storing berries since it is non-reactive and preserves the flavor and freshness of the fruit. Avoid using plastic jars or containers, as they may leach chemicals into the berries.
- Sealability: Ensure that the mason jars come with proper sealing lids. Look for jars that have two-part lids with a screw-on band and a flat lid with a rubber gasket. This type of lid provides an airtight seal, keeping the berries fresh.
- Wide Mouth vs. Regular Mouth: Consider whether you prefer wide-mouth jars or regular-mouth jars. Wide-mouth jars are easier to fill and empty, making them more convenient for storing whole berries. Regular-mouth jars, on the other hand, are better suited for crushed or pureed berries or if you plan to use a canning funnel.
- Quality: Look for high-quality mason jars from trusted brands, as they offer better durability and reliability. Inspect the jars for any cracks or nicks before purchasing.
By considering these factors, you can choose the right mason jars that best suit your berry storage needs. Remember, investing in good quality jars will ensure better preservation and a longer shelf life for your berries.
Cleaning and Sterilizing Mason Jars
Before you start using the mason jars for berry storage, it is important to clean and sterilize them to ensure proper hygiene and to prevent any contamination. Here are the steps to clean and sterilize your mason jars:
- Wash with Soap and Water: Start by washing the jars, lids, and bands with warm soapy water. Use a brush or sponge to remove any dirt or residue from the jars.
- Rinse Thoroughly: Rinse the jars and lids with clean running water to remove any soap residue.
- Sterilize in Boiling Water: Fill a large pot with water and bring it to a rolling boil. Place the jars, lids, and bands in the boiling water, ensuring they are fully submerged.
- Boil for 10 minutes: Allow the jars, lids, and bands to boil for at least 10 minutes to effectively kill any potential bacteria or microorganisms.
- Remove and Dry: Using tongs or a jar lifter, carefully remove the sterilized jars, lids, and bands from the boiling water. Place them on a clean towel or drying rack to air dry completely.
- Inspect for Damage: Before using the jars for berry storage, inspect them for any signs of damage such as cracks or chips. Discard any jars that are damaged, as they may compromise the integrity of the seal.
By following these steps, you can ensure that your mason jars are clean and ready to be filled with delicious berries. The cleaning and sterilizing process helps to eliminate any potential contaminants and ensures the longevity of your berry storage.
Preparing Berries for Storage
Before you start storing berries in mason jars, it’s important to prepare them properly to ensure their quality and prolonged freshness. Here are the steps to follow when preparing berries for storage:
- Sort and Inspect: Sort through your berries, removing any damaged or overripe ones. Inspect each berry carefully to ensure there are no signs of rot or mold.
- Gently Wash: Rinse the berries gently under cool running water to remove any dirt or debris. Be careful not to bruise or crush the berries while washing.
- Drain Excess Water: After washing, allow the berries to drain in a colander or on a clean kitchen towel. Pat them dry gently with a paper towel to remove any excess moisture.
- Hull (if needed): For berries with stems, such as strawberries, you may need to remove the stems before storing. Use a small paring knife or a strawberry huller to gently remove the stems.
- Leave Whole or Slice: Depending on your preference and intended use, you can choose to store the berries whole or slice them. Slicing the berries may help release their juices during storage, which can be beneficial for certain recipes.
It’s important to handle the berries with care during the preparation process, as they are delicate and prone to damage. By following these steps, you’ll ensure the berries are clean, dry, and ready for storage in the mason jars.
Read more: How To Store Blueberries In Mason Jars
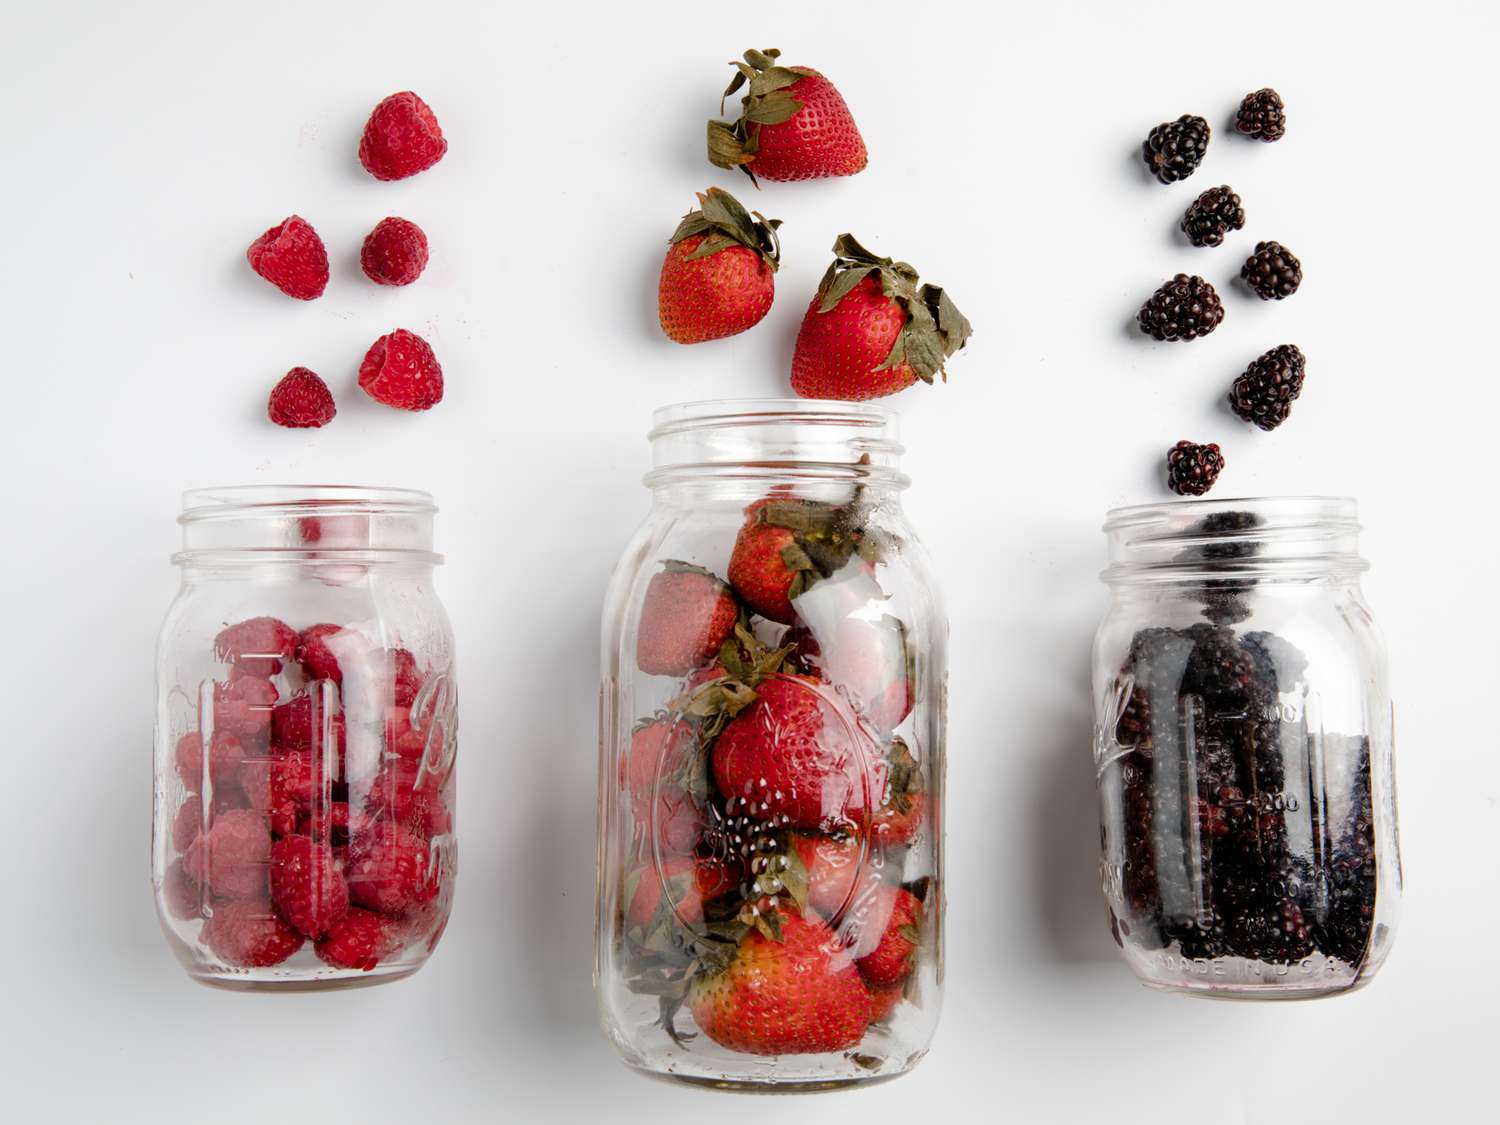
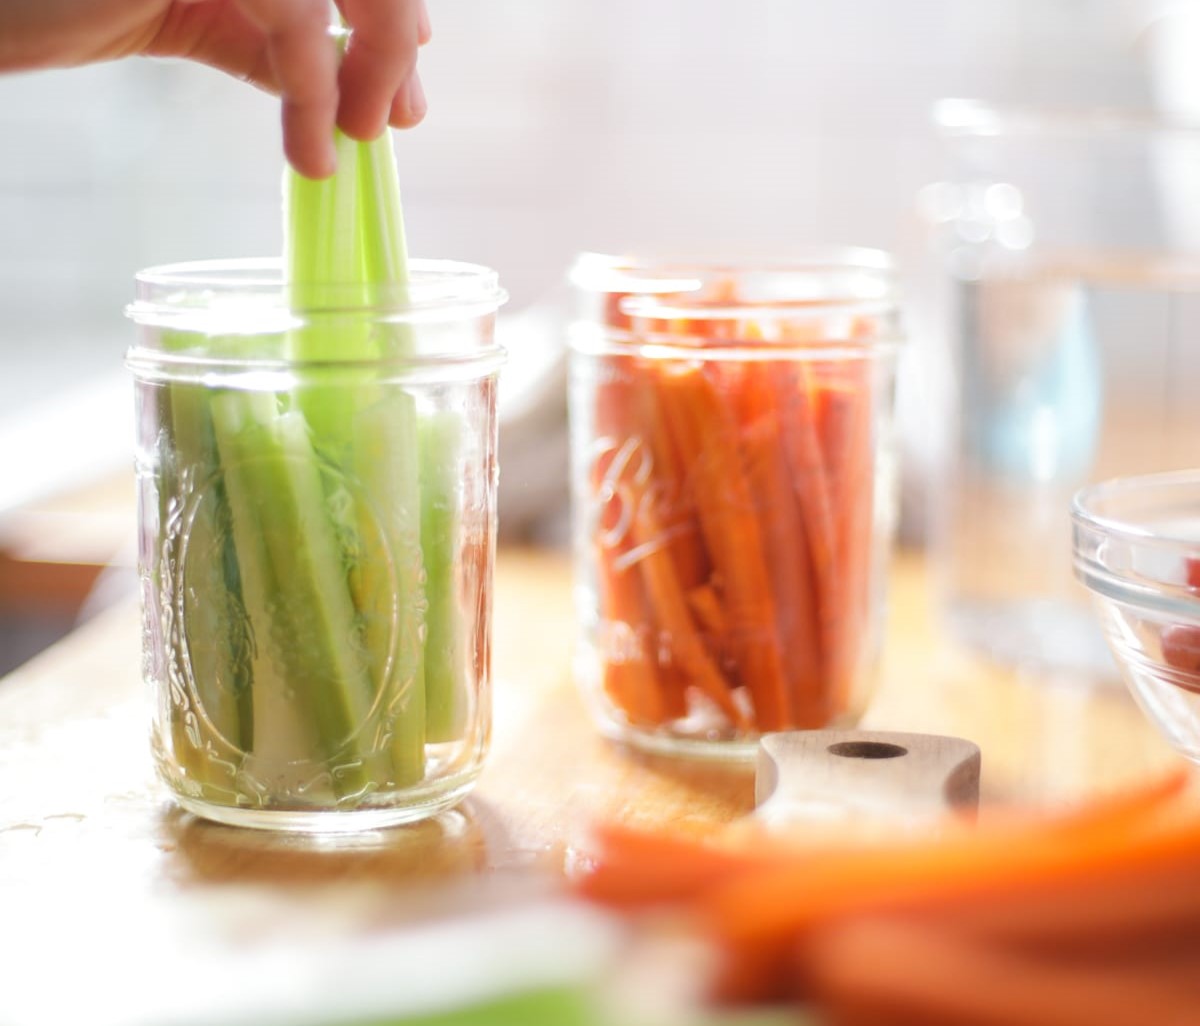
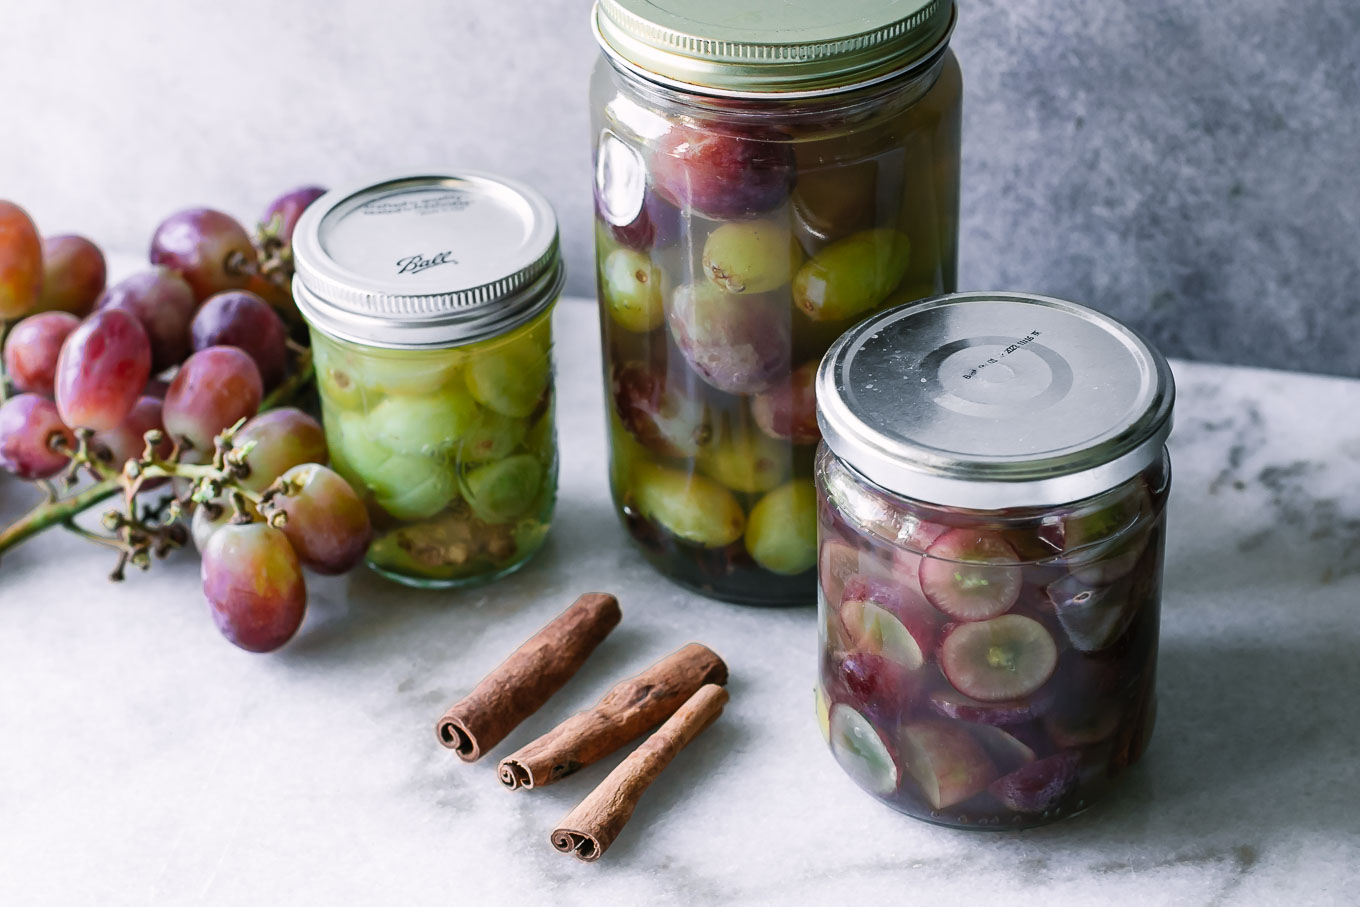
Layering Berries in Mason Jars
When it comes to storing berries in mason jars, layering them properly is key to maintaining their freshness and preventing them from becoming mushy. Here’s how you can effectively layer your berries:
- Start with a Clean Jar: Make sure your mason jar is clean and dry before you begin layering the berries.
- Place a Layer of Berries: Start by adding a layer of berries to the bottom of the jar. Use enough berries to cover the bottom in a single layer, without overcrowding.
- Avoid Smashing or Bruising: Handle the berries gently to avoid bruising or crushing them. Try to place them in the jar without applying excessive pressure.
- Add Another Layer: Once the first layer is in place, add another layer of berries. Again, make sure not to overcrowd the jar, as this can lead to increased pressure and potentially squashed berries.
- Continue Layering: Repeat the process, adding more layers of berries until the jar is filled. Take care to distribute the berries evenly and create a stable layering structure.
- Mind the Space: Leave a small gap at the top of the jar to allow for expansion and prevent the berries from getting squashed when the jar is sealed.
By layering the berries in this manner, you create a stable and compact arrangement that minimizes air exposure and helps maintain the berries’ shape and texture. Remember to handle the berries delicately throughout the layering process to avoid damaging them.
Adding Sweetener (optional)
Adding sweetener to your berries is an optional step that can enhance their flavor and sweetness. While berries are naturally delicious, some people prefer a slightly sweeter taste. If you prefer sweeter berries, here are a few options for adding sweetener:
- Granulated Sugar: Sprinkle a small amount of granulated sugar over each layer of berries as you are layering them in the mason jar. The sugar will dissolve over time, creating a sweet syrup that infuses the berries.
- Honey: Drizzle a small amount of honey over the berries as you layer them in the jar. Honey adds a natural sweetness and also helps preserve the berries.
- Maple Syrup: Similar to honey, you can drizzle a small amount of maple syrup over the berries for a touch of sweetness. Maple syrup adds a delicious flavor that complements the berries well.
- Stevia: For those looking for a low-calorie sweetener, Stevia is a popular option. Use a few drops of liquid Stevia or a small amount of powdered Stevia to sweeten the berries.
It’s important to note that adding sweetener is purely based on personal preference. If you prefer the natural tartness of the berries, you can skip this step altogether. However, adding a touch of sweetener can bring out the flavors and make your berries even more enjoyable.
Remember to use sweetener sparingly, as berries are naturally sweet and too much sweetener can overpower their natural taste. It’s always a good idea to taste the berries before adding any sweetener to see if they meet your desired level of sweetness.
After washing and drying your berries, layer them in a clean, dry mason jar with a paper towel at the bottom and on top to absorb moisture. Store the jar in the refrigerator for up to a week.
Sealing the Mason Jars
Once you have layered your berries in the mason jars, it’s crucial to properly seal them to maintain their freshness and prevent any air or moisture from getting in. Here’s how you can seal your mason jars:
- Clean the Jar Rim: Before sealing the jars, make sure the rims are clean and free of any leftover debris or sweetener. Wipe the rim of each jar with a clean cloth or paper towel.
- Place the Lid: Take a flat lid with a rubber gasket and place it on top of the jar’s rim. Ensure that the gasket side is facing downward.
- Screw on the Band: Take the screw-on band and place it over the lid. Twist it clockwise until it’s firmly secured. Avoid over-tightening, as this may make it difficult to open the jar later.
- Check for a Solid Seal: Once the band is secure, gently press down on the center of the lid. If it pops back up, the seal is not tight, and you should repeat the process with a new lid and band. A solid seal ensures the longevity and freshness of your berries.
It’s important to note that the sealing process should be done while the jars are still warm from the sterilization process. This ensures a proper seal and helps create a vacuum-like environment inside the jar.
Once the mason jars are sealed, they are ready to be stored in the refrigerator or freezer, depending on your preferred method of storage. The airtight seal created by the lids helps to preserve the berries and maintain their optimal quality for an extended period.
Labeling and Dating the Jars
Labeling and dating your mason jars is an important step in proper berry storage. It helps you keep track of the contents and the date of storage, ensuring you consume the berries in a timely manner. Here’s why labeling and dating the jars is essential:
- Identify the Contents: Write the type of berries stored in each jar on a label or directly on the lid. This is particularly useful if you have multiple varieties of berries or plan to store different fruits in separate jars.
- Track Storage Duration: Add the date of storage to the label or lid. This allows you to keep track of how long the berries have been stored. Most berries are best consumed within a few days or weeks of storage, and labeling ensures you consume them while they are still fresh.
- Prevent Confusion: By labeling the jars, you avoid any confusion about the contents or storage dates, especially if you have multiple jars or a large quantity of berries stored.
- Optimize Consumption: Knowing the date of storage enables you to prioritize consuming the berries that have been stored the longest. This helps to minimize any waste and ensures you enjoy your berries at their peak freshness and flavor.
You can use adhesive labels, masking tape, or even sticky notes to label your mason jars. Write clearly and legibly, making sure the labels are securely attached to the jars. Consider using permanent markers or waterproof ink to prevent smudging or fading over time.
By labeling and dating the jars, you create an organized system for your berry storage. This allows you to easily identify and consume the berries within the appropriate timeframe, ensuring the best possible taste and quality.
Read more: How To Store Cucumbers In Mason Jars
Storing Mason Jars in the Refrigerator
The refrigerator is an ideal location for storing mason jars filled with berries. The cool temperature helps to slow down the ripening process and preserve the freshness of the berries. Here are some guidelines for storing mason jars in the refrigerator:
- Choose a Suitable Shelf: Select a shelf in your refrigerator that provides a stable and cool environment. Avoid placing the jars near the door or in areas that are prone to temperature fluctuations.
- Keep the Jars Upright: Ensure that the mason jars are stored in an upright position to prevent any leakage or shifting of the contents.
- Optimal Temperature: Set your refrigerator to a temperature between 32°F (0°C) and 40°F (4°C) to keep the berries fresh. Avoid storing the mason jars in the coldest part of the refrigerator, such as the back of the bottom shelf, as it may result in freezing or damaging the berries.
- Rotate the Jars: Periodically rotate the jars to prevent any moisture or condensation buildup. This helps to maintain the quality of the berries and prevents them from sticking to the jar walls.
- Consume Within a Few Days: When storing berries in mason jars in the refrigerator, it’s best to consume them within a few days. While the jars provide a sealed and controlled environment, berries are still perishable and can lose their texture and flavor over time.
Remember to handle the mason jars with care when taking them out of the refrigerator to avoid unnecessary jostling or movement that could damage the seal or the berries inside. By following these guidelines, you can maximize the freshness and longevity of your stored berries in the refrigerator.
Using Frozen Mason Jars
Mason jars can also be used for freezing berries, allowing you to enjoy their deliciousness even beyond the harvest season. Freezing berries in mason jars offers several benefits, including maintaining the taste, texture, and nutritional value of the fruit. Here are some guidelines for using frozen mason jars:
- Leave Adequate Headspace: When freezing berries in mason jars, it’s important to leave some headspace to account for the expansion of the fruit as it freezes. About 1/2 inch to 1 inch of headspace is recommended to prevent the jars from cracking.
- Cool the Berries: Allow the berries to cool completely before transferring them into the mason jars. This helps to minimize condensation inside the jars, which can lead to ice crystals or freezer burn.
- Add a Sweetener (optional): If desired, you can add a small amount of sweetener, such as sugar or honey, to the berries before freezing. This step helps to enhance the sweetness of the berries and creates a flavorful syrup as the fruit thaws.
- Seal the Jars Securely: Ensure that the mason jars are tightly sealed to prevent air from entering and freezer burn from occurring. Use the same process as sealing jars for refrigeration, making sure the lids are secure and the jars are properly cleaned and sterilized.
- Label and Date: Just like with refrigerated storage, it’s important to label the jars with the contents and date of freezing. This allows you to keep track of the berries and consume them within a reasonable time frame.
- Store in the Freezer: Place the sealed mason jars in the freezer, ideally on a flat surface to prevent them from tipping over. Ensure that the jars are not in direct contact with any other frozen items, as this can cause the glass to crack.
- Thawing the Berries: When you’re ready to enjoy the frozen berries, simply transfer the desired amount of jars from the freezer to the refrigerator and let them thaw overnight. Alternatively, you can thaw the berries at room temperature, although this may result in a slightly softer texture.
By using mason jars for freezing berries, you can conveniently store and preserve the fruit while maintaining their flavor and quality. Whether you’re using the frozen berries for baking, smoothies, or enjoying them as a frozen treat, mason jars are a reliable and practical storage option.
Tips for Properly Storing Berries in Mason Jars
To ensure optimal storage and freshness of berries in mason jars, here are some useful tips to keep in mind:
- Choose Fresh and Ripe Berries: Select berries that are fresh, ripe, and free from any damage or mold. High-quality berries will retain their taste and texture better during storage.
- Handle with Care: Be gentle when handling the berries to avoid bruising or crushing them, as this can accelerate spoilage.
- Use Clean and Dry Jars: Before filling the mason jars, ensure they are thoroughly cleaned, sterilized, and dried to prevent any potential contamination.
- Layer the Berries: Layer the berries in the jars rather than packing them tightly. This allows for better air circulation and reduces the chance of crushing the berries.
- Consider Freezing Small Batches: If you have a large harvest or purchase berries in bulk, consider freezing them in smaller mason jars. This makes it easier to thaw and use only the amount you need at a given time.
- Check for Spoilage: Regularly inspect the jars of stored berries for any signs of spoilage, such as mold or a foul smell. Remove any jars that show signs of spoilage to prevent it from spreading to the rest of the berries.
- Consume in a Timely Manner: While properly stored berries can last for several days or even weeks, it’s best to consume them within a reasonable time frame to ensure the best taste and quality.
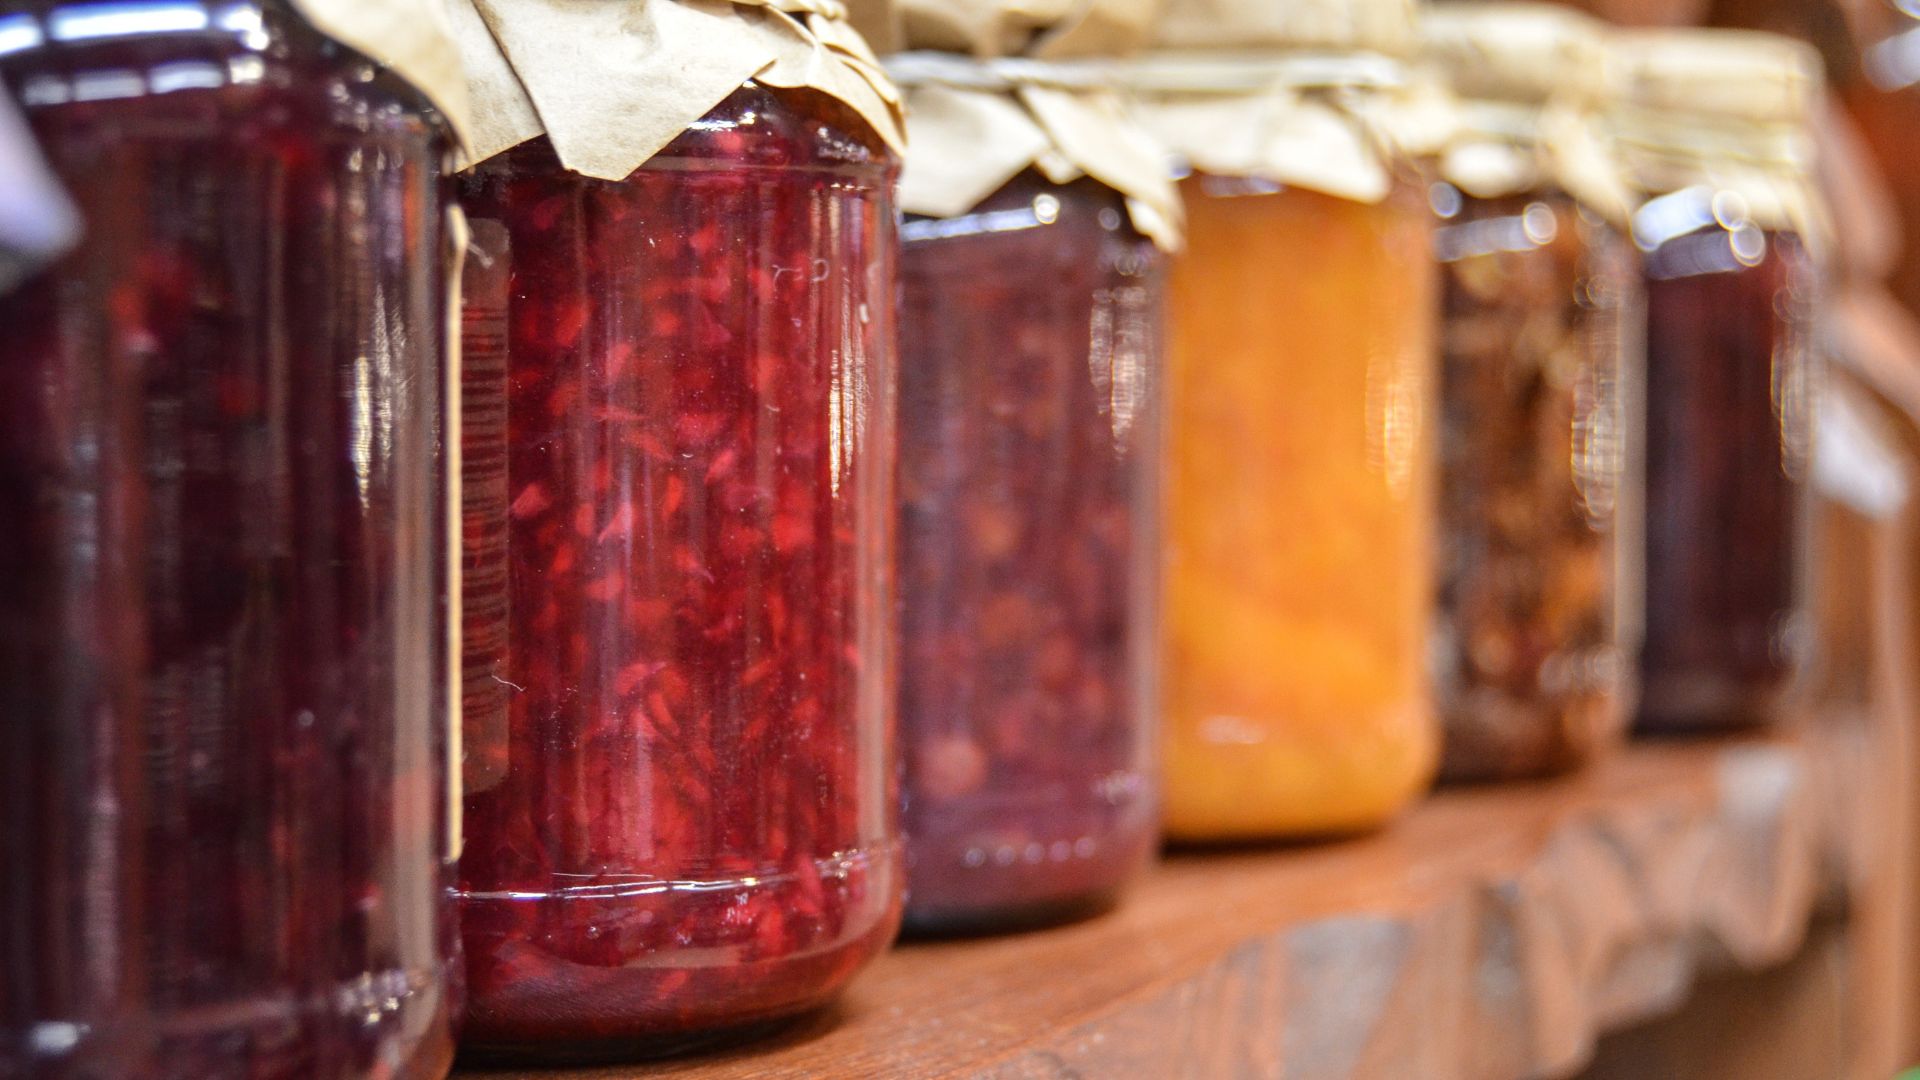
- Experiment with Preservation: If you have extra berries or want to prolong their shelf life, consider making preserves, jams, or freezer-friendly recipes that utilize the berries. This way, you can enjoy their flavor even after the fresh berries have been consumed.
By following these tips, you can maximize the storage life of your berries in mason jars and enjoy their deliciousness well beyond their harvest season. Remember that each variety of berry may have slightly different storage requirements, so it’s always a good idea to research specific recommendations for the type of berries you are working with.
Frequently Asked Questions (FAQs)
Here are some common questions about storing berries in mason jars:
- Can I reuse mason jars for berry storage?
- Should I wash the berries before storing them in mason jars?
- Can I store different types of berries in the same jar?
- How long can I store berries in mason jars?
- Can I use plastic jars or containers instead of mason jars?
- Can I stack the mason jars in the refrigerator?
- Can I reuse the lids for mason jars?
Yes, mason jars are designed to be reusable. Just make sure to clean and sterilize them before each use to maintain proper hygiene.
Yes, it’s important to gently wash the berries before storing them to remove dirt and debris. However, make sure they are completely dry before placing them in the jars to prevent excess moisture.
It’s generally recommended to store different types of berries in separate jars to maintain their individual flavors and prevent cross-contamination. However, if you prefer, you can store compatible berries together.
The storage time can vary depending on the type and freshness of the berries. Generally, berries stored in mason jars can last for a few days up to a week in the refrigerator. If properly frozen, they can last for several months.
It is best to use glass mason jars for storing berries. Plastic containers may not provide an airtight seal and can sometimes impart flavors or odors to the berries.
It’s best to avoid stacking mason jars in the refrigerator, as this can lead to uneven weight distribution and potential breakage. Instead, place them upright on a stable shelf.
The screw-on bands can be reused, but the flat lids with the rubber gasket should be replaced with new ones for each use to ensure a proper seal.
If you have any specific concerns or questions about storing berries in mason jars, it’s always a good idea to refer to reputable sources or consult with food preservation experts for personalized advice.
Read more: How To Store Fruit In Mason Jars
Conclusion
Storing berries in mason jars is a practical and effective method to preserve their freshness and extend their shelf life. The airtight seal provided by the jars helps to protect the berries from moisture, air, and contaminants, ensuring their optimal taste and texture.
In this article, we discussed the benefits of using mason jars for berry storage, from the airtight seal to the visual appeal they add to your pantry or refrigerator. We explored the importance of choosing the right mason jars and properly cleaning and sterilizing them before use. Preparing the berries by washing and hulling them, and layering them in the jars, contributes to maintaining their quality over time.
We also touched on the optional step of adding sweetener and provided guidance on sealing, labeling, and dating the mason jars for proper organization and tracking. Whether you choose to store the mason jars in the refrigerator or freezer, we provided tips and best practices to ensure optimal storage conditions.
Finally, we addressed common FAQs to address any concerns you may have had about storing berries in mason jars. By following the guidelines in this article, you can enjoy the flavors of fresh berries long after the harvest season has ended.
Remember, the key is to handle the berries with care, choose high-quality jars, and consume the stored berries within a reasonable time frame. So, go ahead and start storing your berries in mason jars to enjoy their juiciness, vibrant color, and natural sweetness whenever your cravings strike.
Frequently Asked Questions about How To Store Berries In Mason Jars
Was this page helpful?
At Storables.com, we guarantee accurate and reliable information. Our content, validated by Expert Board Contributors, is crafted following stringent Editorial Policies. We're committed to providing you with well-researched, expert-backed insights for all your informational needs.


0 thoughts on “How To Store Berries In Mason Jars”