Articles
How To Store Cat Poop For Vet
Modified: August 23, 2024
Learn the proper way to store cat poop for vet visits with our informative articles. Find useful tips and guidelines to ensure the health and safety of your feline companion.
(Many of the links in this article redirect to a specific reviewed product. Your purchase of these products through affiliate links helps to generate commission for Storables.com, at no extra cost. Learn more)
Introduction
Welcome to our comprehensive guide on how to properly store cat poop for vet visits. As cat owners, it is essential to maintain the health and well-being of our furry companions, and part of that responsibility includes being prepared for vet appointments. One crucial aspect that often gets overlooked is the proper storage of cat poop samples. This might not be the most glamorous topic to discuss, but it is an essential part of the diagnostic process for many feline health issues.
When visiting the vet, you may be asked to provide a stool sample from your cat. This sample helps the veterinarian detect various gastrointestinal issues, such as parasites, infections, or dietary problems. To ensure accurate test results, it is vital to store and transport the poop sample correctly. In this guide, we will walk you through the step-by-step process of storing cat poop for vet visits.
Properly storing cat poop not only ensures the integrity of the sample but also helps maintain hygiene and prevents any potential contamination. By following these guidelines, you can confidently collect, store, and transport the stool sample, allowing your veterinarian to make an accurate diagnosis and provide the best possible care for your beloved feline.
Before we delve into the specifics of cat poop storage, let’s take a quick look at why it is so important to handle this process correctly.
Key Takeaways:
- Properly storing cat poop for vet visits is crucial for accurate testing, hygiene, and efficiency. Follow step-by-step guidelines to ensure sample integrity and contribute to your cat’s well-being.
- Choosing the right container, cleaning it thoroughly, and transporting samples safely are essential steps in maintaining the integrity of cat poop samples for vet visits.
Read more: How To Store A Poop Sample For The Vet
Importance of Proper Cat Poop Storage
Proper cat poop storage is crucial for several reasons. Firstly, it ensures the integrity of the sample, allowing for accurate testing and diagnosis of any potential health issues. The quality of the sample can be compromised if it is not stored correctly, leading to false results or the need for a repeat collection.
Secondly, storing cat poop properly helps maintain hygiene and prevents the spread of diseases. Cat feces can contain parasites, bacteria, and other pathogens that can be harmful to both humans and other animals. By storing the poop in a secure and isolated container, you can minimize the risk of cross-contamination and potential infections.
Additionally, proper storage also helps preserve the odor of the sample. While cat poop may not have the most pleasant smell, it can provide valuable information to the veterinarian. If the sample becomes contaminated or improperly stored, the odor can be altered and potentially affect the accuracy of the diagnosis.
Lastly, by adhering to proper cat poop storage guidelines, you contribute to the overall efficiency of the vet visit. Accidentally spilling or improperly securing the sample can cause delays, requiring you to collect another stool sample or even reschedule the appointment. Proper storage ensures that the sample is ready for testing as soon as you arrive at the vet’s office, saving time and ensuring a smooth visit.
Now that we understand the importance of proper cat poop storage, let’s move on to discussing the materials you will need for this process.
Materials Needed
When it comes to properly storing cat poop for vet visits, having the right materials on hand is essential. Here is a list of items you will need:
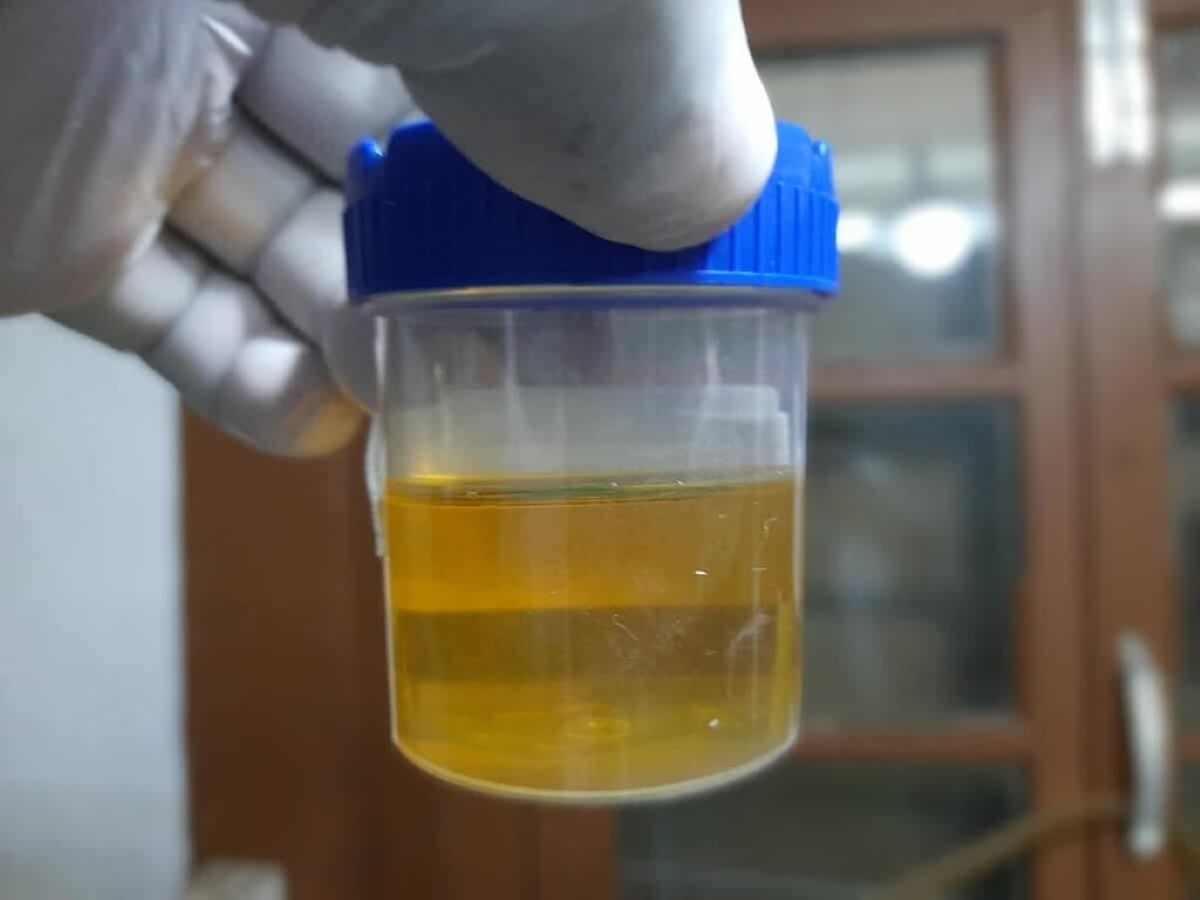
- Airtight Container: Look for a sturdy, leak-proof container with a secure lid. It should be large enough to accommodate the amount of poop you expect to collect, but small enough to easily transport. Good options include plastic containers with sealing lids or resealable bags specifically designed for collecting and storing samples.
- Lidded Scoop or Gloves: To collect the poop from the litter box, you will need either a lidded scoop or disposable gloves. This will help prevent direct contact with the feces and minimize the risk of contamination.
- Absorbent Material: Choose an absorbent material, such as paper towels, tissue, or absorbent pads, to line the bottom of the container. This will help absorb any excess moisture and maintain the sample’s integrity during storage.
- Label or Pen: It is important to label the container with the date and your cat’s name to ensure accurate identification. You can use labels, write directly on the container, or use a permanent marker for this purpose.
- Ziplock Bag (Optional): If you are using a container without a built-in seal, consider placing it inside a ziplock bag to provide an extra layer of protection against leaks or odors.
These materials can be easily obtained from pet stores, supermarkets, or online retailers. Once you have gathered all the necessary supplies, you are ready to move on to the next step: choosing the right container for storing your cat’s poop.
Step 1: Choosing the Right Container
Choosing the right container is the first crucial step in properly storing cat poop for vet visits. The container you select should be durable, airtight, and capable of securely holding the poop sample to prevent leaks and odors. Here are a few factors to consider when choosing a container:
- Material: Look for a container made of plastic or other non-porous materials that can be easily cleaned and disinfected. Avoid using containers with a porous surface that can absorb odors and make it difficult to remove any residue.
- Size: Consider the size of the container based on the amount of cat poop you expect to collect. It should be large enough to accommodate the sample but not so big that it takes up unnecessary space.
- Lid: Ensure the container comes with a tight-fitting lid that securely seals the contents. This will prevent any leaks or odors from escaping, especially during transportation.
- Seal: If possible, choose a container with a built-in seal or a latch that provides extra security. This will give you peace of mind knowing that the sample is properly contained and protected.
- Disposable Option: Alternatively, you can opt for resealable plastic bags specifically designed for collecting and storing samples. These bags are convenient, easy to use, and can be disposed of after use, eliminating the need for cleaning.
Remember, maintaining the integrity of the cat poop sample is crucial for accurate testing and diagnosis. By choosing a suitable container, you ensure that the sample remains intact and uncontaminated. Once you have selected the right container, it is time to move on to the next step: cleaning the container before use.
Step 2: Cleaning the Container
Before using the container to store cat poop for your vet visit, it is important to ensure that it is clean and free from any contaminants. Properly cleaning the container will help maintain hygiene and prevent any unwanted odors or bacteria from affecting the sample. Here is a step-by-step guide on how to clean your container:
- Empty the container: If you are reusing a container, make sure it is completely empty before proceeding with the cleaning process. Dispose of any previous contents and rinse the container with warm water.
- Wash with soap and water: To thoroughly clean the container, use mild dish soap or antibacterial soap and warm water. Scrub the inside and outside of the container with a sponge or brush to remove any residue or debris.
- Rinse thoroughly: After washing, rinse the container with warm water to remove any soap residue. Make sure to rinse it well to ensure no soapy residue remains, as this can affect the integrity of the cat poop sample.
- Sanitize: To further disinfect the container, you can use a solution of one part bleach to ten parts water. Apply the solution to the container and let it sit for a few minutes, then rinse thoroughly with water to remove any remaining bleach.
- Dry completely: Once the container is clean, allow it to air dry completely. Placing it upside down on a clean towel or drying rack can help speed up the drying process.
It is crucial to ensure that the container is completely dry before using it to store the cat poop sample. Any moisture left in the container can promote the growth of bacteria or cause the sample to become moldy. Once the container is clean and dry, you are ready to proceed to the next step: adding absorbent material to the container.
Read more: How To Store Cat Stool Sample For Vet
Step 3: Adding Absorbent Material
Adding absorbent material to the container is an important step in properly storing cat poop for vet visits. The absorbent material helps to contain any excess moisture and maintain the integrity of the sample during storage. Here’s what you need to do:
- Select the appropriate absorbent material: Choose an absorbent material such as paper towels, tissue, or absorbent pads. Make sure it is clean and free from any chemicals or fragrances that could potentially contaminate the sample.
- Line the bottom of the container: Place a layer of absorbent material at the bottom of the container. This will help absorb any moisture from the cat poop and prevent it from spreading or leaking onto the container’s surface.
- Adjust the amount: The amount of absorbent material you use may vary depending on the size of the container and the amount of cat poop you expect to collect. It should be enough to cover the bottom of the container and provide adequate absorption.
- Consider additional layers: If you anticipate collecting a large sample or if your cat’s stool tends to be particularly watery, you may want to add additional layers of absorbent material on top. This will provide extra protection and help prevent any leaks or spills.
Remember to choose an absorbent material that is easy to handle and dispose of when necessary. It should effectively absorb moisture while maintaining the structural integrity of the sample. Once the absorbent material is in place, you are ready to collect and transfer the cat poop, which we will discuss in the next step.
Use a plastic bag or container with a tight-fitting lid to store cat poop for the vet. Keep it in the refrigerator if you can’t bring it in right away. Avoid using a paper bag or flushing it down the toilet.
Step 4: Collecting and Transferring the Cat Poop
Collecting and transferring the cat poop properly is a crucial step in ensuring the accuracy and integrity of the sample. Here is a step-by-step guide on how to collect and transfer the cat poop for storage:
- Gather your materials: Make sure you have your clean and lined container, a lidded scoop or gloves, and any necessary labels or markers.
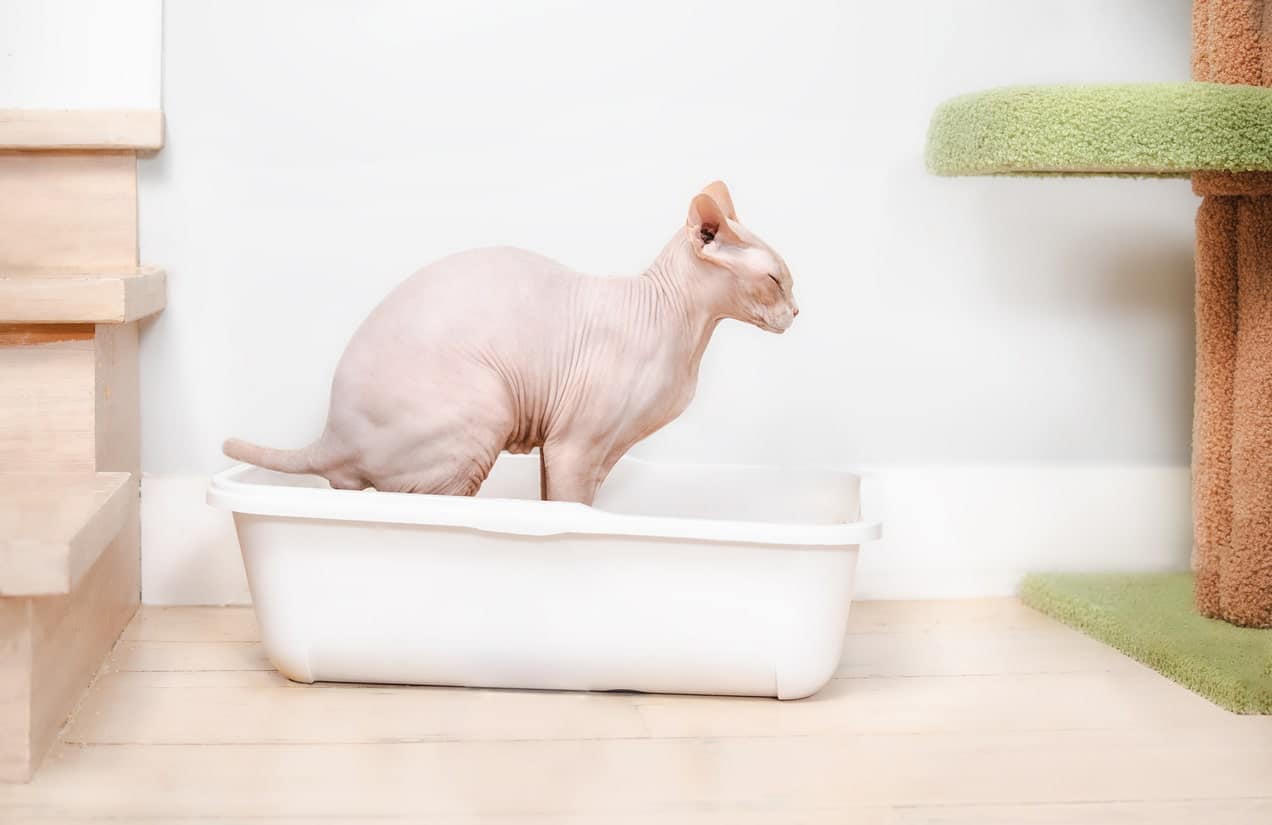
- Choose a fresh sample: Collect a fresh stool sample from your cat’s litter box. It is best to collect the sample as soon as possible before it has a chance to dry out or become contaminated.
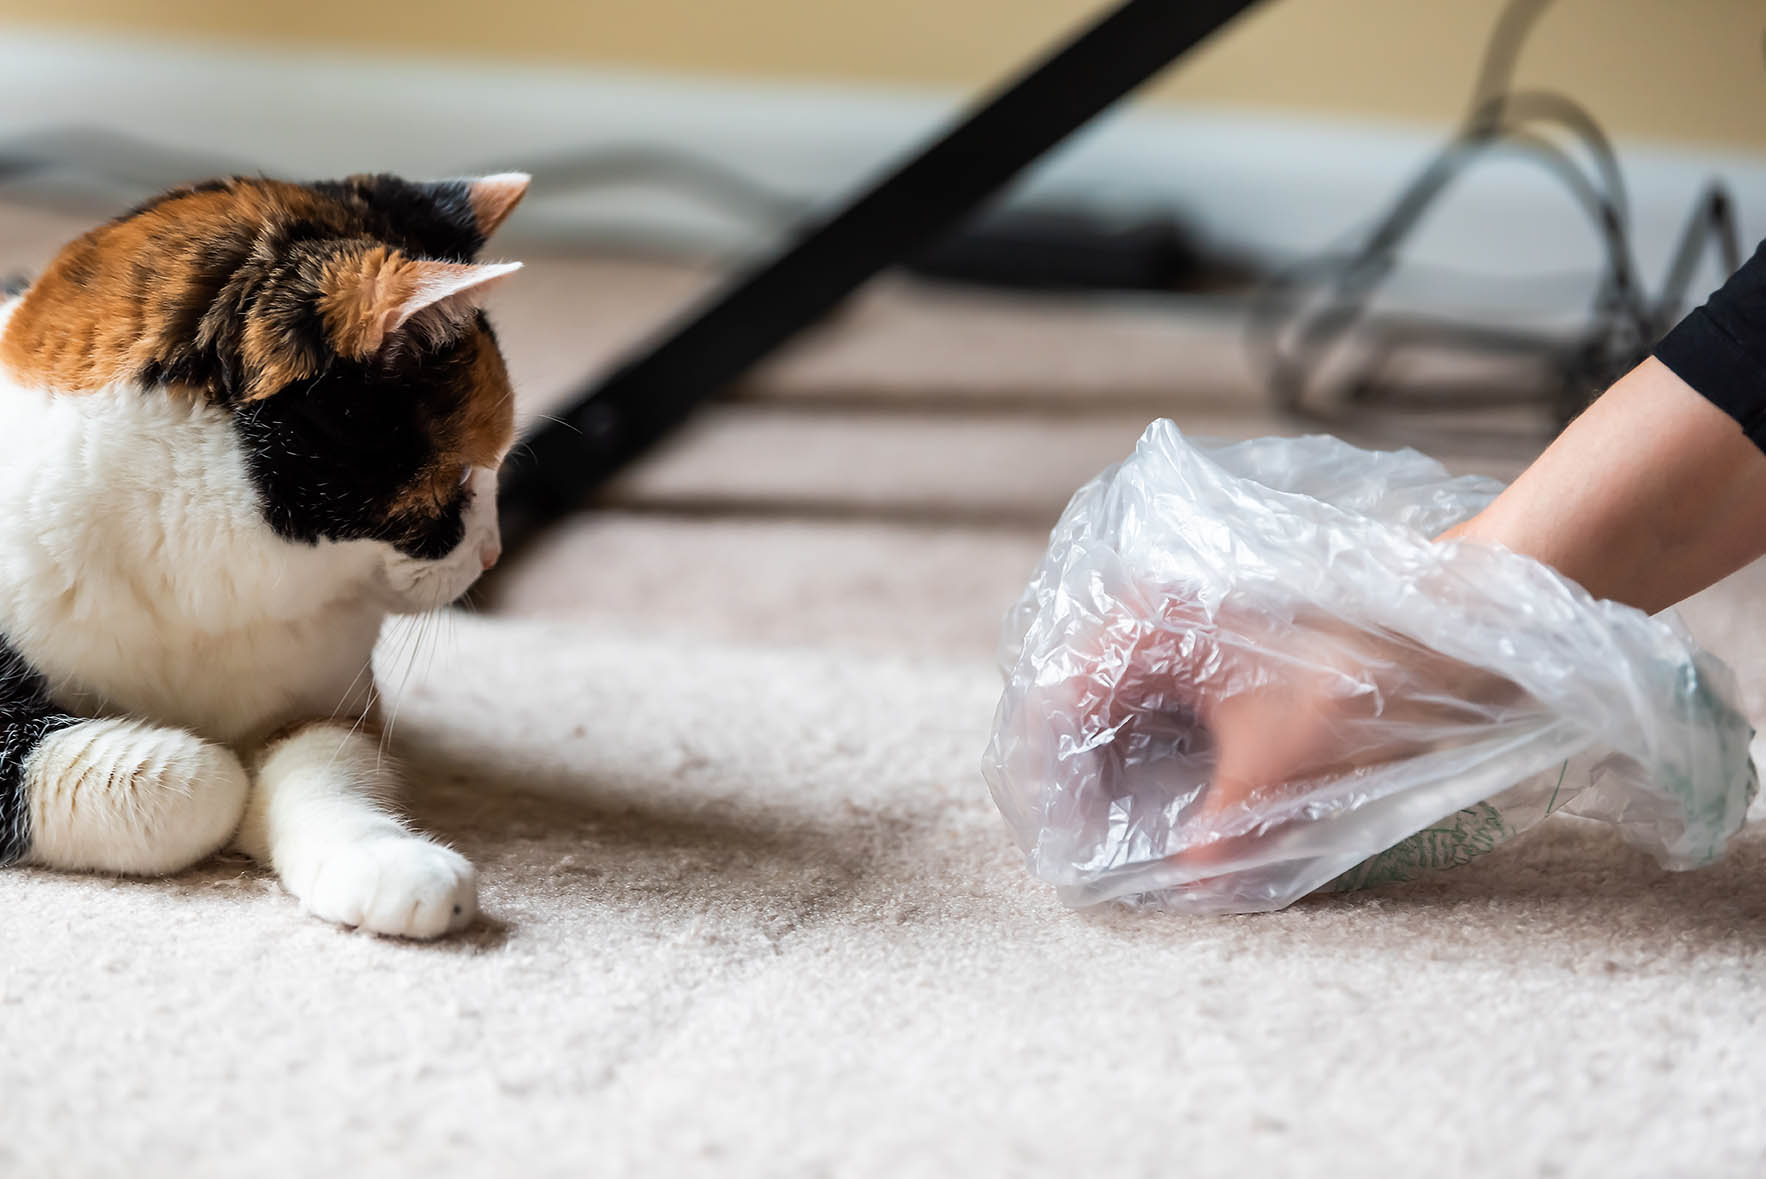
- Use proper hygiene: Put on disposable gloves or use a lidded scoop to collect the poop. This will help minimize direct contact and reduce the risk of spreading any potential pathogens.
- Transfer the sample: Carefully transfer the collected cat poop into the prepared container, ensuring that it stays within the lined area. Avoid touching the container’s inner surfaces to maintain hygiene.
- Seal the container: Once the cat poop is transferred, securely seal the container with its lid or by closing the resealable bag. Ensure that it is tightly sealed to prevent any leaks or odors.
- Label the container: Use a label or permanent marker to write the date of collection and your cat’s name on the container. This helps the vet accurately identify the sample.
It is important to work quickly and efficiently during this process to minimize the exposure of the sample to air, moisture, or contaminants. If you are collecting the sample outside of your home, bring the prepared container with you to transfer the poop immediately after collection. Once the cat poop is securely stored, it’s time to move on to the next step: properly sealing and labeling the container.
Step 5: Proper Sealing and Labeling
Properly sealing and labeling the container is essential to ensure the integrity of the cat poop sample and facilitate accurate identification at the vet’s office. Here’s how you can seal and label the container:
- Check the container seal: Ensure that the container’s lid or seal is tightly closed to prevent any leaks or odors during transportation. Double-check for any gaps or gaps that may compromise the seal.
- Consider additional protection: If you are using a container without a built-in seal, you may want to place it inside a ziplock bag as an extra layer of protection against leaks or odors.
- Label the container clearly: Use a label or a permanent marker to clearly write the date of collection and your cat’s name on the container. This information is crucial for accurate identification at the vet’s office.
- Use waterproof ink: If possible, use a waterproof or permanent ink marker to prevent smudging or fading, especially in case the container comes into contact with moisture or gets wet.
- Include any additional instructions: If the vet has provided specific instructions for sample collection or storage, such as fasting prior to collection, you can write these instructions on the container as well.
- Handle the container with care: Once properly sealed and labeled, handle the container with care to avoid any accidental opening or damage during transportation. Keep it upright to prevent any spills or leaks.
Properly sealing and labeling the container ensures that the cat poop sample remains securely stored and identifiable. This step is crucial for maintaining the integrity and accurate identification of the sample during transport and testing. Now that the container is sealed and labeled, let’s discuss the ideal storage location for cat poop samples.
Step 6: Storage Location
Choosing the right storage location for your cat poop samples is crucial to maintain the integrity of the samples until your vet visit. Here are some guidelines on selecting the ideal storage location:
- Cool and dry area: Find a cool and dry location to store the container. Extreme temperatures or excess moisture can compromise the quality of the sample or lead to the growth of bacteria.
- Away from direct sunlight: Avoid placing the container in direct sunlight, as exposure to UV rays can alter the composition of the sample and affect the accuracy of the test results.
- Isolated and secure: Keep the container in a secure and isolated location to prevent accidental spills, tampering, or exposure to other substances that could contaminate the sample.
- Avoid areas with strong odors: Ensure that the storage location is free from strong odors that could potentially affect the integrity of the sample or make it difficult to detect any abnormal smells.
- Label visible: Place the container in a location where the label with the date and your cat’s name is easily visible. This makes it effortless for you and the veterinary staff to locate and identify the sample.
- Store upright: Always store the container in an upright position to minimize the risk of leaks or spills. Keeping the container upright helps maintain the integrity of the seal and prevents any accidents.
By following these guidelines, you can ensure that your cat poop samples are stored in an optimal environment until your vet visit. This will help maintain the quality of the samples and provide accurate results for any necessary tests. Once you have stored the samples in the ideal location, the next step is to transport them safely to the vet’s office, which we will discuss in the next step.
Read more: How To Stop Cats From Pooping In Garden
Step 7: Transporting to the Vet
Transporting your cat poop samples to the vet’s office requires careful handling to ensure that the samples remain intact and uncontaminated. Here are some important guidelines to follow when transporting the samples:
- Keep the container upright: It is crucial to transport the container in an upright position to prevent any leaks or spills. This will help maintain the integrity of the sample and prevent any accidental contact with other items or surfaces.
- Double-check the seal: Before leaving your home, make sure to double-check the seal on the container to ensure it is tightly closed. This will prevent any leaks, odors, or contamination during transportation.
- Use a leak-proof bag (optional): If you are using a container without a built-in seal, consider placing it inside a leak-proof bag for added protection. This will provide an extra layer of defense against any possible leaks or odors.
- Keep samples separate: If you have collected multiple cat poop samples, it’s important to keep them separate during transportation. This will prevent any potential mixing or confusion at the vet’s office.
- Avoid excessive jostling: Handle the container with care and avoid excessive jostling or shaking during transportation. This will help maintain the integrity of the sample and prevent any liquid separation or contamination.
- Keep samples cool (if recommended): If your vet has specific instructions to keep the samples cool, such as in the case of parasite testing, you can place the container in a cooler bag or with an ice pack as required. Ensure not to expose the samples directly to the ice pack to prevent freezing or damage.
- Inform the vet: When you arrive at the vet’s office, inform them that you have brought a stool sample for testing. This will help them properly handle the sample and ensure that it is processed promptly.
Following these guidelines will help ensure the safe transportation of your cat poop samples to the vet’s office. By taking the necessary precautions, you can maintain the quality and accuracy of the samples for testing and diagnosis. Remember to be mindful of hygiene and proper handling during transportation to prevent any contamination or accidental spills.
By following these step-by-step instructions for storing and transporting cat poop for vet visits, you can contribute to the overall efficiency and accuracy of your cat’s diagnosis and treatment. Properly stored samples provide the necessary information for veterinarians to make informed decisions about your cat’s health. So, don’t overlook this important aspect of pet care and ensure that you are prepared for your next vet appointment!
Additional Resources:
- [Link to a relevant pet health website]
- [Link to a guide on cat stool sample collection]
Conclusion
The proper storage of cat poop samples for vet visits is a crucial aspect of responsible pet ownership. By following the step-by-step guidelines outlined in this comprehensive guide, you can ensure the integrity, accuracy, and hygiene of the samples, ultimately leading to more accurate diagnoses and better care for your feline friend.
We began by emphasizing the importance of proper cat poop storage in the diagnostic process, highlighting how it impacts the accuracy of test results, maintains hygiene, preserves odor, and facilitates the efficiency of vet visits. We then delved into the materials needed, such as airtight containers, gloves or a lidded scoop, absorbent materials, and labels or markers.
We walked through each step of the process, providing detailed instructions on choosing the right container, cleaning it thoroughly, adding absorbent material, collecting and transferring the cat poop, properly sealing and labeling the container, selecting an ideal storage location, and safely transporting the samples to the vet’s office.
By adhering to these guidelines, you can ensure that the samples are stored securely, uncontaminated, and maintain their integrity until they are examined by the veterinarian. This promotes accurate testing and analysis, leading to more effective treatment plans for your cat’s health issues.
Remember, communication with your vet is essential throughout this process. Inform them when you arrive at the office that you have brought a stool sample for testing. This allows them to handle the sample promptly and ensures that the necessary tests are conducted efficiently.
Being diligent in the storage and transportation of cat poop samples demonstrates your commitment to your cat’s health and enables your veterinarian to provide the best care possible. So, the next time your cat requires a vet visit that involves a stool sample, be prepared to follow these steps and contribute to the well-being of your feline companion.
Additional Resources:
- [Link to a relevant pet health website]
- [Link to a guide on cat stool sample collection]
Frequently Asked Questions about How To Store Cat Poop For Vet
Was this page helpful?
At Storables.com, we guarantee accurate and reliable information. Our content, validated by Expert Board Contributors, is crafted following stringent Editorial Policies. We're committed to providing you with well-researched, expert-backed insights for all your informational needs.
0 thoughts on “How To Store Cat Poop For Vet”