Articles
How To Store Urine Sample For Vet
Modified: August 16, 2024
Learn how to properly store a urine sample for vet analysis with our informative articles. Get expert tips and guidance for accurate results.
(Many of the links in this article redirect to a specific reviewed product. Your purchase of these products through affiliate links helps to generate commission for Storables.com, at no extra cost. Learn more)
Introduction
Properly storing urine samples is crucial when it comes to veterinary diagnostics and treatment. Whether you’re a pet owner collecting a sample for your veterinarian or a veterinary professional handling multiple samples daily, understanding how to store urine samples correctly is essential for accurate analysis and effective treatment.
Urine samples provide valuable insights into an animal’s health, allowing veterinarians to diagnose a wide range of conditions such as urinary tract infections, kidney diseases, diabetes, and more. By following proper storage techniques, you can ensure the integrity of the sample remains intact, providing reliable results that aid in making informed decisions about your pet’s health.
In this article, we will explore the importance of properly storing urine samples and provide you with a step-by-step guide to ensure that you store the samples correctly. Additionally, we will discuss the required materials and offer some tips and recommendations to help you along the way.
So, whether you’re a concerned pet owner or a veterinary professional, let’s dive into the world of urine sample storage and learn how to do it right from start to finish. With this knowledge in hand, you can confidently handle urine samples, ensuring their quality and preserving their diagnostic value.
Key Takeaways:
- Properly storing urine samples is crucial for accurate veterinary diagnosis, treatment, and monitoring. Follow specific steps, use necessary materials, and communicate with your veterinarian for optimal results.
- Maintaining the integrity of urine samples ensures reliable diagnostic testing and better treatment decisions for your pets. Act quickly, handle with care, and follow proper storage and disposal guidelines.
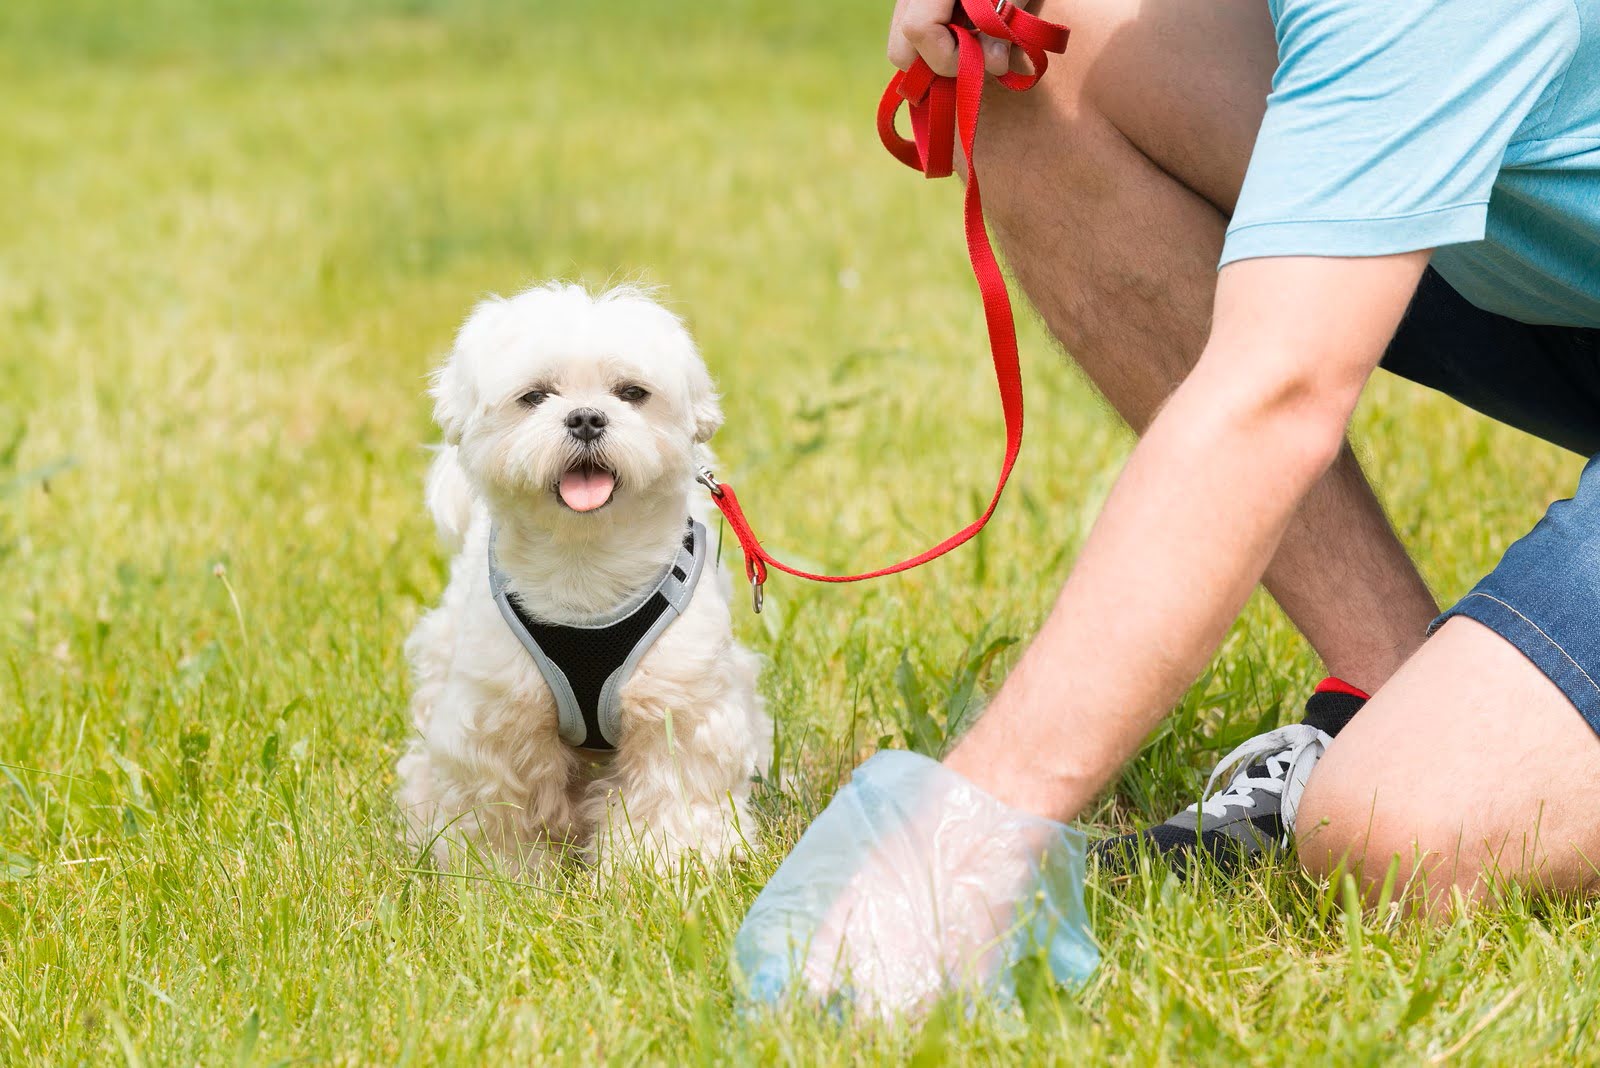
Read more: How To Store A Poop Sample For The Vet
Importance of Properly Storing Urine Samples
Properly storing urine samples is of paramount importance in veterinary medicine. The quality of the sample can significantly impact the accuracy of diagnostic tests and subsequent treatment decisions. Here are a few key reasons why properly storing urine samples is crucial:
1. Preventing Contamination: Urine samples can easily be contaminated if not stored correctly. Bacterial growth or exposure to air can lead to changes in the composition of the sample, rendering the test results inaccurate. Proper storage techniques help maintain the integrity of the urine sample, ensuring accurate and reliable test results.
2. Preserving Sample Integrity: Urine samples can undergo changes over time, especially if they are exposed to light, heat, or extreme temperatures. Proper storage helps preserve the integrity of the sample, allowing for accurate analysis even after a prolonged period. This is particularly important in cases where the sample needs to be transported to an external laboratory for testing.
3. Facilitating Repeat Testing: Sometimes, a urine sample may need to be retested for various reasons, such as verification of results or monitoring the effectiveness of a treatment plan. By storing the sample properly, it can be safely stored for future reference. This spares the need to collect additional samples and ensures continuity in the diagnostic process.
4. Enabling Comparative Analysis: In some cases, veterinarians may request follow-up urine samples to compare with previous ones to monitor changes in the animal’s health. Properly storing the initial urine sample allows for accurate comparison, aiding in the assessment of the effectiveness of treatments or the progression of certain conditions.
5. Reducing Costs and Discomfort: Improperly stored urine samples can lead to inconclusive or inaccurate results, which may require additional testing or sample collection. This can increase both the financial burden on pet owners and the discomfort for the animals. Proper storage techniques can help avoid unnecessary costs and reduce the stress associated with repeat testing.
Overall, properly storing urine samples is essential for accurate diagnosis, appropriate treatment planning, and effective monitoring of an animal’s health. By prioritizing proper storage techniques, veterinarians and pet owners can ensure the reliability and integrity of diagnostic tests, leading to better outcomes and improved animal welfare.
Required Materials
When it comes to properly storing urine samples, having the right materials on hand is essential. These items will help you collect, handle, and store the samples effectively. Here are some of the essential materials you will need:
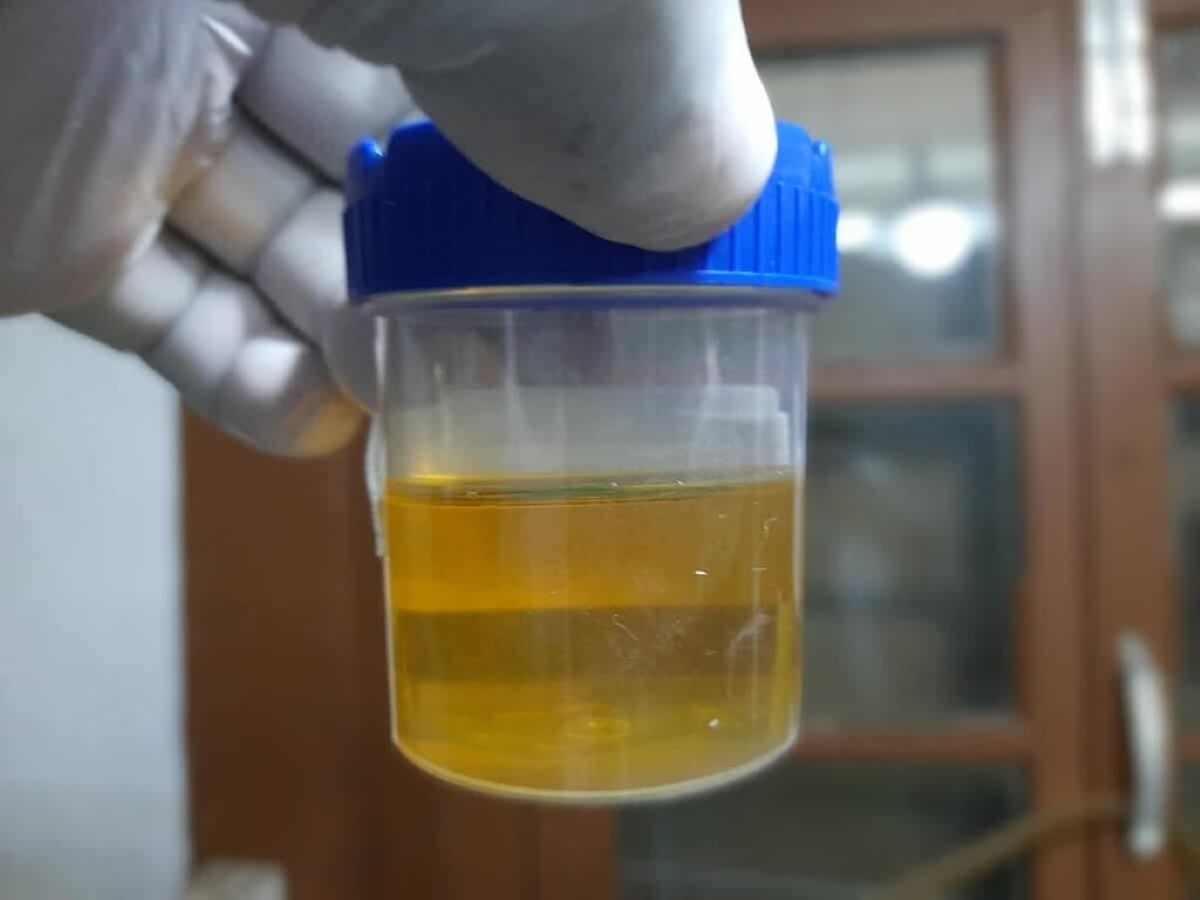
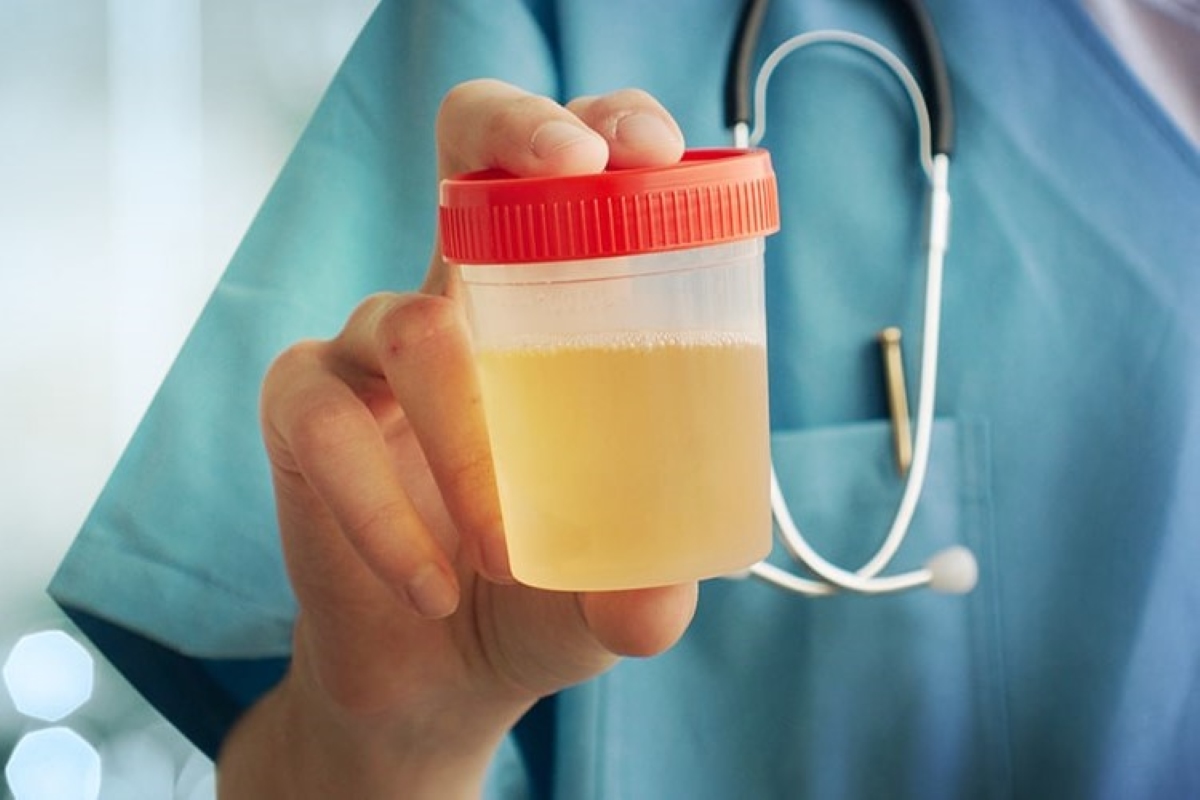
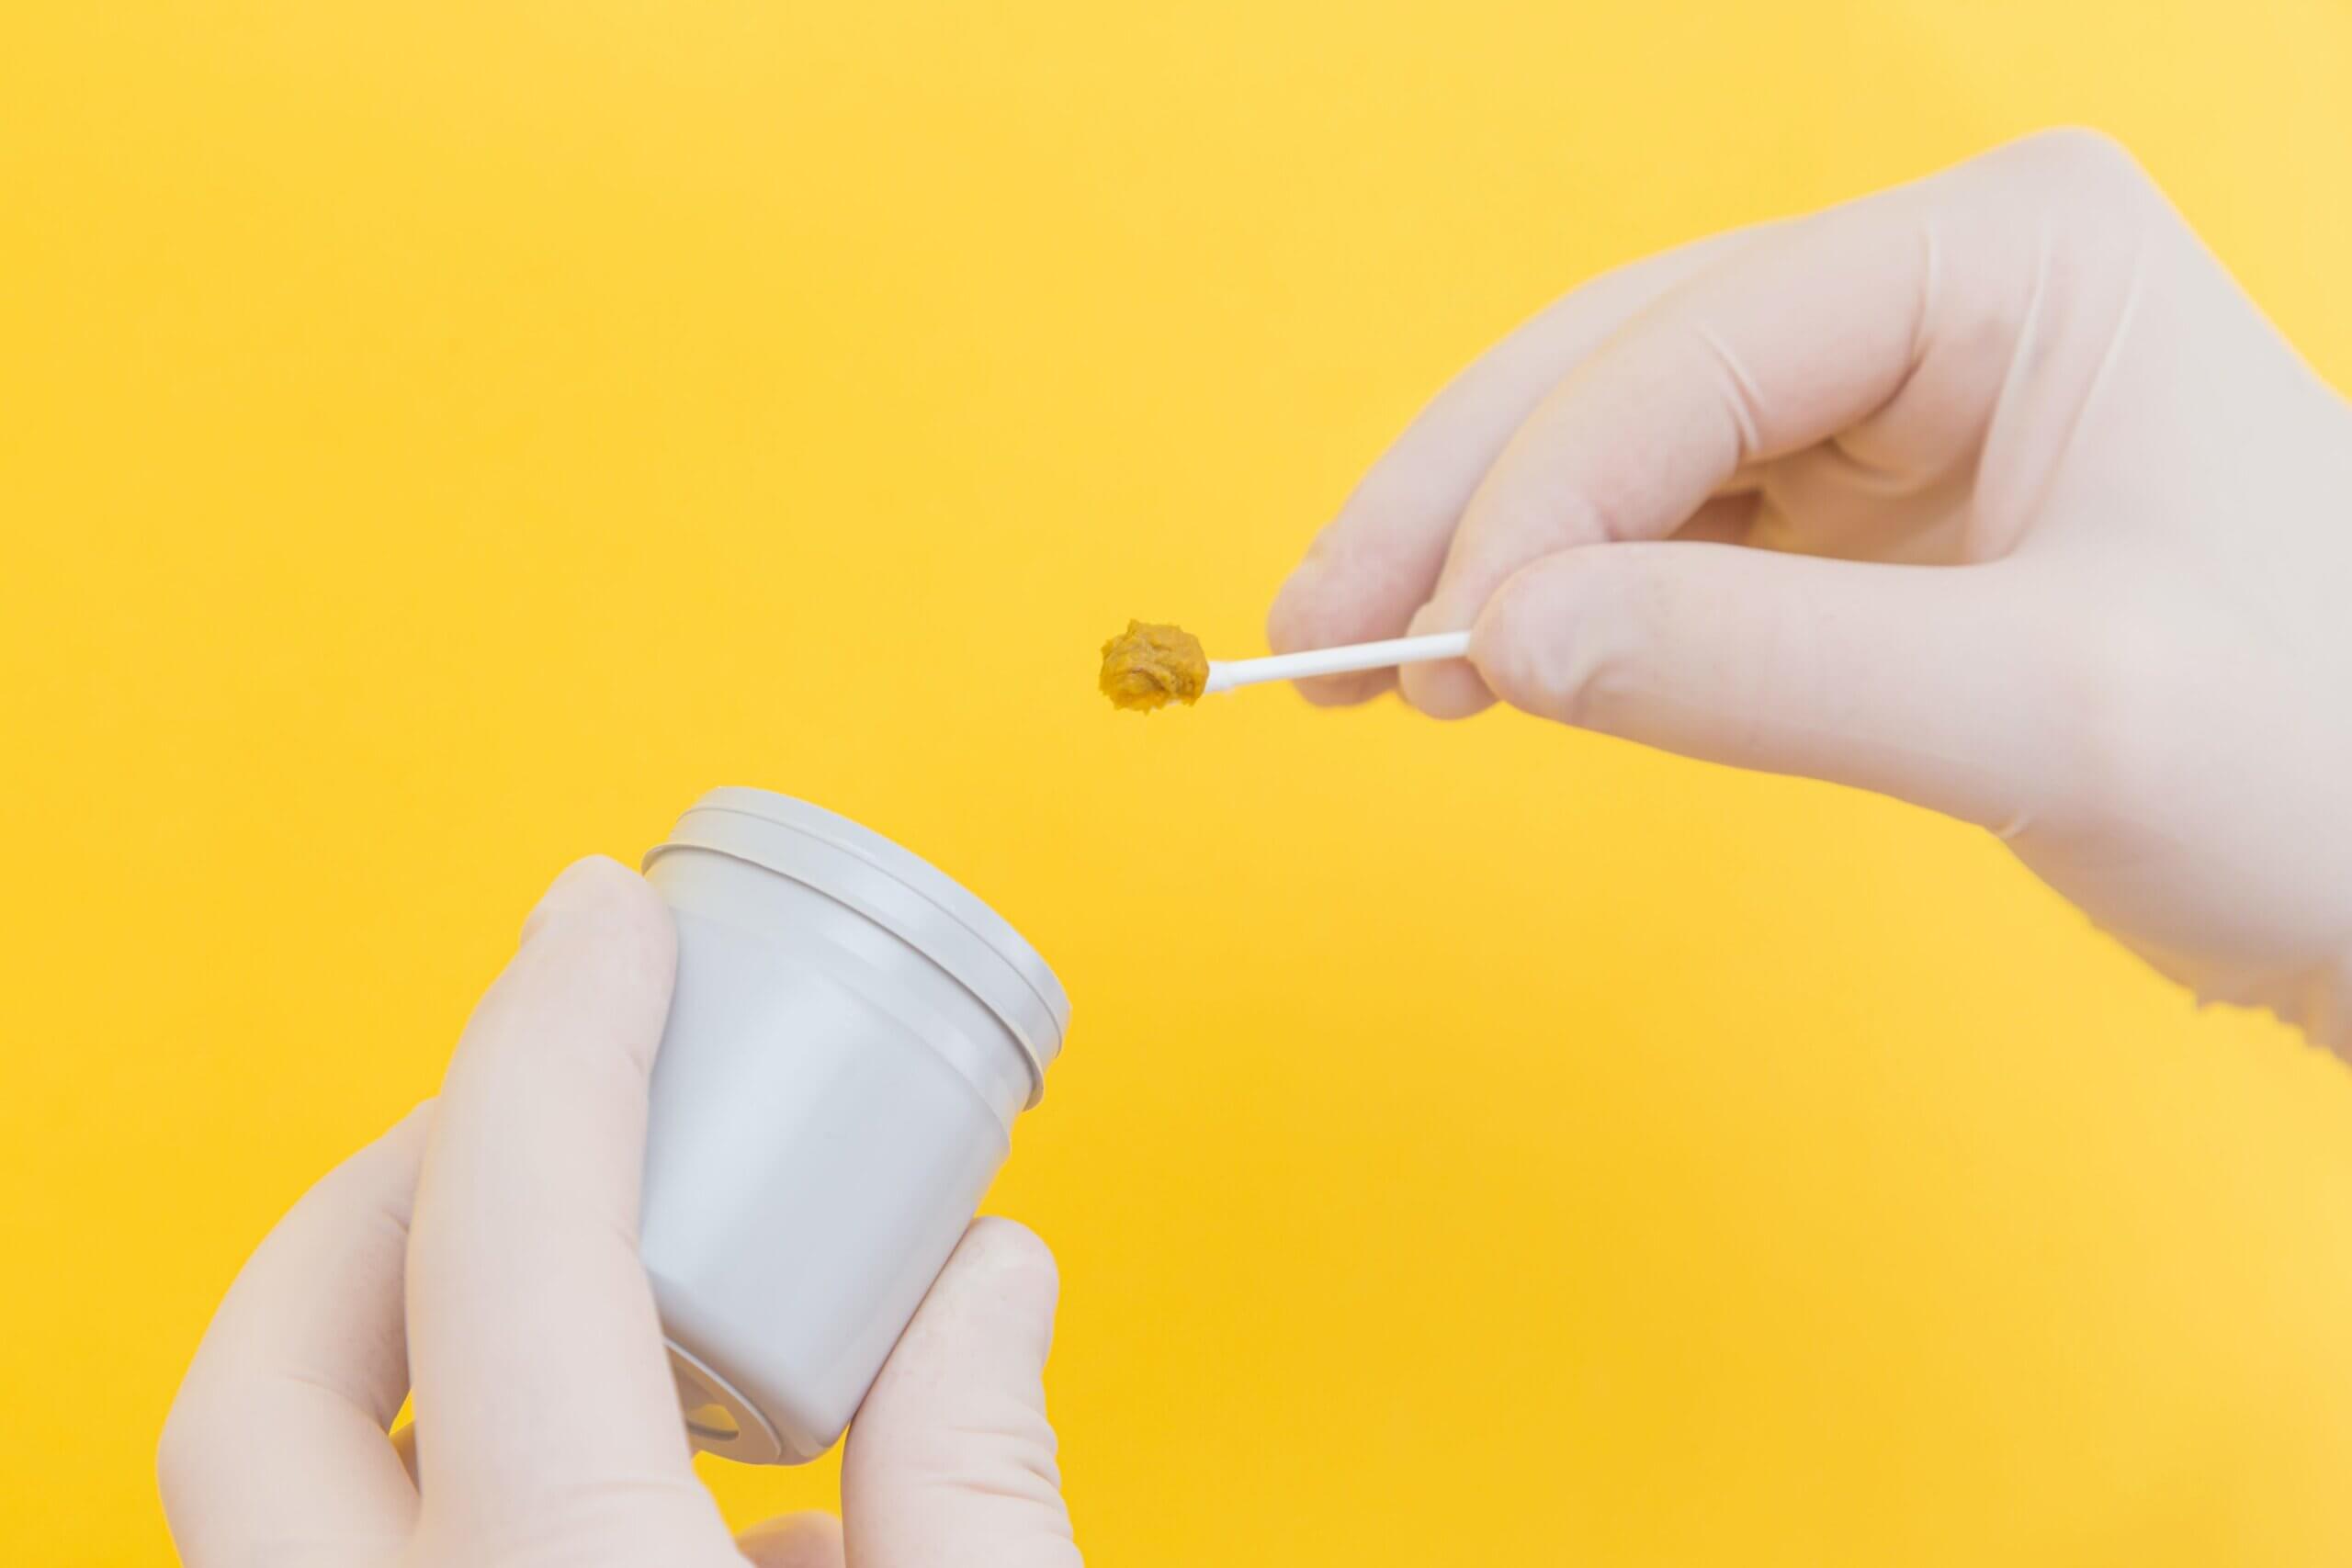
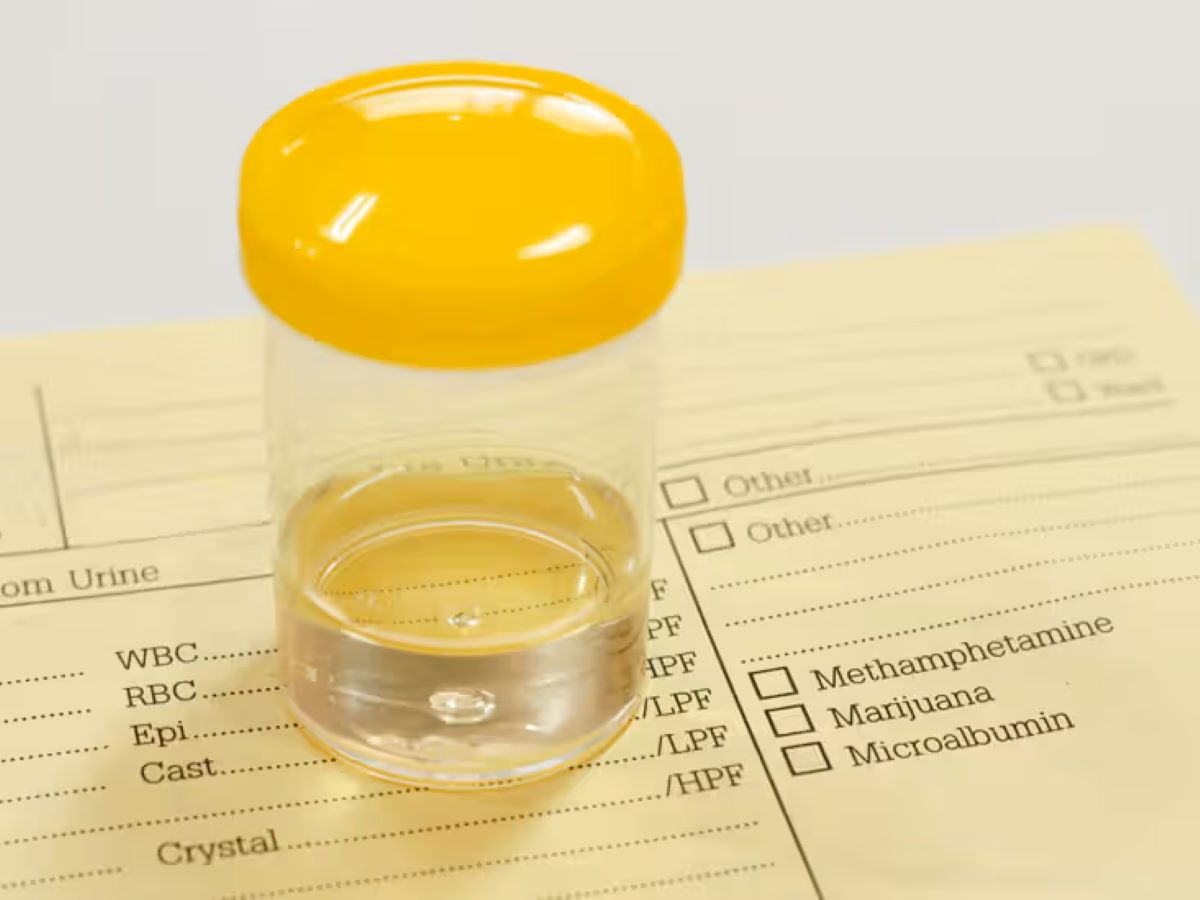
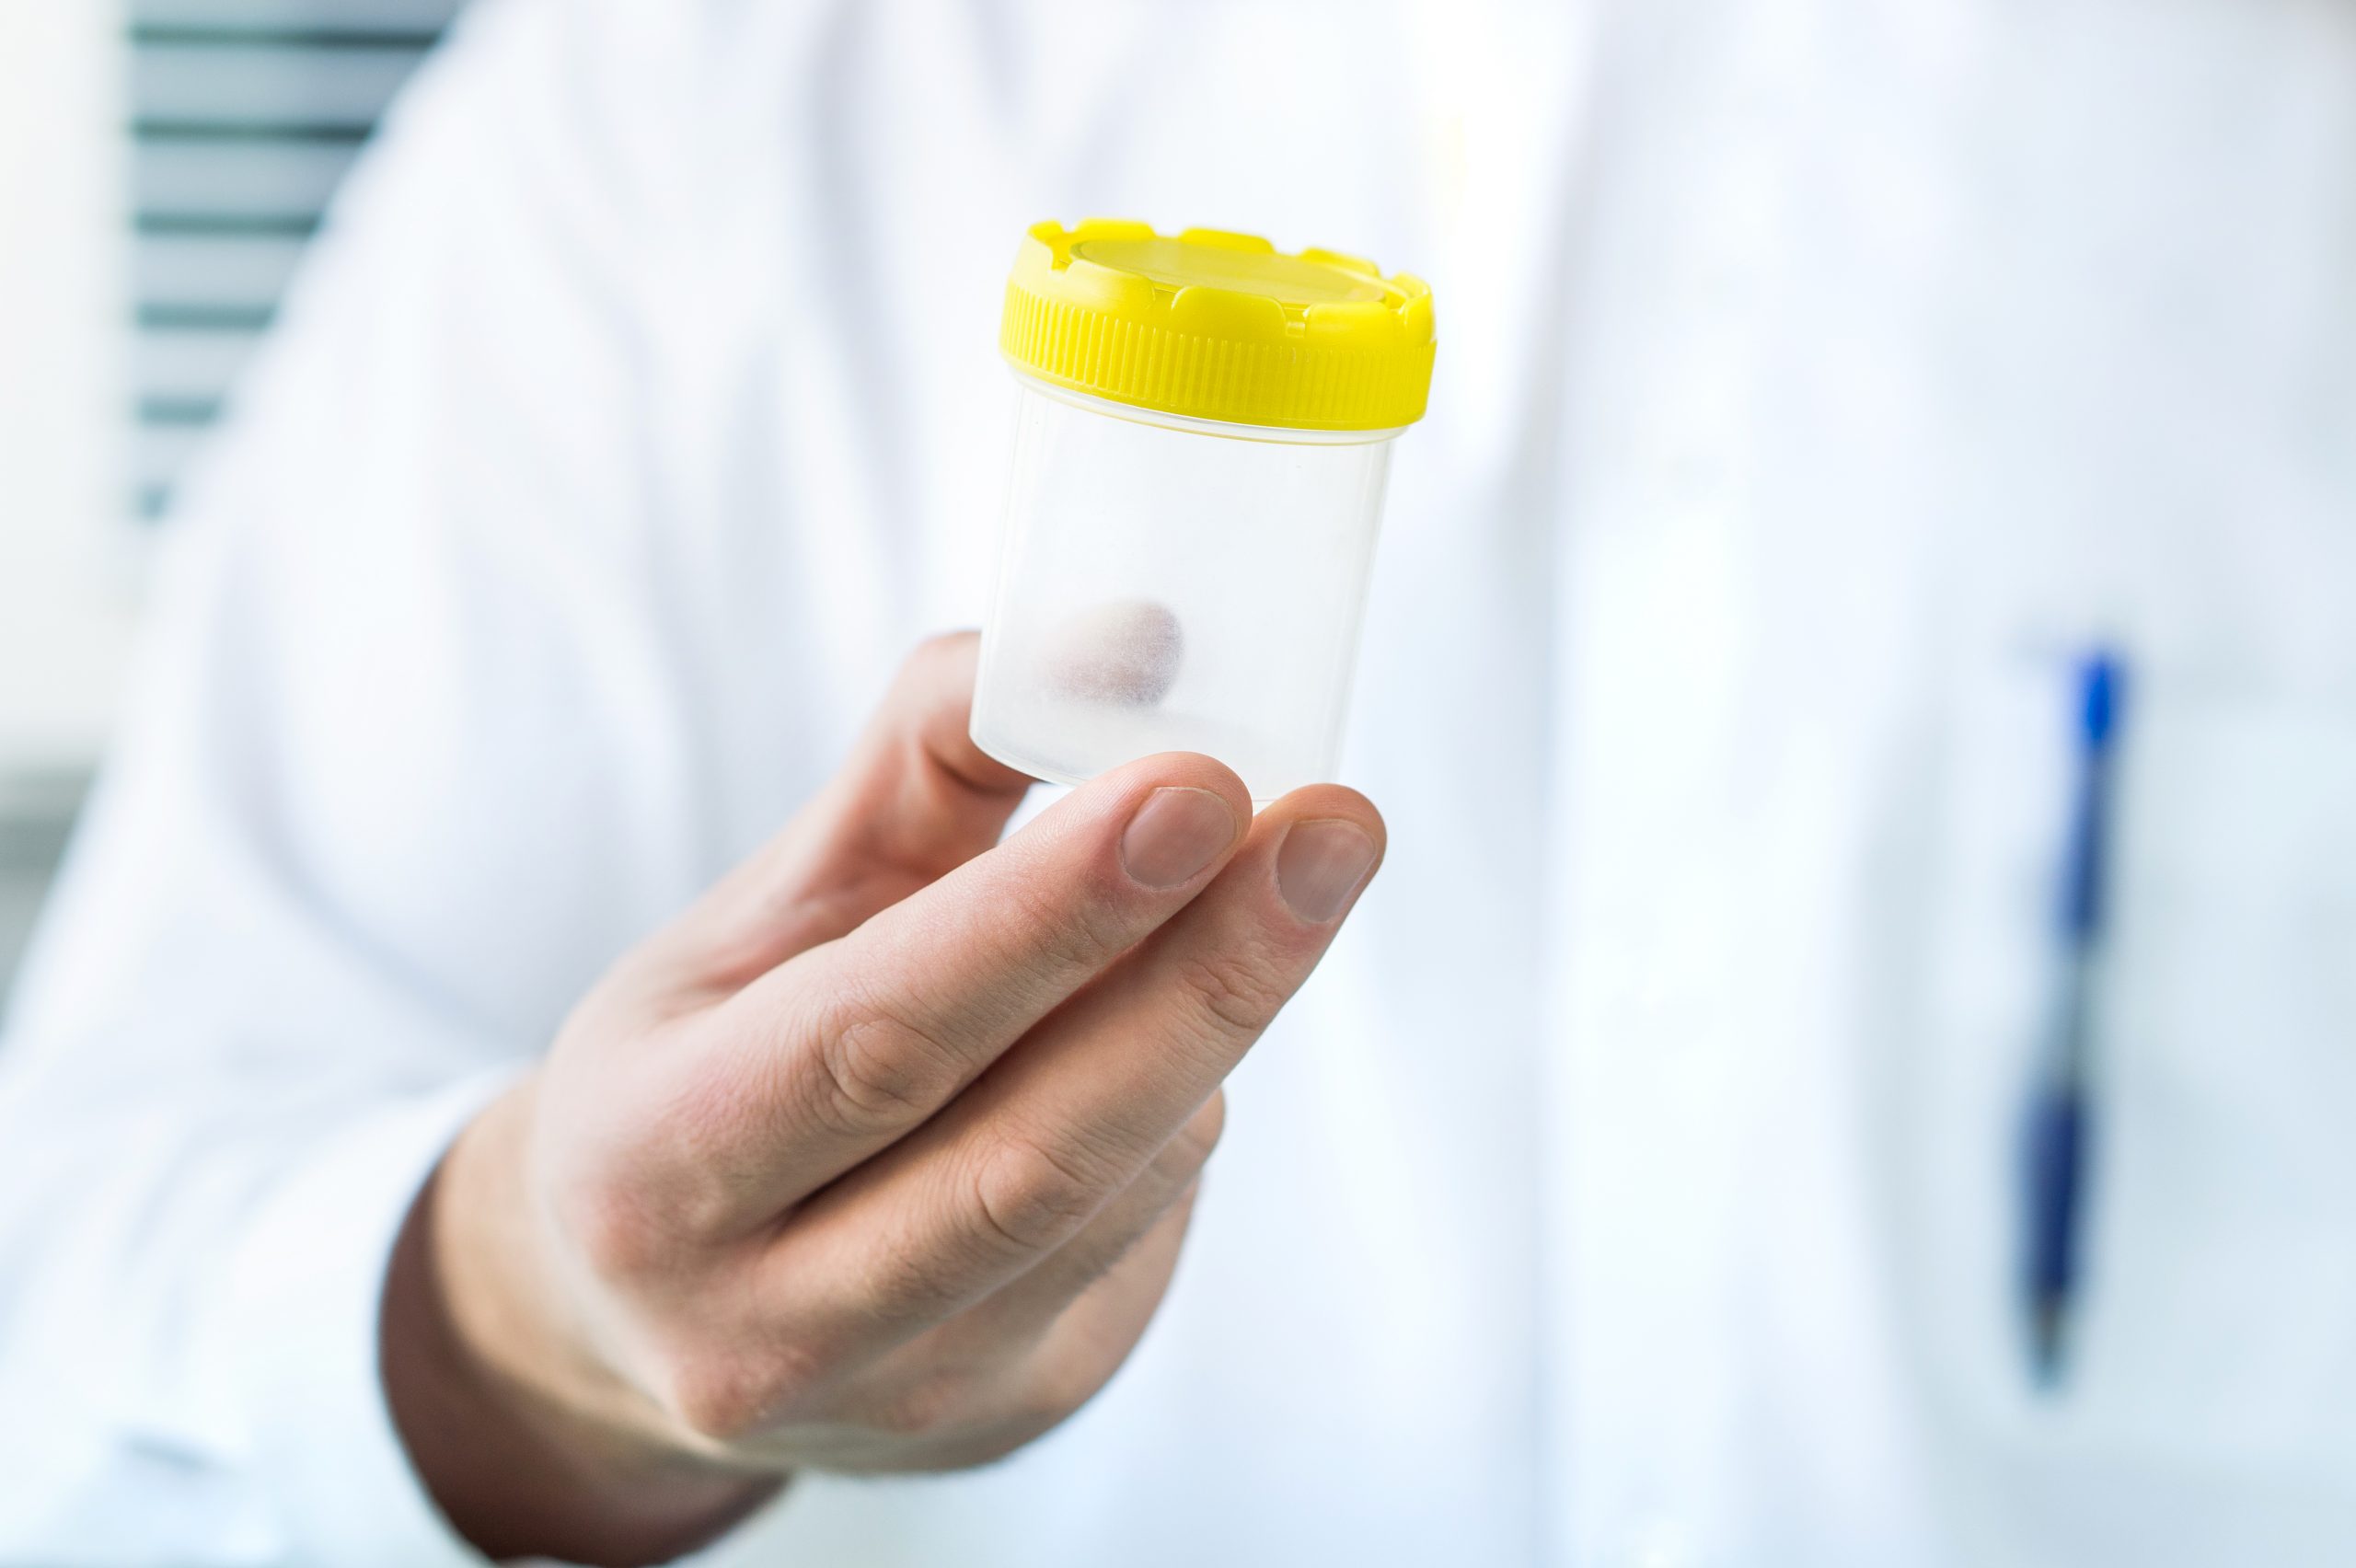
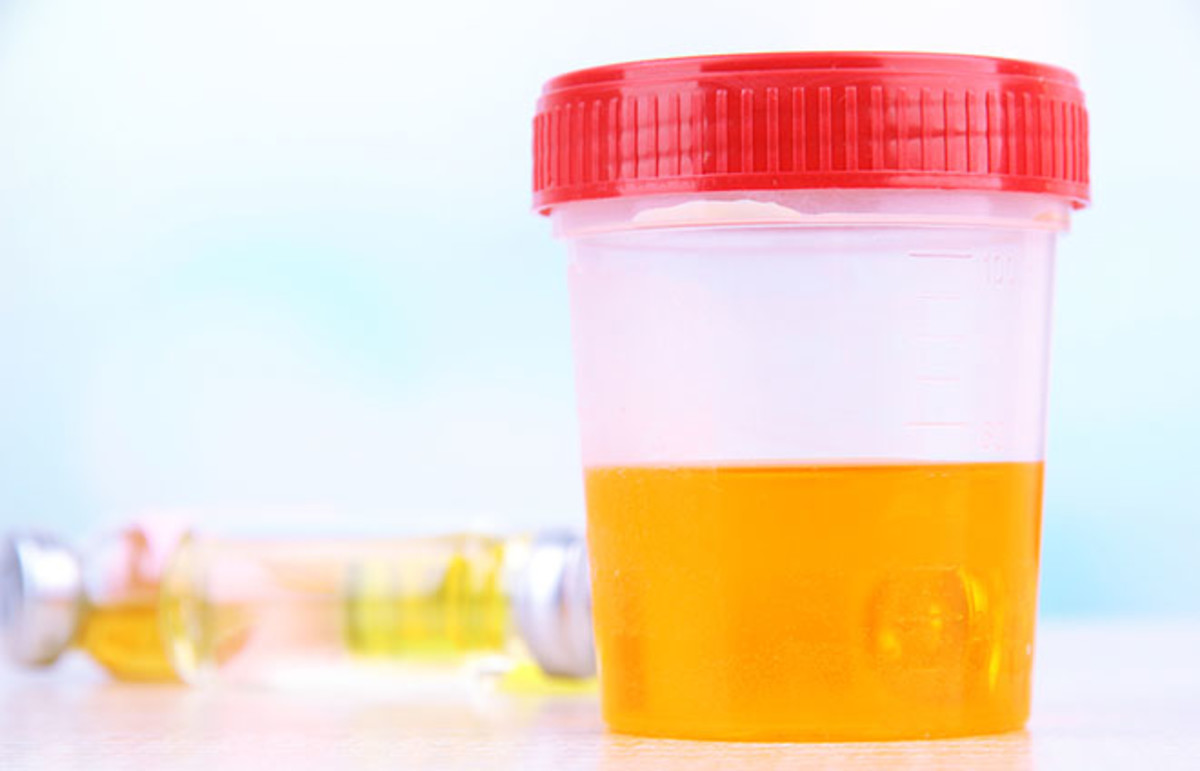
1. Sterile Collection Container: Start with a clean and sterile container specifically designed for urine collection. These containers are readily available at veterinary clinics or can be purchased online. Make sure the container has a tight-fitting lid to prevent any leakage or contamination.
2. Gloves: It’s crucial to wear disposable gloves when handling urine samples to avoid contamination and to protect yourself from potential infectious agents present in the sample. Nitrile gloves are the preferred choice as they offer excellent protection and are latex-free, reducing the risk of allergic reactions.
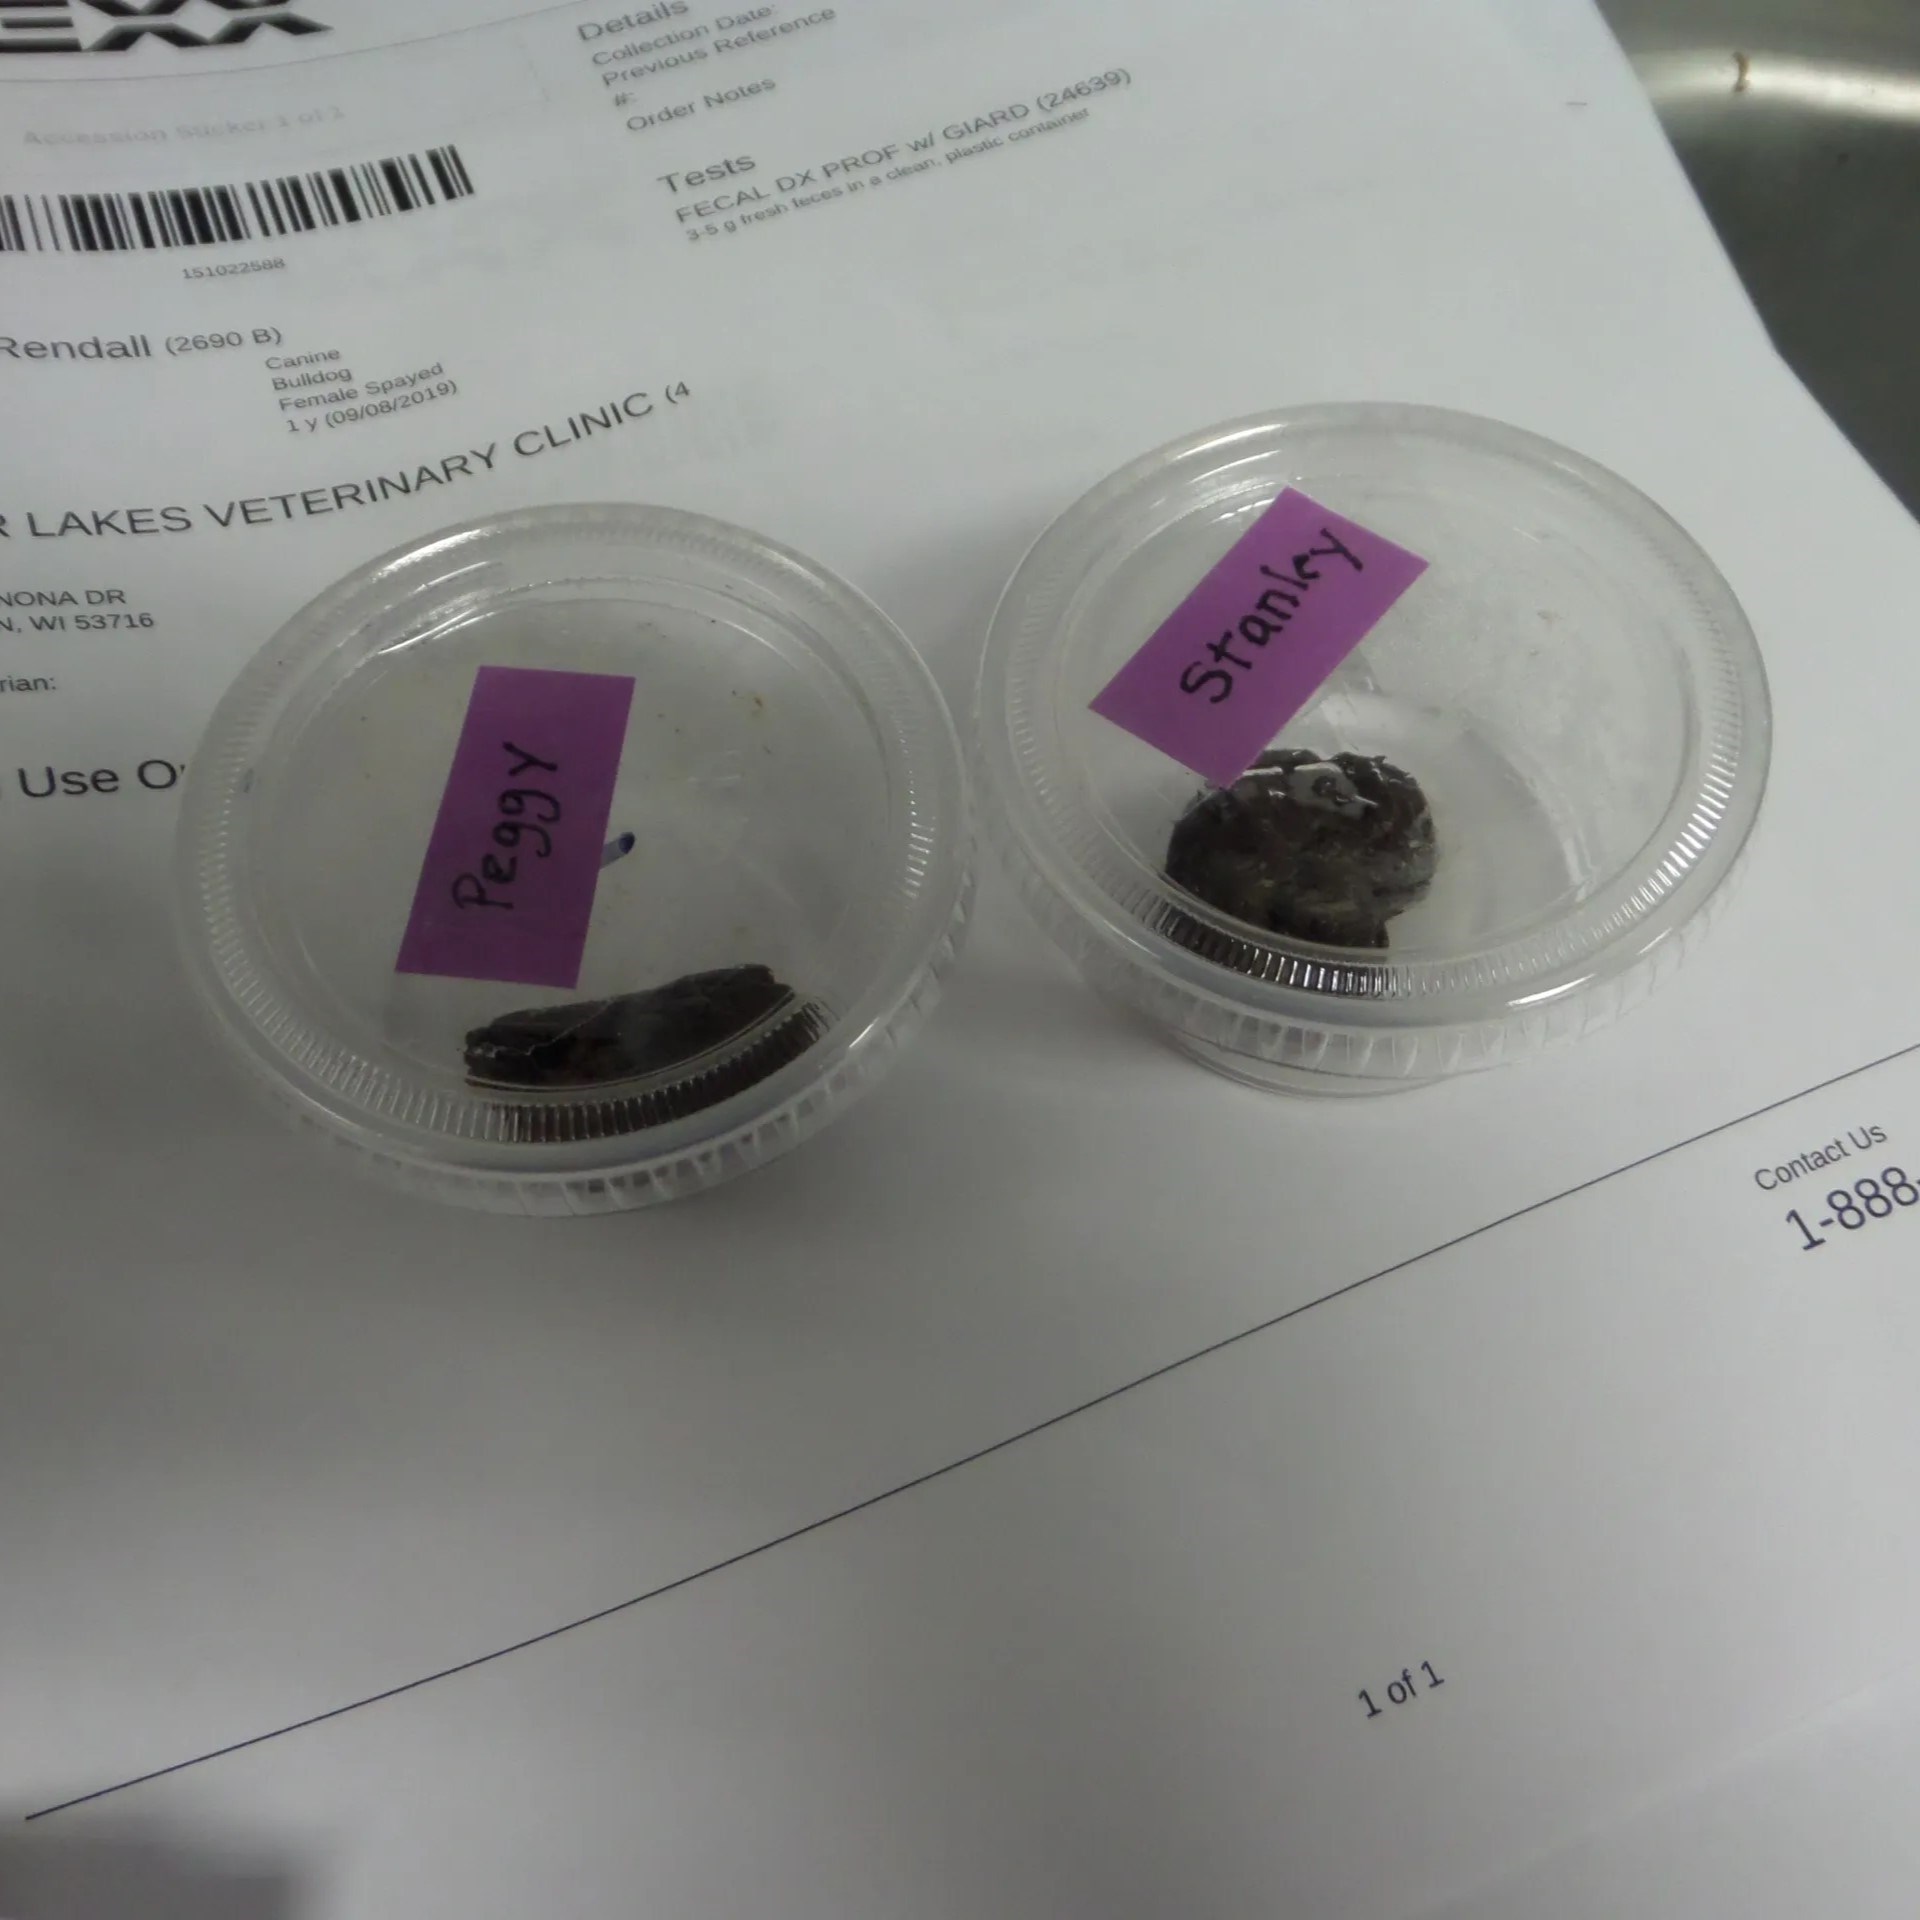
3. Labels: Labeling each urine sample is vital for accurate identification and tracking. Use waterproof labels or marker pens to write essential information like the animal’s name, date and time of collection, and any specific instructions from the veterinarian. Clear and legible labeling ensures proper identification and minimizes the chances of mix-ups.
4. Refrigeration: A refrigerator set at the appropriate temperature is necessary for storing urine samples. Most veterinary clinics have dedicated refrigerators for this purpose. Ensure that the refrigerator temperature is set between 2-8 degrees Celsius (36-46 degrees Fahrenheit) to maintain the integrity of the urine sample. Avoid using the refrigerator for storing food to prevent cross-contamination.
5. Sealable Plastic Bags: Placing the labeled urine sample container inside a sealable plastic bag provides an extra layer of protection by preventing any leakage or odors from escaping. Opt for heavy-duty bags that are durable and leak-proof.
6. Biohazard Bags: Biohazard bags are necessary for disposing of gloves, used collection materials, and any other items that may come in contact with the urine sample. These bags help contain any potential biohazards and should be disposed of in accordance with local regulations.
Having these materials readily available ensures that you can collect, handle, and store urine samples effectively, maintaining their integrity and ensuring accurate diagnostic results. Remember, proper storage techniques start with the right materials, so it’s essential to invest in high-quality supplies to achieve optimal outcomes.
Preparation before Collecting Urine Sample
Proper preparation is crucial before collecting a urine sample from your pet. By following a few essential steps, you can ensure a smooth and successful collection process. Here are some important preparations to make:
1. Consult with Your Veterinarian: Before collecting a urine sample, it is always advisable to consult with your veterinarian. They can provide specific instructions based on your pet’s condition and guide you on the best collection method. They may also recommend any necessary dietary restrictions or medications that need to be temporarily discontinued before sample collection.
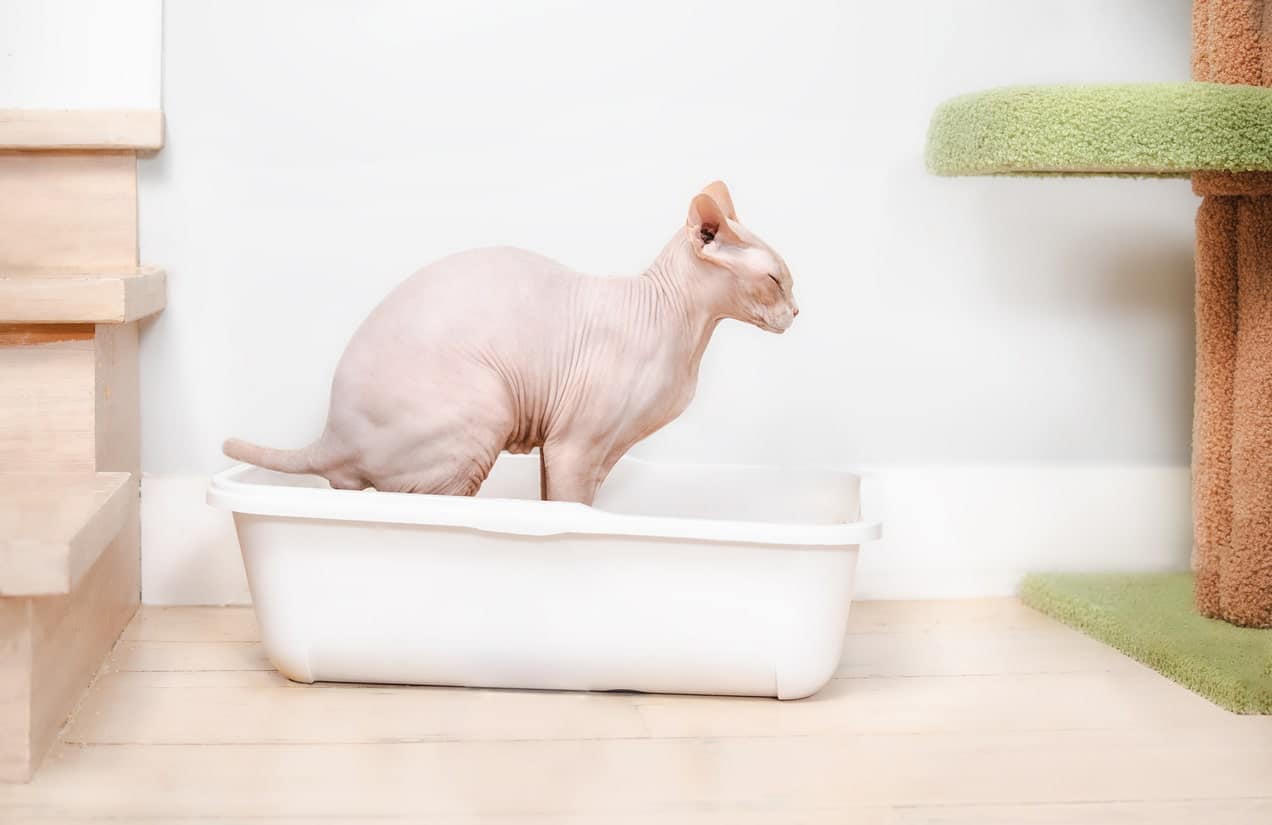
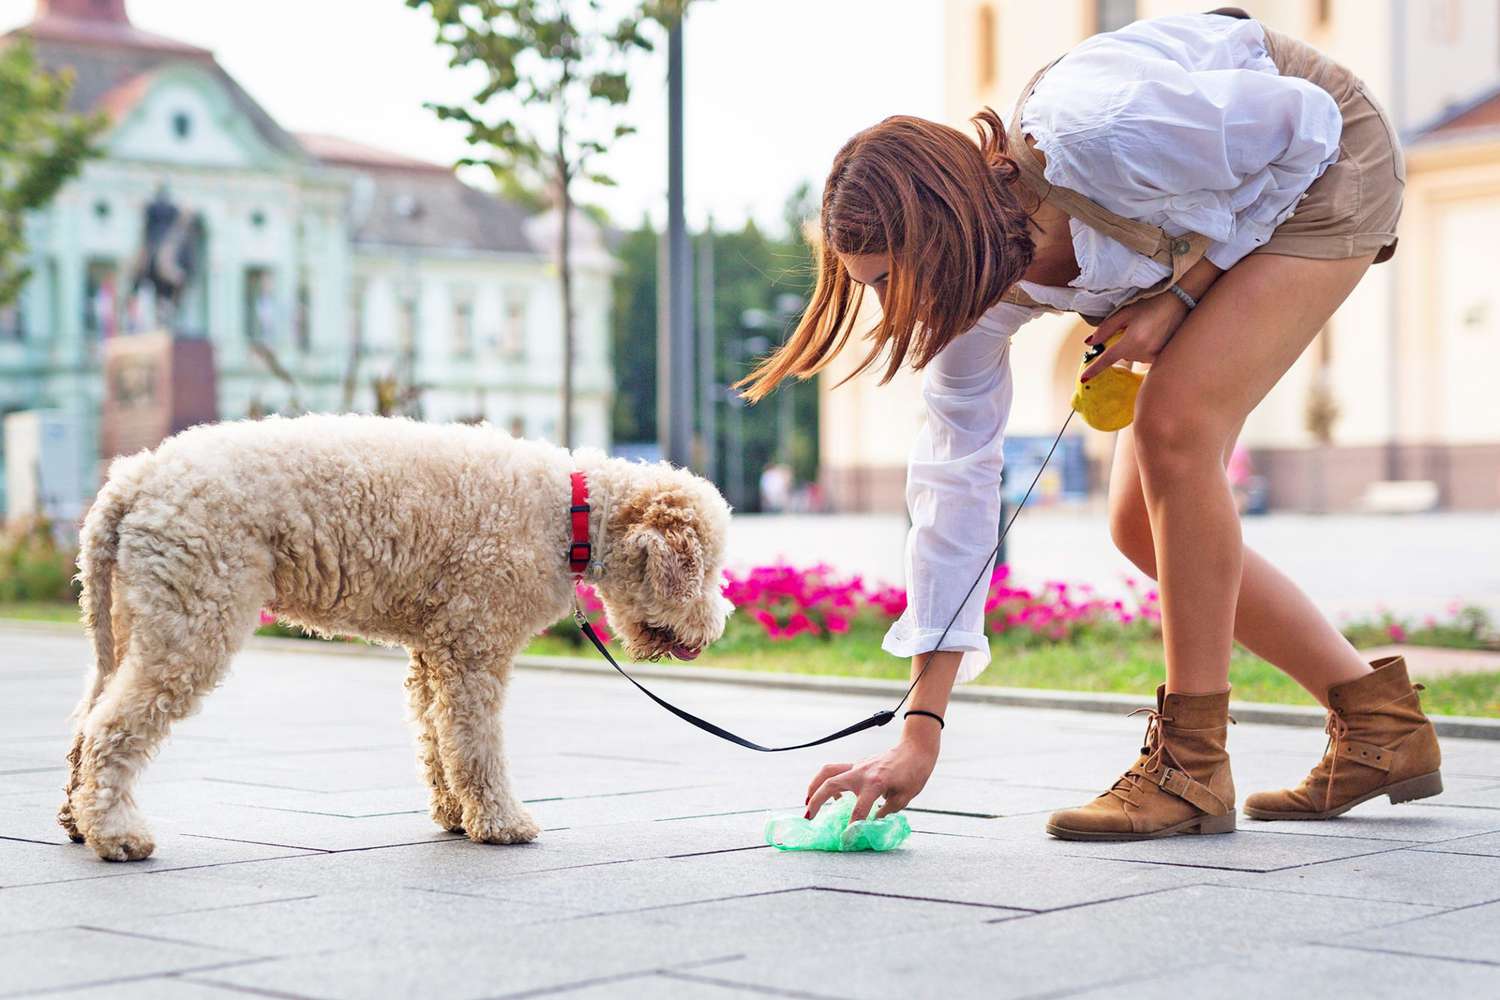
2. Clean the Collection Area: Make sure the collection area is clean and free from any potential contaminants. If collecting urine midstream, ensure that your pet’s genitals are clean and dry to prevent any external bacteria or debris from contaminating the sample. Use a mild, pet-safe cleanser to clean the area if necessary, and ensure it is thoroughly rinsed and dried before collection.
3. Familiarize Your Pet: It’s beneficial to familiarize your pet with the process of collecting urine beforehand. Spend some time acclimating them to the collection container and the handling that may be required during the collection process. This can help reduce anxiety and make the process less stressful for both you and your pet.
4. Schedule the Collection Time: It’s important to plan the urine collection at a time when your pet is likely to urinate. Observe their usual patterns and schedule the collection accordingly. Avoid collecting the sample immediately after your pet has had a large drink of water, as this may dilute the urine and affect the test results.
5. Collecting Tools and Container: Ensure you have all the necessary tools and a sterile collection container ready before collecting the urine sample. Use a clean, wide-mouthed container that allows easy collection without spillage. Keep in mind that different collection methods may require specific tools or containers, so follow your veterinarian’s instructions regarding the appropriate collection method for your pet.
By properly preparing before collecting a urine sample, you can ensure a stress-free and successful collection process. Following these steps not only helps in obtaining a high-quality sample but also ensures the accuracy of the diagnostic tests and subsequent treatment decisions. Remember, if you have any doubts or concerns, consult with your veterinarian for guidance and support throughout the collection process.
Store the urine sample in a clean, airtight container and refrigerate it if you can’t bring it to the vet immediately. Avoid freezing the sample as it can alter the results.
Step-by-Step Guide to Storing Urine Sample
Once you have successfully collected a urine sample from your pet, it’s essential to store it correctly to maintain its integrity and ensure accurate diagnostic results. Follow this step-by-step guide to properly store a urine sample:
1. Label the Sample: Immediately after collecting the urine sample, label the container with relevant information, including the animal’s name, date, time of collection, and any specific instructions from the veterinarian. Clear and accurate labeling prevents mix-ups and ensures proper identification throughout the storage process.
2. Secure the Lid: Ensure the container’s lid is tightly sealed to prevent any leakage or contamination. Double-check that the lid is properly fastened to maintain the sample’s integrity during storage.
3. Place in a Sealable Plastic Bag: To provide an extra layer of protection, place the labeled urine sample container inside a sealable plastic bag. This will help prevent any odor or liquid from leaking out of the container and protect it from potential damage in case of accidental drops or spills.
4. Store in the Refrigerator: Immediately transfer the sealed urine sample container to a dedicated refrigerator set between 2-8 degrees Celsius (36-46 degrees Fahrenheit). Ensure the container is placed in an area of the refrigerator that is designated for storing medical samples and is not in direct contact with food or other items. This prevents any cross-contamination and maintains the sample’s integrity.
5. Avoid Freezing the Sample: While refrigeration is necessary to preserve the urine sample, it’s important to note that freezing can alter the composition and potentially affect the diagnostic accuracy. Avoid freezing the urine sample unless explicitly directed by your veterinarian.
6. Clean up and Dispose: After storing the urine sample, dispose of any used gloves or other materials in a biohazard bag. Clean any surfaces that may have come in contact with the urine sample, using pet-safe disinfectants to prevent potential cross-contamination or the spread of infectious agents.
Remember, prompt and proper storage of the urine sample is essential to maintain its quality and ensure accurate diagnostic results. If you are unable to store the sample immediately, consult with your veterinarian for instructions on how to preserve the integrity until it can be properly refrigerated.
By following this step-by-step guide, you can ensure that the urine sample remains in optimal condition for diagnostic testing, enabling accurate analysis and supporting the best possible treatment outcomes for your pet.
Read more: How To Store Urine Sample
Tips and Recommendations
Properly storing urine samples is crucial for maintaining their integrity and ensuring accurate diagnostic results. Here are some helpful tips and recommendations to enhance the urine sample storage process:
1. Act Quickly: Store the urine sample in the refrigerator as soon as possible after collection. The longer the sample sits at room temperature, the greater the chance of bacterial growth and changes in its composition.
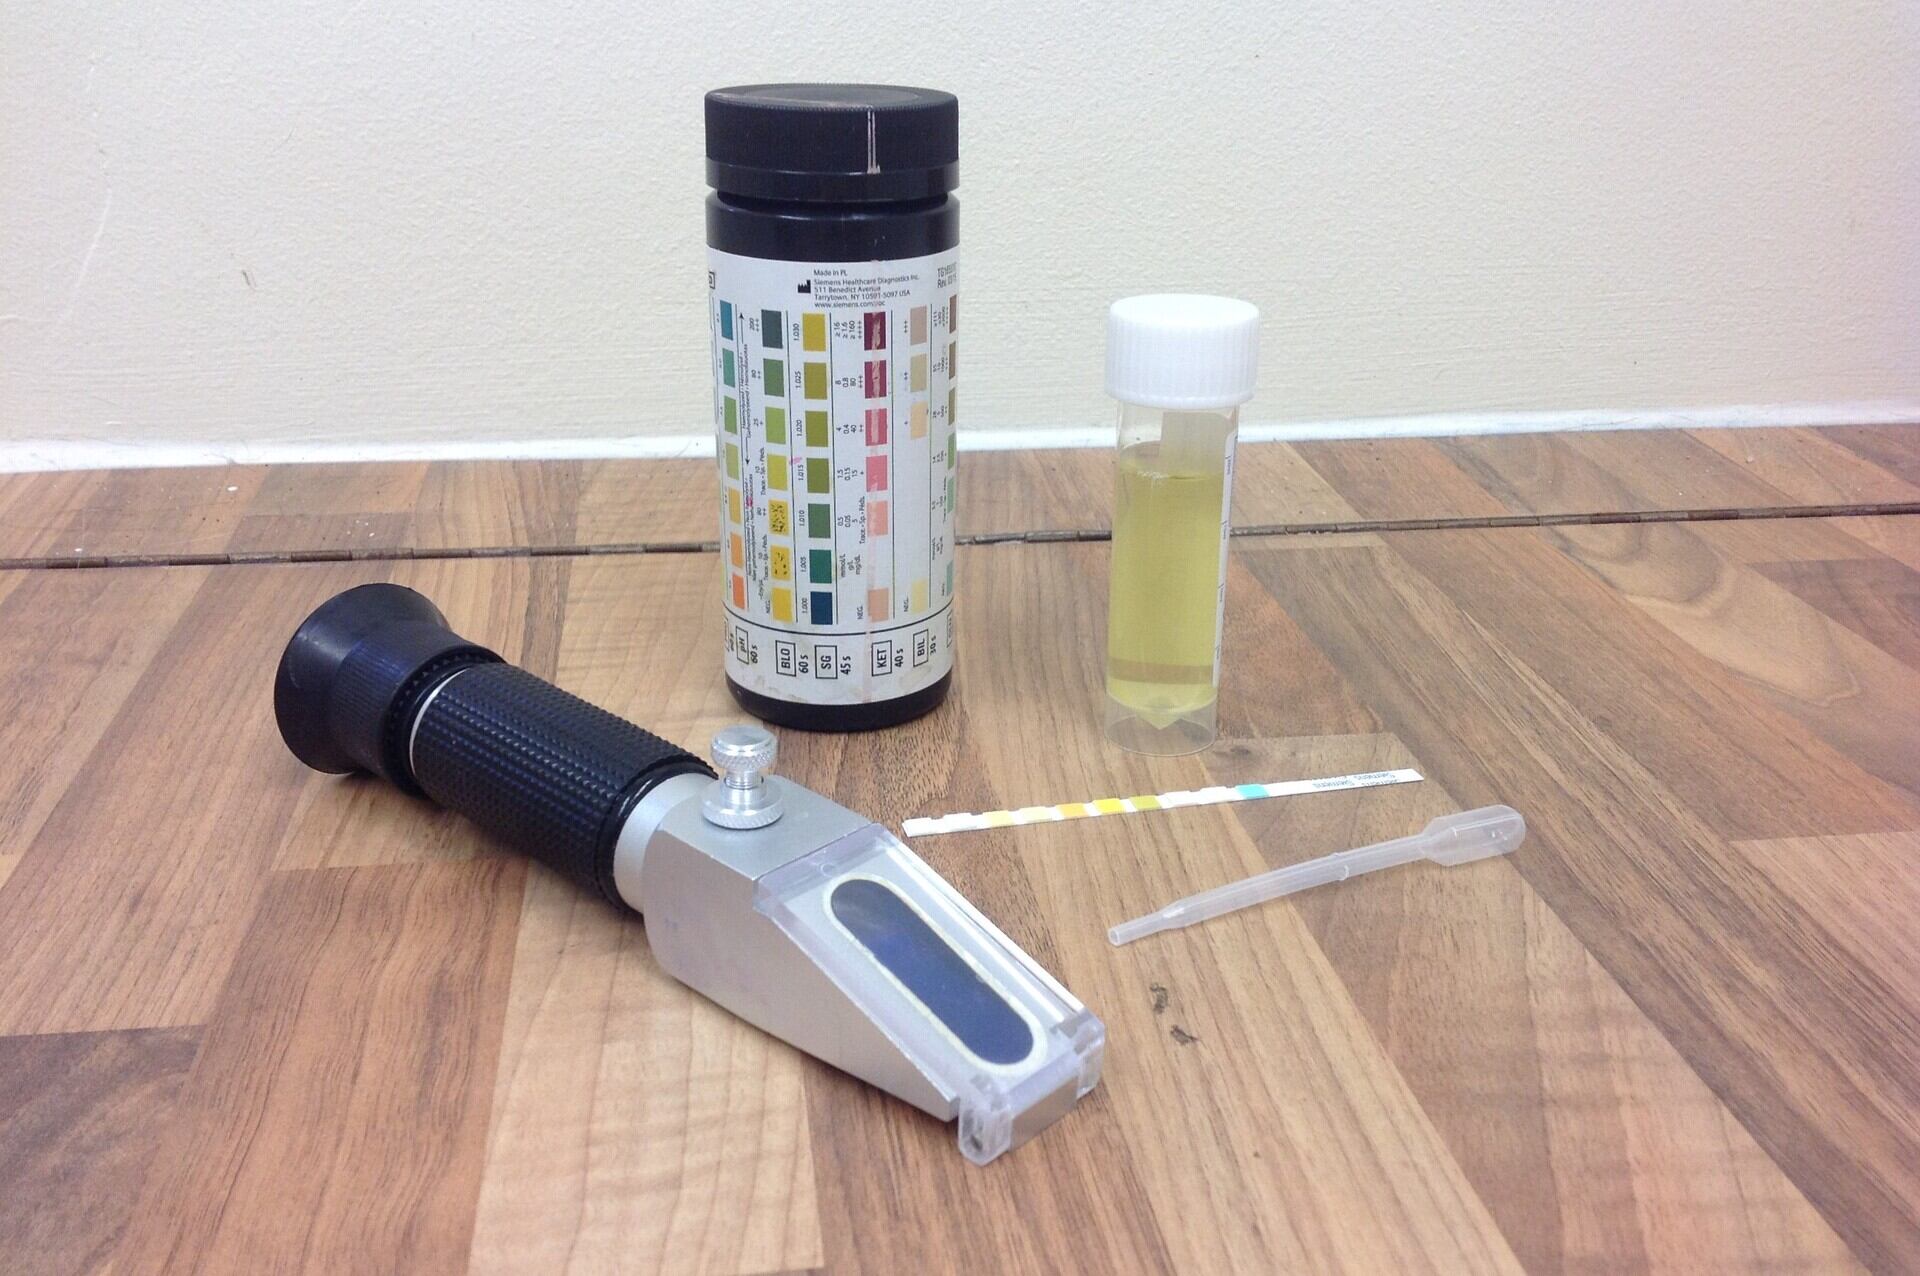
2. Use Sterile Collection Containers: Utilize sterile urine collection containers to avoid any contamination. Avoid reusing old containers or repurposing containers meant for other purposes, as they may introduce unwanted bacteria or chemicals into the sample.
3. Ensure a Clean Collection Area: Before collecting the urine sample, make sure the collection area is thoroughly cleaned and free from any potential contaminants. This helps ensure that the sample remains untainted and provides accurate test results.
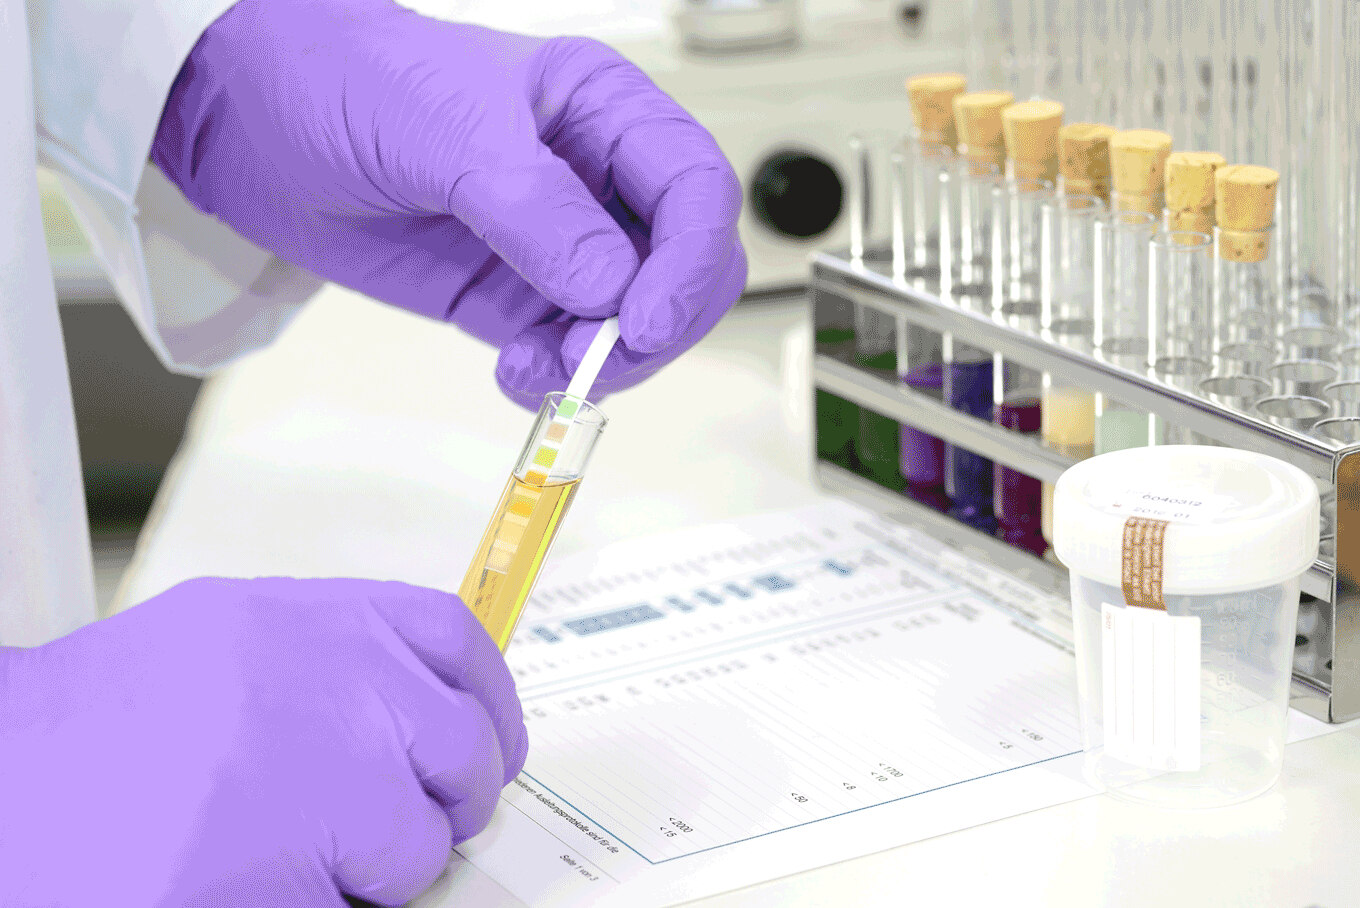
4. Follow Collection Techniques: Adhere to the specific collection technique recommended by your veterinarian. Whether it’s a midstream catch, free catch, or via catheterization, following the correct technique helps ensure the sample’s accuracy and validity.
5. Handle with Care: When handling the urine sample container, avoid excessive shaking or agitation, as this can disrupt the composition of the sample. Handle it gently and store it in an upright position to prevent leakage.
6. Communicate with the Laboratory: If you are storing the sample for a prolonged period before sending it to a laboratory, it’s advisable to inform them about the storage duration. They may provide specific instructions on the maximum storage time and any special considerations for handling the sample.
7. Keep Records: Maintain accurate records of the sample collection and storage process, including information such as the date and time of collection, storage duration, and any additional notes or observations. This helps ensure proper documentation and traceability of the sample.
8. Follow Disposal Guidelines: Dispose of any used collection materials, gloves, or biohazard bags in accordance with local regulations. This helps protect the environment and prevent any potential health hazards.
9. Regularly Clean the Refrigerator: Regularly clean the refrigerator used for storing urine samples to prevent any potential cross-contamination. Use pet-safe disinfectants to maintain a clean and sanitary storage environment.
10. Consult with Your Veterinarian: If you have any specific concerns or questions regarding the storage of urine samples, it’s always best to consult with your veterinarian. They can provide additional guidance and address any individual needs or requirements.
By following these tips and recommendations, you can ensure the proper storage of urine samples, maintain their quality, and facilitate accurate diagnostic testing for the well-being of your furry companions. Remember, accurate test results lead to better diagnosis and treatment decisions, ultimately improving the overall healthcare of your pets.
Conclusion
Properly storing urine samples is a critical aspect of veterinary medicine. By following the necessary steps and employing best practices, you can preserve the integrity of the urine sample and ensure accurate diagnostic results. Maintaining the quality of urine samples is vital for effective diagnosis, treatment planning, and monitoring of an animal’s health.
Throughout this article, we’ve highlighted the importance of properly storing urine samples, the required materials, preparation before collection, and provided a step-by-step guide to storing the samples. We have also shared valuable tips and recommendations to enhance the urine sample storage process.
Remember, contamination can affect the accuracy of diagnostic tests, make sure to use sterile collection containers, wear gloves, and keep the collection area clean. Proper labeling and secure lid fastening ensure proper identification and avoid mix-ups. Storing the samples in a dedicated refrigerator at the appropriate temperature maintains the sample’s integrity.
Engaging in open communication with your veterinarian and following their specific instructions is essential for accurate testing and treatment decisions. It’s also crucial to dispose of any used materials and follow proper hygiene practices to prevent cross-contamination.
By following these guidelines, you can confidently handle urine samples, ensuring their quality and preserving their diagnostic value. Consistently reliable samples facilitate more accurate diagnoses, enabling appropriate and timely treatments for your beloved pets. Remember, when in doubt, consult with a veterinarian for guidance and support throughout the sample collection and storage process.
Proper urine sample storage is a fundamental aspect of veterinary care that plays a vital role in diagnosing and treating various conditions. By prioritizing the correct storage techniques, we ensure that our pets receive the best possible care, leading to improved health outcomes and overall well-being.
So, the next time you find yourself needing to store a urine sample for your veterinarian, follow the steps outlined in this article, utilize the necessary materials, and implement the recommended tips. By doing so, you’ll be contributing to the accuracy of diagnostic tests and ultimately helping your pets live their happiest and healthiest lives.
Frequently Asked Questions about How To Store Urine Sample For Vet
Was this page helpful?
At Storables.com, we guarantee accurate and reliable information. Our content, validated by Expert Board Contributors, is crafted following stringent Editorial Policies. We're committed to providing you with well-researched, expert-backed insights for all your informational needs.


0 thoughts on “How To Store Urine Sample For Vet”