Articles
How To Store Chili Oil
Modified: February 23, 2024
Learn the best method for storing homemade chili oil with our helpful articles. Keep your flavorful creation fresh and long-lasting.
(Many of the links in this article redirect to a specific reviewed product. Your purchase of these products through affiliate links helps to generate commission for Storables.com, at no extra cost. Learn more)
Introduction
Welcome to the wonderful world of chili oil! Whether you’re a spicy food enthusiast or simply enjoy adding a kick to your dishes, chili oil is a fantastic condiment to have in your kitchen. From drizzling it over pizzas and noodles to using it as a dipping sauce, chili oil adds a fiery flavor that tantalizes the taste buds.
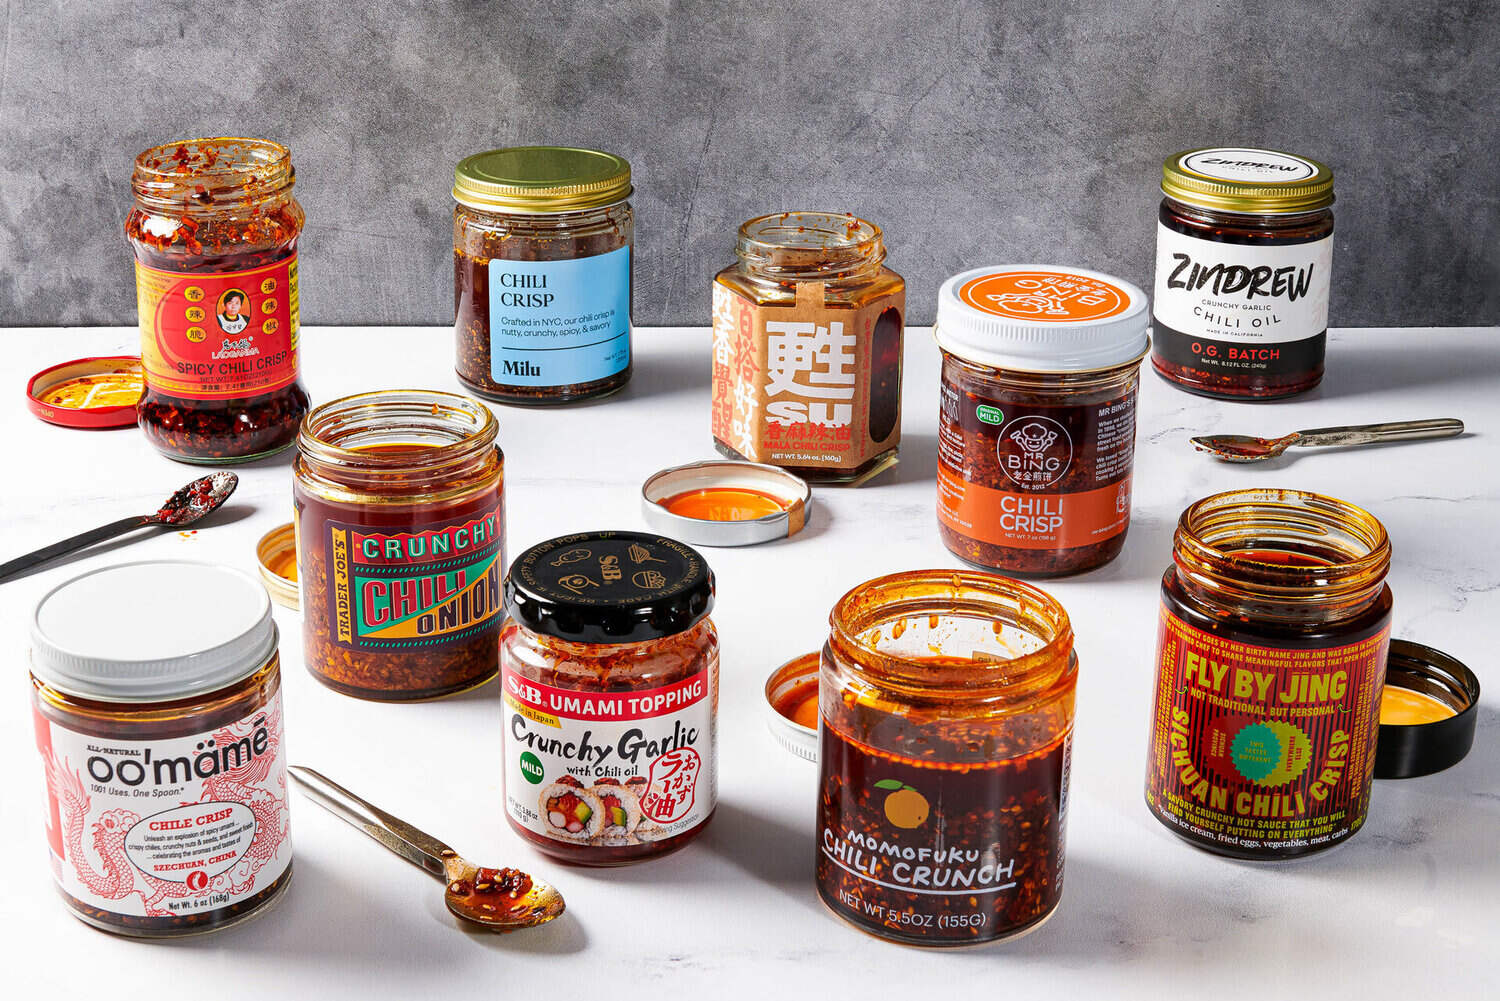
While you can easily find store-bought chili oil, there’s nothing quite like making your own. Not only can you customize the flavors and heat level to your liking, but you also have control over the ingredients, ensuring a healthier and more flavorful end result. Plus, the satisfaction of creating something from scratch is truly rewarding.
In this article, we’ll guide you through the process of making and storing chili oil, so you can enjoy its mouthwatering flavors whenever you please. Let’s dive in!
Key Takeaways:
- Master the art of making and storing homemade chili oil to customize flavors, ensure freshness, and elevate your culinary creations with a fiery kick.
- Embrace creativity, experiment with spices, and share the joy of homemade chili oil while following best practices to maintain its quality and flavor.
Read more: How To Store Homemade Chili Oil
Equipment Needed
Before embarking on your chili oil-making journey, it’s important to gather the necessary equipment. While the list is relatively short, having the right tools will make the process smoother and more enjoyable.
- Glass Jar: Opt for a glass jar with a tight-fitting lid. This will help preserve the freshness and flavor of your chili oil.
- Knife and Cutting Board: You’ll need these to chop the chili peppers and other ingredients.
- Pan or Skillet: Use a pan or skillet to heat the oil and infuse it with the flavors of the chili peppers and spices.
- Sieve or Cheesecloth: This will be used to strain the chili oil and remove any solids, resulting in a smooth and clear final product.
- Funnel: A funnel will come in handy when transferring the chili oil into the glass jar, preventing any spills or messes.
- Measuring Cups and Spoons: These will help you accurately measure the ingredients to maintain the desired flavor balance.
With these basic tools at your disposal, you’re ready to start the chili oil-making process. Remember to have them clean and ready to use before you begin.
Ingredients
Now that you have the necessary equipment, it’s time to gather the ingredients for your homemade chili oil. The ingredients listed below are a basic starting point, but feel free to experiment and customize based on your preferences:
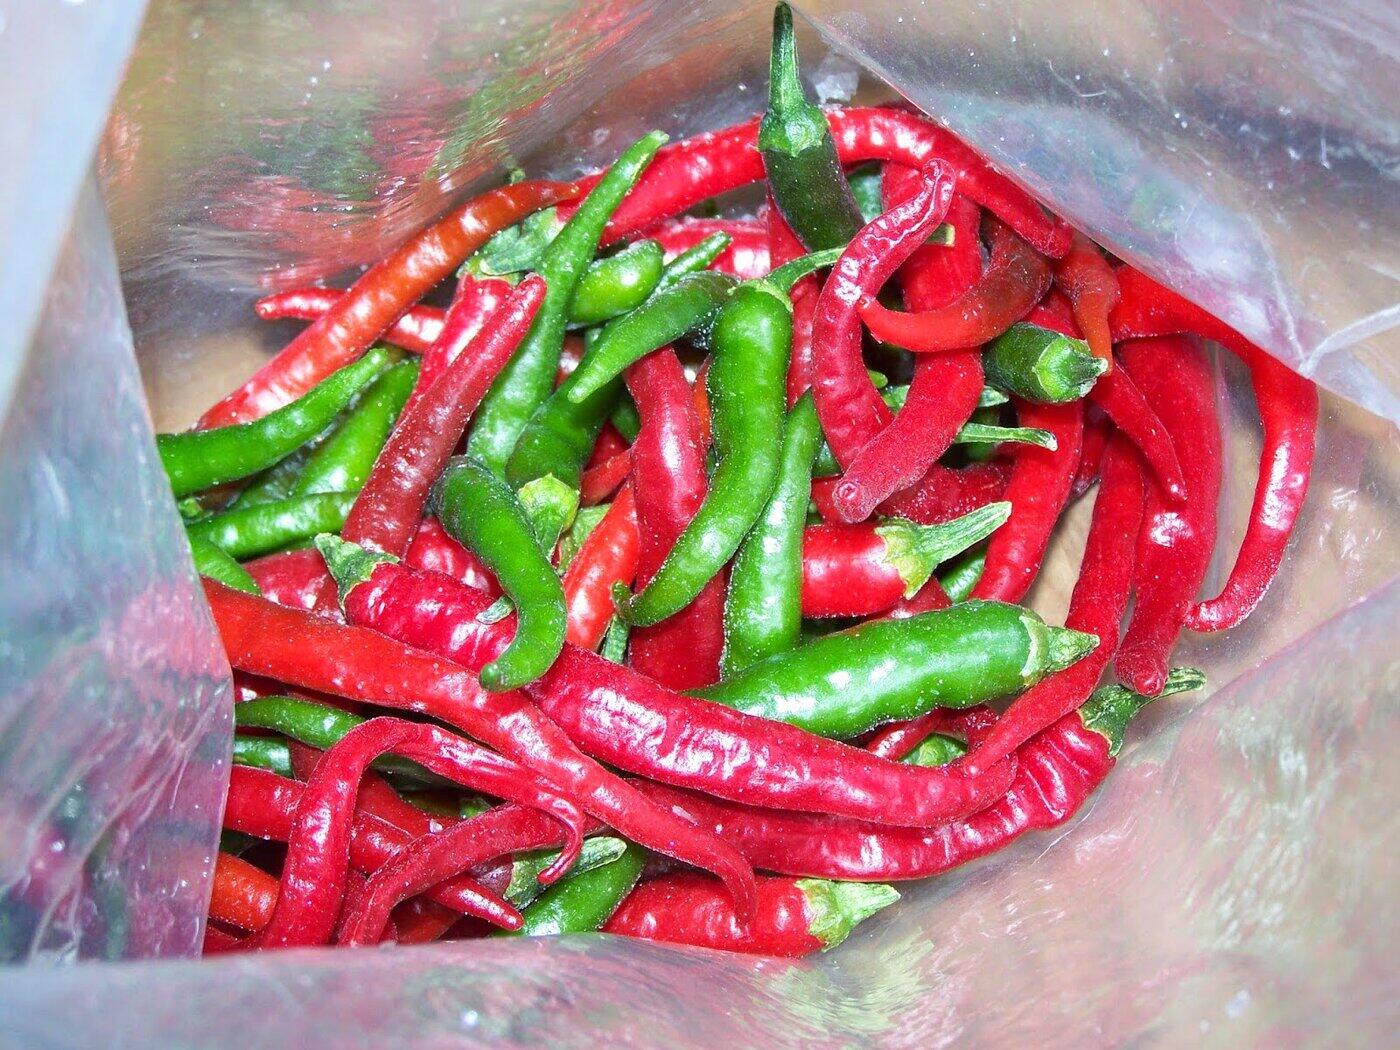
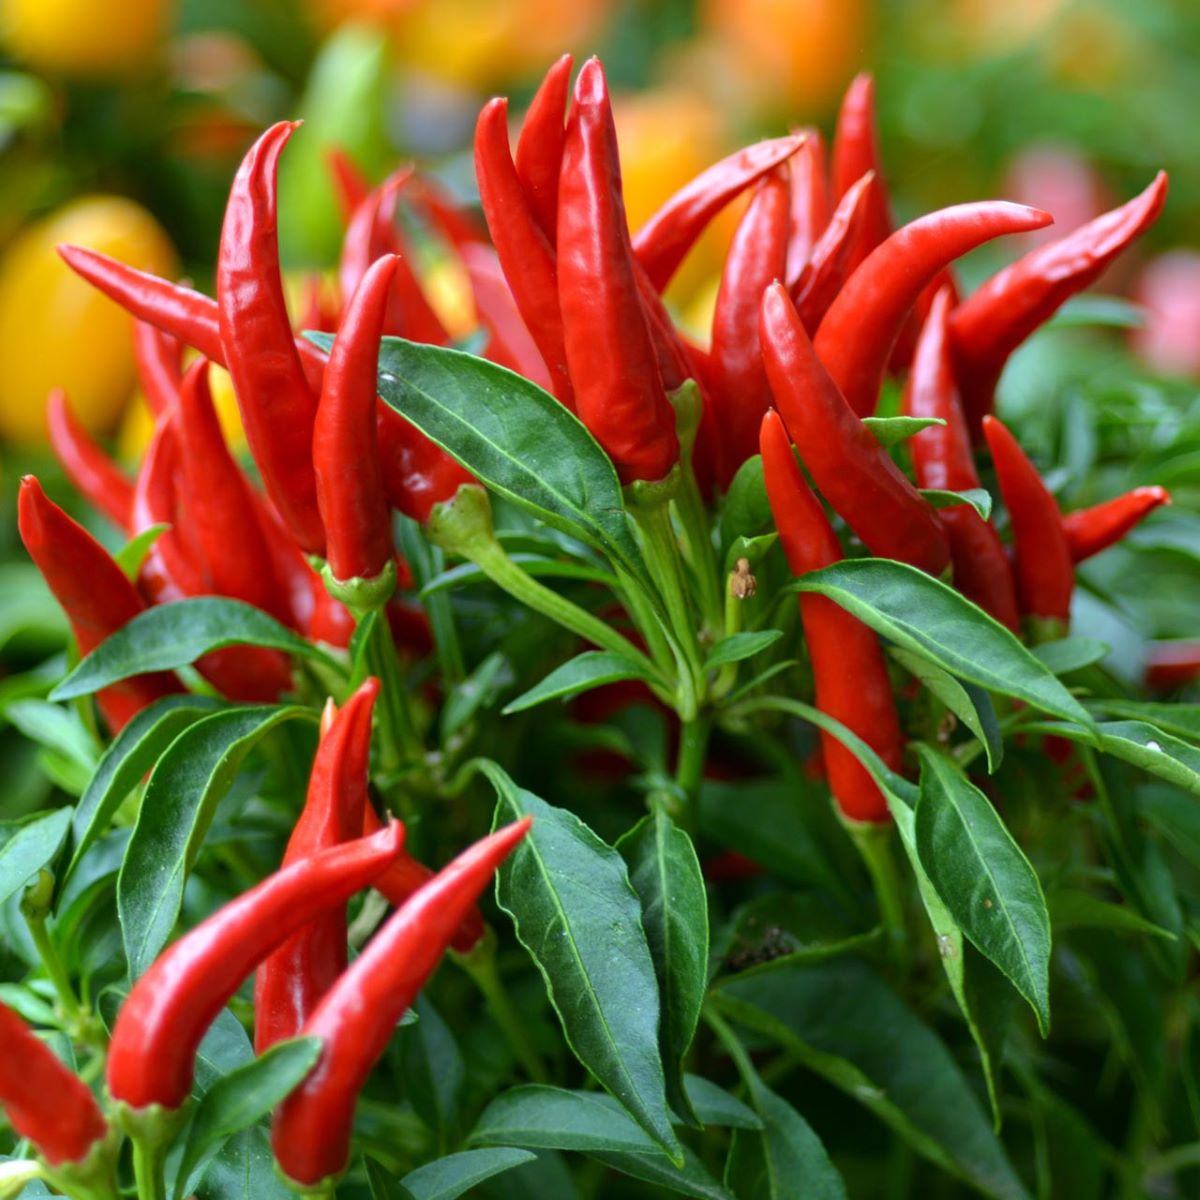
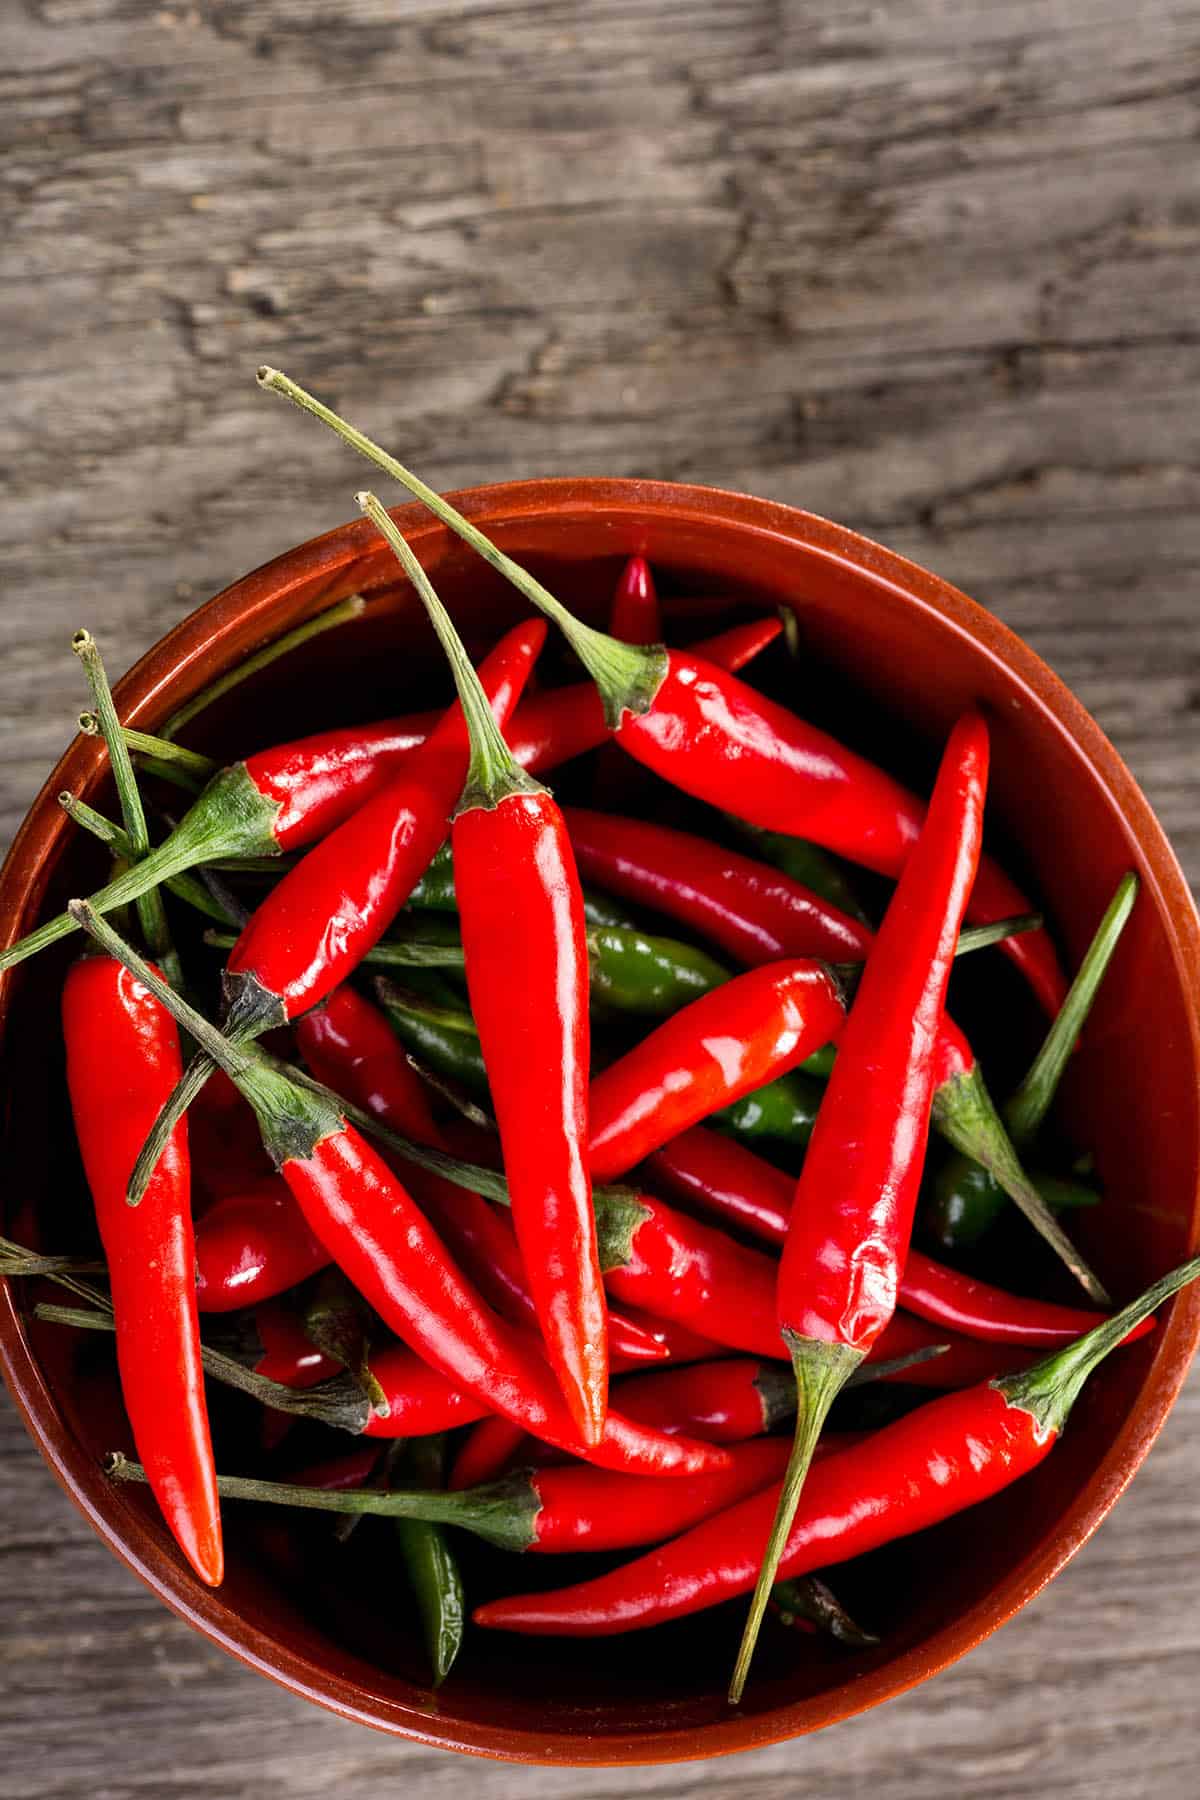
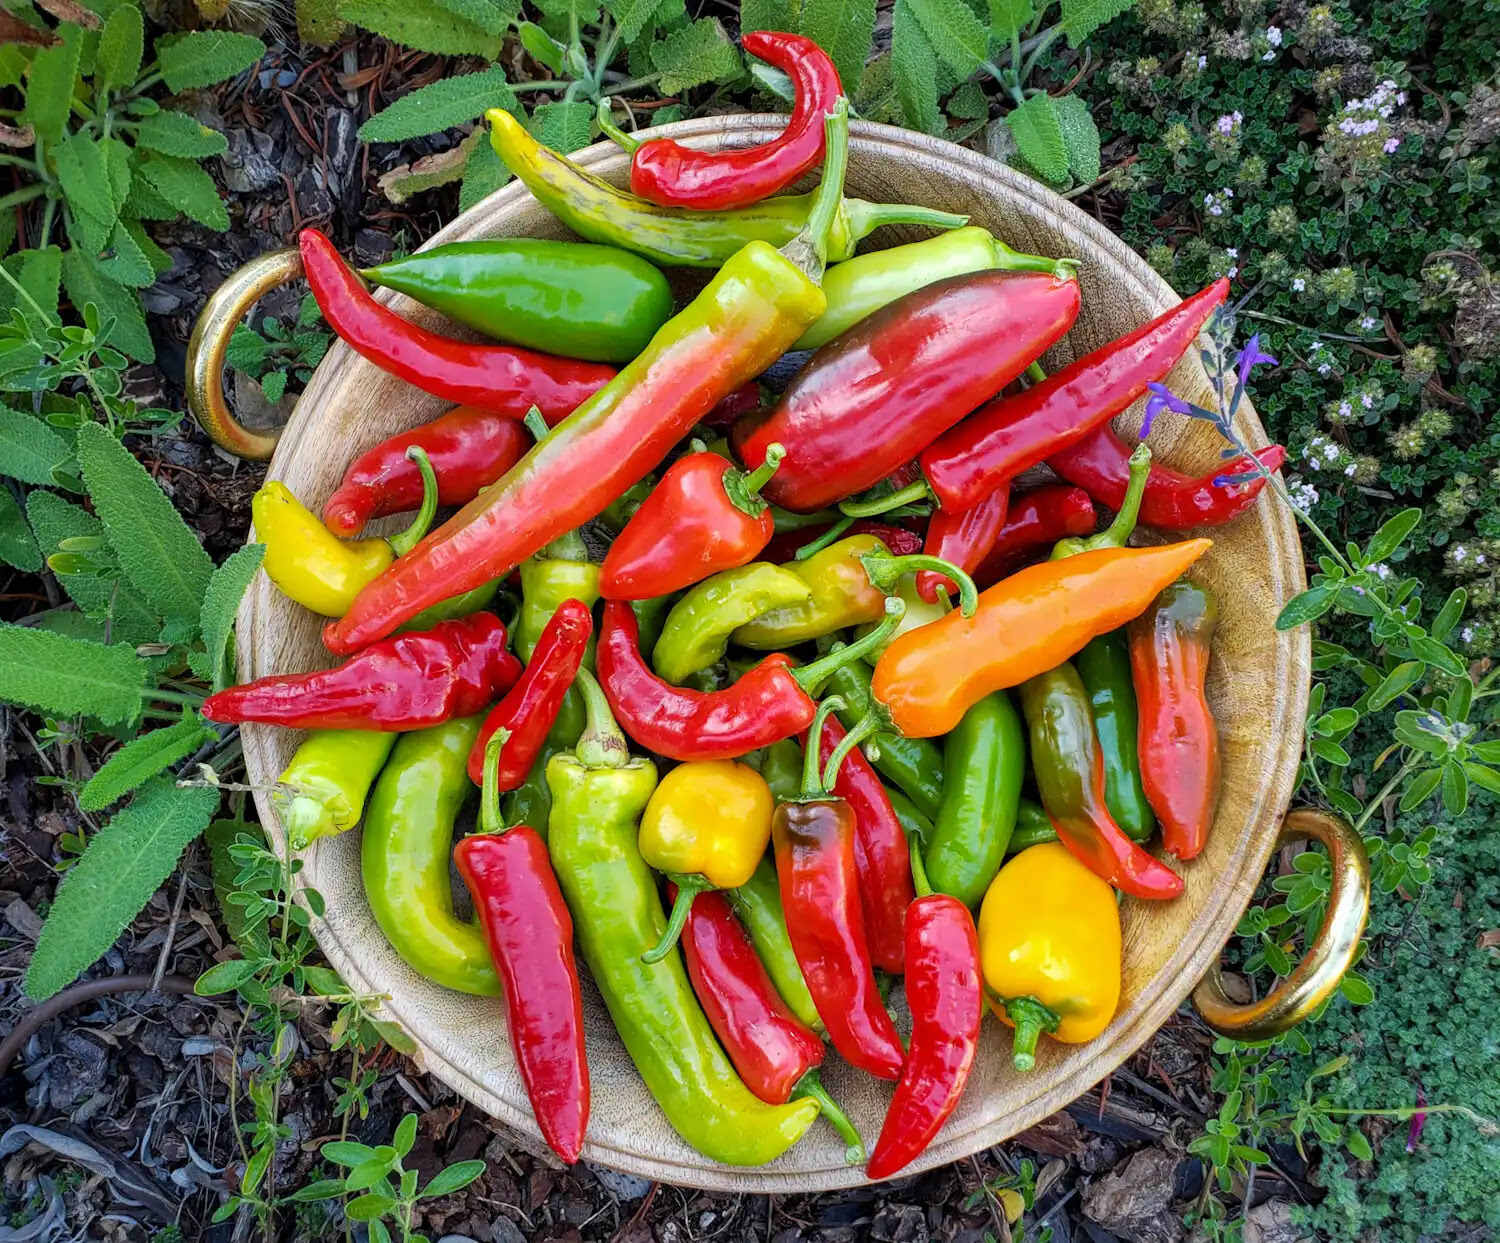
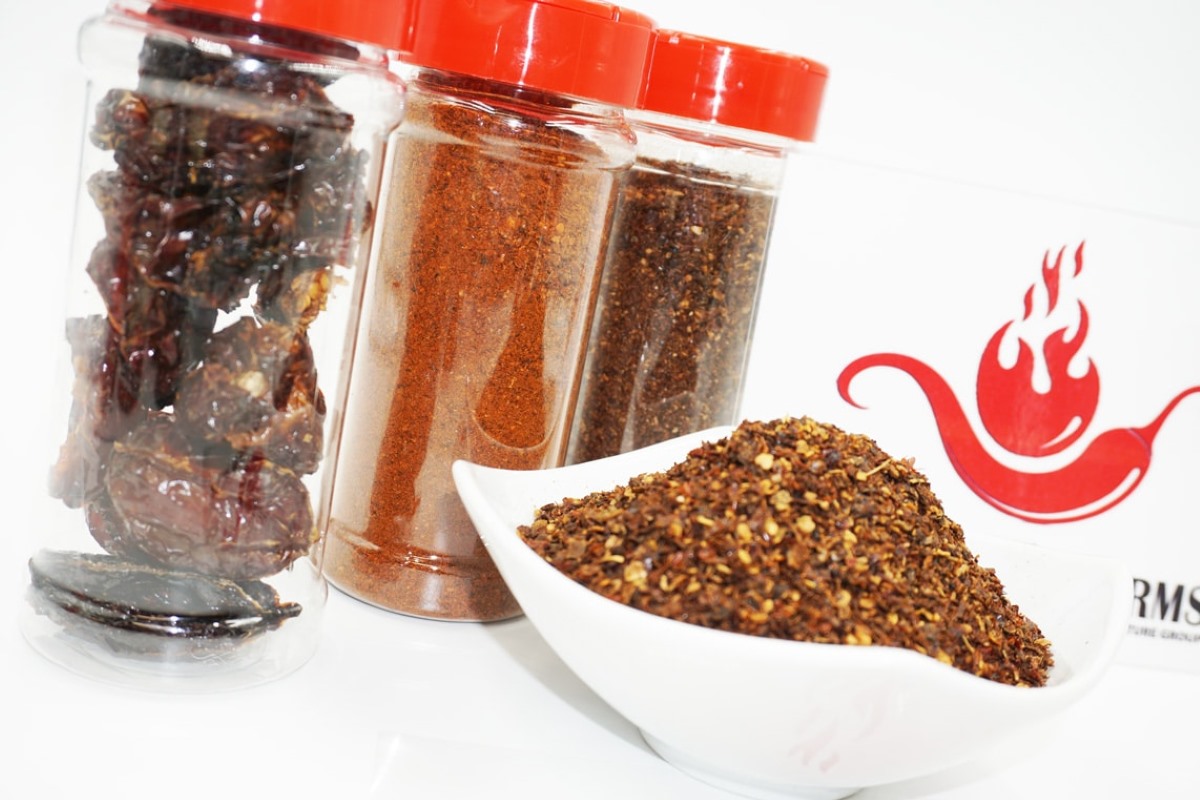
- Chili Peppers: The star ingredient of chili oil. Choose a variety of chili peppers based on your preferred heat level. Popular options include Thai bird’s eye chili, serrano, or red pepper flakes.
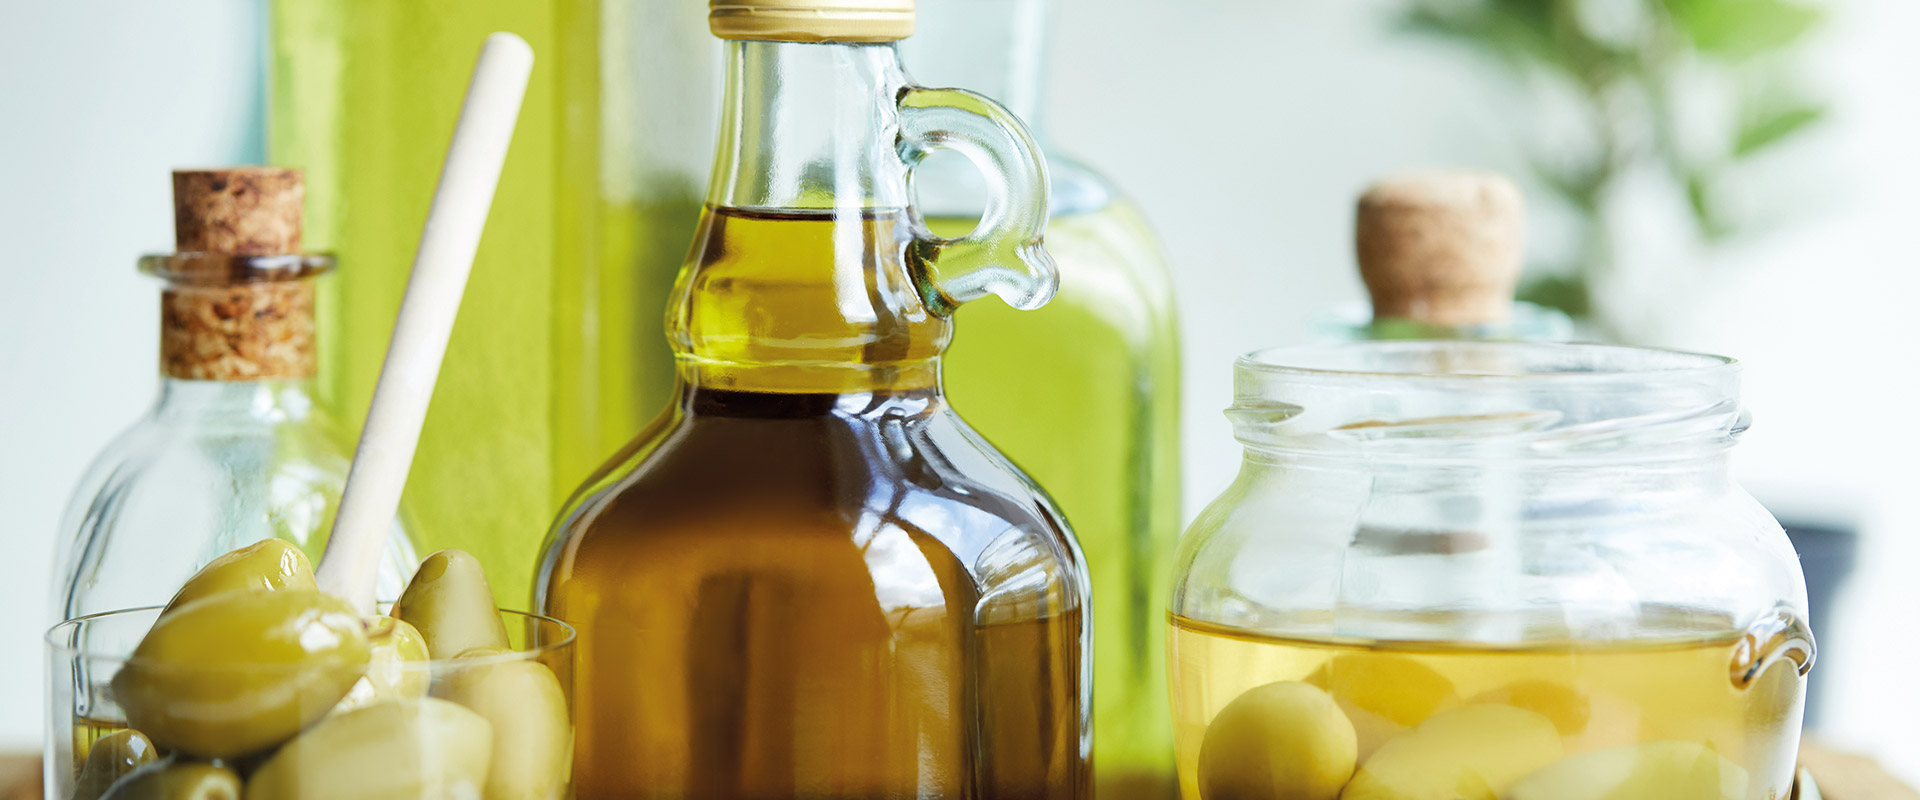
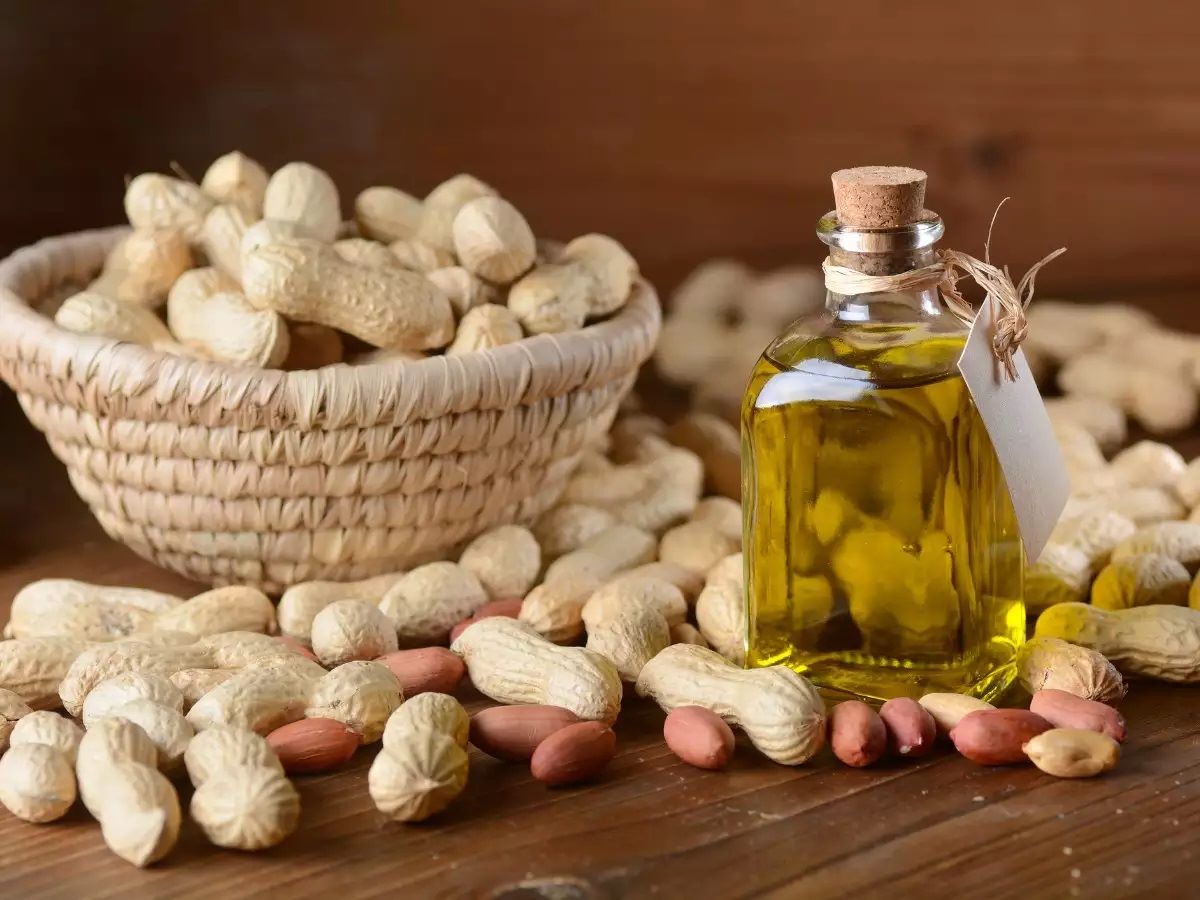
- Oil: Use a neutral-flavored oil like vegetable, canola, or peanut oil as the base. This allows the flavors of the chili peppers and other spices to shine.
- Garlic: Adds a robust flavor to the chili oil. Use fresh garlic cloves or garlic powder depending on your preference.
- Ginger: Optional, but adds a subtle warmth and depth to the oil. Use fresh ginger slices or ginger powder.
- Sichuan Peppercorns: Provides a numbing and citrusy flavor to the chili oil. Crushing the peppercorns before adding them releases their aromatic oils.
- Star Anise: Adds a hint of licorice-like taste and aroma to the chili oil.
- Cinnamon Stick: Provides a warm and comforting note to the oil.
- Salt: Enhances the overall flavor of the chili oil. Use kosher salt or sea salt.
Remember, these are just the basic ingredients to get you started. Feel free to experiment with additional spices, such as black peppercorns, bay leaves, or dried herbs, to add your own unique twist to the chili oil.
Preparation
Now that you have your equipment and ingredients ready, it’s time to dive into the preparation process for your homemade chili oil. Follow these steps for a delicious and flavorful result:
- Prepare the Chili Peppers: Start by washing the chili peppers thoroughly and patting them dry. If using larger chili peppers like serrano or jalapeno, remove the seeds and membranes to reduce the heat level. Chop the peppers into small pieces or crush them using a mortar and pestle.
- Infuse the Oil: Heat the oil in a pan or skillet over low heat. Add the chopped chili peppers, garlic, ginger, Sichuan peppercorns, star anise, and cinnamon stick. Stir everything together and let it simmer for about 10-15 minutes to infuse the flavors into the oil. Be careful not to let the ingredients burn.
- Strain the Oil: Remove the pan from heat and allow the chili oil mixture to cool slightly. Place a sieve or cheesecloth over a clean bowl or jar, then carefully pour the oil mixture through it. This will strain out any solids and leave you with a smooth, clear chili oil.
- Season and Store: Taste the strained chili oil and adjust the seasoning with salt if needed. Give it a gentle stir to incorporate the salt. Then, using a funnel, carefully transfer the chili oil into a clean glass jar. Seal it tightly with the lid.
- Allow it to Mature: For the best flavor, let the chili oil sit at room temperature for a couple of days to allow the flavors to meld together and mature. This will give your chili oil an extra depth of flavor.
Once your chili oil has matured, it is ready to be enjoyed. Store it in a cool, dark place, like your pantry, and it will keep for several months.
Now that you’ve mastered the preparation process, let’s move on to the various methods of storing your homemade chili oil.
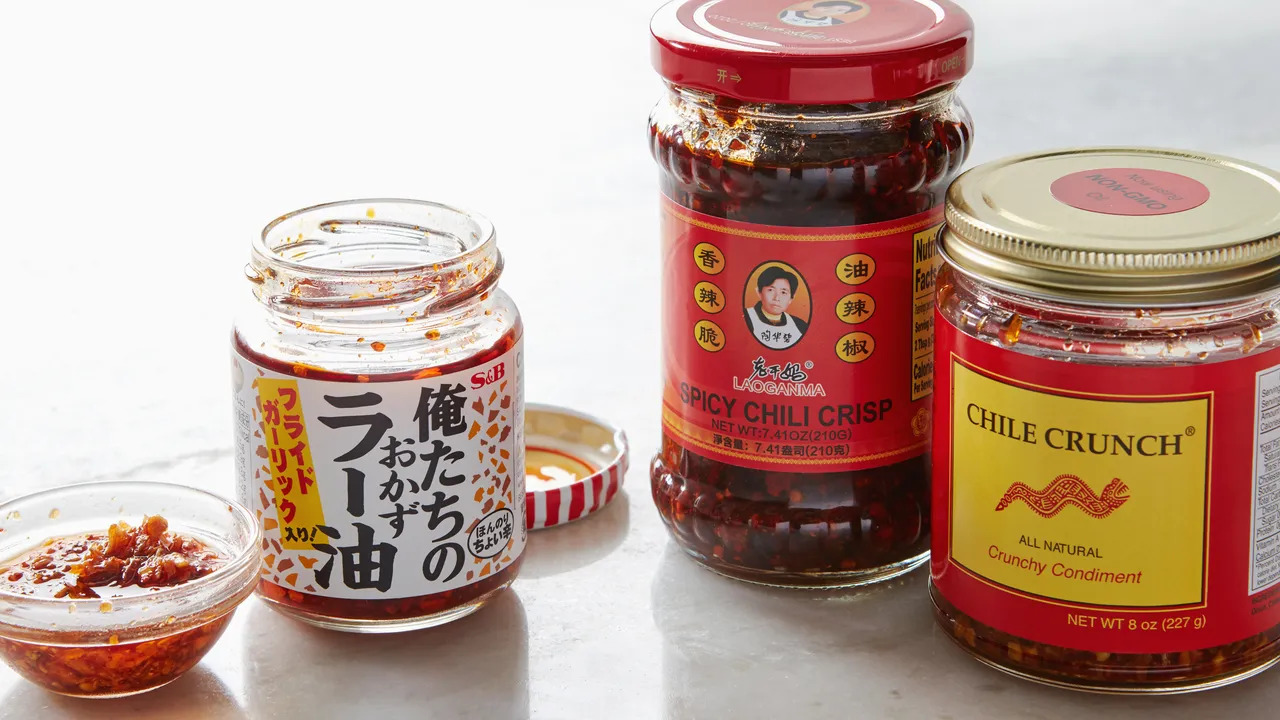
Store chili oil in a cool, dark place to maintain its flavor and quality. Avoid exposure to heat and light, which can cause the oil to become rancid.
Storing Methods
Proper storage is essential to maintain the freshness and flavor of your homemade chili oil. Here are a few methods to consider:
- Glass Jar with Lid: One of the most common and convenient ways to store chili oil is in a glass jar with a tight-fitting lid. Make sure the jar is clean and dry before transferring the chili oil into it. This method helps protect the oil from light and air, preserving its flavor.
- Dark-Colored Bottle: If you prefer a more decorative option, you can store your chili oil in a dark-colored bottle. This helps shield the oil from sunlight, which can degrade the quality over time. Look for bottles specifically designed for storing oils.
- Airtight Container: If you plan to use your chili oil frequently, another option is to store it in an airtight container. Make sure the container is made of a material that won’t react with the oil, such as stainless steel or food-grade plastic. This method allows for easy pouring and access to the chili oil.
Whichever method you choose, it’s important to keep the chili oil in a cool, dark place away from direct sunlight and heat sources. This will ensure that the flavors and quality of the oil are preserved for as long as possible.
Now that you know how to store your chili oil, let’s explore some best practices to maximize its longevity.
Read more: How To Store Chili
Best Practices for Longevity
To ensure the longevity and quality of your homemade chili oil, it’s important to follow these best practices:
- Keep it sealed: Always make sure the lid or cap of your chili oil container is tightly sealed after each use. This helps prevent air, moisture, and contaminants from entering and spoiling the oil.
- Avoid exposure to heat and light: Store your chili oil in a cool, dark place, away from direct sunlight and any heat sources. Heat and light can accelerate the oxidation process, causing the oil to spoil or develop off flavors.
- Use clean utensils: When retrieving chili oil from the container, make sure to use clean utensils or pour it directly into your dish. This prevents cross-contamination and extends the shelf life of the oil.
- Keep it dry: Moisture is the enemy of oil. To prevent the growth of bacteria or mold, ensure that the chili oil and its container are always dry. Avoid using wet spoons or introducing any moisture into the oil.
- Store in smaller quantities: If you anticipate not using the chili oil frequently, consider storing it in smaller quantities. This reduces the amount of air in the container each time you open it, minimizing potential oxidation.
By following these best practices, you can prolong the freshness and flavor of your homemade chili oil, ensuring that it remains a delicious addition to your culinary creations.
Now that you have a good grasp of storing and maintaining the quality of your chili oil, let’s explore some additional tips and tricks to enhance your chili oil-making experience.
Tips and Tricks
Ready to take your homemade chili oil to the next level? Here are some tips and tricks to enhance your chili oil-making experience:
- Experiment with chili pepper varieties: Don’t be afraid to try different types of chili peppers to tailor the heat level and flavor of your chili oil. Mix and match to find the perfect combination that suits your palate.
- Toast the spices: For an extra depth of flavor, consider toasting the Sichuan peppercorns, star anise, and cinnamon stick before adding them to the oil. This simple step can intensify the aroma and taste of the spices.
- Infuse with other flavors: Get creative with your chili oil by infusing it with additional flavors. Try adding a few drops of sesame oil, soy sauce, or even a splash of vinegar to give your chili oil a unique twist.
- Add dried herbs or spices: Enhance the flavor profile of your chili oil by incorporating dried herbs or spices like dried basil, oregano, or thyme. These can impart a wonderful aroma and additional layers of taste.
- Adjust the heat level: If you find your chili oil is too spicy for your liking, you can reduce the heat by mixing it with a mild oil, such as grapeseed or sunflower oil, to dilute the intensity.
- Label and date your jars: To keep track of the freshness of your chili oil, make sure to label each jar with the date it was made. This will help you know when it’s time to make a fresh batch.
- Gift it to friends and family: Homemade chili oil makes a thoughtful and flavorful gift. Package it in a decorative bottle and share the joy of homemade condiments with your loved ones.
Remember, making chili oil is a personal journey, and these tips and tricks are meant to inspire your creativity. Feel free to experiment, adjust flavors to your preference, and enjoy the process of creating your own signature chili oil.
Now that you are armed with all the knowledge and techniques, it’s time to unleash your culinary skills and savor the delightful goodness of your homemade chili oil!
Conclusion
Congratulations! You have now mastered the art of making and storing your very own homemade chili oil. By following the steps outlined in this article, you can enjoy the fiery flavors and tantalizing aromas of chili oil in the comfort of your own kitchen.
From selecting the right chili peppers to infusing the oil with aromatic spices, you have learned the essential techniques to create a delicious and customized chili oil that suits your taste preferences. By storing it properly in a glass jar or airtight container, in a cool and dark place, you can ensure the longevity and quality of your chili oil for months to come.
Don’t be afraid to get creative with your chili oil by experimenting with different spices, herbs, and flavor combinations. Let your culinary imagination run wild and discover new taste sensations with each batch you make.
Whether you use your chili oil as a drizzle over your favorite dishes, a marinade for meats, or a flavor boost to your sauces and dressings, it will undoubtedly elevate your culinary creations to new levels of deliciousness.
So gather your ingredients, prepare your equipment, and start crafting your very own homemade chili oil today. Be sure to savor each spicy and flavorful bite, and share the joy of your creations with family and friends.
Remember, the beauty of chili oil lies not only in the intense heat it brings to your dishes but also in the satisfaction of knowing that you created it with your own hands. Enjoy the process, embrace your creativity, and let your homemade chili oil add a spicy spark to your culinary adventures!
Frequently Asked Questions about How To Store Chili Oil
Was this page helpful?
At Storables.com, we guarantee accurate and reliable information. Our content, validated by Expert Board Contributors, is crafted following stringent Editorial Policies. We're committed to providing you with well-researched, expert-backed insights for all your informational needs.


0 thoughts on “How To Store Chili Oil”