Articles
How To Store Chili In Freezer
Modified: August 25, 2024
Learn how to store chili in the freezer with these helpful articles. Keep your chili fresh and flavorful for later use.
(Many of the links in this article redirect to a specific reviewed product. Your purchase of these products through affiliate links helps to generate commission for Storables.com, at no extra cost. Learn more)
Introduction
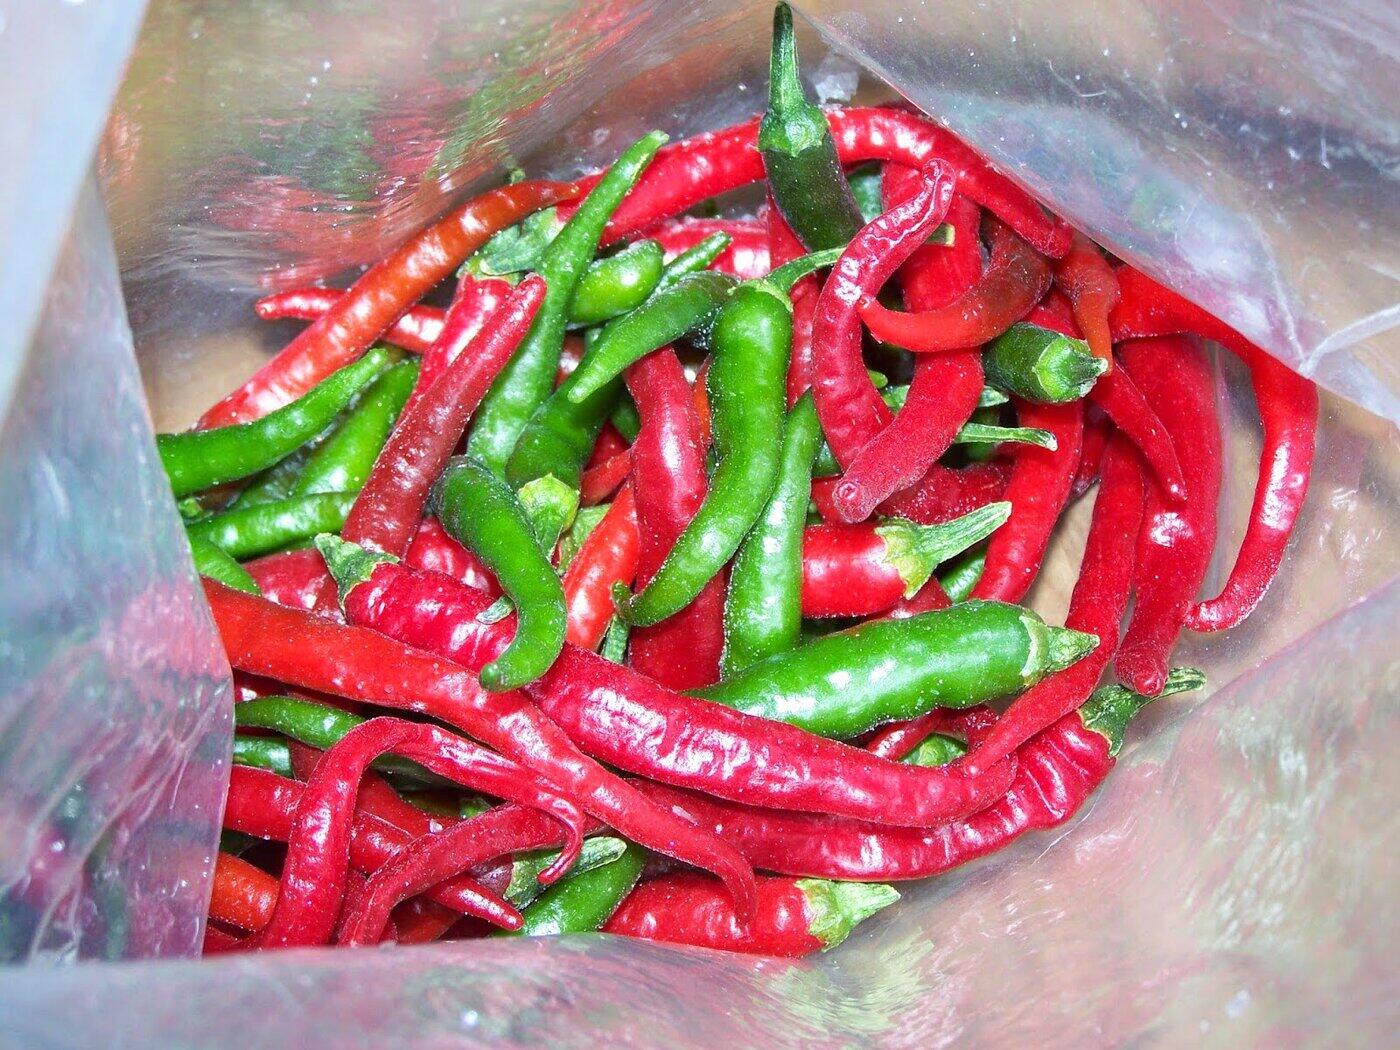
Chili is a beloved and versatile dish that brings warmth and flavor to our meals. Whether you prefer a classic meaty chili or a hearty vegetarian version, one thing is certain – making a big batch of chili means leftovers. But what do you do when you can’t finish all that homemade goodness in one go? That’s where the freezer comes in.
Freezing chili is a fantastic way to extend its shelf life and ensure that you have a delicious meal ready whenever you’re in the mood. By properly storing chili in the freezer, you can not only save time on future meal preparations but also preserve its taste and texture for an extended period.
In this article, we will delve into the art of storing chili in the freezer. We’ll explore why freezing chili is a great option, how to prepare chili for freezing, the best containers to use, proper packaging techniques, labeling and dating tips, as well as the process of thawing and reheating. So, let’s dive in and learn how to store your chili in the freezer like a pro!
Key Takeaways:
- Freeze chili to save time, prevent waste, and preserve freshness. Properly prepare, package, label, and store to maintain flavor and quality. Thaw and reheat safely for a delicious meal anytime.
- Enjoy the convenience of frozen chili by following best practices. Use quality ingredients, proper packaging, and labeling. Thaw and reheat with care for optimal flavor and texture.
Read more: How To Store Chili
Why Store Chili in the Freezer?
There are several reasons why freezing chili is a great option for preserving its flavor and quality:
- Convenience: Freezing chili allows you to have a ready-made meal on hand whenever you need it. Whether you’re in a time crunch or simply don’t feel like cooking, having a stash of chili in the freezer can be a lifesaver.
- Prevent Food Waste: It’s common to end up with leftover chili after a big batch. Freezing it not only avoids food waste but also provides an opportunity to enjoy your delicious homemade chili at a later date.
- Cost-effective: Making chili in large quantities can be a cost-effective way to feed a crowd or have multiple meals. By freezing the excess, you can stretch your ingredients and save money in the long run.
- Preserve Freshness: Freezing chili at its peak freshness helps retain its flavors, textures, and nutrients. It protects the chili from spoilage, ensuring that you can enjoy the same delicious taste even after it has been frozen.
- Meal Prep Made Easy: Storing chili in the freezer is an excellent option for meal prepping. You can portion out individual servings or family-sized portions, making it convenient to thaw and reheat exactly what you need for each meal.
- Extended Storage: While chili can be kept in the refrigerator for a few days, freezing extends its shelf life significantly. It allows you to enjoy your homemade chili for several months without compromising its quality.
Now that we understand the benefits of storing chili in the freezer, let’s explore the steps you should take to prepare your chili for freezing.
Preparing Chili for Freezing
Before you start storing chili in the freezer, you need to prepare it properly to ensure the best results. Here are some steps to follow:
- Cool the Chili: Allow your chili to cool completely before freezing. Hot or warm chili can create condensation inside the packaging, leading to freezer burn and a loss of quality. It is recommended to refrigerate the chili for a few hours or overnight before freezing.
- Portion Control: Decide on the portion sizes that you will need when reheating. It can be individual servings or family-sized portions. This way, you can thaw and reheat only what you need, minimizing waste and ensuring easy meal planning.
- Remove Excess Liquid: If your chili is too broth-heavy, consider draining off some of the excess liquid. This will prevent the chili from becoming too watery once frozen and reheated.
- Use Fresh Ingredients: Ensure that your chili is made with fresh and high-quality ingredients. If you plan to freeze leftovers, it’s essential that the chili was originally prepared with fresh ingredients to maintain optimal taste and texture after freezing.
- Avoid Overcooking: When preparing chili for the purpose of freezing, it’s best to slightly undercook the ingredients. This prevents the chili from becoming mushy or losing its texture when reheated.
- Remove Any Unwanted Ingredients: If you added any garnishes or toppings to your chili that won’t freeze well, such as sour cream or fresh herbs, it’s best to leave them out before freezing. You can always add these fresh ingredients when reheating.
By following these steps, you will ensure your chili is ready for the freezer. In the next section, we will discuss the best containers to use for storing your chili.
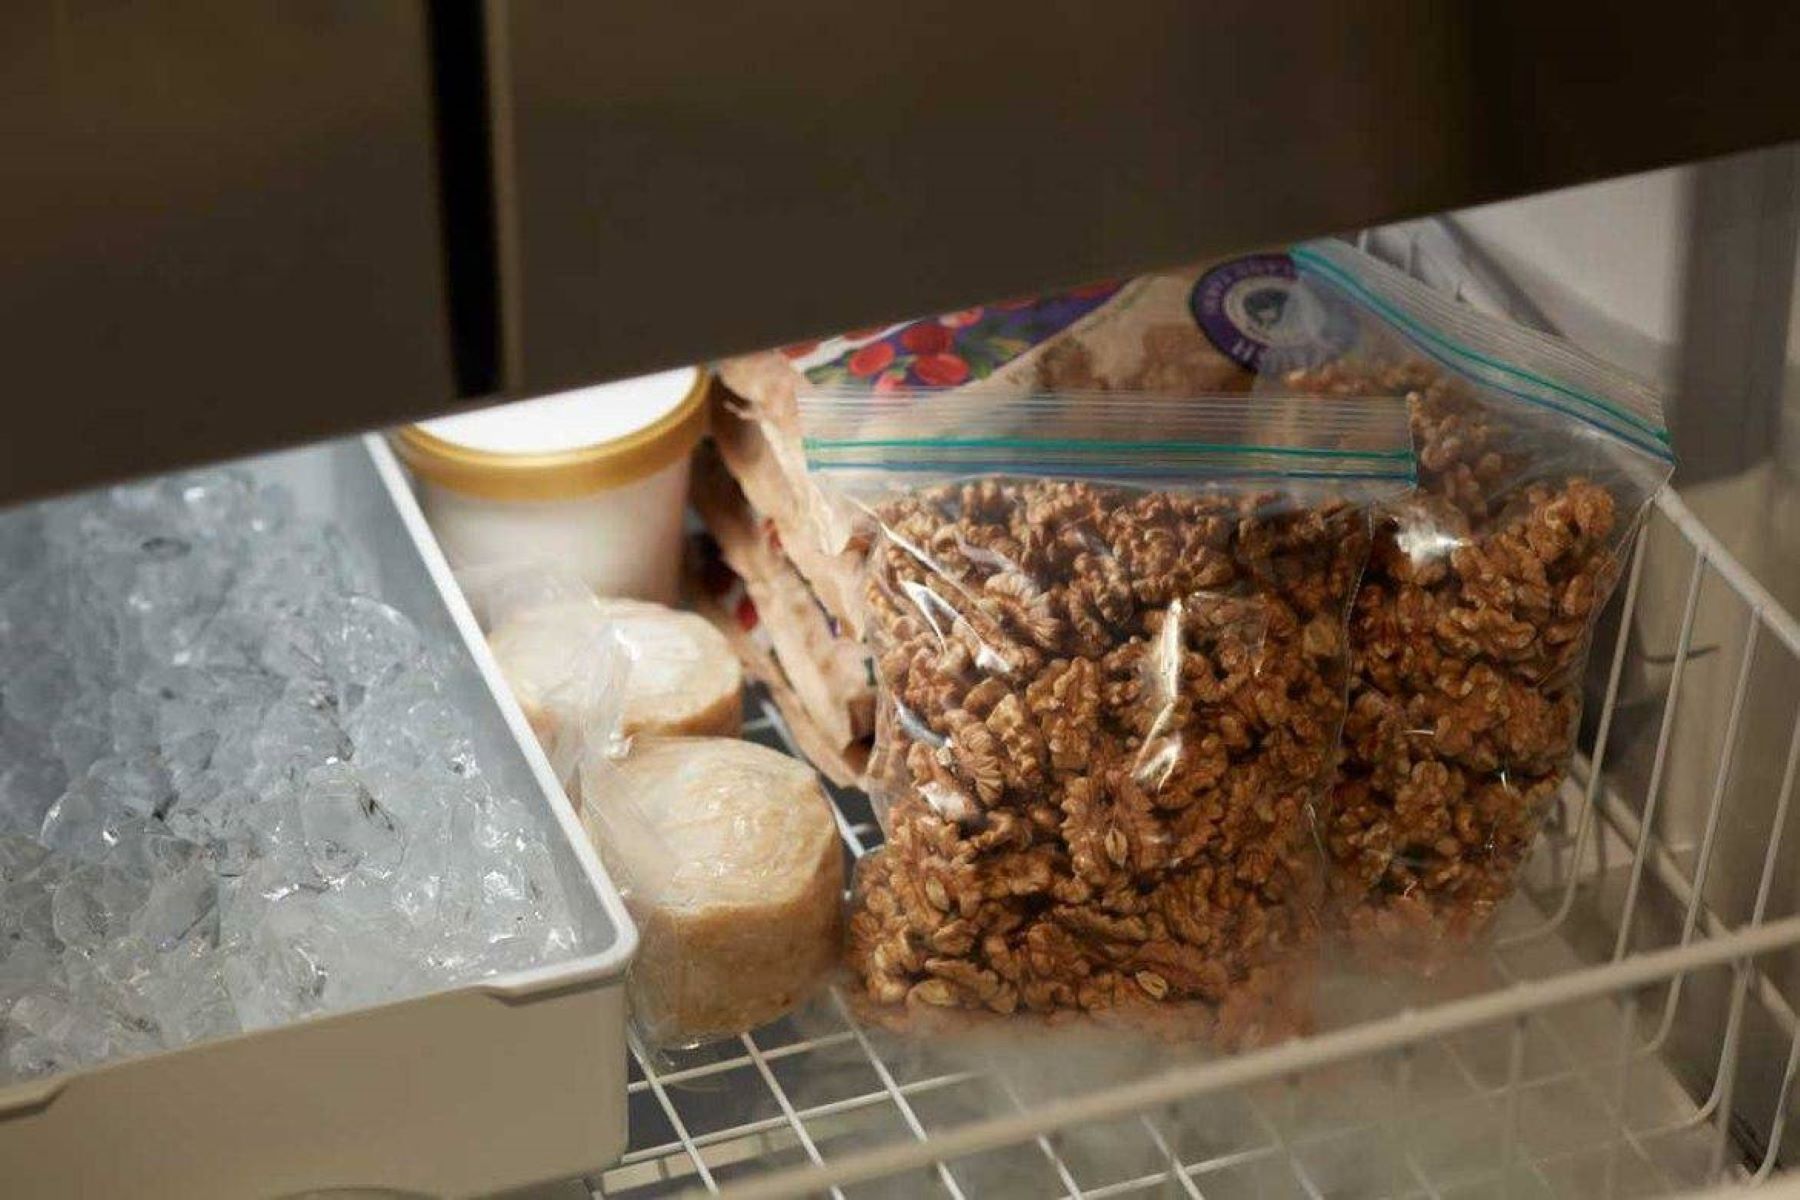
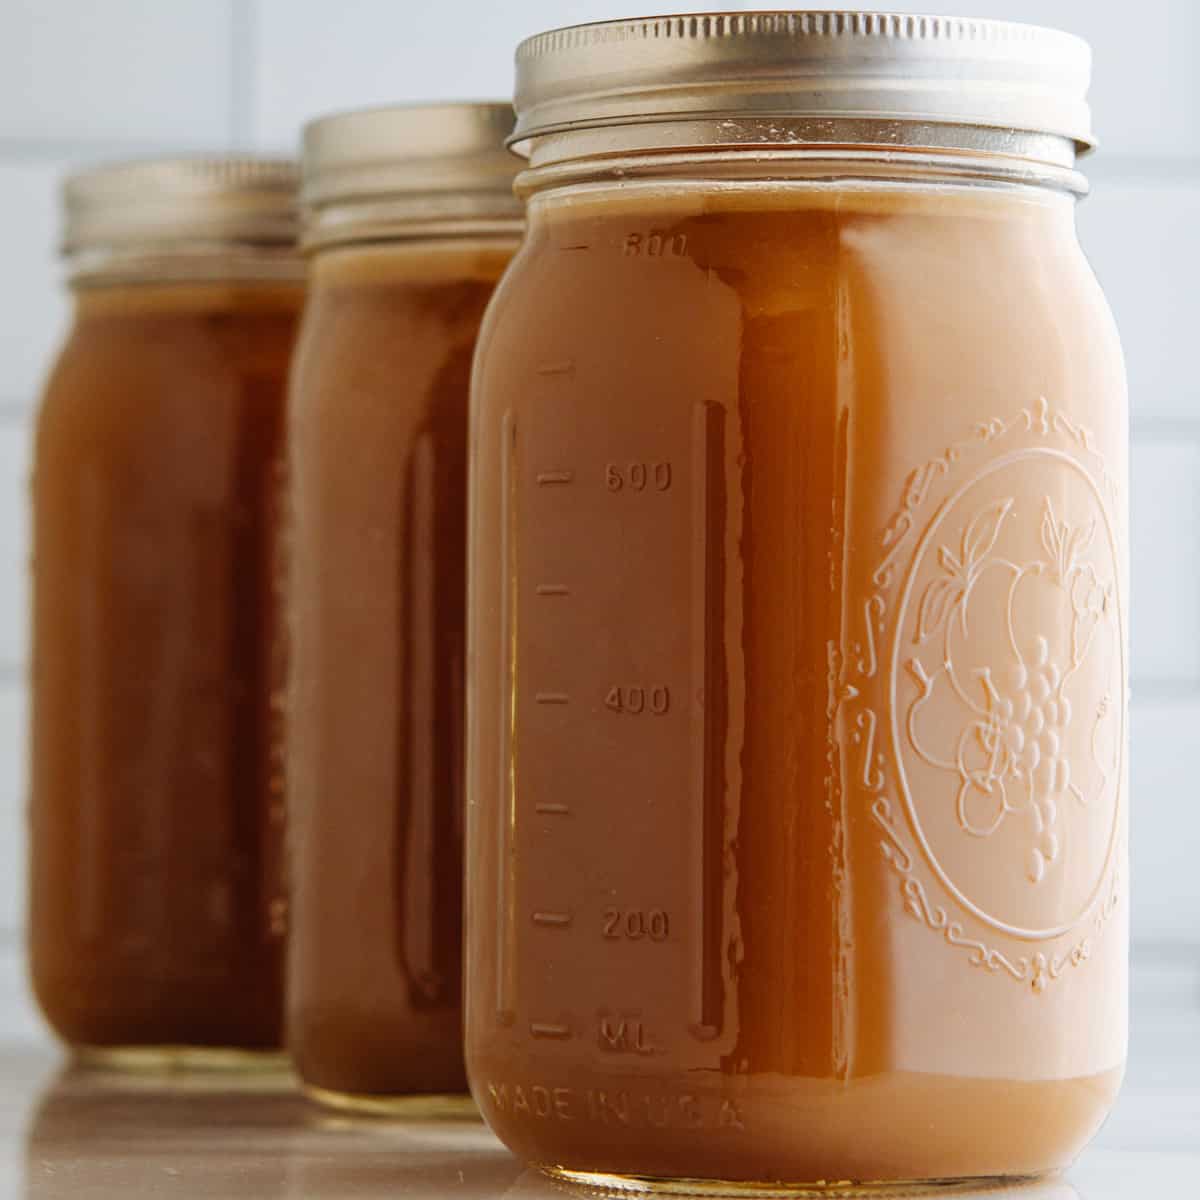
Choosing a Freezer-Safe Container
When it comes to storing chili in the freezer, choosing the right container is crucial. Here are some factors to consider when selecting a freezer-safe container:
- Airtight: Opt for containers that have airtight seals to prevent freezer burn and avoid any unwanted odors from seeping into the chili. This will help maintain the quality and taste of the chili during storage.
- Freezer-Grade Material: Ensure that the container is made from freezer-grade plastic, glass, or aluminum. These materials are designed to withstand the low temperatures of the freezer without cracking or deteriorating.
- Size and Shape: Choose containers that are of appropriate size and shape for your portion sizes. It’s recommended to leave some headspace in the container to allow for expansion during freezing.
- Stackable: If you have limited freezer space, consider using containers that can be stacked neatly on top of each other. This will optimize the use of space and make it easier to organize your freezer.
- Easy to Label: Look for containers that have a smooth surface or space for labeling. Properly labeling your chili with the date and contents will help you keep track of what you have in the freezer and ensure that you use the oldest chili first.
- Reusable and Eco-Friendly: Consider using reusable containers instead of disposable ones to reduce waste. Look for options that are dishwasher-safe for easy cleaning and long-term use.
You can choose from various containers such as reusable plastic containers with tight-fitting lids, freezer bags, or even freezer-safe glass jars. Evaluate your preferences, budget, and storage needs to determine the best options for storing your chili in the freezer.
Now that you have selected a suitable container for freezing your chili, let’s move on to packaging techniques to ensure proper storage.
Proper Packaging Techniques
When it comes to packaging chili for freezing, following the right techniques can help maintain the quality and flavor of the dish. Here are some key steps to ensure proper packaging:
- Portion Sizes: Divide the chili into individual or family-sized portions based on your needs. This will make it easier to thaw and reheat only what you need without having to defrost the entire batch.
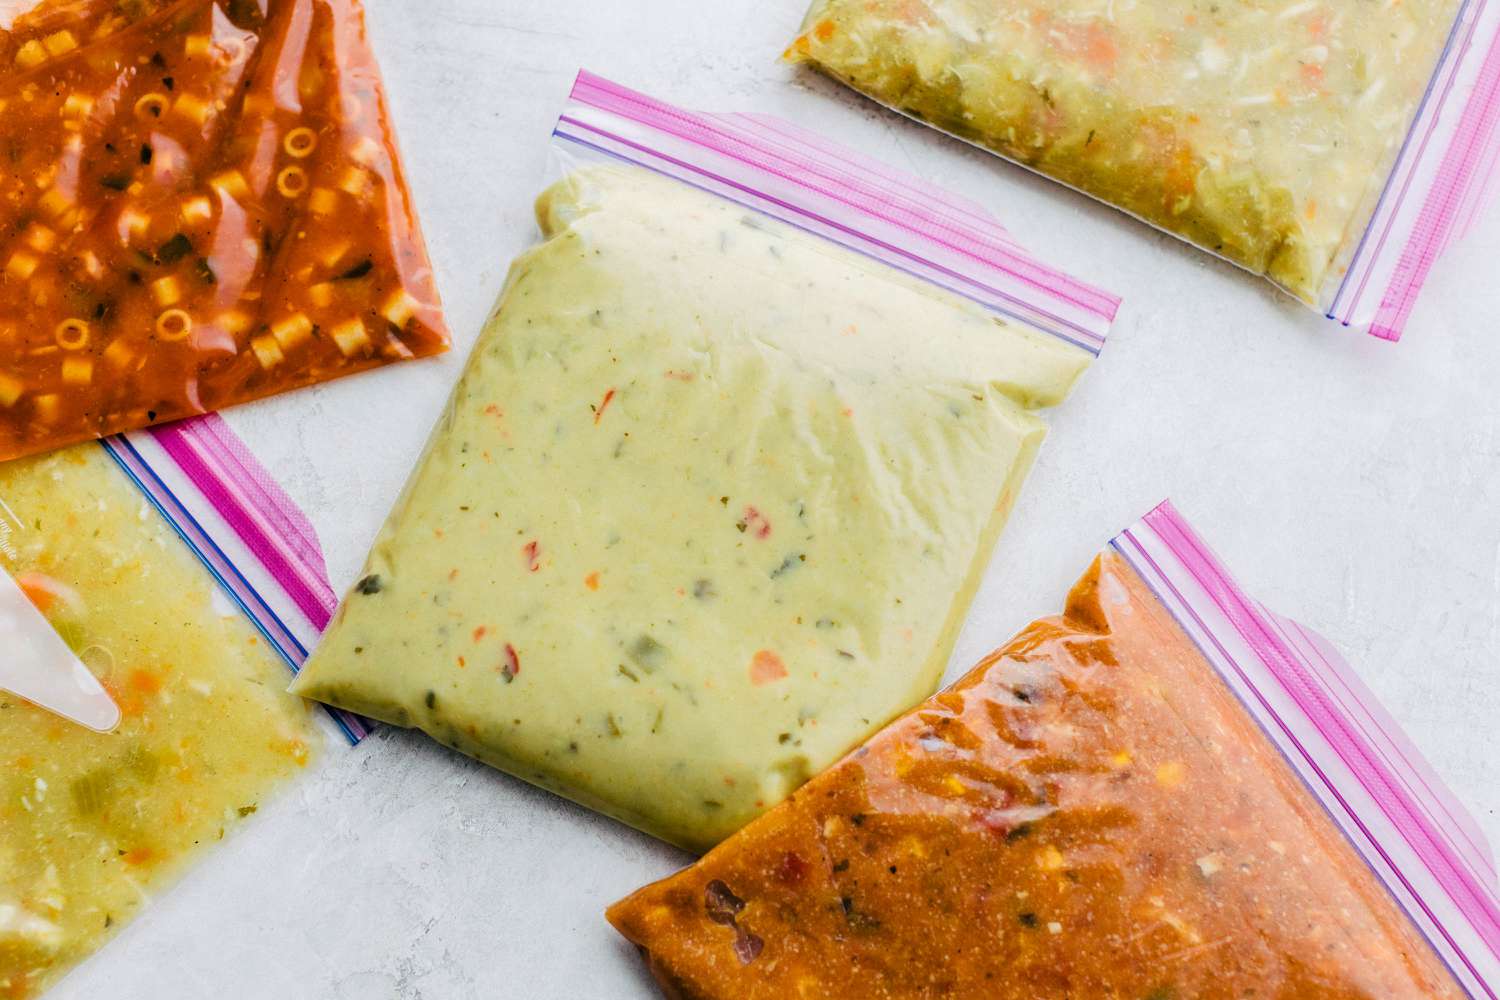
- Freezer Bags: If you’re using freezer bags, choose bags specifically designed for freezing. Fill each bag with the desired portion of chili, leaving some space at the top for expansion during freezing.
- Remove Air: Squeeze out excess air from the bags before sealing them. This will help prevent freezer burn and maintain the freshness of the chili.
- Containers: If you prefer using containers, fill them with the portioned chili, leaving about an inch of headspace to accommodate expansion. Make sure to seal the container tightly to maintain an airtight environment.
- Leave Room for Expansion: Regardless of the packaging method, leave some room for expansion as the chili freezes and expands. Failure to do so may cause containers or bags to burst, leading to potential leaks and a messy freezer.
- Double Wrapping: For added protection against freezer burn, consider double-wrapping your chili. This involves placing the chili-filled bags or containers inside a larger freezer bag or wrapping them in aluminum foil.
- Labeling: Properly label each package with the date of freezing and a description of the contents. This will help you keep track of when the chili was stored and ensure you use the oldest batches first.
By following these packaging techniques, you can ensure that your chili remains fresh, flavorful, and well-preserved in the freezer. Next, let’s discuss the importance of labeling and dating your chili for easy identification.
To store chili in the freezer, allow it to cool completely before transferring it to airtight containers or freezer bags. Leave some space at the top for expansion, and label with the date for easy reference.
Read more: How Long Is Chili Good In The Freezer
Labeling and Dating the Chili
Labeling and dating your chili is an essential step in proper freezer organization and management. Here’s why it’s important and how to do it effectively:
- Easy Identification: Labeling your chili containers or bags allows you to quickly identify the contents without needing to open each one. This saves you time and prevents any confusion when selecting frozen chili.
- Prevent Waste: Properly labeling and dating your chili helps you keep track of its storage time in the freezer. By using the oldest chili first, you can avoid food waste and ensure that none of your chili goes bad.
- Information Access: Labeling allows you to include any additional information you may find useful, such as the type of chili, any special ingredients or spices, or cooking instructions. This ensures that you have all the information you need at hand when reheating the chili.
- Tools for Labeling: Use stickers, tape, or labels that adhere well to freezer containers or bags. Make sure they are suitable for freezer use and won’t peel off or smudge over time.
- What to Include: On each label, write the date you froze the chili and a brief description, such as “Beef Chili” or “Vegetarian Chili.” You can also note any important cooking instructions or additional ingredients that should be added during reheating.
- Organization: Consider creating a labeling system to make it even easier to find and use your frozen chili. Whether you organize by date, type of chili, or portion size, find a system that works best for you and stick to it.
- Permanent Marker: If you prefer using containers like glass jars, use a permanent marker to write directly on the container. This ensures that the labeling stays intact even when the container is removed from the freezer or washed.
By labeling and dating your chili, you can easily keep track of its storage time, type, and any additional instructions. This will help you maintain a well-organized freezer and ensure that you always have delicious chili ready for when you need it.
Now that we have covered the important steps of packaging, labeling, and dating, let’s move on to the process of freezing and storing your chili.
Freezing and Storing Chili
Now that your chili is properly prepared, packaged, and labeled, it’s time to freeze and store it in the freezer. Follow these steps for optimal freezing and storage:
- Place in Freezer: Carefully place the packaged chili in the coldest part of your freezer. This is typically towards the back or bottom of the freezer. Avoid placing it near the front, where it may be exposed to warmer temperatures when the freezer door is opened frequently.
- Organize Efficiently: Arrange the chili containers or bags in a neat and organized manner. Keep them in a single layer, if possible, to ensure even freezing and easy access. Stacking multiple containers or bags on top of each other may impede air circulation and result in uneven freezing.
- Do Not Overpack: Make sure not to overpack your freezer to allow for proper air circulation. Blocking air vents or crowding the freezer may impact the freezing process and lead to inconsistent temperatures, potentially affecting the quality of the chili.
- Freezing Time: Chili typically takes a few hours to freeze completely, but it may vary depending on the quantity and thickness. For larger portions or containers, it might take longer. Be patient and allow adequate time for the chili to freeze solid.
- Storage Duration: Chili can be stored in the freezer for up to 3-4 months. Beyond that, the quality may start to deteriorate. It is always recommended to consume frozen chili within the suggested timeframe for the best taste and texture.
- Freezer Maintenance: Ensure that your freezer is maintained at an appropriate temperature, typically around 0°F (-18°C), to keep your frozen chili safely stored. Regularly check and monitor the freezer temperature, and promptly address any issues if the temperature fluctuates.
- Rotate Stock: To ensure that your chili is consumed within the recommended time frame, practice a “first in, first out” approach. Use the oldest frozen chili first and rotate your stock accordingly. This will help prevent any chili from staying in the freezer for too long.
Following these steps will ensure that your chili is properly frozen and stored in the freezer, preserving its quality for an extended period. Next, we’ll explore the process of thawing and reheating your frozen chili.
Thawing and Reheating Chili
When it’s time to enjoy your frozen chili, it’s important to properly thaw and reheat it to preserve its flavor and texture. Follow these steps for optimal results:
- Thawing in the Refrigerator: The safest way to thaw frozen chili is to transfer it from the freezer to the refrigerator. Allow the chili to thaw slowly in the fridge overnight or for a few hours. This gradual thawing helps maintain the integrity of the chili and prevents bacterial growth.
- Thawing in Cold Water: If you’re short on time, you can use the cold water thawing method. Place the frozen chili in a leak-proof bag and submerge it in a basin of cold water. Change the water every 30 minutes until the chili is thawed. This method is faster than refrigeration but requires more attention.
- Avoid Thawing at Room Temperature: It’s important to avoid thawing chili at room temperature, as it increases the risk of bacteria growth. Leaving the chili out for an extended period can compromise its safety and quality.
- Reheating on the Stovetop: To reheat your thawed chili, transfer it to a pot or saucepan and heat it over medium heat. Stir occasionally to prevent sticking and ensure even heating. Allow it to simmer for a few minutes until it reaches a safe serving temperature of 165°F (74°C).
- Reheating in the Microwave: If you prefer a quicker option, you can use the microwave to reheat your chili. Place the thawed chili in a microwave-safe dish and cover it loosely to prevent splattering. Heat it in short intervals, stirring in between, until it is heated through.
- Additional Seasoning: Taste your reheated chili and adjust the seasoning if necessary. Some flavors may have mellowed during the freezing and reheating process, so you may want to add a pinch of salt, pepper, or your favorite spices to enhance the taste.
- Safe Consumption: Once chili has been thawed and reheated, it should be consumed within 2-3 days. Discard any remaining chili that has been reheated but not consumed within this timeframe.
By following these steps, you can ensure that your chili is safely thawed and reheated, maintaining its delicious flavors. Now, let’s explore some tips for maintaining chili quality in the freezer.
Tips for Maintaining Chili Quality in the Freezer
To ensure that your chili maintains its quality and taste while stored in the freezer, consider the following tips:
- Quality Ingredients: Use fresh, high-quality ingredients when preparing your chili. The quality of the ingredients will greatly affect the taste and texture of the chili, even after it has been frozen and reheated.
- Cool Completely: Allow your chili to cool completely before transferring it to the freezer. This helps prevent condensation and ice crystals from forming, which can negatively impact the texture of the chili.
- Avoid Overcooking: Slightly undercook the chili before freezing to maintain its texture and prevent it from becoming mushy after reheating.
- Proper Packaging: Ensure that your chili is well-packaged in airtight, freezer-safe containers or bags. This prevents air exposure and freezer burn, which can impact the taste and quality of the chili.
- Label and Date: Always label and date your frozen chili to keep track of its storage time and avoid wasting any leftover chili that may have been in the freezer for too long.
- First In, First Out: Practice a “first in, first out” system by using the oldest frozen chili first. This helps prevent any chili from staying in the freezer for an extended period, ensuring that you always consume the freshest chili.
- Avoid Freezer Temperature Fluctuations: Ensure that your freezer maintains a consistent temperature of 0°F (-18°C). Fluctuating temperatures can affect the quality and texture of the chili.
- Minimize Freezer Door Openings: Limit the number of times you open the freezer door to minimize temperature fluctuations. Frequent door openings can lead to temperature changes that may impact the quality of the chili.
- Properly Reheat: Thaw and reheat the chili properly to preserve its flavors and textures. Avoid overheating, as this can result in a loss of flavor and texture. Follow the recommended thawing and reheating methods mentioned earlier in this article.
- Consume Within Recommended Timeframe: Frozen chili is best consumed within 3-4 months for optimal flavor and quality. While it may still be safe to consume beyond this timeframe, its taste and texture may degrade over time.
By applying these tips, you can maintain the quality and deliciousness of your chili throughout its time in the freezer. Now, armed with this knowledge, you can confidently freeze and store your chili, knowing it will be just as delightful when you decide to enjoy it.
Happy freezing and enjoy your delicious homemade chili!
Read more: How To Store Thai Chili Peppers
Conclusion
Storing chili in the freezer is a fantastic way to extend its shelf life and enjoy a comforting and delicious meal at any time. By following the proper techniques for preparing, packaging, labeling, freezing, and storing your chili, you can ensure that it maintains its flavor, texture, and quality for an extended period.
Freezing chili offers numerous benefits, including convenience, reducing food waste, cost-effectiveness, and meal prepping ease. With proper preparation and packaging techniques, you can protect your chili from freezer burn and maintain its freshness. Labeling and dating each package allow for easy identification and rotation of your chili stock, ensuring that you use the oldest batches first.
When it’s time to thaw and reheat your frozen chili, remember to do so safely and with care. Thawing in the refrigerator or using the cold water method are the recommended approaches. Properly reheating the chili on the stovetop or in the microwave will help preserve its flavors.
To maintain the best quality for your frozen chili, always use fresh ingredients, allow the chili to cool completely before freezing, and choose the right containers for freezing. Keep your freezer organized, maintain a consistent freezer temperature, and consume the chili within the recommended timeframe for optimal taste and texture.
With these tips and techniques in mind, you can confidently store chili in the freezer and enjoy a delicious homemade meal whenever you desire. So, make a large batch of your favorite chili, freeze the leftovers, and savor the convenience and satisfaction of having a comforting and hearty meal ready to go at a moment’s notice.
Happy chili storing and bon appétit!
Frequently Asked Questions about How To Store Chili In Freezer
Was this page helpful?
At Storables.com, we guarantee accurate and reliable information. Our content, validated by Expert Board Contributors, is crafted following stringent Editorial Policies. We're committed to providing you with well-researched, expert-backed insights for all your informational needs.

0 thoughts on “How To Store Chili In Freezer”