Articles
How To Store Homemade Chili Oil
Modified: December 7, 2023
Learn the best methods for storing homemade chili oil in this informative article. Keep your spicy creation fresh and flavorful for future use.
(Many of the links in this article redirect to a specific reviewed product. Your purchase of these products through affiliate links helps to generate commission for Storables.com, at no extra cost. Learn more)
Introduction
Homemade chili oil adds a spicy kick to dishes and elevates the flavors of various cuisines. Whether you’re a fan of heat or simply enjoy the complex flavors of chili peppers, making your own chili oil allows you to customize the level of spiciness and experiment with different flavor profiles.
In this article, we will guide you through the process of making and storing homemade chili oil. From selecting the right ingredients to preserving the oil for long-term use, you’ll learn all the necessary steps to ensure a flavorful and shelf-stable chili oil.
Before we dive into the step-by-step process, it’s important to note that safety precautions should be followed when working with chili peppers and hot oil. It is advised to wear gloves while handling the peppers to protect your skin from the capsaicin, the compound responsible for the heat in chili peppers. Additionally, ensure proper ventilation in your kitchen to avoid inhaling the fumes from the chili peppers during the cooking process.
Now, let’s get started on creating your own delicious and aromatic chili oil!
Key Takeaways:
- Create your own flavorful chili oil by choosing the right ingredients, infusing with additional flavorings, and adjusting the spice level to suit your taste preferences. Experiment with various chili pepper varieties and storage options for a personalized touch!
- Store and preserve your homemade chili oil in airtight containers, away from light and heat, to maintain its freshness and flavors. Experiment with different oils, herbs, and spices to create a unique and versatile condiment for your favorite dishes.
Read more: How To Store Chili In Freezer
Choosing the Right Ingredients
The key to making a flavorful homemade chili oil is choosing the right ingredients. While the type of chili pepper you use will greatly influence the heat and flavor of the oil, there are a few other components to consider as well:
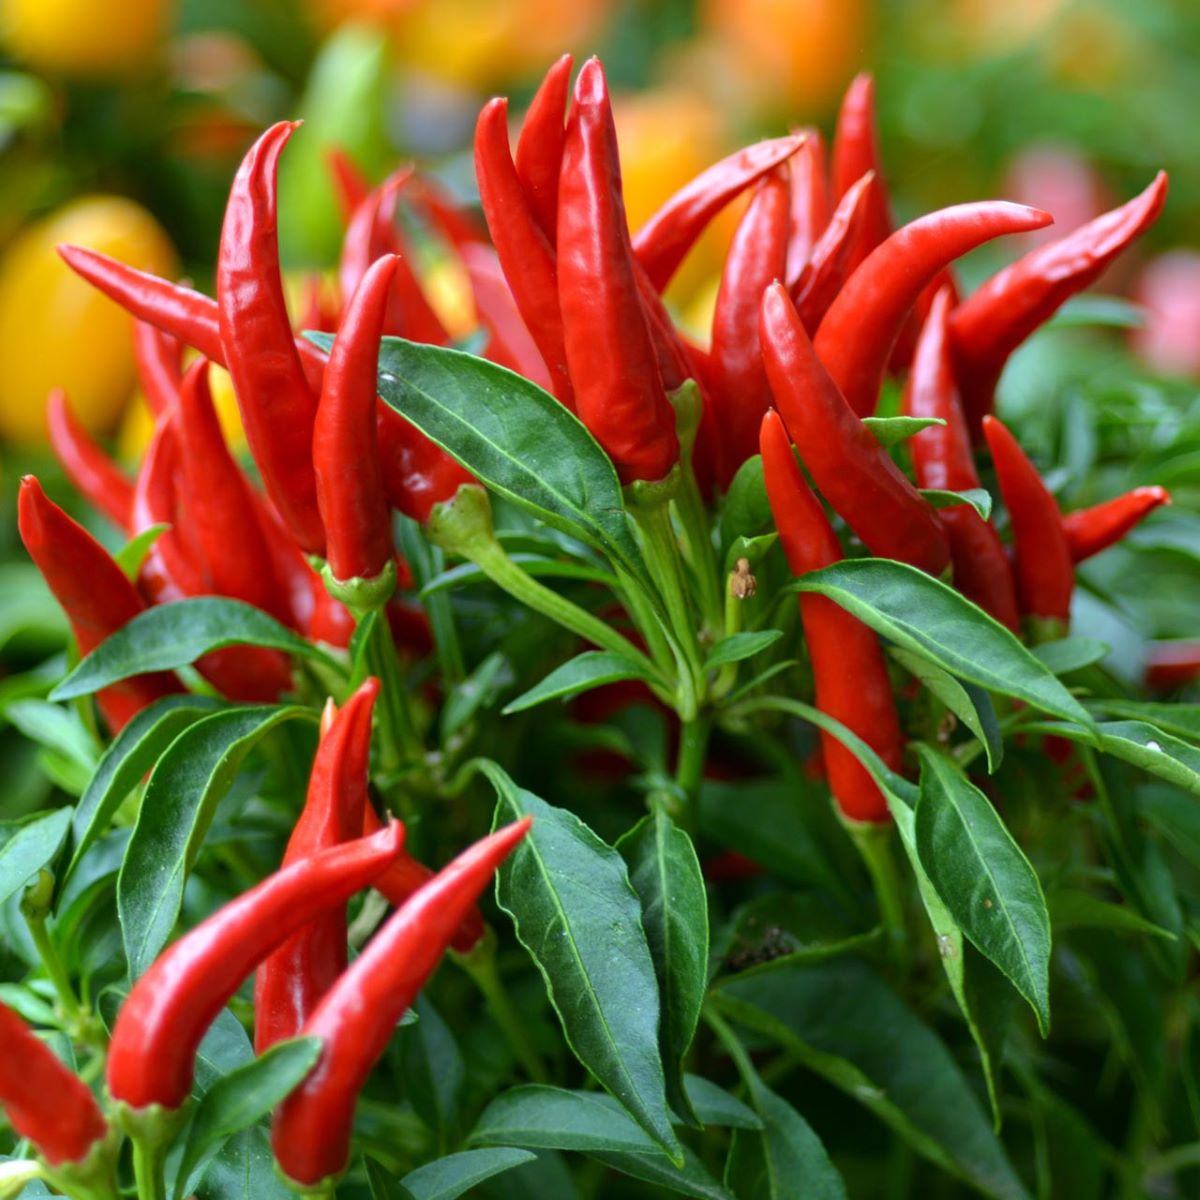
- Chili Peppers: There are numerous varieties of chili peppers available, each with its own unique flavor and level of spiciness. Some popular options include Thai bird’s eye chili, jalapeno, serrano, or even habanero peppers. Choose peppers that suit your preferred spice level and taste. You can use a single variety or mix different peppers for a more complex flavor.
- Oil: The choice of oil plays a crucial role in the taste of the chili oil. It’s best to use a neutral-flavored and high smoke point oil, such as vegetable, canola, or grapeseed oil. These oils won’t overpower the flavor of the chili peppers and are able to withstand high heat during the infusion process.
- Additional Flavorings: While chili peppers are the star ingredient, you can enhance the flavor of your homemade chili oil by adding other ingredients. Popular options include garlic cloves, ginger slices, or even fragrant spices like star anise or Sichuan peppercorns. These additional flavorings can impart extra depth and complexity to your chili oil.
- Salt and Sugar: To balance the spiciness and enhance the overall flavor, you may want to add a pinch of salt or a small amount of sugar to your chili oil. This is entirely optional and can be adjusted to suit your personal taste preferences.
When selecting your ingredients, opt for fresh and high-quality produce. This will ensure the best flavor and longevity of your homemade chili oil. Consider visiting your local farmers market or specialty stores to find a wide variety of chili peppers and other unique ingredients.
Now that we’ve covered the importance of choosing the right ingredients, let’s move on to the next step in creating your delicious homemade chili oil — preparing the chili peppers!
Preparing the Chili Peppers
Before infusing the oil with the flavor and heat of the chili peppers, it’s important to properly prepare them. Follow these steps to ensure your chili oil turns out delicious:
- Wash and dry the chili peppers: Start by rinsing the chili peppers under cold water to remove any dirt or debris. Once clean, pat them dry with a kitchen towel. This step is crucial to prevent any excess moisture from getting into the oil, which could potentially lead to spoilage.
- Remove the stems and seeds: Next, using a sharp knife, carefully remove the stems from the chili peppers. If you prefer a milder chili oil, you can also remove the seeds, as they contain most of the heat. Keep in mind that leaving the seeds in will result in a spicier oil.
- Slice or chop the chili peppers: Depending on your preference, you can either finely slice or roughly chop the chili peppers. Slicing the peppers will allow for a more delicate and even distribution of heat, while chopping will create a more intense and uneven flavor profile. Choose the method that aligns with your desired outcome.
- Optional: Roasting the chili peppers: For an added depth of flavor, you can choose to roast the chili peppers before using them in your chili oil. Place the sliced or chopped peppers on a baking sheet and broil them in the oven until they are lightly charred. This step intensifies the flavors and adds a smoky note to your oil.
Once the chili peppers are prepared to your liking, it’s time to move on to the next step in the process — infusing the oil with the wonderful flavors of the chili peppers!
Infusing the Oil
Infusing the oil with the flavors and heat of the chili peppers is the heart of making homemade chili oil. Follow these steps to achieve a rich and flavorful infusion:
- Heat the oil: In a saucepan or a small pot, heat the desired amount of oil over low heat. It’s important to use a gentle heat to prevent the oil from becoming too hot and causing the chili peppers to burn.
- Add the chili peppers and flavorings: Once the oil is heated, carefully add the prepared chili peppers to the pot. If you’re using any additional flavorings like garlic or spices, now is the time to add them as well. Stir the ingredients gently to ensure they’re evenly distributed in the oil.
- Simmer the mixture: Allow the chili peppers and flavorings to simmer in the oil over low heat for about 15-20 minutes. This gentle simmering process allows the flavors to infuse into the oil, creating a deliciously spicy and aromatic blend.
- Adjust the heat level: During the simmering process, you can monitor the heat level and taste of the oil. If you find the spiciness too mild, you can increase the heat by adding a few more chili peppers or allowing the oil to simmer for a longer period. Conversely, if the oil becomes too spicy, you can temper it by adding a little more oil to dilute the heat.
- Turn off the heat and let it cool: Once you’re satisfied with the flavor and heat level, turn off the heat and allow the oil to cool completely in the pot. This cooling process aids in the further infusion of flavors into the oil.
Remember, the longer you let the chili peppers and flavorings steep in the oil, the more intense the flavor will be. However, it’s essential to find the right balance to avoid overpowering the oil with heat. Once the oil has cooled, it’s time to strain and bottle your homemade chili oil!
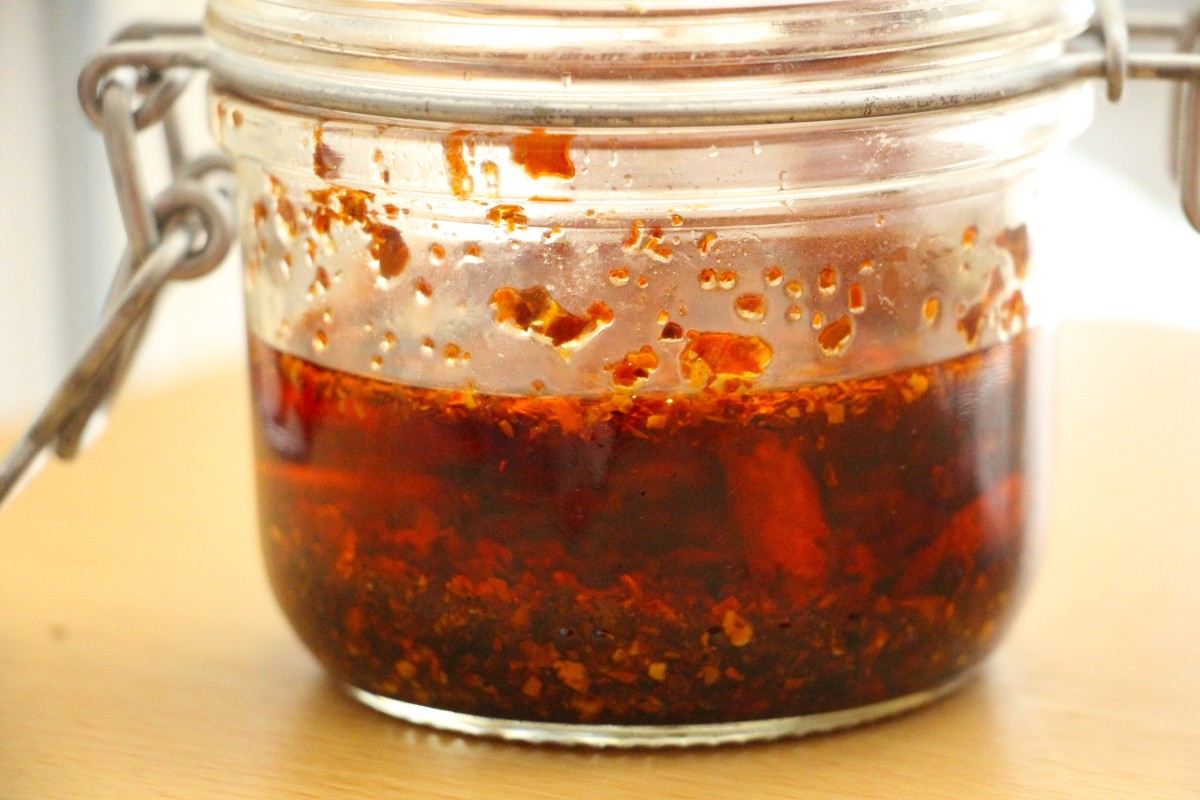
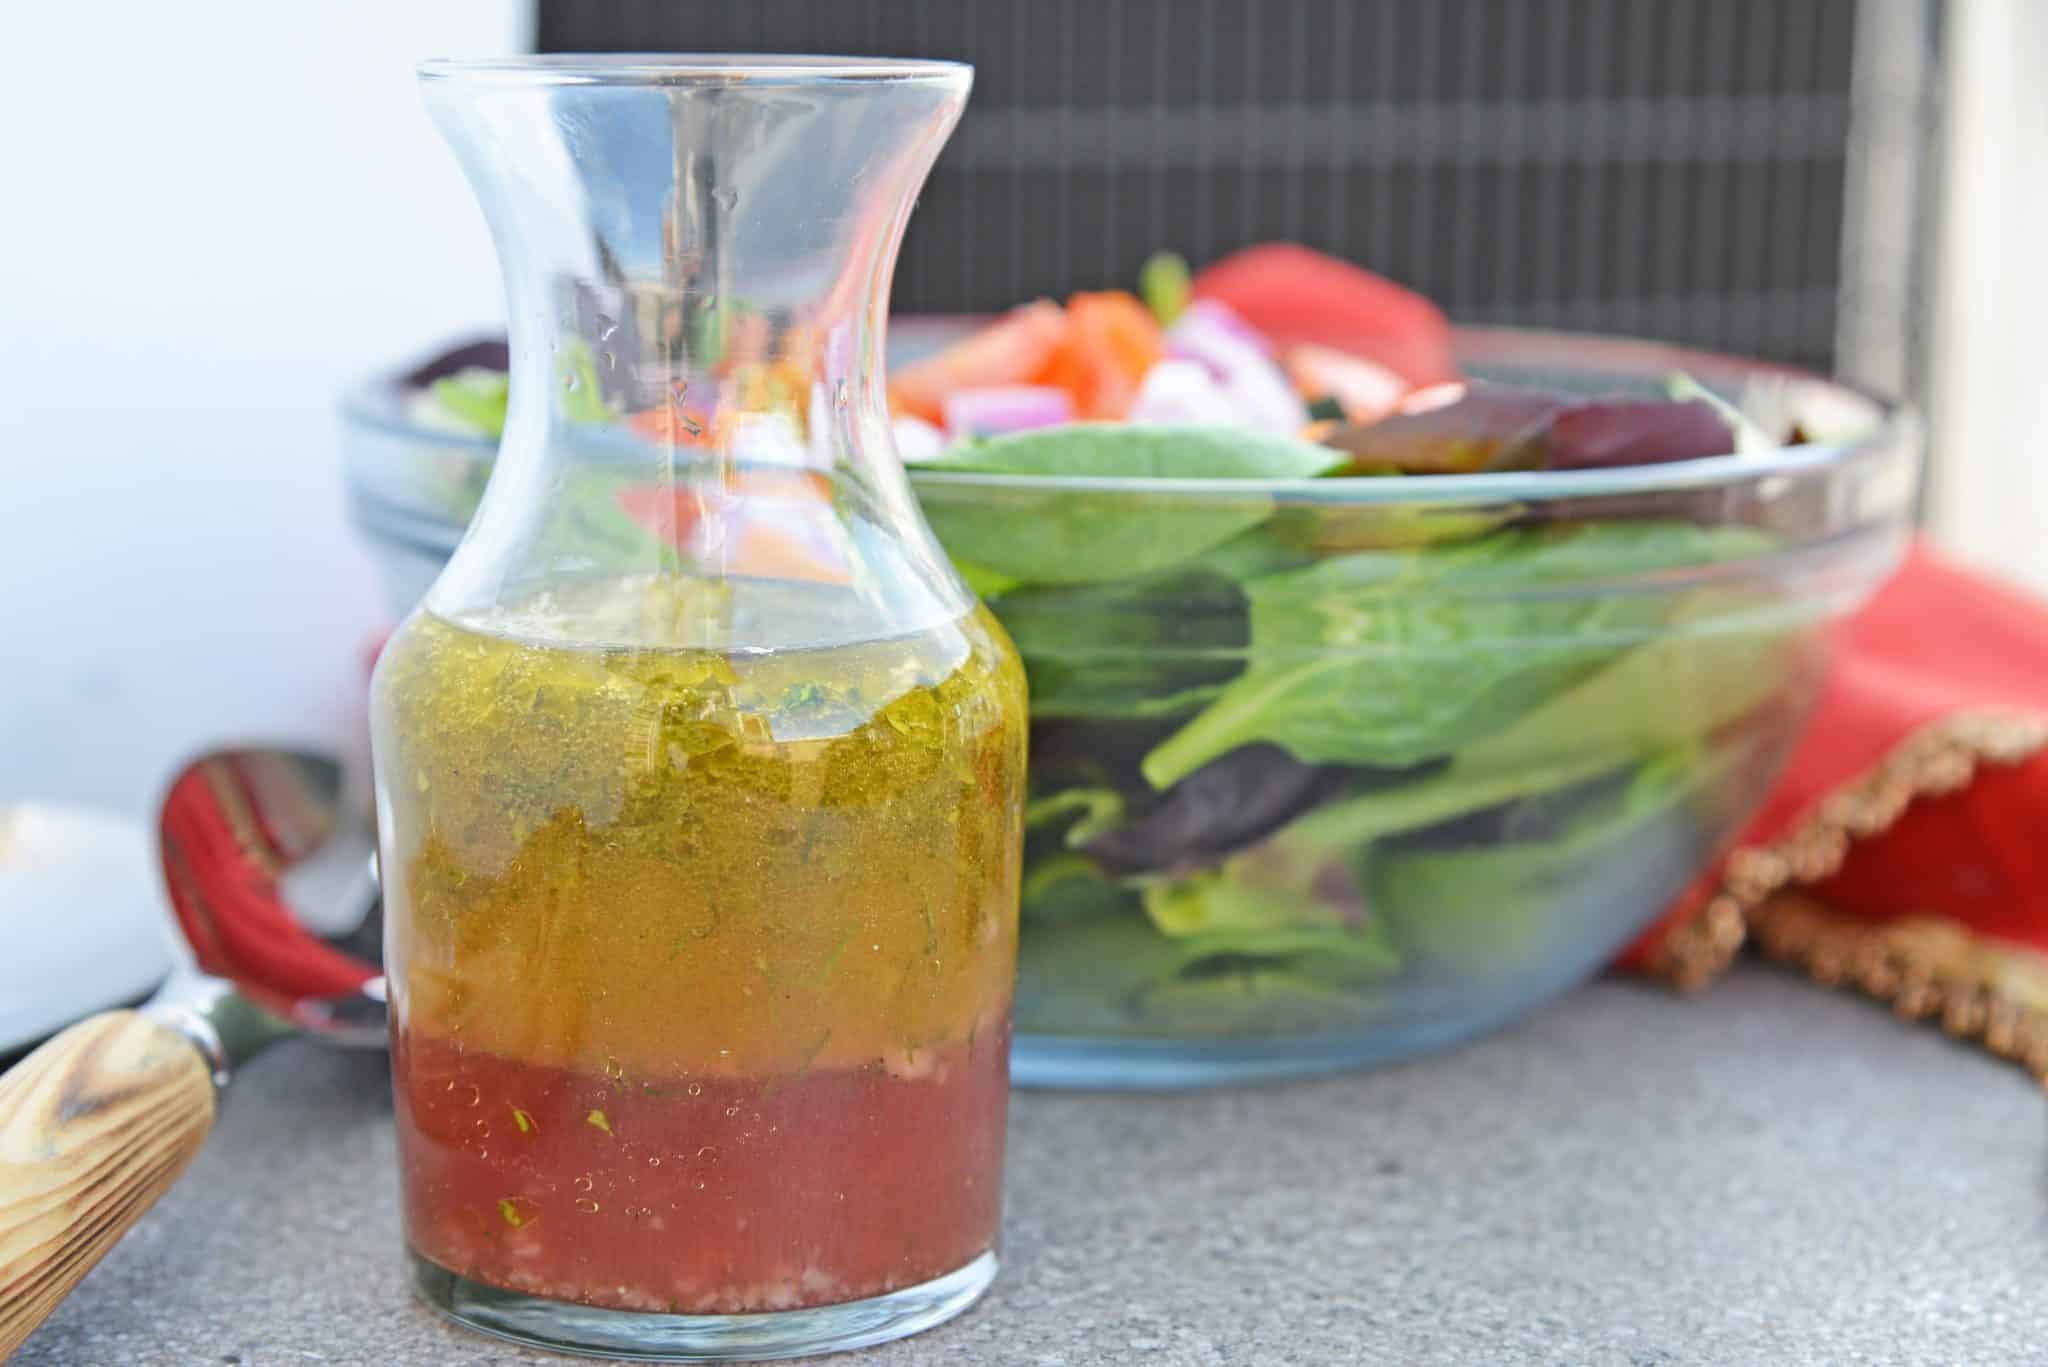
Store homemade chili oil in a clean, airtight glass jar to maintain its flavor and freshness. Keep it in a cool, dark place, away from direct sunlight and heat sources. It can be refrigerated for longer shelf life.
Straining and Bottling the Chili Oil
After the oil has cooled and the chili peppers and flavorings have infused their flavors, it’s time to strain and bottle the chili oil. Follow these steps to ensure a smooth and well-filtered final product:
- Prepare a clean container: Start by selecting a clean and dry glass bottle or jar to store your chili oil. It’s important to choose a container with a tight-fitting lid to maintain freshness and prevent oxidation.
- Place a fine-mesh strainer or cheesecloth: Position a fine-mesh strainer or a layer of cheesecloth over a heat-resistant bowl or jug. This will help strain out the chili pepper pieces and any other impurities from the oil.
- Pour the chili oil: Carefully pour the infused oil into the strainer or cheesecloth, allowing the oil to pass through while catching the solid particles. Use a spatula or the back of a spoon to gently press on the chili peppers to extract any remaining oil.
- Filter the oil: If you prefer a completely clear and sediment-free chili oil, you may choose to filter it through a coffee filter or a second layer of cheesecloth. This step ensures a smooth and visually appealing final product.
- Transfer to the storage container: Once the oil is strained and filtered to your desired clarity, carefully pour it into the prepared glass bottle or jar. Be cautious to avoid any spillage or contamination.
- Seal and store: Finally, seal the container tightly with its lid and store your homemade chili oil in a cool, dark place away from direct sunlight. Proper storage conditions will help maintain the quality and flavors of your chili oil for an extended period.
It’s worth noting that homemade chili oil typically has a shelf life of around 6 – 12 months when stored correctly. However, always trust your senses, and if you notice any signs of spoilage, such as an off smell or mold growth, discard the oil and make a fresh batch.
Now that your homemade chili oil is ready, let’s explore the best practices for storing and preserving it for long-term use!
Read more: How To Store Chili
Storing and Preserving
To ensure the longevity and quality of your homemade chili oil, it’s crucial to store and preserve it correctly. Follow these guidelines to keep your chili oil fresh and flavorful:
- Use airtight containers: It’s important to store chili oil in airtight containers to prevent exposure to air and moisture, which can lead to rancidity. A glass bottle or jar with a tight-fitting lid is ideal for preserving the oil’s freshness.
- Keep away from light and heat: Chili oil should be stored in a cool, dark place, away from direct sunlight and heat sources. Heat and light can degrade the quality of the oil and diminish its flavors over time.
- Avoid temperature fluctuations: Extreme temperature changes can cause condensation inside the container, which can lead to spoilage. It’s important to store the chili oil in a consistently cool environment.
- Label and date: Properly label the container with the date of preparation to keep track of its freshness. This will help you identify when it’s time to use or discard the oil.
- Check for signs of spoilage: Regularly inspect the chili oil for any signs of spoilage, such as an off smell, mold growth, or cloudy appearance. If you notice any of these indicators, discard the oil immediately.
- Refrigeration (optional): While chili oil can be stored at room temperature, refrigeration can help extend its shelf life. If desired, you can refrigerate the oil, which will slow down the oxidation process and keep it fresher for a longer period. However, be aware that refrigerated chili oil may solidify slightly due to the oil’s composition, but it will return to a liquid state once brought back to room temperature.
By following these storage and preservation practices, you can enjoy the flavors of your homemade chili oil for an extended period. Remember to use clean utensils whenever you dip into the bottle to avoid introducing any contaminants.
Now that you know how to store and preserve your chili oil, let’s explore some tips and variations to enhance your homemade creation!
Tips and Variations
Creating homemade chili oil offers endless possibilities for customization and experimentation. Here are some tips and variations to enhance your homemade creation:
- Adjust the spice level: If you prefer a milder chili oil, consider removing the seeds and ribs of the chili peppers. Alternatively, if you want an extra kick of heat, leave the seeds in or even add hotter chili pepper varieties.
- Infuse with herbs and spices: Besides chili peppers, you can experiment with adding herbs and spices to your oil to give it a unique flavor profile. Consider adding dried herbs like rosemary, thyme, or even Sichuan peppercorns for a hint of numbing sensation.
- Combine different types of chili peppers: To create a more complex flavor, mix different types of chili peppers together. Each variety brings its own heat level and flavor profile, resulting in a well-rounded chili oil.
- Include aromatics: Alongside chili peppers, you can add aromatics like garlic, ginger, or lemongrass to the oil. These ingredients add depth and complexity to the flavor profile of your chili oil.
- Experiment with different oils: While neutral oils are commonly used, you can explore other oils like sesame oil or olive oil to add distinct flavors to your chili oil. Just keep in mind that oils with lower smoke points may require gentler heating during the infusion process.
- Infuse for longer for stronger flavor: If you want an intense chili flavor, consider infusing the oil for a longer period or even letting it sit for a few days before straining. This will result in a more robust and flavorful chili oil.
- Add a touch of sweetness: For a hint of sweetness to balance the spiciness, you can add a small amount of sugar or honey to your chili oil. This addition can help round out the flavors and provide a subtle contrast.
- Use it in various dishes: Chili oil is a versatile condiment that can enhance a wide array of dishes. Drizzle it over pizza, pasta, noodles, stir-fries, soups, or even use it as a dipping sauce. Get creative and explore different culinary possibilities!
Remember, the joy of making homemade chili oil lies in experimenting and finding your preferred flavor combinations. Don’t be afraid to think outside the box and make it uniquely yours.
Now that you have a variety of tips and variations to work with, you can confidently create and enjoy your homemade chili oil in various dishes. Let’s wrap things up!
Conclusion
Congratulations, you are now equipped with the knowledge and skills to create and store your own delicious homemade chili oil! By choosing the right ingredients, properly preparing the chili peppers, infusing the oil, and ensuring proper storage and preservation, you can enjoy the flavorful kick of homemade chili oil in your favorite dishes.
Remember to exercise caution when handling chili peppers and hot oil, wearing gloves and working in a well-ventilated area. Safety should always be your top priority in the kitchen.
Feel free to experiment with various chili pepper varieties, additional flavorings, and different oils to create a chili oil that suits your taste preferences. Adjust the spiciness, add herbs and spices, and even incorporate a touch of sweetness to make it uniquely yours.
Once your chili oil is ready, store it in a clean and airtight container away from light and heat. Regularly check for signs of spoilage and discard if necessary. The oil can be stored at room temperature, but refrigeration can help extend its shelf life.
Use your homemade chili oil to add a spicy kick, depth of flavor, and an extra burst of enjoyment to your dishes. Drizzle it over pizzas, noodles, stir-fries, or use it as a condiment or dipping sauce. The possibilities are endless!
Now that you have the tools to create your very own homemade chili oil, it’s time to get cooking and start exploring new culinary adventures. Enjoy the fiery flavors and the satisfaction of adding a personalized touch to your dishes!
Frequently Asked Questions about How To Store Homemade Chili Oil
Was this page helpful?
At Storables.com, we guarantee accurate and reliable information. Our content, validated by Expert Board Contributors, is crafted following stringent Editorial Policies. We're committed to providing you with well-researched, expert-backed insights for all your informational needs.


0 thoughts on “How To Store Homemade Chili Oil”