Articles
How To Store Fresh Chili Peppers
Modified: February 23, 2024
Discover effective ways to store fresh chili peppers with our informative articles. Keep your peppers fresh and flavorful for longer periods!
(Many of the links in this article redirect to a specific reviewed product. Your purchase of these products through affiliate links helps to generate commission for Storables.com, at no extra cost. Learn more)
Introduction
Fresh chili peppers are a versatile ingredient that can add a fiery punch to any dish. Whether you enjoy the zesty heat of jalapenos or prefer the intense spice of habaneros, properly storing fresh chili peppers is crucial to maximize their shelf life and retain their vibrant flavors. By following the right storage techniques, you can ensure that your chili peppers stay fresh and ready to use whenever you need them.
In this article, we will explore various methods for storing fresh chili peppers, including refrigeration, freezing, drying, and preserving them in oil or vinegar. We will also provide tips and guidelines to help you extend the shelf life of these peppers, allowing you to enjoy their heat and distinct flavor for an extended period of time.
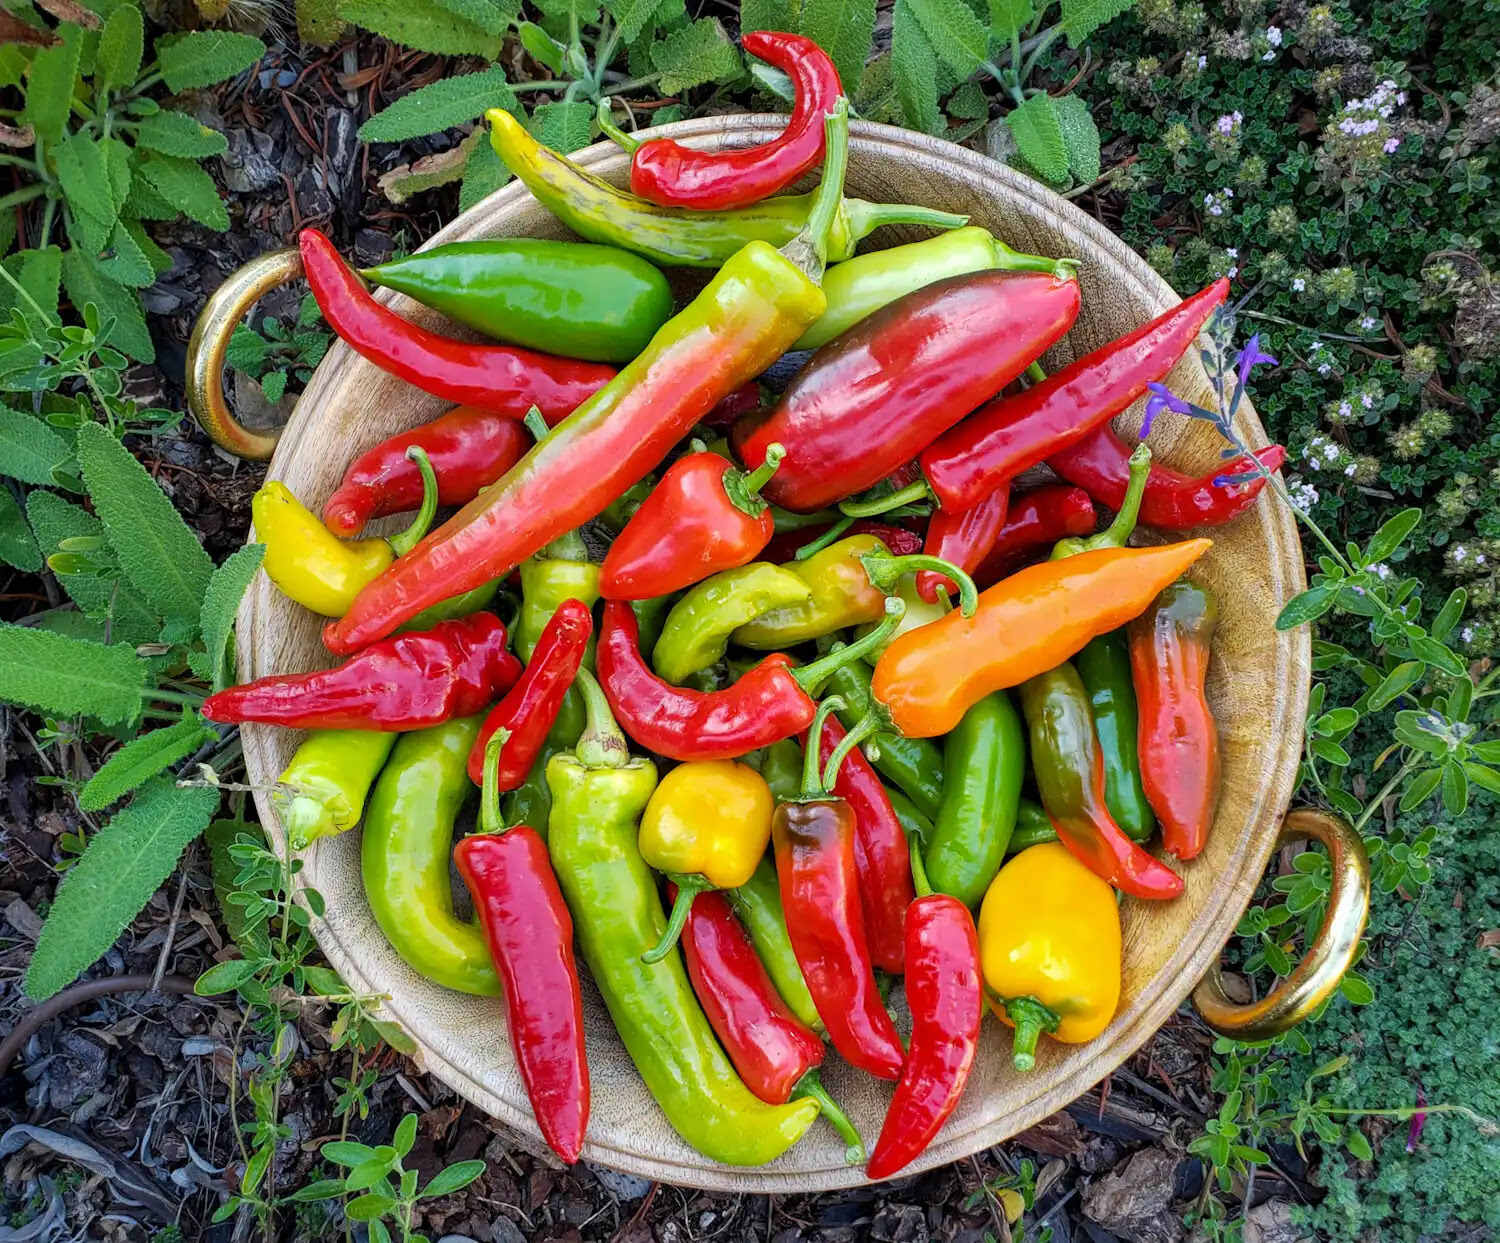
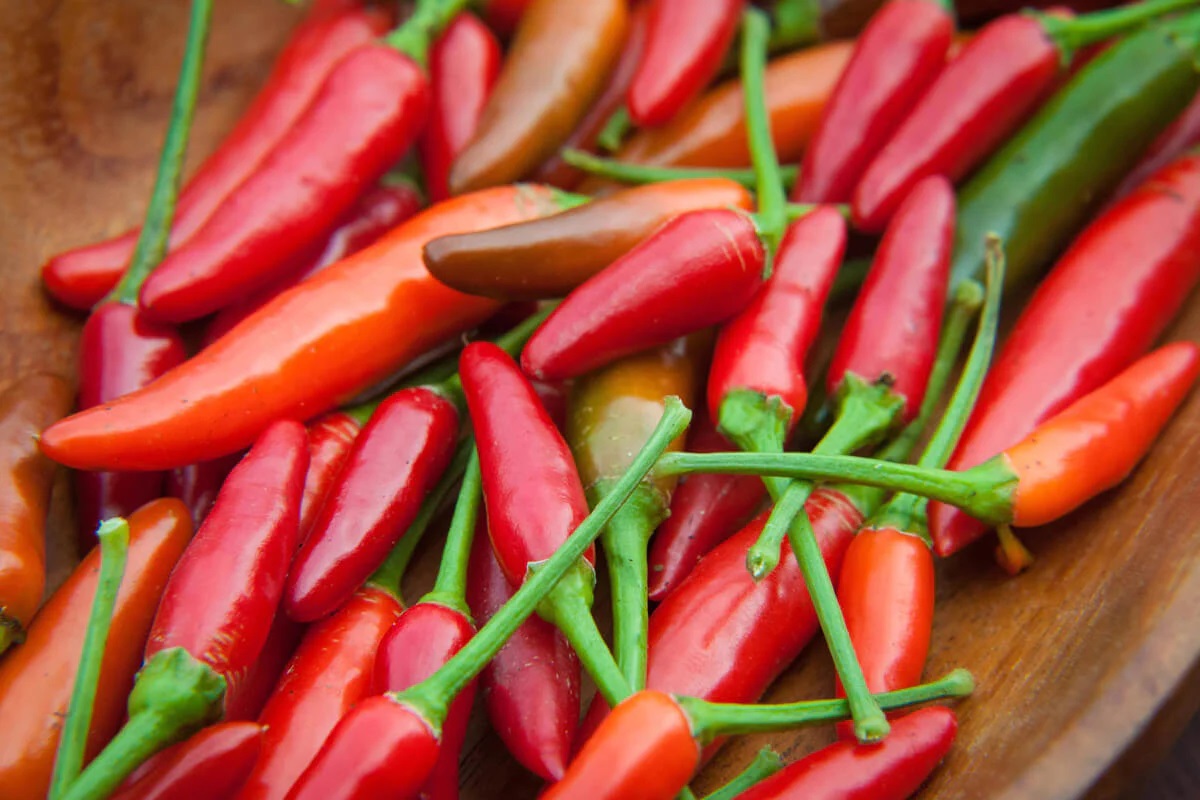
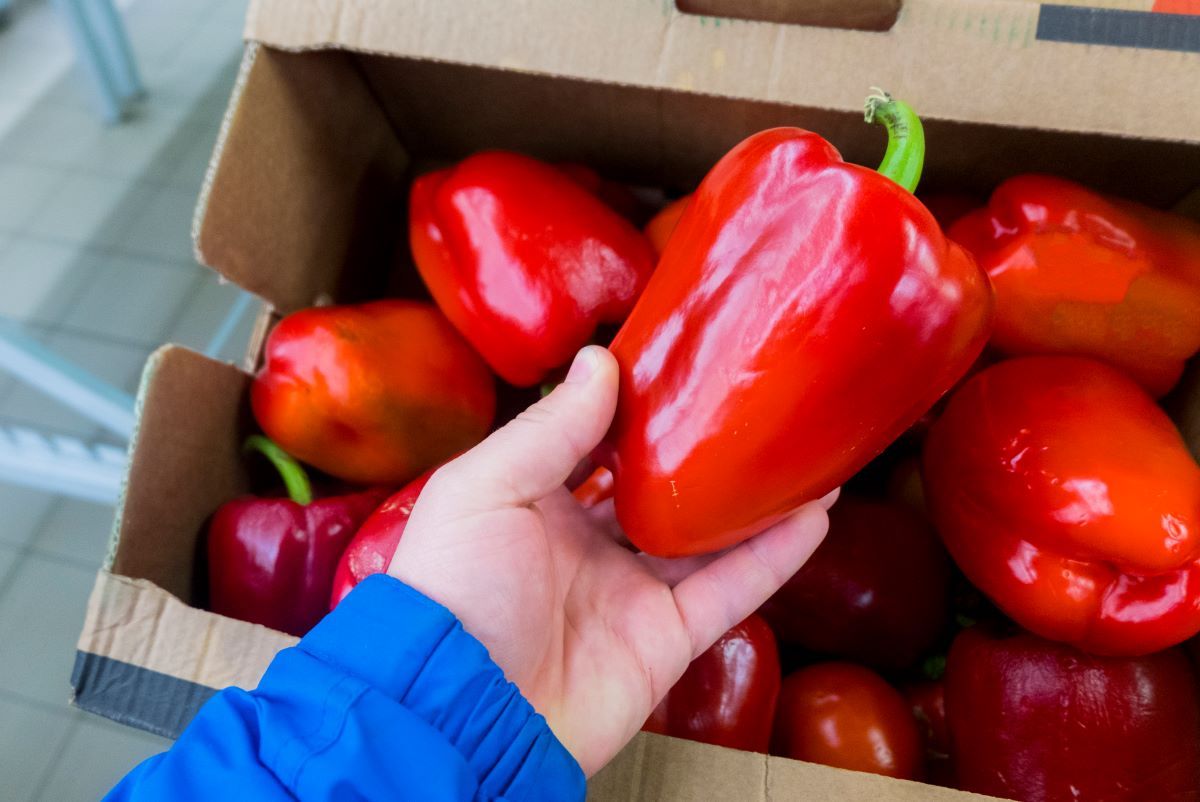
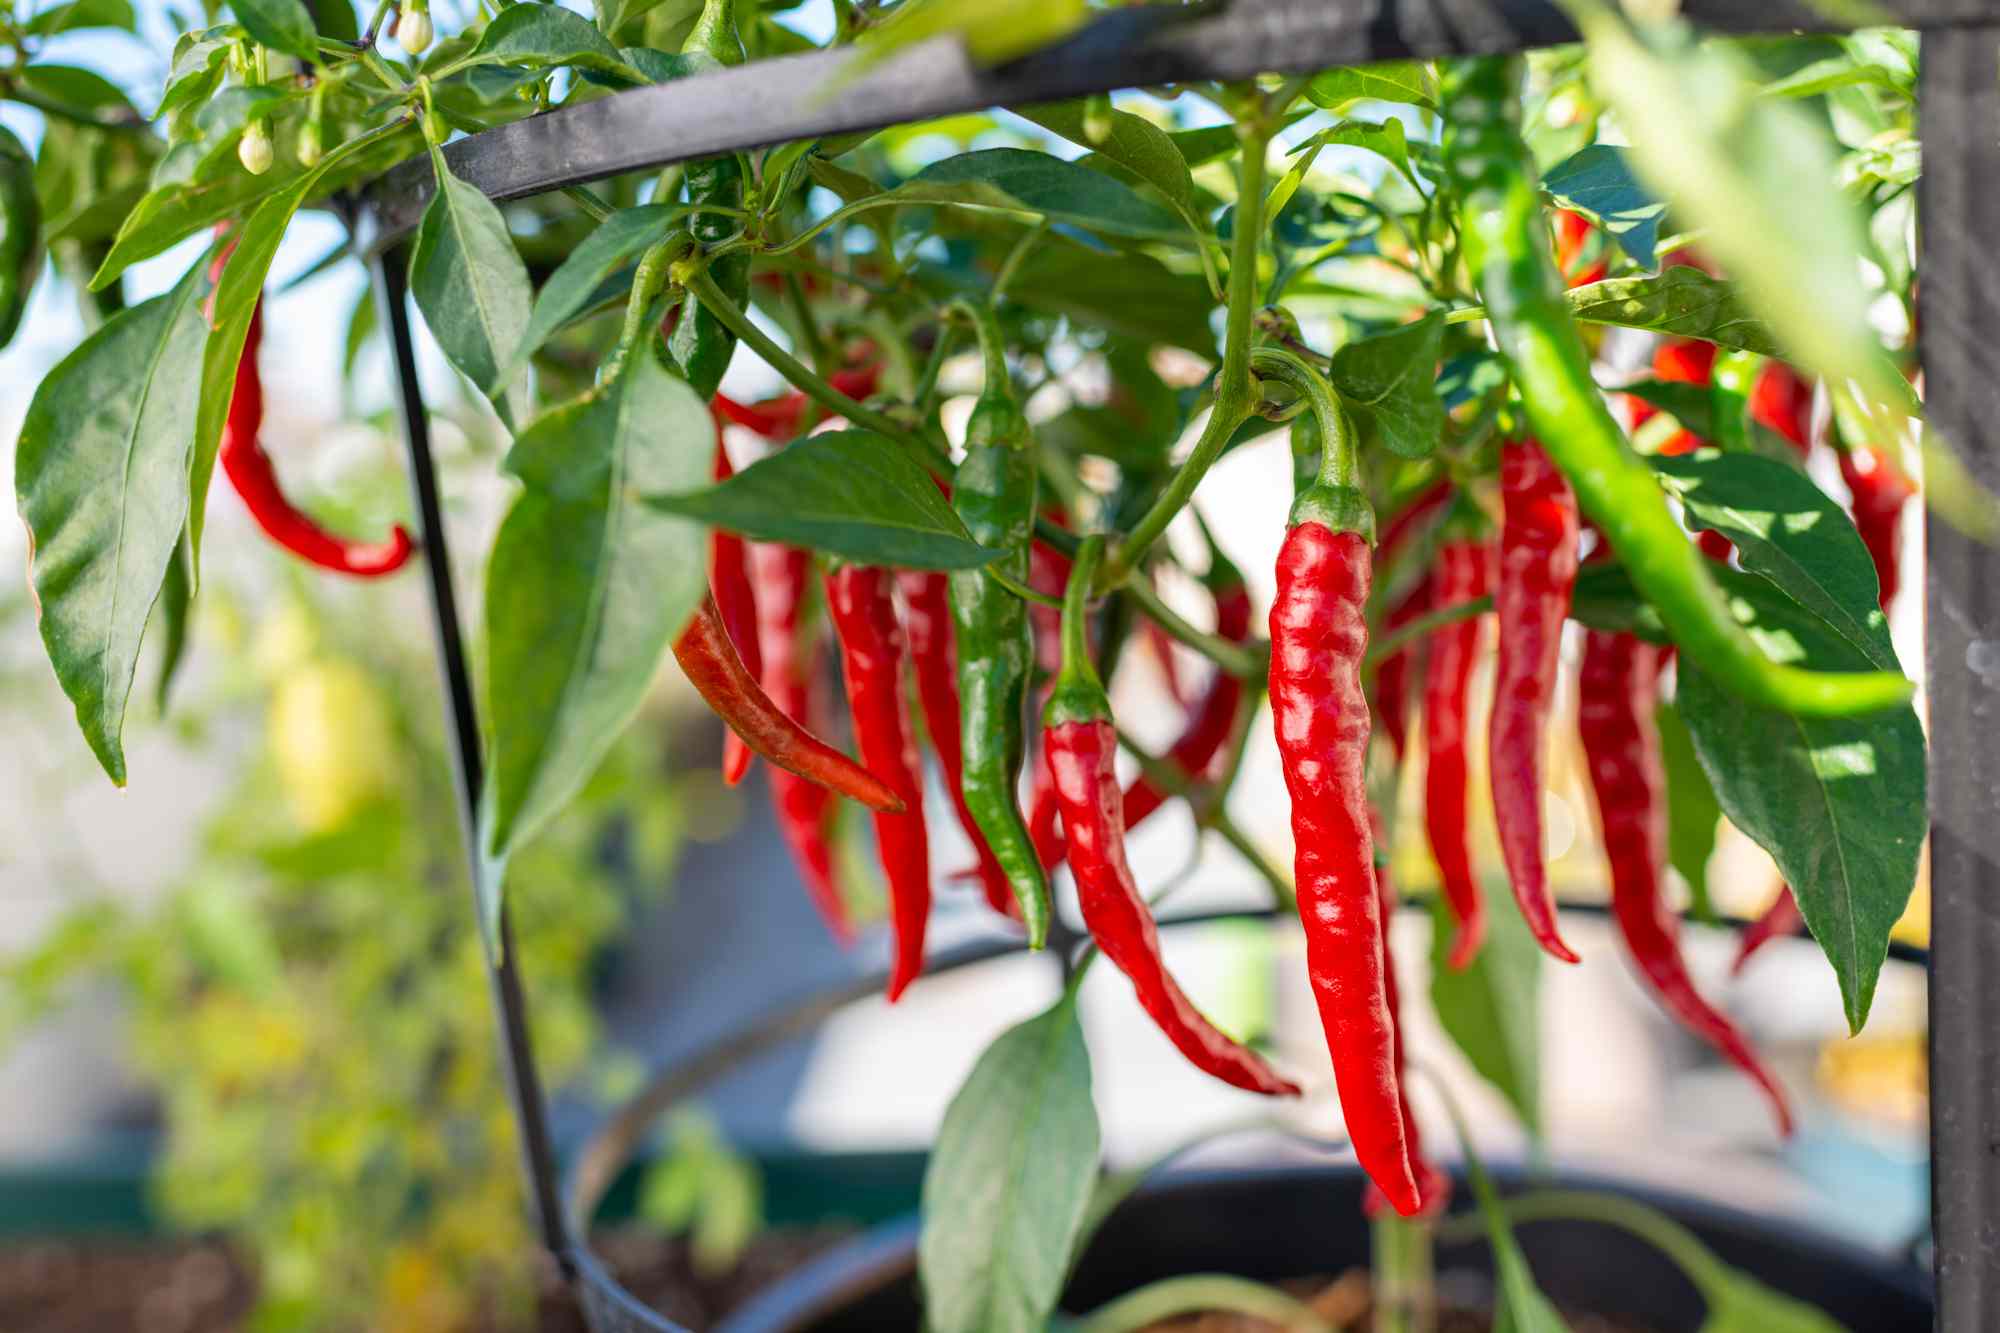
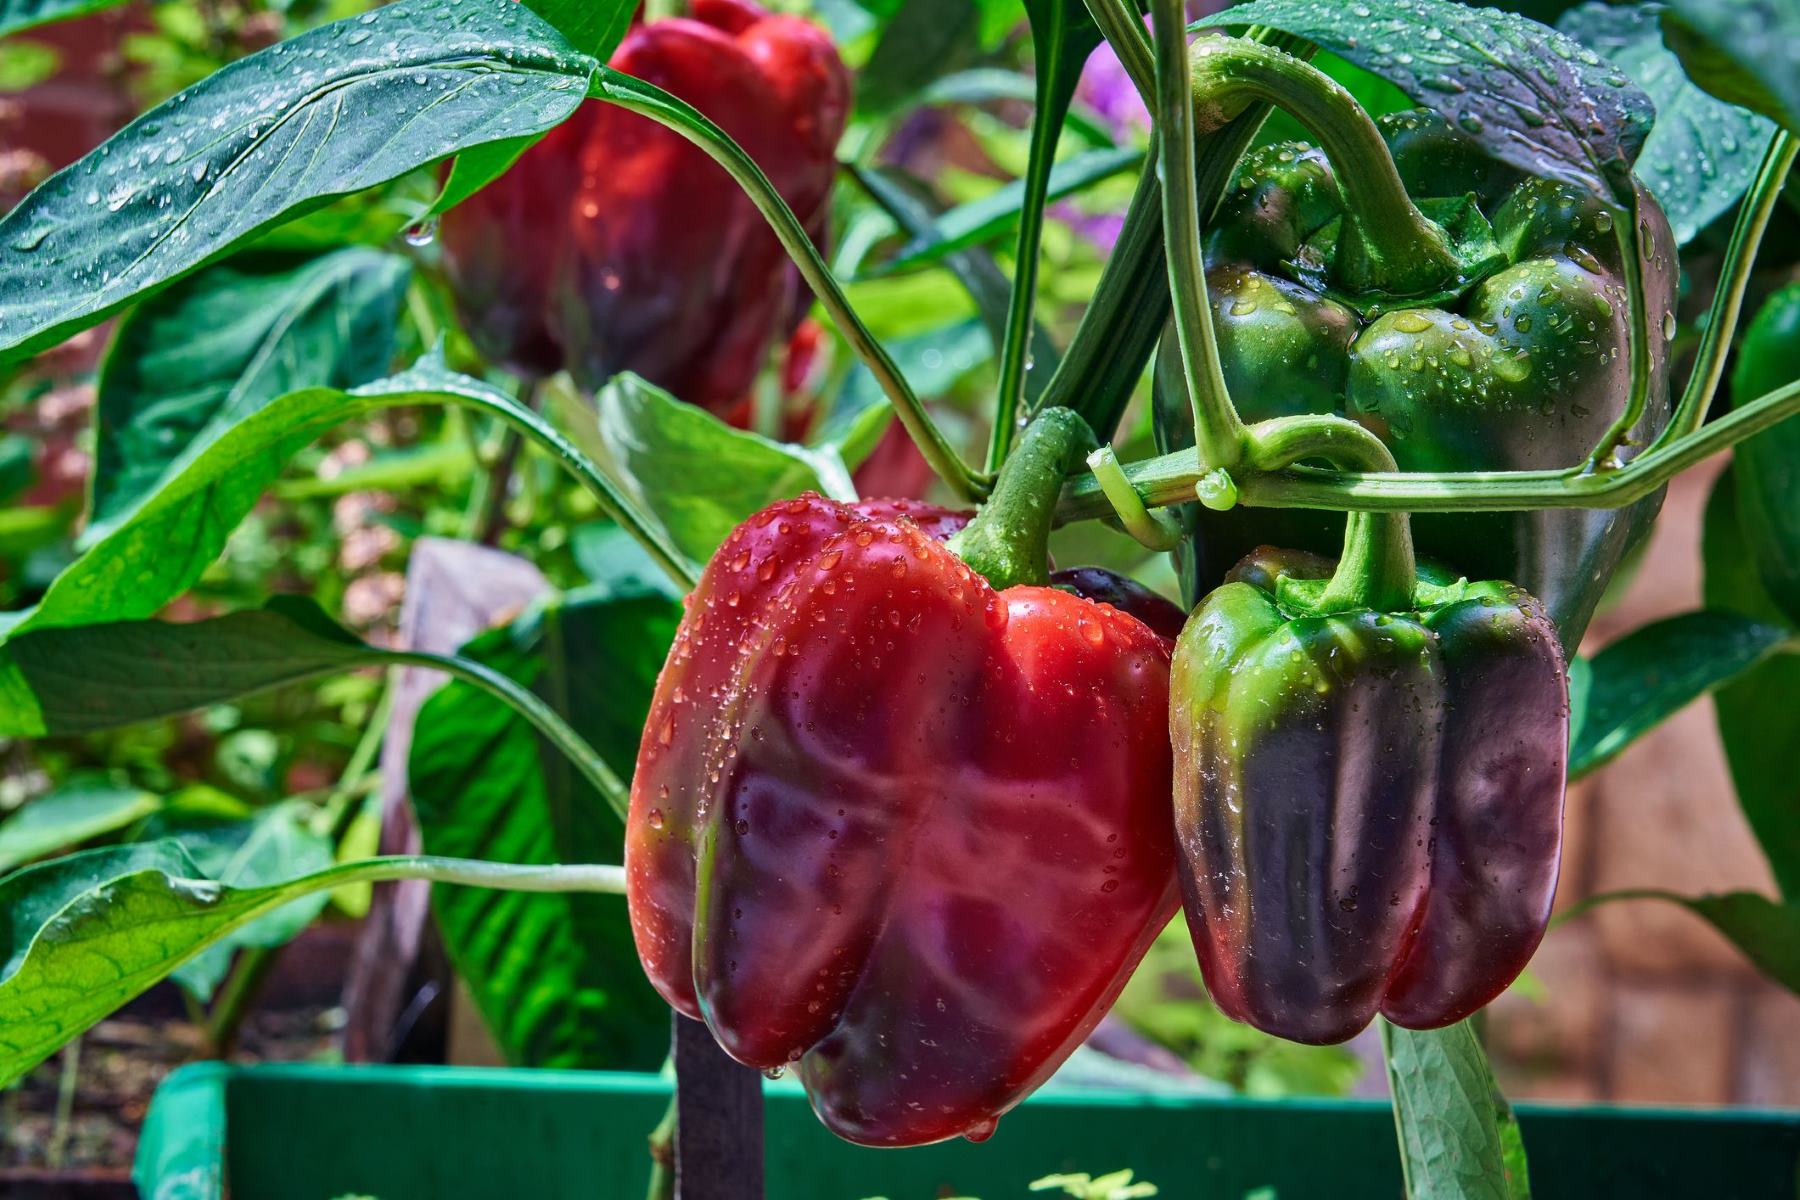
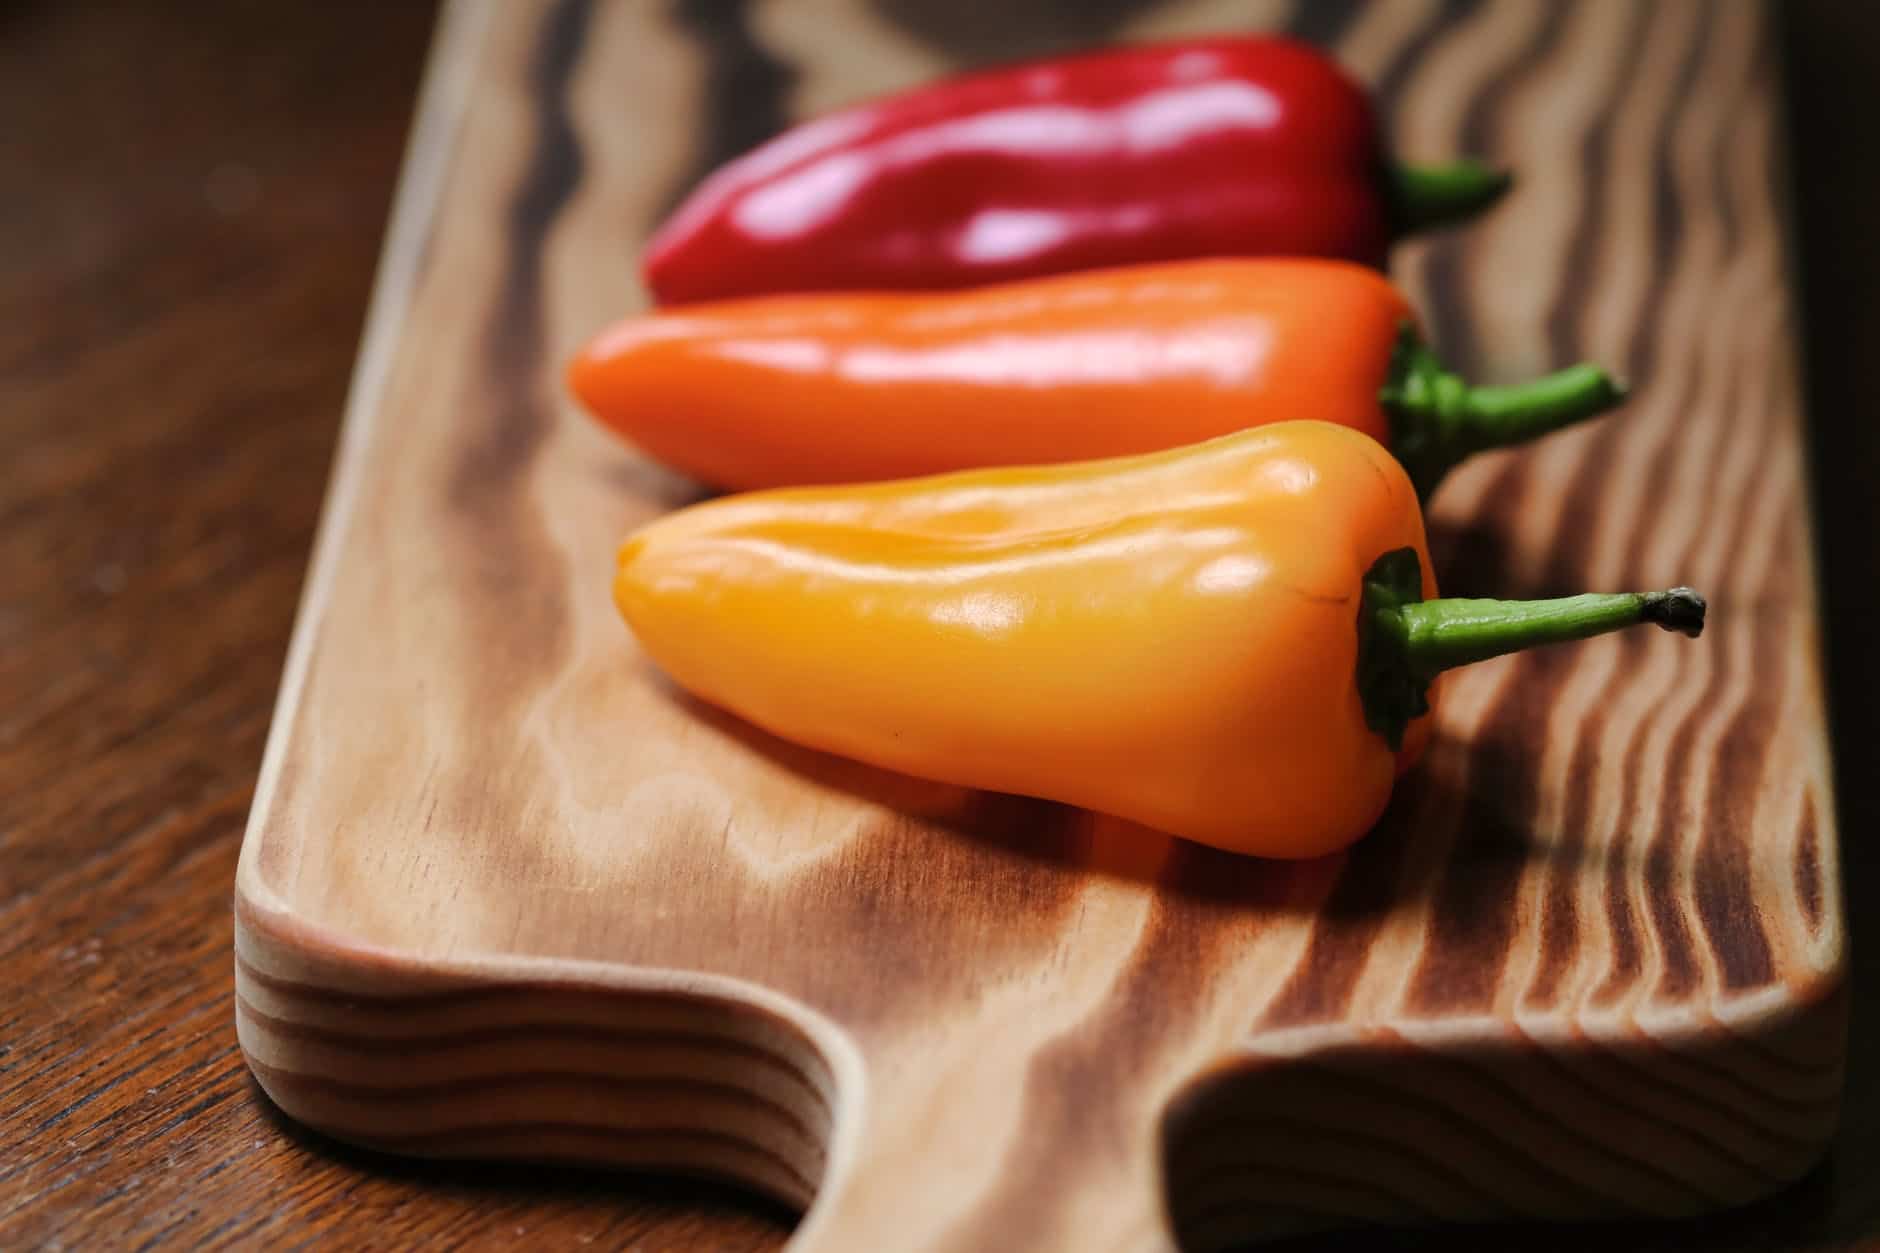
Choosing the right chili peppers is the first step toward successful storage. When selecting fresh peppers, look for ones that are firm, smooth, and vibrant in color. Avoid peppers that are soft, wrinkled, or have any signs of mold or decay. Additionally, consider the level of heat you prefer, as different varieties of chili peppers have varying degrees of spiciness.
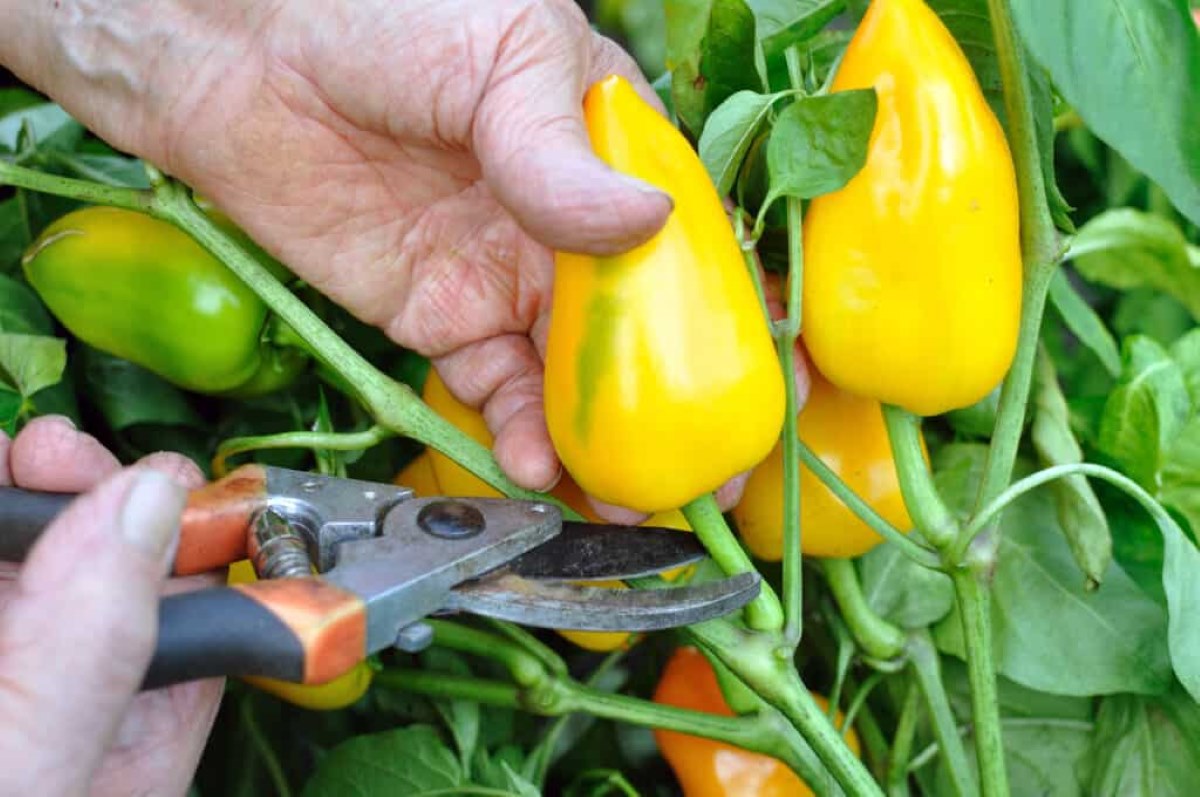
Cleaning and preparing chili peppers before storage is essential to remove any dirt, residue, or pesticides. Start by rinsing the peppers under cool running water, gently scrubbing them with a brush to remove any particles. For added cleanliness, you can soak the peppers in a solution of vinegar and water for a few minutes, then rinse thoroughly.
Now that your chili peppers are clean and ready to be stored, let’s explore different methods to keep them fresh.
(Words: 243)
Key Takeaways:
- Properly storing fresh chili peppers is crucial to preserving their vibrant flavors and intense heat. Refrigeration, freezing, drying, and preserving in oil or vinegar are effective methods for extending their shelf life.
- When storing fresh chili peppers, choose the right varieties, handle them with care, and consider refrigeration, freezing, drying, or preserving in oil or vinegar. These methods ensure you can enjoy their fiery taste and unique flavors for an extended period.
Read more: How To Store Chili Peppers
Storing Fresh Chili Peppers: An Overview
When it comes to storing fresh chili peppers, there are several methods you can choose from depending on your preferences and how you plan to use them. Each method has its own benefits and considerations, so let’s take a closer look at each one.
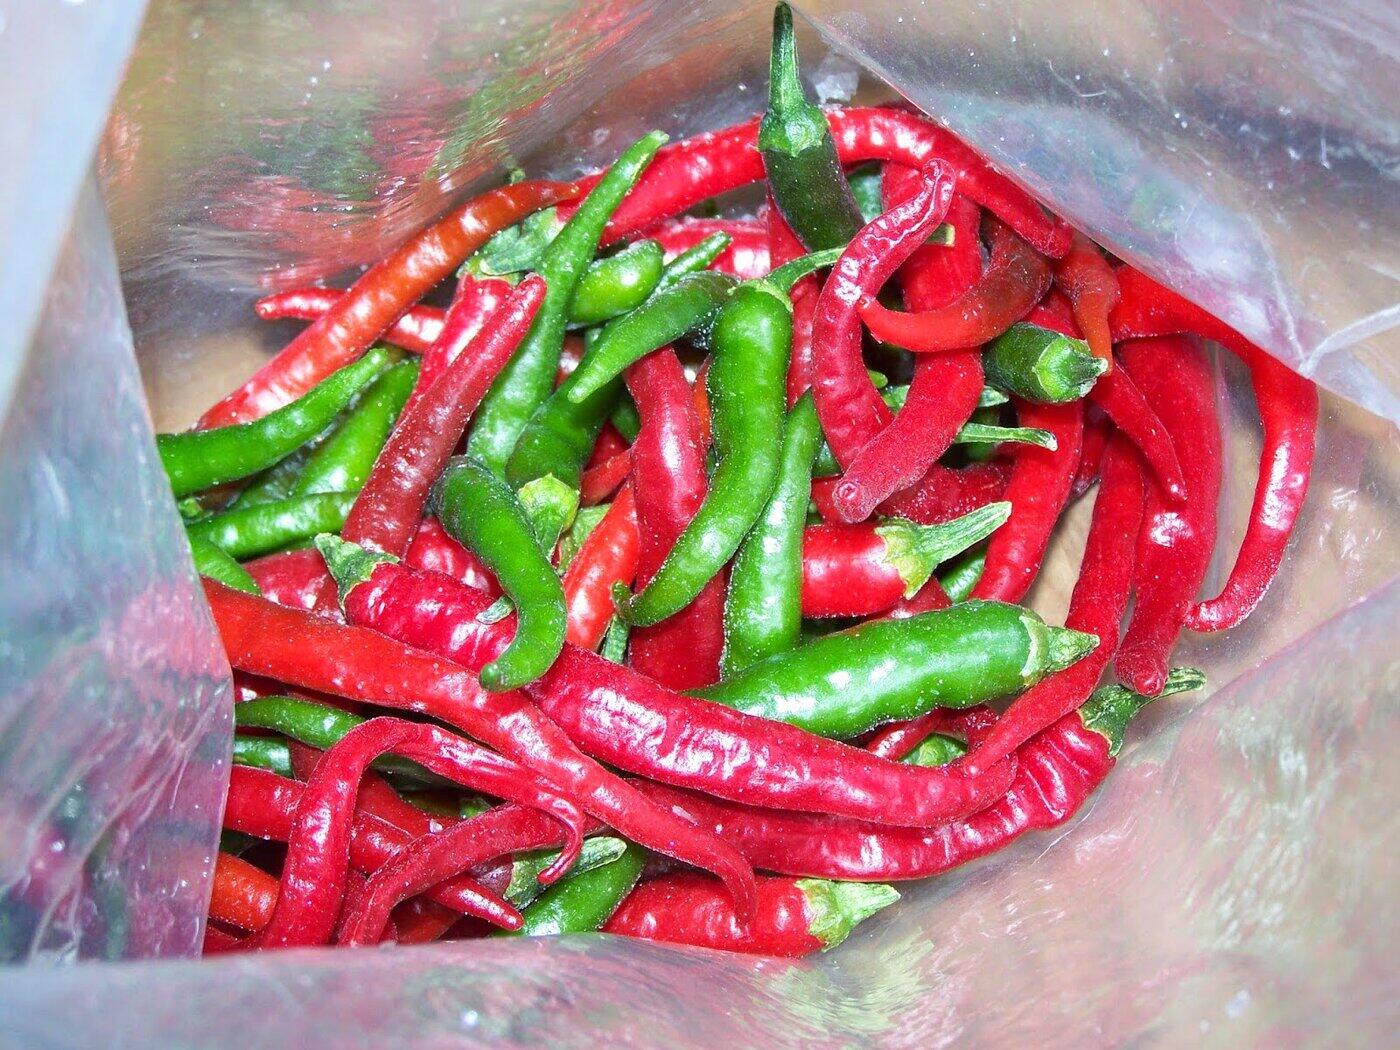
Refrigeration is a popular and convenient option for storing fresh chili peppers. Simply place the peppers in a perforated plastic bag or wrap them in a paper towel to absorb excess moisture, then store them in the crisper drawer of your refrigerator. This method can help prolong the shelf life of chili peppers for up to two weeks. However, keep in mind that refrigeration can slightly dampen the peppers’ heat and flavor, so it’s best to use them within a week for optimal taste.
Freezing is another effective method that allows you to preserve chili peppers for a longer period. Start by washing and drying the peppers, then slice, chop, or leave them whole depending on your preference. Place the prepared peppers in a single layer on a baking sheet and freeze them until they are firm. Once frozen, transfer the peppers to a freezer-safe bag or container. Frozen chili peppers can be stored for up to 6 months without compromising their flavor. When you’re ready to use them, simply remove the desired amount from the freezer and thaw them before adding them to your recipes.
If you prefer to preserve the flavor and heat of fresh chili peppers, drying them is an excellent technique. You can air dry the peppers by stringing them together and hanging them in a well-ventilated area out of direct sunlight. Alternatively, you can use a dehydrator or an oven set to a low temperature to dry the peppers more quickly. Once dried, store the chili peppers in an airtight container in a cool, dark place. Dried chili peppers can be kept for several months and are perfect for adding a touch of spice to your dishes.
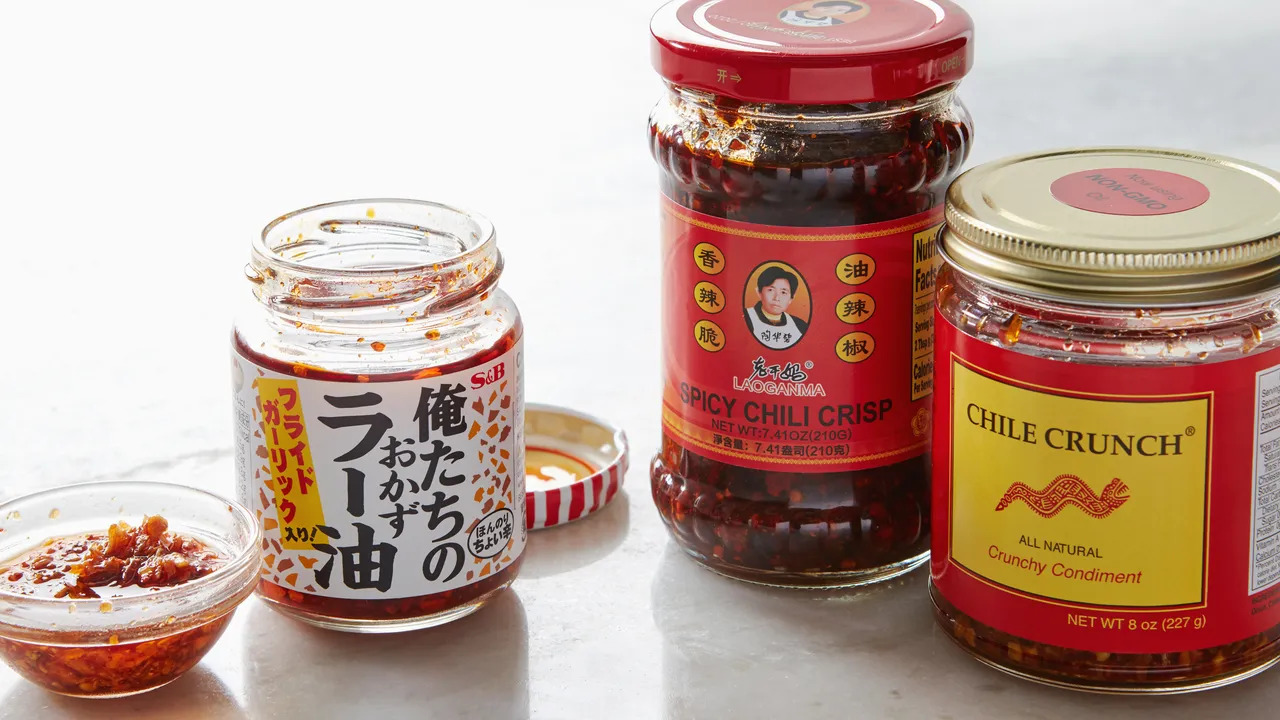
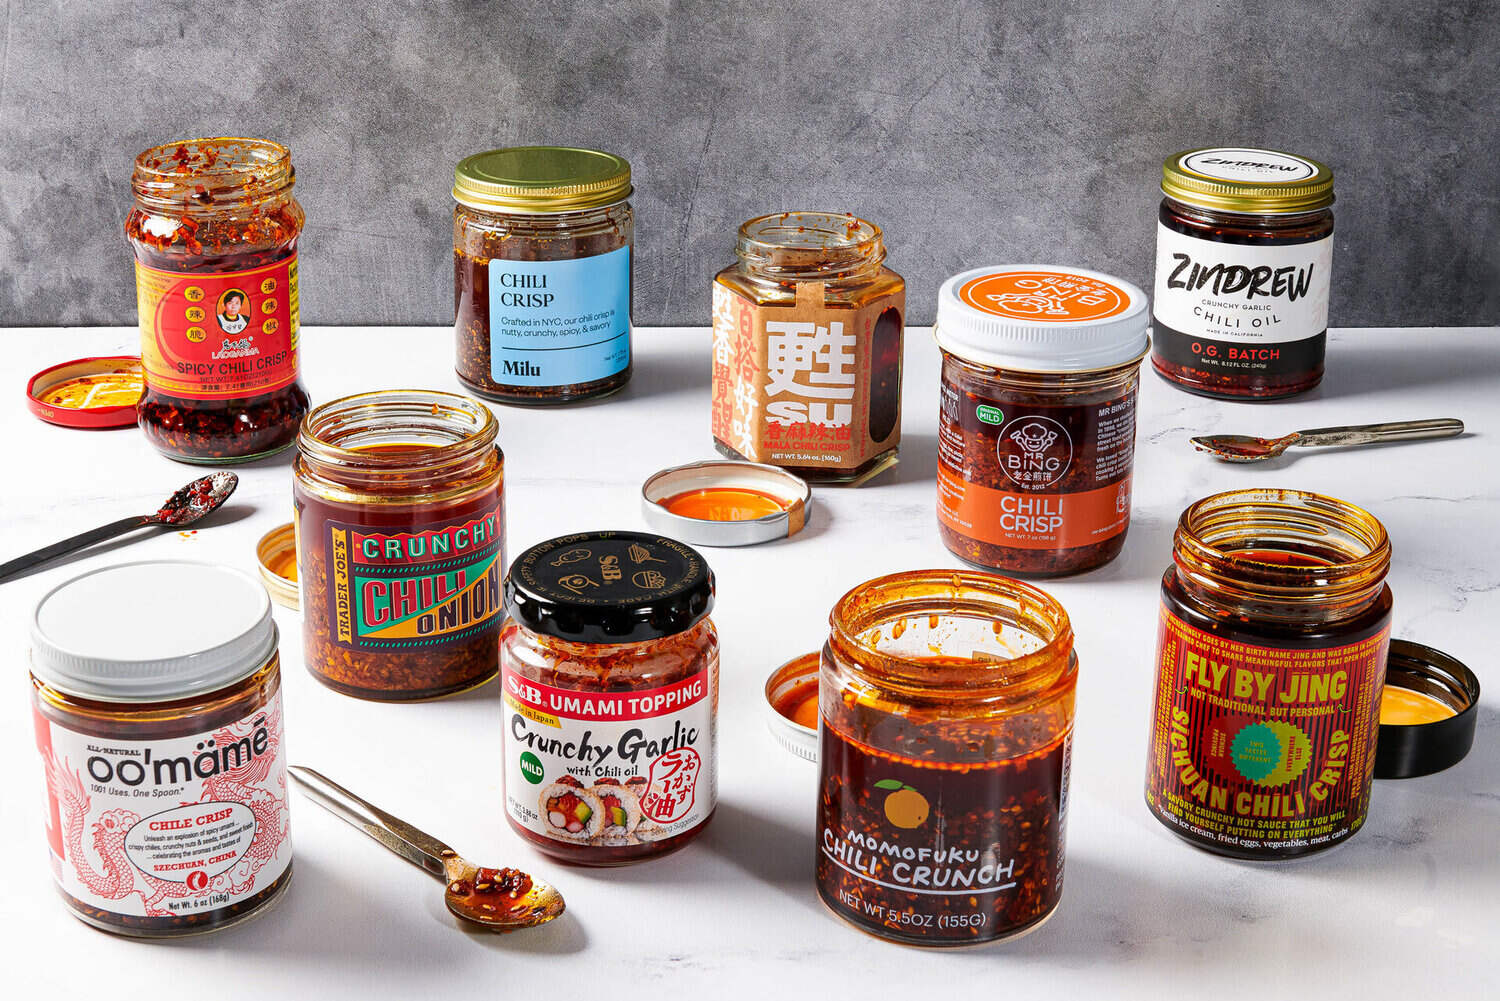
For a unique twist, you can also store fresh chili peppers in oil or vinegar. To do this, begin by cleaning and drying the peppers. Next, chop or slice the peppers and pack them tightly into sterilized jars. Cover the peppers completely with either olive oil or vinegar, ensuring that they are fully submerged. Seal the jars tightly and store them in the refrigerator. The chili peppers will infuse the oil or vinegar, creating a flavorful and spicy condiment that can be used in various dishes.
In the next sections, we will delve deeper into each of these storage methods, providing step-by-step instructions on how to properly store fresh chili peppers using these techniques.
(Words: 416)
Choosing the Right Chili Peppers
When it comes to storing fresh chili peppers, selecting the right varieties is key. Not all chili peppers are created equal in terms of heat level, flavor, and shelf life. Here are some factors to consider when choosing the perfect chili peppers for storage:
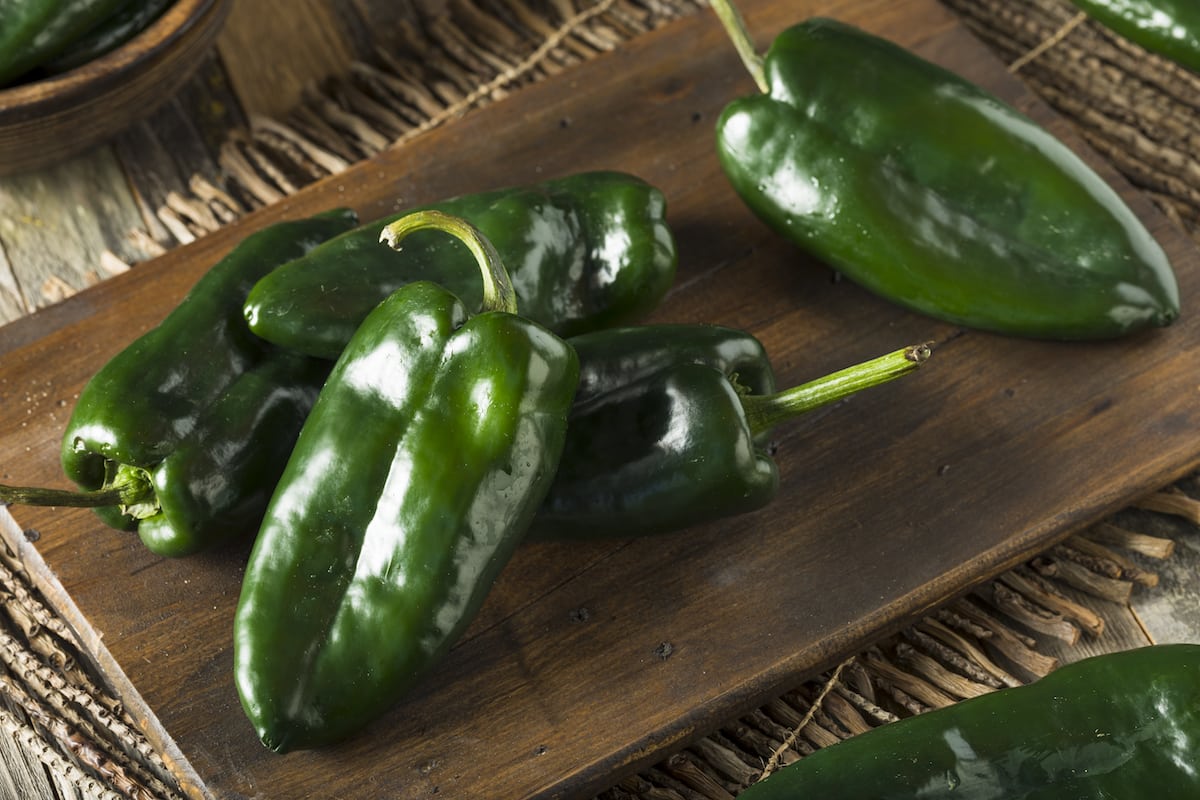
1. Heat Level: Chili peppers vary widely in terms of spiciness, ranging from mild to extremely hot. Some popular mild varieties include poblanos and banana peppers, while jalapenos and serranos offer a medium level of heat. If you prefer a fiery kick, habaneros and ghost peppers are known for their intense spiciness. Consider your tolerance for heat and the specific recipes you plan to use the peppers in when choosing the right chili pepper variety.
2. Freshness: Look for chili peppers that are firm and plump, with a vibrant color. Avoid peppers that have soft spots, wrinkles, or signs of mold. Freshness plays a crucial role in determining the longevity of the peppers and their flavor.
3. Flavor Profile: Different chili pepper varieties offer unique flavor profiles. Some peppers have a fruity taste, like the habanero, while others have a smoky or earthy flavor, such as the chipotle pepper. Consider the flavor profile you desire in your dishes and choose the appropriate chili pepper variety accordingly.
4. Shelf Life: Certain chili pepper varieties have a longer shelf life than others. For example, jalapenos can last for weeks when stored properly, while more delicate varieties like Thai chili peppers may need to be used within a few days. If you’re looking for peppers that can be stored for an extended period, consider varieties like cayenne or poblano.
5. Culinary Uses: Consider how you plan to use the chili peppers in your cooking. Some varieties are well-suited for fresh applications like salsas and salads, while others are better for cooking, roasting, or pickling. Choose chili peppers that align with your preferred culinary uses.
By taking these factors into account, you can choose the right chili peppers for your storage needs. Remember to handle the peppers with care to avoid any potential skin irritation, and always wash your hands thoroughly after handling hot peppers.
(Words: 325)
Cleaning and Preparing Chili Peppers for Storage
Before you store fresh chili peppers, it’s important to properly clean and prepare them to ensure they stay fresh and free from any contaminants. Here’s a step-by-step guide on how to clean and prepare chili peppers for storage:
1. Rinse the Peppers: Start by rinsing the peppers under cool running water. Gently rub the surface of each pepper with your fingers to remove any dirt, debris, or residue. This step helps to remove any residual pesticides or chemicals that may be present on the peppers.
2. Soak in Vinegar Solution (Optional): For an extra level of cleanliness, you can soak the peppers in a solution of vinegar and water. Mix one part vinegar with three parts water in a bowl or sink. Submerge the peppers in the solution and let them soak for a few minutes. The vinegar helps to kill bacteria and further remove any impurities.
3. Rinse Thoroughly: After soaking, remove the peppers from the vinegar solution and rinse them thoroughly under running water. Make sure to remove any traces of vinegar from the peppers. This step also helps to wash away any remaining dirt, debris, or vinegar residue.
4. Dry the Peppers: Once rinsed, gently pat the peppers dry with a clean kitchen towel or paper towel. Make sure to remove any excess moisture from the surface of the peppers. This step is important to prevent the peppers from becoming soggy and to avoid the growth of mold or bacteria during storage.
5. Remove Stems and Seeds: If desired, you can remove the stems and seeds from the chili peppers. This can be done by simply cutting off the stem end of each pepper and then slicing them vertically to expose the seeds. Use a spoon or your fingers to scoop out the seeds and discard them. Removing the seeds can help reduce the heat level of the peppers if desired.
Once the chili peppers are cleaned, prepared, and dried, they are ready for storage. Depending on the storage method you choose, you can proceed to refrigerate, freeze, dry, or preserve the peppers in oil or vinegar. Properly cleaning and preparing the peppers not only ensures freshness but also eliminates any potential contaminants, allowing you to enjoy your chili peppers with peace of mind.
(Words: 347)
Storing Fresh Chili Peppers in the Refrigerator
Refrigeration is one of the most common methods for storing fresh chili peppers. It helps to prolong their shelf life while maintaining their flavor and heat to a certain extent. Follow these steps to store fresh chili peppers in the refrigerator:
1. Prepare the Peppers: Before storing, make sure the chili peppers are clean and completely dry. Remove any stems or seeds if desired, although it is not necessary for refrigeration.
2. Perforated Plastic Bag or Paper Towel: Place the chili peppers in a perforated plastic bag or wrap them in a paper towel. The perforations allow for proper air circulation, preventing excess moisture buildup that can lead to spoilage. Alternatively, you can place the peppers in a container with a lid, but leave it slightly ajar to allow for airflow.
3. Store in the Crisper Drawer: Place the bag or container of chili peppers in the crisper drawer of your refrigerator. This is the ideal location for storing produce, as it provides a slightly more humid environment while maintaining a consistent temperature.
4. Avoid Overcrowding: Make sure not to overcrowd the peppers in the refrigerator. Leave some space between them to allow for proper air circulation, which helps to prevent the accumulation of moisture and the growth of mold.
5. Check and Rotate: Periodically check on your chili peppers in the refrigerator. Remove any peppers that show signs of spoilage, such as mold or mushiness. Additionally, you can rotate the peppers to ensure even exposure to the cool environment.
Fresh chili peppers stored in the refrigerator can typically last up to two weeks. However, keep in mind that their heat and flavor may slightly diminish over time. To ensure the best taste, it’s recommended to use them within a week of refrigeration. Remember to handle the peppers with care and wash your hands thoroughly after handling, particularly if you’re sensitive to capsaicin, the compound responsible for their spiciness.
Storing fresh chili peppers in the refrigerator is a convenient option if you plan to use them in the near future. It allows you to preserve their freshness and enjoy their vibrant heat whenever you’re ready to incorporate them into your favorite recipes.
(Words: 350)
Read more: How To Store Thai Chili Peppers
Freezing Fresh Chili Peppers
Freezing is an excellent method for storing fresh chili peppers for an extended period. It helps to preserve their flavor, spice, and nutritional value. Follow these steps to freeze fresh chili peppers effectively:
1. Wash and Dry the Peppers: Start by washing the chili peppers under cool running water. Gently rub the surface of each pepper to remove any dirt or debris. Ensure the peppers are completely dry before proceeding to the next step. Excess moisture can lead to freezer burn or undesirable texture.
2. Choose the Freezing Method: Depending on how you plan to use the chili peppers later, you have a few options. You can freeze them whole, sliced, or chopped. Consider the size and shape that will be most convenient for your future recipes.
3. Slice or Chop (Optional): If you prefer to have pre-cut chili peppers on hand, you can slice or chop them before freezing. Remove stems and seeds, if desired. Keep in mind that slicing or chopping may release more capsaicin, intensifying the heat, so adjust the quantity according to your preference.
4. Flash Freeze (Optional): For individual pieces of chili peppers that are easier to handle, you can flash freeze them. Arrange the peppers in a single layer on a baking sheet, making sure they don’t touch each other. Place the baking sheet in the freezer for about 1-2 hours or until the peppers are firm. This prevents them from sticking together when stored in a bag or container.
5. Packaging: Once the chili peppers are frozen or sufficiently firm, transfer them to airtight freezer bags or containers. Squeeze out excess air from the bags to minimize freezer burn. Label the bags with the date for future reference.
6. Freezer Placement: Store the chili peppers in the coldest part of your freezer, such as the back or the bottom shelf. This ensures a consistent and optimal freezing temperature.
7. Thawing: When you’re ready to use the frozen chili peppers, remove the desired quantity from the freezer. Thaw them in the refrigerator or use them directly in recipes that require cooking, as frozen chili peppers may lose their crispness once thawed. Adding them directly to soups, stews, or stir-fries is a great way to incorporate them without thawing.
Properly frozen chili peppers can last up to 6 months without significant loss of flavor or quality. However, for the best taste and texture, it’s recommended to use them within 3 months of freezing.
Freezing fresh chili peppers allows you to enjoy their heat and flavor throughout the year, even when they’re out of season. Plus, it makes meal preparation more convenient, as you’ll have a ready-to-use ingredient always at hand.
(Words: 410)
Store fresh chili peppers in a paper bag in the refrigerator to help maintain their freshness and prevent them from becoming soft or moldy. Avoid storing them in plastic bags, as this can cause them to spoil more quickly.
Drying Fresh Chili Peppers
Drying is an excellent method for preserving and intensifying the flavors of fresh chili peppers. When dried properly, chili peppers can be stored for months, allowing you to enjoy their heat and unique taste year-round. Here’s how to dry fresh chili peppers effectively:
1. Wash and Dry the Peppers: Start by washing the chili peppers under cool running water to remove any dirt or debris. Gently pat them dry with a clean kitchen towel or paper towel. It’s essential to ensure the peppers are completely dry before drying them to prevent mold growth.
2. Choose the Drying Method: There are a few options for drying chili peppers. Select the method that best suits your needs and the equipment you have available:
– Air Drying: This traditional method involves stringing the chili peppers together. Using a needle and thread, carefully pierce the stems of the peppers, threading them onto the thread. Hang the thread of chili peppers in a well-ventilated area, away from direct sunlight. Ensure that the peppers have enough space between them for air circulation.
– Dehydrator: If you have a food dehydrator, it can make the drying process faster and more precise. Follow the manufacturer’s instructions for drying chili peppers in the dehydrator. Usually, this involves slicing the peppers and arranging them in a single layer on the dehydrator trays. Set the dehydrator to a low temperature (around 125°F or 52°C) and allow the peppers to dry for several hours until they become brittle.
– Oven Drying: If you don’t have a dehydrator, you can dry chili peppers in your oven. Preheat the oven to the lowest temperature setting (usually around 175°F or 80°C). Slice the peppers or leave them whole, depending on your preference, and place them on a baking sheet lined with parchment paper. Put the baking sheet in the oven and prop the oven door open slightly to allow moisture to escape. Leave the peppers in the oven for several hours, flipping them occasionally, until they are completely dry and brittle.
3. Check for Dryness: The drying time will vary depending on the size and moisture content of the peppers, as well as the drying method used. The peppers are considered dry when they are brittle and crumble easily when pressed between your fingers. If there are any soft or leathery parts, they need more drying time.
4. Storage: Once the chili peppers are fully dried, allow them to cool completely before storing. Place them in an airtight container, such as glass jars or resealable plastic bags, and store them in a cool, dark place. Keep them away from direct sunlight, heat, and moisture to maintain their quality.
Dried chili peppers can be ground into a powder or used whole in recipes. Grind them using a spice grinder or mortar and pestle when you’re ready to use them. Dried chili peppers add a concentrated heat and smoky flavor to various dishes, such as sauces, rubs, soups, and stews.
By properly drying fresh chili peppers, you can enjoy their fiery taste and spiciness long after the harvesting season is over.
(Words: 489)
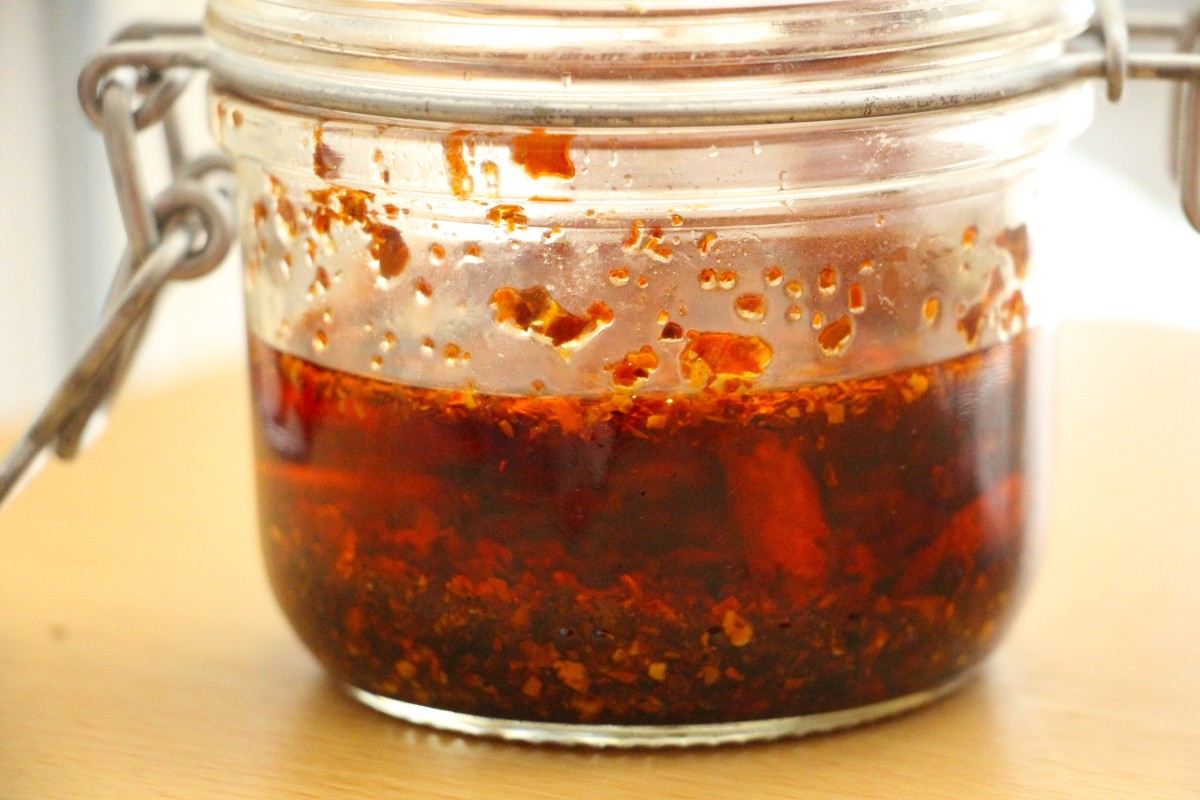
Storing Fresh Chili Peppers in Oil
Preserving fresh chili peppers in oil is not only a delicious way to enjoy their fiery flavor but also a great method for extending their shelf life. When stored properly, chili peppers in oil can last for several weeks in the refrigerator. Here’s how to store fresh chili peppers in oil:
1. Select the Right Peppers: Choose fresh chili peppers that are firm and free from any signs of spoilage. You can use any variety of chili peppers based on your preferred level of heat. Some popular choices include jalapenos, serranos, or Thai chili peppers.
2. Wash and Dry the Peppers: Begin by washing the chili peppers under cool running water to eliminate any dirt or debris. Gently pat them dry with a clean kitchen towel or paper towel to remove excess moisture. Ensuring the peppers are thoroughly dry helps prevent the growth of bacteria in the oil.
3. Prepare the Peppers: Remove the stems from the peppers and slice them into rings or chop them into smaller pieces, depending on your preference. Removing the seeds is optional, as they can add additional heat to the oil. However, leaving the seeds intact will impart a spicier flavor to the oil.
4. Sterilize the Jars: Before adding the chili peppers and oil, sterilize the storage jars to ensure proper preservation. Wash the jars and lids in hot, soapy water, then rinse thoroughly. You can also sterilize them by placing them in boiling water for a few minutes or running them through a dishwasher cycle.
5. Pack the Jars: Pack the prepared chili peppers tightly into the sterilized jars, leaving some headspace at the top. Ensure that the peppers are fully submerged in the oil to prevent spoilage. You can use olive oil, vegetable oil, or a combination of oils for added flavor.
6. Seal the Jars: Once the jars are packed with chili peppers and oil, securely seal them with the lids. Ensure that the lids are tight to prevent air exposure, which can lead to spoilage. Label the jars with the date of preparation for future reference.
7. Refrigerate the Jars: Store the jars in the refrigerator to keep the chili peppers preserved. The cool temperature helps slow down the growth of bacteria and maintain the quality of the peppers. The chili peppers in oil can typically last for several weeks in the refrigerator but check for any signs of spoilage before using.
When using the chili peppers in oil, scoop out the desired amount with a clean spoon and drain off any excess oil. The infused oil can also be used in recipes to add a spicy kick and flavor.
Note: It’s essential to keep the jars refrigerated and not at room temperature, as storing chili peppers in oil at room temperature can increase the risk of bacterial growth and botulism.
Storing fresh chili peppers in oil is a delightful way to enhance your dishes and enjoy their heat and flavor for an extended period.
(Words: 498)
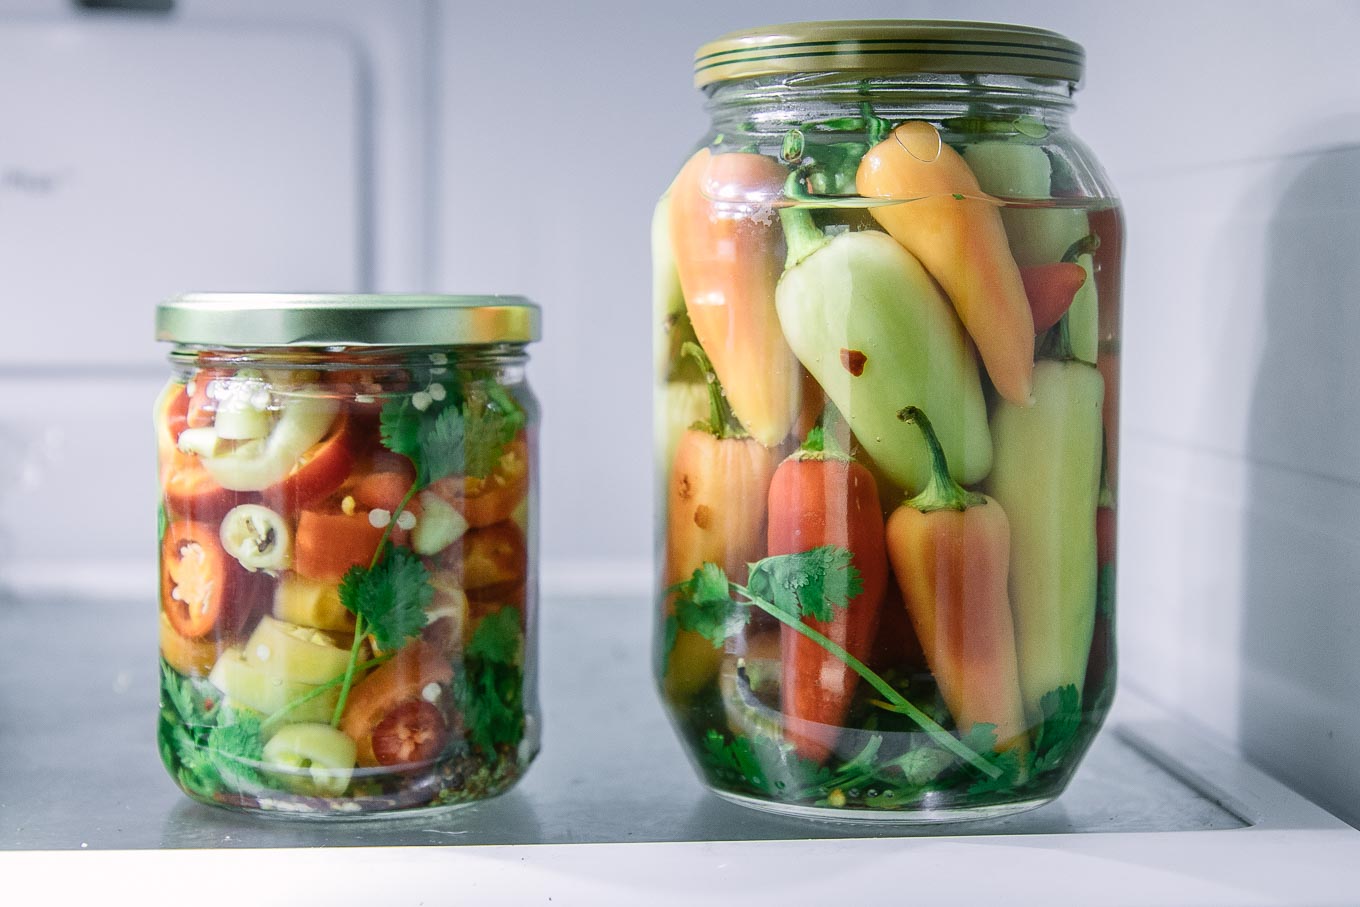
Storing Fresh Chili Peppers in Vinegar
Preserving fresh chili peppers in vinegar not only prolongs their shelf life but also infuses the vinegar with a spicy and tangy flavor. This method allows you to enjoy the vibrant heat of chili peppers while creating a versatile condiment that can be used in various recipes. Here’s how to store fresh chili peppers in vinegar:
1. Select the Chili Peppers: Choose fresh chili peppers that are firm, vibrant in color, and free from any signs of spoilage. You can use any variety of chili peppers based on your preferred level of heat. Popular choices include jalapenos, serranos, or Thai chili peppers.
2. Wash and Dry the Peppers: Start by washing the chili peppers under cool running water to remove any dirt or debris. Gently pat them dry with a clean kitchen towel or paper towel to remove excess moisture. Ensuring the peppers are thoroughly dry helps prevent any dilution or contamination of the vinegar.
3. Prepare the Peppers: Remove the stems from the peppers and slice them into rings or chop them into small pieces, depending on your preference. If desired, you can remove the seeds as well, although they add heat to the vinegar infusion.
4. Sterilize the Jars: Prior to adding the chili peppers and vinegar, sterilize the storage jars to maintain the freshness and quality of the infusion. Wash the jars and lids in hot, soapy water and rinse thoroughly. Sterilize them further by placing them in boiling water for a few minutes or running them through a dishwasher cycle.
5. Pack the Jars: Pack the prepared chili peppers tightly into the sterilized jars, ensuring there is a bit of headspace at the top. Slowly pour white vinegar, apple cider vinegar, or your preferred vinegar over the peppers until they are fully immersed. The vinegar acts as a natural preservative and flavor enhancer.
6. Seal the Jars: Once the jars are packed with chili peppers and vinegar, securely seal them with the lids. Make sure the lids are tightly closed to prevent air exposure, which can lead to spoilage. Consider adding labels to the jars with the date of preparation for easy reference.
7. Refrigerate the Jars: Store the jars of chili peppers in vinegar in the refrigerator to maintain their freshness and quality. The cool temperature of the refrigerator helps slow down the growth of bacteria and maintains the flavor of the peppers. The chili peppers in vinegar can generally be stored for several weeks, but check for any signs of spoilage before using.
When using the chili peppers in vinegar, you can scoop out the desired amount with a clean spoon, along with a bit of the infused vinegar, to create a spicy and tangy addition to various dishes. The infused vinegar can also be used in dressings, marinades, or sauces to add depth and heat.
Note: Always keep the jars refrigerated and not at room temperature. Storing chili peppers in vinegar at room temperature can increase the risk of bacterial growth.
Storing fresh chili peppers in vinegar is a fantastic way to enhance your culinary creations and enjoy the heat and flavor of these fiery peppers for an extended period.
(Words: 496)
Read more: How To Store Dried Chili Peppers
Tips for Extending the Shelf Life of Fresh Chili Peppers
To maximize the shelf life of fresh chili peppers and ensure their quality and flavor, here are some helpful tips to follow:
1. Handle with Care: When handling chili peppers, wear gloves or wash your hands thoroughly after touching them. The oils from the peppers can cause skin irritation, and rubbing your eyes or touching sensitive areas can lead to discomfort.
2. Choose the Freshest Peppers: Select chili peppers that are firm, vibrant in color, and free from any signs of spoilage. Avoid peppers that are soft, shriveled, or have moldy spots.
3. Store in a Cool Place: If you are not planning to use the chili peppers immediately, store them in a cool place away from direct sunlight, such as a pantry or a cellar. Exposure to sunlight and heat can lead to premature ripening and spoilage.
4. Adjust Refrigerator Humidity: If you decide to refrigerate the chili peppers, store them in the crisper drawer. Most modern refrigerators allow you to adjust the humidity level in the crisper drawer. For maximum freshness, set the humidity control to high or use a dedicated vegetable drawer if available.
5. Keep Them Dry: Moisture can lead to the growth of mold or bacteria. Always ensure that the chili peppers are completely dry before storing them. Pat them dry with a kitchen towel or paper towel after washing.
6. Avoid Overcrowding: Proper air circulation is crucial for maintaining the freshness of chili peppers. Do not overcrowd them when storing in the refrigerator or any storage containers. Leave some space around each pepper to allow for airflow.
7. Check Regularly: Periodically check your chili peppers for any signs of spoilage. Remove any peppers that have become moldy or soft to prevent the spread of decay to other peppers.
8. Consider Freezing or Drying: If you have an abundance of chili peppers or want to extend their shelf life further, consider freezing or drying them. Both methods effectively preserve the peppers and allow you to enjoy their heat and flavor for an extended period. Refer to the respective sections in this article for detailed instructions on freezing and drying chili peppers.
9. Label and Date: When storing chili peppers in jars, bags, or containers, always label them with the date of storage. This will help you keep track of their freshness and determine when to use them.
By following these tips, you can significantly extend the shelf life of fresh chili peppers and enjoy their fiery taste even longer. Proper storage practices ensure that you make the most of these versatile ingredients, allowing you to enhance your favorite dishes with their heat and unique flavors.
(Words: 439)
Conclusion
Storing fresh chili peppers properly is key to preserving their vibrant flavors, intense heat, and nutritional value. Whether you choose to refrigerate, freeze, dry, or preserve them in oil or vinegar, each method offers its own benefits for extending the shelf life of these spicy ingredients.
Refrigeration is a convenient option for short-term storage, allowing you to enjoy fresh chili peppers for up to two weeks while maintaining their quality. Freezing is ideal for long-term storage, preserving the peppers for several months without compromising their flavor. Drying chili peppers intensifies their taste and allows for a longer shelf life of several months.
Preserving chili peppers in oil or vinegar adds a delightful twist to your culinary creations. The oil-infused peppers add a fiery kick to various dishes, while the vinegar-infused peppers offer a tangy and zesty flavor. Proper sterilization and refrigeration are essential when using these preservation methods to ensure the peppers stay fresh and safe to consume.
To extend the shelf life of fresh chili peppers, remember to handle them with care, choose the freshest peppers available, and store them in a cool place with proper airflow. Regularly check for any signs of spoilage and consider freezing or drying extra peppers for extended storage.
By utilizing these storage techniques, you can enjoy the intense heat and distinct flavors of fresh chili peppers throughout the year. Experiment with different varieties and preservation methods to create exciting dishes that pack a spicy punch.
So go ahead, stock up on fresh chili peppers, and store them properly to keep the heat alive in your culinary endeavors. From salsas to sauces, soups to stir-fries, these fiery and versatile peppers will add a delightful kick to your favorite recipes. With the right storage methods, you can savor the essence of chili peppers for an extended period, enhancing your cooking and elevating your taste buds.
(Words: 326)
Frequently Asked Questions about How To Store Fresh Chili Peppers
Was this page helpful?
At Storables.com, we guarantee accurate and reliable information. Our content, validated by Expert Board Contributors, is crafted following stringent Editorial Policies. We're committed to providing you with well-researched, expert-backed insights for all your informational needs.

0 thoughts on “How To Store Fresh Chili Peppers”