
Articles
How To Store Chili
Modified: October 21, 2024
Learn the best ways to store chili in this comprehensive guide. Find articles and tips on storing your chili to maintain its freshness and flavor.
(Many of the links in this article redirect to a specific reviewed product. Your purchase of these products through affiliate links helps to generate commission for Storables.com, at no extra cost. Learn more)
Introduction
Chili peppers are known for their fiery heat and robust flavor, making them a popular ingredient in various cuisines around the world. Whether you prefer mild, medium, or blazing hot chilies, it’s essential to know how to store them properly to maintain their flavor and freshness.
In this article, we will explore the different methods of storing chili peppers, from drying and freezing them to pickling and canning. By following these techniques, you can enjoy the vibrant taste of chili peppers all year round.
So, let’s dive in and learn how to store chili peppers effectively!
Key Takeaways:
- Preserve the Heat: Whether drying, freezing, or pickling, storing chili peppers ensures year-round access to their fiery flavor. Choose the right method to keep your dishes spicy and vibrant.
- Versatile Storage: From chili powder to canned chili, explore various methods to store and preserve chili peppers. Enjoy the convenience and flavor of chili in every culinary creation.
Read more: How To Store Chili In Freezer
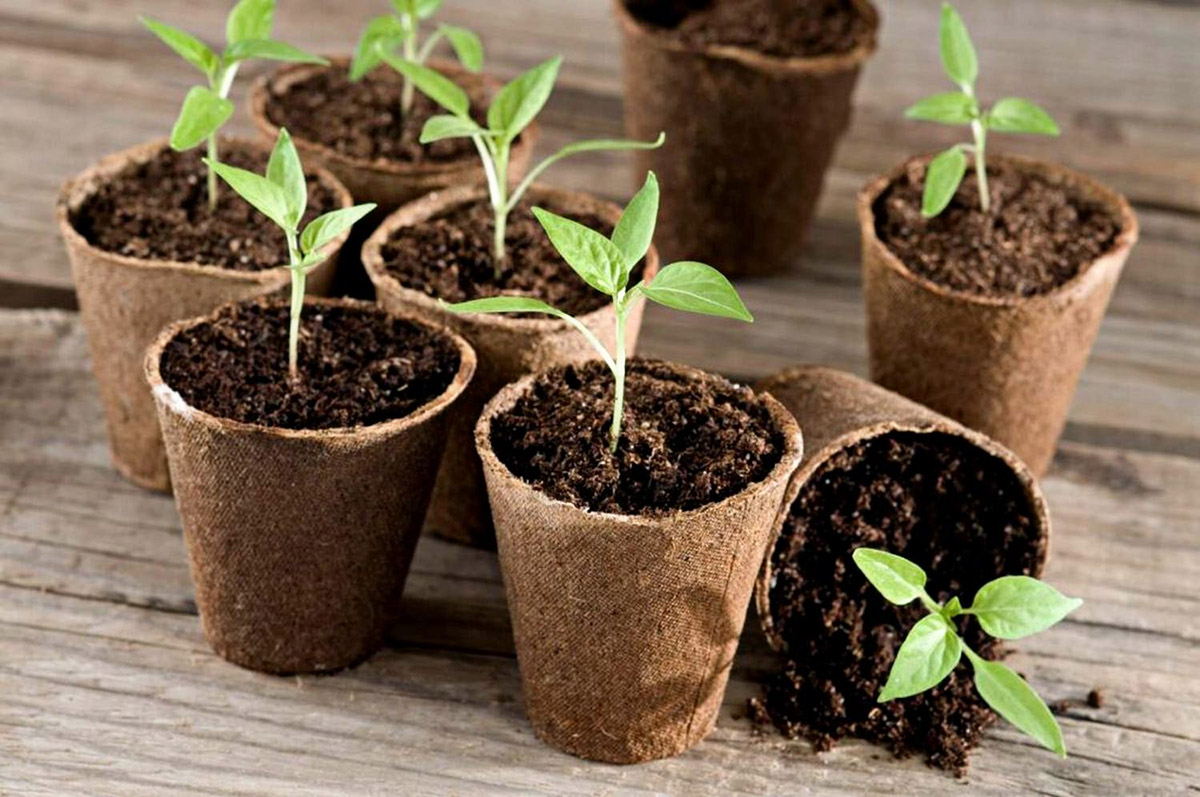
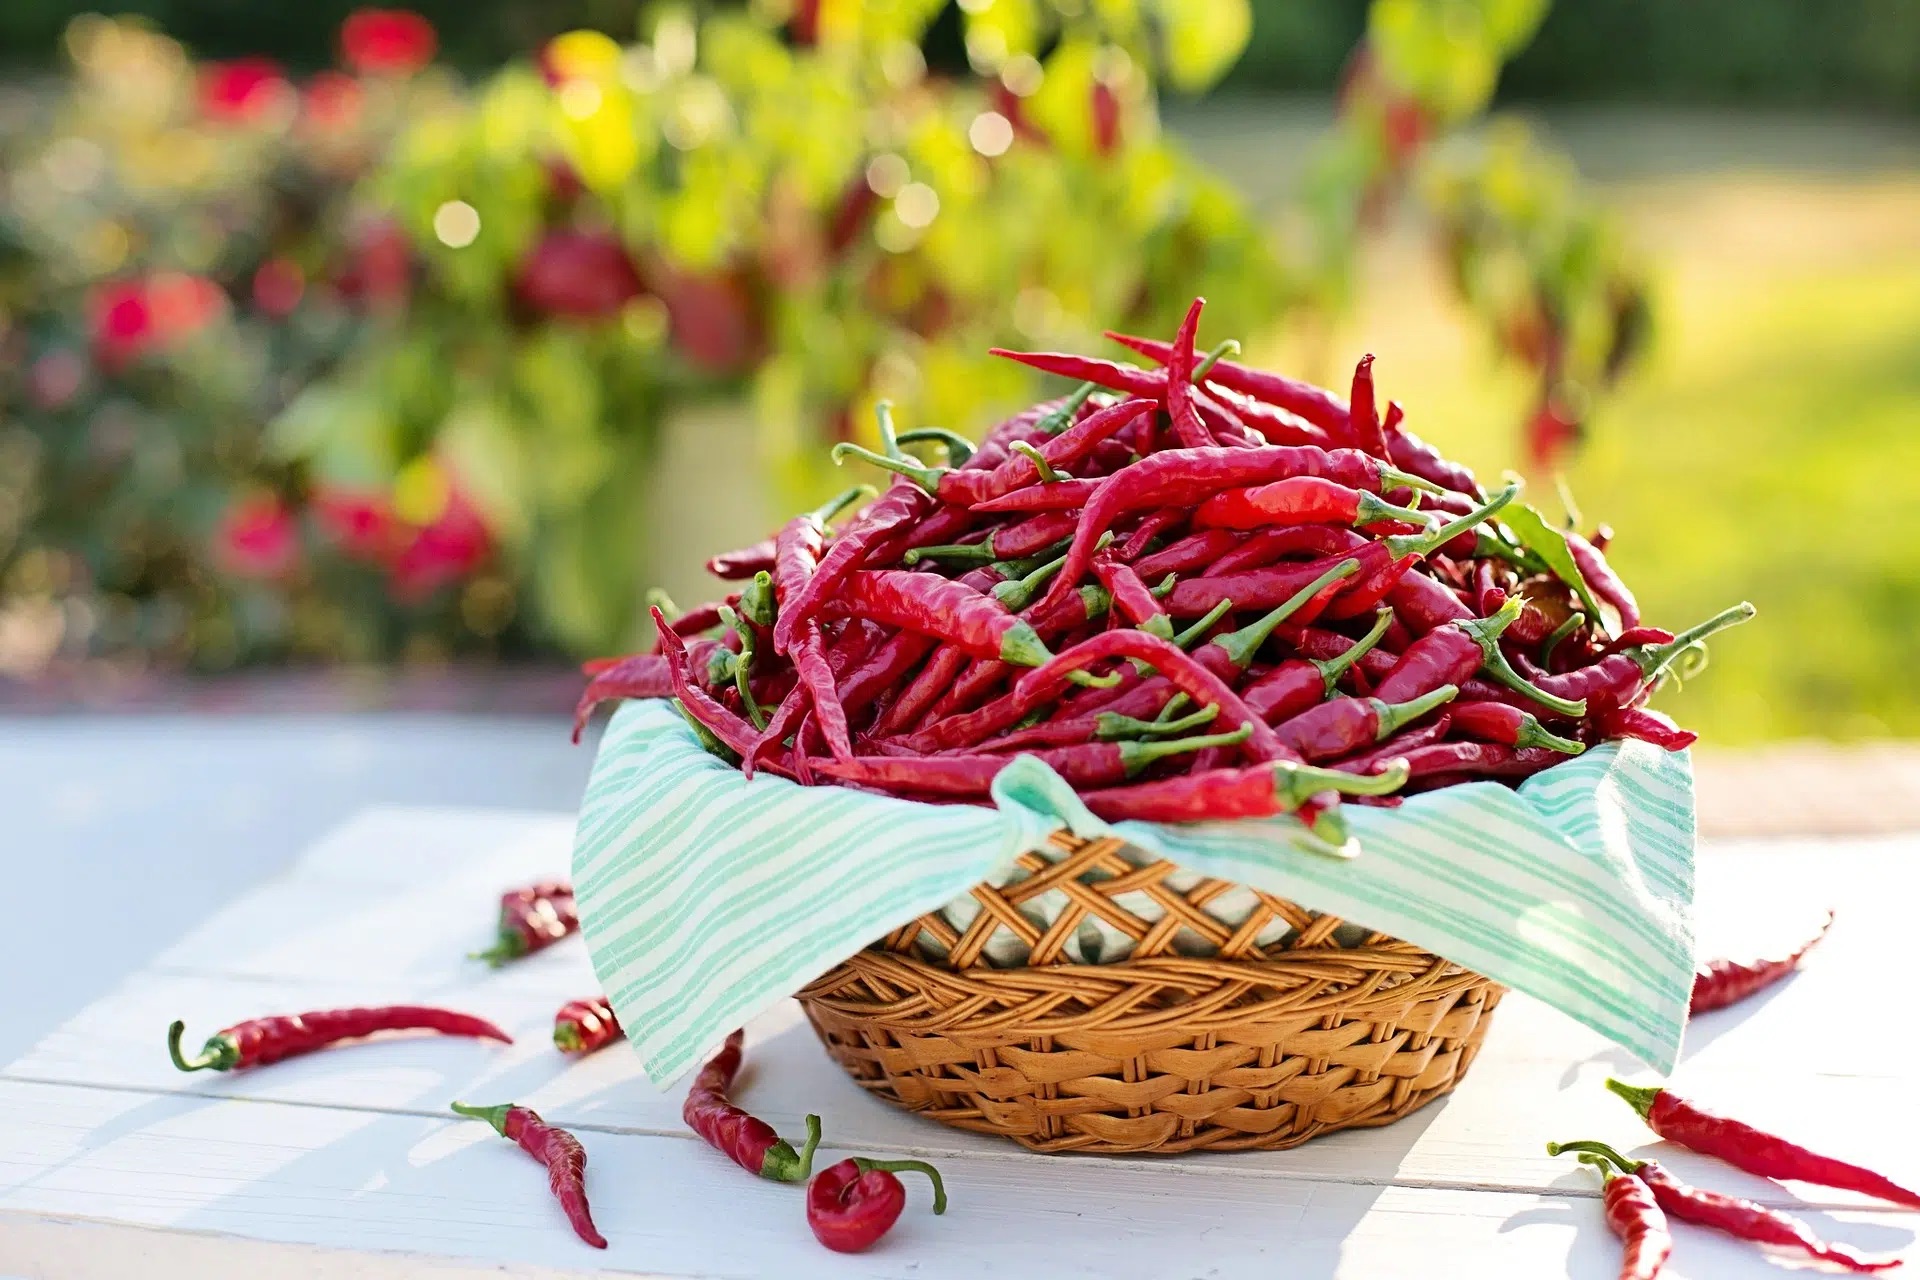
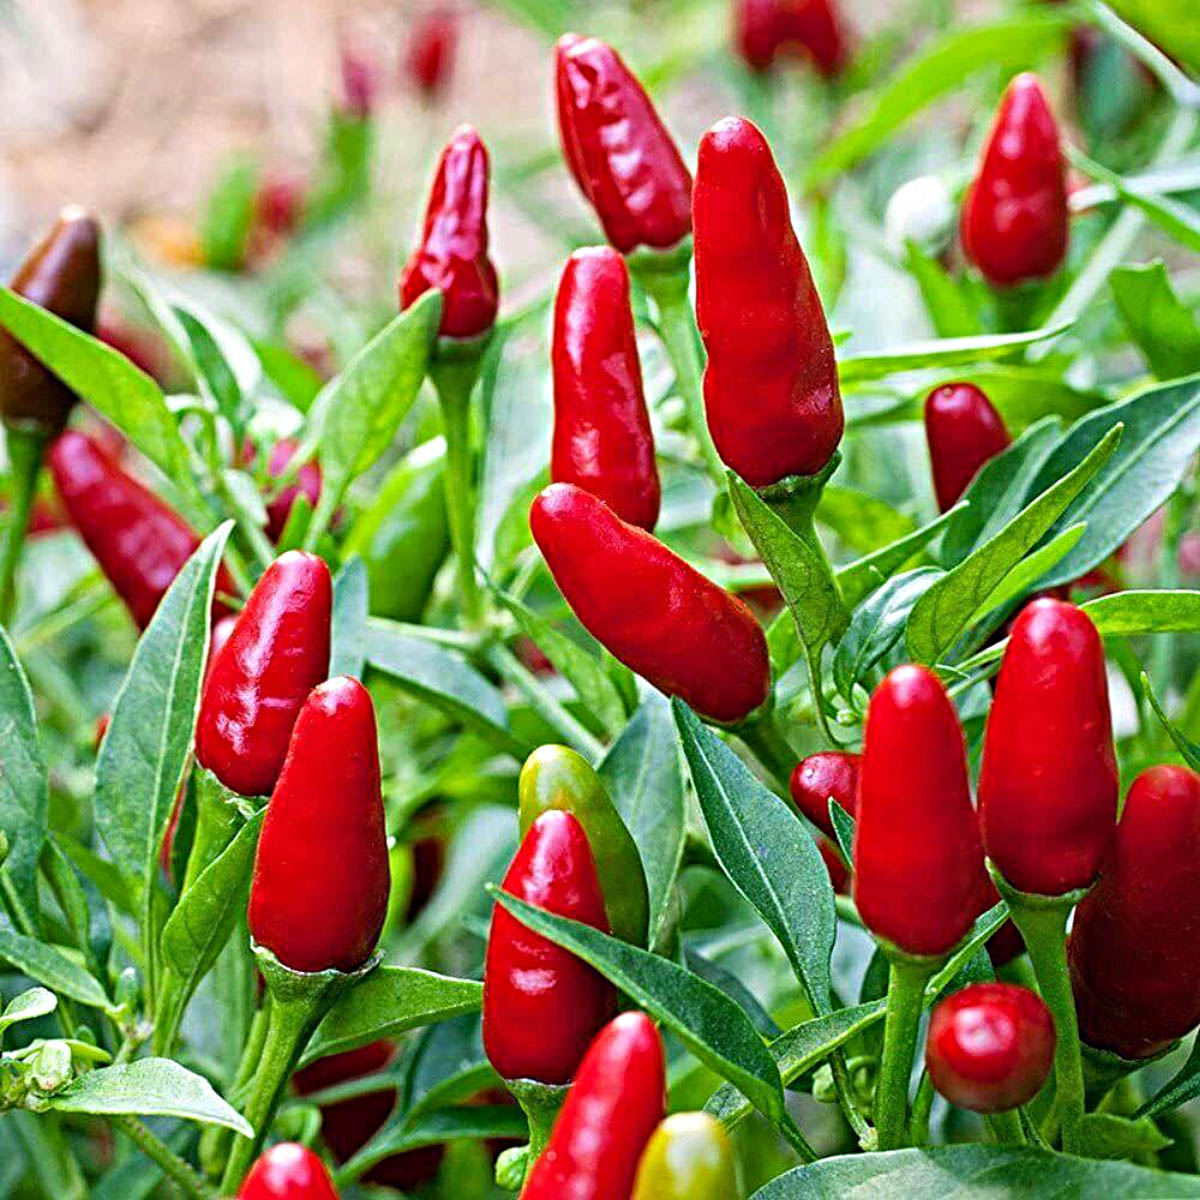
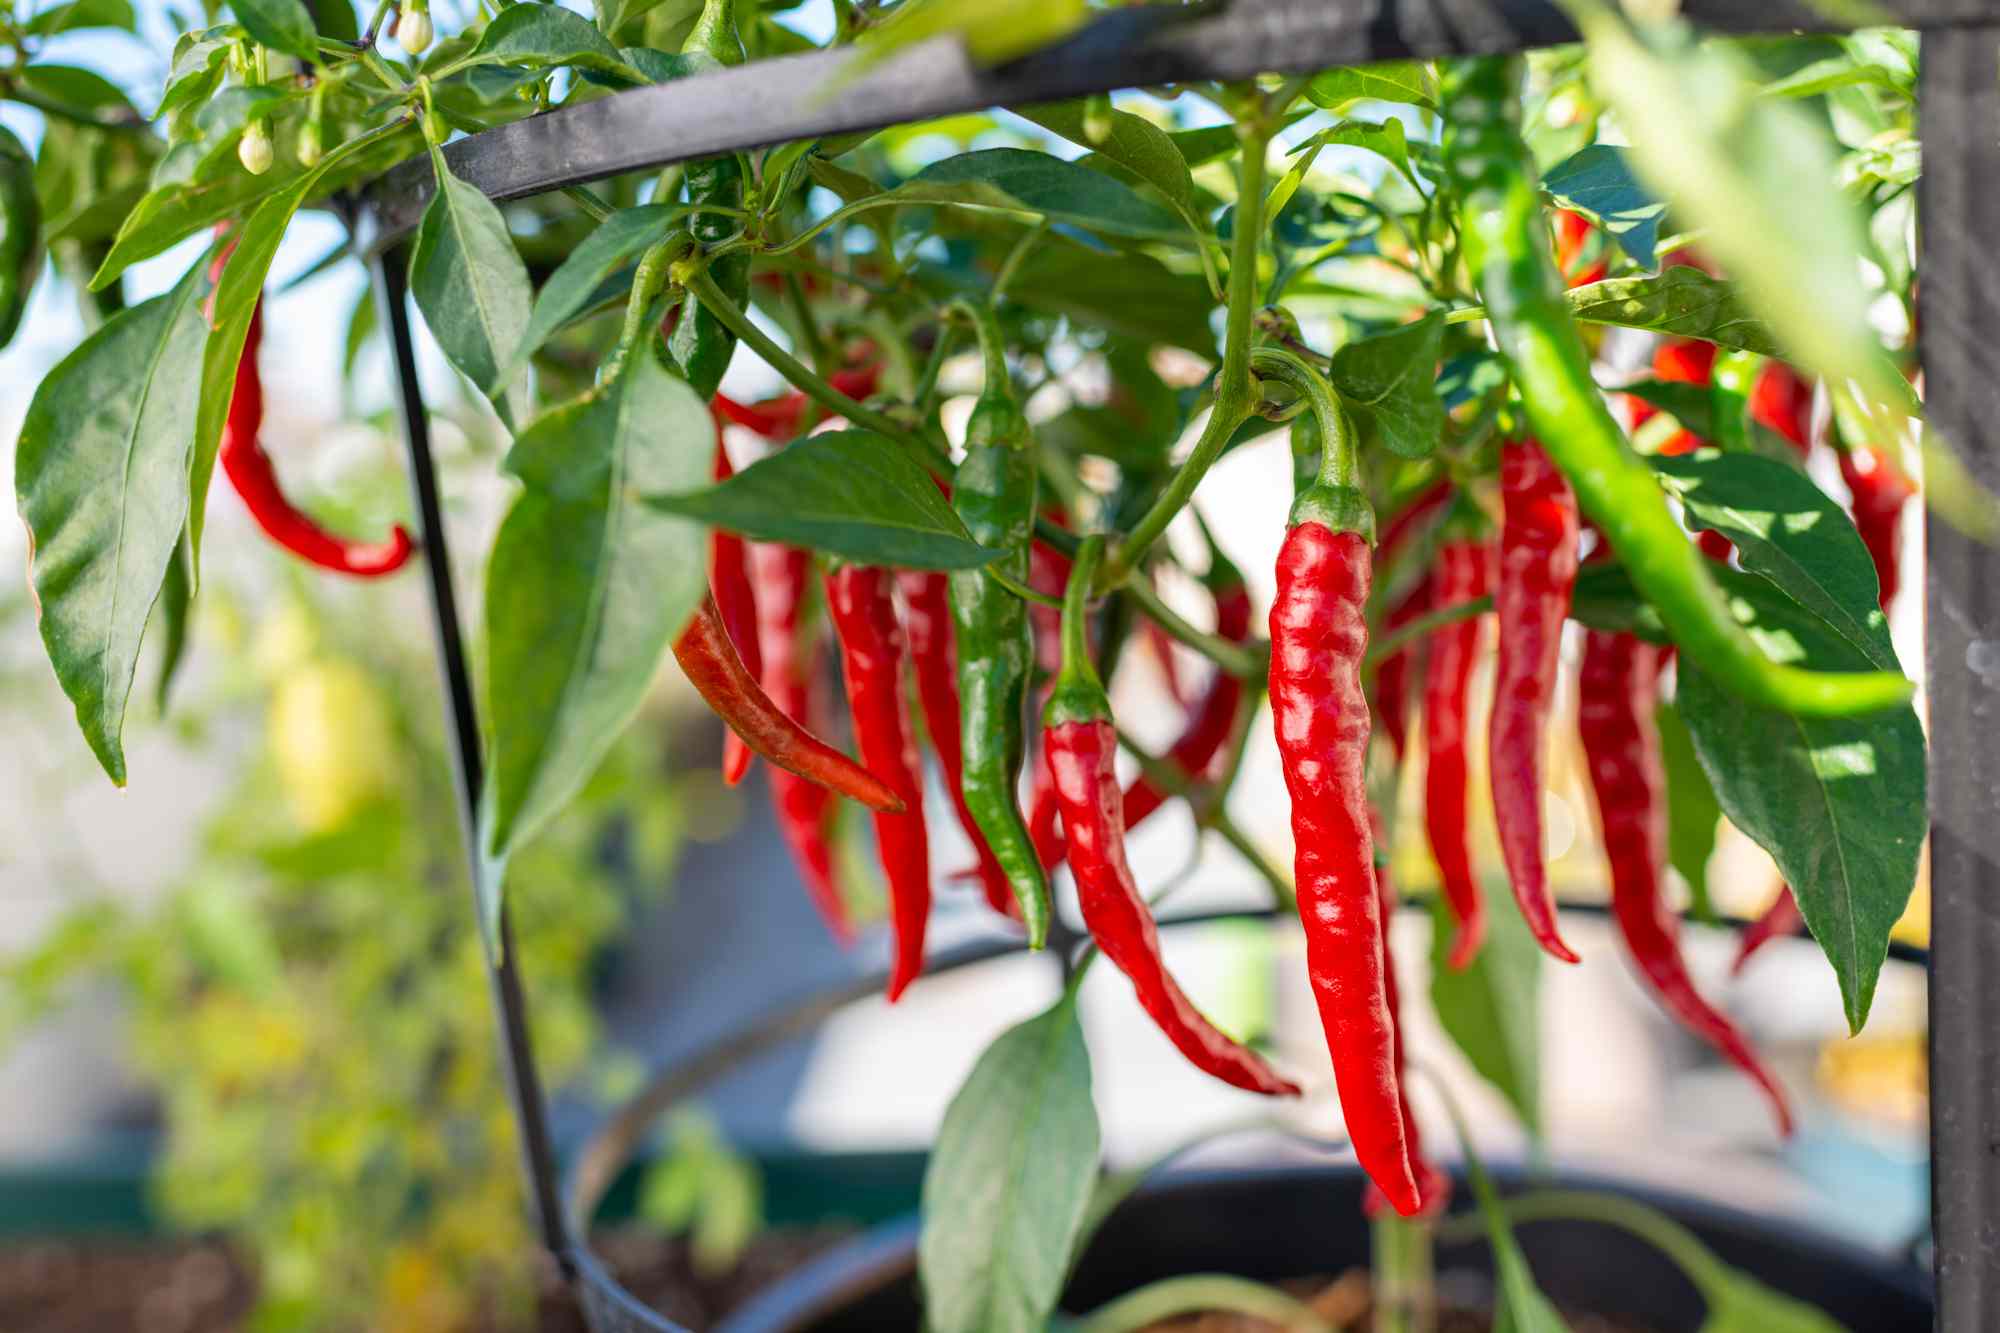
Choosing the Right Chili
When it comes to storing chili peppers, it’s crucial to start with the right variety. Different chili peppers have varying levels of heat and flavor profiles, so selecting the one that suits your taste preferences is essential.
There are numerous types of chili peppers available, ranging from mild to extra hot. Some popular varieties include jalapeno, serrano, habanero, cayenne, and Thai chili peppers. Consider the level of spice and flavor you desire in your dishes before choosing a chili pepper variety.
If you are new to cooking with chili peppers or prefer milder heat, opt for varieties like jalapeno or Anaheim peppers. They provide a mild to medium level of heat, making them versatile for various recipes. On the other hand, if you enjoy a fiery kick, go for hotter varieties like habanero or Thai chili peppers.
Additionally, consider the intended use of the chili peppers. For example, serrano peppers are great for adding heat and flavor to salsas and hot sauces, while cayenne peppers are commonly used for spicing up dishes like chili con carne.
When selecting fresh chili peppers, look for ones that are firm, unblemished, and vibrant in color. Avoid peppers with wrinkled skin or signs of rotting. Inspect them thoroughly to ensure they are free from mold, soft spots, or any other signs of spoilage.
Remember that the heat level of chili peppers is concentrated in the seeds and membranes inside. If you prefer a milder flavor, remove these parts before storing or using the peppers.
By choosing the right chili peppers, you set the foundation for storing them effectively and preserving their flavor for future use.
Preparing the Chilies for Storage
Before storing chili peppers, it’s important to properly prepare them to ensure their longevity and quality. Follow these steps to prepare chilies for storage:
- Wash the chilies: Start by rinsing the chili peppers under cold running water. Gently rub them to remove any dirt or debris. Avoid using soap or harsh chemicals, as they can affect the flavor of the peppers.
- Remove stems and seeds: Depending on your personal preference and the intended use of the chilies, you can either keep the stems intact or remove them. However, it’s recommended to remove the stems if you plan to use the peppers in powdered or paste form. To remove the stems, simply twist or cut them off. If you want to reduce the heat level, cut the peppers in half and gently scoop out the seeds and white membranes.
- Slice or dice the chilies (optional): If you prefer, you can slice or dice the chilies before storing them. This is especially useful if you plan to use them in specific recipes where pre-cut chilies are more convenient.
- Pat dry the chilies: After washing and preparing the chilies, gently pat them dry with a clean kitchen towel or paper towel. It’s important to remove excess moisture to prevent spoilage during storage.
Once you have prepared the chilies, you can proceed with the storage method that best suits your needs. In the following sections, we will explore different techniques for storing chili peppers, including drying, freezing, pickling, and more.
Remember that when working with chili peppers, it’s essential to wear gloves to protect your skin and avoid touching your face or eyes. The oils in chili peppers can cause irritation and a burning sensation if they come into contact with sensitive areas of the body.
Now that the chilies are properly prepared, let’s move on to the various methods of storing them for future use.
Drying Chilies
Drying chili peppers is a popular method of preserving them for long-term storage. The process of drying removes moisture from the peppers, allowing them to be stored for months without spoiling. Here’s how to dry chilies:
- Air drying: This is the simplest and most traditional method of drying chili peppers. Start by stringing the peppers together using a needle and thread or kitchen twine. Pierce through the stems of the peppers, leaving a sufficient gap between each pepper to ensure proper airflow. Hang the string of peppers in a cool, dry, and well-ventilated area. Avoid exposing them to direct sunlight, as it can cause the peppers to lose their vibrant color. Allow the peppers to air dry for a few weeks until they become dry and brittle.
- Oven drying: If you prefer a faster drying method, you can use your oven. Preheat the oven to its lowest temperature setting. Line a baking sheet with parchment paper or aluminum foil and arrange the chilies on it, making sure they are evenly spaced and not touching each other. Place the baking sheet in the oven and leave the door slightly ajar to allow moisture to escape. Dry the chilies in the oven for several hours, occasionally checking their progress. The drying time will depend on the size and thickness of the peppers. Once the chilies are completely dry and brittle, remove them from the oven and let them cool before storing.
- Dehydrator drying: If you have a food dehydrator, it can be an excellent tool for drying chili peppers. Follow the manufacturer’s instructions for temperature and drying time. Typically, set the dehydrator to a low temperature, around 135°F (57°C), and place the chilies on the trays, ensuring proper airflow. Allow the dehydrator to run for several hours or overnight until the chilies are dry and crisp. Once completely dry, let them cool before storing.
After drying the chilies, you can store them whole or grind them into chili flakes or powder, depending on your preference. To store the dried chili peppers, place them in airtight containers or resealable bags and store them in a cool, dry, and dark place. Properly dried and stored chilies can retain their flavor and heat for up to a year.
Dried chilies are a versatile ingredient that can be used in various dishes, including soups, stews, sauces, and marinades. Simply rehydrate them by soaking them in hot water for about 20 minutes before using, or grind them into a powder to add a punch of heat to your favorite recipes.
Now that you know how to dry chilies, let’s explore other methods of storing them for long-term use.
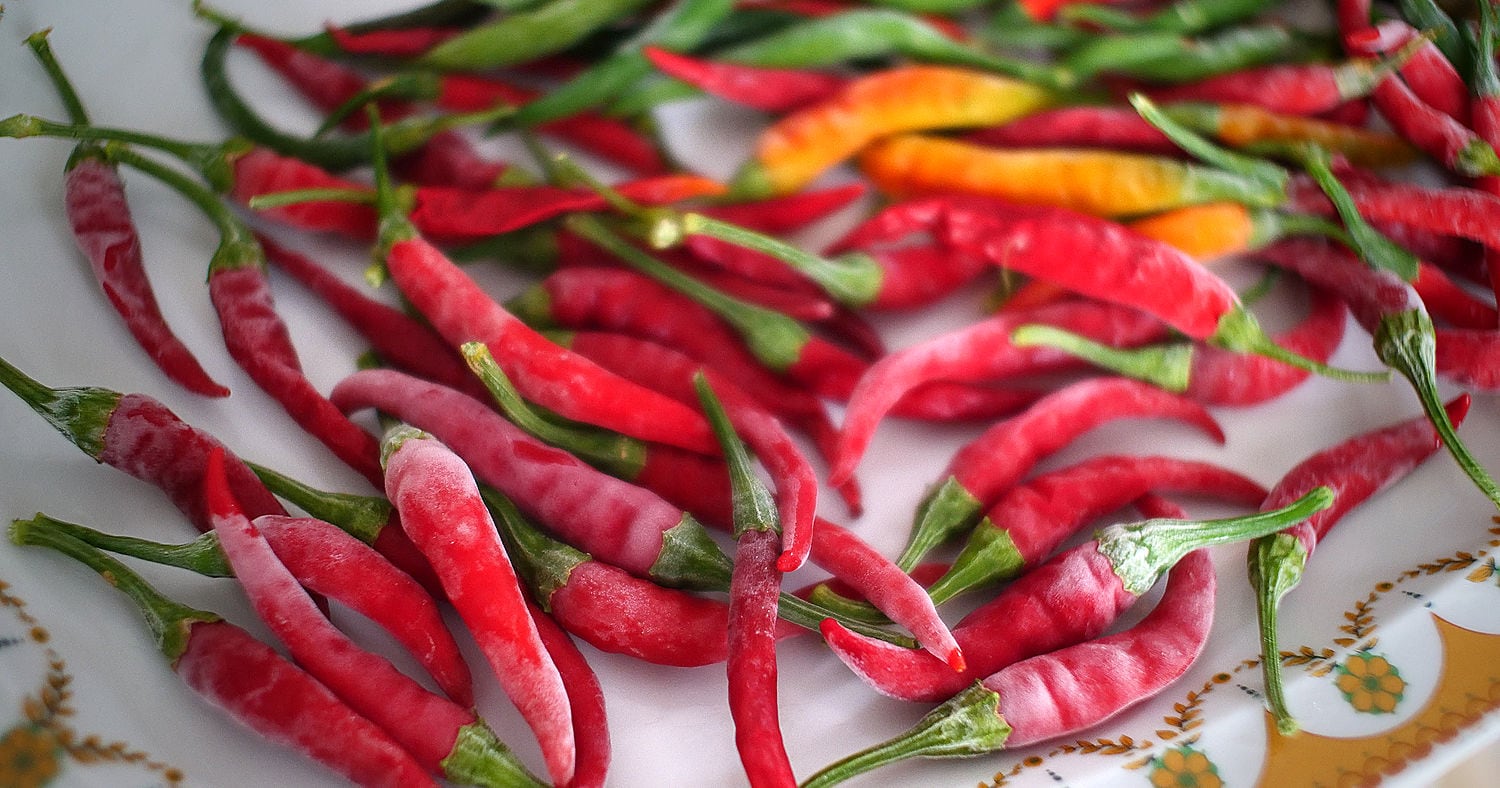
Freezing Chilies
Freezing chili peppers is a convenient and effective method of preserving their flavor and heat. Freezing allows you to store chilies for an extended period while maintaining their freshness. Here’s how to freeze chilies:
- Wash and dry the chilies: Start by washing the chilies under cold running water and patting them dry with a clean towel. Removing excess moisture will help prevent freezer burn.
- Choose the freezing method: There are a couple of options for freezing chilies:
- Whole chilies: If you prefer to use the chilies as a whole in your recipes, you can freeze them as they are. Simply place the dry chilies in a freezer bag or airtight container and seal tightly.
- Sliced or diced chilies: If you frequently use sliced or diced chilies in your cooking, it’s best to portion and freeze them accordingly. Slice or dice the chilies according to your preference and spread them out on a baking sheet lined with parchment paper. Place the baking sheet in the freezer for a couple of hours to flash freeze the chilies. Once frozen, transfer them to freezer bags or containers, making sure to remove any excess air before sealing.
- Label and date the containers: To keep track of the freezing date and avoid confusion, label the containers with the type of chilies and the date of freezing.
- Store in the freezer: Place the containers of chilies in the freezer, making sure they are arranged in a way that prevents crushing or damage. The ideal temperature for freezing chilies is 0°F (-18°C) or below.
When you are ready to use the frozen chilies, there is no need to thaw them beforehand. Simply remove the desired amount from the freezer and add them directly to your cooked dishes. Freezing preserves the flavor and heat of the chilies, so they can be used as a substitute for fresh ones in most recipes.
It’s important to note that freezing can change the texture of chilies, especially when they are thawed. Therefore, frozen chilies are best suited for recipes where they will be cooked, such as stews, sauces, and stir-fries. They may not retain their crispness if used in raw preparations like salads or garnishes.
By freezing chilies, you can enjoy their vibrant flavor and heat even when they are out of season. Now let’s explore another method of storing chilies: pickling.
Read more: How To Store Thai Chili Peppers
Pickling Chilies
Pickling chili peppers is a fantastic way to preserve their flavor while adding a tangy and acidic twist. Pickled chilies can be used as a condiment, added to sandwiches, tacos, or salads, or enjoyed straight from the jar. Here’s how to pickle chilies:
- Choose the type of pickle: There are two common methods for pickling chilies—fermented pickling and vinegar pickling. Fermented pickling involves natural fermentation processes, while vinegar pickling uses vinegar as the main preserving agent. Both methods offer unique flavors and textures, so choose the one that appeals to your taste.
- Prepare the brine or fermenting solution: For vinegar pickling, bring a mixture of vinegar, water, sugar, and salt to a boil until the sugar and salt dissolve. For fermented pickling, create a saltwater solution by dissolving salt in water. The ratio for the brine or fermenting solution may vary depending on the recipe, so be sure to follow the instructions carefully.
- Prepare the chilies: Wash the chilies and remove the stems. Depending on your preference, you can either leave them whole or slice them into rings or strips. Remember to wear gloves when handling chili peppers to avoid irritation or burning sensations on your skin.
- Add flavorings (optional): To enhance the flavor of the pickled chilies, you can add various flavorings such as garlic cloves, fresh herbs like dill or cilantro, spices like peppercorns or coriander seeds, or even slices of citrus fruits.
- Place the chilies in a sterilized jar: Pack the chilies tightly into a clean and sterilized glass jar. Ensure there is enough space at the top to pour in the brine or fermenting solution.
- Add the brine or fermenting solution: Pour the hot vinegar brine or saltwater solution into the jar, covering the chilies completely. Make sure there are no air bubbles trapped in the jar.
- Seal the jar and store: Place a lid tightly on the jar and let it cool to room temperature. For vinegar pickling, store the jar in the refrigerator for a few days to allow the flavors to develop. For fermented pickling, leave the jar at room temperature for several days, checking the progress and tasting occasionally. Once the desired level of fermentation is reached, transfer the jar to the refrigerator to slow down the fermentation process.
Pickled chilies can be stored in the refrigerator for several months and will continue to develop in flavor over time. The acidic nature of pickling helps to preserve the chilies and adds a delightful tanginess to them.
Now that you know how to pickle chilies, you can create your own delicious and tangy condiments to enhance your meals. Let’s move on to other methods of storing chili peppers.
Store chili in an airtight container in the refrigerator for up to 3-4 days. For longer storage, freeze in a freezer-safe container for up to 3 months. Label and date the containers for easy identification.
Storing Fresh Chilies
Keeping fresh chili peppers at their prime requires proper storage techniques that maintain their flavor and prevent spoilage. Here are some methods to store fresh chilies:
- Refrigerator storage: The refrigerator is an excellent place to store fresh chili peppers, especially if you plan to use them within a week. Place the unwashed chilies in a perforated plastic bag or airtight container to maintain moisture while allowing some airflow. Store them in the vegetable crisper drawer, where the temperature is slightly higher and humidity can be controlled. Avoid placing them near fruits such as apples, as they can emit ethylene gas that can cause the chilies to spoil more quickly.
- Blanch and freeze: If you have an abundance of fresh chilies, blanching and freezing them can be a suitable storage option. Start by washing and drying the chilies. Remove stems and seeds if desired. Blanch the chilies by briefly dipping them in boiling water for a few seconds, then transferring them to an ice bath to stop the cooking process. Pat them dry and place them in freezer-safe bags or containers before freezing. This method is ideal for dishes that will be cooked, as the texture of the chilies may change after freezing.
It’s important to note that fresh chilies have a limited shelf life, and their quality will slowly deteriorate over time, even with proper storage. It’s best to use them as quickly as possible for the best flavor and heat. If you notice any signs of mold, soft spots, or a strange odor, discard the chilies immediately.
In addition to these storage methods, you can also consider preserving fresh chili peppers by turning them into chili powder or chili paste. Let’s explore these options next.
Storing Chili Powder
Chili powder is a versatile spice that adds a kick of heat to various dishes. If you have a surplus of chili peppers or want to create your own custom blend, making and storing chili powder is a great option. Here’s how to store chili powder:
- Drying the chili peppers: Before making chili powder, you need to dry the chili peppers thoroughly. Follow the drying methods mentioned earlier, such as air drying, oven drying, or using a food dehydrator. Once the chilies are completely dry and brittle, you can proceed with making the chili powder.
- Grinding the chili peppers: Break the dried chili peppers into smaller pieces and remove the stems and seeds. You can use a mortar and pestle, coffee grinder, or spice grinder to grind the peppers into a fine powder. Make sure to wear gloves and work in a well-ventilated area to avoid inhaling the chili dust.
- Storing the chili powder: Transfer the freshly ground chili powder into an airtight container or a spice jar with a tight-fitting lid. It’s best to store the chili powder in a cool, dry, and dark place away from direct sunlight and moisture. This will help preserve its flavor and potency for an extended period.
- Label the container: To avoid confusion, label the container with the date of preparation and the type of chili peppers used. This will make it easier to keep track of the freshness of the chili powder.
Properly stored chili powder can last for several months to a year. However, over time, its flavor and heat may gradually diminish. It’s a good practice to periodically check the aroma and taste of the chili powder and replace it as needed to ensure the best flavor in your recipes.
Now that you know how to store chili powder, you can enjoy the convenience of having this versatile spice readily available in your kitchen. Let’s move on to another popular way of storing chili – as chili paste.
Storing Chili Paste
Chili paste is a concentrated and flavorful ingredient that can add a punch of heat to your dishes. Whether you buy it pre-made or make your own, proper storage is essential to maintain its freshness and flavor. Here’s how to store chili paste:
- Choose the right container: To store chili paste, it’s important to use an airtight container that can prevent air and moisture from entering. Opt for glass jars with tight-sealing lids, as they are less likely to absorb the flavors and odors of the chili paste.
- Fill the jar: Transfer the chili paste into the clean and sterilized jar, leaving a small amount of space at the top. This space allows for expansion if you plan to freeze the chili paste or add a layer of oil on top to further protect it from air contact.
- Add a layer of oil (optional): For added preservation, you can pour a thin layer of oil, such as vegetable or olive oil, on top of the chili paste. The oil acts as a barrier, preventing air from coming into contact with the paste. Make sure the paste is completely submerged in the oil to prevent spoilage.
- Seal and store: Place the lid securely on the jar and store it in the refrigerator or freezer, depending on your preference and the expected shelf life. In the refrigerator, chili paste can typically last for about 2 to 3 weeks. If you choose to freeze it, the shelf life can extend to several months.
- Label the jar: To keep track of the storage date and the type of chili paste, label the jar with this information. This will help you monitor its freshness and avoid confusion with other condiments in your fridge or freezer.
When using chili paste from the refrigerator, make sure to scoop out the desired amount using a clean utensil to prevent cross-contamination. For frozen chili paste, you may need to thaw it in the refrigerator before use. Be mindful of the texture and consistency as freezing can sometimes alter the texture of the paste slightly.
Remember to always check the chili paste for any signs of spoilage, such as mold, off odors, or a change in color. If you notice any of these signs, it’s best to discard the paste to avoid any potential health risks.
Now that you know how to store chili paste, you can have this versatile ingredient ready to enhance the flavors of your dishes whenever you need it.
As we conclude, we have explored various methods of storing chili peppers, whether it’s drying, freezing, pickling, or transforming them into chili powder or chili paste. These techniques ensure that you can enjoy the vibrant flavors and heat of chili peppers in your culinary creations year-round.
Read more: How To Store Homemade Chili Oil
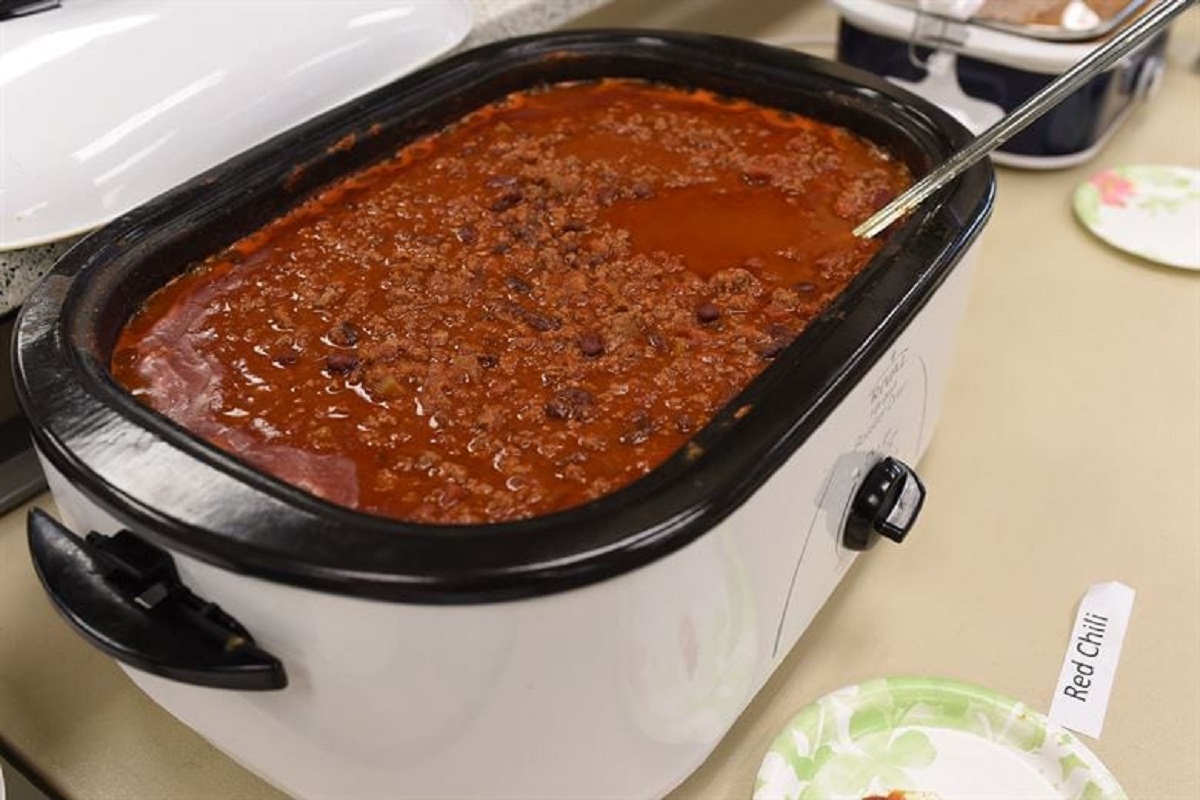
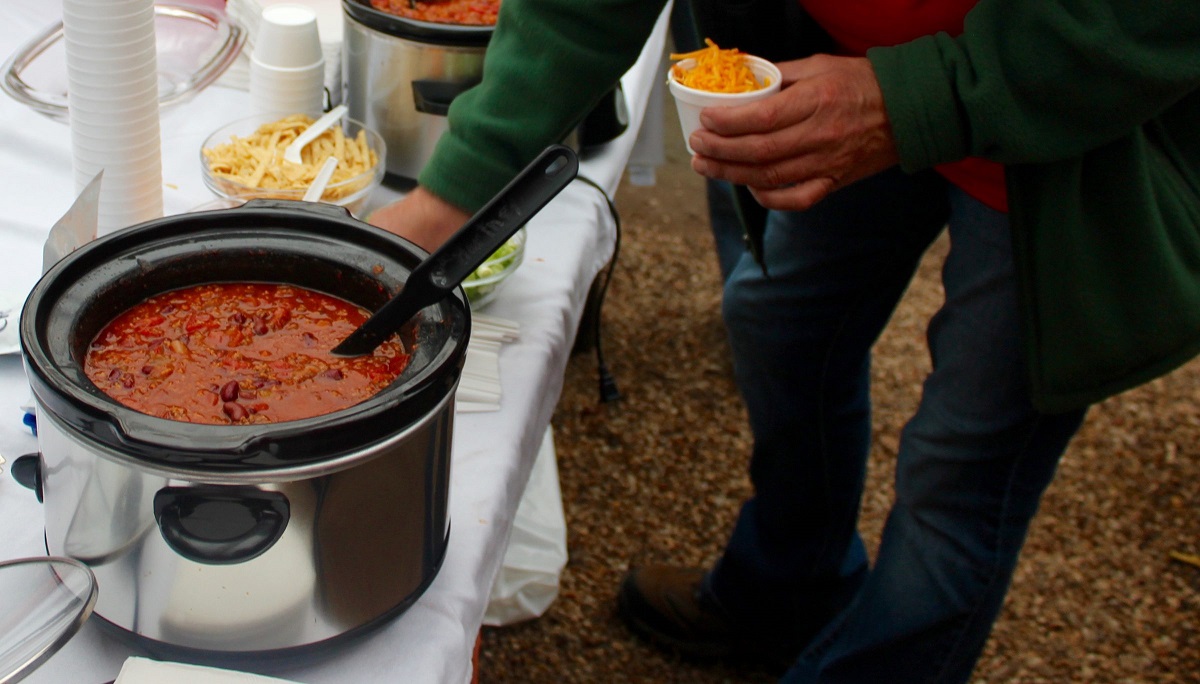
Storing Canned Chili
Canned chili is a convenient and ready-to-eat option that allows you to enjoy the flavors of a comforting bowl of chili with minimal effort. If you have leftover canned chili or want to store it for future use, proper storage is crucial to maintain its quality. Here’s how to store canned chili:
- Check the expiration date: Before storing canned chili, check the expiration date printed on the can. If the chili has already passed its expiration date, it’s best to discard it to ensure food safety.
- Refrigerator storage: If you have opened a can of chili and have leftovers, transfer the remaining chili to an airtight container and store it in the refrigerator. Properly sealed and stored, canned chili can last for 3 to 4 days in the refrigerator. Be sure to label the container with the date to keep track of its freshness.
- Freezing canned chili: If you want to store canned chili for a longer period, freezing is a suitable option. Transfer the chili into a freezer-safe container or resealable plastic bag. Squeeze out as much air as possible before sealing the bag or container. Properly frozen, canned chili can last for up to 3 months without a significant loss in quality. Label the container with the date of freezing for future reference.
- Thawing and reheating: When you are ready to enjoy the canned chili, thaw it in the refrigerator overnight if it is frozen. Alternatively, you can heat it directly from the frozen state on the stovetop or in the microwave. Follow the manufacturer’s instructions for reheating or heat until the chili is hot and thoroughly heated through.
It’s important to note that once you have opened a can of chili, bacterial growth can occur if not stored properly. Always refrigerate any leftovers promptly and consume them within the recommended time frame to ensure food safety.
Remember to visually inspect the canned chili for any signs of spoilage before storing or consuming. If you notice any bulging, dents, leaks, or an off odor, it’s best to discard the can immediately to avoid any potential health risks.
By following these storage guidelines, you can enjoy the delicious flavors of canned chili whenever you desire a quick and satisfying meal.
As we wrap up, we have explored various methods of storing chili peppers, including drying, freezing, pickling, and even storing chili powder, chili paste, and canned chili. With these techniques, you can preserve the flavor and heat of chili peppers for future culinary adventures. Enjoy the versatility and spice that chili peppers bring to your dishes!
Conclusion
Storing chili peppers properly is essential to preserve their flavor, heat, and quality for future use. Whether you have an abundance of fresh chilies or want to store chili powder, chili paste, or canned chili, following the right storage methods will ensure that you can enjoy their vibrant taste throughout the year.
Choosing the right chili variety based on your heat preference and intended use is the first step in storing chili peppers effectively. Carefully washing, drying, and preparing the chilies before storage is crucial to prevent spoilage and maintain their freshness.
Drying chilies through methods like air drying, oven drying, or using a food dehydrator can extend their shelf life for several months. Freezing chilies is another popular option, allowing you to enjoy their flavor and heat for an extended period. Pickling chilies adds tanginess and a unique flavor profile, creating a delightful condiment for various dishes.
For those who prefer convenience, storing chili powder, chili paste, or canned chili offers versatility and ready-to-use options. Properly storing chili powder in airtight containers keeps it fresh for months, while chili paste benefits from being stored in sealed jars or containers, either in the refrigerator or freezer. Canned chili, when stored correctly, can be refrigerated or frozen for short-term or long-term storage.
Whatever method you choose, always prioritize food safety by checking for signs of spoilage and adhering to recommended storage times. Labeling containers with dates and contents helps keep track of freshness and avoids confusion.
Now armed with the knowledge of how to store chili peppers in various forms, you can elevate your culinary creations and enjoy the vibrant flavors and heat of chili peppers all year round.
So go ahead, stock up on your favorite chili peppers, experiment with different storage methods, and spice up your dishes with the intense and fiery flavor that only chili peppers can provide!
Frequently Asked Questions about How To Store Chili
Was this page helpful?
At Storables.com, we guarantee accurate and reliable information. Our content, validated by Expert Board Contributors, is crafted following stringent Editorial Policies. We're committed to providing you with well-researched, expert-backed insights for all your informational needs.


0 thoughts on “How To Store Chili”