Articles
How To Store Chocolate Molds
Modified: October 20, 2024
Discover helpful articles on how to store chocolate molds effectively. Learn the best techniques and tips for proper chocolate mold storage to maintain their quality and shape.
(Many of the links in this article redirect to a specific reviewed product. Your purchase of these products through affiliate links helps to generate commission for Storables.com, at no extra cost. Learn more)
Introduction
Chocolate molds are essential tools for creating beautiful and delectable chocolate treats. Whether you are a professional chocolatier or a hobbyist, it’s important to properly store your chocolate molds to ensure their longevity and to maintain the quality of your creations. In this article, we will discuss the importance of storing chocolate molds correctly, as well as provide you with some best practices to help you keep your molds in optimal condition.
Properly storing your chocolate molds is crucial for several reasons. Firstly, it helps prevent any damage or warping to the molds, which can affect the shape and detail of your chocolates. Additionally, proper storage prevents the accumulation of dust, dirt, or other contaminants on the molds, ensuring that your chocolates come out clean and free from any imperfections. Lastly, storing your molds correctly allows for easy access and organization, making your chocolate-making process more efficient and enjoyable.
Let’s delve into some best practices for storing chocolate molds:
Key Takeaways:
- Properly storing chocolate molds is crucial for preserving their shape, preventing contamination, and protecting against breakage. Follow best practices to maintain the quality and longevity of your molds.
- Organize, label, and store chocolate molds with fillings or decorations carefully to preserve their taste, appearance, and overall quality. Choose the right storage container and maintain proper temperature and humidity levels for optimal results.
Read more: How To Store Melted Chocolate
Importance of Properly Storing Chocolate Molds
Properly storing your chocolate molds is essential to maintaining their quality and prolonging their lifespan. Here are a few reasons why properly storing your chocolate molds is so important:
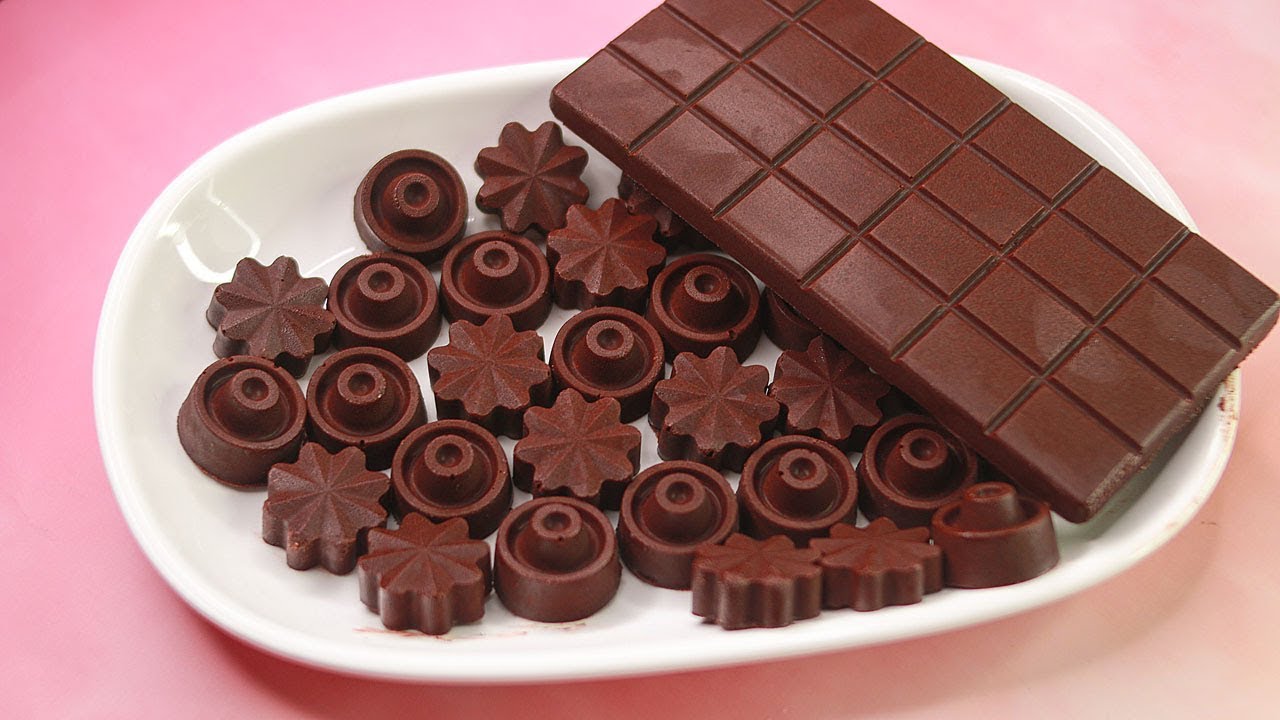
- Preserving Shape and Detail: Chocolate molds are designed to create intricate and precise shapes. Improper storage can lead to the molds becoming warped or damaged, resulting in distorted or imperfect chocolates. By storing your molds in a way that protects their shape, you can ensure that your chocolates come out looking their best.
- Preventing Contamination: Dust, dirt, and other contaminants can easily settle on exposed chocolate molds. This can lead to blemishes and imperfections on the surface of your chocolates. Storing your molds in an airtight container or packaging helps prevent dust and dirt from accumulating, ensuring that your chocolates are smooth and flawless.
- Protecting Against Moisture: Chocolate is sensitive to moisture. Exposure to high humidity levels can cause chocolate to become sticky or develop a dull appearance. Storing your chocolate molds in a dry environment, away from moisture sources such as steam or water, helps maintain the integrity and shine of your chocolates.
- Preventing Breakage: Chocolate molds are often made of delicate materials such as silicone or polycarbonate. Mishandling or storing them in a way that puts excessive pressure on the molds can lead to cracking or breakage. By storing your molds in a secure and cushioned manner, you can avoid damage and ensure their longevity.
Overall, properly storing your chocolate molds not only preserves their quality but also ensures consistent and professional results when creating chocolate treats. Investing time and effort into proper storage practices will pay off in the long run, allowing you to continue making beautiful and delicious chocolates for years to come.
Best Practices for Storing Chocolate Molds
When it comes to storing your chocolate molds, following a few best practices will help keep them in pristine condition and ready for your next chocolate-making adventure. Here are some tips:
- Clean and Dry Thoroughly: Before storing your chocolate molds, ensure they are clean and completely dry. Any residual chocolate or moisture can lead to mold growth or damage. Wash the molds with warm, soapy water and use a soft brush to remove any stubborn residue. Once cleaned, allow them to air dry completely before storing them.
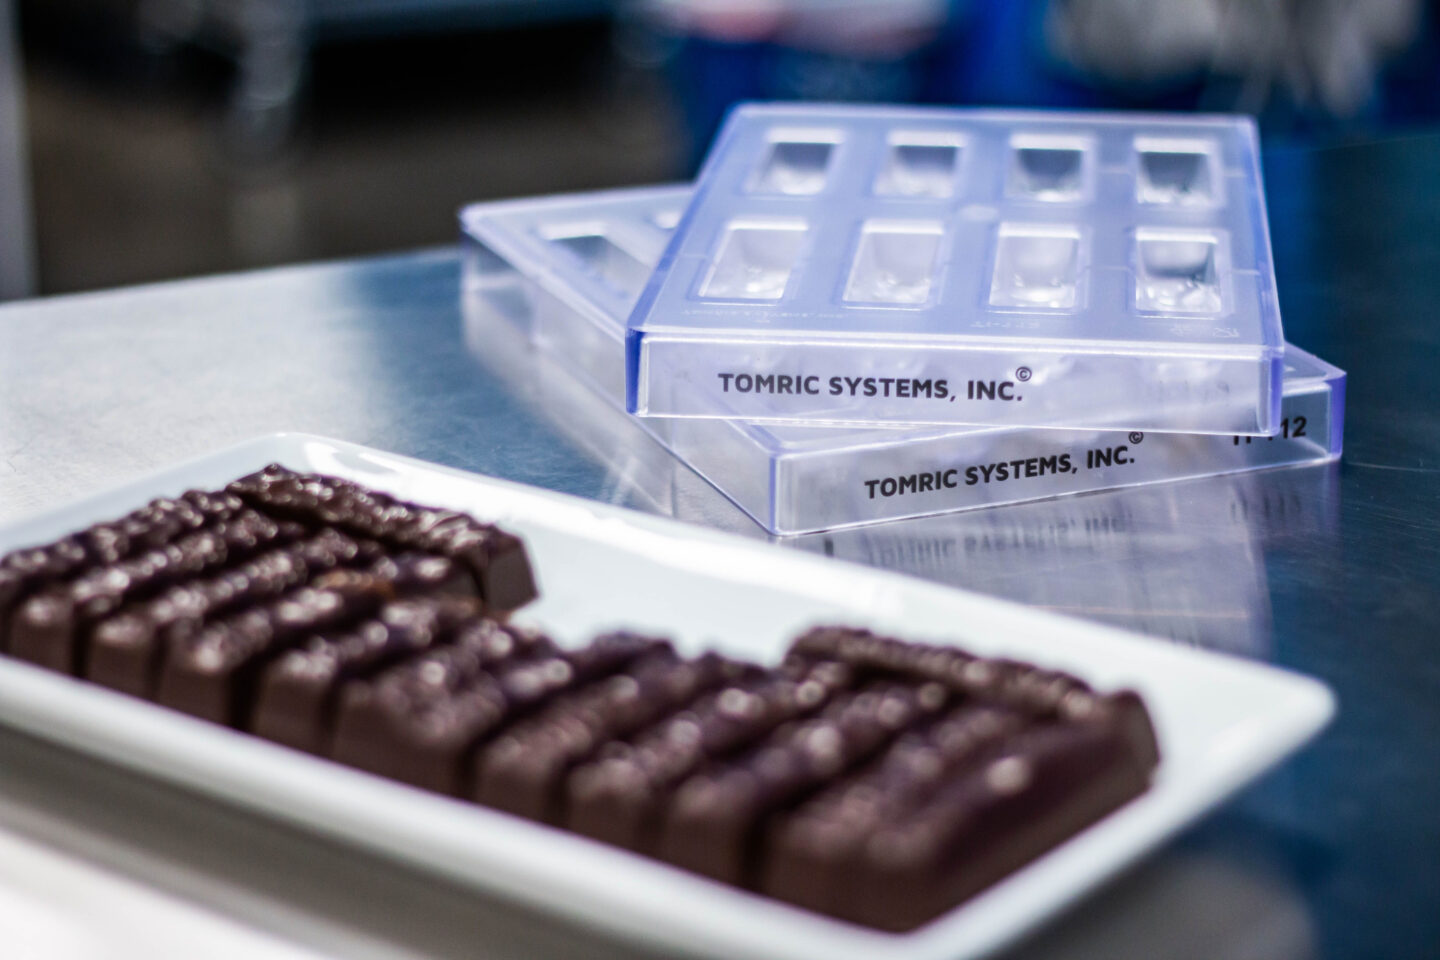
- Choose the Right Storage Container: Opt for a storage container that is specifically designed for chocolate molds. Look for a container that is sturdy, airtight, and has enough compartments to fit your molds without crowding them. Silicone or polycarbonate molds can be nested, while fragile materials like glass should be stored individually to prevent breakage.
- Maintain Proper Temperature and Humidity Levels: Chocolate molds should ideally be stored in a cool, dry place with a constant temperature between 60°F (15°C) and 68°F (20°C). High temperatures can cause the molds to warp, while excessive humidity can lead to moisture-related issues. Avoid storing them near heat sources or in areas prone to humidity, such as the kitchen sink or dishwasher.
- Protect Against Impact: Chocolate molds should be handled with care to prevent breakage. When storing them, place a soft padding, such as kitchen towels or foam sheets, between the molds to cushion them. This will safeguard against any accidental impact that could lead to cracks or damage.
- Organize and Label: Keep your chocolate molds organized by labeling them or using dividers in your storage container. This makes it easier to locate specific molds when you need them and helps prevent unnecessary handling or shuffling that can lead to damage. Consider categorizing them by shape, size, or occasion for convenient access.
- Avoid Direct Sunlight: Exposure to direct sunlight can cause the molds to heat up and potentially warp or discolor. Store your molds in a shaded area or in a storage container that provides UV protection. This will ensure that your molds remain in their original shape and color.
- Check Regularly: Periodically inspect your molds for any signs of damage, such as cracks or loose parts. Address any issues immediately or consider replacing damaged molds to maintain the quality of your chocolates.
By following these best practices, you can extend the lifespan of your chocolate molds and ensure that they are always in optimal condition for creating beautifully crafted chocolates.
Choosing the Right Storage Container
Choosing the right storage container for your chocolate molds is crucial in ensuring their protection and longevity. Here are some factors to consider when selecting a storage container:
- Size and Compartments: Look for a container that has enough compartments to fit your chocolate molds without overcrowding them. Crowded molds can lead to warping or damage. Consider the size and shape of your molds and choose a container that provides ample space for each mold.
- Material: Opt for a storage container made of sturdy and durable materials. Although plastic containers are common, they may not provide adequate protection for fragile molds. Consider using containers made of silicone, which are flexible yet sturdy, to prevent breakage. Alternatively, choose a container made of polycarbonate for added durability.
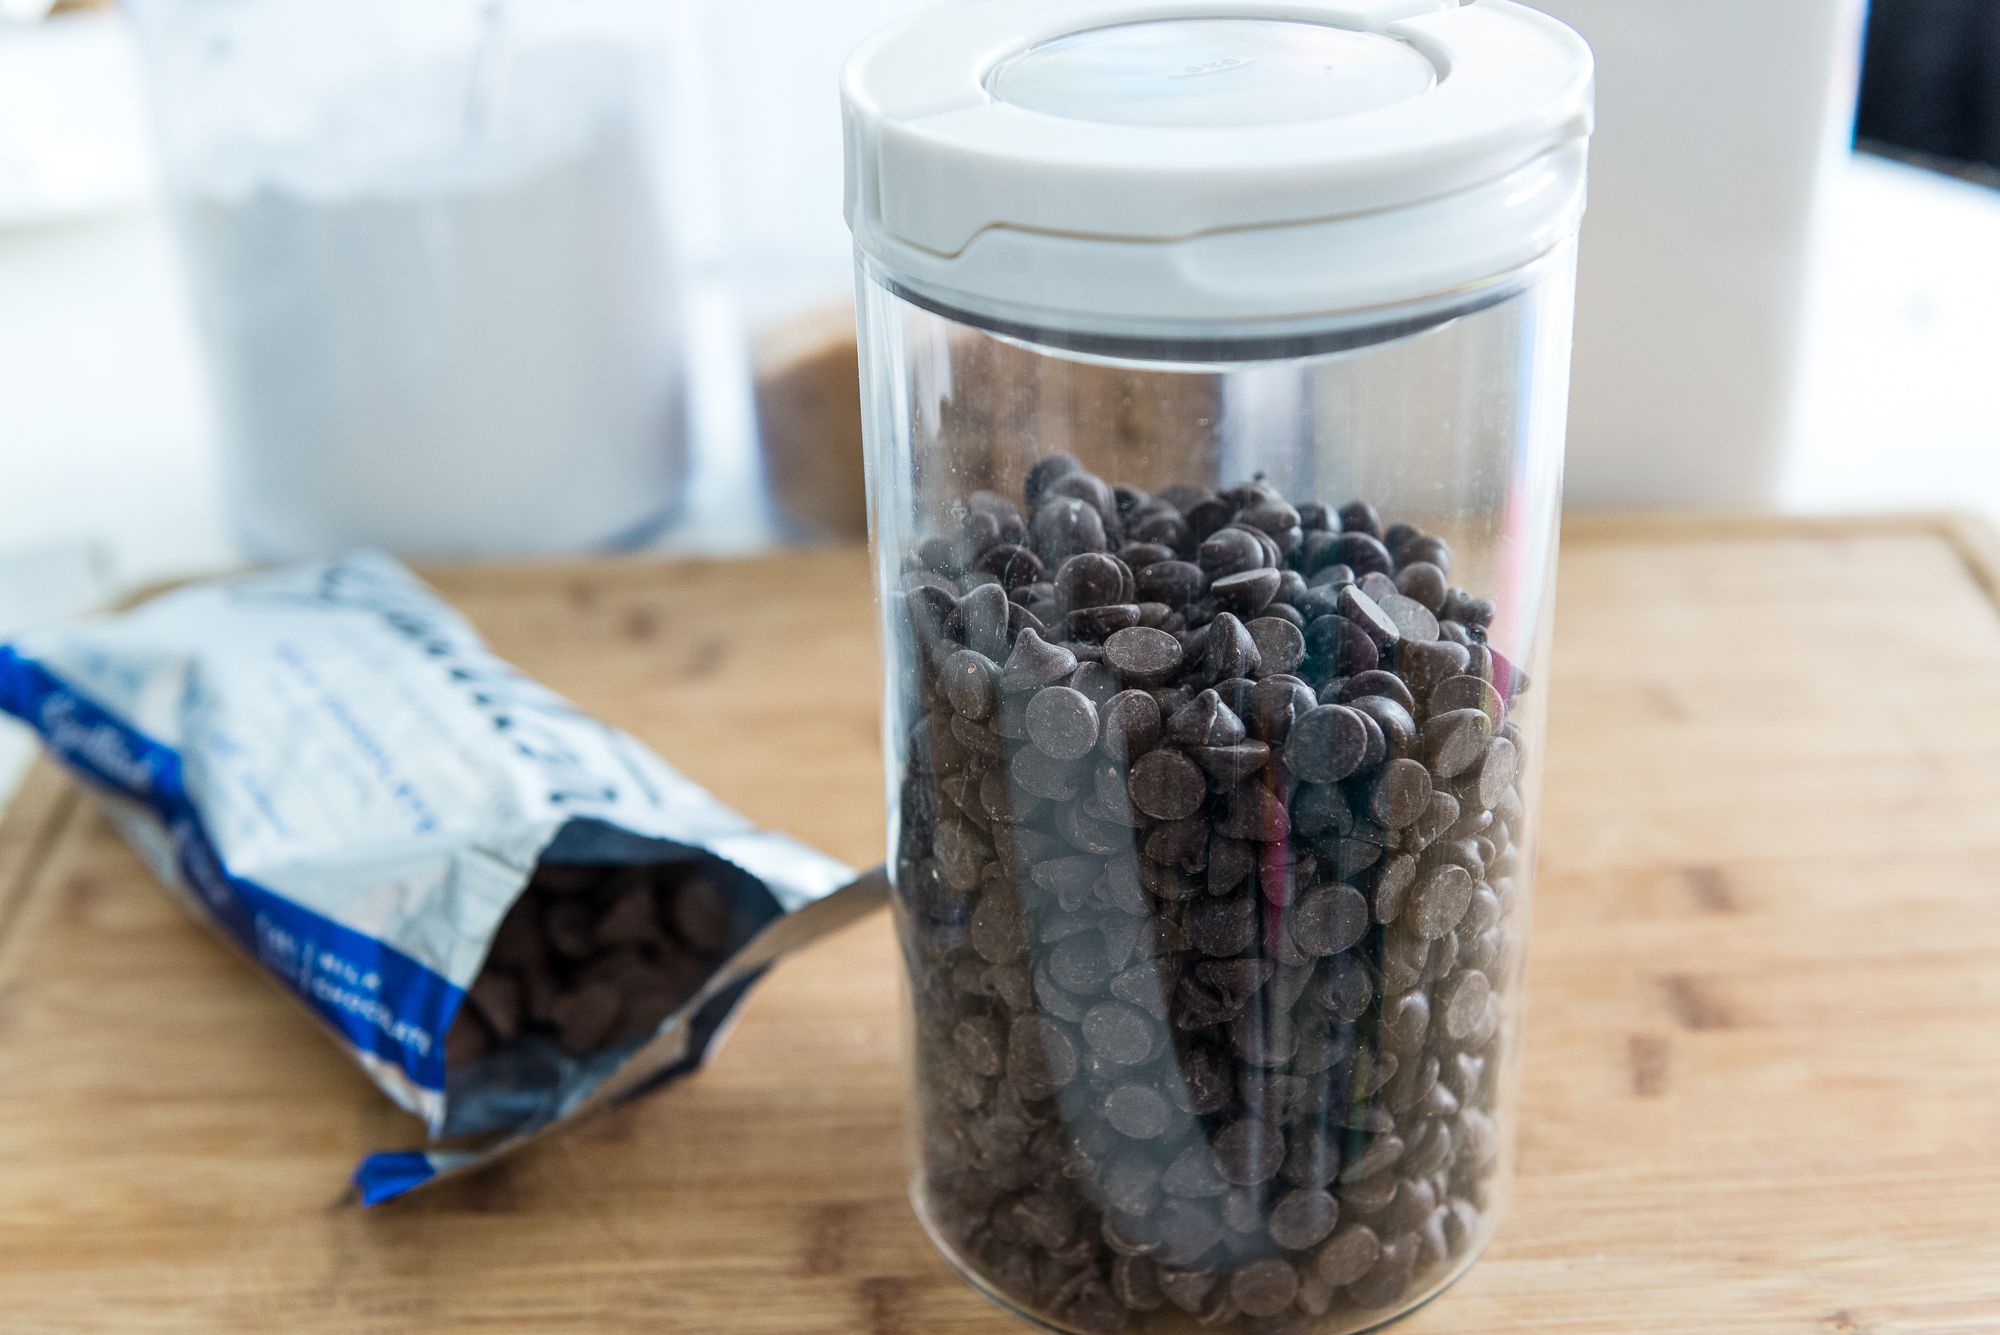
- Airtightness: To protect your molds from dust, dirt, and moisture, select a container that has a tight sealing mechanism. An airtight container prevents contaminants from entering and keeps your molds clean and ready for use. It also helps maintain a consistent environment inside the container, preventing the molds from warping due to changes in humidity.
- Stackability: If you have a large collection of chocolate molds, consider a storage container that allows for easy stacking. This saves space and makes it convenient to store multiple containers without taking up too much room. Ensure that the container is designed to stack securely to avoid any accidents or mold damage.
- Transparency: Opt for a storage container that offers transparency, such as clear plastic or glass. Being able to see the molds without opening the container allows for easier identification and selection of specific molds. This helps prevent unnecessary handling and potential damage to other molds.
- Portability: If you frequently transport your molds or attend chocolate-making workshops or events, consider a storage container that is portable and travel-friendly. Look for containers with secure handles and latches to ensure that your molds stay protected during transportation.
Remember, the ideal storage container for your chocolate molds may vary depending on the size and quantity of your molds, as well as your personal preferences. Consider these factors and choose a container that provides adequate protection, organization, and convenience for your molds.
Maintaining Proper Temperature and Humidity Levels
Maintaining proper temperature and humidity levels is crucial when it comes to storing your chocolate molds. Temperature and humidity can greatly impact the quality and lifespan of your molds. Here are some tips to help you maintain the ideal conditions for storing your chocolate molds:
- Temperature: Chocolate molds should be stored in a cool environment with a temperature between 60°F (15°C) and 68°F (20°C). High temperatures can cause the molds to warp or lose their shape. Avoid storing them near heat sources such as ovens, stoves, or direct sunlight. A pantry or a cool room in your house is an ideal location for storing your molds.
- Humidity: Excessive humidity can negatively affect chocolate molds and the quality of your chocolates. High humidity can cause the molds to absorb moisture, resulting in sticky or dull chocolates. It can also lead to mold growth or bloom on the surface of your chocolate. Avoid storing your molds in areas with high humidity, such as the kitchen sink or dishwasher. Instead, choose a dry storage area away from moisture sources.
- Use Silica Gel Packs: To maintain optimal humidity levels within your storage container, consider using silica gel packs. Silica gel is a desiccant that absorbs moisture from the surrounding environment. Place a few silica gel packs in your container to help prevent moisture buildup. Make sure to replace the packs regularly or when they lose their moisture-absorbing properties.
- Avoid Drastic Temperature Changes: Rapid temperature changes can cause condensation to form on the surface of the molds, leading to moisture-related issues. When removing your molds from storage, allow them to come to room temperature gradually before using them. This will help prevent moisture from accumulating on the molds.
- Dehumidifier: If you live in an area with consistently high humidity, consider using a dehumidifier in the room where you store your chocolate molds. A dehumidifier helps regulate the moisture levels in the air, creating a more suitable environment for storing your molds. This can help prevent the molds from becoming sticky or developing a dull appearance.
- Monitor the Environment: Regularly check the temperature and humidity levels in the storage area using a hygrometer or a digital thermometer. This will allow you to ensure that the conditions remain within the recommended range. If necessary, make adjustments to the storage area to maintain the ideal temperature and humidity levels.
Maintaining the proper temperature and humidity levels is essential for preserving the quality and integrity of your chocolate molds. By following these guidelines, you can ensure that your molds remain in optimal condition and produce stunning chocolates every time you use them.
Store chocolate molds in a cool, dry place away from direct sunlight and strong odors. Avoid storing them near heat sources or in humid environments to prevent the chocolate from melting or becoming discolored.
Read more: How To Store Chocolate Candy
Tips for Cleaning and Drying Chocolate Molds
Cleaning and drying chocolate molds properly is crucial to ensure their longevity and prevent any residue or contaminants from affecting the quality of your chocolates. Here are some tips to help you effectively clean and dry your chocolate molds:
- Hand Washing: It is recommended to wash your chocolate molds by hand rather than using a dishwasher. Gently wash the molds with warm water and mild dish soap. Avoid using harsh cleaning agents or abrasive sponges, as they can damage the mold’s surface.
- Sanitize: If you are using your molds for the first time or after a long period of storage, it is advisable to sanitize them before use. You can do this by soaking the molds in a solution of equal parts water and white vinegar for a few minutes. Rinse thoroughly with clean water afterward.
- Use a Soft Brush: For stubborn residue or hard-to-reach areas, use a soft brush, such as a toothbrush or a dedicated pastry brush, to gently scrub the molds. Be careful not to apply too much pressure, as it can damage the mold’s details or shape.
- Remove Excess Water: After washing, shake off excess water from the molds. You can also pat them dry with a clean kitchen towel or use a soft, lint-free cloth to absorb any remaining moisture. Avoid using paper towels, as they can leave behind lint fibers.
- Air Dry: Allow the molds to air dry completely before storing them. Place them on a clean, dry surface or use a drying rack to promote air circulation. Ensure that the molds are completely dry to prevent any moisture from causing issues during storage.
- Avoid Heat: Never use direct heat, such as a hairdryer or oven, to speed up the drying process. The heat can cause the molds to warp or melt, rendering them unusable. Stick to natural air drying to maintain the integrity of the molds.
- Store in a Clean, Dry Place: Once the molds are completely dry, store them in a clean and dry location. Avoid storing them in areas with high humidity or near strong odors, as they can affect the quality of your chocolates. Use appropriate storage containers to protect the molds from dust, dirt, or damage.
- Inspect Regularly: Keep an eye out for any residue or signs of mold growth on your molds. Regularly inspect and clean your molds to ensure they remain in pristine condition. If you notice any persistent residue or discoloration that cannot be removed, consider replacing the affected molds.
By following these tips for cleaning and drying your chocolate molds, you can maintain their cleanliness, improve the quality of your chocolates, and prolong the lifespan of your molds for many more delightful creations.
Organizing and Labeling Your Chocolate Molds
Proper organization and labeling of your chocolate molds not only help you find the molds you need quickly but also protect them from potential damage. Here are some tips for organizing and labeling your chocolate molds:
- Categorize by Shape or Theme: Group your chocolate molds based on their shape or theme. This could be categories like hearts, animals, flowers, or holiday-specific molds. By organizing them in this way, you can easily locate the molds you need for specific occasions or designs.
- Use Dividers or Trays: Consider using dividers or trays within your storage container to separate and organize different types of molds. This will prevent them from coming into contact with each other, reducing the risk of damage. Use adjustable dividers for flexibility, allowing you to accommodate different mold sizes.
- Labeling System: Implement a labeling system to identify and locate specific molds efficiently. You can use stickers, labels, or small tags attached to each mold or its storage compartment. Write descriptive names or codes on the labels that correspond to your categorization system for easy reference.
- Arrange by Size: If you have molds of different sizes, consider arranging them in order from smallest to largest within each category. This will make it easier to find the size you need without having to sift through the entire collection.
- Keep a Reference List: Create a reference list or inventory of your chocolate molds. This list can include the mold name, category, size, and any additional notes. Having a documented inventory will help you keep track of your collection, especially if you have a large number of molds.
- Visual Index: Take pictures or create a visual index of your molds. This can be in the form of a printed catalog or a digital album on your computer or phone. Having a visual reference can help you quickly identify which molds you have and choose the one you need for a particular project.
- Rotate Molds: To ensure equal use of all your molds and prevent one mold from deteriorating due to excessive use, consider implementing a rotation system. This involves using different molds for each chocolate-making session or periodically switching molds within a specific category.
- Frequent Assessment: Regularly assess your collection of chocolate molds. Discard any molds that are damaged beyond repair or are no longer suitable for use. This will help keep your collection organized, clutter-free, and in good condition.
By organizing and labeling your chocolate molds, you can efficiently locate the molds you need, protect them from damage, and ensure that your chocolate-making process is smooth and enjoyable. Experiment with different organization methods and personalize the system to suit your preferences and the size of your mold collection.
Storing Chocolate Molds with Fillings or Decorations
Storing chocolate molds that have fillings or decorations requires special attention to ensure that the fillings remain intact and the decorations stay in place. Here are some tips for storing chocolate molds with fillings or decorations:
- Allow Proper Setting Time: After filling your molds with ganache, caramel, or other fillings, give them enough time to set completely before storing. Refer to your recipe or guideline for the recommended setting time. This will ensure that the fillings solidify and hold their shape, preventing any leakage or deformation during storage.
- Protect Decorations: If your chocolate molds have delicate decorations, such as hand-painted details or edible decorations, take extra care to protect them. Place a layer of parchment paper or food-safe plastic wrap between the chocolates to prevent any sticking or smudging of the decorations.
- Separate Layers: If you have multiple layers of chocolates with different fillings or flavors, consider using dividers or parchment paper to separate the layers. This will prevent any cross-contamination of flavors or potential damage to the surface of the chocolates.
- Stacking with Care: If you need to stack chocolate molds with fillings, take precautions to ensure that the fillings won’t get squished or damaged. Place a layer of padding, such as foam or soft kitchen towels, between the layers to provide cushioning and protection.
- Temperature Control: Pay close attention to temperature control when storing chocolates with fillings. Excessive heat can cause the fillings to melt or shift, resulting in a messy and less visually appealing final product. Store the chocolates in a cool and dry environment to maintain their shape and texture.
- Use Airtight Containers: To protect the chocolates from moisture and odor absorption, store them in airtight containers. This will help preserve the freshness of the fillings and maintain the overall quality of the chocolates. Make sure the container is the appropriate size to avoid any unnecessary pressure on the chocolates.
- Label Clearly: When storing chocolates with different fillings or flavors, label each container or compartment clearly. This will prevent any confusion or mix-up when you retrieve the chocolates at a later time. Include the flavor or filling type on the label to make it easier to identify each chocolate variety.
- Consume within a Reasonable Timeframe: Keep in mind that chocolates with fillings have a limited shelf life compared to solid chocolates. While the specific timeframe depends on the ingredients used, it is generally recommended to consume filled chocolates within a couple of weeks to ensure optimal taste and freshness.
By following these tips, you can store your chocolates with fillings or decorations in a way that preserves their taste, appearance, and overall quality. Proper storage will prevent any damage or loss of fillings, allowing you to enjoy your delicious creations for as long as possible.
Conclusion
Properly storing your chocolate molds is essential for maintaining their quality, preserving their shape, and ensuring the longevity of your molds. Following best practices for storing your chocolate molds will help you create beautiful and delectable chocolates time after time. By choosing the right storage container, maintaining the proper temperature and humidity levels, and implementing cleaning and organizing techniques, you can protect your molds and keep them in optimal condition.
Organizing and labeling your chocolate molds allows for easy access and efficient use, helping you quickly find the molds you need for specific designs or occasions. Take the time to clean and dry your molds thoroughly, ensuring they are free from any residue or moisture before storing them. By following these tips, you can extend the lifespan of your molds and prevent any damage or contamination.
Remember to consider special considerations when storing chocolate molds with fillings or decorations. Allowing proper setting time, protecting delicate decorations, and maintaining temperature control are crucial factors in preserving the quality and appearance of your filled chocolates. Utilize airtight containers and labeling systems to keep track of different flavors or fillings, ensuring a delightful and organized chocolate-making experience.
In conclusion, proper storage practices for your chocolate molds are essential to maintain their integrity and ensure the production of high-quality chocolates. By implementing the tips and best practices outlined in this article, you can prolong the lifespan of your molds, protect them from damage, and create delectable chocolates for your enjoyment or for sharing with others.
Frequently Asked Questions about How To Store Chocolate Molds
Was this page helpful?
At Storables.com, we guarantee accurate and reliable information. Our content, validated by Expert Board Contributors, is crafted following stringent Editorial Policies. We're committed to providing you with well-researched, expert-backed insights for all your informational needs.


0 thoughts on “How To Store Chocolate Molds”