Articles
How To Store Crayons
Modified: March 2, 2024
Learn the best methods for storing crayons in this informative article. Find out how to keep your crayons organized and in excellent condition for long-lasting creativity.
(Many of the links in this article redirect to a specific reviewed product. Your purchase of these products through affiliate links helps to generate commission for Storables.com, at no extra cost. Learn more)
Introduction
When it comes to storing crayons, it’s not just about keeping them neatly organized, but also ensuring their longevity and preventing breakage. Whether you’re a parent looking to keep your child’s art supplies in order, or an avid artist who wants to preserve your crayon collection, proper storage is key.
In this article, we will guide you through the steps of storing crayons effectively, so you can keep them in pristine condition and easily find the colors you need. From sorting and choosing the right storage container to organizing by color and labeling, we’ll cover it all. So let’s dive in and discover the best ways to store your crayons!
Key Takeaways:
- Organize crayons by color and condition to create a visually appealing and easily accessible collection, making it effortless to find the perfect shade for your artistic projects.
- Choose a sturdy, properly sealed storage container and store crayons upright in a cool, dry place to protect them from breakage and maintain their vibrant colors for future use.
Read more: How To Organize Crayons
Materials Needed
Before you begin organizing and storing your crayons, make sure you have the following materials on hand:
- A set of crayons
- A storage container
- Labels or markers
- Ziplock bags or small boxes (optional)
- Dividers or compartments (optional)
- Paper towels or tissue paper (optional)
It’s important to choose the right materials to ensure that your crayons are protected and easy to access. The size and type of storage container will depend on the quantity of crayons you have and your personal preferences. Labels or markers will help you identify and organize your crayons, while ziplock bags or small boxes can be used to separate different sets or colors.
If you want to further protect your crayons from breakage, dividers or compartments can be used to keep them separated. Additionally, using paper towels or tissue paper can provide an extra layer of cushioning to prevent friction and damage.
Now that you have your materials ready, let’s move on to the next step: sorting your crayons!
Step 1: Sorting Crayons
Before you start organizing your crayons, it’s helpful to sort them based on their condition and color. This step will make it easier to organize and store them later on.
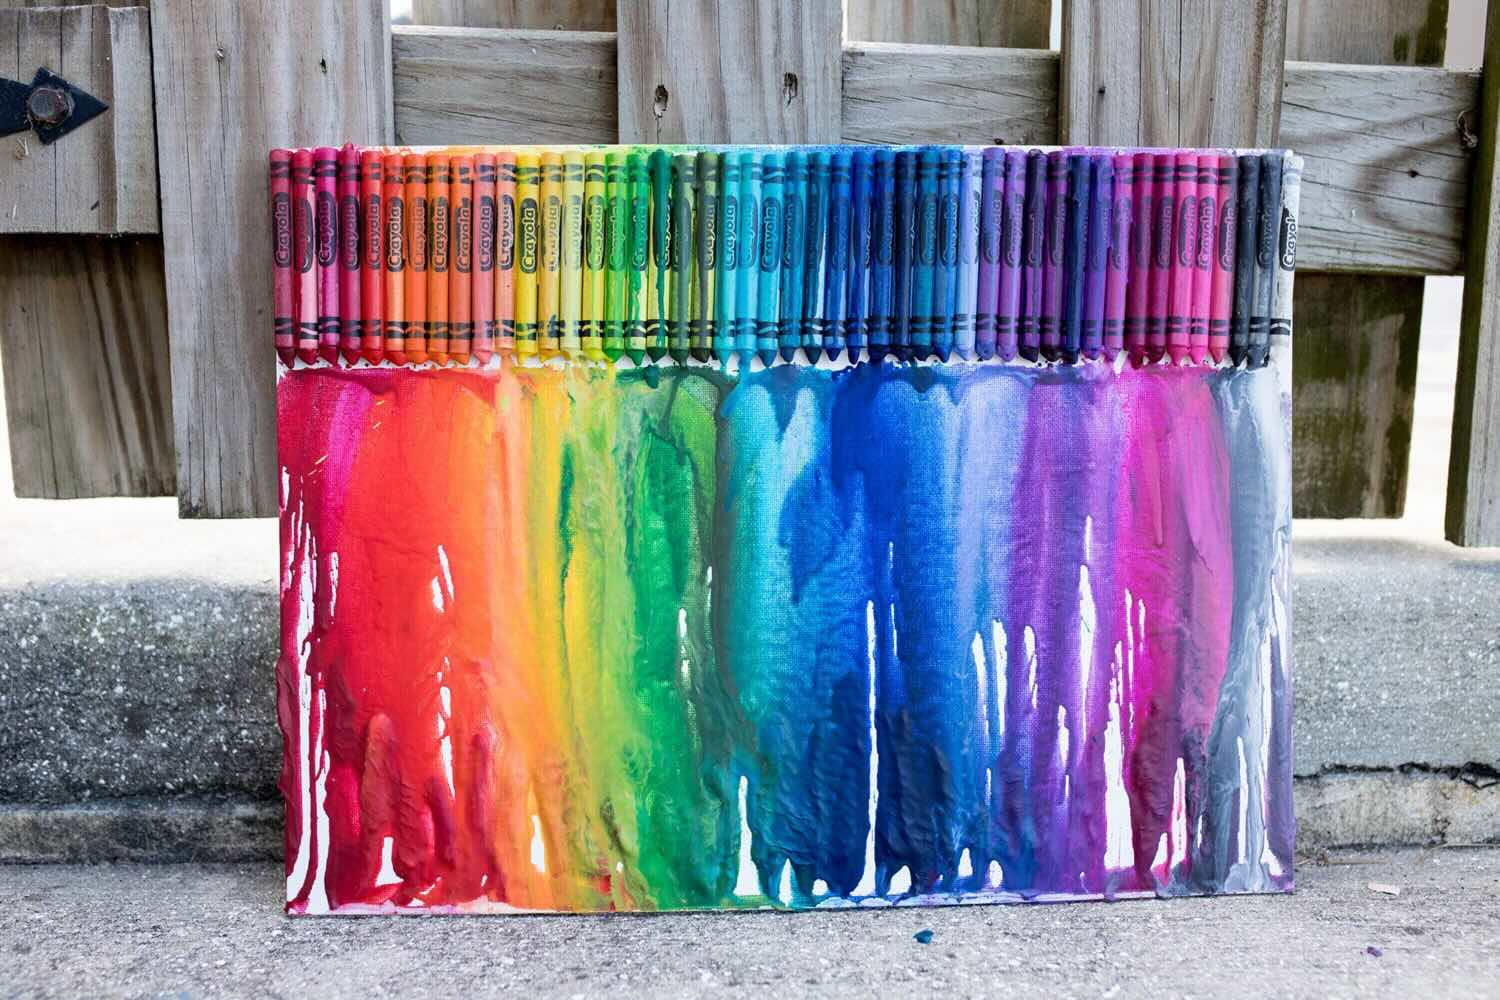
Begin by inspecting each crayon for any signs of damage, such as broken tips or wrappers. Separate out any crayons that are broken or unusable. You can either discard them or set them aside to be melted down and repurposed for future crafts.
Next, organize the remaining crayons by color. This step will help you find specific colors easily when you need them. You can sort them into piles or use small containers to keep them separated. Taking the time to sort your crayons now will save you from the hassle of searching through a jumbled mess later on.
If you have a large collection of crayons, you might consider further organizing them by shade or intensity within each color group. This can be done by creating subcategories within your color piles, such as light blues and dark blues, or pastel pinks and vibrant pinks.
Once your crayons are sorted and organized, you’re ready to move on to the next step: choosing a storage container.
Step 2: Choosing a Storage Container
Choosing the right storage container for your crayons is crucial to ensure their protection and easy accessibility. Here are some considerations to keep in mind when selecting a container:
- Size: Consider the size of your crayon collection and choose a container that can comfortably accommodate all the crayons without overcrowding. It should have enough space to allow for easy removal and insertion of crayons.
- Material: Look for a container that is made of sturdy and durable material, such as plastic or metal. This will help protect the crayons from damage and ensure the container lasts for a long time.
- Closure: Opt for a container with a secure lid or closure mechanism to prevent dust, dirt, or moisture from entering. A tight seal will help maintain the quality of your crayons.
- Dividers or Compartments: If you prefer to keep your crayons organized within the container, look for one that comes with dividers or compartments. This will help prevent the crayons from getting tangled or jumbled together.
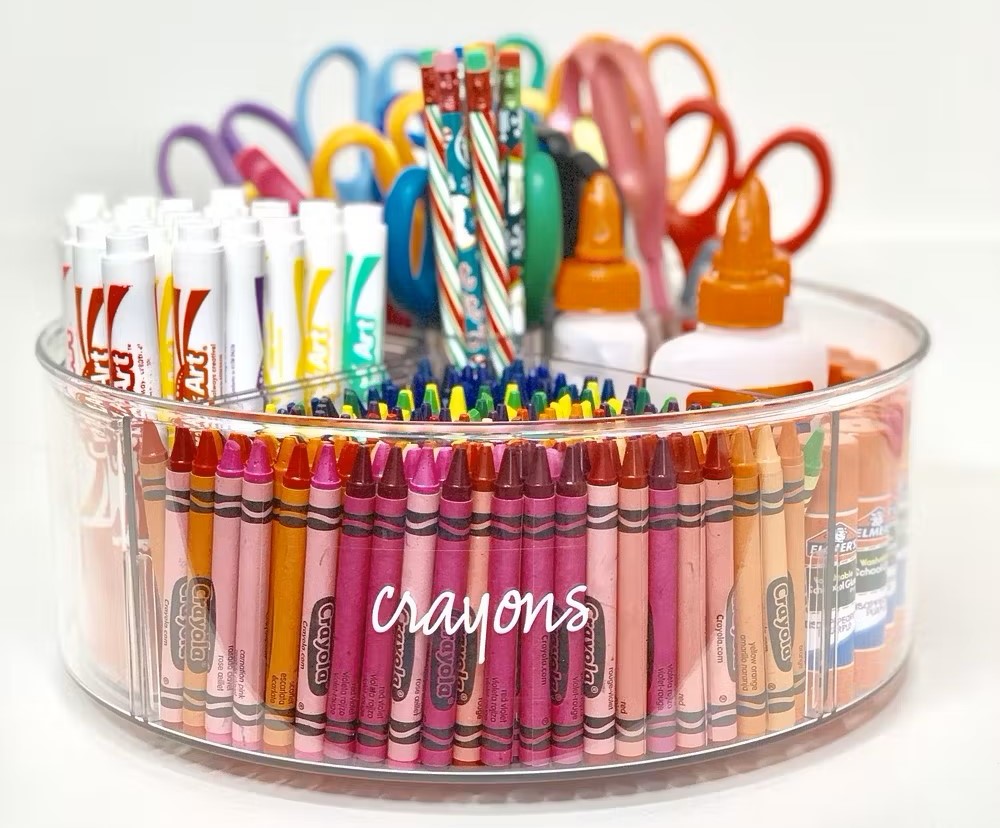
- Transparency: Consider choosing a container with a transparent or translucent design. This will allow you to easily see the colors inside without having to open the container every time you need a specific crayon.
- Portability: If you plan to take your crayons on-the-go, select a container that is lightweight and has a handle or compact design. This will make it easier to carry your crayons wherever you need them.
Once you’ve taken these factors into account, explore different options such as plastic storage boxes, tackle boxes, art supply caddies, or even repurposed containers like jars or shoeboxes. Ultimately, choose a container that fits both your storage needs and personal style.
Now that you’ve chosen a storage container, it’s time to move on to the next step: organizing your crayons by color.
Store crayons in a cool, dry place away from direct sunlight to prevent them from melting or becoming brittle. Keep them in a container or box to prevent them from getting lost or broken.
Step 3: Organizing by Color
Now that you have a storage container, it’s time to organize your crayons by color. Having a systematic color organization will make it easier to find specific shades and create visually appealing artworks.
Start by arranging the crayons in your container according to the colors you sorted earlier. You can group the crayons by color family, such as reds, blues, greens, yellows, oranges, purples, browns, blacks, grays, and whites. Alternatively, you can organize them in a rainbow-like order, following the sequence of colors in the spectrum.
If you prefer a more detailed organization, you can further separate each color group into different shades or intensities. For example, within the blue color group, you can have separate sections for light blues, medium blues, and dark blues.
You have the flexibility to organize your crayons in a way that best suits your preferences and artistic needs. Remember, the goal is to make it easy for you to locate the colors you want without having to sift through the entire container.
If your storage container doesn’t have dividers or compartments, consider using small containers or ziplock bags to keep each color group separate. This will prevent colors from blending together and help maintain their vibrancy.
Now that your crayons are meticulously organized by color, it’s time for the next step: labeling the container.
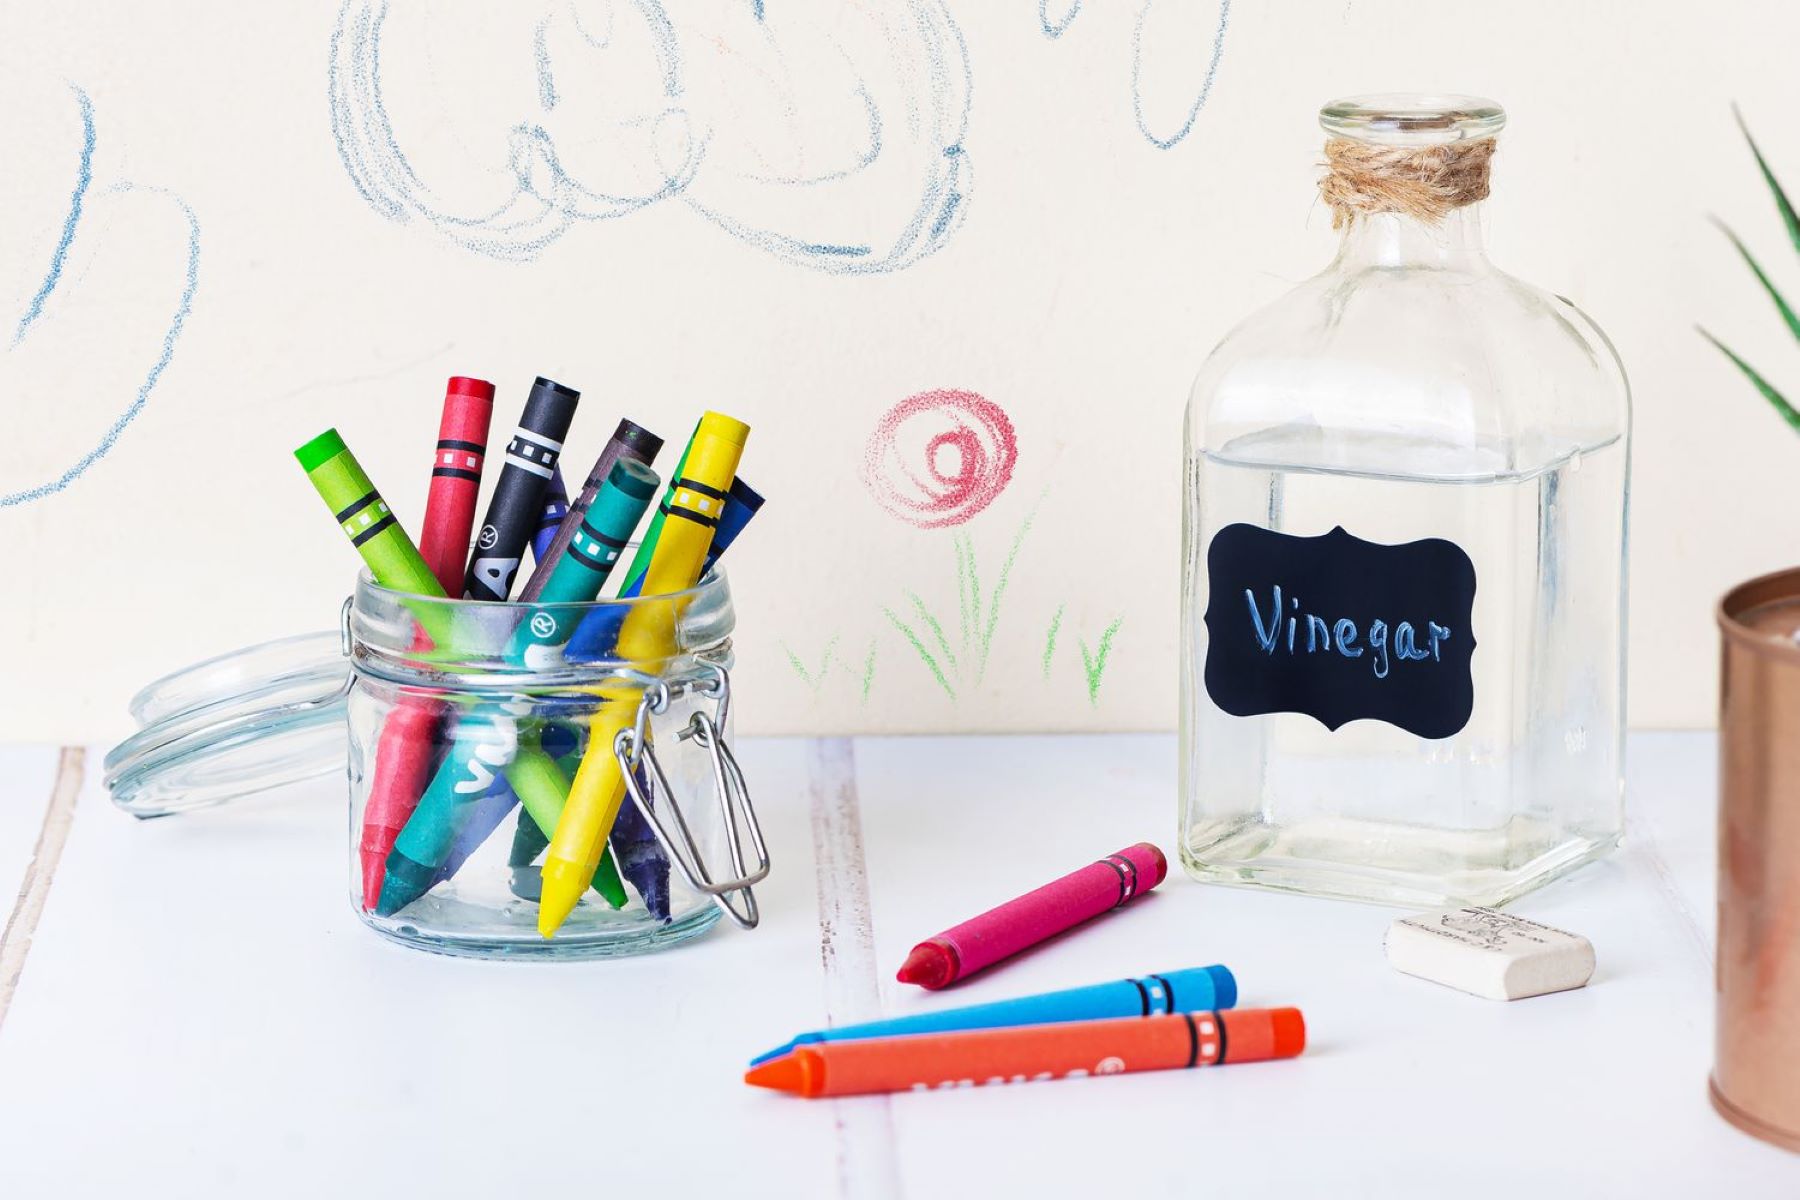
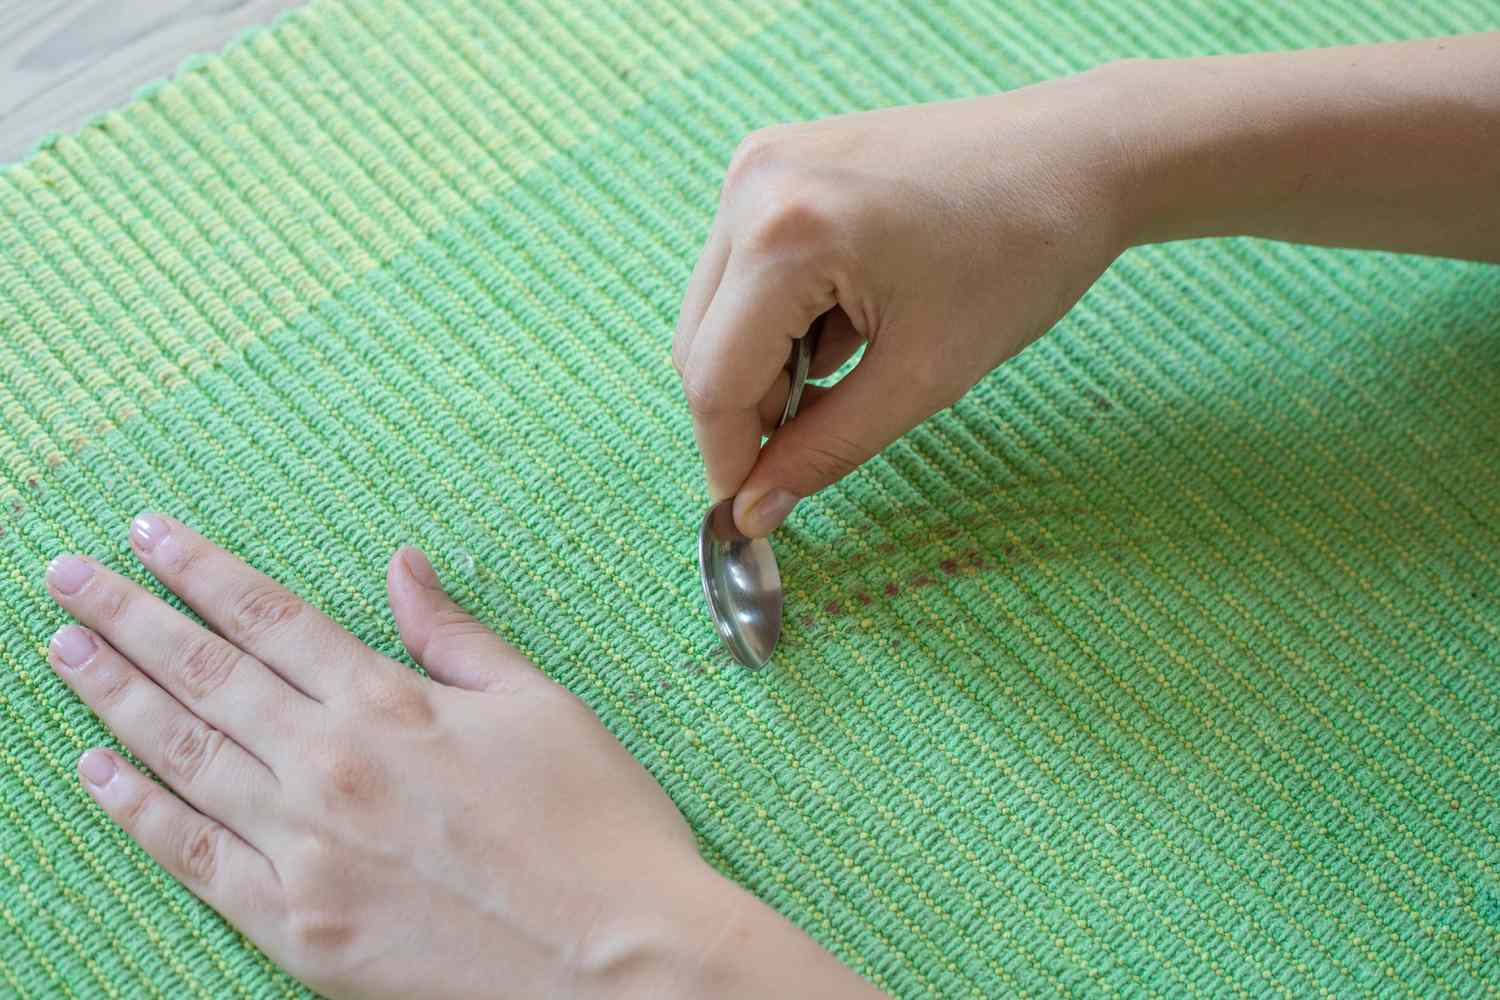
Read more: How To Get Crayon Out Of A Carpet
Step 4: Labeling the Container
Labeling your crayon storage container is an essential step to ensure easy identification and maintenance of your organized crayon collection. Clear and visible labels will help you quickly locate the colors you need and keep your storage system consistent.
Here are some tips for labeling your container:
- Label on the lid: Write or print labels on a piece of paper or sticker, and attach it to the lid of your container. This will allow you to easily see the label even when the container is closed.
- Color-coded labels: Consider using color-coded labels or stickers to correspond with the color groups inside the container. For example, stick a red label on the container if it contains the red crayons.
- Categorical labels: If you have separated your crayons into specific categories, such as shades or intensities, create labels for each category and attach them to the corresponding section in your container.
- Labeling tips: Use a waterproof and smudge-proof marker or pen to prevent the labels from getting blurry or wearing off over time. Additionally, write the labels clearly and legibly to avoid any confusion or mix-up.
By labeling your container, you’ll be able to quickly locate the right colors for your artwork and easily maintain your organized system. Take a moment to add the finishing touch with a well-labeled container.
Now that your container is labeled, it’s time for the final step: storing the crayons securely.
Step 5: Storing the Crayons
Now that you have sorted, organized, and labeled your crayons, it’s time to store them securely in the chosen container. Proper storage will help protect the crayons from breakage and maintain their quality over time.
Here are some tips for storing your crayons:
- Arrange them upright: Place the crayons in the container upright, with their tips facing upward. This will help prevent breakage and keep the colors intact.
- Add cushioning: For added protection, you can place paper towels or tissue paper between the crayon layers or around the edges of the container. This will provide a cushioning effect and reduce friction.
- Avoid overcrowding: Make sure not to overcrowd the container or pack the crayons too tightly. Leave some space for easy selection and insertion of crayons.
- Keep away from heat: Crayons are susceptible to melting, so avoid storing them in direct sunlight or near a heat source. Excessive heat can cause them to become soft and lose their shape.
- Maintain cleanliness: Keep the storage container clean and free from dust or debris. Regularly wipe down the container and crayons with a soft cloth to keep them in pristine condition.
- Store in a cool, dry place: Find a cool and dry location to store your crayons. Avoid areas with high humidity or extreme temperature fluctuations as they can affect the quality and functionality of the crayons.
By following these storage guidelines, you can ensure that your crayons remain in excellent condition and ready for creative use whenever inspiration strikes.
Congratulations! You have successfully sorted your crayons, chosen a storage container, organized them by color, labeled the container, and stored them securely. Your crayons are now neatly organized and protected, making it easier for you to unleash your creativity.
Remember to regularly check and update your crayon collection to remove broken or used crayons and add any new additions. With proper storage and maintenance, your crayons will be ready to bring colorful imagination to life!
I hope this guide has been helpful to you. Happy coloring!
Conclusion
Storing crayons may seem like a simple task, but by following the steps outlined in this article, you can ensure that your crayons are well-organized, protected, and easily accessible for your artistic endeavors. Remember, the key to effective crayon storage is sorting, choosing the right container, organizing by color, labeling, and storing securely.
By sorting your crayons by color and removing any broken or unusable ones, you can eliminate clutter and create a visually appealing collection. Choosing a suitable storage container that is sturdy, properly sealed, and the right size will safeguard your crayons from damage and ensure their longevity. Organizing the crayons by color allows for easy identification and selection, enabling you to unleash your creativity with ease.
Labeling the storage container further enhances your ability to locate specific colors quickly and maintain a consistent storage system. Lastly, storing the crayons upright, adding cushioning, and keeping them in a cool, dry place will preserve their quality and prevent breakage.
Remember to regularly check and update your crayon collection, discarding any broken or worn-out crayons and adding new ones as needed. With proper storage and care, your crayons will be ready to bring vibrant colors to your artwork.
So, whether you’re a parent keeping your child’s art supplies organized or an accomplished artist with an extensive collection, these steps will help you store your crayons effectively and keep them in excellent condition for future use.
Now that you’re equipped with the knowledge to store your crayons like a pro, go ahead and create your masterpiece!
Frequently Asked Questions about How To Store Crayons
Was this page helpful?
At Storables.com, we guarantee accurate and reliable information. Our content, validated by Expert Board Contributors, is crafted following stringent Editorial Policies. We're committed to providing you with well-researched, expert-backed insights for all your informational needs.


0 thoughts on “How To Store Crayons”