Articles
How To Make Scented Candles From Crayons
Modified: December 7, 2023
Learn how to make scented candles from crayons in this comprehensive guide. Our articles provide step-by-step instructions for creating beautiful homemade candles.
(Many of the links in this article redirect to a specific reviewed product. Your purchase of these products through affiliate links helps to generate commission for Storables.com, at no extra cost. Learn more)
Introduction
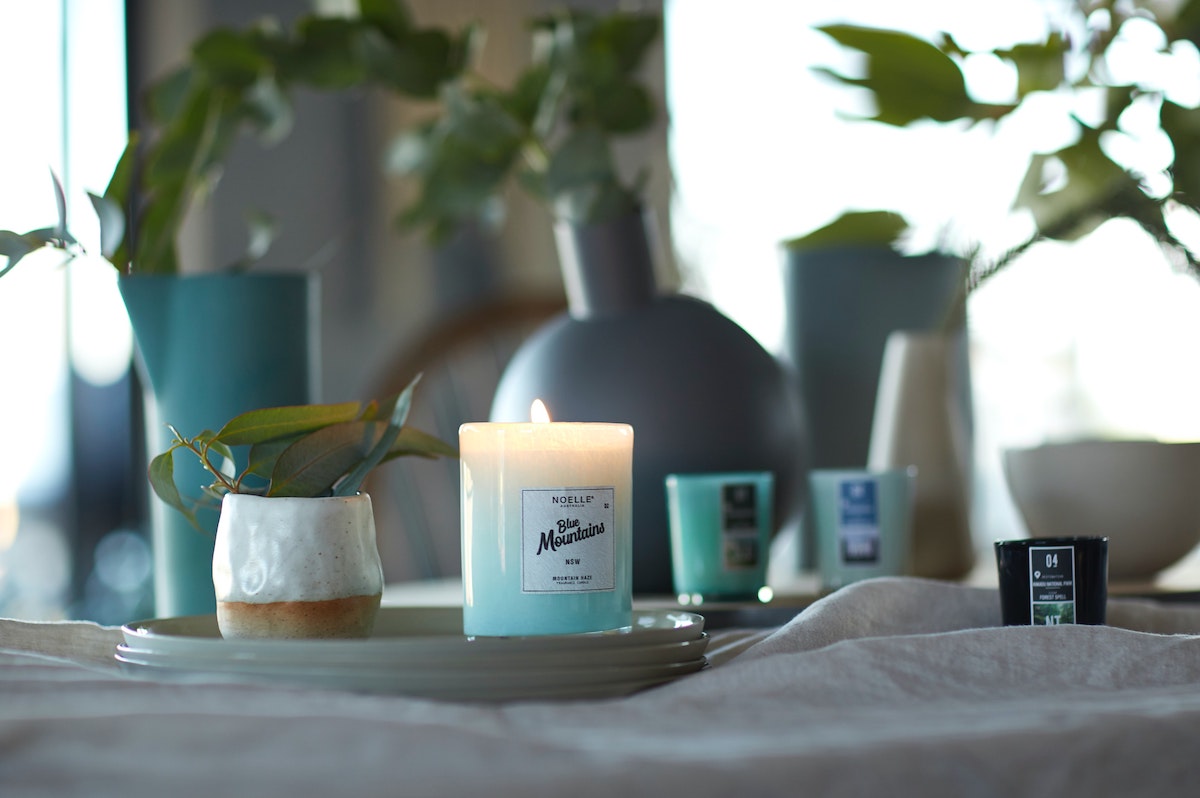
There’s something magical about the warm glow and soothing scent of a scented candle. They create a cozy and inviting atmosphere, perfect for relaxation or adding a touch of ambiance to any space. While store-bought scented candles are readily available, making your own scented candles can be a fun and rewarding experience.
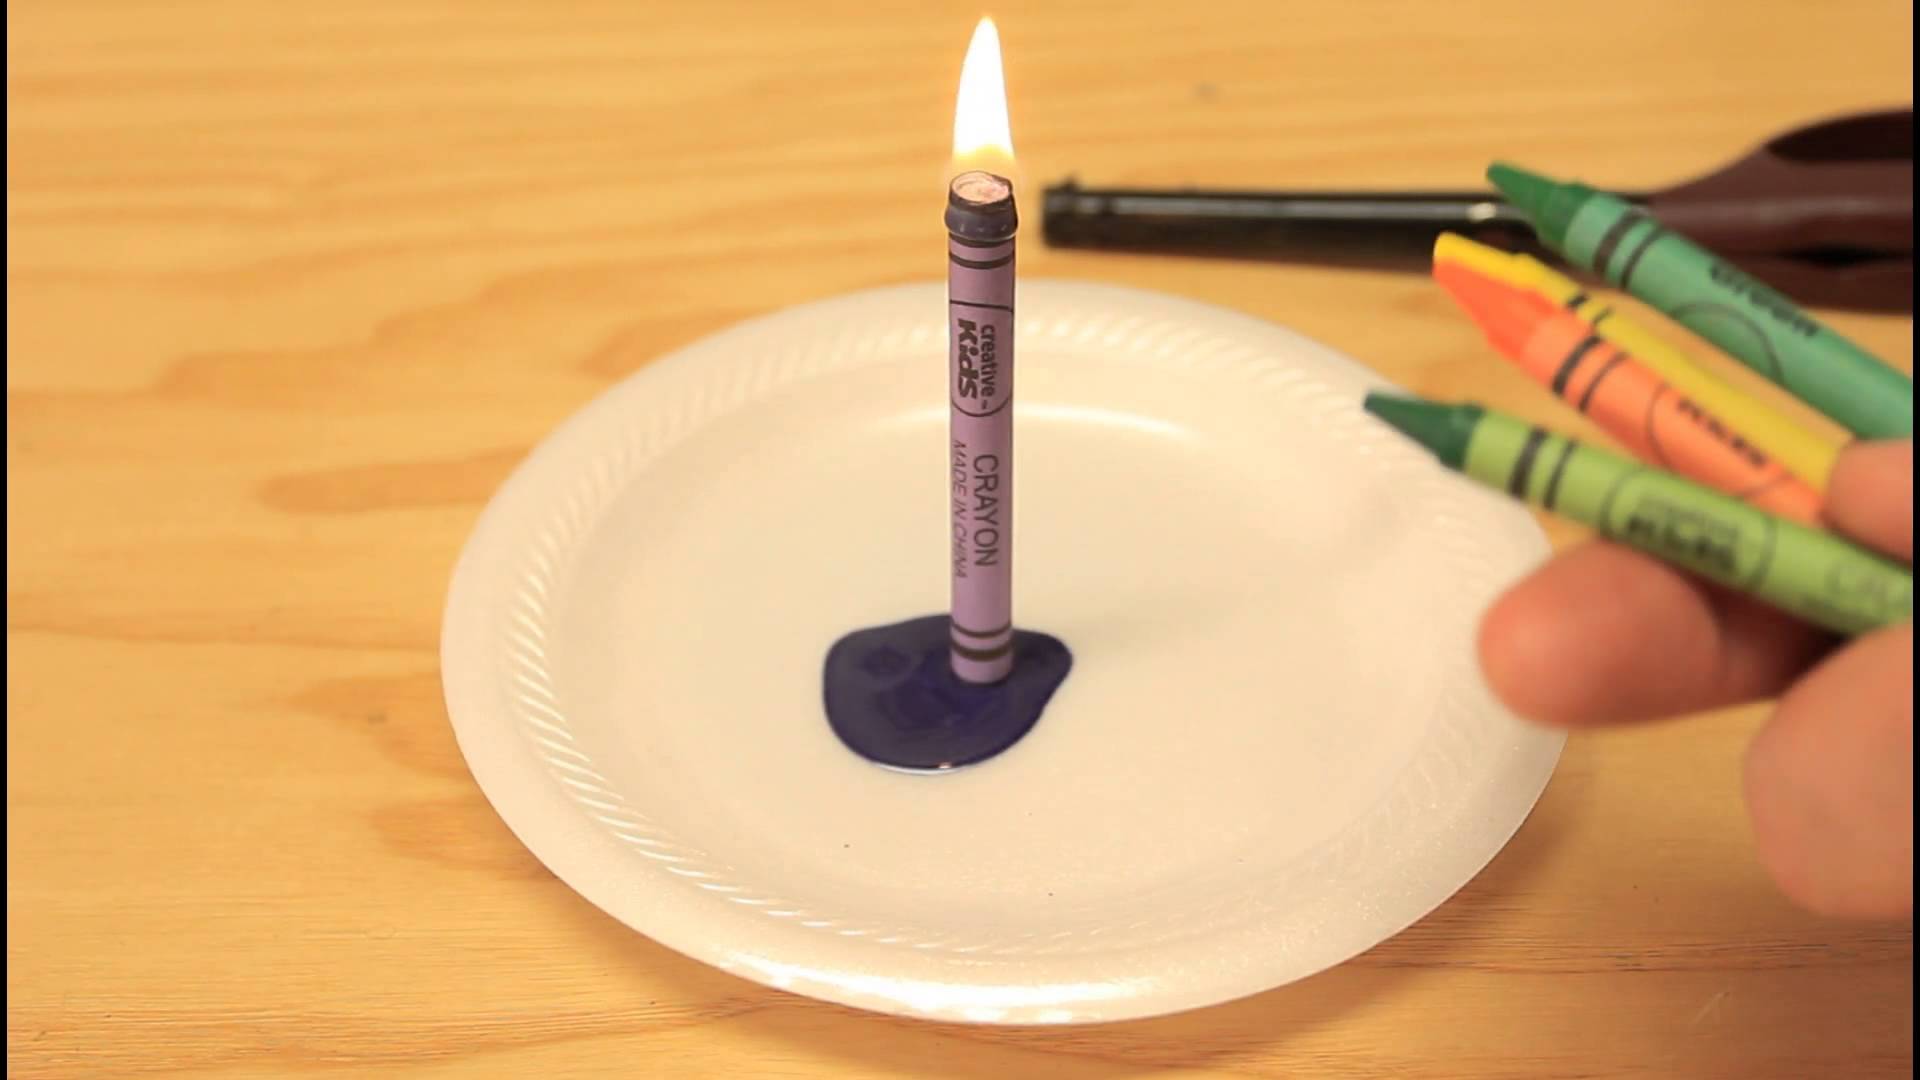
In this article, we will explore how to make scented candles using a surprising ingredient: crayons. Yes, those colorful wax sticks that we all used in our childhood arts and crafts projects can be repurposed to create beautiful and fragrant homemade candles.
Not only is making scented candles from crayons a cost-effective option, but it also allows you to unleash your creativity by choosing your favorite colors and scents. Plus, it’s a great way to repurpose old or broken crayons that may otherwise go to waste.
Whether you’re a beginner or a seasoned DIY enthusiast, this step-by-step guide will walk you through the process of making scented candles from crayons. So, let’s gather our materials and get started on this delightful journey of candle-making.
Key Takeaways:
- Transform old crayons into beautiful, fragrant candles with this step-by-step guide. Unleash your creativity, experiment with colors and scents, and enjoy the cozy ambiance of your homemade creations.
- Repurpose old crayons into unique, personalized scented candles. From melting crayons to adding fragrance, this guide offers a fun and rewarding DIY experience for all candle-making enthusiasts.
Read more: How To Make Scents For Candles
Materials Needed
Before we dive into the candle-making process, let’s make sure we have all the necessary materials on hand. Here’s a list of items you’ll need to gather:
- Crayons in your desired colors
- Candle wicks
- Candle containers (such as glass jars or tea light molds)
- Wax melting pot or a double boiler
- Fragrance oil (specifically designed for candle-making)
- Popsicle sticks or wooden dowels for stirring
- Thermometer
- Heat-resistant gloves
- Scissors
- Masking tape
Make sure to choose crayons that are non-toxic and free from any paper labels or wrappers. It’s also important to use candle wicks specifically created for candle-making, as they are designed to withstand the heat and burn properly.
When it comes to candle containers, the possibilities are endless. You can use glass jars of various shapes and sizes, ceramic pots, or even empty tea light molds. Just make sure the containers are heat-resistant and can withstand the heat of the melted crayons.
Having a dedicated wax melting pot or a double boiler is essential for melting the crayons. This will help ensure a controlled and safe environment for the melting process. Additionally, a thermometer will help you monitor and maintain the optimal melting temperature.
Lastly, don’t forget to protect your hands by using heat-resistant gloves when handling the hot wax. Scissors and masking tape will come in handy for trimming the wick to the desired length.
Once you have gathered all the necessary materials, it’s time to move on to the next step: preparing the crayons for melting.
Step 1: Gather and Prepare the Crayons
The first step in making scented candles from crayons is to gather the crayons you will be using and prepare them for melting. Follow these steps:
- Collect the desired crayons: Choose the colors you want to use for your candles. You can mix and match different shades to create unique and eye-catching combinations.
- Remove any paper labels or wrappers: Unwrap the crayons and make sure they are free from any paper labels or wrappers. These can interfere with the melting process and affect the appearance of your candles.
- Break the crayons into smaller pieces: To facilitate melting and ensure an even distribution of color, break the crayons into smaller pieces. You can do this by snapping them in half or using a knife to cut them into smaller sections. Keep in mind that the size of the crayon pieces will affect the intensity of the color in the final candle.
- Sort the crayon pieces by color: If you’re using multiple colors, sort the broken crayon pieces into separate piles based on their shades. This will make it easier to add the desired colors during the melting process.
By taking the time to prepare the crayons before melting, you’ll have greater control over the color combinations and ensure a smoother candle-making process.
Now that your crayons are ready, it’s time to move on to the next step: preparing the candle containers for filling.
Step 2: Prepare the Candle Containers
Once you have prepared the crayons for melting, the next step is to prepare the candle containers. Properly preparing the containers ensures that your candles will set correctly and have a professional finish. Follow these steps:
- Clean the containers: Start by ensuring that the containers you will be using are clean and free from any dust or debris. Wash them with soap and water, and dry them thoroughly.
- Secure the wick: Take your candle wick and use a small amount of hot glue or a dab of melted wax to attach the metal base to the inside bottom of the container. Make sure the wick is centered and firmly secured. Alternatively, you can use a small metal wick sustainer tab if available.
- Stabilize the wick: To prevent the wick from moving or leaning while pouring the melted crayons, you can use a popsicle stick or a small dowel. Simply place the stick or dowel across the container and secure the wick around it using masking tape. This will keep the wick upright and centered.
Preparing the candle containers in advance ensures that the wick is properly positioned and secured, allowing for an even burn. It also helps to create a professional look for your homemade candles.
Now that the containers are ready, let’s move on to the next step: melting the crayons.
Step 3: Melt the Crayons
Now that the crayons are prepared and the candle containers are ready, it’s time to melt the crayons to create the wax for your scented candles. Follow these steps:
- Set up a double boiler or a wax melting pot: Fill a larger pot with water and place it on the stove. Place a smaller pot or wax melting pot inside the larger pot, ensuring that it sits securely. If using a double boiler, make sure the water level is below the top pot.
- Add the crayon pieces to the melting pot: Place the broken crayon pieces into the smaller pot or wax melting pot. Sort the colors strategically if you have specific color combinations in mind.
- Heat and melt the crayons: Turn on the stove to medium heat and allow the water in the larger pot to come to a boil. Gently stir the crayon pieces as they melt, using a wooden dowel or popsicle stick. Continue stirring until all the crayons have completely melted and you have a smooth, liquid consistency.
- Optional: Add unscented wax flakes or pellets: If desired, you can add unscented wax flakes or pellets to the melted crayons to increase the volume and enhance the candle’s burn time. Stir until the additional wax is fully melted and combined with the crayons.
It’s important to monitor the temperature of the melted crayons using a thermometer. Aim to keep the temperature between 150°F and 180°F (65°C and 82°C) to ensure that the wax is in the proper melting range. This will prevent the wax from overheating or burning.
With the crayons melted and ready, it’s time to move on to the next step: adding fragrance to your scented candles.
Read more: How To Make Beeswax Scented Candles
Step 4: Add Fragrance
Now that you have melted crayons, it’s time to add fragrance to your scented candles. Adding a delightful scent will elevate the ambiance and create a unique sensory experience. Follow these steps:
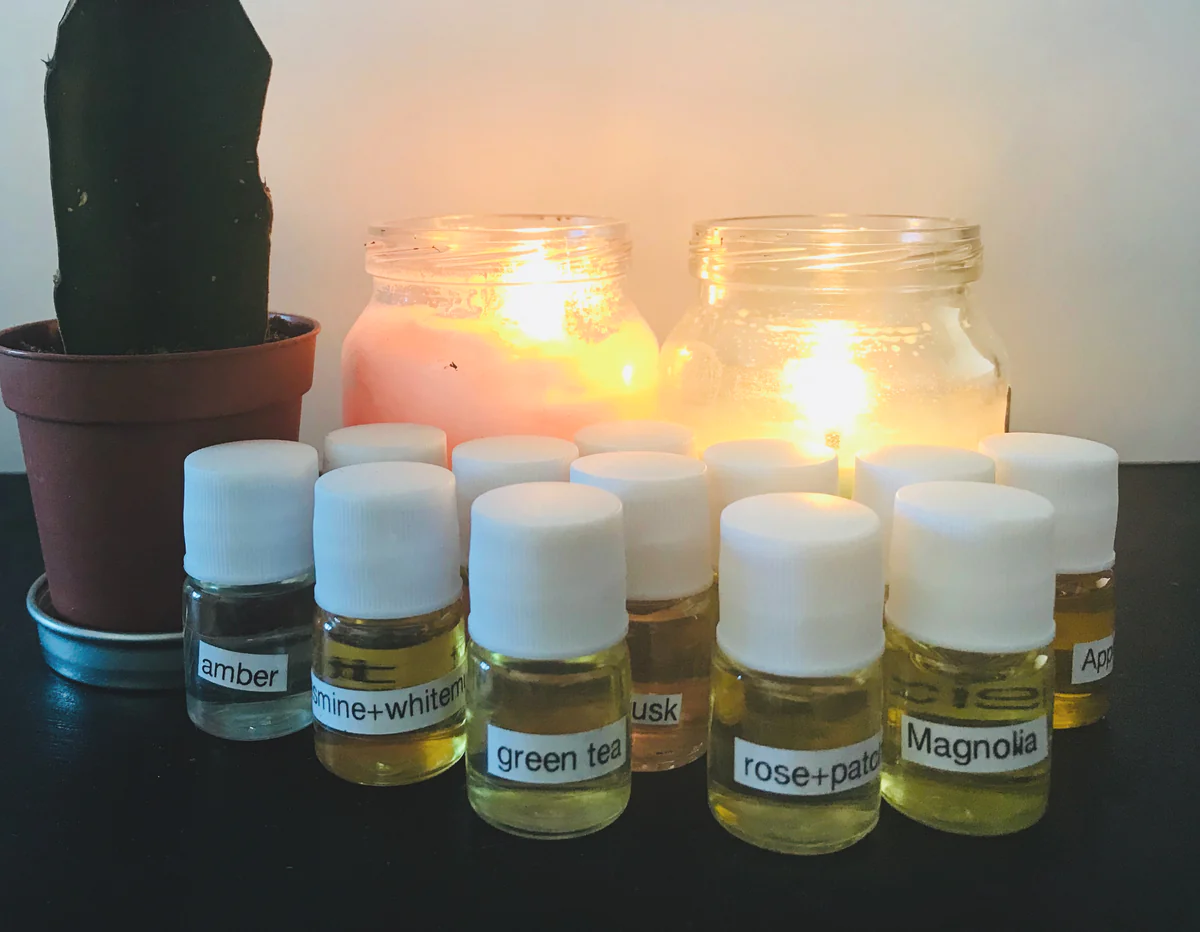
- Choose a fragrance oil: Select a fragrance oil that is specifically designed for candle-making. There are countless options available, ranging from floral and fruity scents to warm and cozy aromas. Consider your personal preferences and the mood you want to create.
- Determine the amount of fragrance oil to add: Check the manufacturer’s instructions for the recommended fragrance oil percentage based on the amount of wax used. Typically, it is around 5-10% of the total wax weight. Use a scale to measure the appropriate amount of fragrance oil according to the given percentage.
- Add the fragrance oil to the melted crayons: Pour the measured fragrance oil into the melted crayons. Stir the mixture well to ensure that the fragrance is evenly distributed throughout the wax.
Take caution not to exceed the recommended amount of fragrance oil, as this can overpower the scent and affect the quality of the candle. It’s also important to use fragrance oils specifically formulated for candle-making, as regular essential oils may not blend well with the wax and can pose a fire hazard.
Adding fragrance to your scented candles is a wonderful way to personalize them and create a delightful aroma. With the fragrance oil blended in, it’s time to move on to the next step: pouring the melted crayons into the candle containers.
When making scented candles from crayons, be sure to use a double boiler to melt the crayons and add fragrance oil after the wax has melted. This will ensure a strong and long-lasting scent in your candles.
Step 5: Pour the Melted Crayons into Candle Containers
With the melted crayons infused with fragrance, it’s time to pour them into your prepared candle containers. This step will determine the shape, size, and overall appearance of your scented candles. Follow these steps:
- Prepare a steady work surface: Place a protective covering or old newspaper on your work surface to catch any spills or drips.
- Slowly pour the melted crayons into the containers: Carefully pour the melted crayons into the prepared candle containers. Start pouring the wax from a low height to avoid any splashing or overflowing. Keep pouring until the containers are filled to your desired level.
- Leave a small gap at the top: It’s important to leave a small amount of space at the top of the container—about half an inch or 1 cm. This space allows for proper expansion as the candles cool and prevents the wax from spilling over when the candles are lit.
Take your time while pouring the melted crayons to ensure a neat and even distribution within the containers. You can also experiment with layering different colors or creating ombré effects by pouring different shades of melted crayons in stages.
Once the containers are filled, it’s time to move on to the next step: inserting the wick into the candles.
Step 6: Insert the Wick
Now that the melted crayons have been poured into the candle containers, it’s time to insert the wick. Properly inserting the wick ensures that it remains centered and upright as the candles cool and solidify. Follow these steps:
- Prepare the wick: Trim the wick to your desired length, leaving about half an inch or 1 cm above the surface of the melted crayons. This will provide enough wick to light the candle later on.
- Position the wick in the center: Gently place the trimmed end of the wick into the center of the container, on top of the hardened wax. Press it down slightly to secure it in place, making sure the wick is straight and centered.
- Stabilize the wick: To ensure the wick remains upright while the candles are cooling, you can use a wick stabilizer or improvised tools like a clothespin or a pen. Rest the stabilizer across the top of the container and clip the wick in place.
By properly inserting and stabilizing the wick, you are ensuring that it will be in the right position for a consistent and even burn. This step sets the foundation for a successful finished candle.
Now that the wick is in place, let’s move on to the next step: allowing the candles to cool and set.
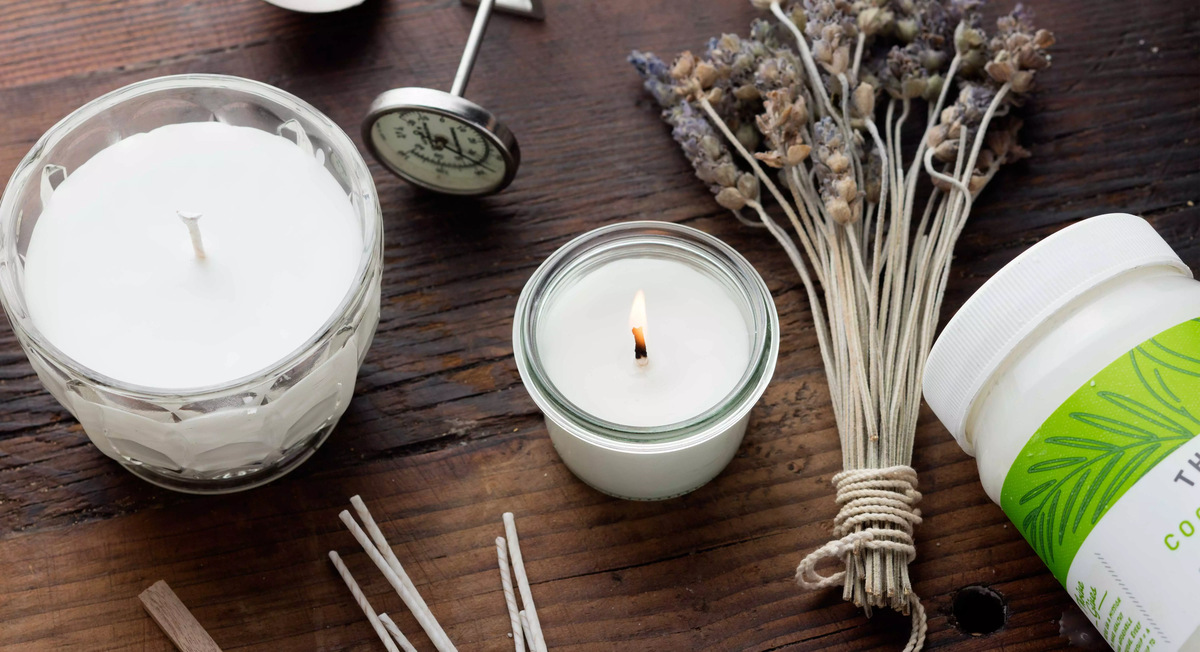
Step 7: Let the Candles Cool and Set
After inserting the wick, it’s essential to allow the candles to cool and set completely. This step ensures that the candles solidify properly and maintain their shape. Follow these steps:
- Find a cool and undisturbed area: Place the candle containers in a spot where they won’t be disturbed. Make sure the area is cool and well-ventilated to promote even cooling.
- Avoid moving the candles: Once the candles are in position, avoid moving them as it may cause the wax to shift or create uneven surfaces.
- Allow ample time for cooling: The cooling time will vary depending on the size of the candles and the room temperature. Generally, it takes several hours or overnight for the candles to completely cool and set.
Resist the temptation to touch or test the candles during the cooling process. Disturbing the candles while they are setting can lead to uneven surfaces or blemishes on the final product.
Once the candles have cooled and solidified, move on to the final step: trimming the wick before lighting the candles.
Read more: How To Make Coffee Scented Candles
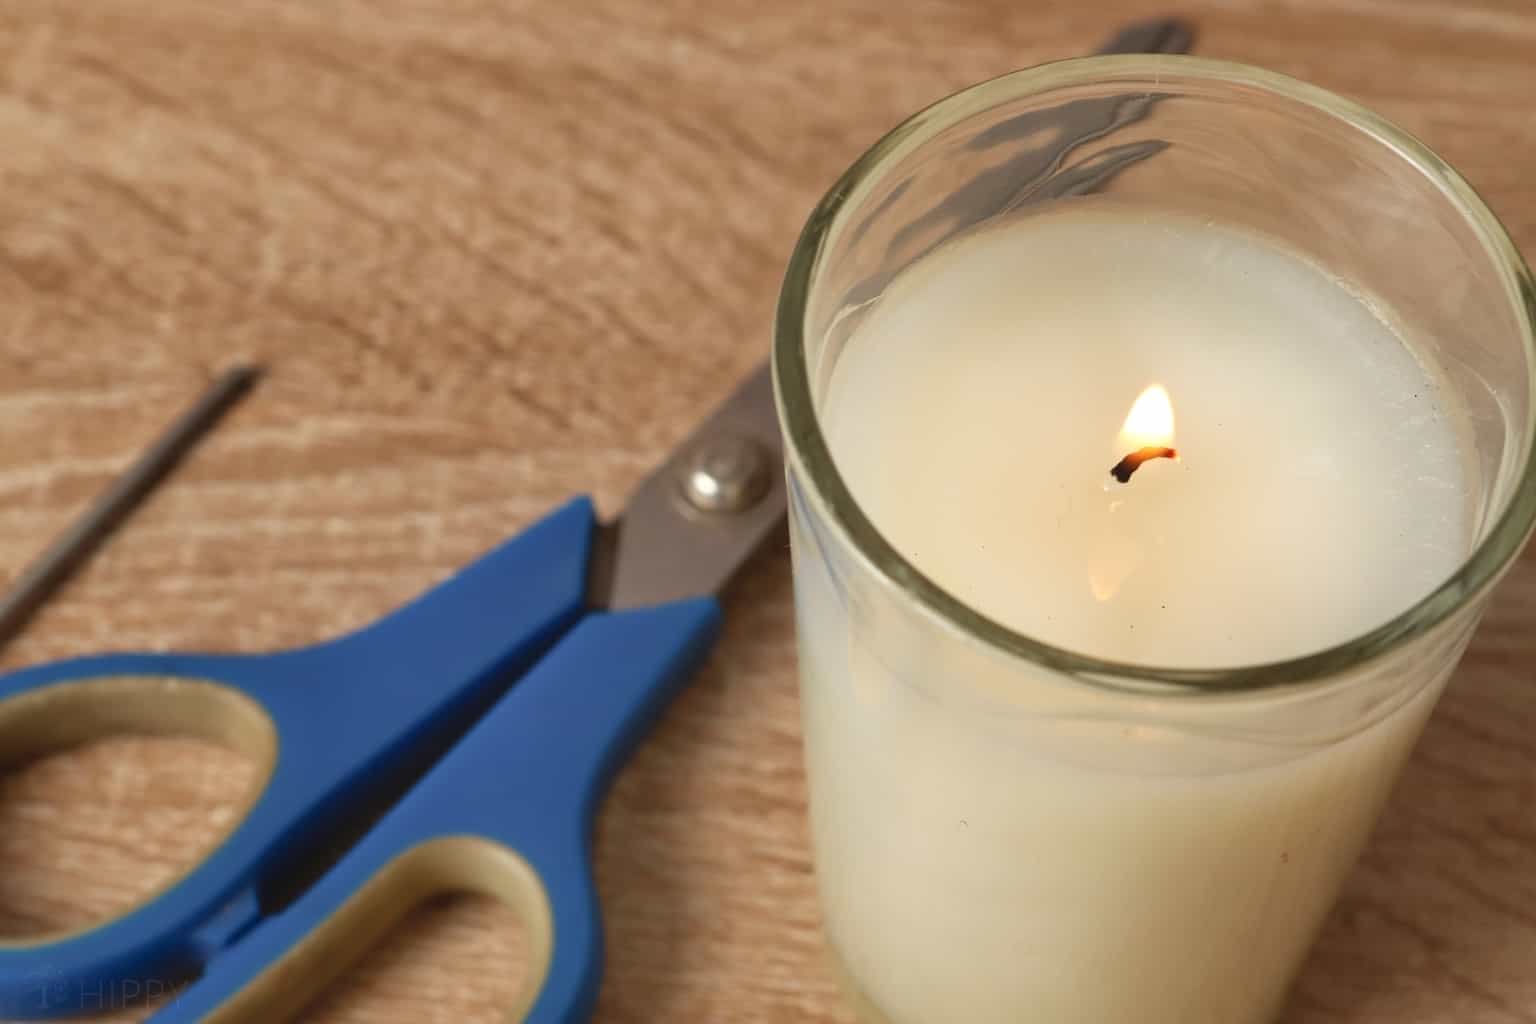
Step 8: Trim the Wick
Before you can light your homemade scented candles, it’s important to trim the wick to an appropriate length. Trimming the wick helps to ensure a clean and efficient burn, as well as prevent any potential smoking or flickering. Follow these steps:
- Check the wick length: Examine the wick and make sure it is long enough to easily light.
- Trim the wick: Using a pair of scissors, carefully trim the wick to about ¼ inch or 0.6 cm above the surface of the hardened wax. This length allows the wick to properly absorb the melted wax and burn optimally.
- Remove the trimmings: Dispose of the trimmed wick pieces by gently tapping the container or using a pair of tweezers to lift them out.
It’s important to note that trimming the wick before each use is recommended. This helps to maintain a consistent and steady burn, prolonging the life of your scented candles.
Now that the wick is trimmed, your homemade scented candles are ready to be lit and enjoyed. Place them in a safe location away from any flammable materials, light the wick, and allow the soothing aroma to fill the air.
Using crayons to make scented candles is not only a fun and creative activity but also a great way to repurpose old or broken crayons. Experiment with different color combinations and fragrances to create unique and personalized candles for yourself or to give as thoughtful gifts.
Enjoy the gentle flicker and delightful scent of your homemade scented candles, adding warmth and ambiance to any space.
Happy candle-making!
Conclusion
Making scented candles from crayons is not only a creative and rewarding endeavor but also a sustainable way to repurpose old or broken crayons. By following the step-by-step process outlined in this guide, you can create beautiful and fragrant homemade candles that add a touch of ambiance to any space.
From gathering and preparing the crayons, to melting them and adding fragrance, to pouring the mixture into candle containers, and finally, letting the candles cool and setting the wick, each step is crucial in creating a successful candle-making experience.
Remember to exercise caution and prioritize safety throughout the process, whether it’s using heat-resistant gloves when handling hot wax or ensuring a stable work surface.
With an array of colors and fragrance options available, you can let your creativity flow and customize your scented candles to suit your preferences. Whether you prefer floral scents, fruity aromas, or warm and cozy fragrances, there’s an endless range of possibilities to explore.
Once your scented candles have cooled and the wick is trimmed, you can light them up and indulge in the soothing glow and delightful scent that emanates throughout the room.
Whether you choose to keep your homemade candles for yourself or share them as thoughtful gifts, the joy and satisfaction of creating something unique and beautiful is an experience worth savoring.
Now that you have the knowledge and skills to make scented candles from crayons, gather your materials, unleash your creativity, and embark on this delightful journey of candle-making. Enjoy the process, the aroma, and the cozy ambiance that your homemade scented candles bring to your surroundings.
Happy candle-making!
Frequently Asked Questions about How To Make Scented Candles From Crayons
Was this page helpful?
At Storables.com, we guarantee accurate and reliable information. Our content, validated by Expert Board Contributors, is crafted following stringent Editorial Policies. We're committed to providing you with well-researched, expert-backed insights for all your informational needs.


0 thoughts on “How To Make Scented Candles From Crayons”