Home>Home Appliances>Bathroom Appliances>How To Melt Crayons With A Hair Dryer
Bathroom Appliances
How To Melt Crayons With A Hair Dryer
Modified: August 17, 2024
Learn how to melt crayons with a hair dryer in your bathroom. Discover creative uses for your bathroom appliances. Unlock new DIY possibilities!
(Many of the links in this article redirect to a specific reviewed product. Your purchase of these products through affiliate links helps to generate commission for Storables.com, at no extra cost. Learn more)
**
Introduction
**
Hey there, DIY enthusiasts and craft lovers! Are you ready to transform ordinary crayons into vibrant, mesmerizing works of art? Melted crayon art is a fantastic way to unleash your creativity and add a pop of color to your world. And guess what? You don't need a fancy art studio or expensive equipment to make it happen. All you need is a hair dryer, a handful of crayons, and a dash of imagination.
Melted crayon art has gained popularity for its simplicity and stunning visual impact. Whether you're a seasoned crafter or a curious beginner, this technique offers endless possibilities for self-expression. By harnessing the power of heat, you can watch as solid crayons transform into a fluid rainbow, ready to adorn canvases, greeting cards, and various other surfaces.
In this guide, we'll delve into the fascinating world of melted crayon art, focusing on the magical process of melting crayons with a hair dryer. We'll explore the materials needed, step-by-step instructions, and a few tips and tricks to ensure your artistic journey is smooth and delightful.
So, grab your favorite crayons and let's embark on a colorful adventure. Get ready to unleash your inner artist and discover the joy of creating vibrant, one-of-a-kind masterpieces through the simple yet mesmerizing art of melting crayons with a hair dryer. Let's dive in and bring your imagination to life!
**
Key Takeaways:
- Unleash your creativity with melted crayon art using just a hair dryer and a few simple materials. Experiment with color, texture, and movement to create vibrant, one-of-a-kind masterpieces.
- Transform ordinary crayons into mesmerizing works of art with the magical process of melting crayons. Embrace experimentation and playfulness to bring your colorful visions to life.
Materials Needed
**
Before you dive into the wonderful world of melted crayon art, it's essential to gather the necessary materials. Here's what you'll need to embark on your colorful adventure:
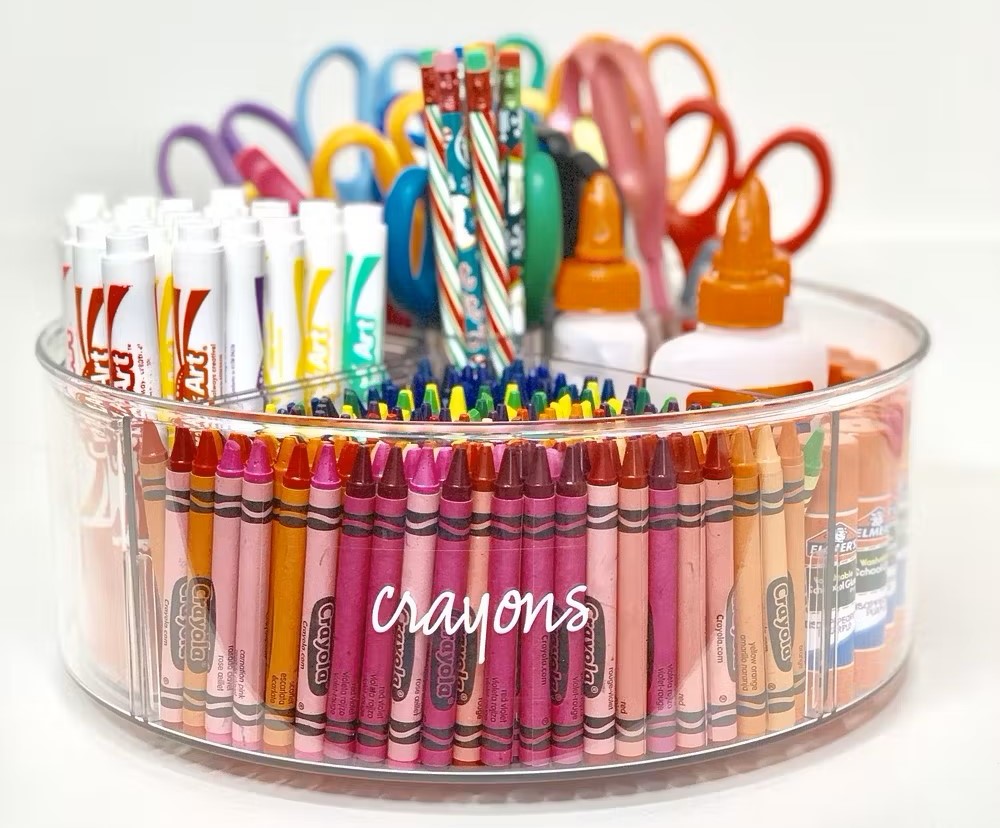
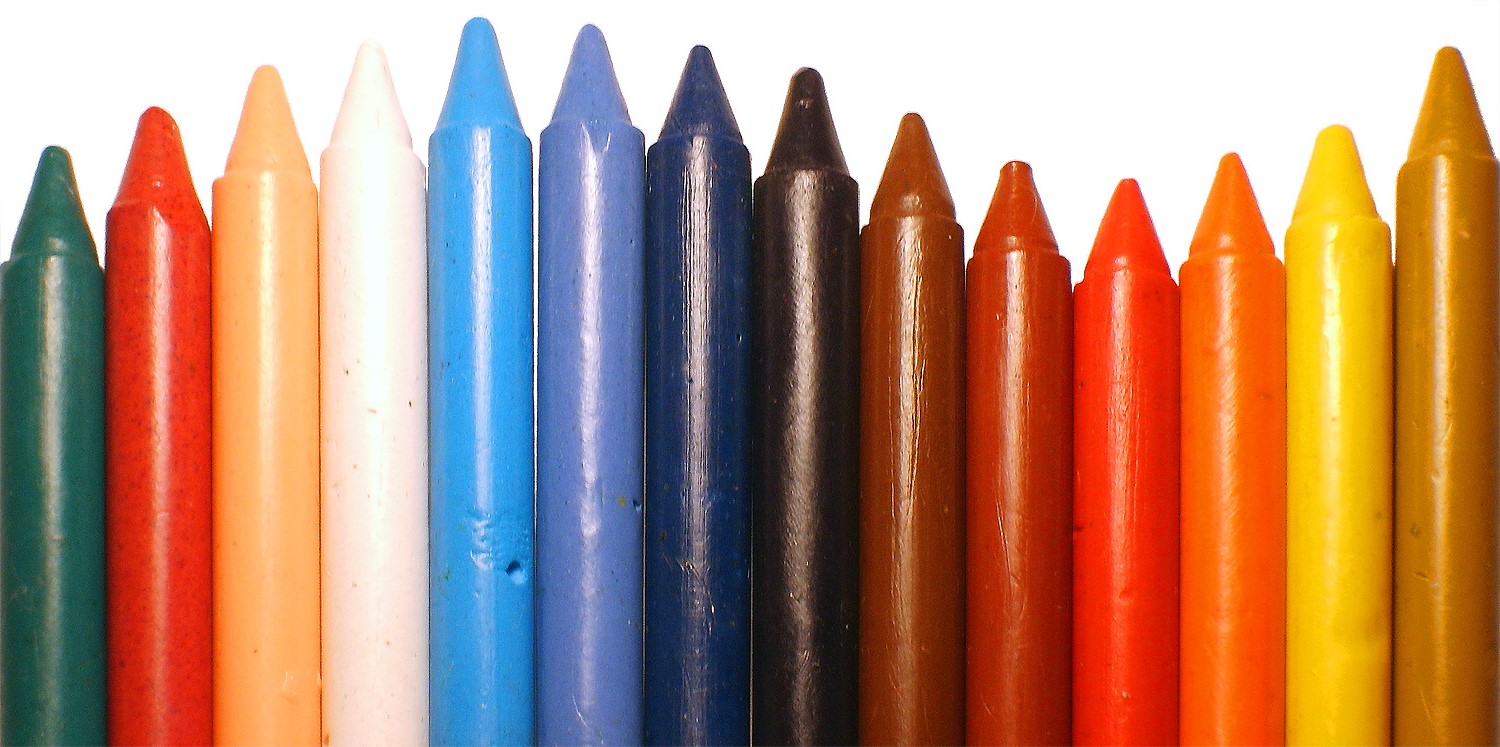
1. Crayons: Choose a variety of colors to add depth and vibrancy to your artwork. Whether you opt for classic Crayola crayons or branch out into specialty colors, the choice is yours. Get creative and mix and match hues to craft a visually stunning masterpiece.
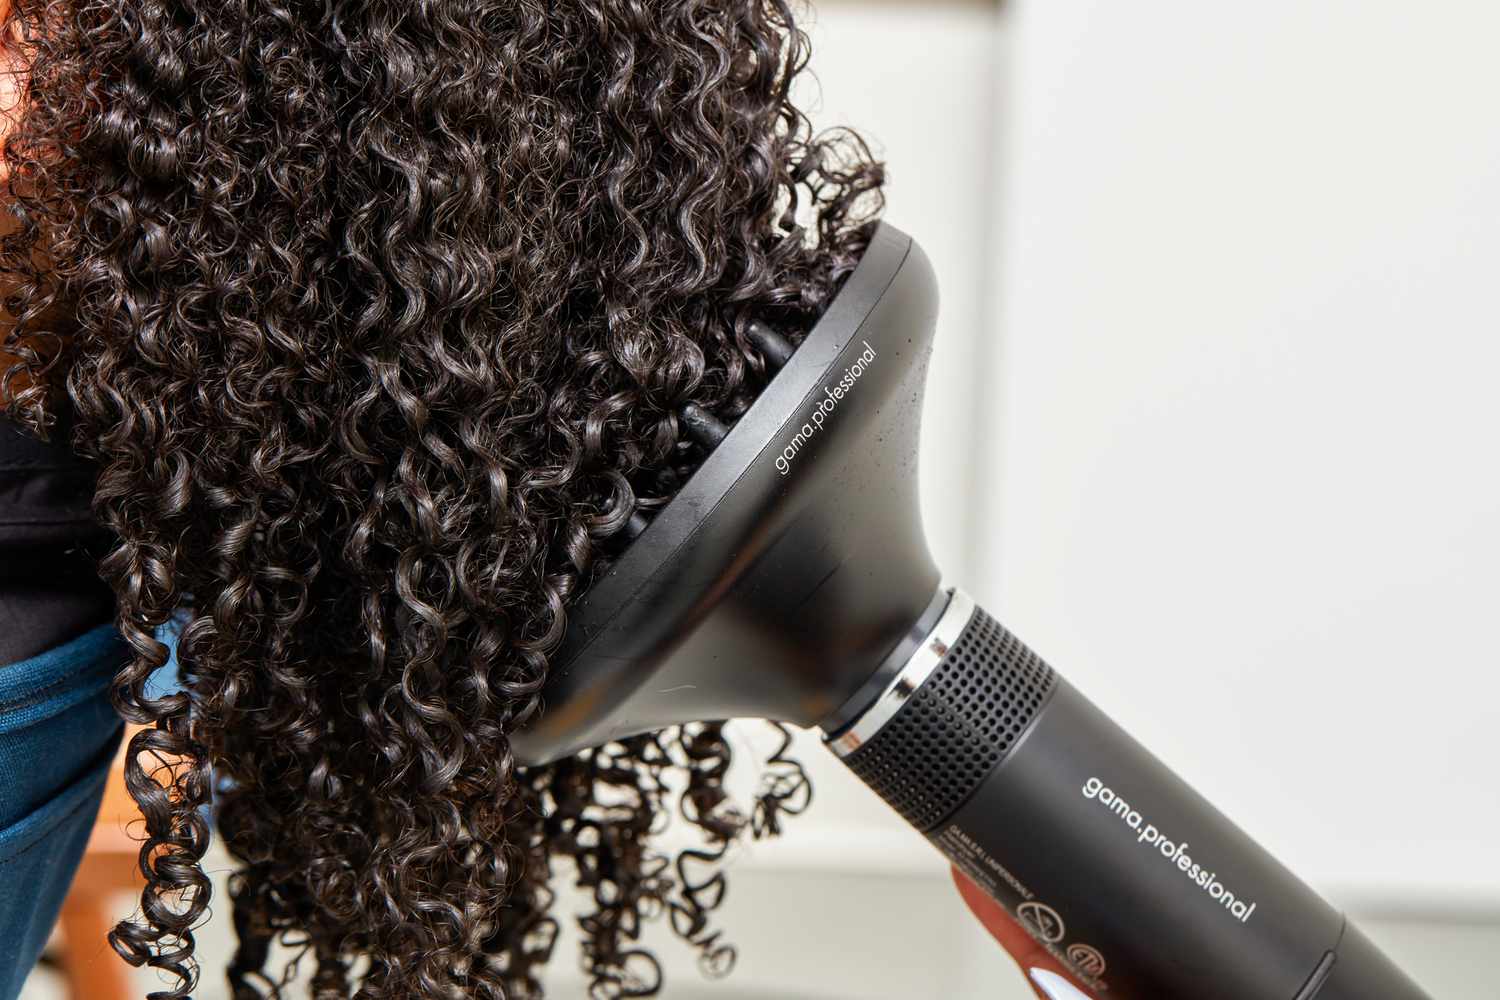
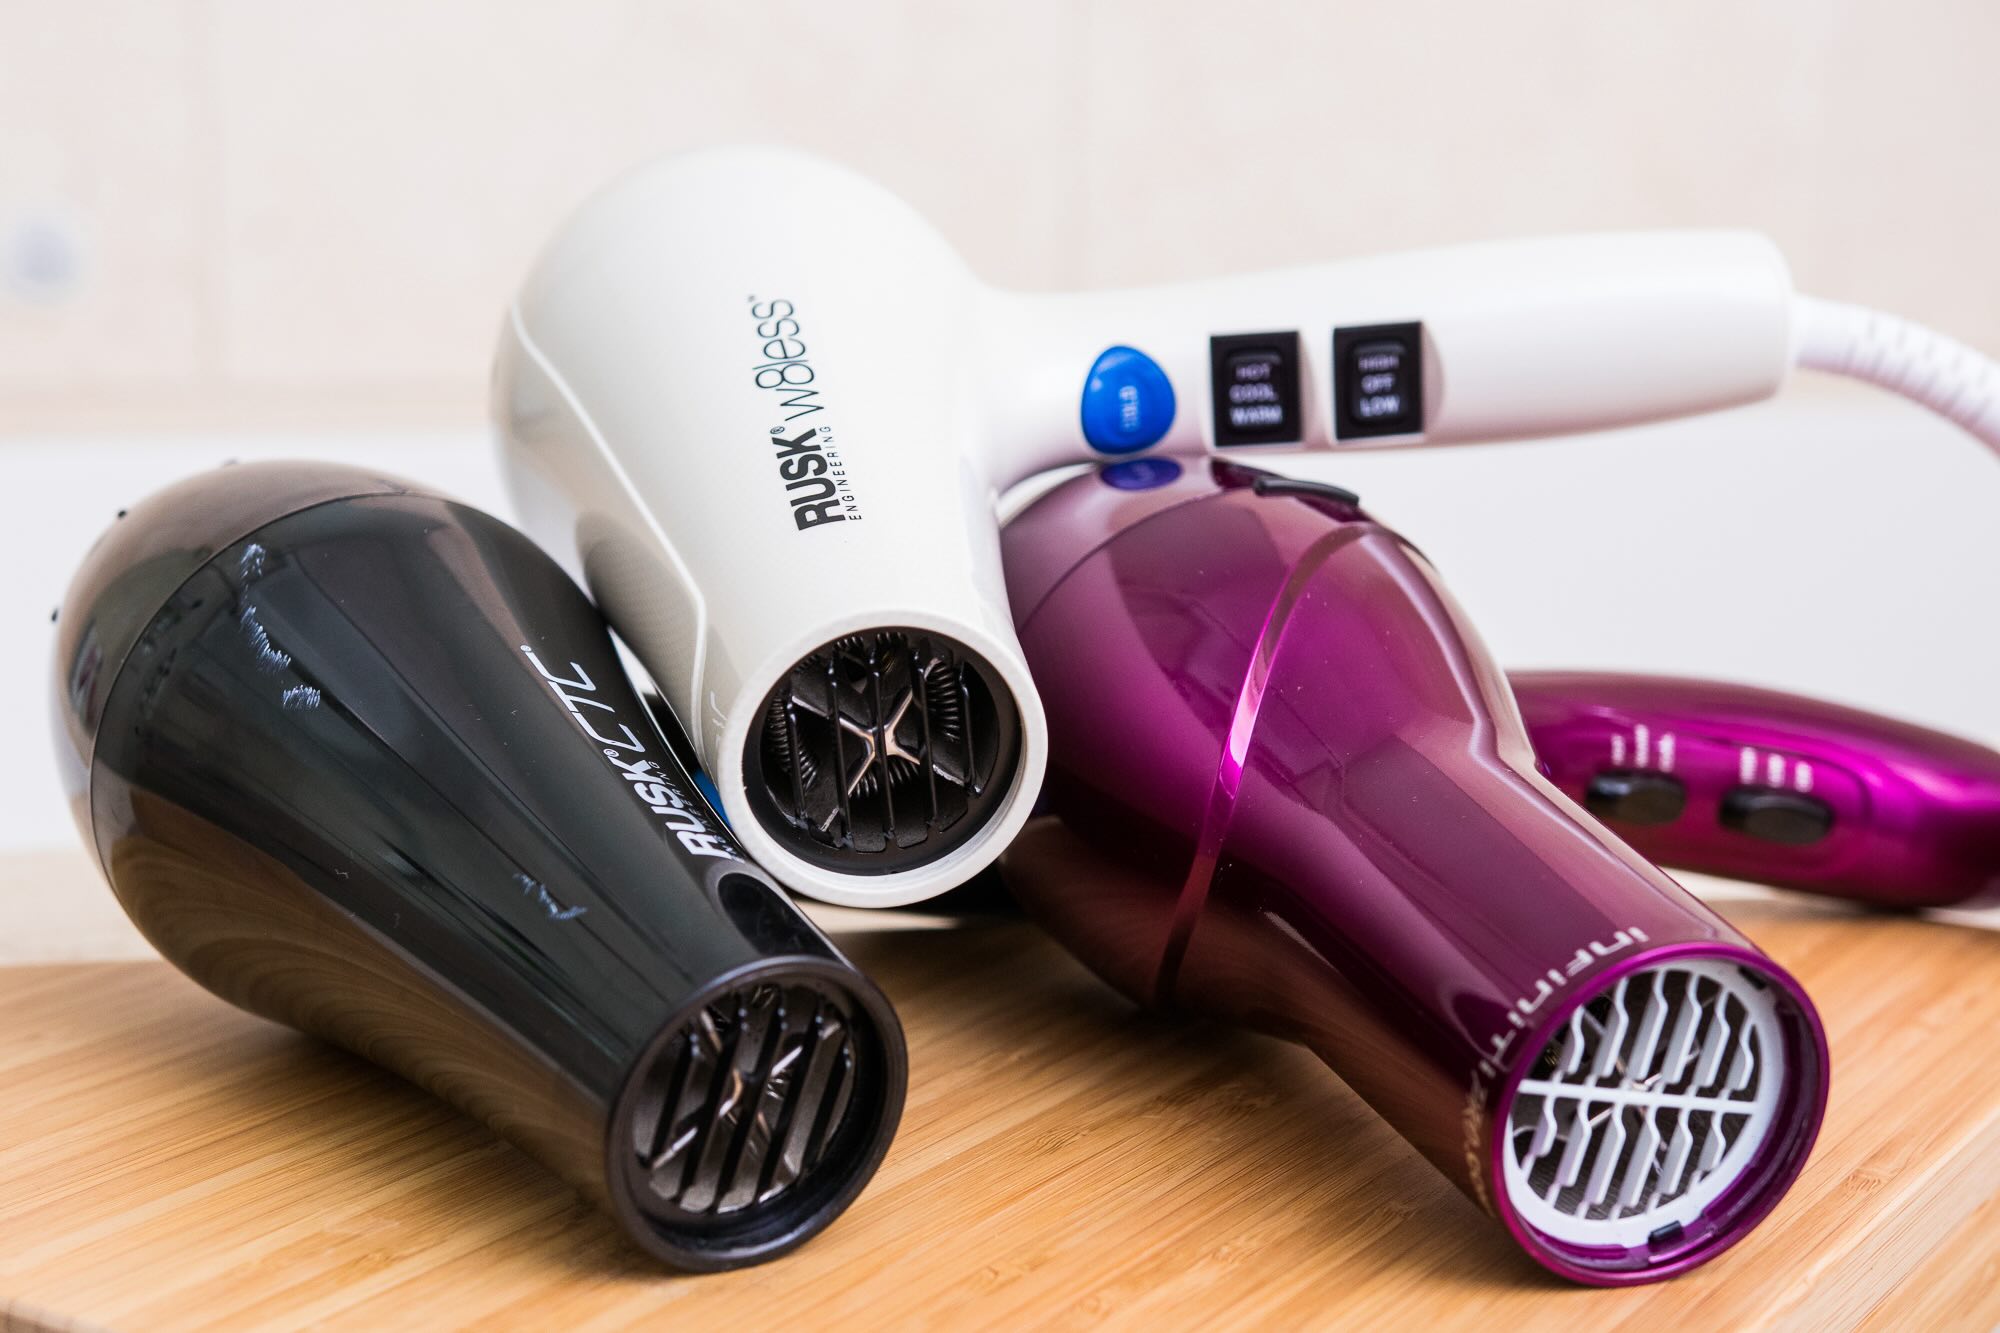
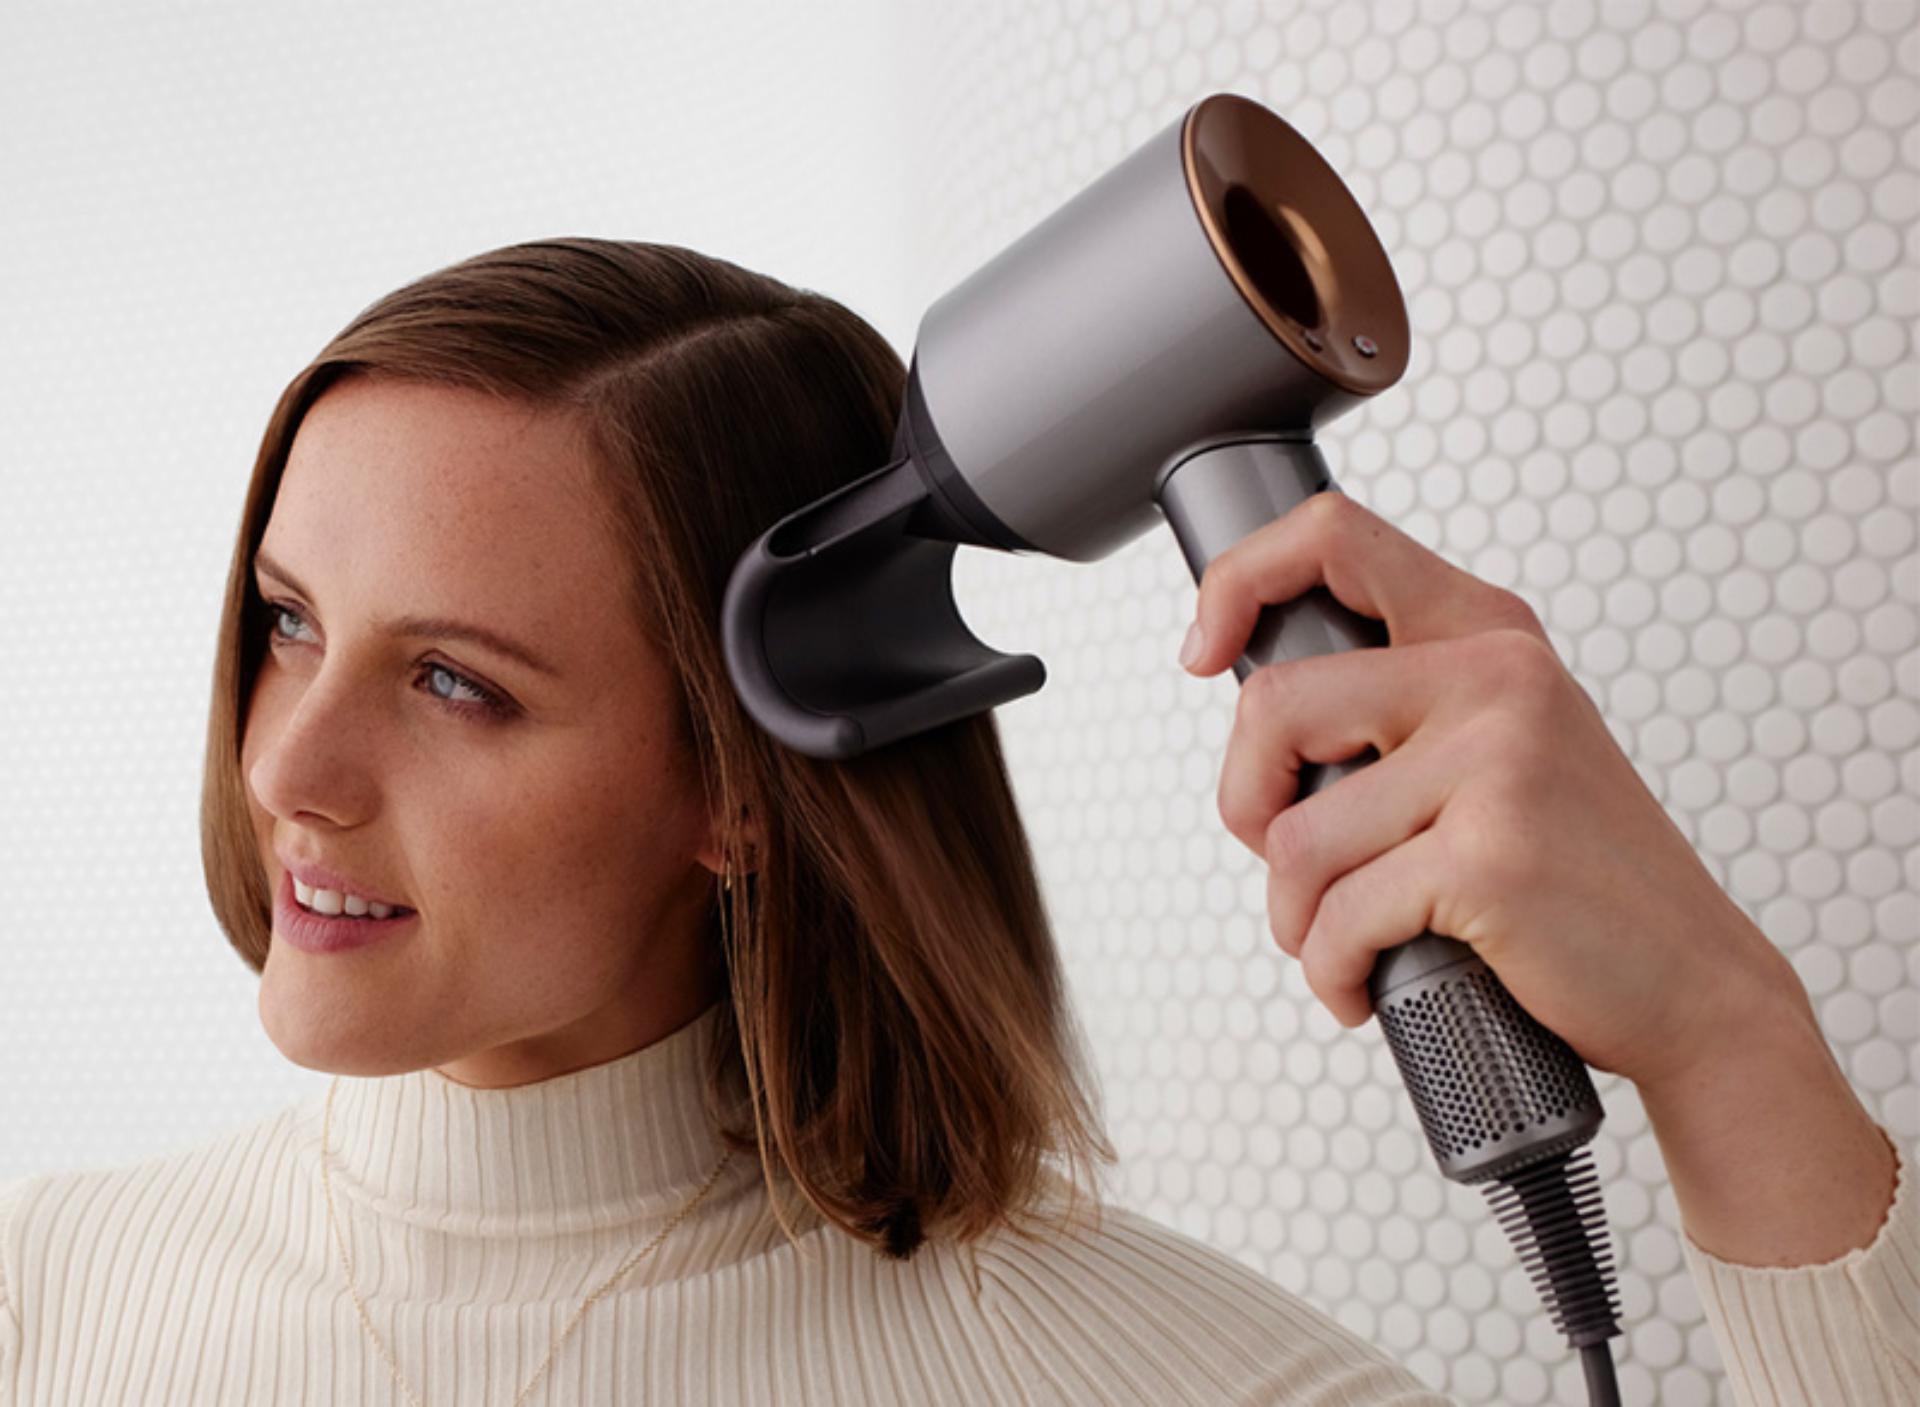
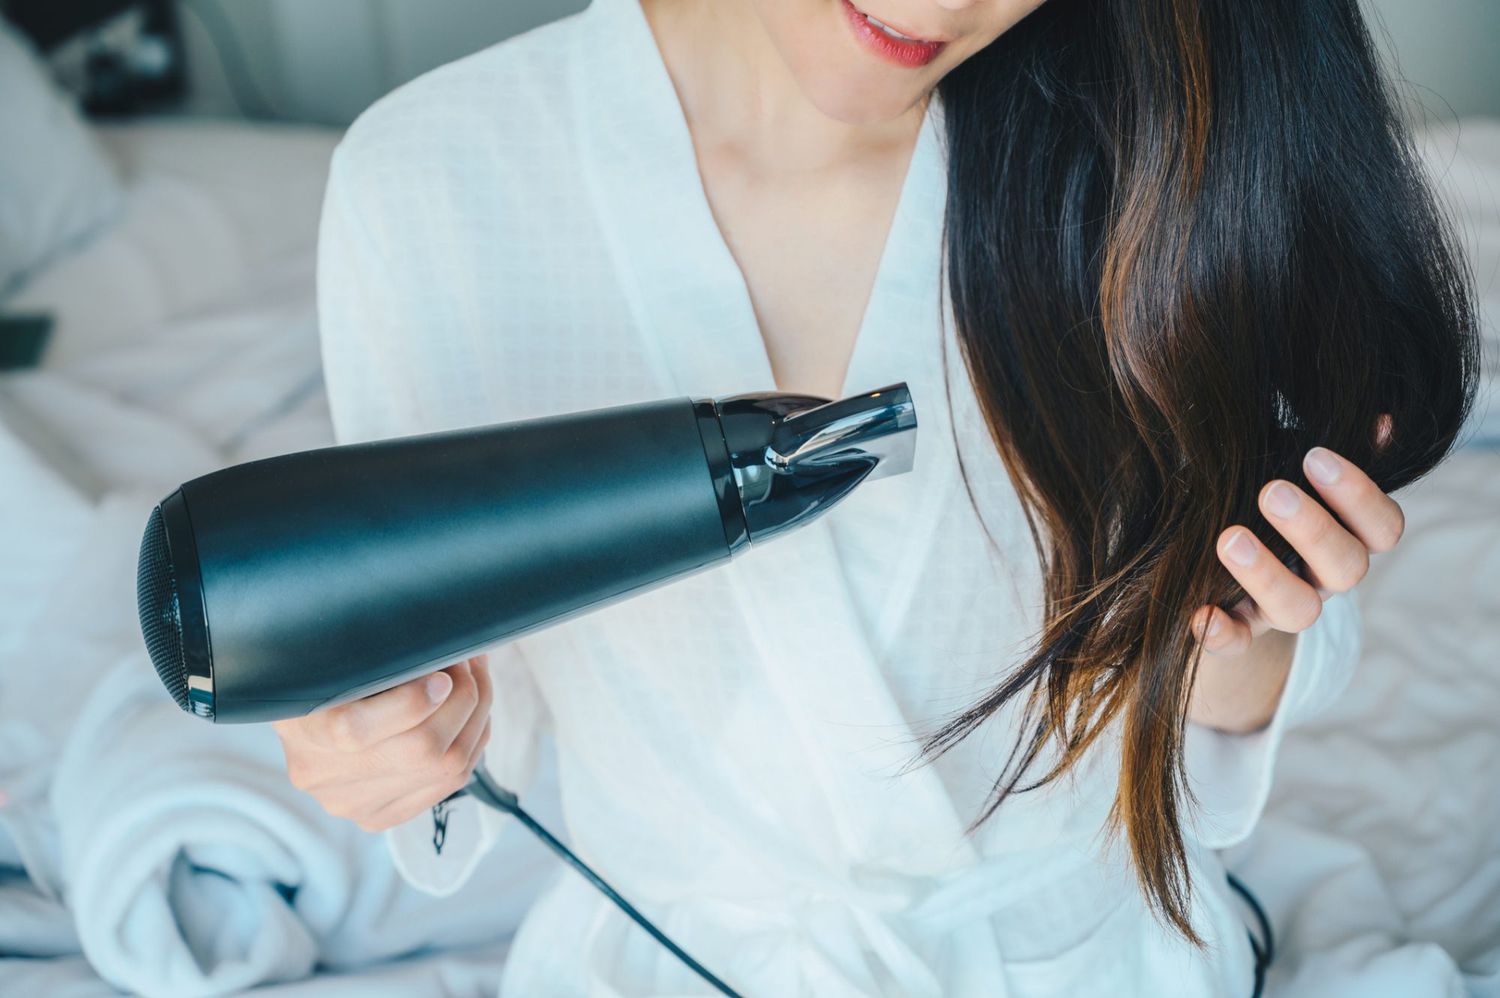
2. Hair Dryer: A standard hair dryer with adjustable heat settings will serve as your trusty tool for melting the crayons. Make sure it's in good working condition and ready to unleash a gentle stream of warm air to bring your artistic vision to life.
3. Canvas or Thick Paper: Select a sturdy canvas or thick paper as your artistic surface. The durability of the material will ensure that it can withstand the melted wax and preserve your creation for years to come.
4. Hot Glue Gun (Optional): If you plan to create specific designs or patterns with your crayons, a hot glue gun can be handy for securing the crayons in place before melting them. This step is optional but can add precision to your artwork.
5. Protective Covering: To safeguard your workspace from stray wax splatters, consider using a protective covering such as newspapers or a plastic tablecloth. This will make the cleanup process a breeze and allow you to focus on your artistic endeavors without worrying about messes.
6. Disposable Gloves: While not mandatory, wearing disposable gloves can prevent your hands from coming into direct contact with the melted wax, making the cleanup process more convenient and keeping your hands clean.
With these materials at your disposal, you're all set to embark on your melted crayon art journey. Now that you have everything you need, let's move on to the exciting process of melting crayons with a hair dryer!
**
Steps to Melt Crayons with a Hair Dryer
**
Now that you have gathered your materials, it's time to dive into the mesmerizing process of melting crayons with a hair dryer. Follow these simple steps to unleash your creativity and bring your colorful visions to life:
1. Prepare Your Workspace: Set up your artistic space by covering the work surface with a protective layer, such as newspapers or a plastic tablecloth. This will safeguard the area from any wax splatters and make cleanup a breeze.
2. Select Your Canvas: Choose a sturdy canvas or thick paper as the surface for your artwork. Position it horizontally on your workspace, ensuring that it's secure and ready to showcase your vibrant creation.
3. Arrange the Crayons: If you have a specific design or pattern in mind, arrange the crayons on the canvas accordingly. You can use a hot glue gun to secure the crayons in place, ensuring that they stay put during the melting process.
4. Power Up the Hair Dryer: Plug in your hair dryer and select a low to medium heat setting. Hold the hair dryer at a slight distance from the crayons to allow the warm air to gently melt the wax without causing splatters.
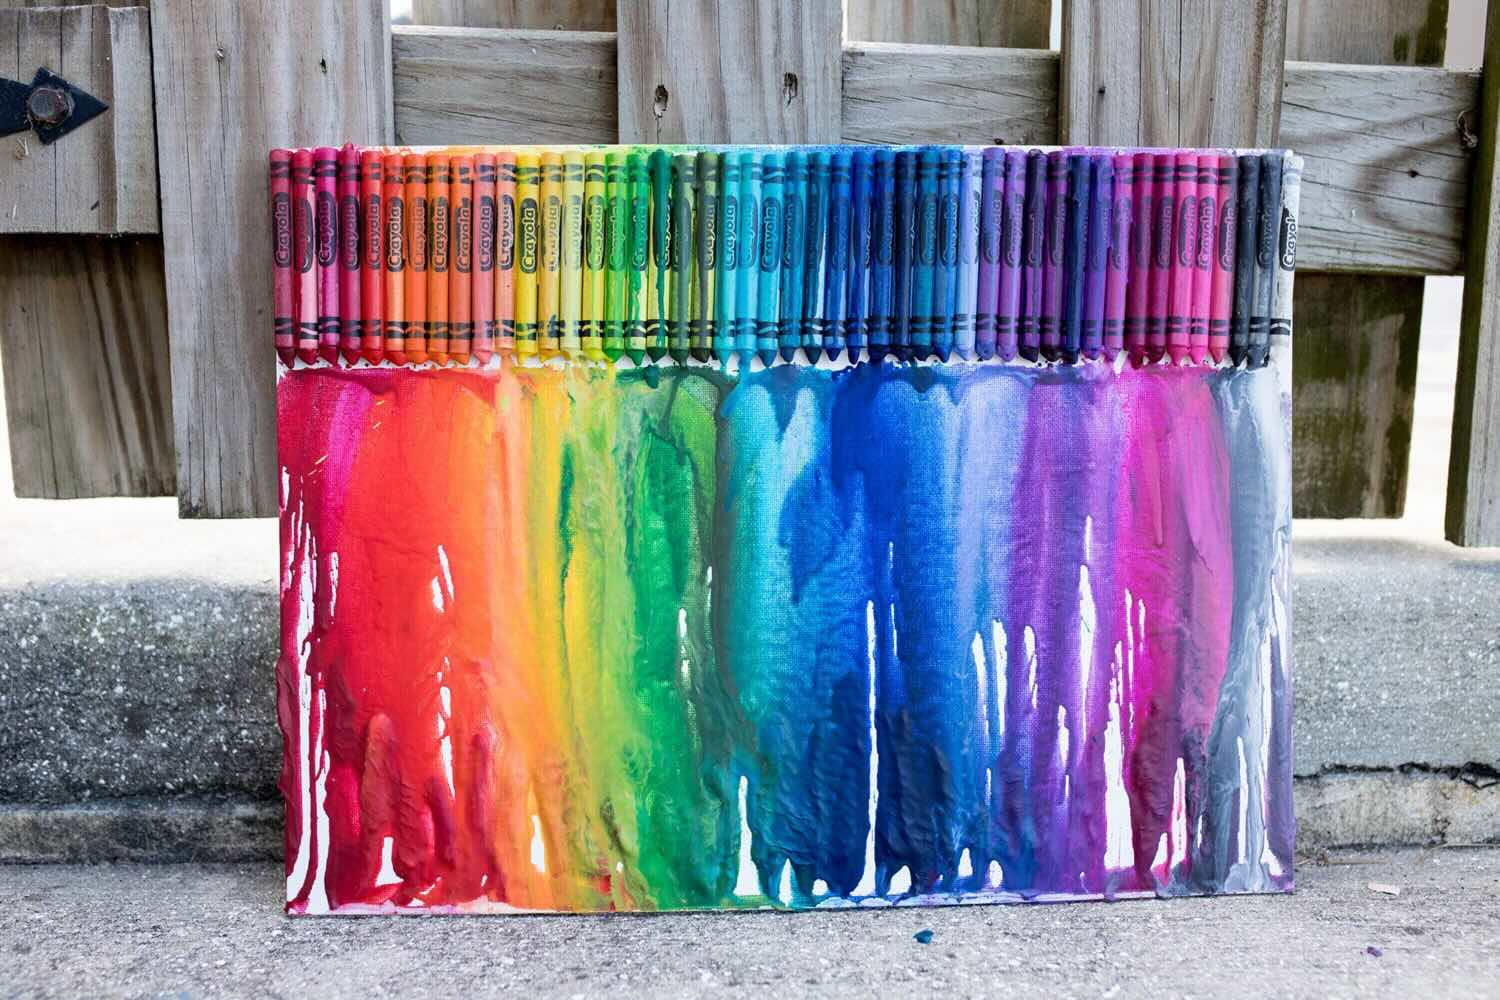
5. Begin the Melting Process: With the hair dryer in hand, aim the warm airflow at the crayons. As the wax starts to soften and melt, you'll witness a beautiful cascade of colors blending and flowing across the canvas, creating a stunning visual display.
6. Experiment with Angles and Distances: Explore different angles and distances between the hair dryer and the crayons to achieve varying effects. Adjusting the airflow can influence the direction and speed of the melting wax, allowing you to customize the appearance of your artwork.
7. Embrace Creativity: Let your imagination run wild as the crayons transform into a fluid, vibrant masterpiece. Feel free to experiment with color combinations, patterns, and movement, infusing your artwork with your unique artistic flair.
8. Allow the Artwork to Set: Once you're satisfied with the melted crayon design, allow the artwork to cool and set. This will ensure that the wax solidifies, preserving your creation for long-lasting enjoyment.
By following these steps, you can harness the power of a hair dryer to melt crayons and create captivating, one-of-a-kind artwork. With a dash of creativity and a gentle stream of warmth, you'll witness the magical transformation of solid crayons into a mesmerizing symphony of colors. Now, let's explore a few tips and tricks to elevate your melted crayon art even further!
**
Use a low heat setting on the hair dryer to slowly melt the crayons. Hold the dryer about 6 inches away from the crayons to prevent splattering. Keep the crayons moving to create a smooth, even melt.
Tips and Tricks
**
As you embark on your melted crayon art journey, consider incorporating these tips and tricks to enhance your artistic experience and achieve stunning results:
1. Experiment with Color Combinations: Mix and match different crayon colors to create visually striking combinations. Blend warm and cool tones or create captivating gradients to add depth and dimension to your artwork.
2. Embrace Texture and Movement: Explore the interplay of texture and movement in your melted crayon art. Tilt the canvas to guide the flow of the melted wax, creating dynamic patterns and captivating swirls that infuse your artwork with a sense of fluidity and energy.
3. Use Masking Tape for Clean Edges: If you prefer crisp, clean edges in your artwork, consider using masking tape to define boundaries before melting the crayons. This technique can result in sharp, defined lines and add a polished touch to your creations.
4. Incorporate Stencils and Silhouettes: Introduce stencils or silhouettes into your melted crayon art to create striking contrasts between the vibrant, flowing wax and defined shapes. Experiment with various designs to add visual interest and narrative depth to your artwork.
5. Explore Different Surfaces: While canvas and thick paper are popular choices, don't be afraid to experiment with alternative surfaces such as wood, fabric, or even recycled materials. Each surface offers unique properties that can influence the behavior and appearance of the melted crayons.
6. Add Embellishments: Elevate your melted crayon art by incorporating embellishments such as glitter, sequins, or metallic accents. These additions can introduce sparkle and dimension, transforming your artwork into a dazzling, multi-dimensional masterpiece.
7. Layering and Blending: Experiment with layering and blending techniques to create intricate, multi-dimensional effects. By melting multiple layers of crayons or blending colors together, you can achieve captivating transitions and enrich the visual depth of your artwork.
8. Protect Your Workspace: To minimize cleanup and ensure a hassle-free artistic process, consider using a dedicated workspace with protective coverings. This will safeguard your surfaces and make it easier to focus on your creative endeavors without worrying about potential messes.
By incorporating these tips and tricks into your melted crayon art practice, you can elevate your creations and unlock a world of artistic possibilities. Let your imagination soar as you experiment with color, texture, and innovative techniques, and watch as your melted crayon art evolves into a captivating reflection of your creativity. With these insights in mind, you're well-equipped to embark on a vibrant, colorful journey of self-expression and artistic exploration.
**
Conclusion
**
Congratulations on embarking on a colorful, captivating journey into the world of melted crayon art! By exploring the enchanting process of melting crayons with a hair dryer, you have unlocked a realm of artistic expression and boundless creativity. This simple yet mesmerizing technique has empowered you to transform ordinary crayons into vibrant, fluid masterpieces that captivate the eye and stir the imagination.
As you’ve discovered, melted crayon art offers a delightful fusion of playfulness and artistic exploration, inviting you to experiment with color, texture, and movement in a truly immersive manner. With just a hair dryer and a handful of crayons, you’ve harnessed the power of heat to orchestrate a symphony of colors, infusing your creations with a sense of wonder and joy.
Remember, the beauty of melted crayon art lies in its versatility and accessibility. Whether you’re a seasoned artist or a curious beginner, this technique welcomes you with open arms, inviting you to unleash your creativity and express your unique vision through a kaleidoscope of hues.
As you continue to hone your skills and explore the endless possibilities of melted crayon art, don’t hesitate to embrace experimentation, playfulness, and a spirit of joyful discovery. Let your imagination take flight as you blend colors, introduce textures, and craft captivating narratives through the fluid medium of melted wax.
With the tips, tricks, and step-by-step guidance provided, you’re well-equipped to embark on a vibrant, colorful journey of self-expression and artistic exploration. Whether you choose to create mesmerizing landscapes, abstract compositions, or heartfelt messages, your melted crayon art is a reflection of your unique perspective and boundless creativity.
So, gather your materials, power up your hair dryer, and let the colors flow. Embrace the magic of melted crayon art as you breathe life into your creations, infusing them with the warmth of your imagination and the vibrancy of your spirit.
May your artistic endeavors be filled with joy, discovery, and a kaleidoscope of colors. Let the melted crayons dance across your canvas, weaving tales of creativity and wonder. The world is your palette, and with a hair dryer in hand, you’re ready to paint it with the radiant beauty of melted crayon art.
Frequently Asked Questions about How To Melt Crayons With A Hair Dryer
Was this page helpful?
At Storables.com, we guarantee accurate and reliable information. Our content, validated by Expert Board Contributors, is crafted following stringent Editorial Policies. We're committed to providing you with well-researched, expert-backed insights for all your informational needs.


0 thoughts on “How To Melt Crayons With A Hair Dryer”