Articles
How To Store Crispy Chickpeas
Modified: January 6, 2024
Discover the best way to store crispy chickpeas to maintain their crunchiness. Read articles with step-by-step instructions and tips for long-lasting crispy chickpeas.
(Many of the links in this article redirect to a specific reviewed product. Your purchase of these products through affiliate links helps to generate commission for Storables.com, at no extra cost. Learn more)
Introduction
Welcome to the world of crispy chickpeas! If you’re a fan of crunchy snacks, then you’re in for a treat. Crispy chickpeas are a delicious and healthy alternative to traditional potato chips or popcorn. They make a great addition to salads, bowls, or can be enjoyed as a standalone snack. Plus, they’re incredibly easy to make at home!
In this article, we’ll guide you through the process of storing crispy chickpeas to maintain their crunchiness and flavor for as long as possible. From choosing the right chickpeas to seasoning them and storing them properly, we’ve got you covered. So, let’s dive in and discover how to enjoy perfect crispy chickpeas every time!
Key Takeaways:
- Choosing dried chickpeas over canned ones and properly soaking and drying them are essential steps to achieving the perfect crunch in crispy chickpeas. Quality ingredients and thorough preparation make all the difference!
- Storing crispy chickpeas in airtight containers, avoiding moisture, and following expert tips can help maintain their crunchiness for longer. With the right care, you can enjoy your homemade crispy chickpeas for up to a week or even freeze them for later enjoyment.
Read more: How To Store Chickpeas
Choosing the Chickpeas
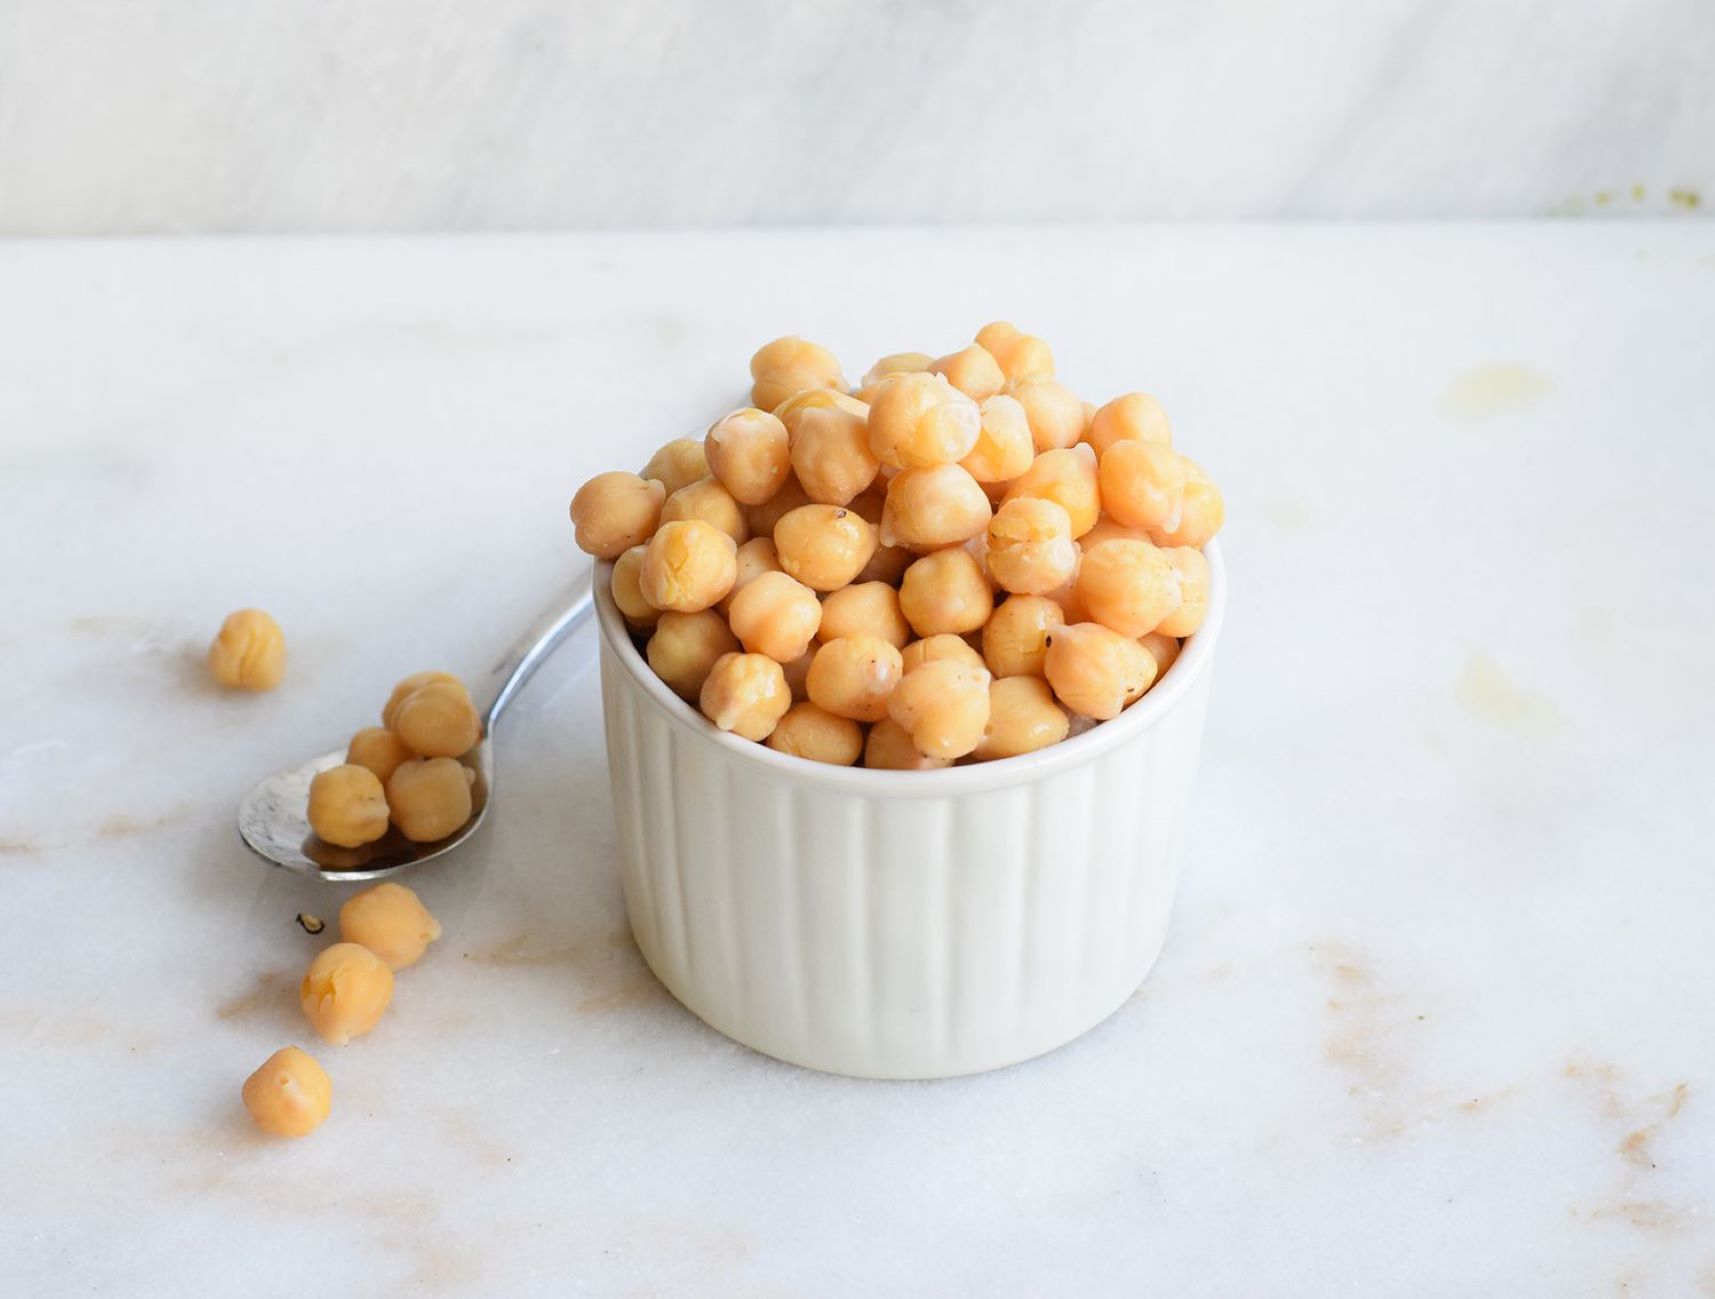
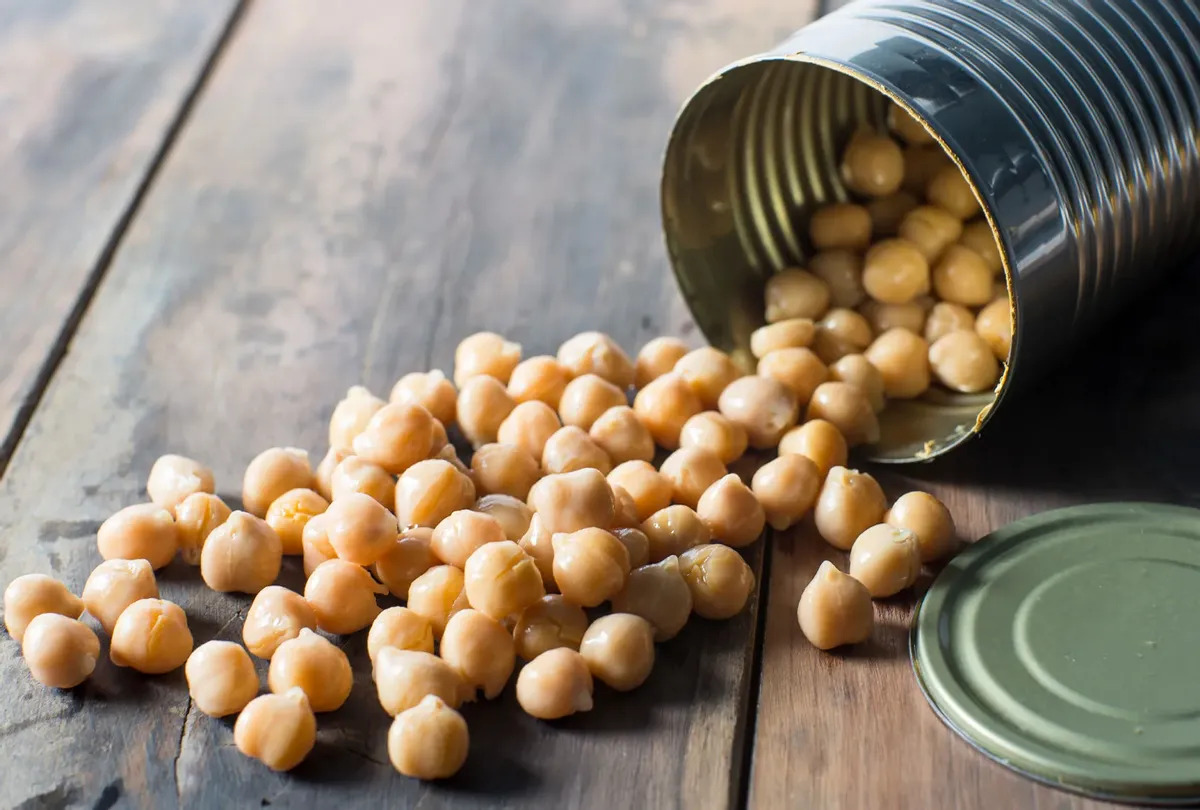
When it comes to making crispy chickpeas, selecting the right kind of chickpeas is crucial. There are two main options available: canned chickpeas and dried chickpeas.
If you’re looking for convenience and a shorter cooking time, canned chickpeas are the way to go. They are already cooked, making the process much faster. However, keep in mind that canned chickpeas may be softer and not hold their shape as well when crispy, so they might not retain their crunchiness for extended periods of time.
On the other hand, if you’re willing to put in a little more time and effort, dried chickpeas are recommended. Dried chickpeas require soaking and cooking before being transformed into crispy snacks. This process helps the chickpeas hold their shape and ensures a crunchier texture.
When choosing dried chickpeas, make sure to look for ones that are unblemished and uniform in size. This ensures even cooking and consistent results. Additionally, opt for organic or high-quality chickpeas to ensure freshness and better flavor.
No matter which option you choose, chickpeas are a healthy source of protein, fiber, and various vitamins and minerals. So, let’s move on to the next step in making crispy chickpeas – soaking them!
Soaking the Chickpeas
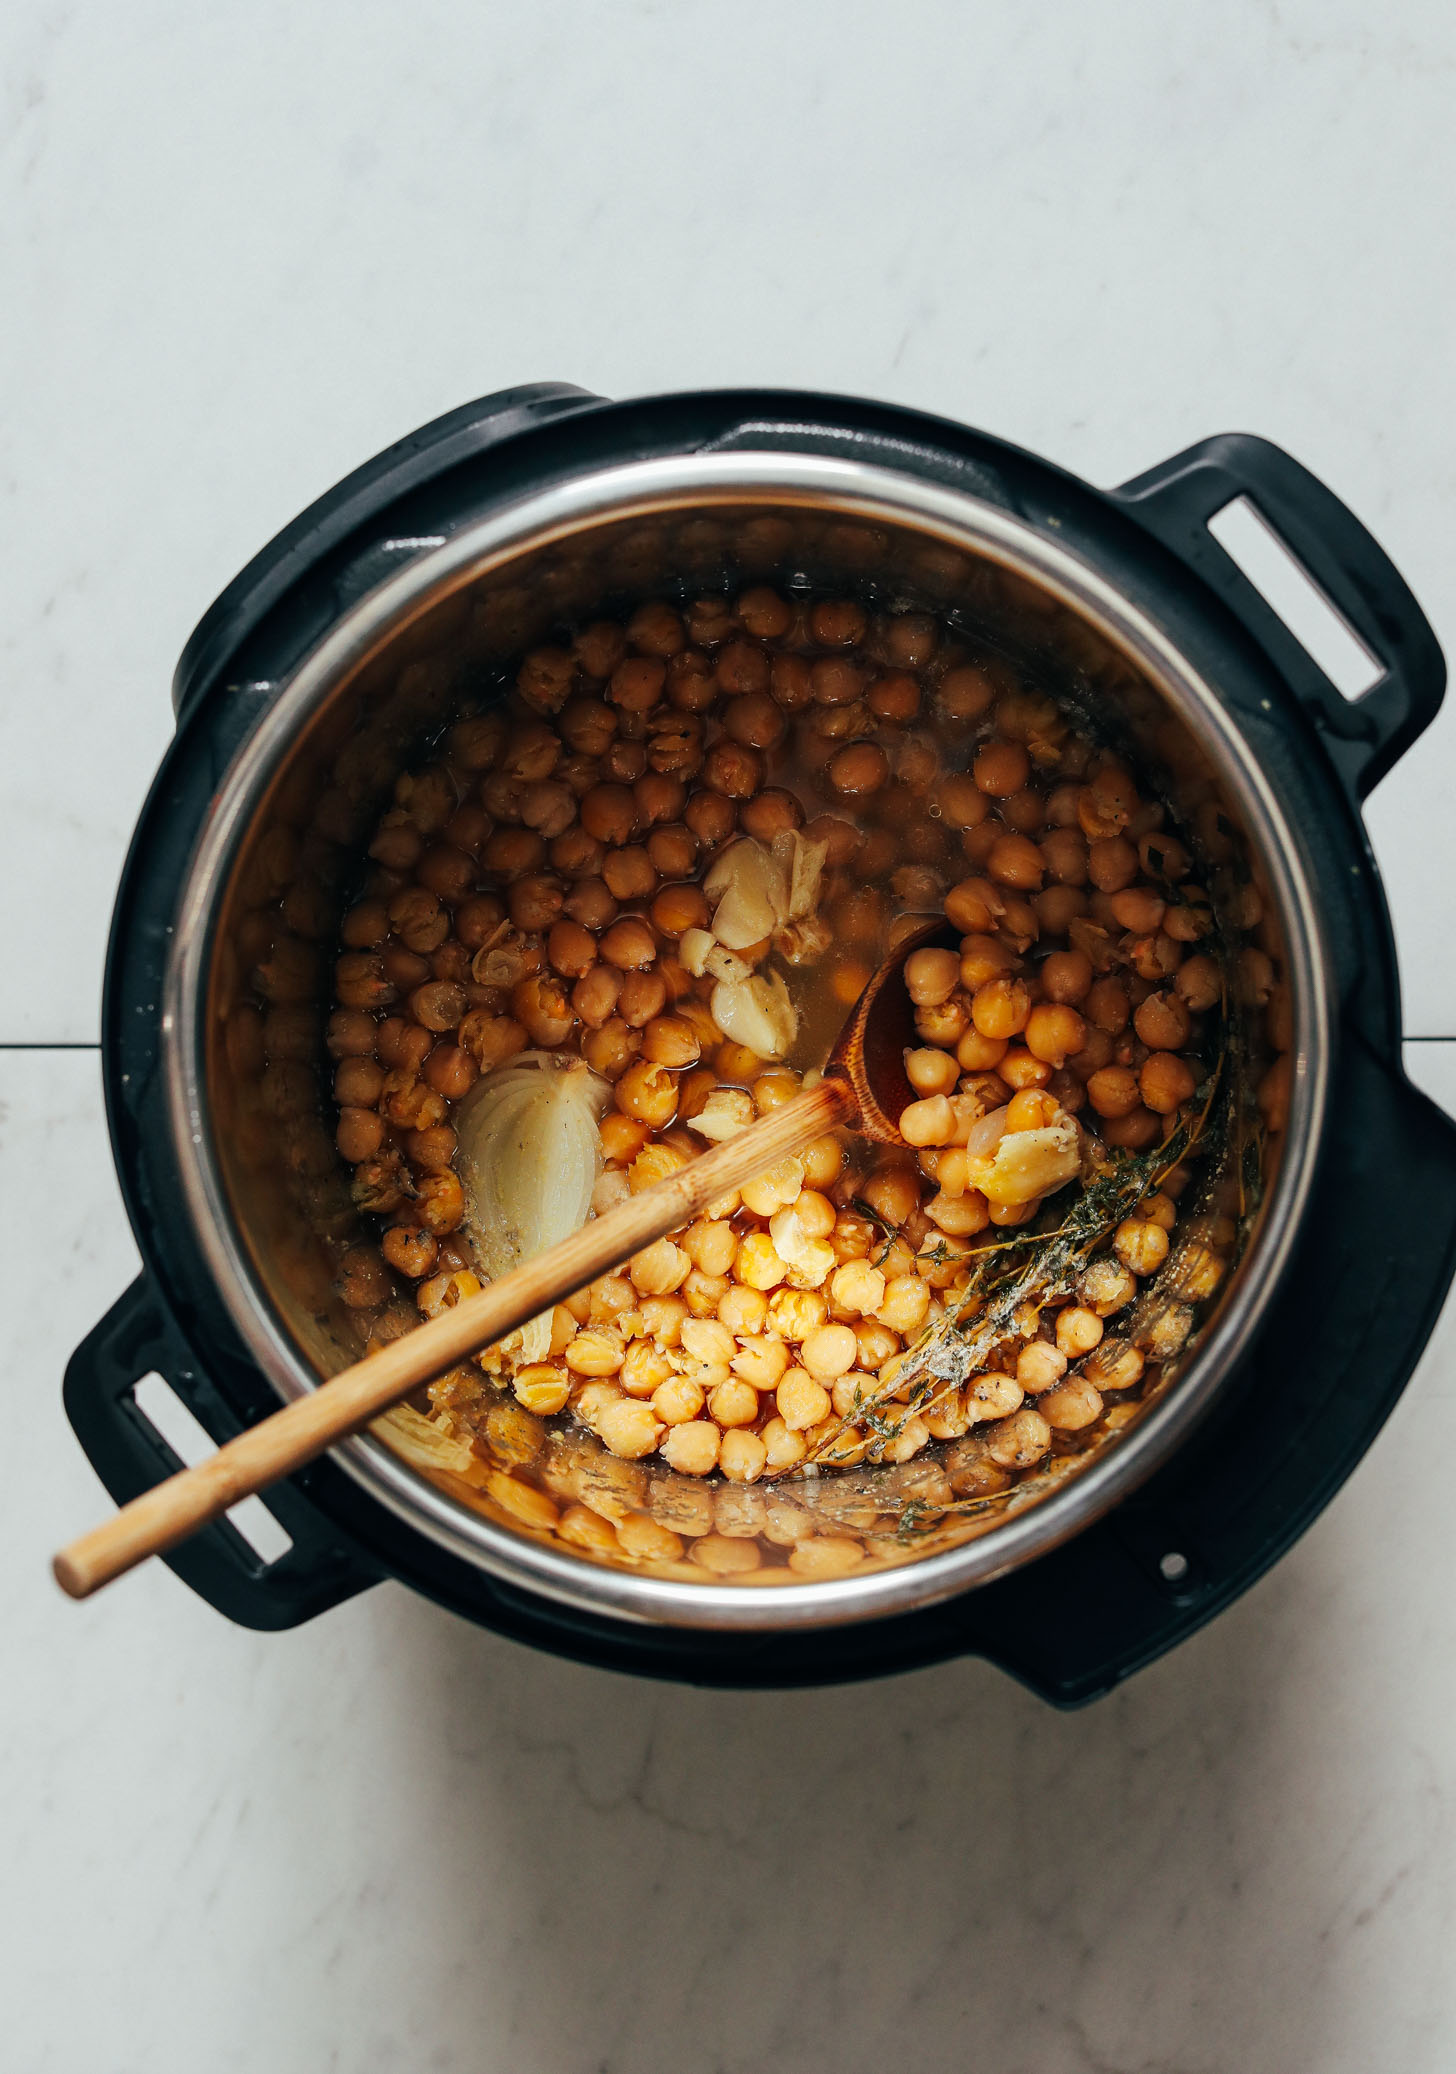
Before you can transform your chickpeas into crispy snacks, it’s important to soak them properly. Soaking helps to soften the chickpeas and reduce their cooking time, resulting in a better texture and flavor.
If you’re using dried chickpeas, start by sorting and rinsing them under cold water to remove any debris. Then, place the chickpeas in a large bowl and cover them with plenty of water. It’s recommended to use a ratio of 3 cups of water for every 1 cup of chickpeas.
Let the chickpeas soak overnight or for a minimum of 8 to 10 hours. This allows them to absorb water and rehydrate. If you’re short on time, you can use the quick-soak method. Simply bring the chickpeas to a boil in a pot of water and let them simmer for 2 minutes. Then, remove the pot from heat, cover it, and let the chickpeas sit for 1 hour.
After the soaking time is complete, drain and rinse the chickpeas thoroughly. This helps to remove any residual dirt or starch. At this stage, you can also remove any loose skins that may have come off the chickpeas. While the skins are edible, removing them can help achieve a smoother and more even texture for your crispy chickpeas.
Your chickpeas are now ready for the next step – drying them before baking or frying. Let’s explore how to dry the chickpeas properly.
Drying the Chickpeas
After soaking and rinsing the chickpeas, it’s important to ensure that they are dry before proceeding with the cooking process. Removing excess moisture is essential for achieving crispy results.
Start by spreading the chickpeas out on a clean kitchen towel or paper towels. Gently pat them dry to remove as much moisture as possible. It’s important to be thorough and ensure that there is no excess water remaining on the chickpeas.
Once you’ve removed most of the moisture, transfer the chickpeas to a baking sheet lined with parchment paper. Make sure the chickpeas are spread out in a single layer, giving them enough space for even drying.
Allow the chickpeas to air dry for about 30 minutes to 1 hour. This will help any remaining moisture evaporate and reduce the chances of the chickpeas becoming soft during the cooking process.
If you’re in a rush or want to speed up the drying process, you can also use a fan or a low-heat oven to dry the chickpeas more quickly. Just make sure to keep the heat low to avoid cooking them prematurely.
Once the chickpeas are dry, it’s time to add some delicious seasonings to enhance their flavor. Let’s move on to the next step – seasoning the chickpeas!
To store crispy chickpeas, make sure they are completely cooled before transferring them to an airtight container. Store at room temperature for up to 1 week for optimal crispiness.
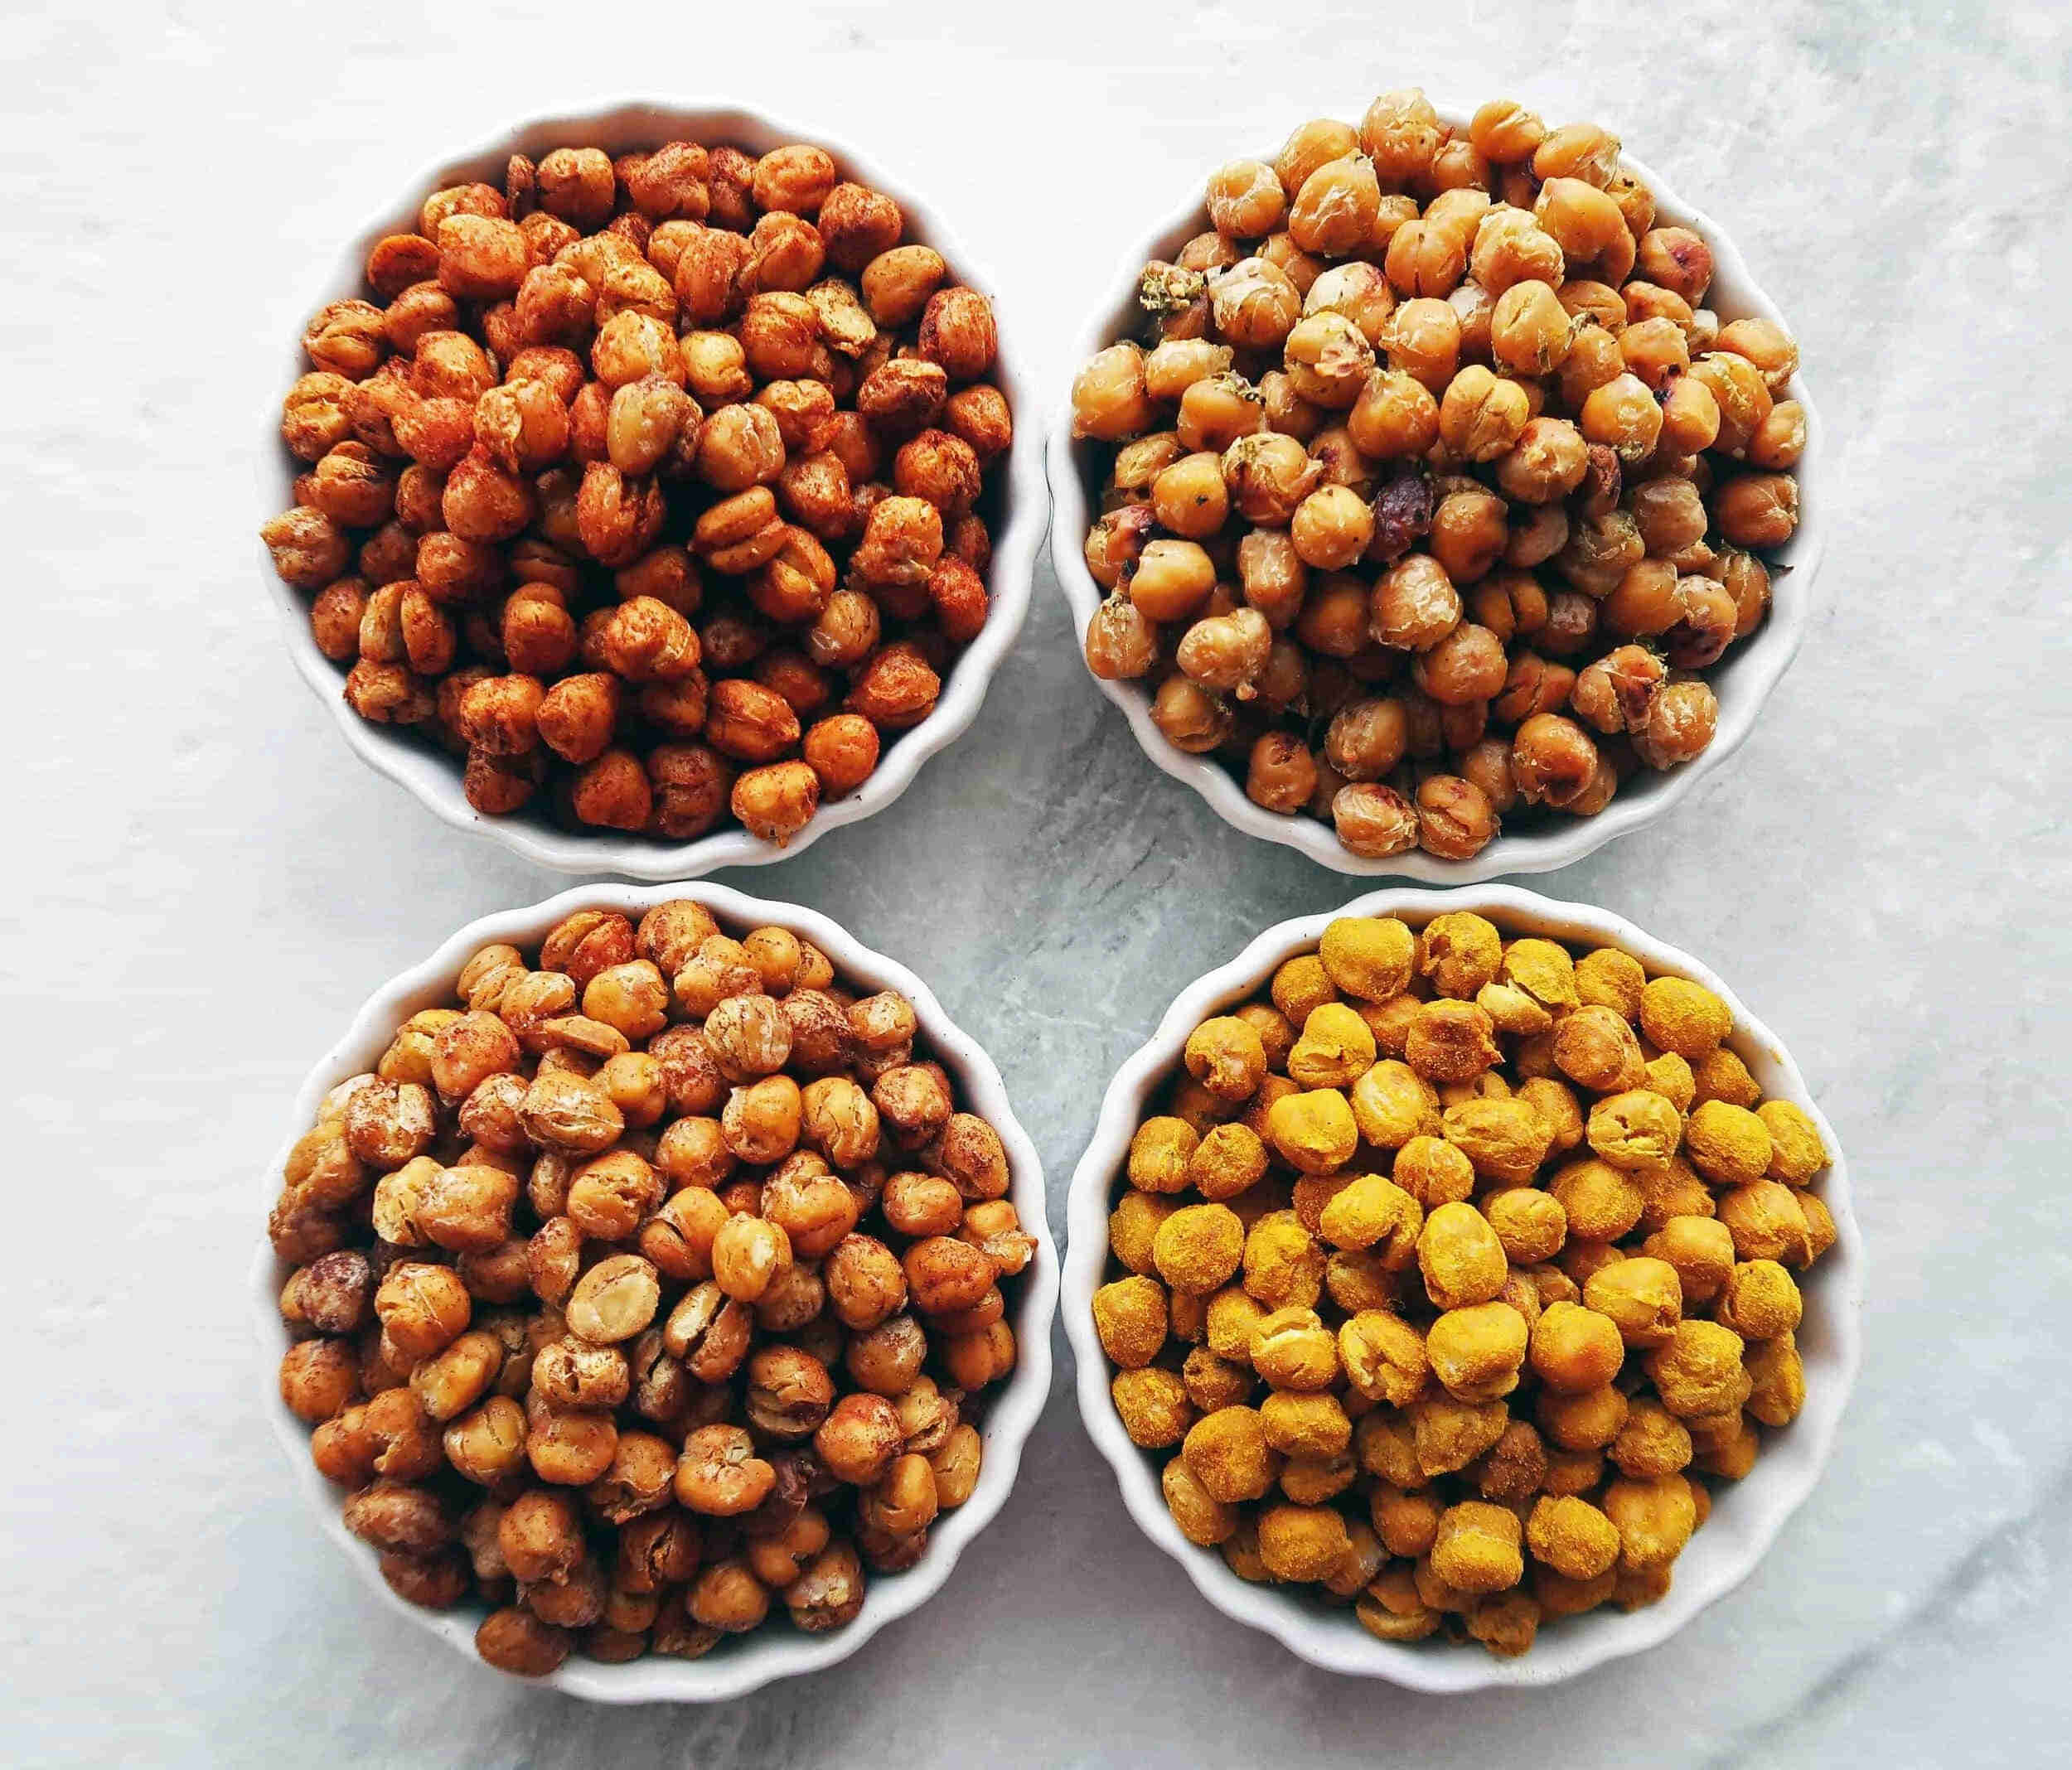
Seasoning the Chickpeas
Now that your chickpeas are dry and ready, it’s time to add some flavor! Seasoning is the key to transforming plain chickpeas into irresistibly tasty crispy snacks.
Firstly, preheat your oven to 400°F (200°C). While the oven is heating up, you can prepare your seasonings. The options are endless, so feel free to get creative with your flavor combinations.
A classic and simple option is to toss the chickpeas with olive oil, salt, and pepper. This gives them a delicious and savory base. You can also experiment with spices like paprika, cumin, chili powder, or garlic powder to add a kick of flavor.
If you prefer a sweeter snack, you can try seasoning the chickpeas with cinnamon and a touch of honey or maple syrup. This creates a caramelized coating that is both sweet and crunchy.
Once you’ve chosen your seasonings, drizzle the chickpeas with a tablespoon or two of olive oil or your desired oil of choice. Use your hands or a spoon to mix the chickpeas gently, ensuring each one is coated with the seasonings and oil.
Be sure not to overcrowd the chickpeas on the baking sheet. They should still be in a single layer to allow for even cooking and crisping. If necessary, use multiple baking sheets or bake the chickpeas in batches.
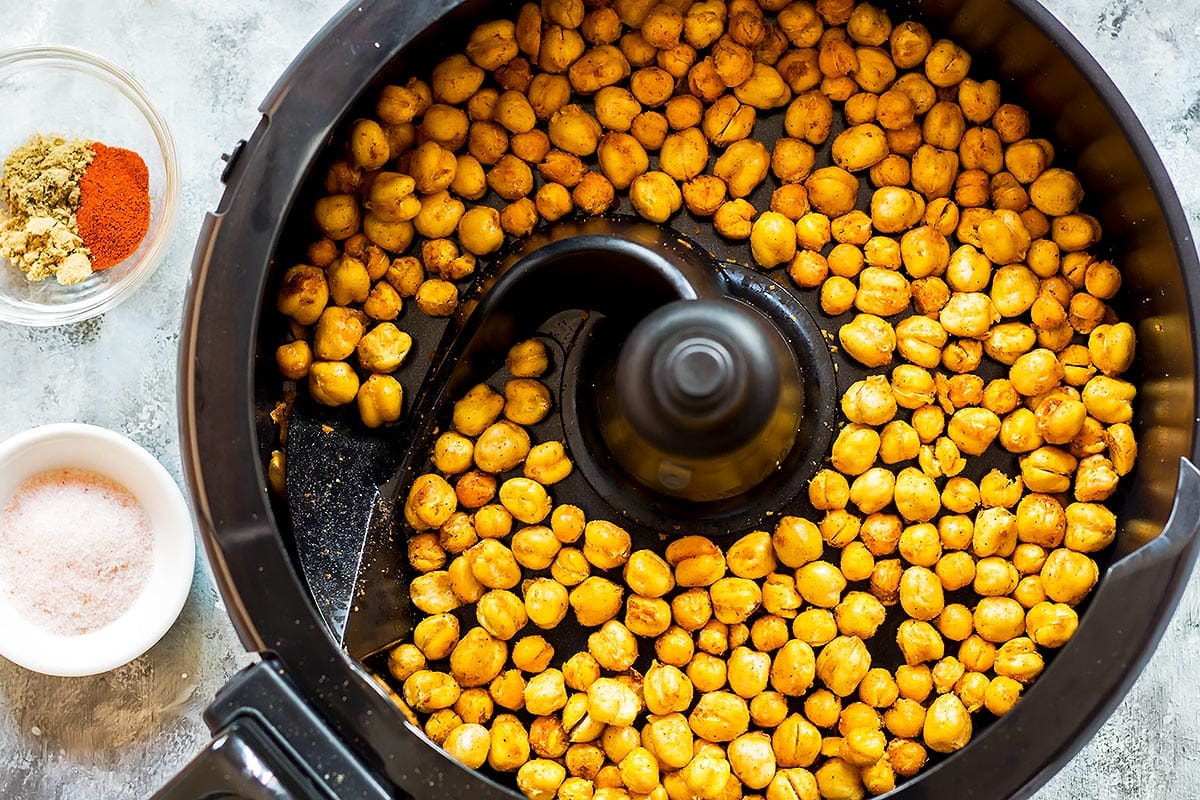
Now, it’s time to pop the seasoned chickpeas into the preheated oven. Bake them for approximately 25-30 minutes, or until they turn golden brown and crispy. Remember to give them a gentle shake or stir halfway through to ensure they cook evenly.
Remove the chickpeas from the oven and let them cool completely before moving on to the final step – storing the crispy chickpeas.
Read more: How To Store Roasted Chickpeas
Storing the Crispy Chickpeas
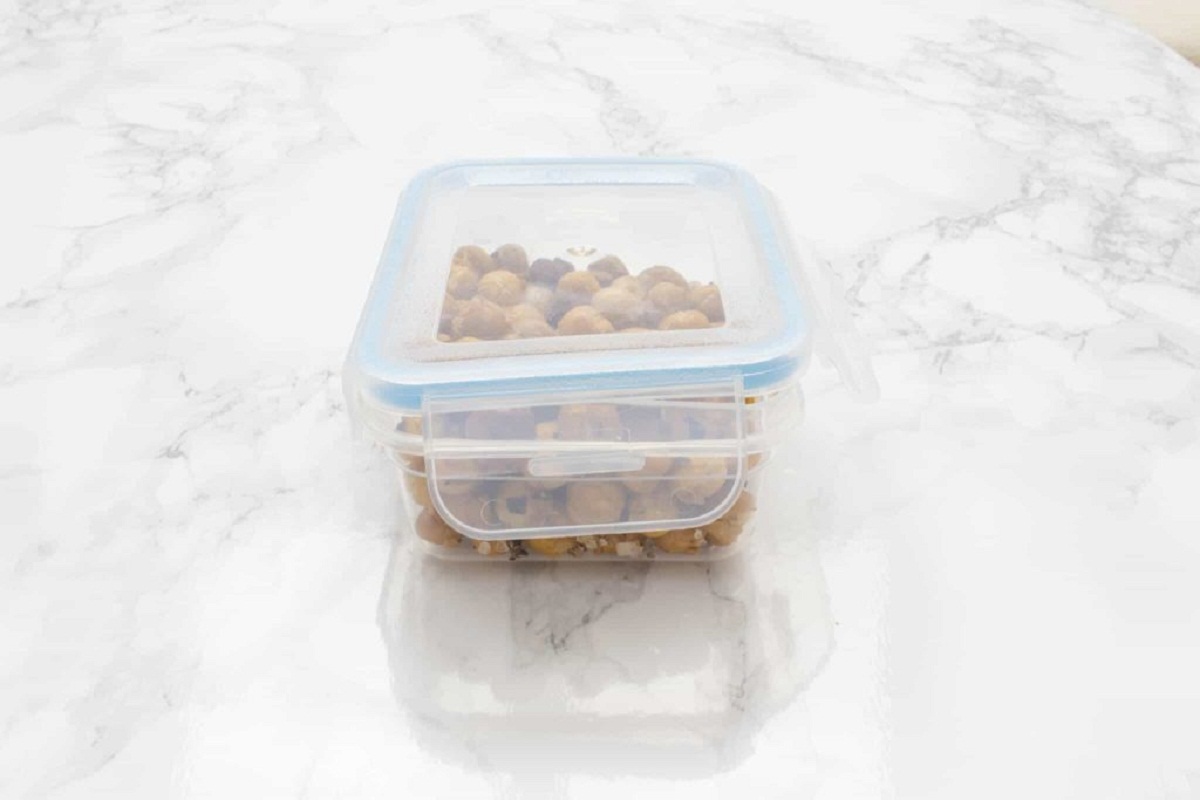
Now that your crispy chickpeas are ready, it’s time to store them properly to maintain their crunchiness and flavor. The key is to store them in an airtight container to protect them from moisture and humidity.
Begin by ensuring that the chickpeas are completely cooled down. If you store them while they’re still warm, condensation can occur and make them lose their crunch.
Once cooled, transfer the crispy chickpeas to a clean and dry airtight container. Mason jars, ziplock bags, or airtight food storage containers work well for this purpose.
If you’re planning to eat them within a few days, you can simply store them at room temperature. However, if you want to extend their shelf life, it’s recommended to store them in the refrigerator.
Refrigeration helps to keep the chickpeas crisp for a longer period of time. Just make sure the container is sealed tightly to prevent any moisture from seeping in.
It is important to note that as time goes by, the crispy texture of the chickpeas may slightly diminish. However, with proper storage, they should still remain enjoyable for up to a week.
If you’re looking to store crispy chickpeas for an even longer period, you can consider freezing them. Place the cooled chickpeas in a freezer-safe container or bag and store them in the freezer. When you’re ready to enjoy them, simply thaw them at room temperature and they should regain their crunch.
Now that you know how to store your crispy chickpeas, let’s explore some tips for maintaining their crunchiness.
Tips for Maintaining the Crunchiness
To ensure that your crispy chickpeas stay crunchy for as long as possible, consider the following tips:
- Allow the chickpeas to cool completely before storing them. This helps prevent moisture buildup, which can lead to sogginess.
- Store the chickpeas in an airtight container to protect them from humidity and moisture. This will help maintain their crispy texture.
- Avoid storing the chickpeas in the refrigerator or pantry where they may be exposed to fluctuating temperatures. Instead, choose a cool and dry location.
- If you notice any signs of moisture or sogginess in the container, place the chickpeas back in the oven at a low temperature for a few minutes to crisp them up again.
- Avoid adding any wet or moist ingredients to the container with the chickpeas, as this can cause them to become soft.
- Consider adding a moisture-absorbing packet to the container, such as a silica gel packet, to help prevent moisture buildup.
- If you plan to transport the chickpeas or take them on-the-go, store them in a small airtight container or resealable bag to maintain their crunchiness.
- Enjoy the crispy chickpeas within a week for the best texture. Over time, they may lose some of their crunchiness.
By following these tips, you can maximize the shelf life and maintain the crispy texture of your chickpeas, ensuring that they stay enjoyable for longer.
Conclusion
Crispy chickpeas are a delightful and healthy snack that can satisfy your craving for something crunchy. By following the steps outlined in this article, you can create your own batch of perfectly crispy chickpeas at home.
From choosing the right chickpeas to soaking them, drying them, and adding delicious seasonings, each step plays a crucial role in achieving the desired crunchiness. Additionally, proper storage techniques are essential for maintaining their texture and flavor for as long as possible.
Remember, whether you’re using canned or dried chickpeas, taking the time to properly dry them and season them will enhance their overall taste and crunch. Experiment with different seasonings and spices to create a variety of flavors to suit your palate.
Lastly, be sure to store your homemade crispy chickpeas in airtight containers in a cool and dry location. This will help preserve their crispiness and prevent them from becoming soft or soggy.
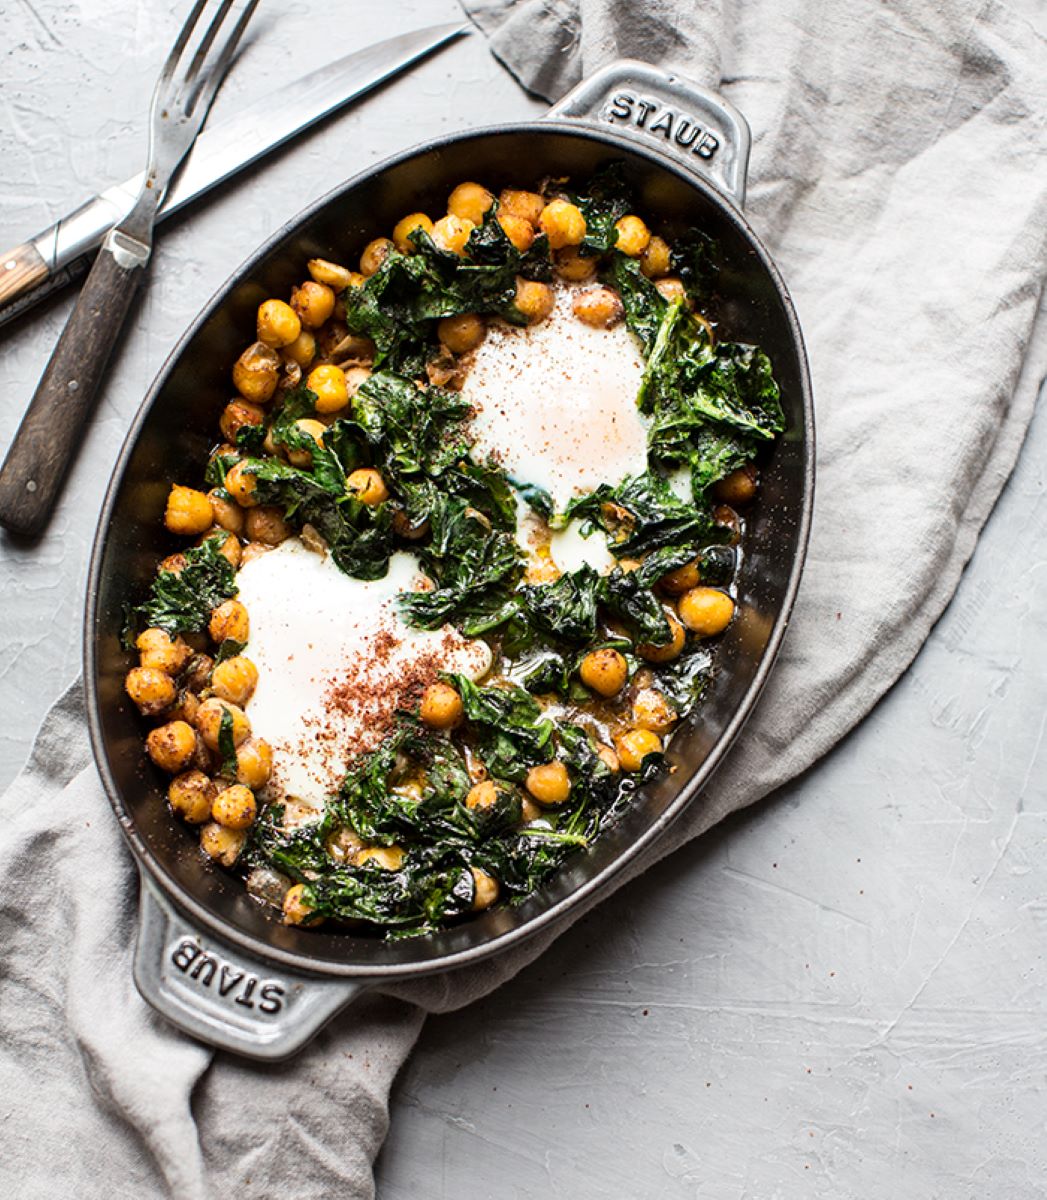
So, now that you have all the knowledge and tips to make crispy chickpeas, it’s time to get creative in the kitchen and enjoy this nutritious and addictive snack. Whether you’re adding them to salads, enjoying them as a snack, or using them as a topping for your favorite dishes, crispy chickpeas are sure to be a hit!
Happy snacking!
Frequently Asked Questions about How To Store Crispy Chickpeas
Was this page helpful?
At Storables.com, we guarantee accurate and reliable information. Our content, validated by Expert Board Contributors, is crafted following stringent Editorial Policies. We're committed to providing you with well-researched, expert-backed insights for all your informational needs.


0 thoughts on “How To Store Crispy Chickpeas”