Home>Articles>How To Get Crispy Waffles With A Sunbeam Waffle Iron
Articles
How To Get Crispy Waffles With A Sunbeam Waffle Iron
Modified: August 26, 2024
Discover the secret to making the perfect crispy waffles with a Sunbeam waffle iron. Read our articles for expert tips and tricks.
(Many of the links in this article redirect to a specific reviewed product. Your purchase of these products through affiliate links helps to generate commission for Storables.com, at no extra cost. Learn more)
Introduction
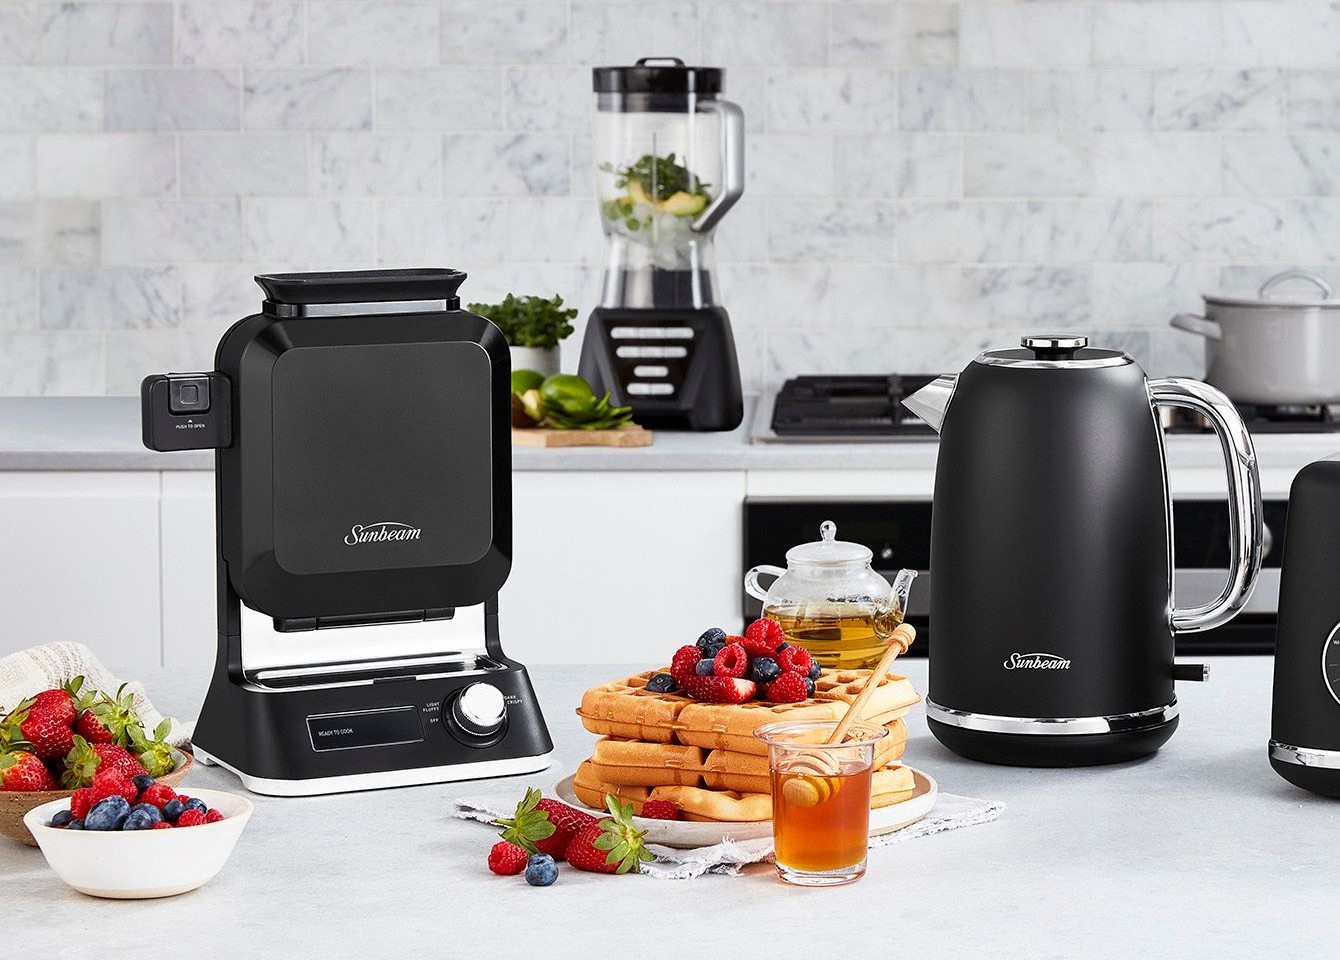
When it comes to breakfast or brunch, there’s nothing quite as satisfying as a stack of crispy, golden brown waffles. Whether you’re a fan of traditional, fluffy Belgian waffles or prefer a thinner, crispier style, achieving the perfect texture can sometimes be a challenge. But fear not, with the right tools and techniques, you can easily create deliciously crispy waffles every time using a Sunbeam waffle iron.
In this article, we will guide you through the process of getting the perfect crispiness with your Sunbeam waffle iron. From preparing the iron to serving up delectably crispy waffles, we have got you covered.
So, let’s dive in and discover how to unlock the full potential of your Sunbeam waffle iron to create irresistible crispy waffles that will wow your family and friends!
Key Takeaways:
- Master the art of crispy waffles with your Sunbeam waffle iron by preheating, adding batter, and testing for the perfect crunch. Serve with creative toppings for a delightful breakfast or dessert experience.
- Achieve crispy waffle perfection by properly preparing, preheating, and cooking with your Sunbeam waffle iron. Elevate the experience with indulgent toppings and enjoy the delightful results.
Read more: How To Disassemble A Sunbeam Waffle Iron
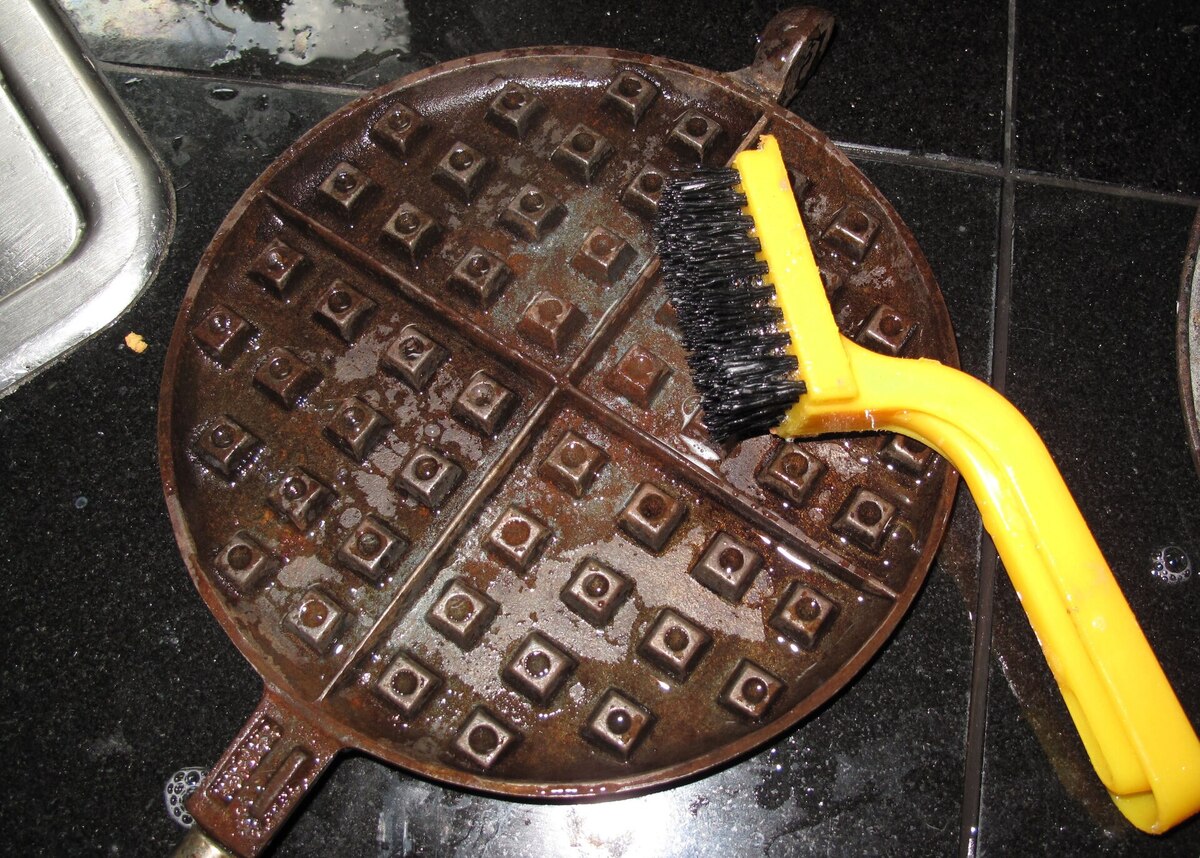
Preparing the Waffle Iron
To ensure that your waffles turn out crispy and evenly cooked, it is crucial to properly prepare your Sunbeam waffle iron before you start cooking. Here’s what you need to do:
- Read the Instruction Manual: Before using your Sunbeam waffle iron, it’s important to read the instruction manual provided by the manufacturer. This will familiarize you with the specific features and settings of your waffle iron.
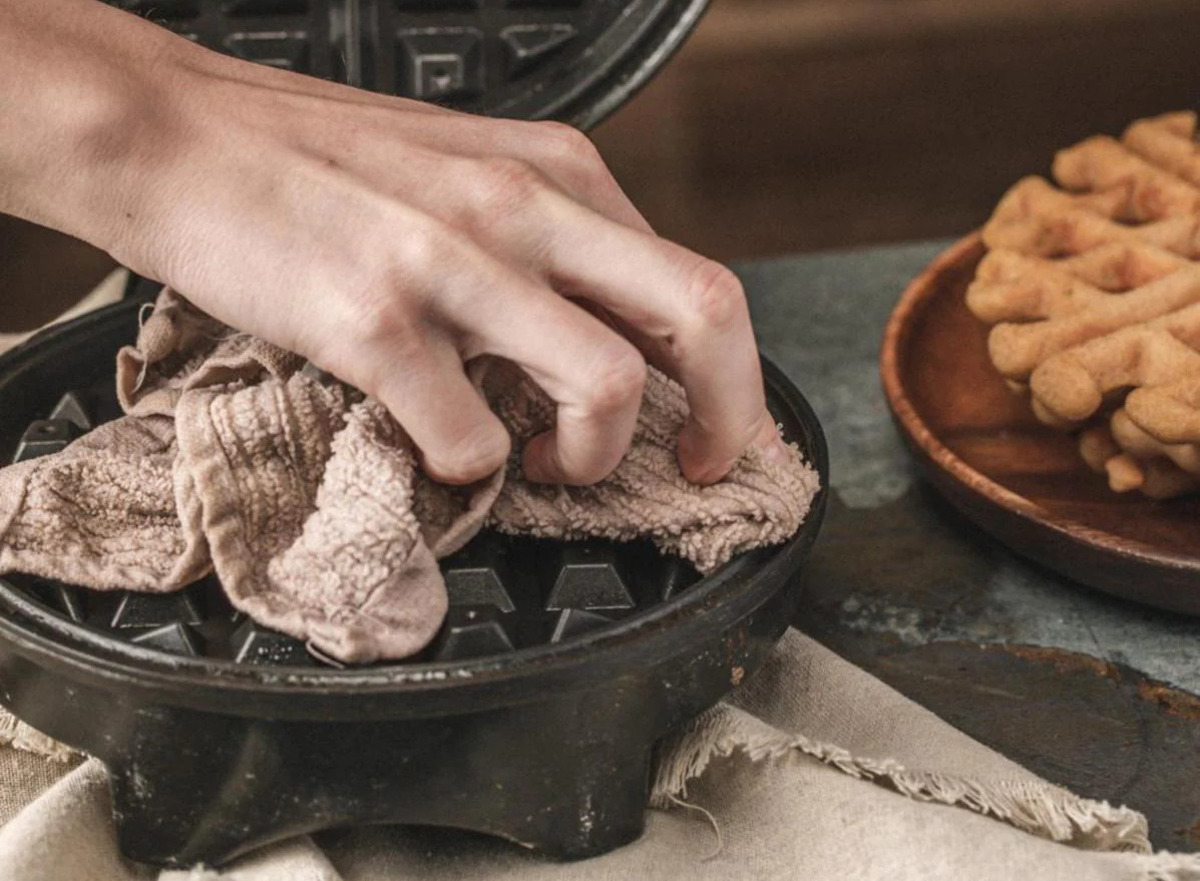
- Season the Plates: Many waffle irons have non-stick plates, but it’s still a good idea to season them before the first use to create an extra layer of non-stick coating. Simply brush the plates with a thin layer of vegetable oil or use cooking spray.
- Preheat the Waffle Iron: Turn on your Sunbeam waffle iron and preheat it to the recommended temperature. This usually takes a few minutes, and a green light or indicator will let you know when it’s ready.
Properly preparing your waffle iron will help ensure that your waffles don’t stick to the plates and will contribute to achieving that desirable crispiness.
Mixing the Batter
Now that your Sunbeam waffle iron is preheating, it’s time to prepare the batter. The ingredients and mixing technique play a crucial role in achieving crispy waffles. Follow these steps to ensure a delightful batter:
- Gather the Ingredients: The basic waffle batter usually consists of flour, sugar, baking powder, salt, eggs, milk, and melted butter. Make sure you have all the ingredients measured and ready to go.
- Combine Dry Ingredients: In a large mixing bowl, whisk together the flour, sugar, baking powder, and salt. This ensures that the dry ingredients are evenly distributed, resulting in a consistent batter.
- Beat the Eggs: In a separate bowl, beat the eggs until they are well-combined and slightly frothy. This helps to incorporate air into the batter, leading to a lighter texture.
- Add Wet Ingredients: Pour the milk, melted butter, and beaten eggs into the bowl of dry ingredients. Use a spatula or whisk to gradually combine the ingredients until just combined. Be careful not to overmix, as this can lead to tough waffles.
By following these steps, you’ll create a well-balanced and smooth batter that will contribute to the crispy texture of your waffles. Remember, it’s important to have the batter prepared and ready to use once the waffle iron is preheated.
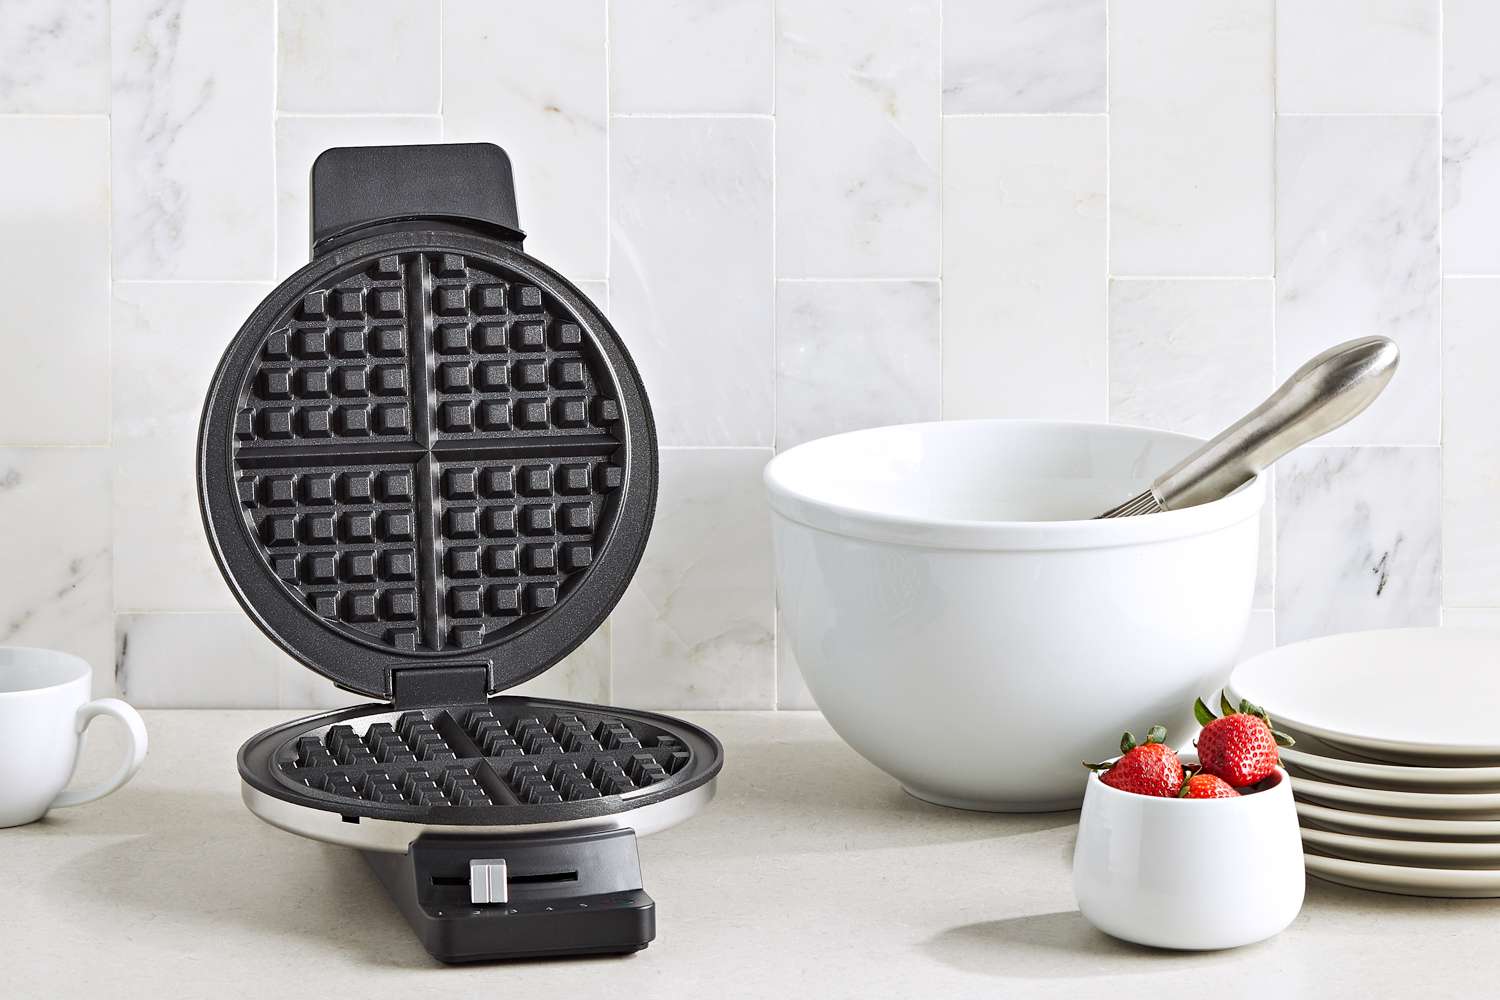
Preheating the Waffle Iron
Now that you have prepared the batter, it’s time to focus on the next step: preheating your Sunbeam waffle iron. Preheating is essential for achieving evenly cooked and crispy waffles. Follow these steps to ensure your waffle iron is properly preheated:
- Turn on the Waffle Iron: Switch on your Sunbeam waffle iron and adjust the temperature settings according to the manufacturer’s instructions. Most waffle irons have an indicator light that will turn on when it’s heating up.
- Wait for the Indicator Light: Allow the waffle iron to heat up until the indicator light turns green or until the iron reaches the optimal temperature. This usually takes a few minutes, but it may vary depending on the specific model.
- Monitor the Heat: Pay close attention to the temperature of the waffle iron and ensure it remains consistent. This will ensure that the waffles cook evenly and develop a crispy exterior.
Preheating your waffle iron properly is essential because it allows the batter to cook quickly on contact, resulting in a nice, crispy texture. Be patient and wait for the waffle iron to reach the desired temperature before moving on to the next step.
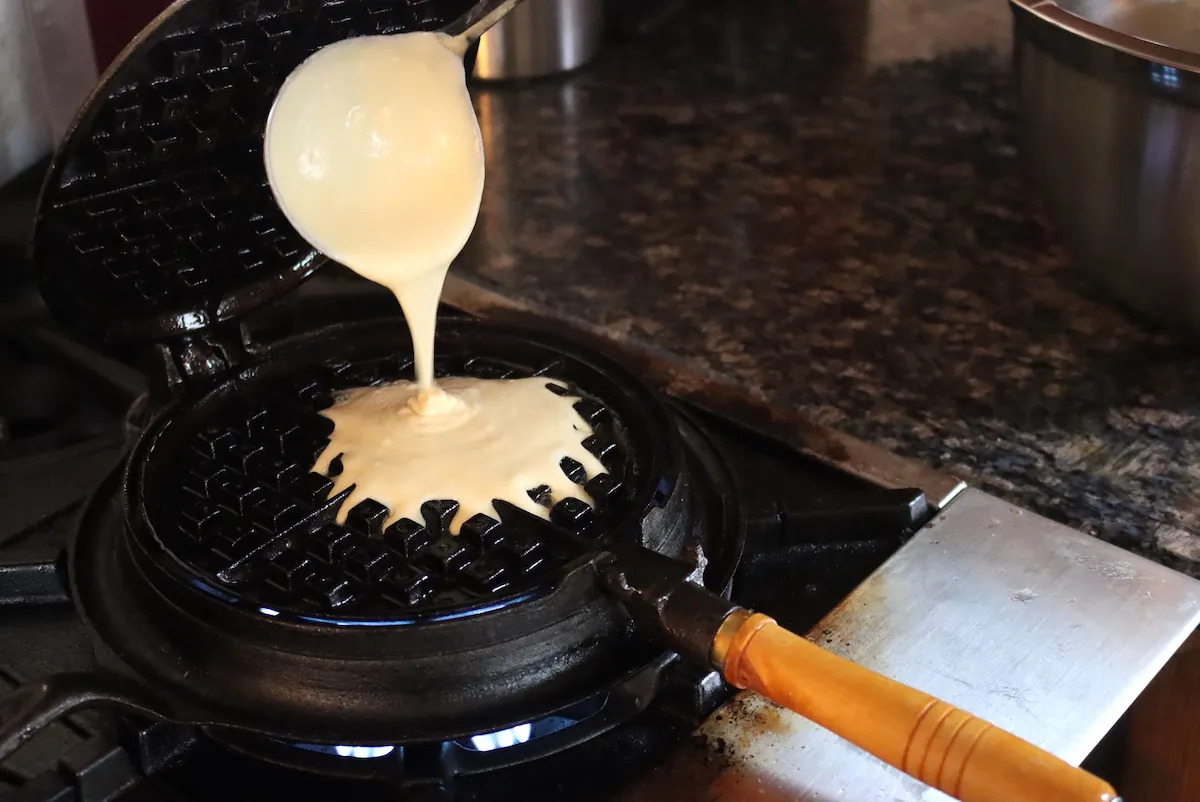
Adding the Batter
With your Sunbeam waffle iron preheated and ready to go, it’s time to add the batter and start cooking the waffles. Follow these steps to ensure that you add the batter correctly:
- Open the Waffle Iron: Carefully open the waffle iron and lift the top plate. It’s important to handle the waffle iron with caution as it will be hot.
- Apply Non-Stick Spray: To prevent the batter from sticking to the plates, lightly coat the inside of the waffle iron with a non-stick cooking spray or use a pastry brush to apply a small amount of melted butter or oil. This step is crucial for easy removal of the cooked waffles and for achieving crispy textures.
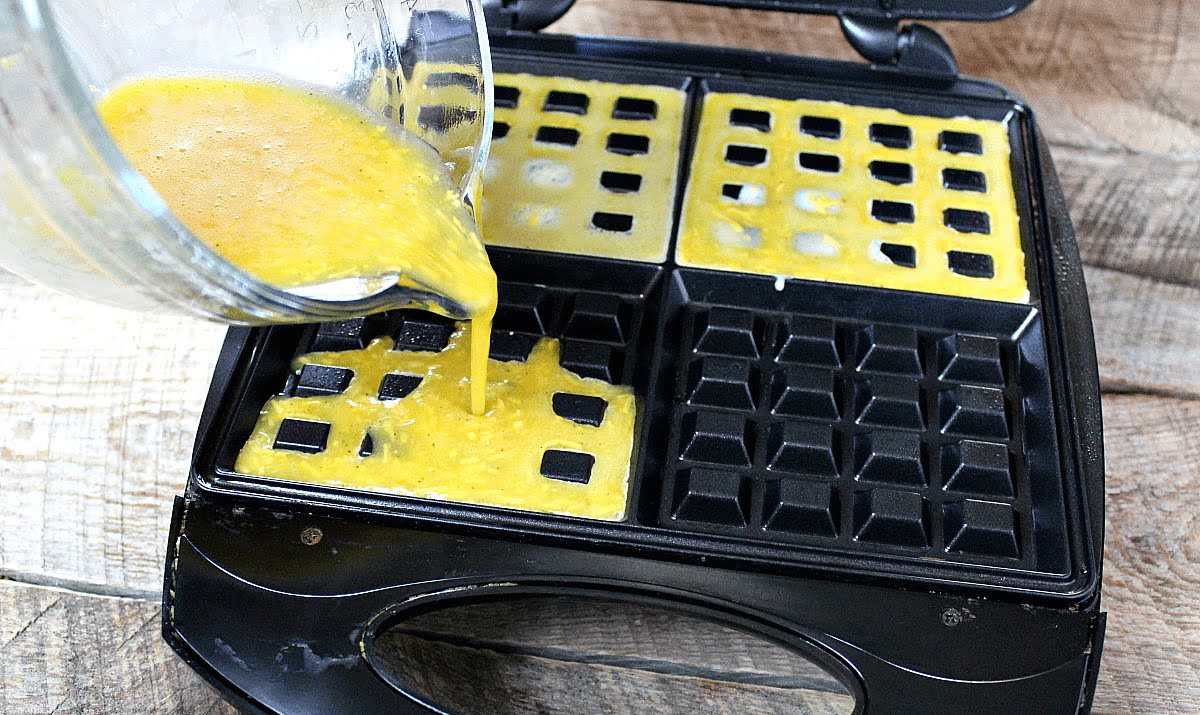
- Add the Batter: Use a ladle or measuring cup to scoop the desired amount of batter onto the center of the lower plate of the waffle iron. The amount of batter will depend on the size and shape of your waffle iron, so refer to the manufacturer’s instructions for the recommended amount.
- Spread the Batter: Close the waffle iron gently and press down to spread the batter evenly across the plates. Be careful not to apply too much pressure, as this can cause the batter to spill out.
Adding the batter correctly ensures that your waffles cook evenly and have a consistent texture. Take your time to spread the batter evenly across the plates before closing the waffle iron.
Preheat your Sunbeam waffle iron thoroughly before pouring in the batter. This will help ensure that the waffles come out crispy on the outside.
Read more: How To Make Waffles Crispy In Waffle Iron
Cooking the Waffles
Now comes the most exciting part – cooking the waffles in your Sunbeam waffle iron! Follow these steps to ensure that your waffles cook to crispy perfection:
- Cooking Time: Refer to the instruction manual for the recommended cooking time for your specific waffle iron. Typically, it takes around 3-5 minutes for the waffles to cook, but this may vary depending on the thickness and size of the waffle.
- Don’t Peek: Avoid lifting the lid of the waffle iron too soon during cooking. Opening the lid prematurely can cause the waffles to tear or not cook evenly. Trust the cooking time recommended by the manufacturer and resist the temptation to peek!
- Steam Release: As the waffles cook, you may notice steam escaping from the sides of the waffle iron. This is normal and indicates that the waffles are cooking and crisping up.
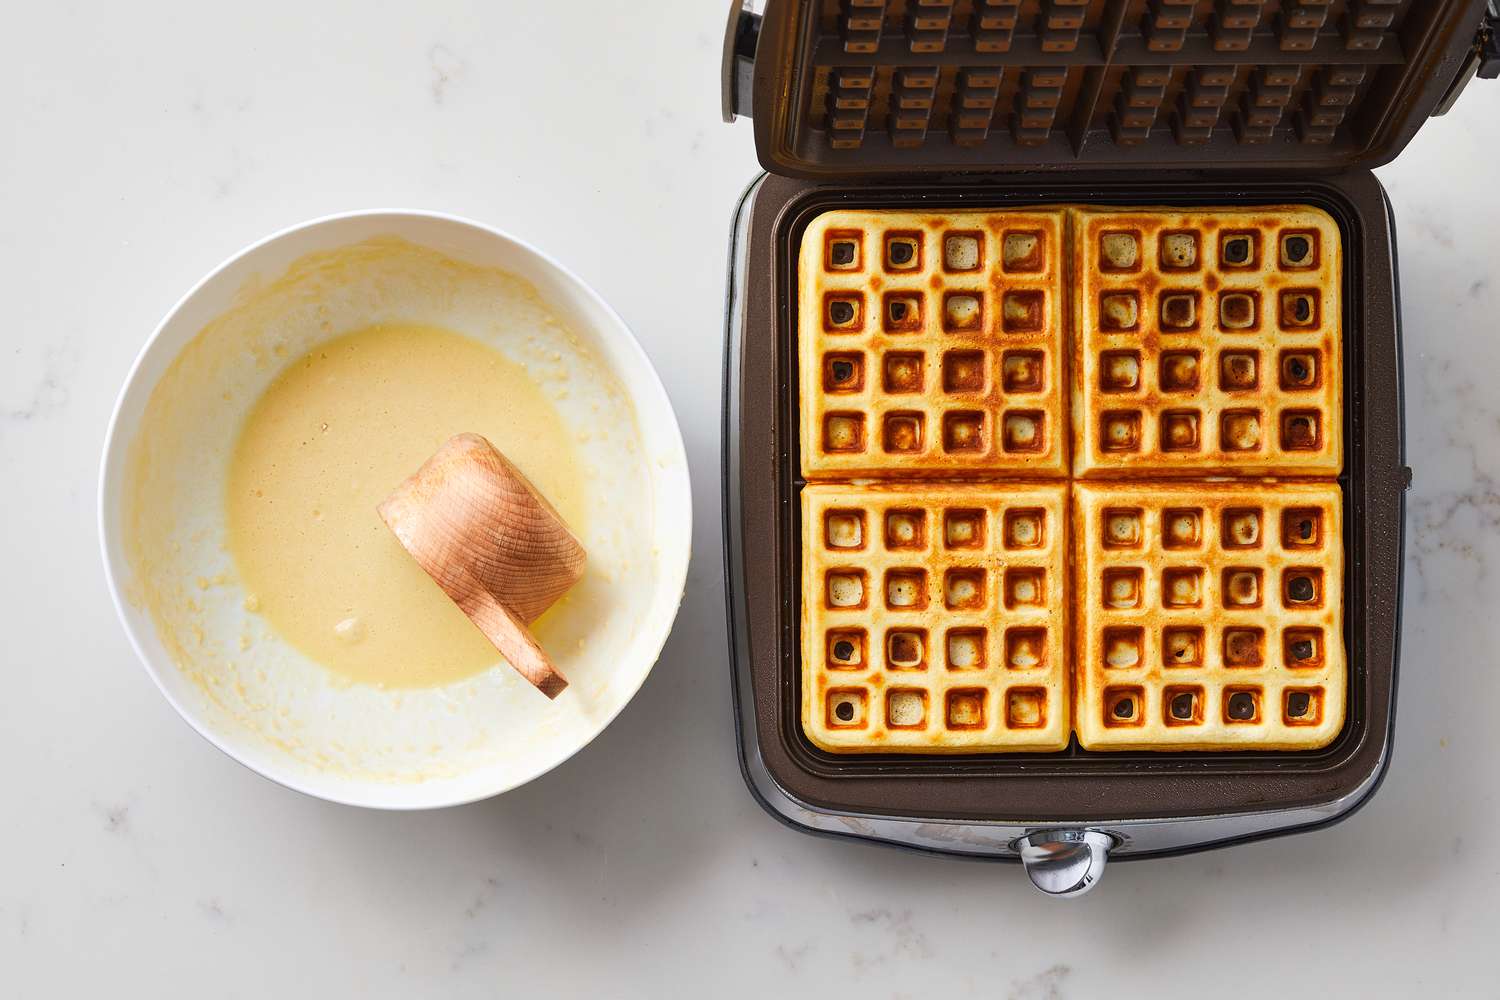
- Golden Brown Color: Keep an eye on the color of the waffles through the indicator light or by lifting the lid slightly after the recommended cooking time. Look for a golden brown color, indicating that the waffles are properly cooked and crispy.
Cooking the waffles to the right level of crispiness is crucial for achieving that perfect texture. Be patient and allow the waffles to cook until they reach a beautiful golden brown color.
Testing for Crispy Texture
Once the recommended cooking time has elapsed, it’s time to test the waffles for that desired crispy texture. Here’s how to do it:
- Use a Wooden or Silicone Utensil: Open the waffle iron and carefully lift the cooked waffle using a wooden or silicone utensil. Avoid using metal utensils as they can scratch the non-stick surface of the plates.
- Listen for the Crunch: Give the waffle a gentle squeeze or tap with your utensil. Listen for that satisfying crunch, which indicates a crispy exterior. The waffle should feel firm to the touch.
- Check for Even Browning: Examine the surface of the waffle for even browning. The waffle should have a consistent golden brown color across the entire surface.
If the waffle passes the texture and browning tests, congratulations! You have achieved a crispy masterpiece. If not, you may need to adjust the cooking time and temperature settings for subsequent batches to achieve the desired level of crispiness.
Remember, achieving the perfect crispy texture may take a few practice runs to get it just right. Enjoy the process and experiment with different cooking times and techniques to find your preferred level of crispiness.
Removing the Waffles
Now that your waffles have achieved the perfect level of crispiness, it’s time to remove them from the waffle iron. Follow these steps to safely and easily remove the waffles:
- Turn Off the Waffle Iron: Before removing the waffles, switch off and unplug the waffle iron. This ensures your safety and prevents any accidental burns.
- Open the Waffle Iron: Carefully open the waffle iron, using oven mitts or heat-resistant gloves to protect your hands from the hot plates.
- Remove the Waffles: Gently lift the cooked waffles from the plates using a wooden or silicone utensil. Avoid using metal utensils as they can damage the non-stick surface.
- Place on a Cooling Rack: Transfer the waffles to a wire cooling rack to allow them to cool slightly. This helps them retain their crispiness instead of becoming soggy from trapped steam.
It’s important to handle the waffles with care when removing them from the waffle iron to avoid tearing or breaking them. With a little patience and caution, you’ll be able to transfer the waffles to a cooling rack intact and ready for serving.
Now that your waffles are removed from the waffle iron, let’s move on to the final step: serving and enjoying!
Serving and Enjoying
Finally, it’s time to savor the fruits of your labor and indulge in the crispy waffles you’ve created with your Sunbeam waffle iron. Here’s how to serve and enjoy your delicious waffles:
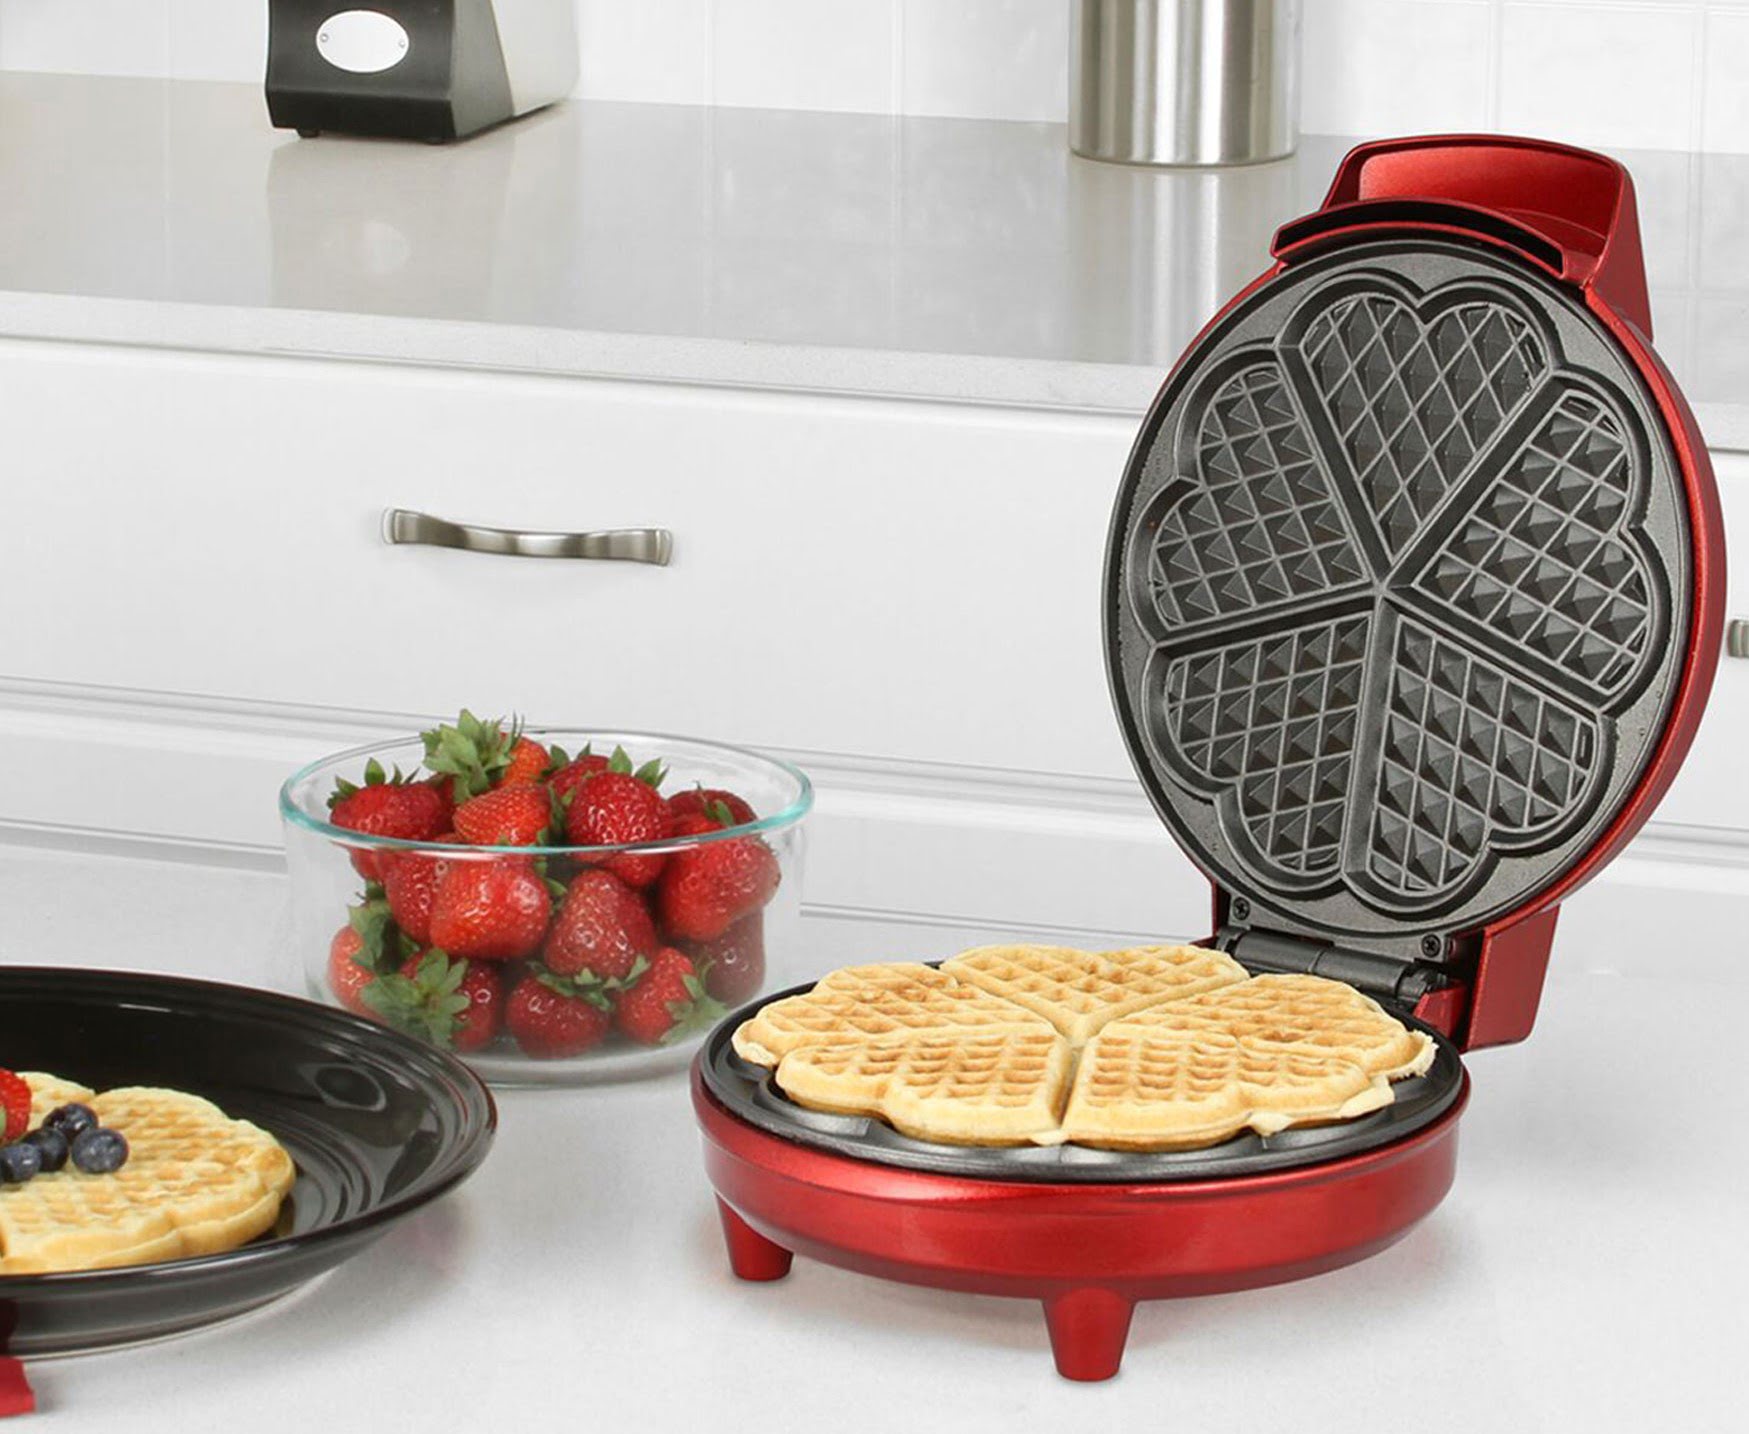
- Garnish and Plate: Place the cooked waffles on individual plates or a serving platter. You can garnish them with a dusting of powdered sugar, a dollop of whipped cream, or fresh fruits like berries or sliced bananas.
- Add Toppings and Syrups: Enhance the flavors of your crispy waffles by drizzling them with your favorite syrups, such as maple syrup or chocolate sauce. You can also add a pat of butter or a sprinkle of cinnamon for an extra touch of indulgence.
- Experiment with Variations: Get creative with your waffle toppings! Try adding a scoop of ice cream, a spoonful of nut butter, or a sprinkle of chopped nuts. The possibilities are endless, so feel free to let your imagination run wild.
- Serve and Enjoy: Bring the plates of crispy waffles to the table and invite everyone to dig in. Enjoy the delightful combination of a crispy exterior and a soft, fluffy interior that your Sunbeam waffle iron has achieved.
Serving and enjoying your crispy waffles is the final step in the process. Whether you’re enjoying them for breakfast, brunch, or even as a dessert, these delectable treats are sure to be a crowd-pleaser.
So go ahead, grab your fork and indulge in the crispy goodness of your homemade waffles. Enjoy every bite and celebrate your mastery of the Sunbeam waffle iron!
Frequently Asked Questions about How To Get Crispy Waffles With A Sunbeam Waffle Iron
Was this page helpful?
At Storables.com, we guarantee accurate and reliable information. Our content, validated by Expert Board Contributors, is crafted following stringent Editorial Policies. We're committed to providing you with well-researched, expert-backed insights for all your informational needs.


0 thoughts on “How To Get Crispy Waffles With A Sunbeam Waffle Iron”