Articles
How To Store Baked Chickpeas
Modified: December 7, 2023
Discover helpful articles on how to store baked chickpeas for ultimate freshness. Find the best techniques and tips for preserving your delicious chickpea snacks.
(Many of the links in this article redirect to a specific reviewed product. Your purchase of these products through affiliate links helps to generate commission for Storables.com, at no extra cost. Learn more)
Introduction
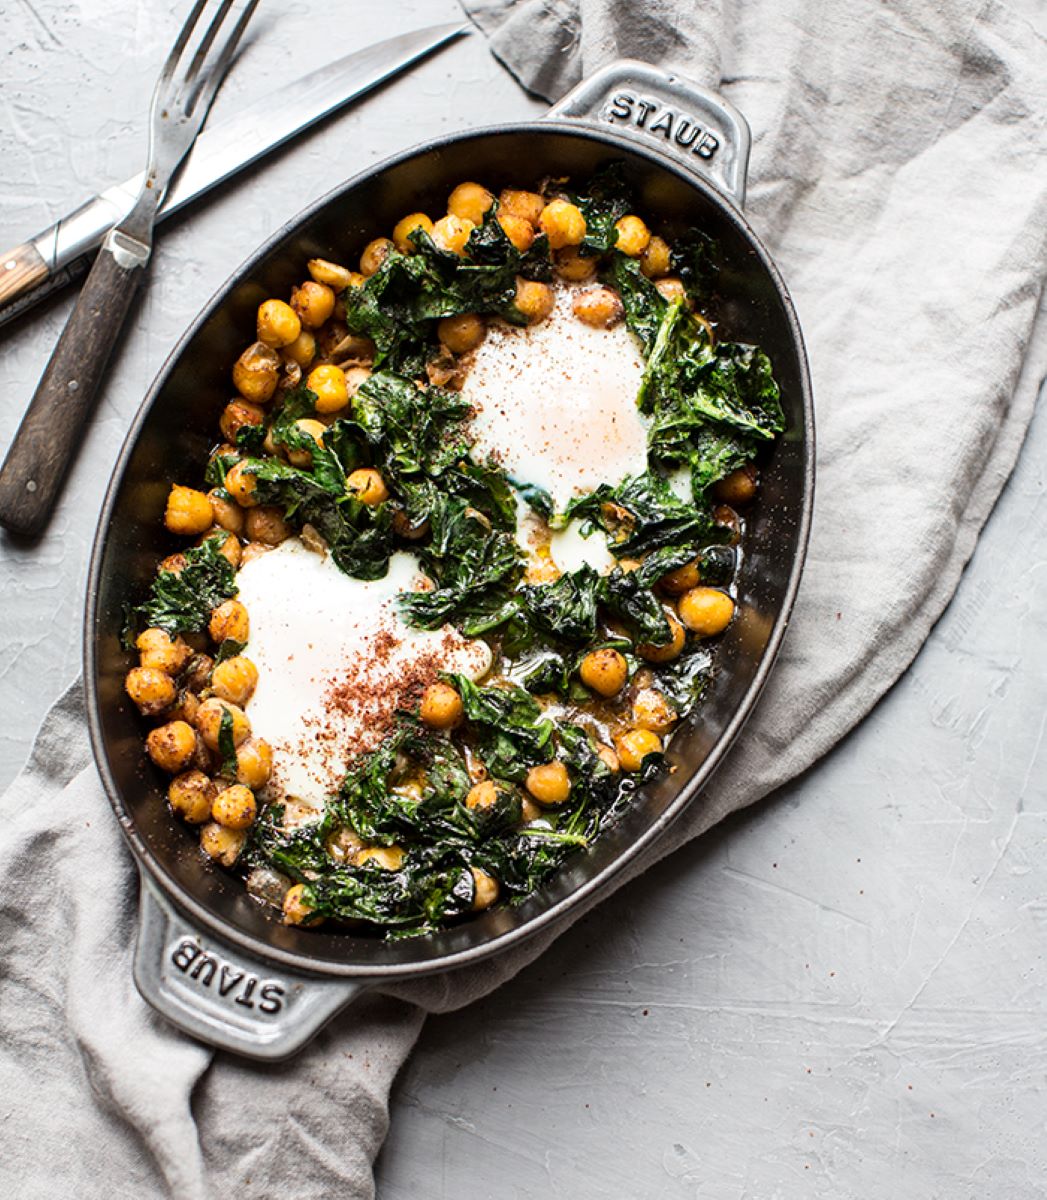
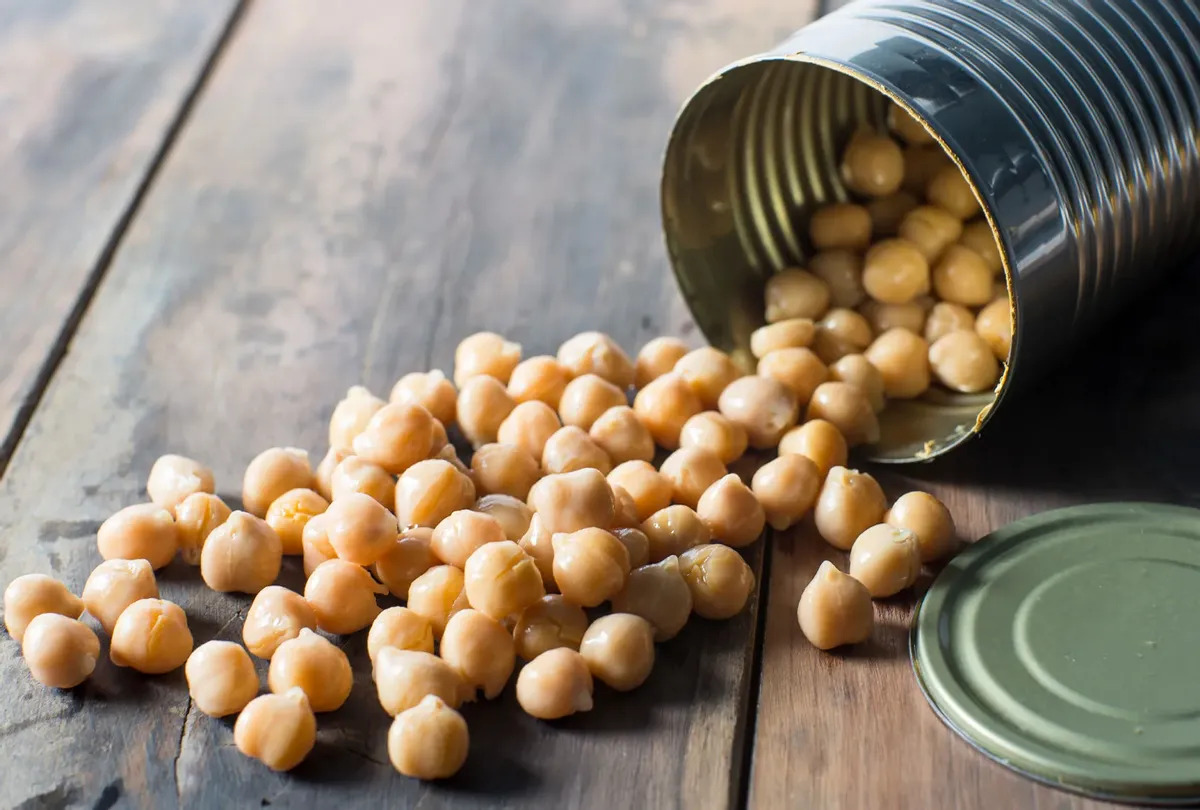
Chickpeas, also known as garbanzo beans, are a versatile legume that can be used in a variety of dishes, from salads and soups to stews and snacks. One popular way to enjoy chickpeas is by baking them, which results in a crispy and flavorful treat that can be stored for later snacking.
Baked chickpeas offer a satisfying crunch and are a healthier alternative to traditional snacks like chips or pretzels. They are packed with protein, fiber, and essential nutrients, making them a guilt-free option for those looking to add more plant-based protein to their diet.
In this article, we will walk you through the process of storing baked chickpeas, ensuring that they remain crisp and delicious for days to come.
Key Takeaways:
- Enjoy guilt-free, protein-packed baked chickpeas by following simple steps to store them for up to two weeks. Experiment with seasonings and flavors for a satisfying, nutritious snack anytime.
- Keep your baked chickpeas crispy and flavorful by cooling them completely before storing in an airtight container. Add silica gel or rice to absorb moisture and maintain freshness.
Read more: How To Store Chickpeas
Step 1: Preparing the Chickpeas
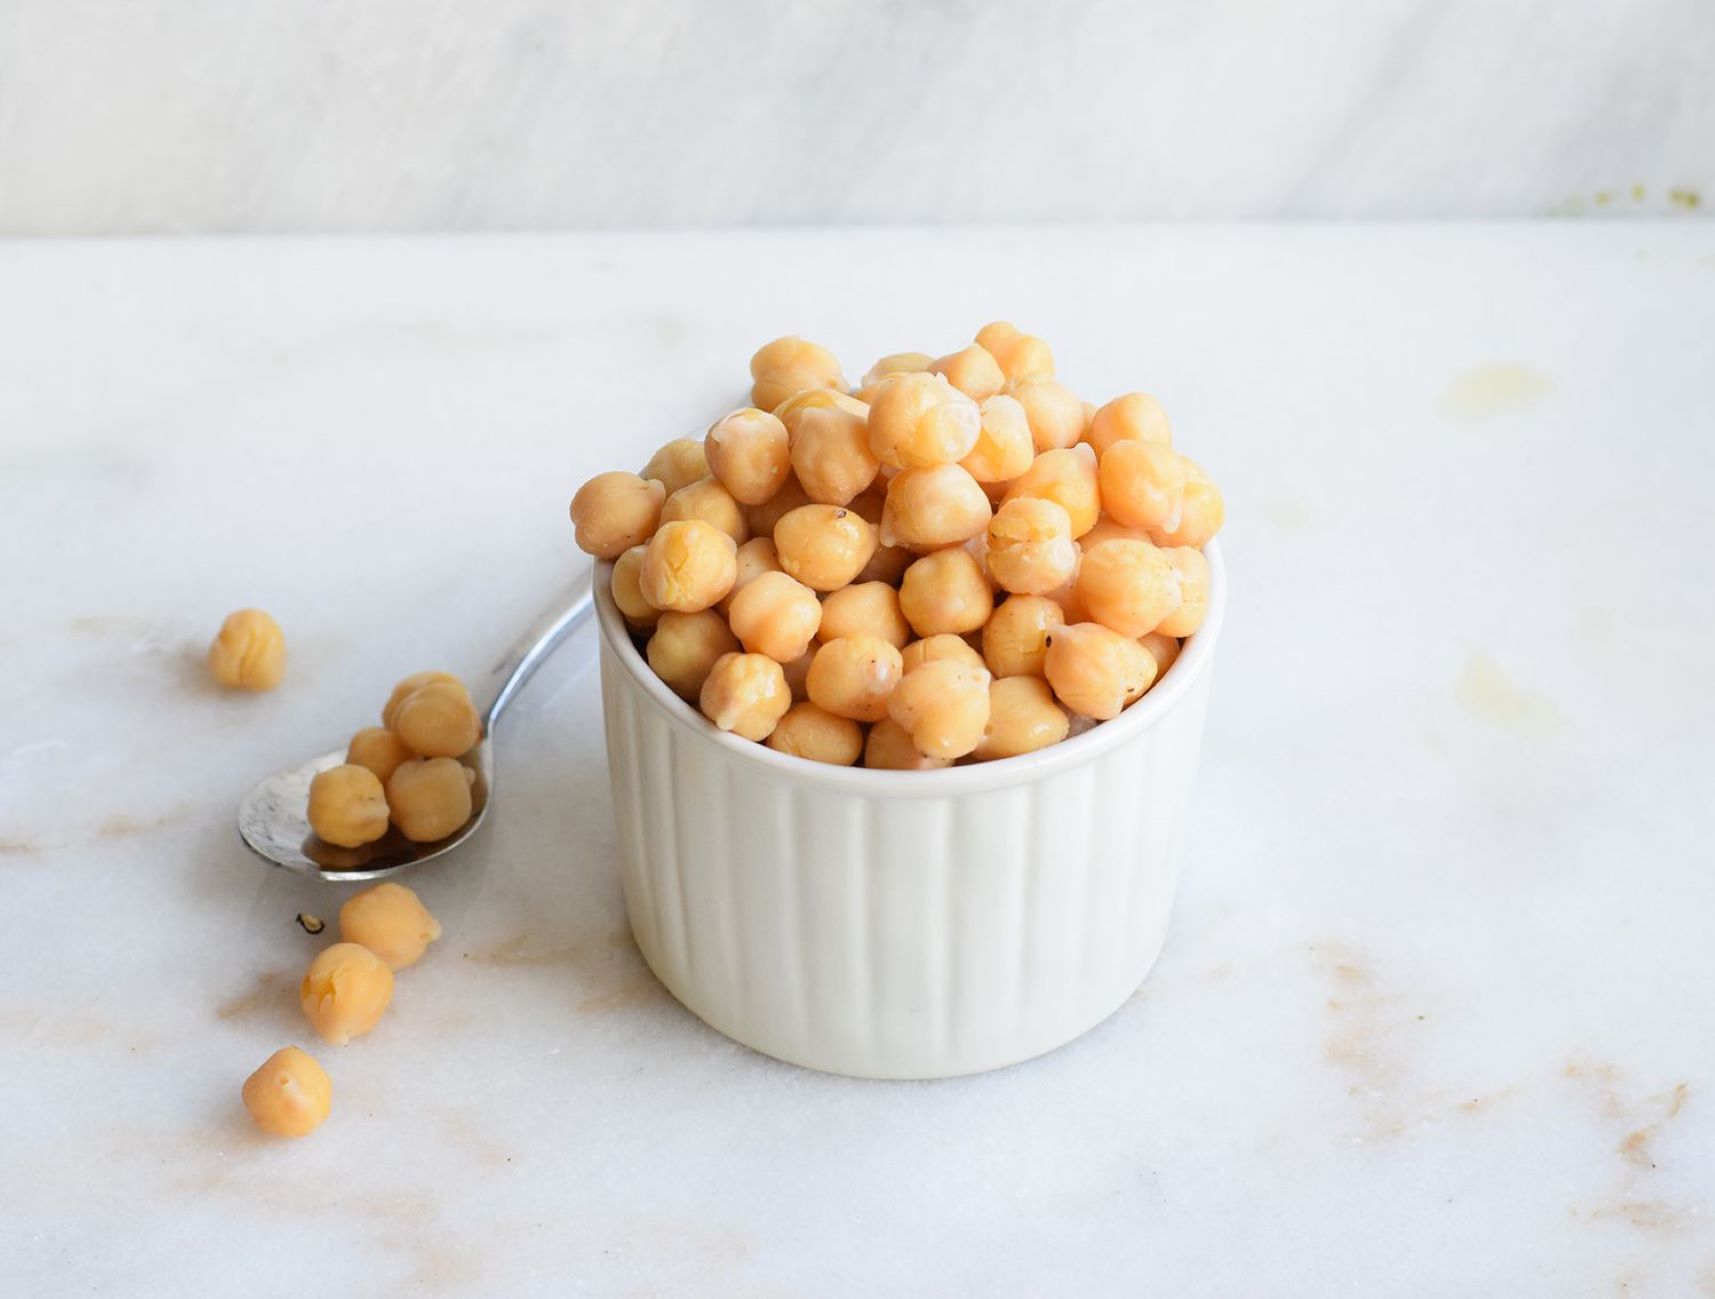
The first step in making baked chickpeas is to prepare the chickpeas themselves. You can use either canned chickpeas or dried chickpeas that have been soaked and cooked. If using canned chickpeas, be sure to rinse them thoroughly to remove any excess salt or preservatives.
If you prefer to cook dried chickpeas, soak them overnight in water with a pinch of baking soda. This process helps to soften the chickpeas and make them easier to digest. After soaking, drain and rinse the chickpeas before cooking them in a pot of fresh water until they are tender.
Once the chickpeas are cooked, drain them well and pat them dry with a clean towel. It’s important to remove as much moisture as possible from the chickpeas before baking to ensure they become crispy.
TIP: For extra flavor, you can add spices or herbs to the cooking water when preparing the chickpeas. This will infuse the chickpeas with delicious flavors right from the start.
Step 2: Seasoning the Chickpeas
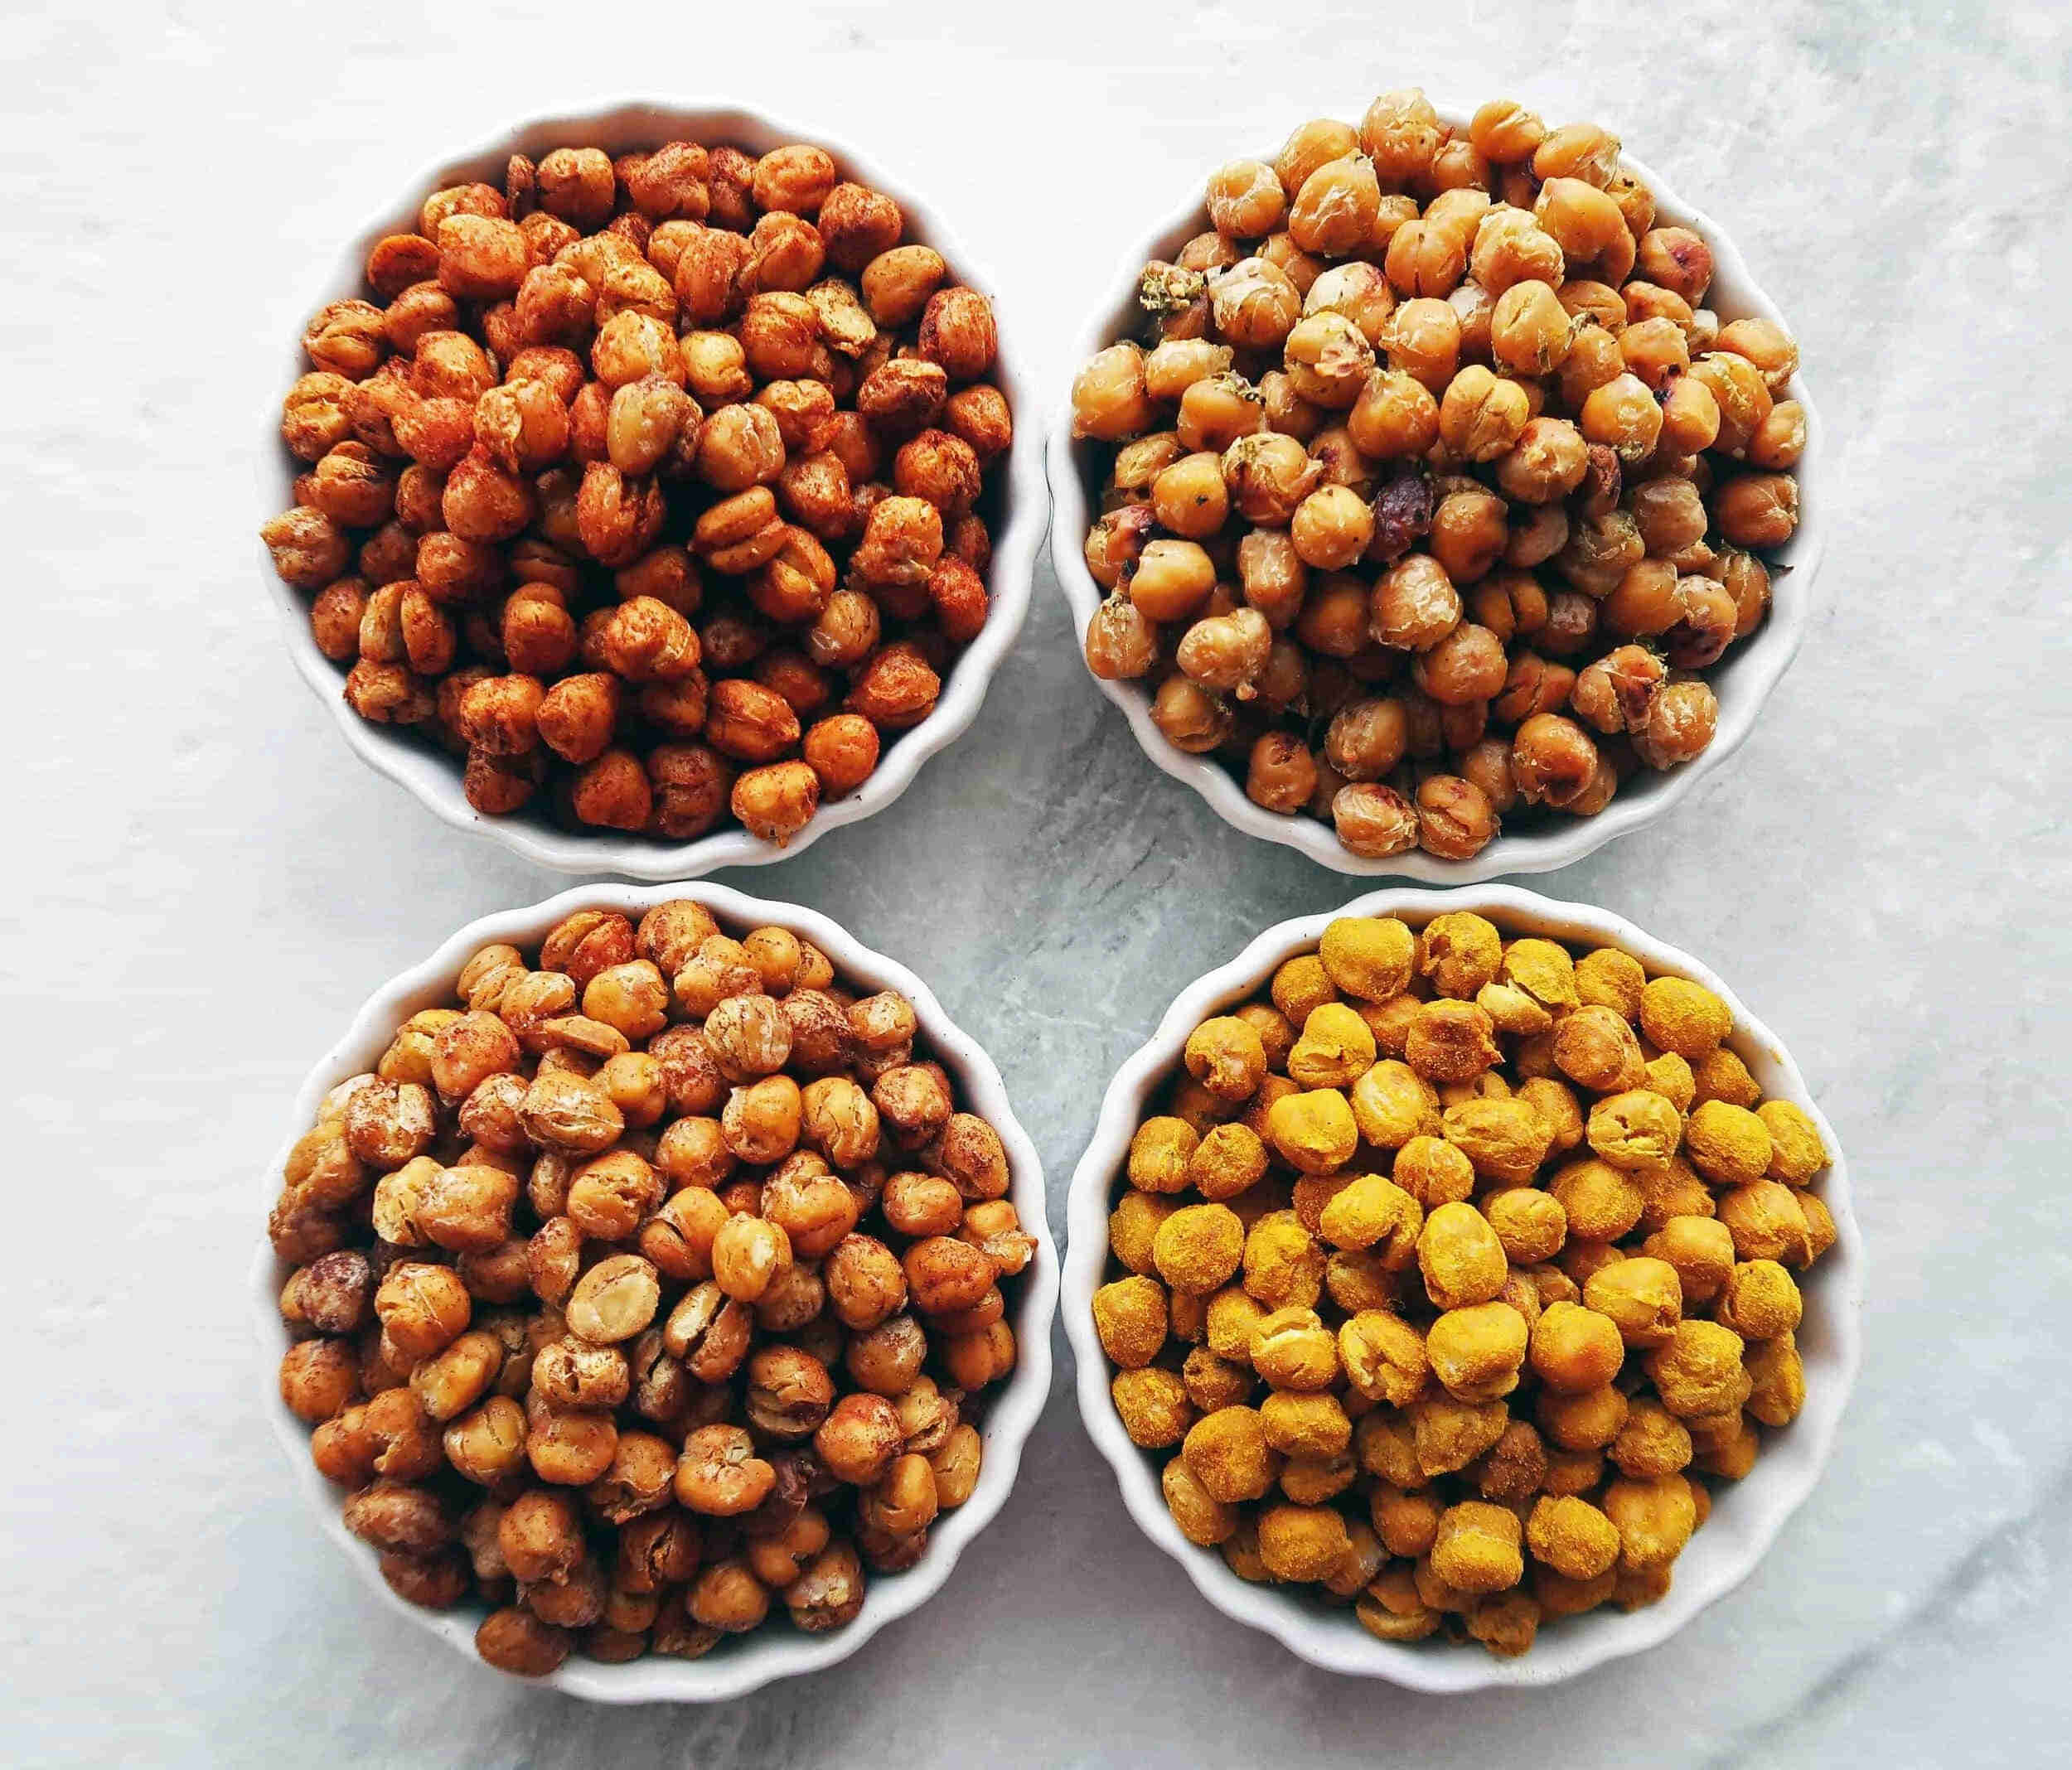
After preparing the chickpeas, it’s time to add some flavor by seasoning them. This step is where you can get creative and tailor the taste to your preference.
You can go for a classic combination of salt and pepper, or experiment with different spices and seasonings to create your own unique flavor profile. Some popular options include paprika, garlic powder, cumin, chili powder, or dried herbs like rosemary or thyme.
In a bowl, toss the cooked and dried chickpeas with a drizzle of olive oil to coat them evenly. Then, sprinkle the desired seasonings over the chickpeas and toss again to ensure they are well coated.
TIP: Don’t be afraid to be generous with your seasonings! The chickpeas will shrink slightly during baking, so it’s important to have enough seasoning to enhance their flavor.
Once the chickpeas are seasoned, spread them out on a baking sheet lined with parchment paper or a silicone mat. This will prevent them from sticking and make for easy cleanup.
Store baked chickpeas in an airtight container at room temperature for up to 3 days, or in the refrigerator for up to a week. This will help maintain their crispiness and prevent them from becoming stale.
Step 3: Baking the Chickpeas
Now that your seasoned chickpeas are ready, it’s time to bake them to perfection. Preheat your oven to 400°F (200°C) to ensure a crispy and golden result.
Place the baking sheet with the chickpeas in the preheated oven and bake for about 20-30 minutes, or until the chickpeas are golden brown and crispy. Remember to give the baking sheet a shake or stir the chickpeas halfway through the baking time to ensure even cooking and prevent them from sticking together.
Keep a close eye on the chickpeas as they bake, as cooking times may vary depending on your oven and the desired level of crispness. Be careful not to overcook them, as they can quickly turn too crunchy or even burnt.
Once the chickpeas have reached your desired level of crispness, remove them from the oven and let them cool on the baking sheet. This will allow them to become even crispier as they cool down.
TIP: If you want your baked chickpeas to have a more intense flavor, you can sprinkle them with a bit more seasoning immediately after they come out of the oven while they’re still warm.
Step 4: Cooling and Storing the Chickpeas
After baking, it’s important to let the chickpeas cool completely before storing them. This will help them retain their crispness and prevent any moisture from building up, which could make them become soft or soggy.
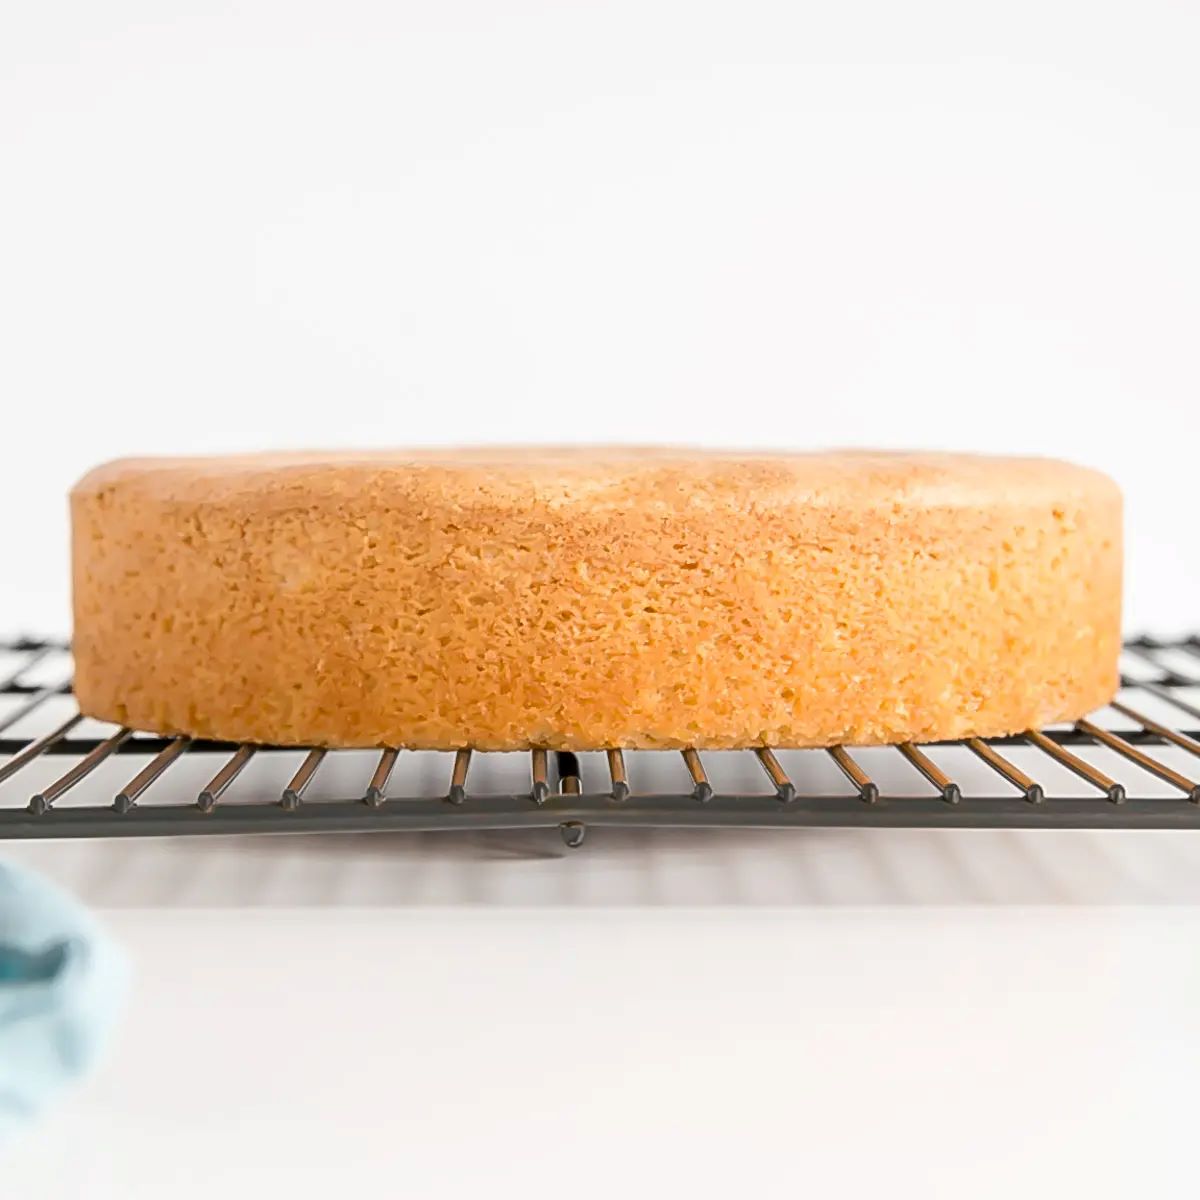
Transfer the baked chickpeas to a wire rack or a plate lined with paper towels to cool. Allow them to sit undisturbed for at least 30 minutes, or until they reach room temperature.
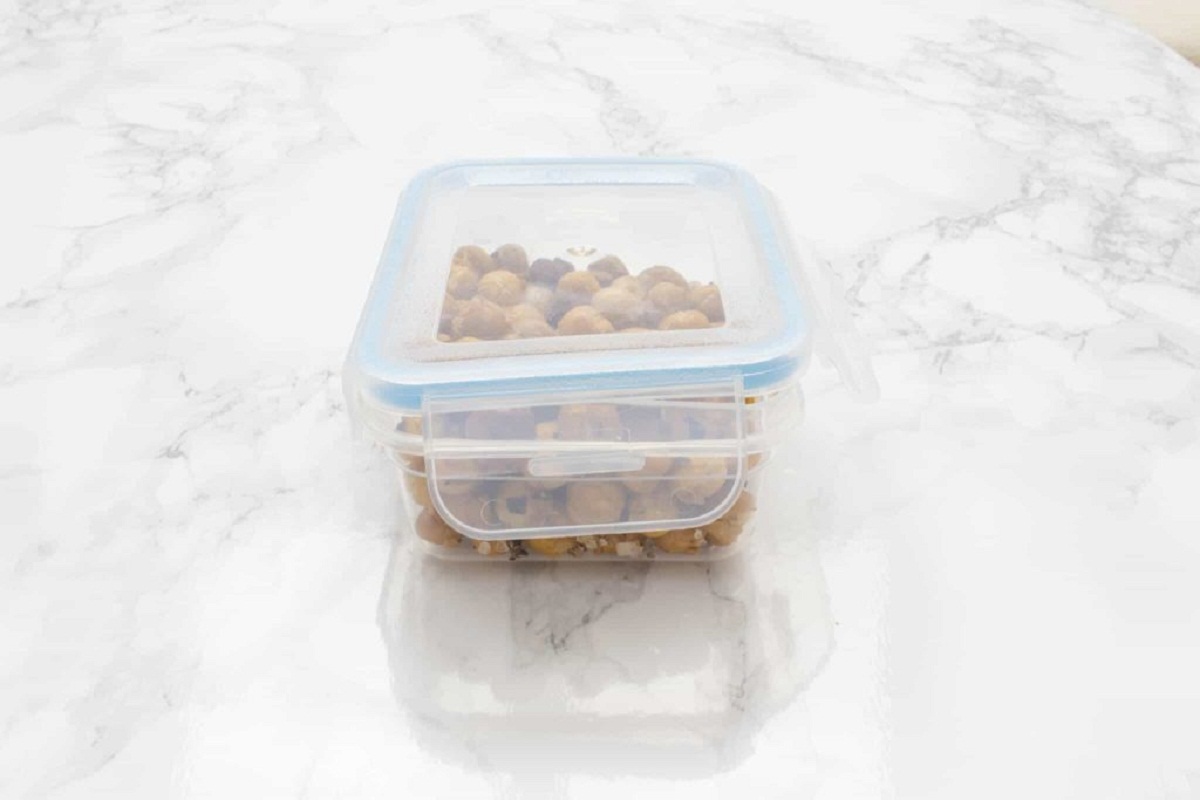
Once the chickpeas are completely cool, you can transfer them to an airtight container for storage. It’s essential to choose a container with a tight-fitting lid to keep moisture out.
TIP: If you plan on storing the chickpeas for an extended period, you can place a small packet of silica gel or a couple of grains of uncooked rice in the container to help absorb any residual moisture and maintain the crispness.
Store the container of baked chickpeas in a cool, dry place, such as a pantry or cupboard. They can last for up to two weeks, but it’s unlikely they will stick around for that long once you discover how delicious they are!
When ready to enjoy the stored baked chickpeas, simply grab a handful for a healthy snack, add them to salads for an extra crunch, or use them as a topping for soups and stews.
Remember: While these baked chickpeas have a longer shelf life compared to other snacks, it’s important to check for any signs of spoilage before consuming. If you notice any mold, off smells, or a change in texture, it’s best to discard them.
Read more: How To Store Roasted Chickpeas
Conclusion
Storing baked chickpeas is a convenient way to have a nutritious and flavorful snack on hand whenever cravings strike. With just a few simple steps, you can enjoy the satisfying crunch of homemade baked chickpeas that are packed with protein, fiber, and essential nutrients.
By following the steps outlined in this article, you can ensure that your baked chickpeas remain crisp and delicious for an extended period. Remember to properly prepare and season the chickpeas, bake them to perfection, and allow them to cool completely before storing them in an airtight container.
Whether you’re looking for a healthy snack alternative, a protein boost to add to your meals, or a tasty topping for your favorite dishes, baked chickpeas are a versatile and nutritious option.
So, why not try making your own batch of baked chickpeas? Experiment with different seasonings and flavors to find your favorite combination. Store them properly, and you’ll always have a crunchy and satisfying snack at your fingertips.
Enjoy the goodness of homemade baked chickpeas and elevate your snacking game!
Frequently Asked Questions about How To Store Baked Chickpeas
Was this page helpful?
At Storables.com, we guarantee accurate and reliable information. Our content, validated by Expert Board Contributors, is crafted following stringent Editorial Policies. We're committed to providing you with well-researched, expert-backed insights for all your informational needs.


0 thoughts on “How To Store Baked Chickpeas”