
Articles
How To Store Cutting Mats
Modified: October 19, 2024
Learn how to properly store cutting mats and keep them in top condition. Our articles provide helpful tips and techniques for storing your cutting mats to prolong their lifespan.
(Many of the links in this article redirect to a specific reviewed product. Your purchase of these products through affiliate links helps to generate commission for Storables.com, at no extra cost. Learn more)
Introduction
When it comes to crafting and cooking, a cutting mat is an essential tool that provides a durable and safe surface for all your cutting needs. However, after using a cutting mat, proper storage is crucial to maintain its longevity and functionality. Incorrect storage can lead to warping, cracking, or even contamination of the mat. In this article, we will explore different types of cutting mats and discuss the best methods for storing them to ensure they remain in optimal condition.
Before delving into storage techniques, let’s take a look at the various types of cutting mats available on the market. There are generally two main types: self-healing cutting mats and flexible cutting mats.
Self-healing cutting mats are made from a durable material that has the ability to “heal” or close up small cuts or incisions made during cutting. These mats are commonly used by crafters, quilters, and artists who often work with sharp tools such as rotary cutters or craft knives.
On the other hand, flexible cutting mats are typically made from food-grade plastic and are commonly used in kitchens for chopping and preparing ingredients. These mats are lightweight, easy to store, and provide a hygienic cutting surface for food preparation.
Now that we have a better understanding of the types of cutting mats available, let’s move on to the next crucial step: choosing the right storage option. The choice of storage will depend on the type of cutting mat you have and the available space in your craft room or kitchen.
Key Takeaways:
- Proper storage is crucial for maintaining the longevity and functionality of cutting mats, whether they are self-healing or flexible. Choosing the right storage option and practicing proper cleaning and maintenance are essential for ensuring the mats remain in excellent condition.
- Storing cutting mats in a rolled position is ideal for flexible mats, while storing them flat is recommended for self-healing and thinner flexible mats. Prioritizing safety and security, along with following manufacturer’s guidelines, is crucial for safe and secure storage.
Read more: How To Store Cricut Mats
Types of Cutting Mats
As mentioned earlier, there are two main types of cutting mats: self-healing cutting mats and flexible cutting mats. Let’s take a closer look at each type:
Self-Healing Cutting Mats
Self-healing cutting mats are specifically designed to withstand repeated cuts from sharp tools without leaving permanent marks or damages. These mats are commonly made from materials such as PVC or high-density polyethylene.
One of the key features of self-healing cutting mats is their ability to close up small cuts or incisions made during the cutting process. This means that over time, the mat’s surface will regain its smoothness and integrity, ensuring a consistent and reliable cutting surface.
Self-healing mats are ideal for crafters and artists who frequently use tools like rotary cutters, craft knives, or scissors. They provide a sturdy and durable surface for precise cutting, making them a valuable asset in various craft projects, quilting, and precision cutting tasks.
Flexible Cutting Mats
Flexible cutting mats, also known as bendable cutting mats, are primarily used in kitchens for food preparation. These mats are typically made from food-grade plastic materials like high-density polyethylene or polypropylene. They are designed to be lightweight, easy to handle, and provide a hygienic cutting surface for chopping and slicing ingredients.
One of the advantages of flexible cutting mats is their portability and space-saving design. Unlike self-healing mats, flexible mats can be easily rolled up or folded for convenient storage, making them ideal for smaller kitchens or when space is limited.
Flexible cutting mats come in various sizes and colors, allowing for easy differentiation between different types of ingredients to prevent cross-contamination. They are dishwasher-safe, making them easy to clean and maintain.
Both self-healing and flexible cutting mats serve their specific purposes and are valuable tools in their respective domains. Now that we have a clear understanding of the different types of cutting mats available, let’s move on to the next crucial step: choosing the right storage option to keep these mats in optimal condition.
Choosing the Right Storage Option
Proper storage of cutting mats is essential to ensure their longevity and functionality. The right storage option will depend on the type of cutting mat you have and the available space in your craft room or kitchen. Here are some considerations when choosing the right storage option:
Read more: How To Store Door Mats
1. Vertical Storage:
If you have limited counter or storage space, vertical storage is an excellent option. For self-healing cutting mats, you can invest in a wall-mounted storage rack or pegboard system. These racks or boards have slots or hooks that allow you to hang your cutting mats securely, keeping them flat and preventing warping.
When it comes to flexible cutting mats, vertical storage can be achieved by utilizing a file organizer or magazine holder. Roll up the flexible mats tightly and secure them with rubber bands before placing them in the organizer. This method saves space and keeps your mats organized and easily accessible.
2. Drawer Storage:
If you have a drawer available in your craft room or kitchen, consider storing your cutting mats horizontally in a drawer. Lay the self-healing or flexible mats flat in the drawer, making sure they are not bent or creased. This method provides protection from dust and keeps the mats flat and safe from any potential damage.
3. Hanging Storage:
Hanging storage is a great option if you have ample wall space or a dedicated storage area. For self-healing mats, you can use an over-the-door shoe organizer with clear pockets. Simply slide your cutting mats into the pockets to keep them organized and visible. Alternatively, you can use hanging file folders or binder clips to secure the mats to a wall or pegboard.
For flexible cutting mats, consider using hooks or adhesive clips to hang them on the wall. Make sure to roll them up tightly and secure them with rubber bands before hanging to prevent them from unrolling or getting damaged.
4. Dedicated Mat Storage:
If you have a large collection of cutting mats or require additional protection, investing in a dedicated mat storage case or portfolio is a wise choice. These cases are specially designed to provide proper storage for cutting mats, keeping them flat, dust-free, and protected from any potential damage. Look for cases with cushioned interiors or dividers to prevent the mats from shifting or rubbing against each other.
Remember to consider the available space and your specific storage needs when choosing the right storage option for your cutting mats. By storing them properly, you can ensure that your cutting mats remain in excellent condition and ready for use whenever you need them.
Read more: How To Store Silicone Baking Mats
Proper Cleaning and Maintenance
Keeping your cutting mats clean and well-maintained is crucial for their longevity and performance. Here are some tips for properly cleaning and maintaining your cutting mats:
1. Regular Cleaning:
After each use, it’s important to clean your cutting mats to remove any debris, residue, or food particles. For self-healing cutting mats, use a soft cloth or sponge with mild soap and water to gently wipe the surface. Avoid using harsh chemicals or abrasive cleaners, as they can damage the mat’s self-healing properties.
Flexible cutting mats can be easily cleaned by placing them in the dishwasher on a gentle cycle. If you don’t have a dishwasher, simply wash them with warm soapy water and rinse thoroughly. Allow the mats to air dry completely before storing them.
2. Avoid Exposure to Heat:
Avoid exposing your cutting mats to direct heat sources, such as hot pans, stovetops, or ovens. High temperatures can cause warping or melting of the material, compromising the integrity of the mat. Always use a trivet or cutting board underneath hot items to protect your cutting mat.
3. Store Mats Properly:
We’ve discussed storage options earlier, but it’s worth mentioning again that proper storage is essential for maintaining the quality of your cutting mats. Store them in a clean and dry environment, away from direct sunlight and extreme temperatures that can cause the mat to warp or fade.
Read more: How To Store Cut Flowers
4. Rotate Mats:
If you have multiple cutting mats in your collection, it’s a good practice to rotate their usage. This helps distribute the wear and tear evenly across the mats, extending their lifespan. It also allows you to clean and properly dry the unused mats before storing them.
5. Avoid Excessive Pressure:
When using your cutting mats, avoid applying excessive pressure or using excessively sharp tools, as this can cause cuts or punctures that may not heal properly in self-healing mats. Be mindful of the force you exert and choose the appropriate tools for the job.
By following these cleaning and maintenance guidelines, you can prolong the life of your cutting mats and ensure that they continue to provide a reliable and hygienic cutting surface for your craft or kitchen needs.
Storing Cutting Mats in a Rolled Position
If you have flexible cutting mats or larger self-healing mats, storing them in a rolled position is a space-saving and convenient option. Here are some steps to follow when storing cutting mats in a rolled position:
1. Clean and Dry:
Before rolling up your cutting mats, make sure they are clean and dry. Remove any debris or residue from the surface using a soft cloth or sponge with mild soap and water. Allow the mats to air dry completely before proceeding to the next step.
Read more: How To Store A Cut Banana
2. Roll Tightly:
Starting from one end of the mat, gently roll it up tightly, ensuring that there are no wrinkles or creases. Maintain a firm grip as you roll to prevent the mat from unrolling. If you encounter resistance, gently straighten out any folds or creases before continuing to roll.
3. Secure with Rubber Bands:
Once the cutting mat is rolled up tightly, secure it with rubber bands. Place a rubber band near each end, as well as in the middle, to hold the mat in place and prevent it from unrolling. Make sure the rubber bands are snug but not too tight to avoid damaging the mat.
4. Label and Store:
If you have multiple rolled cutting mats, it’s essential to label them for easy identification. Attach labels or use colored tape to indicate the size or purpose of each mat. Store the rolled mats in a dedicated storage container or on a shelf, ensuring that they are kept in a clean and dry environment away from direct sunlight and extreme temperatures.
5. Unrolling and Flattening:
When you need to use a rolled cutting mat, remove the rubber bands and carefully unroll it. Lay the mat flat on a clean, dry surface and gently press down on any curled edges to help it flatten. You can also place heavy objects on the edges for a short period to encourage the mat to regain its flat shape.
It’s important to note that while rolling and storing cutting mats in this manner is suitable for flexible mats, it may not be the best option for thick or larger self-healing mats. Rolling thicker mats may lead to permanent creases or damage to the self-healing properties.
By following these steps, you can efficiently store your flexible cutting mats in a rolled position, saving space and keeping them in good condition for future use.
Read more: How To Store Cut Cucumbers
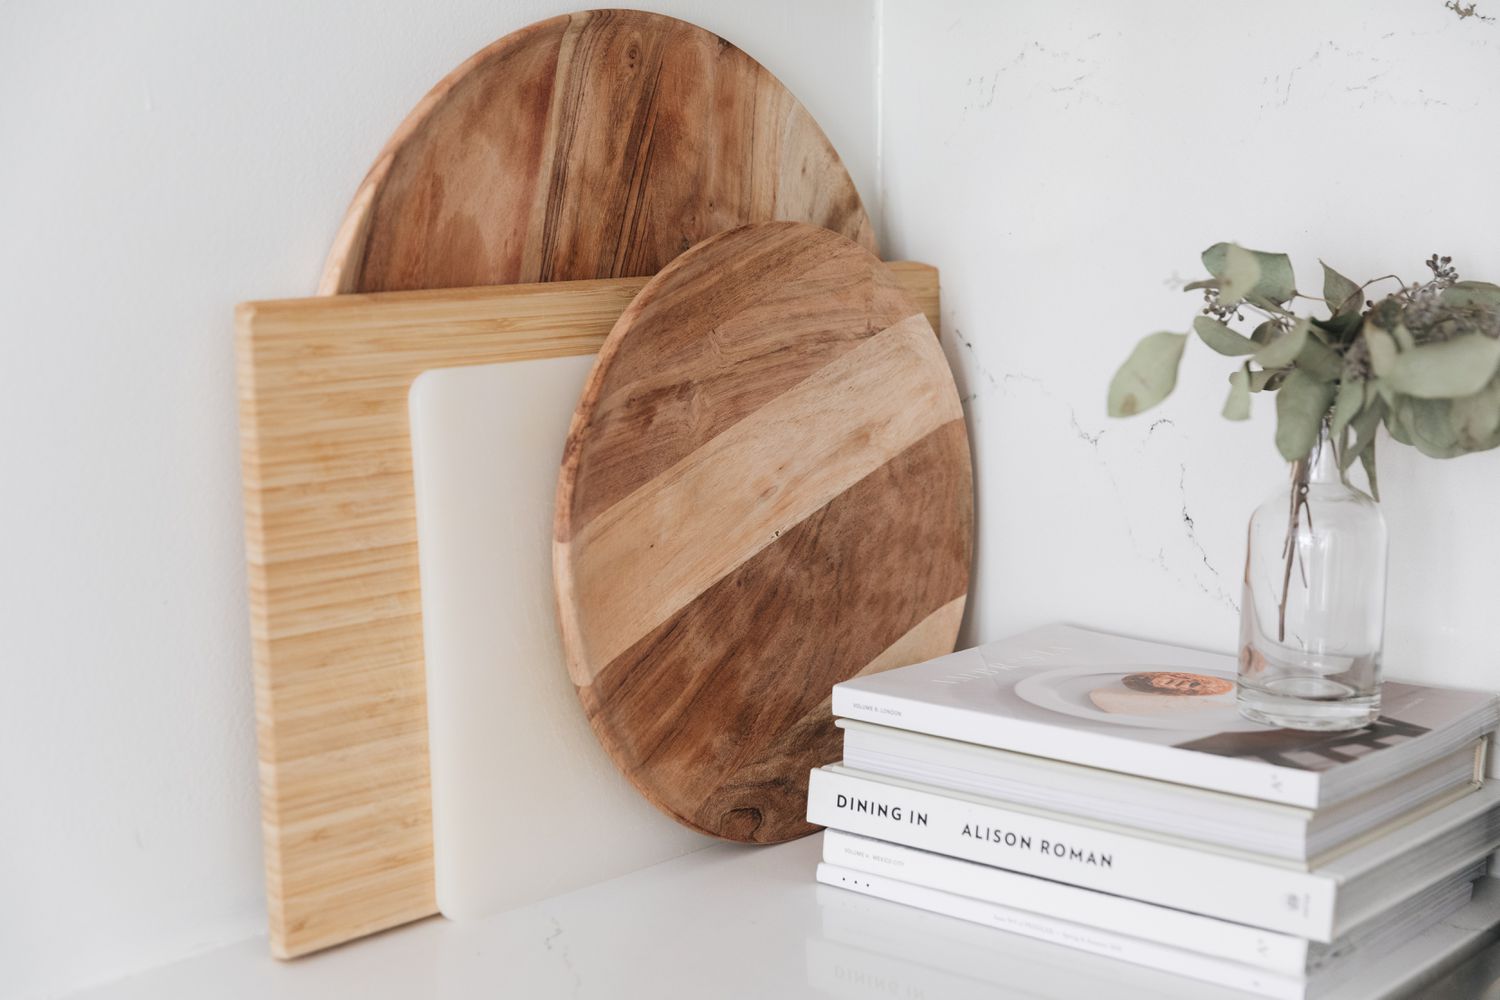
Storing Cutting Mats Flat
Storing cutting mats flat is the ideal option for self-healing mats or thinner flexible mats. Keeping them flat helps maintain their shape, prevent warping, and ensure their usability. Here are some steps to follow when storing cutting mats flat:
1. Clean and Dry:
Before storing your cutting mats, make sure they are clean and dry. Gently wipe the surface with a soft cloth or sponge using mild soap and water to remove any debris or residue. Allow the mats to air dry completely before moving on to the next step.
2. Clear and Flat Surface:
Find a clean and flat surface to store your cutting mats. This could be a shelf, countertop, or dedicated storage area. Ensure that the surface is dry and free from any dust or debris that could potentially transfer onto the mats and affect their performance.
3. Stack Mats Carefully:
When stacking multiple cutting mats, make sure to do so with care. Place a clean sheet of parchment paper or a soft cloth in between each mat to prevent them from sticking together or scratching each other’s surface. This simple step helps protect the mats and keeps them in excellent condition.
Read more: How To Store Cut Garlic
4. Store in a Dust-Free Environment:
Choose a storage location that is free from excessive dust or dirt. Dust particles can accumulate on the cutting mats, making them less sanitary and potentially affecting the quality of your cutting surface. If possible, cover the stacked mats with a clean cloth or place them in a dedicated storage case to provide an additional layer of protection.
5. Avoid Weight and Pressure:
When storing cutting mats flat, it’s important to avoid placing excessive weight or pressure on top of them. This can lead to warping or permanent damage. Ensure that the mats are stored in a way that protects them from any heavy objects or items that could potentially bend or distort their shape.
6. Regular Check and Rotation:
Periodically check your stored cutting mats to ensure they remain clean and in good condition. Rotate the placement of the mats within the stack to distribute any potential wear and tear evenly. This helps extend their lifespan and ensures that they are ready for use when needed.
By following these steps, you can properly store your cutting mats flat, ensuring their integrity, cleanliness, and usability for years to come.
Tips for Safe and Secure Storage
Proper storage of cutting mats not only prolongs their lifespan but also ensures safety and convenience. Here are some tips for safe and secure storage of your cutting mats:
Read more: How To Store Cut Kiwi
1. Sharp Object Separation:
When storing cutting mats, make sure to keep them away from sharp objects such as knives, scissors, or other tools. Sharp objects can easily pierce or puncture the mats, compromising their functionality. Keep them in separate compartments or drawers to avoid any accidental damage.
2. Childproofing:
If you have young children in your household, it’s important to store cutting mats out of their reach. Place them in higher cabinets or secure them in dedicated storage cases with childproof locks. This prevents any potential accidents or injuries and ensures the safety of both your children and the cutting mats.
3. Adequate Ventilation:
Ensure that the storage area for your cutting mats has proper ventilation to prevent the buildup of moisture or mold. Moisture can affect the integrity of the mats and lead to unpleasant odors or degradation. If necessary, use moisture-absorbing products or place a moisture barrier, such as a silica gel packet, near the mats to maintain a dry environment.
4. Regular Inspection:
Periodically inspect your stored cutting mats for any signs of damage or wear. Look out for cuts, deep scores, or excessive warping. If you notice any issues, consider repairing or replacing the mat to maintain its functionality and efficiency.
Read more: How To Store Yoga Mats At Home
5. Temperature Control:
Avoid storing cutting mats in extreme temperatures, such as very hot or cold environments. High heat can cause mats to warp or melt, while freezing temperatures can make them brittle and prone to cracking. Find a storage area with a consistent temperature to ensure the longevity of your cutting mats.
6. Labeling and Organization:
If you have multiple cutting mats, it’s helpful to label them for easy identification. Use labels, color-coded stickers, or clear sleeves with printed tags to indicate the size, purpose, or date of purchase. This helps you quickly locate the desired mat and keep your storage area organized and efficient.
7. Follow Manufacturer’s Guidelines:
Finally, always refer to the manufacturer’s guidelines for specific storage instructions for your cutting mats. Each type and brand of cutting mat may have specific recommendations to ensure optimal storage conditions. Following these guidelines will help you maintain the performance and longevity of your cutting mats.
By implementing these tips, you can ensure safe and secure storage for your cutting mats, providing you with peace of mind and convenient access when you need them.
Conclusion
Proper storage of cutting mats is key to maintaining their longevity, functionality, and safety. Whether you have self-healing cutting mats for crafting or flexible cutting mats for your kitchen, following the right storage methods will ensure that they remain in excellent condition for years to come.
By understanding the different types of cutting mats, such as self-healing and flexible mats, you can choose the appropriate storage option that suits your needs and available space. Vertical storage, drawer storage, hanging storage, and dedicated mat storage are all viable options, depending on your specific requirements.
Additionally, practicing proper cleaning and maintenance is essential. Regularly clean your cutting mats after each use, avoid exposure to heat, and ensure they are stored in a clean and dry environment. By following these steps, you can prevent damage, maintain a hygienic cutting surface, and extend the lifespan of your mats.
Storing cutting mats in a rolled position is advantageous for flexible mats, while storing them flat is recommended for self-healing and thinner flexible mats. Always ensure they are clean and dry before storing and use protective layers to prevent scratches or sticking between mats.
Lastly, prioritize safety and security by keeping cutting mats away from sharp objects, childproofing the storage area, and regularly inspecting them for any signs of damage. Adequate ventilation, temperature control, proper labeling, and following manufacturer’s guidelines are also crucial aspects of safe and secure storage.
In conclusion, investing time and effort into proper storage techniques will not only protect your cutting mats but also enhance their functionality and durability. By following the tips in this article, you can ensure that your cutting mats remain in optimal condition and continue to serve you well in your crafting or culinary endeavors.
Frequently Asked Questions about How To Store Cutting Mats
Was this page helpful?
At Storables.com, we guarantee accurate and reliable information. Our content, validated by Expert Board Contributors, is crafted following stringent Editorial Policies. We're committed to providing you with well-researched, expert-backed insights for all your informational needs.

0 thoughts on “How To Store Cutting Mats”