Articles
How To Store Silicone Baking Mats
Modified: January 7, 2024
Learn how to store your silicone baking mats properly to keep them clean and organized. Read our articles for helpful tips and tricks.
(Many of the links in this article redirect to a specific reviewed product. Your purchase of these products through affiliate links helps to generate commission for Storables.com, at no extra cost. Learn more)
Introduction
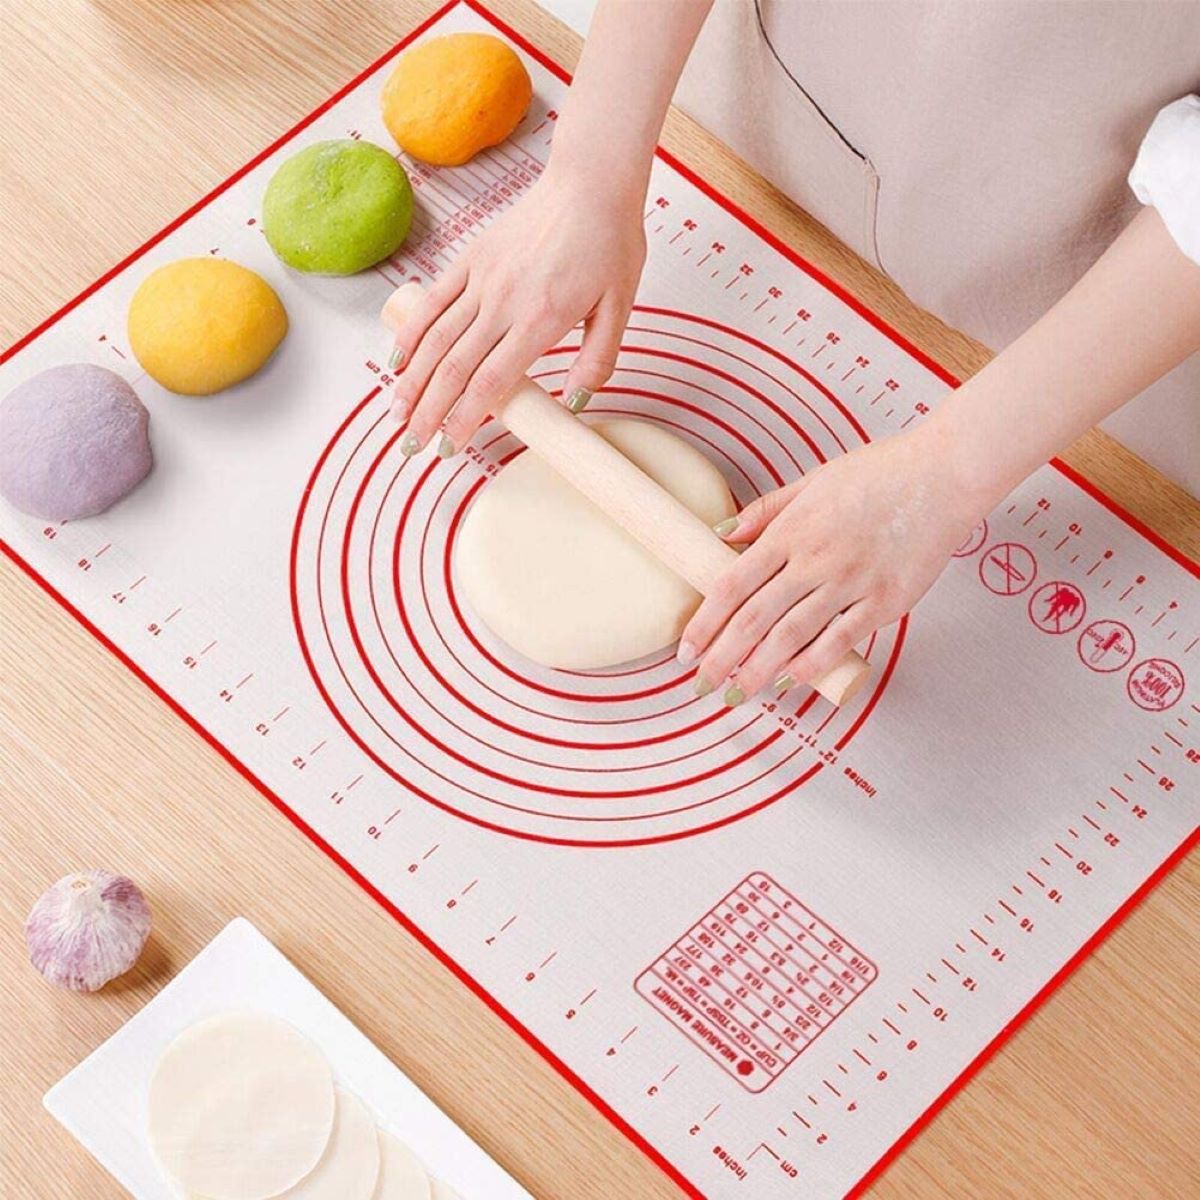
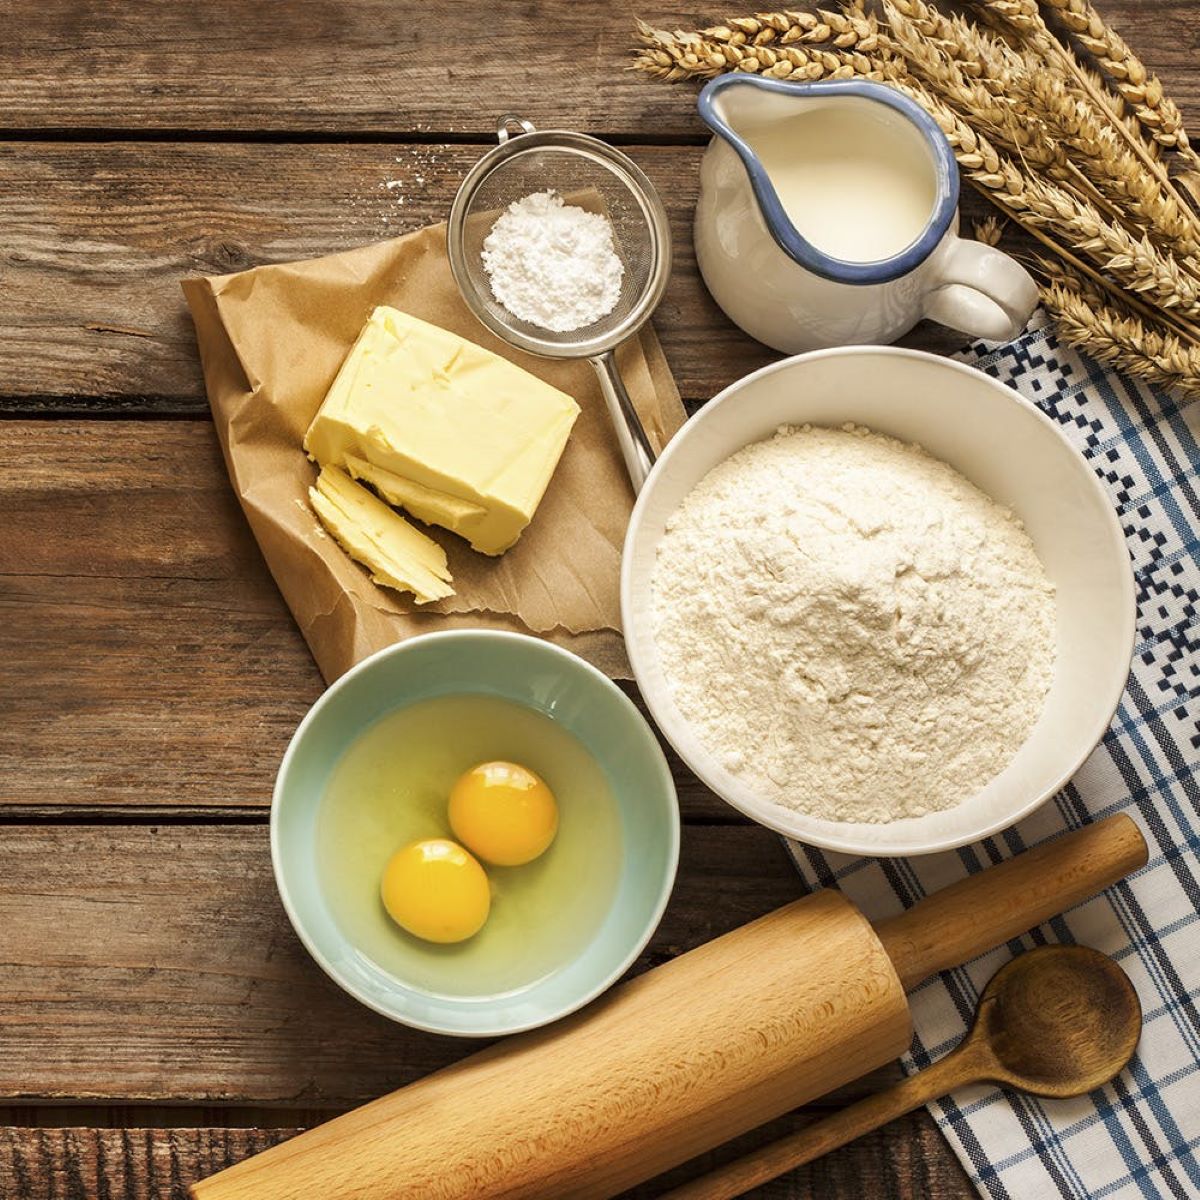
When it comes to baking and cooking, silicone baking mats have become an essential tool in every kitchen. These versatile mats provide a non-stick surface that makes baking and cleanup a breeze. Not only do they enhance the cooking experience, but they also promote healthier cooking habits by reducing the need for excessive oil or cooking sprays.
While silicone baking mats may seem durable and resilient, proper storage is crucial to maintain their effectiveness and extend their lifespan. In this article, we will explore the importance of storing silicone baking mats correctly and provide you with some practical tips on how to do it.
Why silicone baking mats should be stored properly
Storing silicone baking mats properly is essential for maintaining their quality and performance. Here’s why:
- Prolongs the lifespan: Storing silicone baking mats correctly helps prevent them from getting damaged or warped. This extends their lifespan, saving you money in the long run.
- Maintains non-stick properties: Proper storage prevents the accumulation of dust, dirt, and grease on the mats. This ensures their non-stick properties remain intact, allowing you to enjoy hassle-free baking every time.
- Organizes your kitchen: Storing silicone baking mats properly helps keep your kitchen tidy and organized. You’ll always know where to find them when you need them.
Now that we understand the importance of proper storage, let’s explore the different techniques you can use to store your silicone baking mats.
Key Takeaways:
- Proper storage of silicone baking mats is crucial to maintain their non-stick properties, prevent damage, and ensure easy accessibility, ultimately extending their lifespan and enhancing your baking experience.
- Cleaning, drying, and storing silicone baking mats with care, whether folded, rolled, hung, or organized, is essential for maintaining their quality and maximizing kitchen space while protecting them from damage.
Read more: How To Store Silicone Toys
Why silicone baking mats should be stored properly
Proper storage of silicone baking mats is essential to maintain their quality and extend their lifespan. Here are a few reasons why it’s crucial:
- Prolongs the lifespan: Silicone baking mats are designed to be durable and long-lasting. However, improper storage can lead to damage, such as tears, cuts, or warping. By storing them properly, you can ensure they stay in good condition for a long time, saving you money in the long run.
- Maintains non-stick properties: Silicone baking mats are known for their non-stick surface, which eliminates the need for greasing or parchment paper. However, if they are not stored properly, the mats can accumulate dust, dirt, or food particles, diminishing their non-stick properties. This can lead to food sticking to the mats and difficulty in cleaning. Proper storage helps to keep the mats clean and free from debris, ensuring their non-stick surface remains intact.
- Prevents damage: Silicone baking mats are flexible and resilient, but they are not indestructible. Storing them improperly, such as folding or cramming them into a tight space, can cause creases, tears, or permanent damage to the mats. By storing them correctly, you can protect them from unnecessary wear and tear, extending their usability.
- Easy accessibility: Proper storage of silicone baking mats ensures that they are easily accessible when needed. Storing them in an organized manner allows you to find them quickly and saves you time during your baking or cooking sessions. You won’t have to rummage through your kitchen drawers or cabinets to locate them when you’re in a hurry.
By taking the time to store your silicone baking mats properly, you can enjoy their benefits for a longer period. Now, let’s explore some effective methods for cleaning and drying the mats before storing them.
Cleaning and Drying the Silicone Baking Mats
Before storing silicone baking mats, it’s important to clean and dry them properly to ensure they remain in pristine condition. Here’s how you can do it:
- Remove any food residue: After each use, scrape off any excess food particles from the silicone baking mats using a spatula or your hands. This will make the cleaning process easier and prevent any lingering smells.
- Wash with warm, soapy water: Fill a sink or basin with warm water and a gentle dish soap. Place the silicone baking mats into the soapy water and use a non-abrasive sponge or cloth to gently scrub them. Avoid using harsh scrub brushes or abrasive cleaning agents that can damage the mats.
- Rinse thoroughly: After cleaning, rinse the mats under warm running water to remove any soap residue. Make sure to rinse both sides of the mats to ensure they are completely clean.
- Dry completely: Shake off any excess water from the mats and pat them dry with a clean towel. To speed up the drying process, you can also hang them or place them on a drying rack. It’s important to ensure that the mats are completely dry before storing them to prevent the growth of mold or mildew.
By following these cleaning and drying steps, you’ll be able to maintain the hygiene and quality of your silicone baking mats. Now, let’s discuss the different options for storing the mats: folding versus rolling.
Folding vs. Rolling the Silicone Baking Mats for Storage
When it comes to storing silicone baking mats, you have two main options: folding or rolling. Each method has its own advantages and considerations. Let’s explore both:
Folding: Folding the silicone baking mats is a popular storage method as it allows you to save space and keep the mats neatly stacked. Here are a few tips for folding them:
- Make sure the mats are clean and dry before folding.
- Start by folding the mats in half, making sure that the non-stick side is facing inward.
- Continue folding until you have a compact rectangle or square shape.
- Store the folded mats in a drawer, cabinet, or even a storage container specifically designed for baking tools.
Rolling: Rolling the silicone baking mats is another convenient storage method, especially if you have limited space. Here’s how you can roll them:
- Ensure the mats are clean and completely dry.
- Starting from one end, tightly roll the mat, keeping the non-stick side facing outward.
- Secure the rolled mat with a rubber band or a piece of string.
- Place the rolled mats in a drawer, a dedicated storage container, or even hang them on a hook or hanger.
When deciding between folding and rolling, consider the available storage space in your kitchen and what works best for you. If you have ample space, folding may be a suitable option. On the other hand, if storage space is limited, rolling the mats can help you maximize the available area.
Regardless of whether you choose to fold or roll your silicone baking mats, it’s important to store them in a way that protects them from damage. Let’s explore some storage options in the next section.
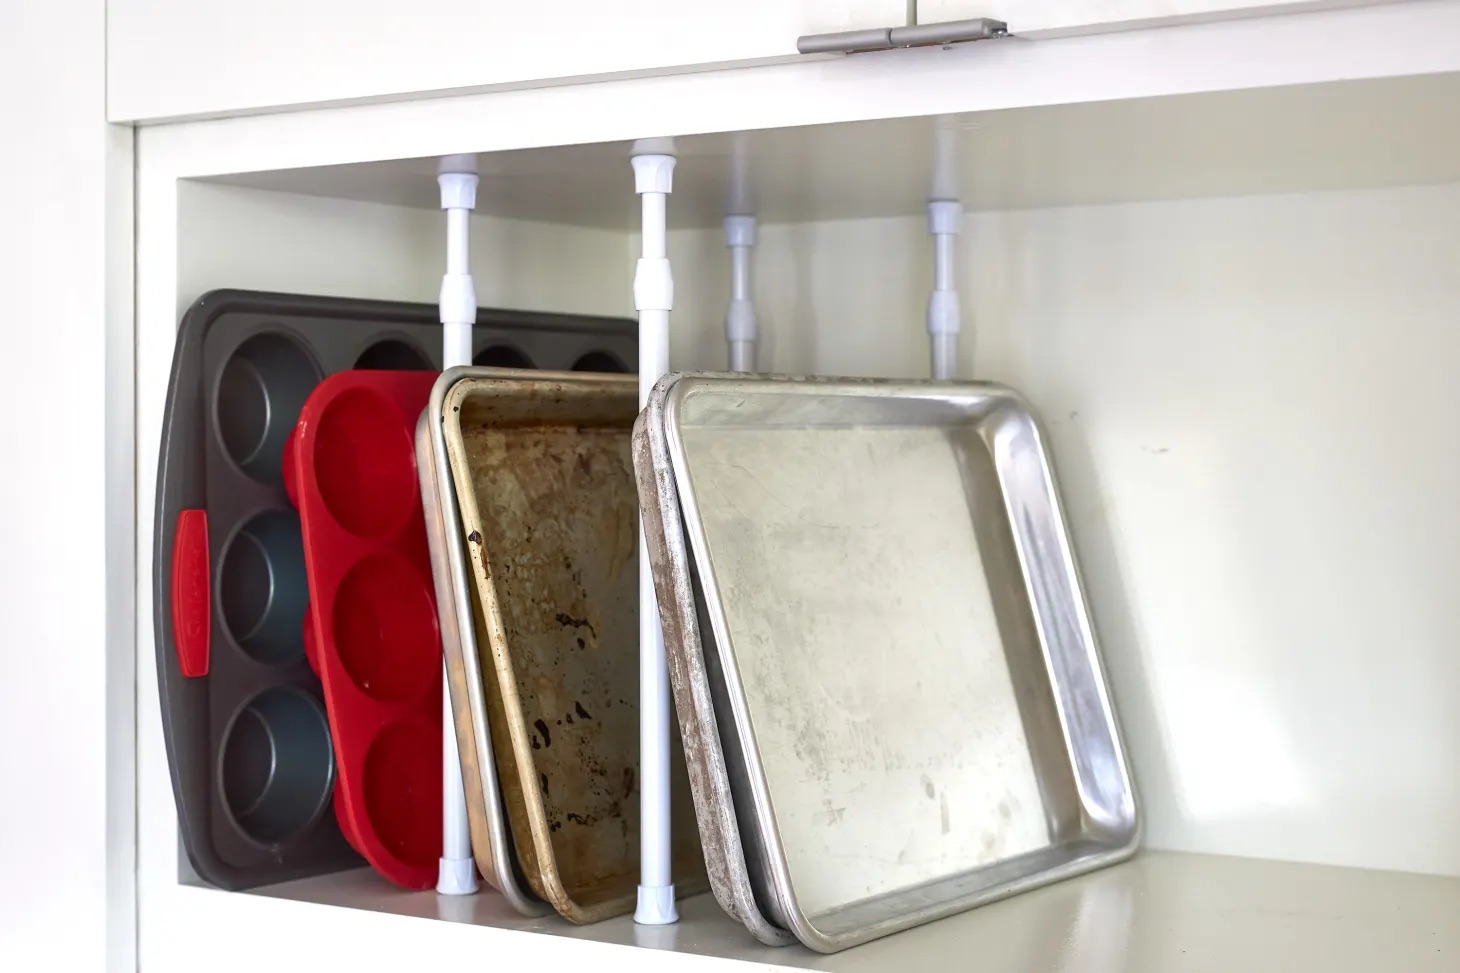
Storing Silicone Baking Mats in Drawers or Cabinets
One of the most common ways to store silicone baking mats is by keeping them in drawers or cabinets. Here are some tips for effectively storing your mats in these spaces:
- Clean and dry the mats: Before storing the silicone baking mats in drawers or cabinets, make sure they are clean and completely dry. This helps prevent any potential odor or moisture buildup.
- Organize with dividers: Use drawer dividers or organizers to separate and keep the mats neatly arranged. This prevents them from getting tangled or damaged while also making it easier to find the mat you need.
- Stack or store vertically: Depending on the size of your drawers or cabinets, you can either stack the mats on top of each other or store them vertically. However, avoid cramming them too tightly as it may lead to creasing or warping.
- Consider using a baking mat holder: There are specially designed baking mat holders available on the market that allow you to store and organize your mats conveniently. These holders often have slots or compartments to keep the mats upright and secure.
- Label or color-code: If you have multiple silicone baking mats, consider labeling them or using different colored ties or tags to easily identify and retrieve the desired mat.
Storing silicone baking mats in drawers or cabinets is an efficient way to keep them within reach while maintaining a clutter-free kitchen. However, if you prefer a different storage approach, consider hanging your mats. Let’s explore this option next.
After cleaning, roll up silicone baking mats and store them in a dry, flat space to prevent creasing or warping. Avoid folding or stacking heavy items on top.
Read more: How To Store Silicone Molds
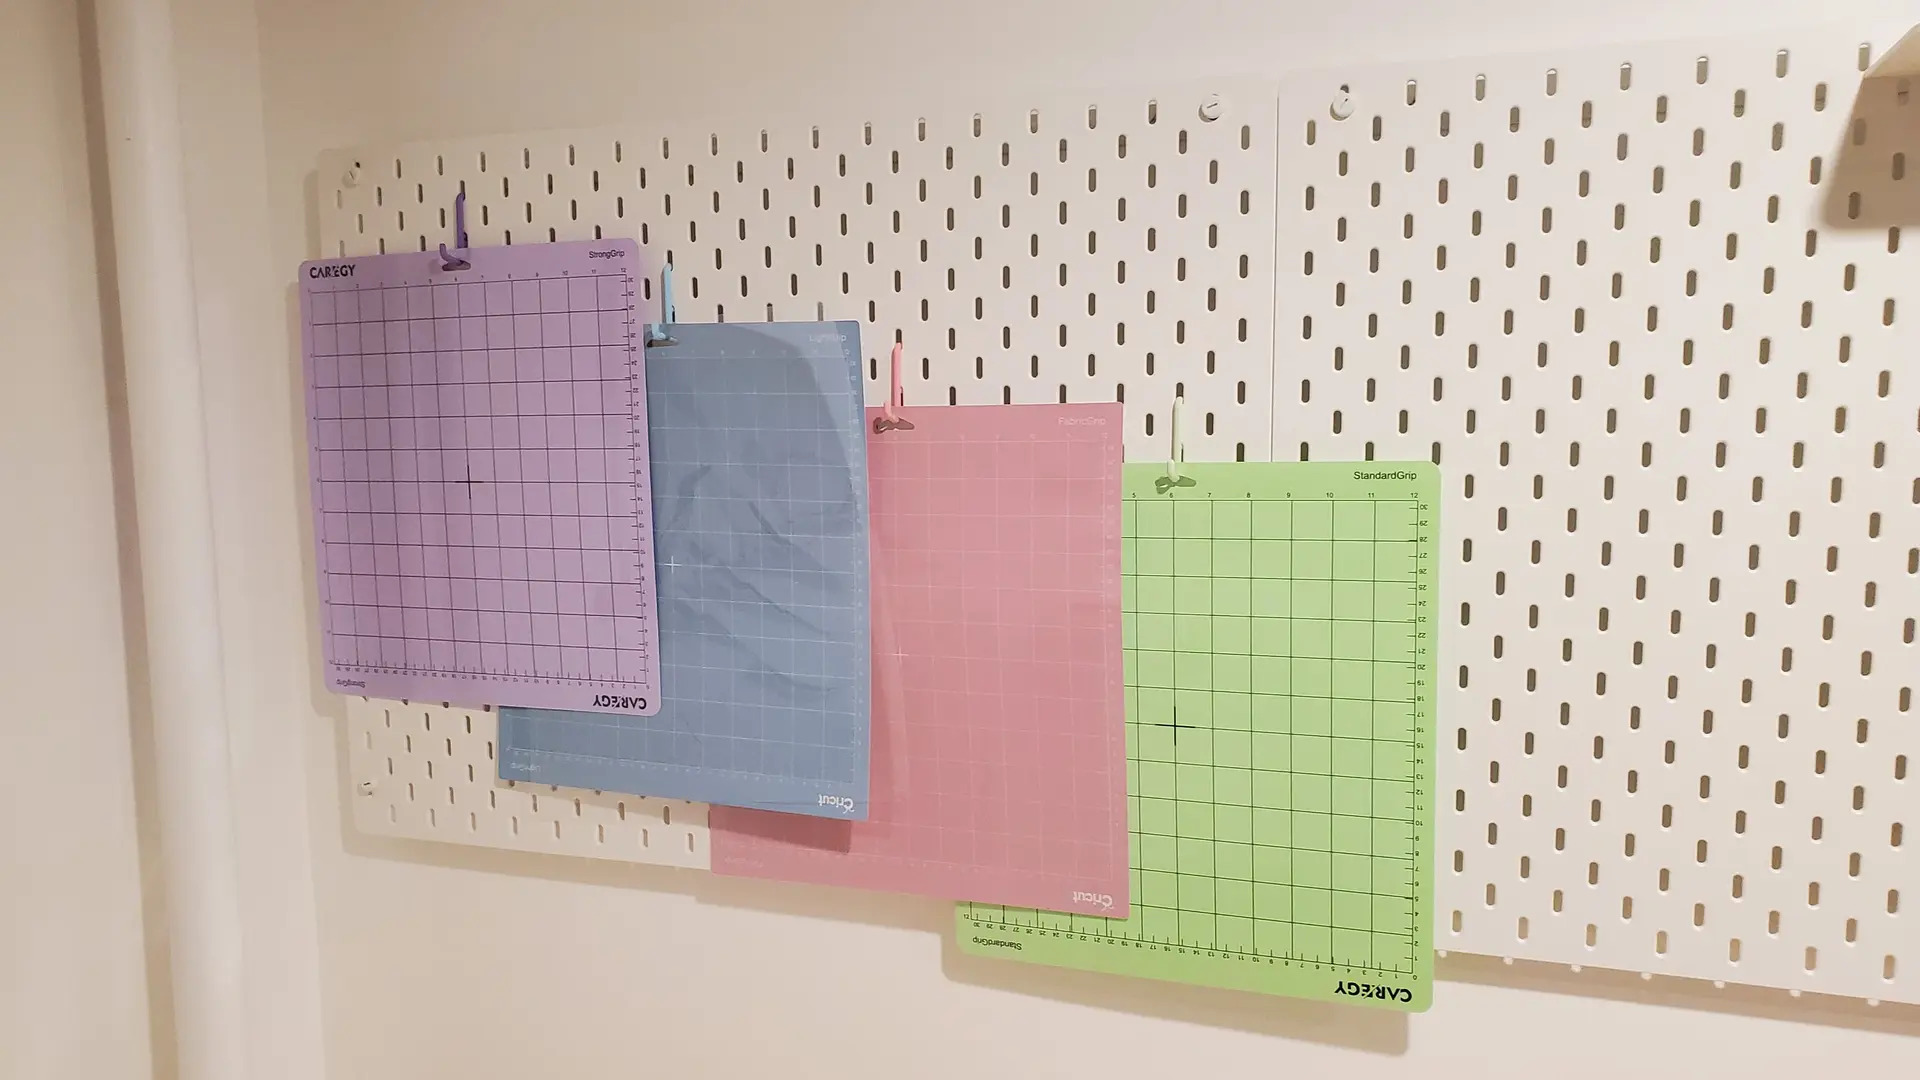
Hanging Silicone Baking Mats for Storage
If you have limited drawer or cabinet space, or simply prefer a more visible and accessible storage solution, hanging your silicone baking mats can be a great option. Here’s how you can effectively hang your mats for storage:
- Choose a suitable location: Find a spot in your kitchen where you can hang the mats without them getting in the way or being exposed to excessive heat or moisture.
- Select the hanging method: There are a few ways you can hang your silicone baking mats, depending on your kitchen setup and personal preference:
- Command hooks: Attach adhesive command hooks to the inside of a cabinet door or on a wall to hang the mats. Make sure the hooks are sturdy enough to support the weight of the mats.
- Hanging rods or towel racks: Install a hanging rod or a towel rack on a wall or cabinet. Hang the silicone baking mats using their built-in holes or loops, if available.
- Pegboard: Install a pegboard on a wall and use hooks or clips to hang the mats. This allows for flexible and customizable hanging options.
- Hang the mats: Once you have the hanging method set up, hang the silicone baking mats by inserting them onto the hooks, rods, or pegboard hooks. Ensure they are secure and evenly spaced.
- Consider proper positioning: Hang the mats with the non-stick side facing outward. This will help prevent any potential sticking or damage to the non-stick surface while also making it easier to grab the mats when needed.
- Utilize storage accessories: If you prefer a more organized and streamlined look, consider using S-hooks or clips to attach the mats to the hanging system. This prevents them from sliding or overlapping.
By hanging your silicone baking mats, you can not only save valuable storage space but also have them readily accessible whenever you need them. However, if you have limited wall or cabinet space, there are other storage options to consider. Let’s explore using organizer racks or holders in the next section.
Using Organizer Racks or Holders for Silicone Baking Mats
If you’re looking for a dedicated storage solution for your silicone baking mats, using organizer racks or holders can be a practical and space-saving option. Here’s how you can effectively utilize organizer racks or holders for silicone baking mat storage:
- Choose the right organizer: Look for organizer racks or holders specifically designed for baking mats. These are typically made of durable materials like metal or plastic and have slots or compartments to hold the mats securely.
- Arrange the mats: Once you have the organizer rack or holder, arrange the silicone baking mats inside the slots or compartments. Make sure they are aligned and positioned properly to prevent any bending or warping.
- Consider vertical or horizontal placement: Depending on the design of the organizer, you can either place it vertically or horizontally, based on your preference and available space. You can store the organizer in a cabinet, on a countertop, or even mount it on a wall for easy access.
- Label or color-coordinate: If you have different types or sizes of silicone baking mats, consider labeling or color-coordinating the slots or compartments to easily identify and retrieve the mat you need.
- Utilize the top surface: Some organizer racks or holders may also have a flat top surface. Take advantage of this space to store additional kitchen items, such as baking sheets or cutting boards, for added convenience and organization.
Using organizer racks or holders provides a dedicated and efficient storage solution for your silicone baking mats. It not only keeps them neatly organized but also protects them from damage or creasing. However, if you prefer to store your silicone baking mats with other kitchen items, there are considerations to keep in mind. Let’s explore that in the next section.
Storing Silicone Baking Mats with Other Kitchen Items
If space is limited in your kitchen, you may consider storing your silicone baking mats with other kitchen items. Here are some tips to effectively store them alongside other kitchen essentials:
- Select a suitable container: Choose a container that can accommodate both the silicone baking mats and the other kitchen items you wish to store together. This can be a plastic bin, a storage basket, or even a reusable food storage bag.
- Arrange the items: Begin by placing the silicone baking mats at the bottom of the container. Ensure they are clean, dry, and properly folded or rolled. Next, add other kitchen items on top, such as baking trays, cooling racks, or parchment paper.
- Use dividers: If you want to keep the items separated and organized within the container, consider using dividers or small storage bins. This will prevent items from shifting or getting damaged during storage or transportation.
- Label the container: To easily identify the container and its contents, label it accordingly. You can use adhesive labels or even color-coded tags for quick reference.
- Store in a convenient location: Find a suitable spot in your kitchen to store the container, such as a pantry shelf or a designated cabinet. Make sure it is easily accessible so you can retrieve the necessary items without hassle.
Storing silicone baking mats with other kitchen items allows you to optimize the available space in your kitchen while keeping everything organized and accessible. However, be mindful of how items are arranged to avoid any potential damage to the mats or other delicate kitchen tools. With these techniques in mind, you can ensure your silicone baking mats are stored effectively alongside other essentials.
Now that you have learned various storage methods for silicone baking mats, let’s explore some additional tips to help maintain the longevity of these versatile kitchen tools.
Tips for Maintaining the Longevity of Silicone Baking Mats
Silicone baking mats are durable and long-lasting, but with proper care and maintenance, you can further extend their lifespan. Here are some helpful tips for maintaining the longevity of your silicone baking mats:
- Avoid sharp objects: When using and storing silicone baking mats, be cautious of sharp utensils or objects that could puncture or damage the surface. Use non-abrasive utensils like silicone, plastic, or wooden spatulas to avoid scratching or tearing the mat.
- Limit exposure to extreme heat: While silicone baking mats can withstand high temperatures, to ensure their longevity, avoid exposing them to direct flames or heat sources like broilers or open flames. This can cause warping or melting of the mats.
- Avoid contact with grease or oils: Although silicone mats are non-stick, extended exposure to greasy or oily foods can leave residue on the surface and impact their non-stick properties. Clean the mats thoroughly after each use to remove any grease or oil buildup.
- Avoid contact with abrasive cleaners: Harsh chemical cleaners, scouring pads, or abrasive cleaners can damage the surface of silicone baking mats. Stick to mild dish soap and warm water for cleaning and avoid using any abrasive materials.
- Store in a cool, dry place: Proper storage plays a crucial role in maintaining the condition of silicone baking mats. Store them in a cool, dry place away from direct sunlight or heat sources. Avoid storing them in humid environments to prevent the growth of mold or mildew.
- Inspect regularly: Periodically inspect your silicone baking mats for any signs of wear and tear or accumulation of food particles. If you notice any damage, such as tears, cuts, or deformities, it’s time to replace them to maintain optimal performance.
- Follow manufacturer’s instructions: Always refer to the manufacturer’s instructions for specific care and cleaning guidelines for your silicone baking mats. Different brands may have slight variations in their recommendations, so it’s best to follow their instructions for the best results.
By following these tips, you can ensure that your silicone baking mats stay in excellent condition and continue to serve you well in your baking adventures for years to come.
Now, armed with the knowledge of proper storage and maintenance, you are ready to make the most of your silicone baking mats and experience the convenience and versatility they bring to your culinary endeavors.
If you have any further questions or need more guidance, don’t hesitate to consult the manufacturer’s instructions or seek advice from kitchenware experts.
Happy baking!
Read more: How To Store Silicone Caulk
Conclusion
Silicone baking mats are valuable tools in every kitchen, providing a non-stick surface, easy cleanup, and promoting healthier cooking habits. To maximize their effectiveness and prolong their lifespan, it is essential to store them properly.
We have explored various storage methods, such as folding and rolling the mats, hanging them, using organizer racks or holders, and storing them with other kitchen items. Each method has its benefits and considerations, allowing you to choose the one that best suits your kitchen space and preferences.
Additionally, we have discussed important steps for cleaning and drying the mats before storing them. By properly maintaining their cleanliness, you can ensure their non-stick properties remain intact and ready to be used for your next baking or cooking adventure.
To care for your silicone baking mats and maintain their longevity, we have provided useful tips to avoid damage from sharp objects, limit exposure to extreme heat, and prevent contact with abrasive cleaners or greasy foods. By following these guidelines, you can extend the lifespan of your mats and continue to enjoy their benefits for an extended period.
In conclusion, by storing silicone baking mats properly and following the recommended care and maintenance practices, you can protect your investment and ensure that these invaluable kitchen tools serve you well. From delicious cookies to perfectly roasted vegetables, your silicone baking mats will continue to enhance your culinary creations with their convenience, versatility, and non-stick performance.
So, make the most of your silicone baking mats, and let your baking adventures take off to new heights.
Frequently Asked Questions about How To Store Silicone Baking Mats
Was this page helpful?
At Storables.com, we guarantee accurate and reliable information. Our content, validated by Expert Board Contributors, is crafted following stringent Editorial Policies. We're committed to providing you with well-researched, expert-backed insights for all your informational needs.


0 thoughts on “How To Store Silicone Baking Mats”