
Articles
How To Store Dry Foods
Modified: January 18, 2024
Learn the best tips and tricks for storing dry foods in this comprehensive articles. Keep your pantry organized and your food fresh for longer.
(Many of the links in this article redirect to a specific reviewed product. Your purchase of these products through affiliate links helps to generate commission for Storables.com, at no extra cost. Learn more)
Introduction
Proper storage of dry foods is essential to maintain their freshness, taste, and nutritional value. Whether you buy them in bulk or prefer to stock up on pantry staples, knowing how to store dry foods will help you save money, reduce waste, and ensure that your ingredients are always ready to use. In this article, we will explore the importance of proper storage for dry foods and provide you with some general guidelines and tips for storing different types of dry foods.
When it comes to dry foods, they can easily deteriorate if not stored correctly. Exposure to air, moisture, sunlight, and temperature fluctuations can cause them to lose their flavor, texture, and nutritional content. Therefore, it is crucial to understand the best storage methods to preserve the quality of your dry ingredients.
Whether you have grains, legumes, nuts, dried fruits, baking ingredients, or spices, each type of dry food has its own specific storage requirements. By following the right storage techniques, you can extend the shelf life of your ingredients, prevent spoilage, and maintain their overall quality.
Proper storage not only keeps your dry foods fresh, but it also prevents the growth of mold, bacteria, and pests. By creating a suitable storage environment, you can reduce the need for food waste and save money in the long run.
In the upcoming sections, we will discuss specific guidelines for storing different types of dry foods, including grains, legumes, nuts and seeds, dried fruits and vegetables, herbs and spices, baking ingredients, pasta and rice, breakfast cereals, crackers and snacks, sugar and sweeteners, and oils and vinegars.
So, let’s dive in and learn how to store dry foods properly to ensure their longevity and retain their maximum flavor and nutritional goodness.
Key Takeaways:
- Proper storage of dry foods is crucial for preserving freshness, flavor, and nutritional value. Follow specific guidelines for different types of dry foods to maximize shelf life, reduce waste, and ensure ingredients are ready to use.
- By implementing effective storage practices, you can maintain the quality, flavor, and nutritional value of your dry ingredients, ensuring that every meal is made with the freshest and finest dry foods.
Read more: How To Store Dried Elderberries
Importance of Proper Storage for Dry Foods
Proper storage of dry foods plays a crucial role in maintaining their quality, taste, and nutritional value. Here are some key reasons why understanding the importance of storage is essential:
- Preserving Freshness: Dry foods can easily lose their freshness and become stale if not stored properly. Exposure to air, moisture, and heat can lead to oxidation, which degrades the flavor and texture of ingredients like grains, nuts, and spices. By storing dry foods in airtight containers and in a cool, dark place, you can help prevent oxidation and maintain their freshness for longer periods.
- Preventing Spoilage: Improper storage conditions can promote the growth of mold, bacteria, and insects, leading to spoilage of dry foods. This not only affects their taste and texture but also poses health risks. By storing dry foods in a clean and dry environment, you can minimize the chances of spoilage and ensure that your ingredients remain safe to consume.
- Extending Shelf Life: Dry foods typically have a longer shelf life compared to perishable items. However, their shelf life can vary depending on the storage conditions. Factors such as exposure to light, humidity, and temperature fluctuations can accelerate the degradation of dry foods. Knowing the proper storage techniques can help you extend the shelf life of your ingredients and reduce food waste.
- Maintaining Nutritional Value: Dry foods, such as grains, legumes, and nuts, are rich in essential nutrients like vitamins, minerals, and antioxidants. However, improper storage can lead to nutrient loss over time. For example, exposure to light and air can cause the breakdown of certain vitamins. By storing dry foods properly, you can help preserve their nutritional value and enjoy the maximum benefits they offer.
- Saving Money: Buying dry foods in bulk or taking advantage of sales and discounts can help you save money. However, if you don’t store them correctly, you may end up wasting food and money. Proper storage prevents spoilage, allowing you to use your ingredients for a longer period without compromising their quality. Additionally, by organizing your dry foods and knowing what you have on hand, you can avoid unnecessary purchases and utilize what you already have in your pantry.
Understanding the importance of proper storage for dry foods empowers you to make informed decisions about how to store and organize your pantry. By implementing effective storage practices, you can minimize food waste, maximize the lifespan of your ingredients, and ensure that your meals are made with fresh and flavorful dry foods.
General Guidelines for Storing Dry Foods
While each type of dry food may have specific storage requirements, there are some general guidelines that you can follow to ensure the longevity and quality of your ingredients. Here are some key principles to keep in mind:
- Choose Appropriate Containers: Opt for airtight containers made of glass, plastic, or metal to store your dry foods. These containers help protect the ingredients from air, moisture, pests, and odors. Make sure the containers have tight-fitting lids to create a secure seal and prevent any air or moisture from entering.
- Store in a Cool, Dry Place: Dry foods are best stored in a cool, dark, and dry environment. High temperatures and humidity can accelerate the degradation process and promote the growth of mold and bacteria. Choose a pantry, cupboard, or a dedicated storage area that is away from sources of heat and moisture, such as the stove, dishwasher, or sink.
- Keep Away from Light: Exposure to light can cause dry foods, particularly those with oils or certain nutrients, to go rancid or lose their color and flavor. Store your ingredients in opaque containers or keep them in a dark pantry to protect them from light damage.
- Label and Date: Proper labeling and dating of your stored dry foods can help you keep track of their freshness and ensure you use the oldest items first. Use adhesive labels or black permanent markers to write the name of the ingredient and the date of purchase or expiration on the containers.
- Organize and Rotate: Maintain an organized pantry by arranging your dry foods in a systematic manner. Group similar items together and place them in a way that allows for easy visibility and access. Implement the “first in, first out” rule, where you use the oldest items first and rotate your stock accordingly.
- Avoid Excessive Grinding: While some spices and grains benefit from being ground just before use to preserve their freshness, excessive grinding can lead to a shorter shelf life. Only grind what you need for immediate use and store the rest in whole form.
- Monitor Temperature and Humidity: Regularly check the temperature and humidity levels in your storage area and adjust as necessary. Investing in a hygrometer and thermometer can help you ensure that your dry foods are stored in optimal conditions.
- Inspect for Pests: Regularly inspect your dry food containers for any signs of pests, such as bugs or rodents. If you notice any infestation, discard the affected items, thoroughly clean the storage area, and consider using pest control measures to prevent future issues.
By adhering to these general guidelines, you can establish a solid foundation for proper storage of your dry foods. These practices will help maintain the quality, flavor, and nutritional value of your ingredients, ensuring that they are always ready to enhance your culinary creations.
Storing Grains
Grains are a staple in many kitchens, and proper storage is essential to maintain their freshness and quality. Whether you have rice, wheat berries, quinoa, or oats, here are some guidelines for storing grains:
- Choose the Right Containers: Store grains in airtight containers made of glass, metal, or BPA-free plastic. These containers help keep out moisture, pests, and odors. Avoid storing grains in their original packaging, as they may not provide adequate protection.
- Keep in a Cool, Dry Place: Grains should be stored in a cool, dark, and dry environment. Avoid placing them near the stove, sink, or any other sources of heat and moisture. Aim for a storage area with a temperature of around 50°F (10°C) and a humidity level of less than 60%.
- Store Whole Grains and Flour Separately: If you have both whole grains and flour, it is best to store them separately. Whole grains have a longer shelf life and can tolerate higher temperatures, while flour can quickly go rancid and spoil. Keep whole grains in airtight containers and store flour in the refrigerator or freezer to extend its freshness.
- Inspect for Insects: Before storing grains, check them for any signs of insects or eggs. Discard any infested grains to prevent the spread of pests. To further protect against insects, consider adding a bay leaf or a dried chili pepper to the container, as these can act as natural deterrents.
- Avoid Excessive Moisture: Moisture is the enemy of grain storage, as it can lead to mold growth and spoilage. Ensure that grains are completely dry before storing them and be cautious when transferring grains to and from humid environments, as condensation can occur. If you live in a particularly humid climate, it may be beneficial to use moisture-absorbing silica gel packets or oxygen absorbers in your grain storage containers.
- Rotate Your Stock: To maintain freshness, use the oldest grains first and practice proper rotation. This ensures that your grains are used before they become stale. Remember to label your containers with the purchase or expiration date to keep track of their freshness.
- Consider Freezing for Long-Term Storage: For long-term storage, you can freeze grains to extend their shelf life. Place the grains in airtight freezer bags or containers and store them in the freezer. Freezing can help protect against insect infestations and slow down the degradation process. When you’re ready to use the frozen grains, allow them to come to room temperature before cooking.
- Do Not Wash before Storage: It is best to store grains in their natural state without washing them beforehand. Washing grains can introduce moisture and potentially lead to spoilage. Instead, rinse the grains just before cooking.
By following these guidelines, you can ensure that your grains remain fresh, flavorful, and ready for use. Proper storage will help you maximize the shelf life of your grains, reduce waste, and maintain the nutritional value of these versatile and nutritious ingredients.
Storing Legumes
Legumes, such as beans, lentils, and chickpeas, are nutritious and versatile ingredients that are commonly used in a variety of dishes. Proper storage of legumes is crucial to maintain their quality and prevent spoilage. Here are some guidelines for storing legumes:
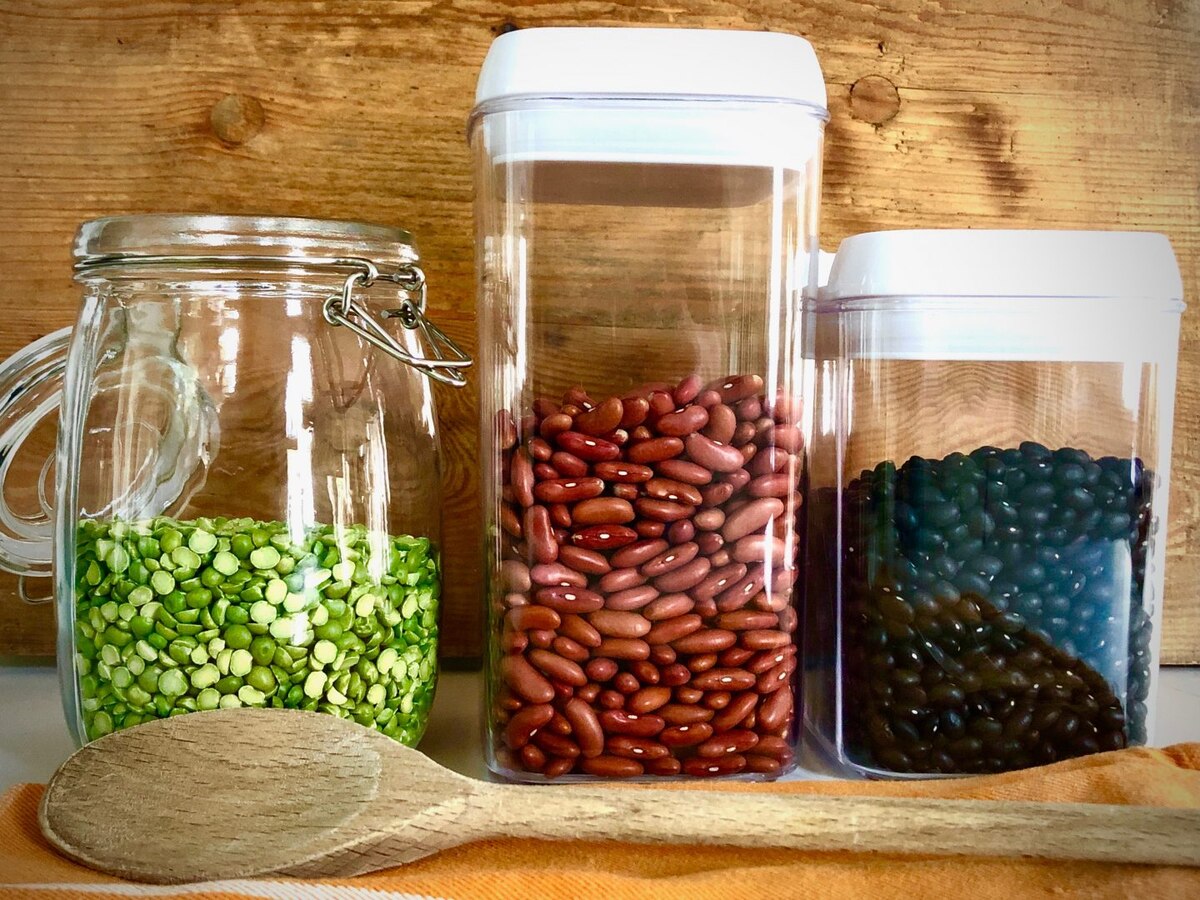
- Choose the Right Containers: Store legumes in airtight containers made of glass, metal, or BPA-free plastic. These containers help keep out air, moisture, and pests. Avoid storing legumes in their original packaging, as they may not provide sufficient protection.
- Keep in a Cool, Dry Place: It is important to store legumes in a cool, dark, and dry environment. Avoid exposing them to direct sunlight or placing them near heat sources like the stove or dishwasher. Aim for a storage area with a temperature of around 50°F (10°C) and a humidity level of less than 60%.
- Check for Quality: Before storing legumes, ensure that they are free from any foreign objects, such as stones, dirt, or debris. Also, remove any damaged or discolored legumes, as they can affect the quality of the entire batch. Rinse the legumes thoroughly and allow them to dry completely before storing.
- Avoid Excessive Moisture: Moisture can lead to the growth of mold and bacteria, causing legumes to spoil. Make sure the legumes are completely dry before storing them. If the legumes were soaked prior to cooking, ensure they are thoroughly drained and air-dried to remove excess moisture.
- Keep away from Light: Legumes are sensitive to light exposure, which can degrade their quality over time. Store them in opaque containers or place them in a dark pantry to protect them from light damage.
- Monitor for Insects: Legumes can attract pests like weevils, which can quickly infest your storage. To prevent this, inspect the legumes before storing and discard any damaged or infested ones. Placing a bay leaf or dried chili pepper in the container can act as a natural deterrent against insects.
- Rotate Your Stock: To maintain freshness, use the oldest legumes first and practice proper rotation. This ensures that your legumes are used before they become stale. Remember to label your containers with the purchase or expiration date to keep track of their freshness.
- Consider Freezing for Long-Term Storage: For long-term storage, you can freeze legumes to extend their shelf life. Place the legumes in airtight freezer bags or containers, removing any excess air, and store them in the freezer. Freezing can help protect against insect infestations and maintain the quality of the legumes for a longer period. When ready to use, thaw the legumes in the refrigerator overnight before cooking.
- Avoid Overcooking: Overcooking legumes can result in a mushy texture and affect their storage quality. Follow the recommended cooking times for each type of legume and ensure they are cooked until they are tender but still hold their shape.
By following these guidelines, you can ensure that your legumes remain fresh, wholesome, and ready to be incorporated into various dishes. Proper storage helps preserve the nutritional value of legumes, reduces waste, and allows you to enjoy their delicious flavors and textures in your meals.
Read more: How To Store Dried Apples
Storing Nuts and Seeds
Nuts and seeds are nutritious, flavorful, and versatile ingredients that can be enjoyed on their own or added to various dishes. Proper storage is key to maintaining their freshness, flavor, and nutritional value. Here are some guidelines for storing nuts and seeds:
- Choose the Right Containers: Store nuts and seeds in airtight containers made of glass, metal, or BPA-free plastic. These containers help protect the ingredients from air, moisture, and pests. Avoid storing them in their original packaging, as it may not provide sufficient protection.
- Keep in a Cool, Dry Place: Nuts and seeds should be stored in a cool, dark, and dry environment. Avoid placing them near heat sources like the stove or oven. Aim for a storage area with a temperature of around 50°F (10°C) and a humidity level of less than 60%.
- Consider Refrigeration or Freezing: While nuts and seeds can be stored at room temperature, refrigeration or freezing can extend their shelf life. If you live in a warm or humid climate, storing them in the refrigerator or freezer can help prevent rancidity and maintain their flavor. Ensure that they are stored in airtight containers to prevent absorption of odors from other foods.
- Avoid Excessive Moisture: Moisture can cause nuts and seeds to become stale and lose their crispness. Make sure they are completely dry before storing them. If you wash them before storage, pat them dry with a clean towel or allow them to air-dry thoroughly.
- Protect from Light: Nuts and seeds are sensitive to light, which can degrade their quality over time. Store them in opaque containers or keep them in a dark pantry to protect them from light damage.
- Monitor for Rancidity: Nuts and seeds contain natural oils that can become rancid if not stored properly. Regularly check for any off smells or flavors, and discard any that have gone bad. The freshness of nuts and seeds can vary, so it is recommended to purchase them in smaller quantities to ensure optimum quality.
- Seal and Freeze Ground Nuts and Seeds: Ground nuts and seeds, like almond flour or flaxseed meal, have a higher risk of going rancid due to their increased surface area. To prolong their freshness, store them in airtight containers in the freezer. When using them in recipes, you can scoop out what you need and return the rest to the freezer promptly.
- Avoid Mixing with Strongly Scented Foods: Nuts and seeds can absorb strong odors from other foods. Keep them away from aromatic ingredients like onions, garlic, and spices to maintain their own distinct flavors.
- Roast Before Storage (Optional): If you prefer the flavor of roasted nuts and seeds, you can roast them before storing. This can enhance their taste and texture. Allow the roasted nuts and seeds to cool completely before transferring them to storage containers.
By following these guidelines, you can ensure that your nuts and seeds stay fresh, crunchy, and full of flavor. Proper storage helps preserve their nutritional benefits, prevents spoilage, and allows you to enjoy them as a healthy and delicious snack or ingredient in your favorite recipes.
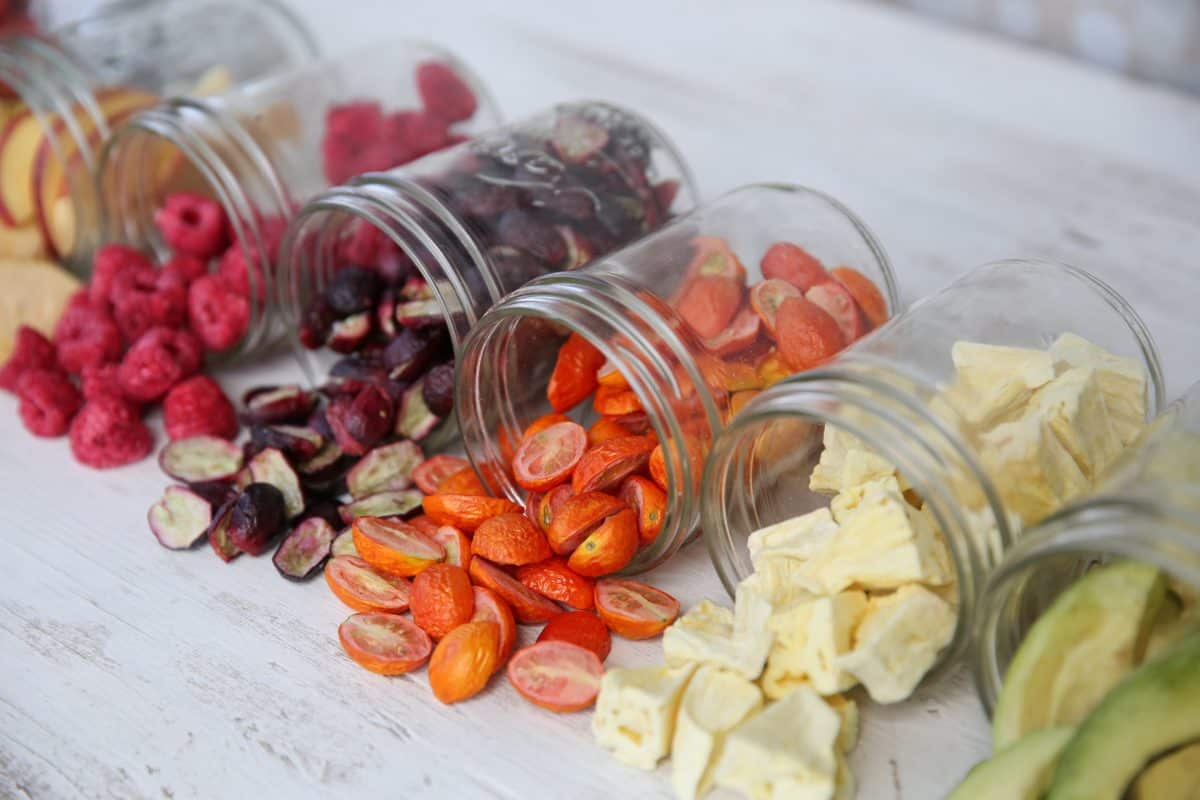
Storing Dried Fruits and Vegetables
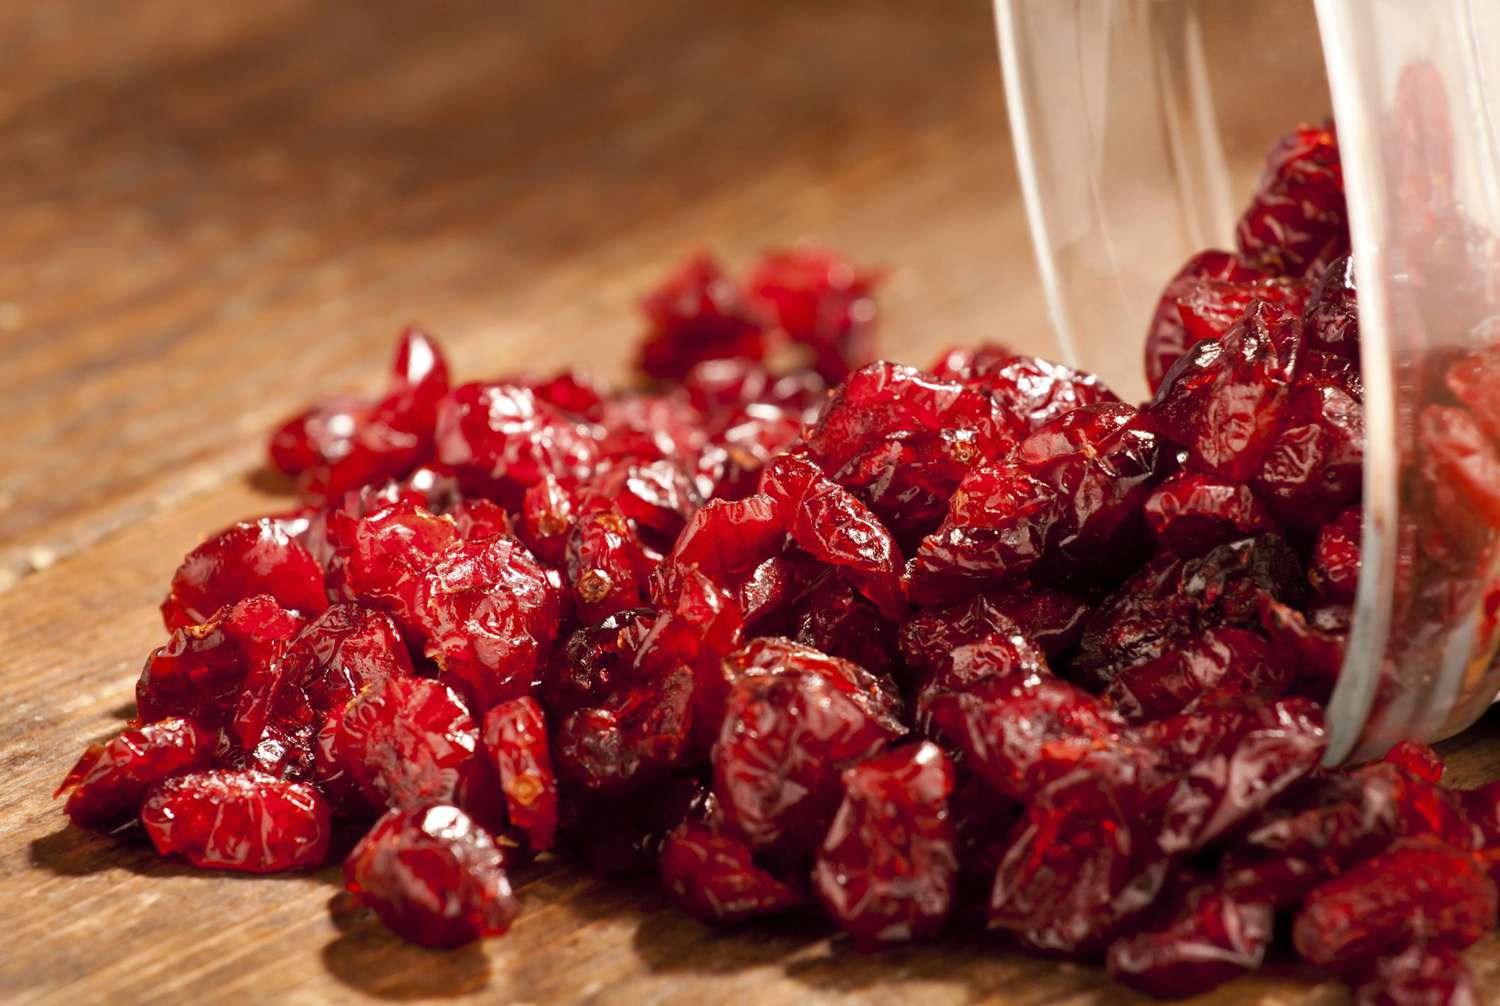
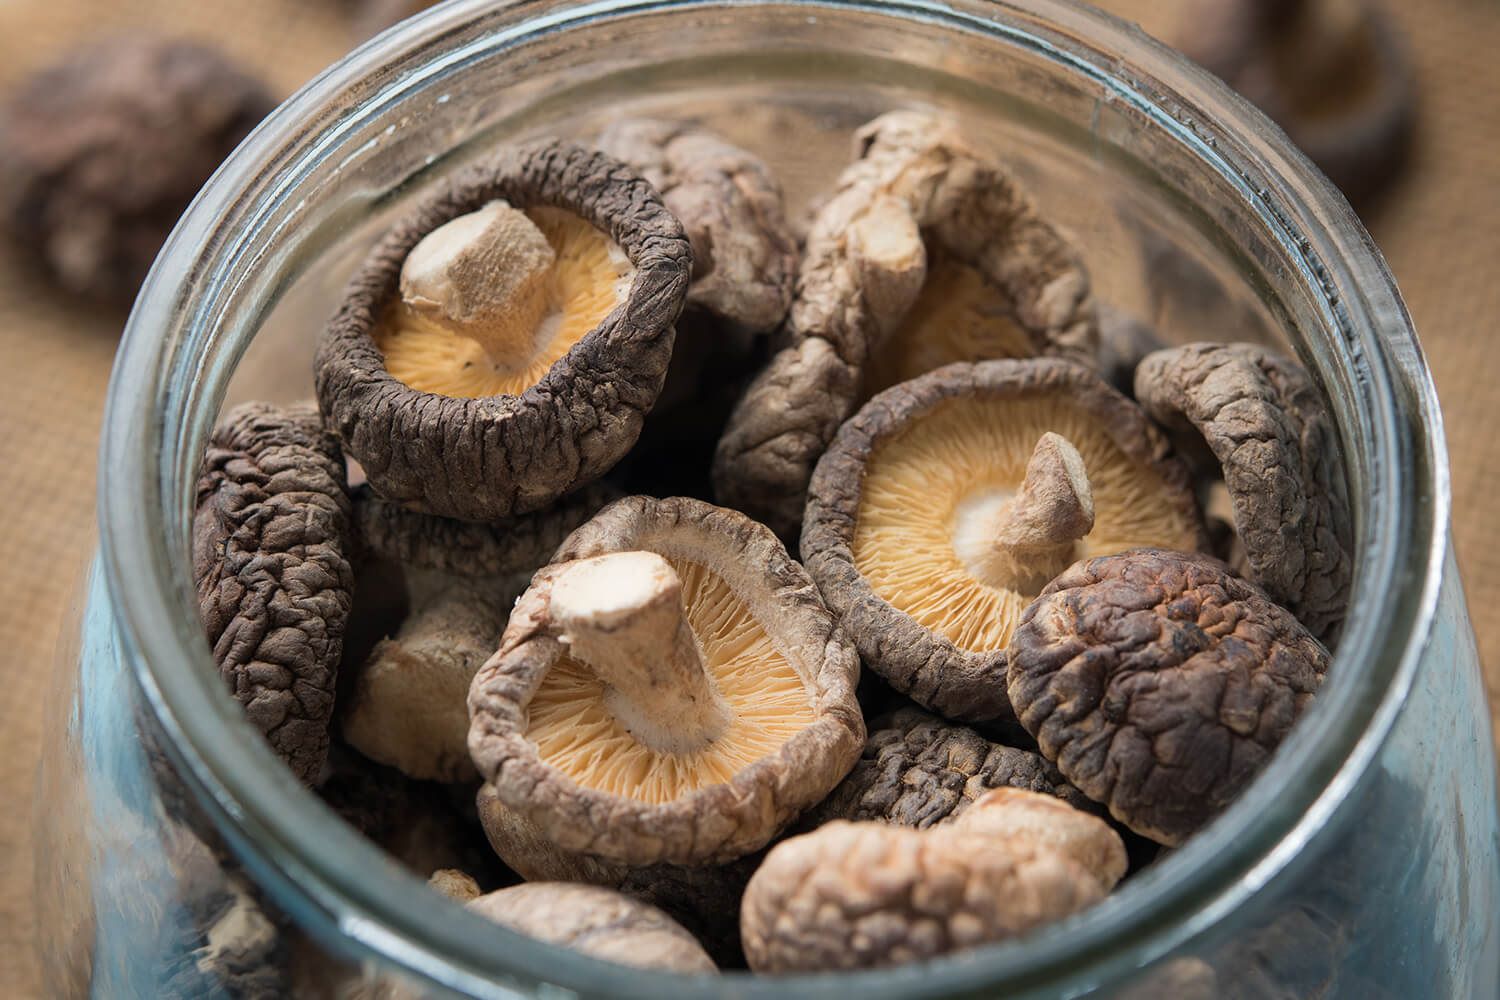
Dried fruits and vegetables are a convenient and nutritious way to enjoy the flavors and benefits of fresh produce all year round. Proper storage is essential to maintain their texture, flavor, and nutritional value. Here are some guidelines for storing dried fruits and vegetables:
- Choose the Right Containers: Store dried fruits and vegetables in airtight containers made of glass, metal, or BPA-free plastic. These containers help protect them from air, moisture, and pests. Sealable bags or vacuum-sealed pouches can also be effective in preserving their freshness.
- Keep in a Cool, Dark Place: Dried fruits and vegetables should be stored in a cool, dark, and dry environment. Avoid exposing them to direct sunlight or placing them near heat sources. Aim for a storage area with a temperature of around 50°F (10°C) and a humidity level of less than 60%.
- Inspect for Moisture Content: Before storing dried fruits and vegetables, ensure that they are completely dry and free of any residual moisture. Any moisture left in the dried produce can lead to mold growth and spoilage. If you notice any signs of moisture or stickiness, it is best to discard the affected pieces.
- Avoid Exposure to Air: Oxygen can cause dried fruits and vegetables to become stale and lose their texture. For long-term storage, consider using oxygen absorbers or vacuum-sealing the containers to remove excess air and extend their shelf life.
- Monitor for Deterioration: Over time, dried fruits and vegetables can become dry and lose their flavor. Regularly check for any signs of deterioration, such as a change in color or texture. If you notice any off flavors or a rancid smell, it may be an indication that they have gone bad.
- Store Separately from Fresh Produce: To prevent moisture transfer and cross-contamination, it is advisable to store dried fruits and vegetables separately from fresh produce. The high sugar content of dried fruits can attract moisture and spoil fresh produce more quickly.
- Label and Date: Properly label your containers with the type of dried fruit or vegetable and the date of purchase or expiration. This helps you keep track of their freshness and ensures that you use the oldest items first.
- Rehydrate when Needed: Dried fruits and vegetables can be rehydrated before use if desired. To rehydrate, simply soak them in warm water or other liquid for a specified period as per the package instructions or recipe requirements. Make sure to drain excess liquid before using them in your dishes.
- Utilize Freezer for Long-Term Storage: If you plan to store dried fruits and vegetables for an extended period, consider freezing them. Place them in airtight freezer bags or containers and store them in the freezer. Freezing helps maintain their quality and prevents the growth of any insects or pests.
By following these guidelines, you can ensure that your dried fruits and vegetables retain their quality, flavor, and nutritional value. Proper storage contributes to their longevity, allowing you to enjoy their natural sweetness and versatility in a variety of recipes throughout the year.
Storing Herbs and Spices
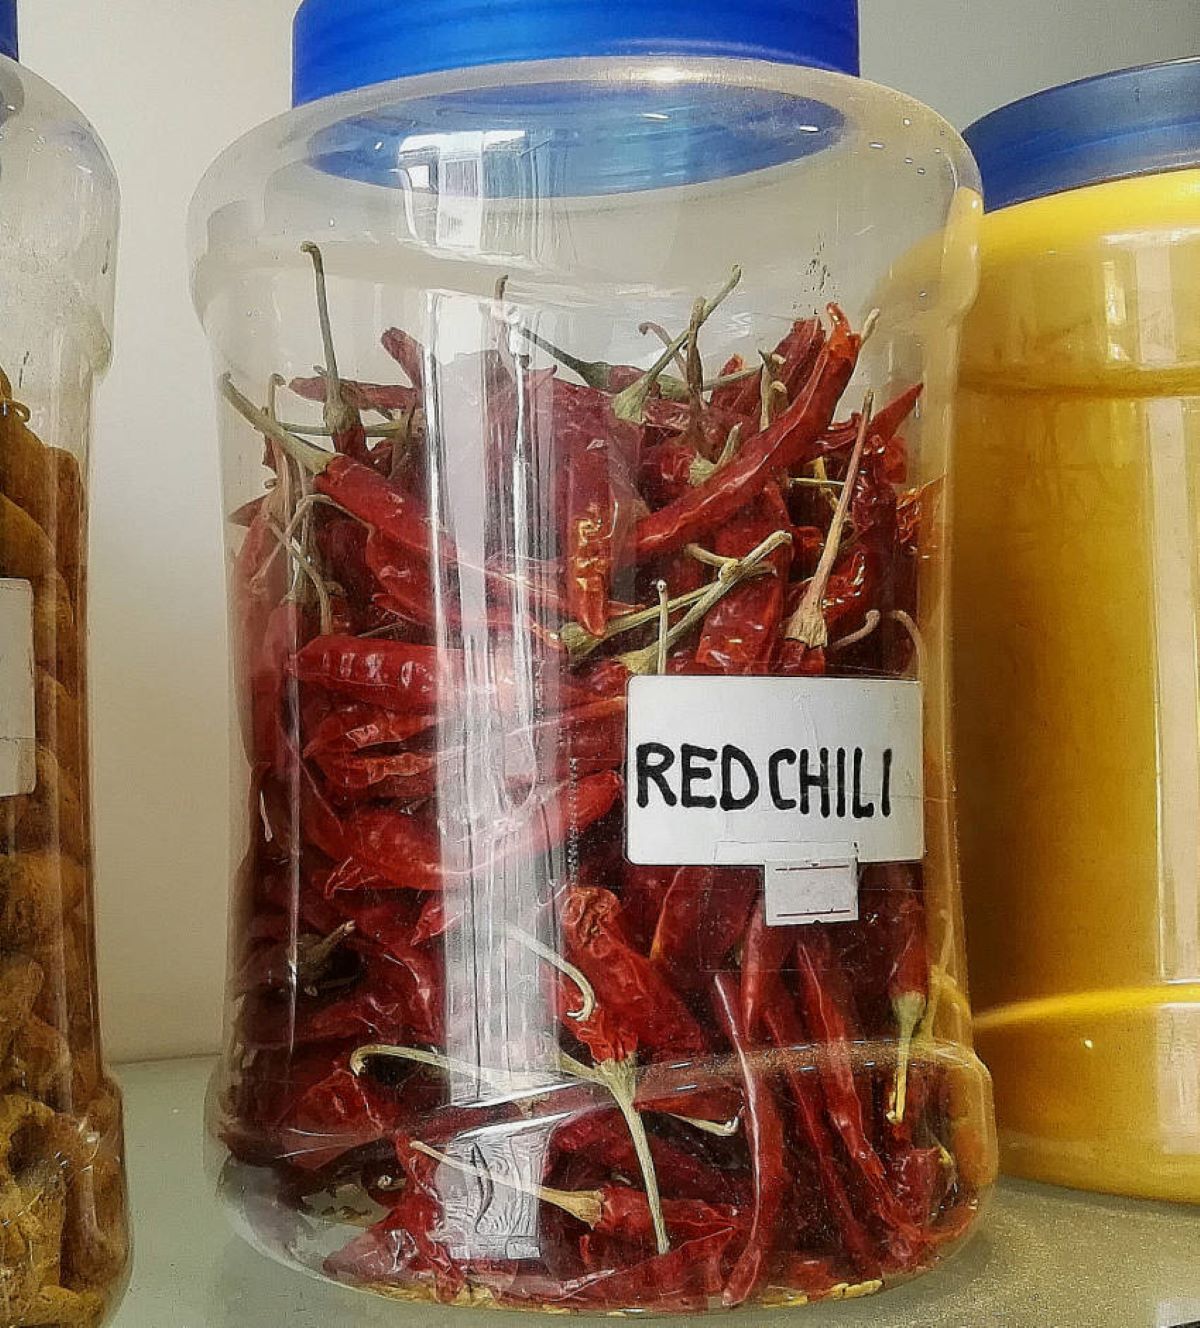
Herbs and spices are integral ingredients in cooking, adding flavor and aroma to dishes. Proper storage is essential to maintain their potency, freshness, and quality. Here are some guidelines for storing herbs and spices:
- Choose the Right Containers: Store herbs and spices in airtight containers made of glass or metal. These containers help protect them from air, moisture, and light, which can degrade their quality. Avoid using plastic containers as they can absorb odors and may not provide adequate protection.
- Keep in a Cool, Dark Place: Herbs and spices should be stored in a cool, dark, and dry environment. Exposure to heat, light, and moisture can cause them to lose their flavor and potency. Avoid placing them near the stove, oven, or other heat-generating appliances.
- Avoid Direct Sunlight: Direct sunlight can accelerate the degradation of herbs and spices, causing them to lose their color, flavor, and aroma. Store them away from windows or in opaque containers to protect them from light damage.
- Keep Away from Heat and Moisture: High temperatures and moisture can lead to the loss of essential oils and compromise the quality of herbs and spices. Ensure that your storage area has a temperature of around 70°F (21°C) or below and a humidity level of less than 60%.
- Consider Whole vs. Ground: Whole herbs and spices retain their flavor and aroma for longer than their ground counterparts. Consider purchasing whole herbs and spices and grinding them as needed to maximize freshness. If storing ground spices, make sure to use them within six months to a year.
- Avoid Clumping: Moisture can cause herbs and spices to clump together, impairing their quality and making it difficult to measure accurately. To prevent clumping, make sure the herbs and spices are completely dry before storing them, and consider adding a moisture-absorbing sachet or a grain of rice to the container.
- Avoid Contamination: When using herbs and spices, avoid directly sprinkling them into a hot pot or steamy environment as the steam can introduce moisture into the containers and cause clumping. Instead, measure out what you need into a separate dish or spoon and then add it to the cooking process.
- Check for Freshness: Periodically check the freshness of your herbs and spices. Crush or rub a small amount between your fingers and smell the aroma. If the fragrance is faint or has no scent, it may be time to replace them.
- Label and Date: To keep track of freshness, label the containers with the name of the herb or spice and the date of purchase. This allows you to use the oldest spices first and maintain a rotation that ensures maximum flavor.
- Store Away from Strong Odors: Herbs and spices can easily absorb strong odors, so it is important to store them separately from pungent ingredients like onions, garlic, and spices with a strong aroma.
By following these guidelines, you can ensure that your herbs and spices retain their potency, flavor, and aroma. Proper storage allows you to add a sprinkle of freshness to your culinary creations and elevate your dishes with the vibrant and diverse flavors herbs and spices provide.
Store dry foods in airtight containers to prevent moisture and pests from getting in. Label the containers with the expiration date and use them within a reasonable time frame for optimal freshness.
Storing Baking Ingredients
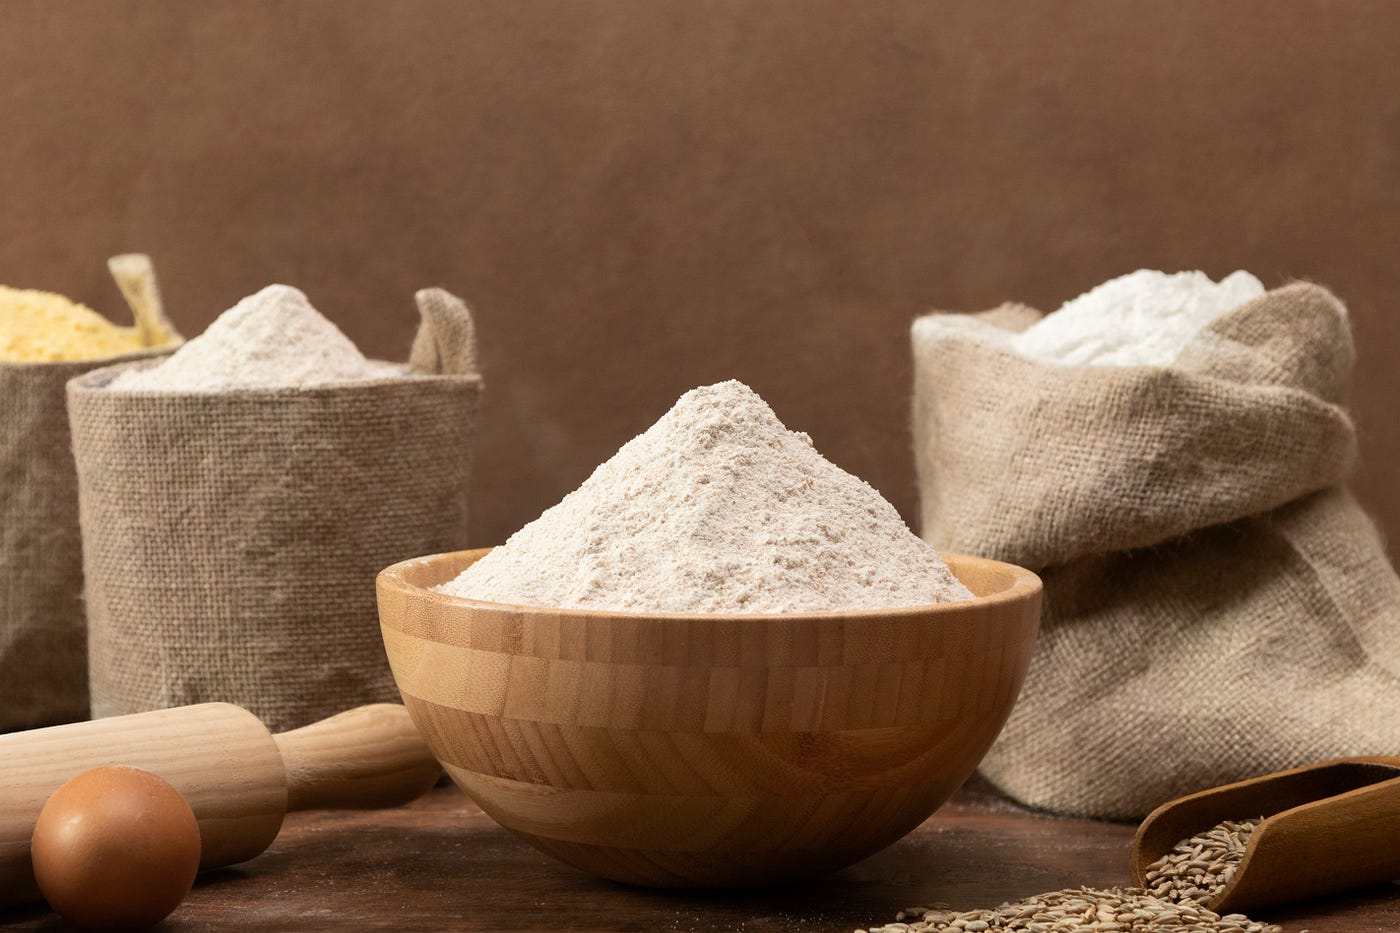
Baking ingredients such as flour, sugar, yeast, and baking powder are pantry staples for baking enthusiasts. To ensure the best results, it is crucial to store these ingredients properly. Here are some guidelines for storing baking ingredients:
- Choose the Right Containers: Store baking ingredients in airtight containers made of glass, metal, or moisture-proof plastic. These containers help protect them from air, moisture, pests, and odors. Invest in containers of various sizes to accommodate different quantities of ingredients.
- Keep in a Cool, Dry Place: Baking ingredients should be stored in a cool, dry area away from direct sunlight and sources of heat. High temperatures can cause ingredients to spoil or lose their effectiveness. Aim for a storage area with a temperature of around 70°F (21°C) or below and a humidity level of less than 60%.
- Protect from Moisture: Moisture can cause ingredients like flour and sugar to clump or become stale. Keep these ingredients in airtight containers and avoid exposing them to steam or excessive humidity. If you live in a particularly humid climate, consider using moisture-absorbing packets or adding a grain of rice to the containers.
- Label and Date: Properly label your containers with the name of the ingredient and the purchase or expiration date. This helps you keep track of their freshness and ensures that you use the oldest ingredients first. Additionally, label containers with any specific instructions like the type of flour or the protein content.
- Store Flours Separately: Different types of flour, such as all-purpose, whole wheat, and gluten-free, have varying storage requirements. It is best to store flours separately in airtight containers to maintain their individual qualities and prevent cross-contamination.
- Monitor for Pests: Baking ingredients, especially flour, can attract insects like weevils. Check the containers periodically for any signs of infestation and discard any affected ingredients. To prevent pests, consider storing vulnerable ingredients like flour in the freezer for a few days before transferring them to airtight containers.
- Refrigerate or Freeze Perishable Ingredients: Some baking ingredients, such as nuts, chocolate chips, and yeast, have a higher fat or moisture content, making them perishable. If you anticipate not using them within a few weeks, it is best to refrigerate or freeze these ingredients to maintain their quality.
- Rotate Your Stock: To ensure freshness, use the oldest baking ingredients first and practice proper rotation. This prevents ingredients from going stale or losing their efficacy over time. Regularly check the condition of your ingredients and discard any that have expired or show signs of deterioration.
- Take Note of Shelf Life: Keep track of the shelf life of different baking ingredients. While some, like granulated sugar, may have an indefinite shelf life, others, like baking powder and yeast, lose their effectiveness over time. Replace these ingredients accordingly to achieve the desired results in your baking endeavors.
By following these guidelines, you can ensure that your baking ingredients are kept fresh, accessible, and ready for your next baking adventure. Proper storage not only ensures the quality of your ingredients but also contributes to the success of your baked goods.
Read more: How To Store Dried Apricots
Storing Pasta and Rice
Pasta and rice are pantry staples that provide a versatile base for many delicious meals. Proper storage is crucial to maintaining their quality, flavor, and texture. Here are some guidelines for storing pasta and rice:
- Choose the Right Containers: Store pasta and rice in airtight containers made of glass, metal, or BPA-free plastic. These containers help protect them from air, moisture, pests, and odors. Make sure the containers have tight-fitting lids to create a secure seal and prevent any air or moisture from entering.
- Keep in a Cool, Dry Place: Pasta and rice should be stored in a cool, dark, and dry environment. Avoid placing them near heat sources like the stove or oven, as exposure to high temperatures can lead to the loss of texture and taste. Aim for a storage area with a temperature of around 70°F (21°C) or below and a humidity level of less than 60%.
- Protect from Moisture: Moisture can cause pasta and rice to become sticky or develop mold. Ensure that the pasta and rice are completely dry before storing them in airtight containers. If you live in a humid climate or notice excess moisture, consider using moisture-absorbing packets to help maintain freshness.
- Label and Date: Properly label your containers with the type of pasta or rice and the purchase or expiration date. This helps you keep track of their freshness and ensures that you use the oldest items first. Additionally, label containers with any cooking instructions or specific varieties of rice, such as brown or jasmine.
- Store in Original Packaging: If the pasta or rice is in unopened and sealed packaging, storing them in their original packaging can be an effective storage method. Ensure that the packaging is intact and tightly sealed to prevent any moisture from entering.
- Avoid Exposure to Light: Light exposure can cause pasta and rice to lose their color and flavor over time. Store them in opaque containers or in a dark pantry to protect them from light damage. If storing in transparent containers, keep them in a dark cabinet or cover them with a cloth to block out light.
- Check for Pests: As a precaution, inspect pasta and rice for any signs of pests, such as bugs or insects, before storing them. Discard any contaminated or infested packages to prevent the spread of pests in your pantry. Consider placing bay leaves or dried chili peppers in the containers to act as natural deterrents.
- Keep Different Varieties Separate: If you have various types of pasta and rice, it is best to store them separately. This helps maintain their individual flavors and cooking times. Keeping them in separate containers also makes it easier to locate and use the specific variety you need for a particular dish.
- Rotate Your Stock: To ensure freshness, use the oldest pasta and rice first and practice proper rotation. This helps prevent them from going stale or losing their quality over time. Regularly check the condition of your pasta and rice, and discard any that have expired or show signs of deterioration.
- Avoid Overcooking Pasta: Properly cook pasta al dente, which means it should be firm but still have a slight bite to it. Overcooked pasta can become mushy and lose its texture, making it less enjoyable to eat.
By following these guidelines, you can ensure that your pasta and rice remain fresh, flavorful, and ready to be transformed into delicious meals. Proper storage helps extend their shelf life, preserves their quality, and ensures that you always have a reliable foundation for your favorite recipes.
Storing Breakfast Cereals
Breakfast cereals are a convenient and popular choice for starting the day. Proper storage is important to maintain their crunchiness, freshness, and flavor. Here are some guidelines for storing breakfast cereals:
- Choose the Right Containers: Store cereals in airtight containers made of glass, metal, or BPA-free plastic. These containers help protect them from air, moisture, pests, and odors. Make sure the containers have a tight-fitting lid to create a secure seal and preserve the cereal’s freshness.
- Keep in a Cool, Dry Place: Cereals should be stored in a cool, dark, and dry environment. Avoid placing them near heat sources like the stove or oven, as exposure to high temperatures can lead to the loss of crunchiness and nutrient content. Aim for a storage area with a temperature below 70°F (21°C) and a humidity level of less than 60%.
- Protect from Moisture: Moisture can cause cereals to become stale and lose their crunch. Ensure that the cereal is completely dry before transferring it to an airtight container. If you live in a humid climate or notice excess moisture, consider using moisture-absorbing packets in the cereal container.
- Store in Original Packaging: If the cereal is in an unopened and sealed box or bag, storing it in its original packaging can be an effective storage method. Ensure that the packaging is intact and tightly sealed to prevent any moisture from entering.
- Monitor for Pests: As a precautionary measure, periodically check the cereal container for signs of pests, such as bugs or insects. Discard any infested cereal to prevent the spread of pests in your pantry. Adding a bay leaf or a few cloves to the container can act as a natural deterrent against insects.
- Avoid Exposure to Light: Light exposure can cause cereals to become stale and lose their flavor. Store them in opaque containers or in a dark pantry to protect them from light damage. If storing in transparent containers, keep them in a dark cupboard or cover them with a cloth to block out light.
- Rotate Your Stock: To ensure freshness, use the oldest cereals first and practice proper rotation. This helps prevent cereals from going stale and maintains the quality of your breakfast options. Regularly check the condition of your cereals and discard any that have expired or show signs of deterioration.
- Seal the Bag: If you prefer to store cereals in their original bags, ensure that the bag is properly sealed after each use. Use chip clips, bag clips, or twist ties to tightly secure the bag and minimize exposure to air.
- Avoid Mixing Different Cereals: Mixing cereals with different textures and flavors can lead to loss of crunchiness and can introduce unwanted flavors to individual cereals. It is best to store different types of cereals separately to maintain their distinct qualities.
- Consider Portion Control: If you portion out individual servings of cereal, store them in resealable bags or containers. This helps maintain freshness and makes breakfast preparation quick and convenient.
By following these guidelines, you can ensure that your breakfast cereals remain fresh, crunchy, and full of flavor. Proper storage helps extend their shelf life and ensures that you start your day with a delicious and satisfying bowl of cereal.
Storing Crackers and Snacks
Crackers and snacks are delightful treats that can be enjoyed on their own or paired with various dips and spreads. Proper storage is crucial to maintain their crispness, flavor, and texture. Here are some guidelines for storing crackers and snacks:
- Choose the Right Containers: Store crackers and snacks in airtight containers made of glass, metal, or BPA-free plastic. These containers help protect them from air, moisture, pests, and odors. Choose containers that are appropriately sized to accommodate the quantity of snacks you have.
- Keep in a Cool, Dry Place: Crackers and snacks should be stored in a cool, dry area away from direct sunlight and heat sources. Exposure to high temperatures can cause them to become stale, lose their crunchiness, and affect their flavor. Aim for a storage area with a temperature below 70°F (21°C) and a humidity level of less than 60%.
- Protect from Moisture: Moisture can cause crackers and snacks to lose their crispness and become soft or soggy. Ensure that the snacks are completely dry before transferring them to airtight containers. If you live in a humid climate or notice excess moisture, consider using moisture-absorbing packets to help maintain the freshness of the snacks.
- Store in Original Packaging: If the crackers or snacks are in unopened and sealed packaging, storing them in their original packaging can be an effective storage method. Ensure that the packaging is intact and tightly sealed to prevent any moisture from entering.
- Monitor for Pests: Regularly check the containers for signs of pests, such as bugs or insects. Discard any infested snacks to prevent the spread of pests in your pantry. Adding a bay leaf or a few cloves to the container can act as a natural deterrent against insects.
- Avoid Exposure to Light: Light exposure can cause crackers and snacks to become stale and lose their flavor. Store them in opaque containers or in a dark pantry to protect them from light damage. If storing in transparent containers, keep them in a dark cupboard or cover them with a cloth to block out light.
- Rotate Your Stock: To ensure freshness, use the oldest crackers and snacks first and practice proper rotation. This prevents them from going stale and maintains the quality of your snack options. Regularly check the condition of your snacks and discard any that have expired or show signs of deterioration.
- Consider Portion Control: If you portion out individual servings of snacks, store them in resealable bags or containers. This helps maintain freshness and portion sizes, making it easy to grab a quick snack without exposing the entire stock to air.
- Avoid Mixing Flavors: Mixing crackers and snacks with strongly flavored items can impact the taste and aroma of individual items. Store different flavors separately to maintain their distinct qualities and prevent flavor contamination.
- Don’t Overcrowd Containers: Avoid cramming too many crackers or snacks into a single container as it can lead to breakage and loss of crispness. Leave enough space to ensure they are not crushed or compressed.
By following these guidelines, you can ensure that your crackers and snacks stay fresh, crispy, and delicious. Proper storage helps extend their shelf life and ensures that you can enjoy a satisfying crunch with every bite.
Storing Sugar and Sweeteners
Sugar and sweeteners are essential ingredients used in various recipes and beverages. Proper storage is crucial to maintain their quality, prevent clumping, and ensure their usability over time. Here are some guidelines for storing sugar and sweeteners:
- Choose the Right Containers: Store sugar and sweeteners in airtight containers made of glass, metal, or BPA-free plastic. These containers help protect them from air, moisture, pests, and odors. Opt for containers with tight-fitting lids to create a secure seal and prevent any moisture from entering.
- Keep in a Cool, Dry Place: Sugar and sweeteners should be stored in a cool, dark, and dry environment. Avoid placing them near heat sources or in direct sunlight, as exposure to high temperatures can cause them to clump or harden. Aim for a storage area with a temperature below 70°F (21°C) and a humidity level of less than 60%.
- Protect from Moisture: Moisture can cause sugar and sweeteners to clump or harden. Ensure that they are completely dry before storing them in airtight containers. If you live in a humid climate or notice excess moisture, consider using moisture-absorbing packs or adding a grain of rice to the containers to help maintain their dryness.
- Store in Original Packaging: If the sugar or sweetener is in unopened and sealed packaging, storing them in their original packaging can be an effective storage method. Ensure that the packaging is intact and tightly sealed to prevent any moisture from entering.
- Monitor for Pests: Regularly check the containers for signs of pests, such as ants or bugs. Sugar can attract pests, so it’s important to keep the containers clean and inspect them periodically. Adding bay leaves to the containers can act as a natural deterrent against insects.
- Avoid Exposure to Air and Odors: Sugar and sweeteners can absorb odors and flavors from other ingredients in your pantry. Store them separate from strongly scented foods and strong spices to maintain their original flavors. Keep sugar and sweeteners in airtight containers to prevent air exposure, which could lead to moisture absorption.
- Label and Date: Properly label your containers with the name of the sugar or sweetener and the purchase or expiration date. This helps you keep track of their freshness and ensures that you use the oldest items first.
- Avoid Freezing: Sugar and most sweeteners do not need to be frozen and can be stored at room temperature. However, if you live in a hot and humid climate, freezing some types of sweeteners like brown sugar can help prevent clumping and extend their shelf life.
- Avoid Contamination: Always use clean, dry utensils to scoop out sugar or sweeteners. Moisture or foreign particles can cause contamination and affect the quality of the sweeteners. It’s best to avoid using wet spoons or allowing water to come into contact with the sugar and sweetener containers.
- Rejuvenate Hardened Sugar: If your sugar has hardened or become clumpy, you can place a slice of bread or a damp paper towel in the container to help soften it. After a few hours, remove the bread or paper towel, and the sugar should regain its soft, granular texture.
By following these guidelines, you can ensure that your sugar and sweeteners remain fresh, dry, and free from clumps. Proper storage helps extend their shelf life, ensures their usability, and allows you to effortlessly sweeten your favorite recipes and beverages.
Read more: How To Store Dried Chiles
Storing Oils and Vinegars
Oils and vinegars are essential pantry staples that add flavor and depth to various dishes. Proper storage is crucial to maintain their freshness, quality, and taste. Here are some guidelines for storing oils and vinegars:
- Choose the Right Containers: Store oils and vinegars in dark glass bottles or containers specifically designed for their storage. Dark glass bottles help protect them from light exposure, which can cause oxidation and degradation. Make sure the containers have tight-fitting caps or lids to prevent air exposure.
- Keep in a Cool, Dark Place: Oils and vinegars should be stored in a cool, dark, and dry environment. Exposure to heat, light, and moisture can cause them to degrade and reduce their quality. Aim for a storage area with a temperature below 70°F (21°C) and away from heat sources, such as stoves or ovens.
- Avoid Exposure to Light: Light exposure can lead to oxidation and deterioration of oils and vinegars. Store them in a dark pantry or cupboard away from direct sunlight. If using clear bottles, consider wrapping them in aluminum foil or storing them in dark-colored bags or containers to minimize light exposure.
- Protect from Heat: High temperatures can accelerate the breakdown of oils and vinegars, affecting their flavors and nutritional value. Avoid placing them near heat sources or in warm areas like above stoves or near radiators. Keep them at a consistent and moderate temperature to maintain their quality.
- Seal Tightly: Ensure that the caps or lids are securely tightened after each use to minimize air exposure. Oxygen can cause oils and vinegars to become rancid and spoil. Properly sealing the bottles or containers helps to prolong their shelf life and maintain their flavors.
- Monitor for Sediment or Cloudiness: Over time, some oils and vinegars may develop sediments or become cloudy. This is a natural occurrence and does not necessarily indicate spoilage. If the sediment is bothersome, strain the oil or vinegar before use. Cloudiness in vinegar may result from harmless bacteria and can be filtered or used as is.
- Keep Vinegars Away from Spice Cabinet: Strong smells from spices and seasonings can affect the aroma and taste of vinegars. Avoid storing vinegars in the same cabinet as your spices to prevent cross-contamination and preserve their unique flavors.
- Refrigerate Some Oils: Some oils, such as nut oils, flaxseed oil, and avocado oil, have a higher fat content and can turn rancid more quickly. Refrigerating these oils can help extend their shelf life. However, solidification may occur, so it’s important to bring them to room temperature before use, or run the bottle under warm water to liquefy them.
- Do Not Refrigerate Vinegar: Vinegar does not need to be refrigerated and can be stored at room temperature. Refrigeration can cause condensation inside the bottle, potentially diluting the vinegar. However, if desired, you can chill certain fruit-infused vinegars for a refreshing option.
- Check Expiration Dates: Oils and vinegars have a limited shelf life. Check the expiration dates on the bottles and use them before they expire for optimal taste and quality. Rancid oils or vinegars should be discarded, as they can impart off flavors to your dishes.
By following these guidelines, you can extend the shelf life, maintain the flavors, and preserve the quality of your oils and vinegars. Proper storage ensures that you have the perfect finishing touch for your culinary creations and enhances the flavors of your dishes.
Conclusion
Proper storage of dry foods is essential for preserving their freshness, flavor, and nutritional value. By understanding the importance of storage and following specific guidelines for different types of dry foods, you can maximize their shelf life, reduce waste, and ensure that your ingredients are always ready to use.
Whether it’s grains, legumes, nuts and seeds, dried fruits and vegetables, herbs and spices, baking ingredients, pasta and rice, breakfast cereals, crackers and snacks, sugar and sweeteners, or oils and vinegars, each type of dry food has its own specific storage requirements.
Key principles include choosing appropriate containers, keeping dry foods in a cool, dark, and dry place, protecting them from moisture and light, regularly inspecting for pests, rotating your stock, and labeling containers with dates and information.
By implementing these storage guidelines, you can maintain the freshness, quality, and nutritional value of dry foods. This not only saves you money and reduces waste but also ensures that you always have a well-stocked pantry ready to create delicious and nutritious meals.
Remember to check the expiration dates on packaging, regularly inspect your stored items for signs of spoilage or infestation, and discard anything that has gone bad. Stay organized, practice rotation, and use your dry foods in a timely manner to make the most of their flavors and benefits.
By making storage a priority, you can enhance the cooking and eating experience, ensuring that every meal is made with the freshest and finest dry ingredients. So, take care of your dry foods, keep them properly stored, and savor the results of your culinary endeavors!
Frequently Asked Questions about How To Store Dry Foods
Was this page helpful?
At Storables.com, we guarantee accurate and reliable information. Our content, validated by Expert Board Contributors, is crafted following stringent Editorial Policies. We're committed to providing you with well-researched, expert-backed insights for all your informational needs.




0 thoughts on “How To Store Dry Foods”