

Articles
How To Store Dry Beans
Modified: February 28, 2024
Learn the best practices for storing dry beans in this informative articles. Keep your beans fresh and nutritious for longer periods.
(Many of the links in this article redirect to a specific reviewed product. Your purchase of these products through affiliate links helps to generate commission for Storables.com, at no extra cost. Learn more)
Introduction
Dry beans are a nutritious and versatile staple that can be used in a variety of delicious recipes. Whether you prefer black beans, kidney beans, chickpeas, or any other type of dry bean, proper storage is essential to maintain their quality and freshness. In this article, we will discuss the importance of storing dry beans correctly and provide you with useful tips to ensure that your beans stay in optimal condition.
When it comes to storing dry beans, there are a few key factors to consider. These include choosing and buying the right type of beans, sorting and cleaning them thoroughly, soaking before cooking, and the different methods of storing beans depending on their stage of preparation. Additionally, we will explore the option of dehydrating dry beans for long-term storage.
By following the guidelines outlined in this article, you can extend the shelf life of your dry beans and enjoy their nutritional benefits for a longer period of time.
Key Takeaways:
- Properly storing dry beans is essential for maintaining their freshness and flavor. From choosing high-quality beans to dehydrating for long-term storage, following the right techniques ensures your beans stay in optimal condition for delicious meals.
- To preserve the quality of stored dry beans, use airtight containers, store in a cool, dark place, and regularly inspect for spoilage. Whether soaking, cooking, or dehydrating, proper storage techniques ensure your beans remain fresh and ready for your culinary creations.
Read more: How To Store Dried Beans
Choosing and buying dry beans
When it comes to choosing and buying dry beans, there are several factors to consider to ensure that you’re getting the best quality beans for your cooking needs.
First, decide on the type of dry beans you want to purchase. There are numerous varieties available, such as black beans, pinto beans, navy beans, kidney beans, and chickpeas. Each type has its distinct flavor, texture, and cooking time. Consider the recipes you plan to make and choose the beans that best complement your dishes.
Next, look for beans that are of high quality. Opt for beans that are uniform in size and have a smooth texture. Avoid beans that are discolored, damaged, or have insect infestations. These could indicate poor quality or improper storage conditions.
When buying dry beans, it’s best to purchase from a reputable source. This can be a trusted grocery store, local farmers’ market, or an online retailer known for selling quality products. Buying from reliable sources ensures that you are getting fresh and properly stored beans.
Additionally, consider the packaging of the dry beans. Look for beans that are packed in airtight containers, bags, or cans to protect them from moisture and contaminants. Ensure that the packaging is intact and not damaged.
Lastly, check the expiry date or the date of packaging. Dry beans have a long shelf life, but it’s still important to buy beans that are within a reasonable date range. This ensures that the beans are fresh and haven’t been sitting on the shelf for an extended period.
By carefully choosing and buying dry beans, you can start your cooking process with high-quality ingredients that will result in delicious and satisfying meals.
Sorting and cleaning dry beans
Sorting and cleaning dry beans is an important step in the preparation process to ensure that you remove any impurities and damaged beans. Follow these steps to properly sort and clean your dry beans:
- Inspect the dry beans: Spread a small portion of the beans on a clean surface and visually inspect them. Look for any discolored or shriveled beans, stones, or other foreign objects. Remove any beans that appear damaged or do not meet your quality standards.
- Rinse the beans: Place the sorted dry beans in a colander or sieve and rinse them under cold running water. Gently toss and agitate the beans to remove any dirt, dust, or residue.
- Soak the beans (optional): Some people choose to soak the dry beans before cooking to reduce cooking time and aid in digestion. If you decide to soak the beans, transfer them to a large bowl and cover them with water. Allow the beans to soak for several hours or overnight, then drain and rinse them before cooking.
- Check for any remaining impurities: After soaking (if applicable) and rinsing, inspect the beans again to ensure that all impurities have been removed. Look for any debris or beans that may have been missed during the initial sorting process. Remove any remaining foreign objects or damaged beans.
- Pat dry or allow to air dry: Once the beans are cleaned, you can either pat them dry with a clean towel or allow them to air dry for a few minutes. This step is important, especially if you plan to store the beans after cleaning, as excess moisture can lead to spoilage.
By sorting and cleaning your dry beans, you not only remove any potential impurities but also prepare them for optimal cooking and storage. This extra step ensures that you enjoy clean and flavorful beans in your meals.
Soaking dry beans
Soaking dry beans is an optional but beneficial step that can help to reduce cooking time and improve their digestibility. Soaking allows the beans to rehydrate, resulting in a softer texture and more even cooking. Here’s a step-by-step guide on how to soak dry beans:
- Measure the desired quantity of dry beans: Start by determining how many beans you need for your recipe. Keep in mind that dry beans will expand in size as they absorb water, so plan accordingly.
- Rinse the dry beans: Place the dry beans in a colander or sieve, and rinse them thoroughly under cold running water. This helps to remove any dirt or debris that may be present on the beans.
- Transfer the beans to a large bowl: Once rinsed, place the dry beans in a bowl and cover them generously with water. The water level should be at least 2 inches above the beans as they will expand during soaking.
- Soak the beans for the recommended time: The soaking time can vary depending on the type and size of the beans. As a general rule, most dry beans should be soaked for at least 4-8 hours, or overnight. Refer to specific recipes or package instructions for more accurate soaking times.
- Drain and rinse the soaked beans: After the soaking time has elapsed, drain the soaked beans and rinse them under cold running water. This helps to remove any residual enzymes and sugars that may cause gas or digestive discomfort.
- The soaked beans are now ready to be cooked: At this point, the soaked beans are ready to be used in your recipes. You can proceed with your preferred cooking method, whether it’s boiling, simmering, or using a pressure cooker.
Soaking dry beans is a simple and effective step that can yield numerous benefits, including reduced cooking time and improved digestion. Give it a try and discover the difference it can make in your recipes!
Storing soaked dry beans
If you have soaked more dry beans than you need for your immediate cooking needs, it’s important to store them properly to maintain their freshness and prevent spoilage. Here are some guidelines on how to store soaked dry beans:
- Drain the soaked beans: Ensure that the soaked beans are well-drained before storing. Excess moisture can lead to the growth of bacteria or mold, which can spoil the beans.
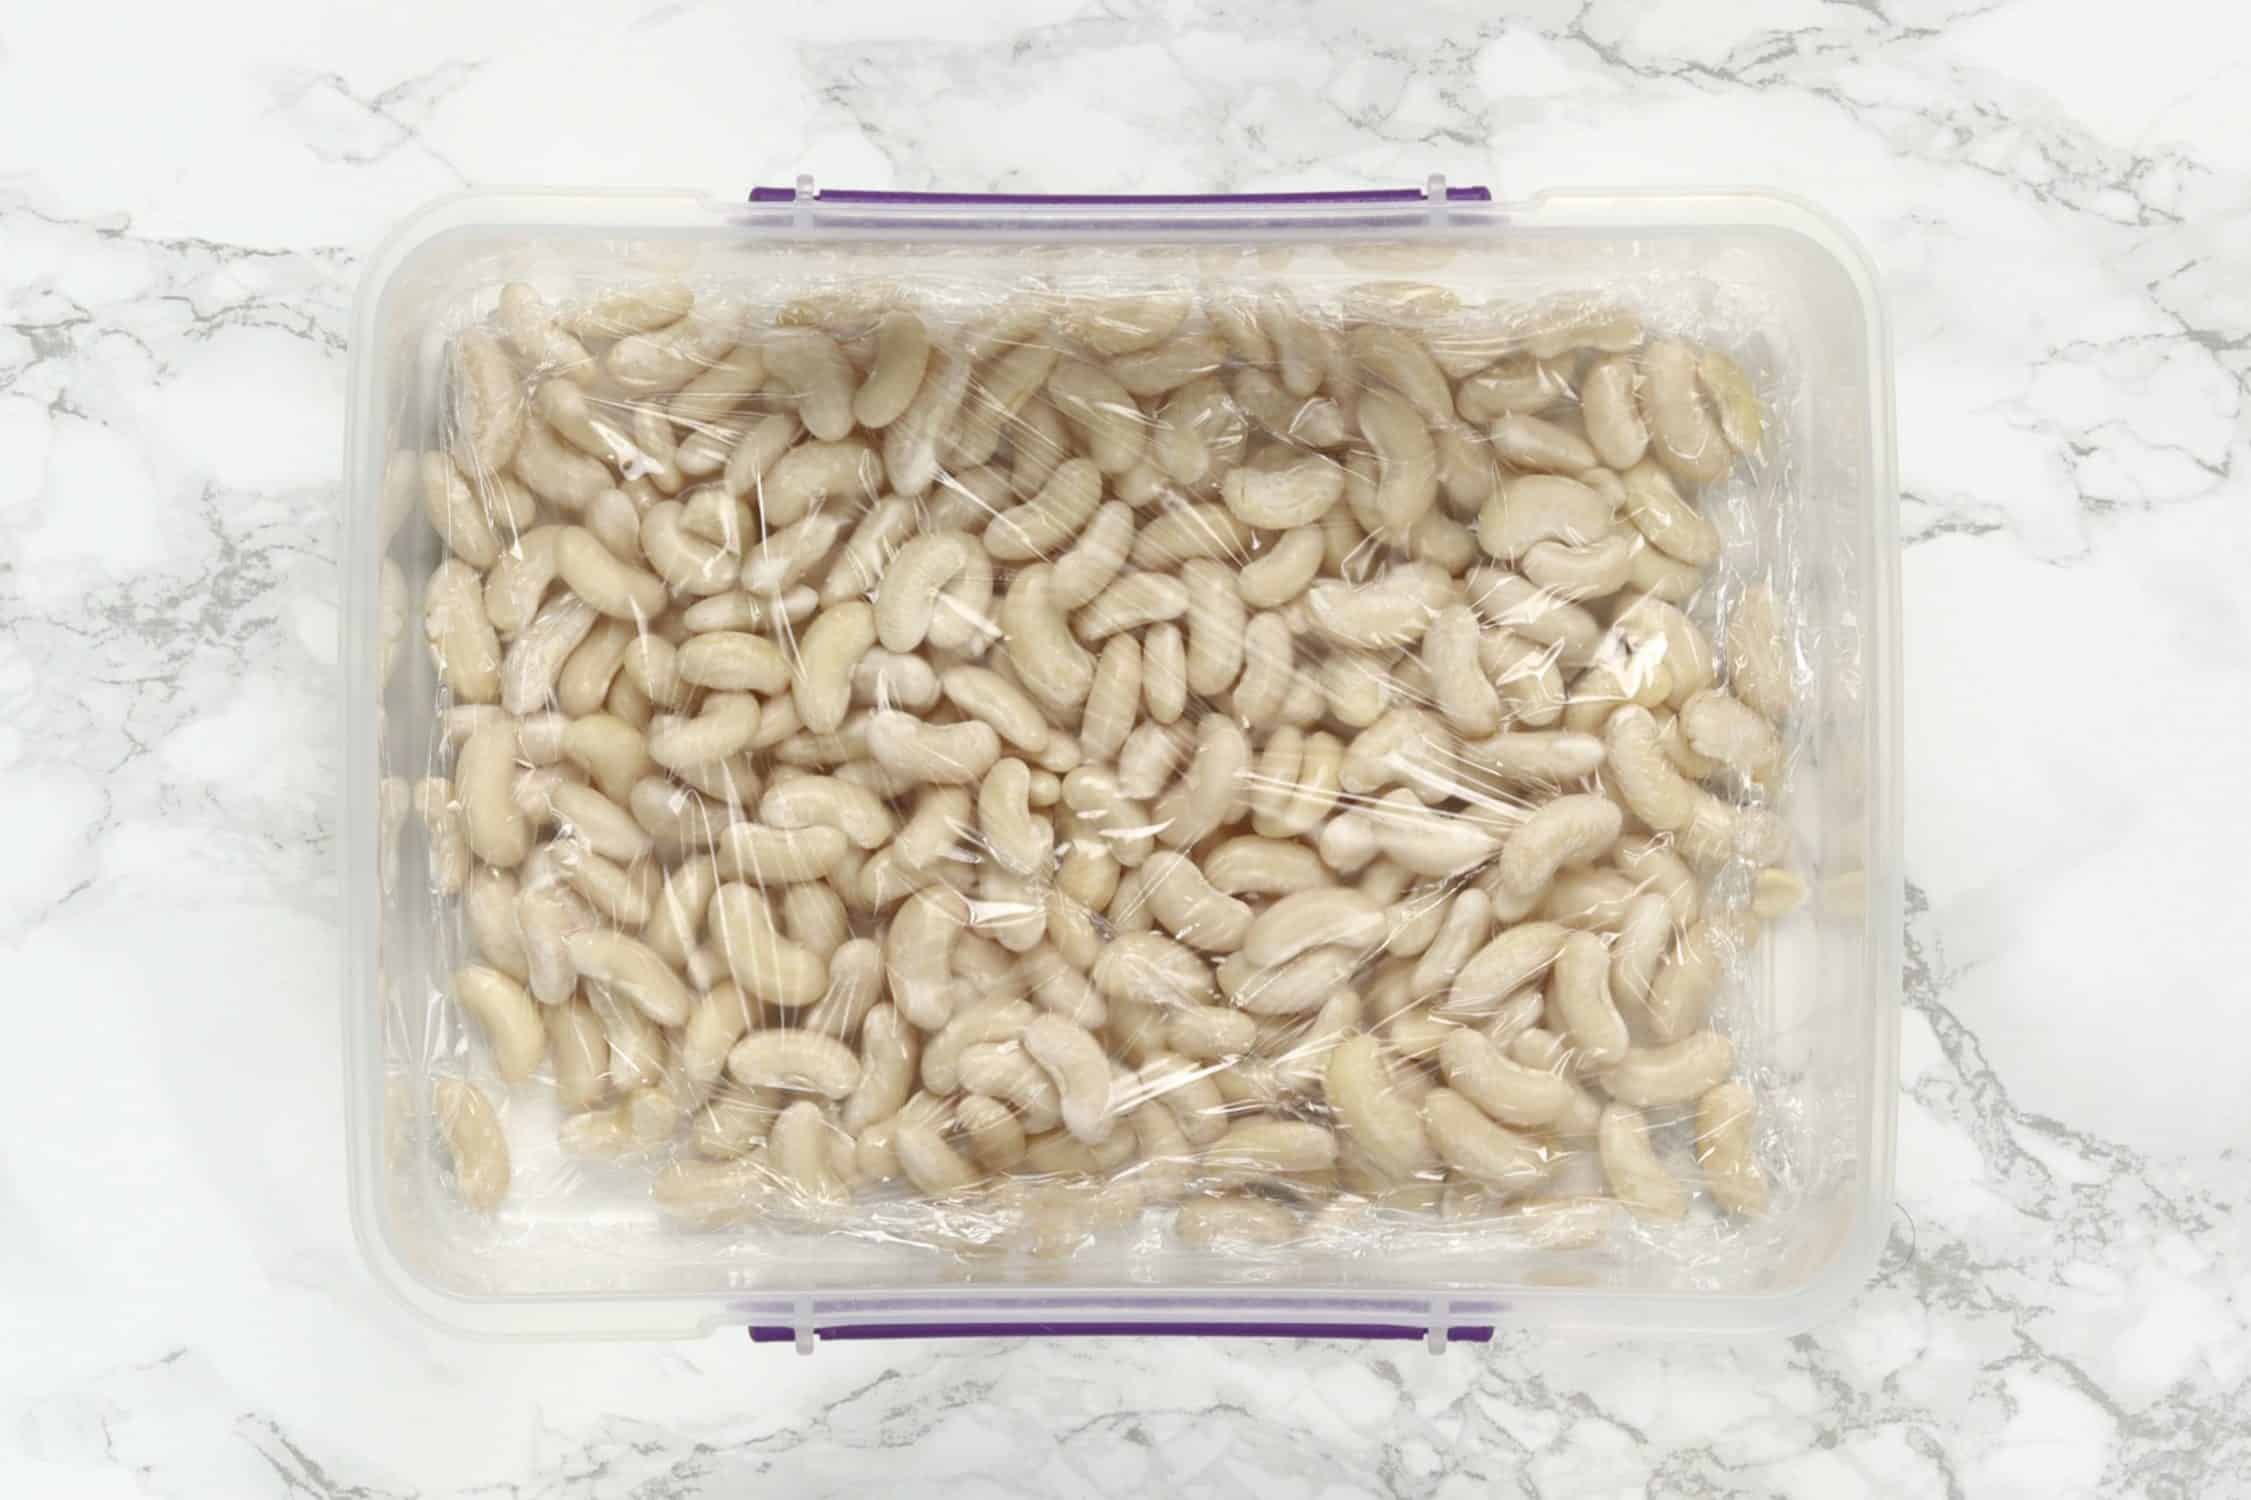
- Choose the right storage container: Transfer the drained soaked beans to an airtight container. Glass jars or food-grade plastic containers with tight-fitting lids are excellent options. Make sure the container is clean and dry before adding the beans.
- Label and date the container: To keep track of the storage time, label the container with the type of beans and the date of soaking. This will help you identify the beans easily and keep track of their freshness.
- Store in the refrigerator: Place the tightly sealed container with the soaked beans in the refrigerator. This will help to slow down any potential bacterial growth and maintain the quality of the beans. The soaked beans can be stored in the refrigerator for up to 3 to 5 days.
- Check for freshness before use: Before using the stored soaked beans, inspect them for any signs of spoilage such as an unpleasant odor or sliminess. If they appear off or have developed an off-putting smell, discard them immediately.
- Use within a reasonable time: It’s best to use the soaked beans within a few days to ensure their optimal taste and texture. The longer they sit in the refrigerator, the more likely they are to lose their quality.
Remember, storing soaked beans is different from storing dried beans. Soaked beans have absorbed water and are more prone to spoilage if not stored correctly. By following these storage guidelines, you can prolong the usability of soaked dry beans and minimize food waste.
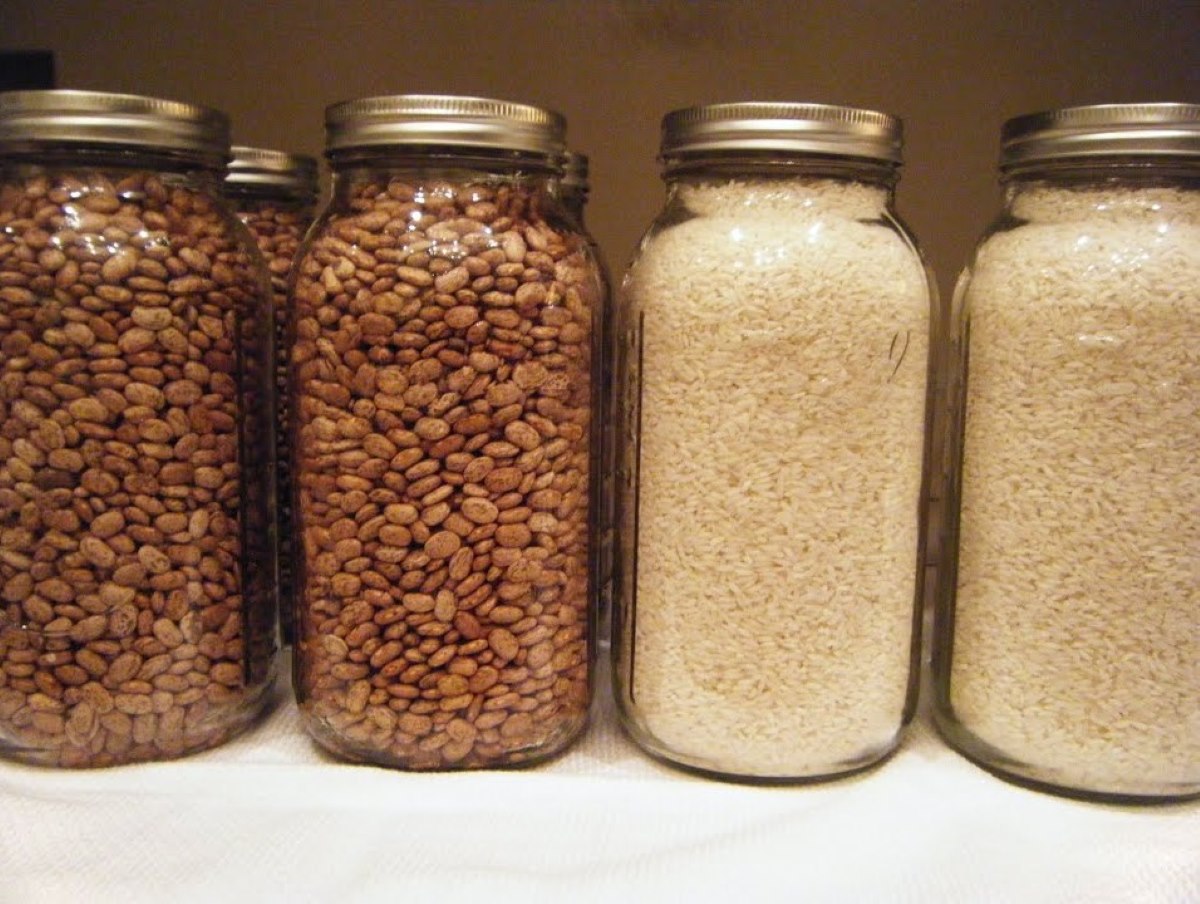
Store dry beans in an airtight container in a cool, dark place to maintain their quality and prevent them from absorbing moisture and odors.
Read more: How To Store Dry Beans In Mason Jars
Storing cooked dry beans
If you have cooked more dry beans than you need for a particular recipe, it’s important to store the leftovers properly to maintain their freshness and flavor. Follow these steps to store cooked dry beans:
- Cool the cooked beans: Allow the cooked beans to cool completely before storing. This helps to prevent moisture buildup and potential bacterial growth.
- Drain any excess liquid: If there is excess liquid from cooking the beans, drain it off. Excess liquid can lead to spoilage and affect the texture of the beans during storage.
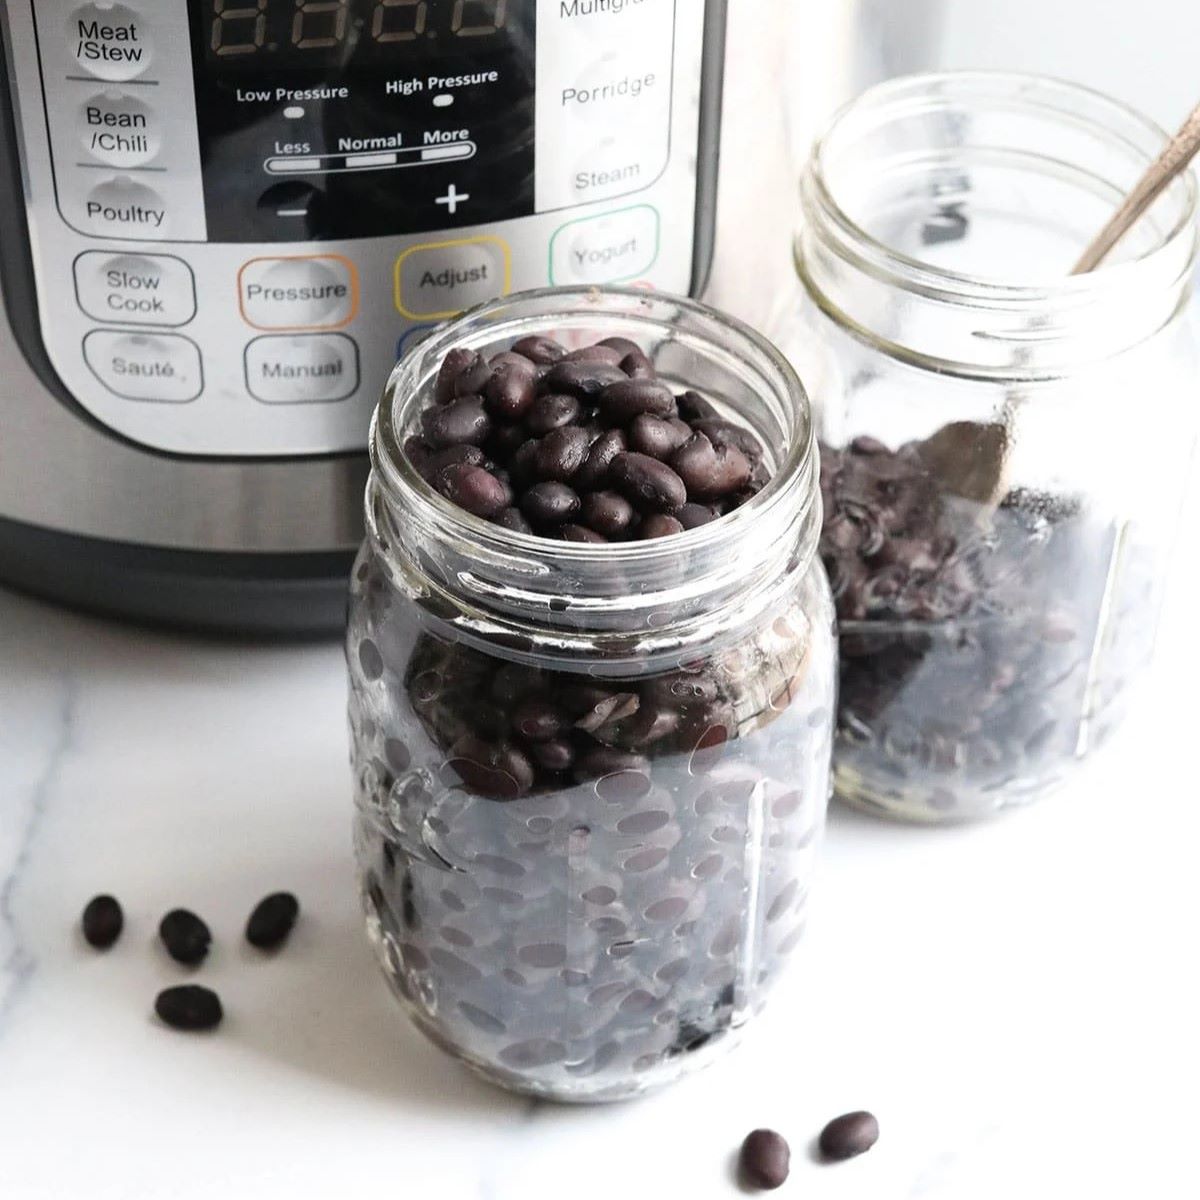
- Transfer to an airtight container: Place the cooled cooked beans in an airtight container. Glass jars or food-grade plastic containers with tight-fitting lids work well for storing cooked beans. Make sure the container is clean and dry before adding the beans.
- Label and date the container: To keep track of the storage time, label the container with the type of beans and the date of cooking. This will help you identify the beans easily and keep track of their freshness.
- Refrigerate or freeze the beans: Depending on how soon you plan to use the cooked beans, you can store them in the refrigerator or freezer. If you anticipate using them within 3 to 4 days, store them in the refrigerator. For longer storage, place them in the freezer.
- Refrigerator storage: Cooked dry beans can be stored in the refrigerator for up to 3 to 4 days. Make sure the container is sealed tightly to prevent any odors from transferring to the beans.
- Freezer storage: If you want to store the cooked beans for an extended period, freezing is a great option. Transfer the beans to freezer-safe containers or freezer bags. Squeeze out any excess air, seal tightly, and lay them flat in the freezer. Cooked beans can be stored in the freezer for up to 3 months.
- Thawing frozen cooked beans: When ready to use the frozen cooked beans, thaw them in the refrigerator overnight. Once thawed, you can use them in your desired recipes.
- Inspect for freshness before use: Before using the stored cooked beans, check for any signs of spoilage, such as an off smell or unusual texture. If they appear or smell suspicious, discard them immediately.
Properly storing cooked dry beans allows you to enjoy their delicious and nutritious flavor even after they are cooked. Whether you refrigerate or freeze them, following these steps will ensure that your cooked beans stay fresh and ready for your next meal.
Dehydrating dry beans for long-term storage
Dehydrating dry beans is an excellent method for long-term storage, as it extends their shelf life while preserving their nutritional value. Dehydrated beans can be stored for several months or even years if kept in a cool, dry, and airtight environment. Here is a step-by-step guide on how to dehydrate dry beans:
- Choose and prepare the dry beans: Start by selecting high-quality dry beans. Sort and clean them thoroughly to remove any impurities or damaged beans.
- Soak and partially cook the beans (optional): Soaking and partially cooking the beans before dehydrating can help to reduce the drying time. If you decide to do so, follow the steps for soaking and cooking the beans as discussed earlier, but cook them for a shorter time to maintain their firmness.
- Drain and cool the beans: After soaking or cooking, drain the beans and allow them to cool completely. This step ensures that excess moisture is removed before the dehydration process.
- Spread the beans on dehydrator trays: Arrange the cooled beans in a single layer on dehydrator trays, making sure that they are evenly spaced. This allows for airflow and promotes uniform drying.
- Dehydrate the beans: Set your dehydrator to the appropriate temperature for beans (usually between 120-140°F or 50-60°C) and start the drying process. The drying time will depend on the size and moisture content of the beans but can range from 8 to 24 hours.
- Check for doneness: To ensure that the beans are properly dehydrated, break a few in half. They should be hard and brittle with no moisture inside. If they are still soft or moist, continue drying them until they reach the desired state.
- Cool and store the dehydrated beans: Once fully dehydrated, allow the beans to cool completely. Then, transfer them to airtight containers, such as glass jars or food-grade plastic bags. Label the containers with the type of beans and the date of dehydration.
- Store in a cool, dry place: Place the sealed containers of dehydrated beans in a cool, dry, and dark pantry or storage area. Keep them away from heat, sunlight, and moisture, as these can shorten their shelf life.
- Rehydrate and use as needed: When you’re ready to use the dehydrated beans, rehydrate them by soaking in water or cooking them in liquid, such as broth or sauce. They will absorb the liquid and regain their original texture.
Dehydrating dry beans is an efficient way to store them for extended periods while preserving their flavor and nutrients. By following these steps, you can enjoy the convenience of having dehydrated beans on hand for your favorite recipes whenever you need them.
Tips for preserving the quality of stored dry beans
Proper storage is essential for preserving the quality of stored dry beans and ensuring that they remain fresh and flavorful over time. Here are some helpful tips to keep in mind:
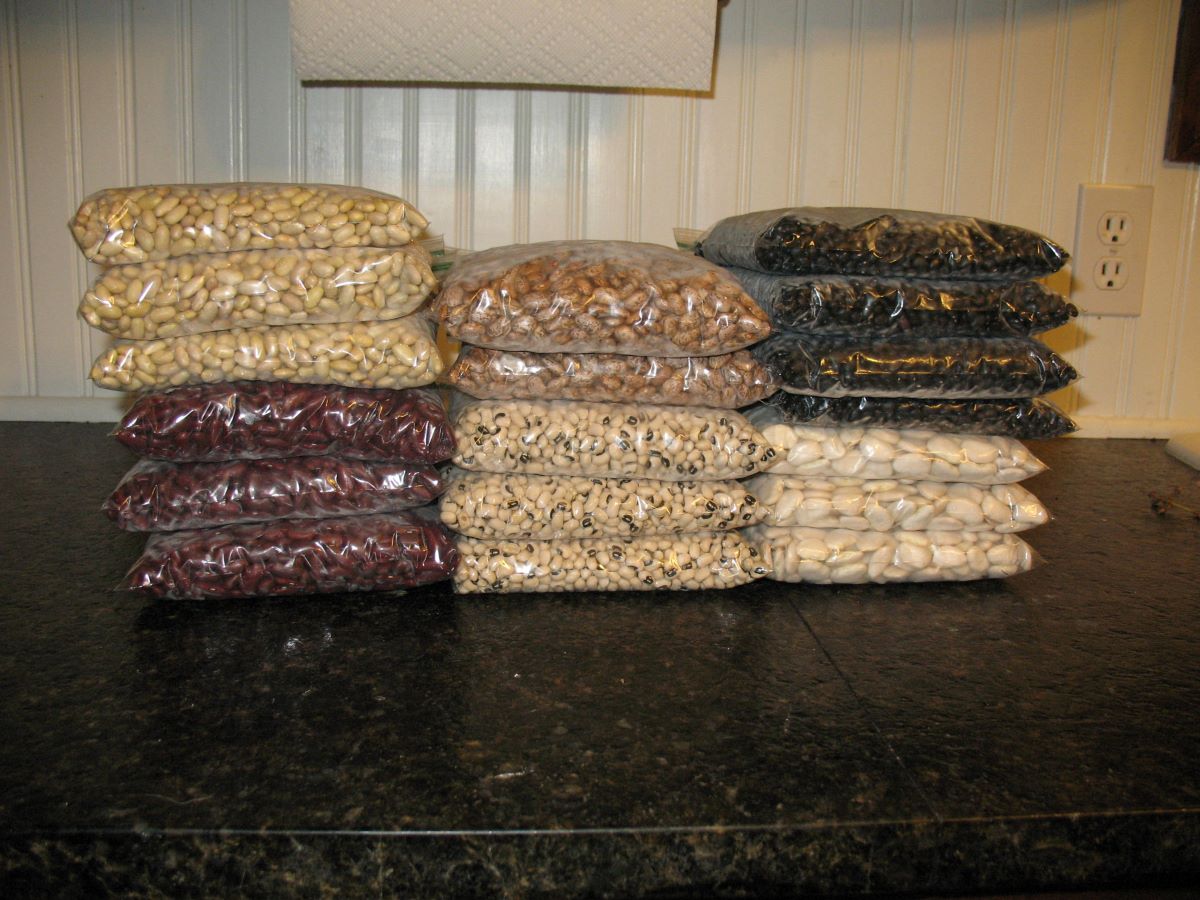
- Use airtight containers: Choose airtight containers, such as glass jars or food-grade plastic containers with tight-fitting lids, to store your dry beans. This helps to keep out moisture, insects, and odors that can degrade the quality of the beans.
- Store in a cool, dark place: Keep your stored dry beans in a cool, dark pantry or cupboard. Avoid storing them near sources of heat, such as the stove or oven, as exposure to heat can lead to loss of flavor and nutrient degradation.
- Avoid exposure to moisture: Moisture is the enemy of dry beans. Ensure that your storage area is dry and free from excess humidity. Moisture can cause the beans to spoil, become moldy, or lose their desirable texture.
- Check for signs of spoilage: Regularly inspect your stored dry beans for any signs of spoilage, such as mold, off odors, or insect infestation. Discard any beans that show signs of deterioration to prevent contamination of the rest of the batch.
- Rotate your stock: To maintain freshness, practice first-in, first-out (FIFO) rotation. When restocking your dry bean supply, move the older beans to the front and place the newer ones at the back. This ensures that you use the oldest beans first and reduces the risk of having stale beans in your storage.
- Avoid exposure to light: Keep dry beans away from direct sunlight or strong artificial light. Light exposure can cause the beans to age more quickly and affect their quality.
- Avoid storing near strong odors: Dry beans can absorb strong odors from nearby materials, impacting their taste and aroma. Keep them away from pungent spices, cleaning agents, or strong-smelling foods.
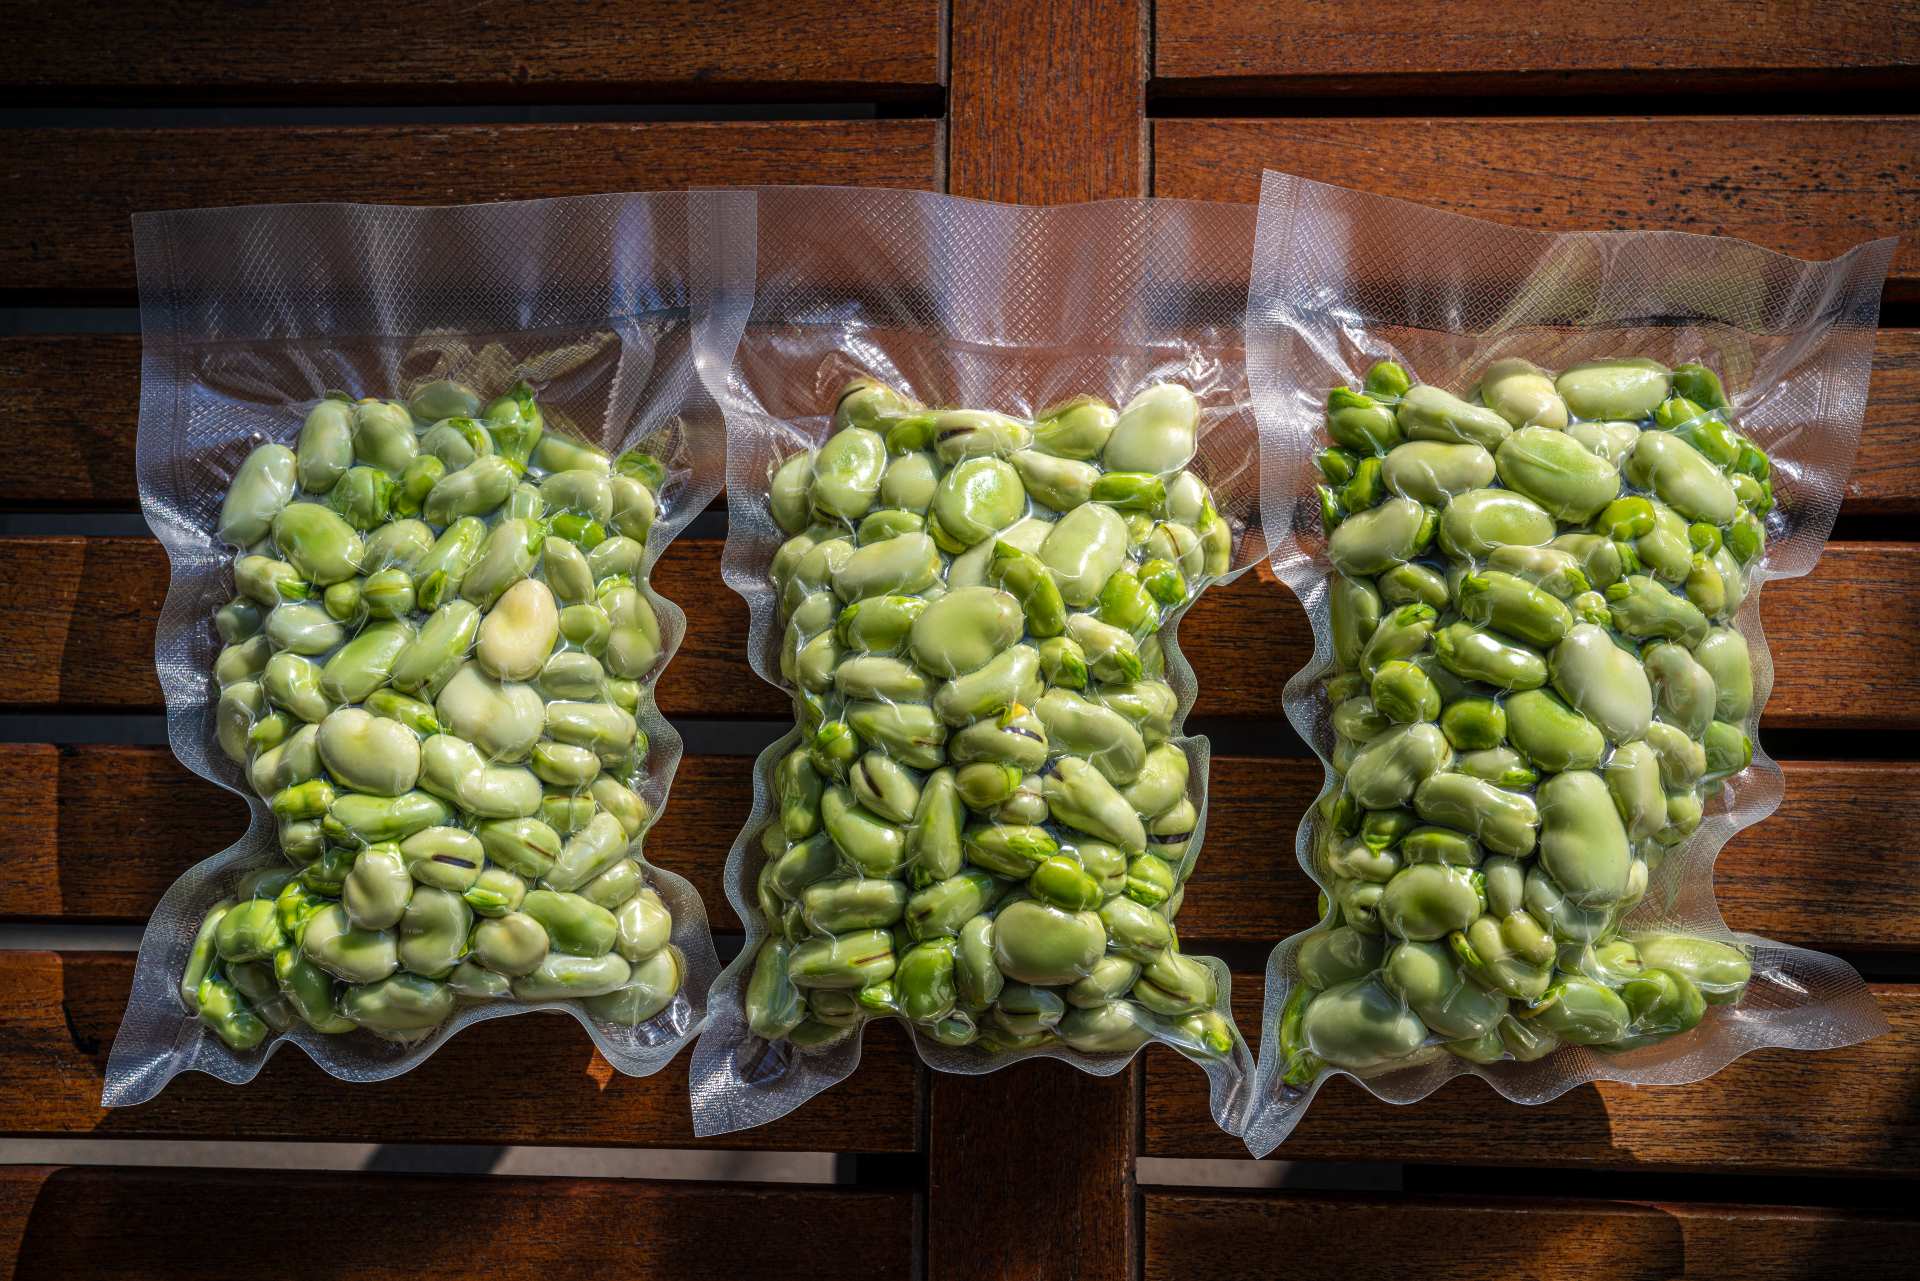
- Consider vacuum sealing: For long-term storage, consider using a vacuum sealer to remove air from the storage containers. This helps to prevent oxygen exposure, which can lead to rancidity and loss of quality in the beans.
- Label and date your beans: Properly label your stored beans with the type and date of storage. This allows you to keep track of their freshness and easily identify them when needed.
- Store in smaller portions: If you anticipate using smaller quantities of beans at a time, consider dividing them into smaller portions before storage. This way, you can access the desired quantity without exposing the rest of the beans to air and moisture each time.
By following these tips, you can ensure that your stored dry beans maintain their quality, taste, and nutritional value for a longer period. With proper storage, your beans will be ready to add a delicious and nutritious touch to your meals whenever you need them.
Conclusion
Proper storage of dry beans is crucial for maintaining their freshness, flavor, and nutritional value. Whether you are storing dried beans, soaked beans, or cooked beans, following the right techniques and guidelines will help prolong their shelf life and ensure that they remain in optimal condition for your culinary endeavors.
Choosing high-quality dry beans and properly sorting and cleaning them are essential initial steps. Soaking dry beans before cooking can enhance their texture and reduce cooking time. When storing soaked or cooked beans, use airtight containers, label them with the type and date, and refrigerate or freeze them accordingly.
For long-term storage, dehydrating dry beans is an effective approach. Properly dehydrated beans can be stored for months or even years in a cool, dark, and dry environment. Just remember to rehydrate them before use.
To preserve the quality of your stored dry beans, ensure they are stored in a cool, dark, and dry place, away from moisture and excessive heat. Regularly inspect the beans for signs of spoilage and practice FIFO rotation to use older stock first. Avoid exposure to strong odors, light, and moisture, and consider vacuum sealing for long-term storage.
By following these storage tips, you can ensure that your dry beans remain fresh, delicious, and nutritious for your future meals. Take the time to properly store your dry beans, and you’ll always have a versatile and healthy ingredient on hand to enhance your favorite recipes.
So go ahead, stock up on your favorite dry beans, and enjoy their wholesome goodness for months to come!
Frequently Asked Questions about How To Store Dry Beans
Was this page helpful?
At Storables.com, we guarantee accurate and reliable information. Our content, validated by Expert Board Contributors, is crafted following stringent Editorial Policies. We're committed to providing you with well-researched, expert-backed insights for all your informational needs.






0 thoughts on “How To Store Dry Beans”