Articles
How To Store Dry Yeast
Modified: January 18, 2024
Learn the best methods for storing dry yeast in this informative article. Ensure your yeast stays fresh and ready for baking with these storage tips.
(Many of the links in this article redirect to a specific reviewed product. Your purchase of these products through affiliate links helps to generate commission for Storables.com, at no extra cost. Learn more)
Introduction
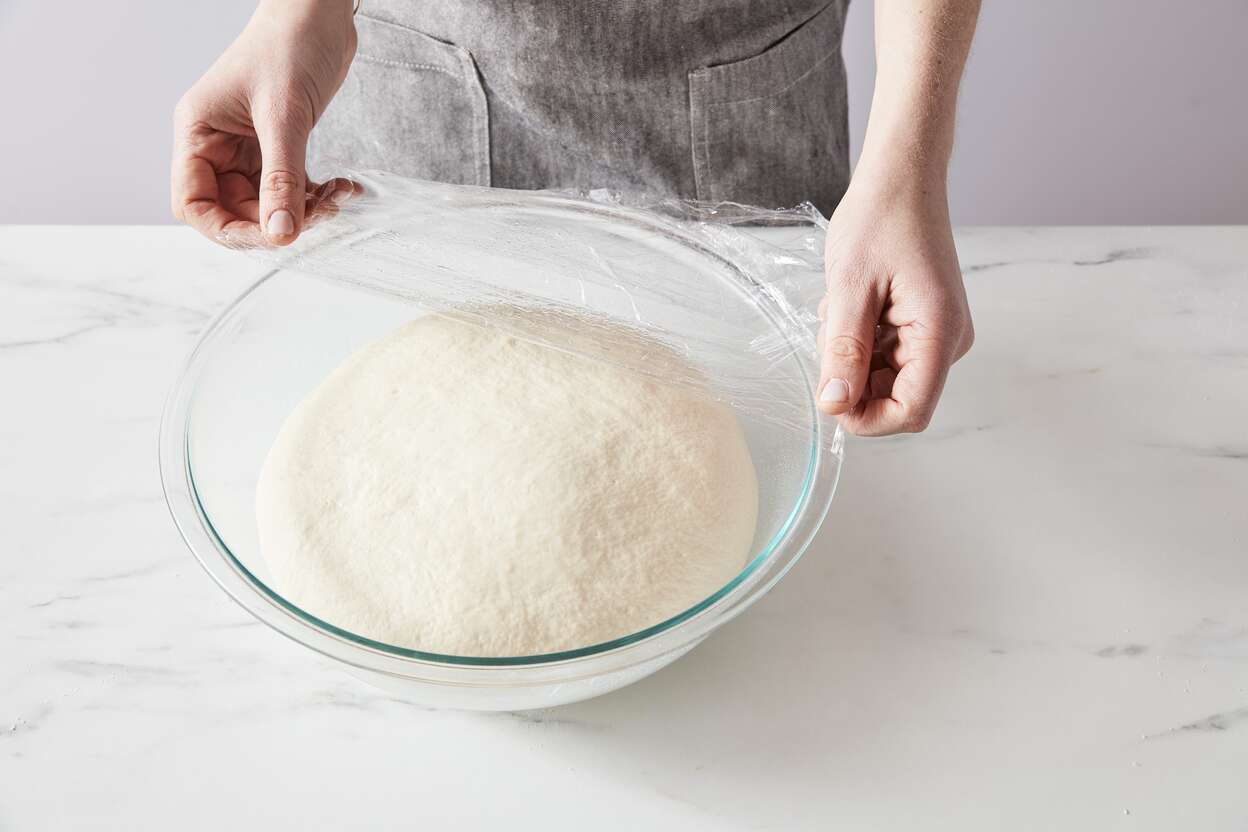
Dry yeast is a key ingredient in baking and brewing, known for its ability to leaven dough and produce carbon dioxide gas, resulting in light and fluffy bread and deliciously fermented beverages. Proper storage of dry yeast is essential to maintain its freshness, viability, and quality over time. Whether you are a professional baker or an enthusiastic home cook, understanding how to store dry yeast is crucial to ensure the best results in your culinary endeavors.
In this article, we will delve into the intricacies of storing dry yeast and provide you with valuable tips and techniques to keep it fresh and potent for extended periods. From selecting the right storage container to optimizing temperature and humidity conditions, we will guide you through the entire process. So, let’s dive in and discover the best practices for storing dry yeast!
Key Takeaways:
- Proper storage of dry yeast is crucial for maintaining its freshness and potency. From choosing the right container to reviving refrigerated or frozen yeast, following these techniques ensures exceptional results in baking and brewing endeavors.
- By implementing the tips for extending the shelf life of dry yeast, such as checking expiration dates and using clean utensils, you can maximize the freshness and potency of your yeast. Elevate your culinary creations with proper dry yeast storage techniques.
Read more: How To Store Active Dry Yeast
Understanding Dry Yeast
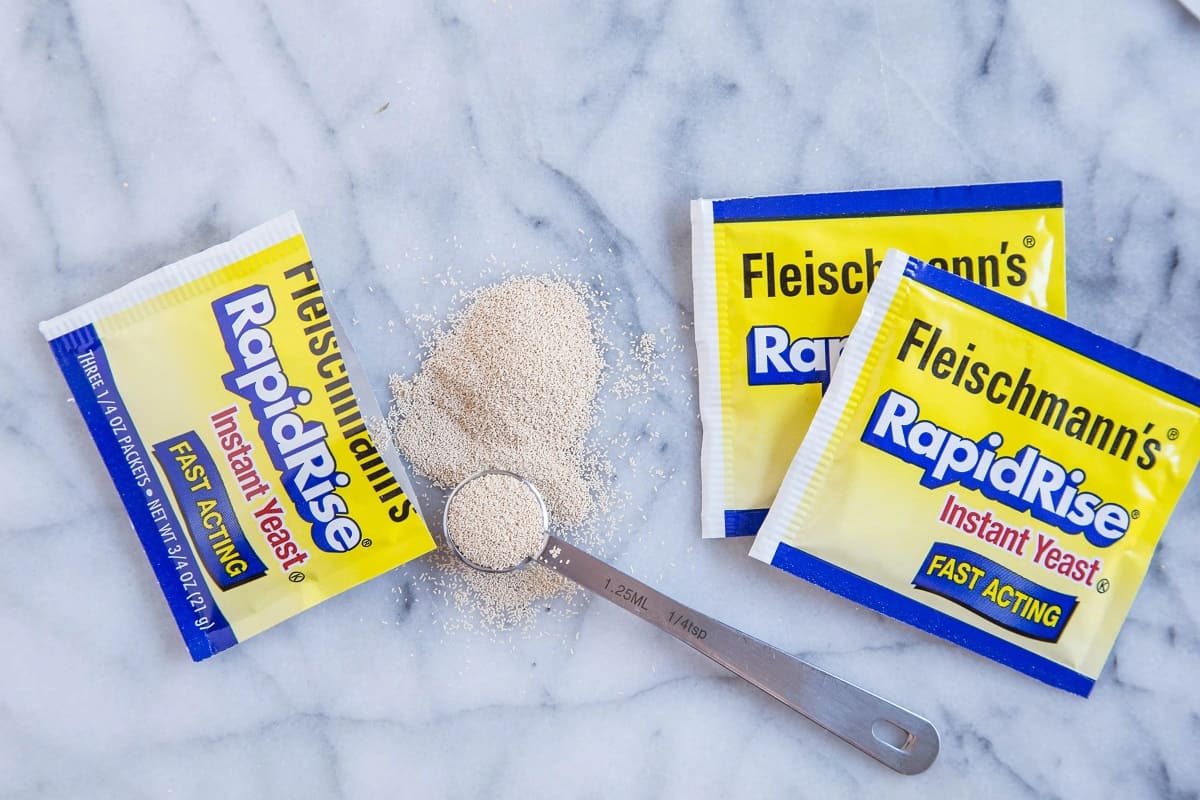
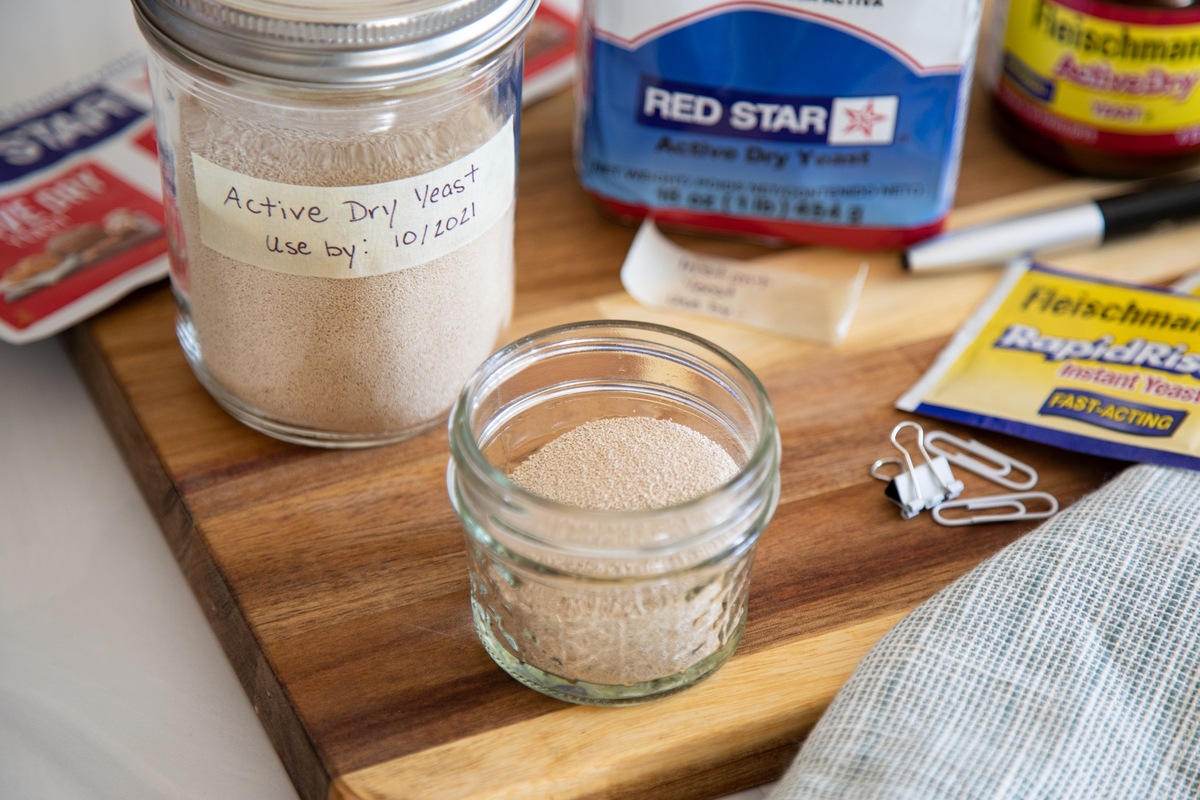
Dry yeast is a form of inactive yeast that has been dehydrated to eliminate moisture content, prolonging its shelf life and preserving its quality. It is available in two primary forms: active dry yeast and instant yeast.
Active dry yeast consists of dormant yeast cells encapsulated in a protective coating. This type of yeast requires rehydration in warm water before use to activate the yeast cells and make them ready for fermentation. On the other hand, instant yeast, also known as rapid-rise yeast or bread machine yeast, does not require rehydration and can be mixed directly with dry ingredients.
Both types of dry yeast play a vital role in the fermentation process, converting sugars into carbon dioxide, alcohol, and flavor compounds. However, it is essential to note that the storage recommendations may differ slightly depending on the specific type of dry yeast.
Dry yeast typically comes in sachets or jars, and it is crucial to check the expiration date before purchasing or using it. Expired yeast may not be viable, leading to poor results in your baking or brewing endeavors. Additionally, factors such as proper storage conditions and handling techniques are vital to ensuring the longevity and vitality of your dry yeast.
Now that we have a better understanding of dry yeast let’s explore the essential aspects of storing it properly.
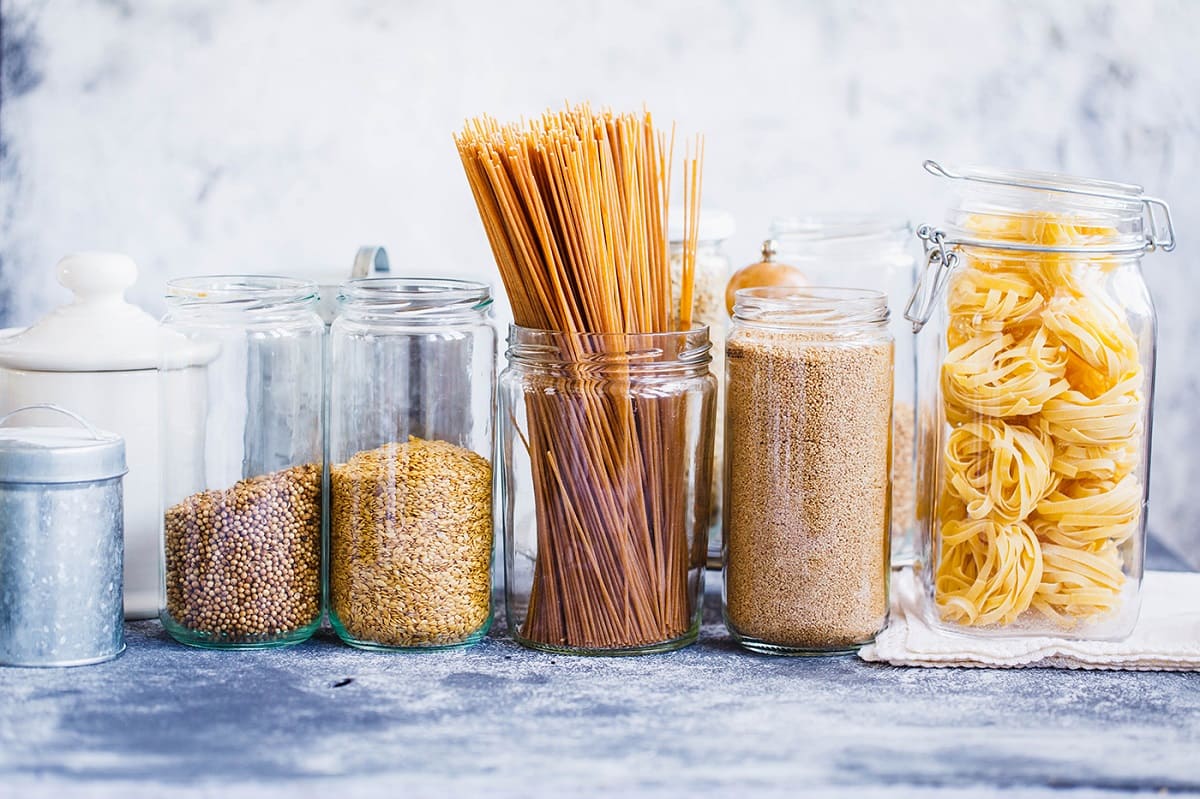
Choosing the Right Storage Container
When it comes to storing dry yeast, selecting the right storage container is crucial to maintain its freshness and protect it from moisture and contaminants. Here are a few factors to consider when choosing a storage container:
- Airtightness: Opt for a container that has a tight-fitting lid or closure mechanism to ensure airtight seal. This will prevent moisture from entering the container and compromising the quality of the yeast.
- Material: Choose a container made of food-safe and non-reactive material, such as glass or food-grade plastic. Avoid using metal containers, as they can react with the yeast and affect its potency.
- Size: Consider the quantity of yeast you typically use and choose a container that can accommodate that amount. It is generally recommended to store yeast in smaller containers to minimize exposure to air and moisture when opening the container.
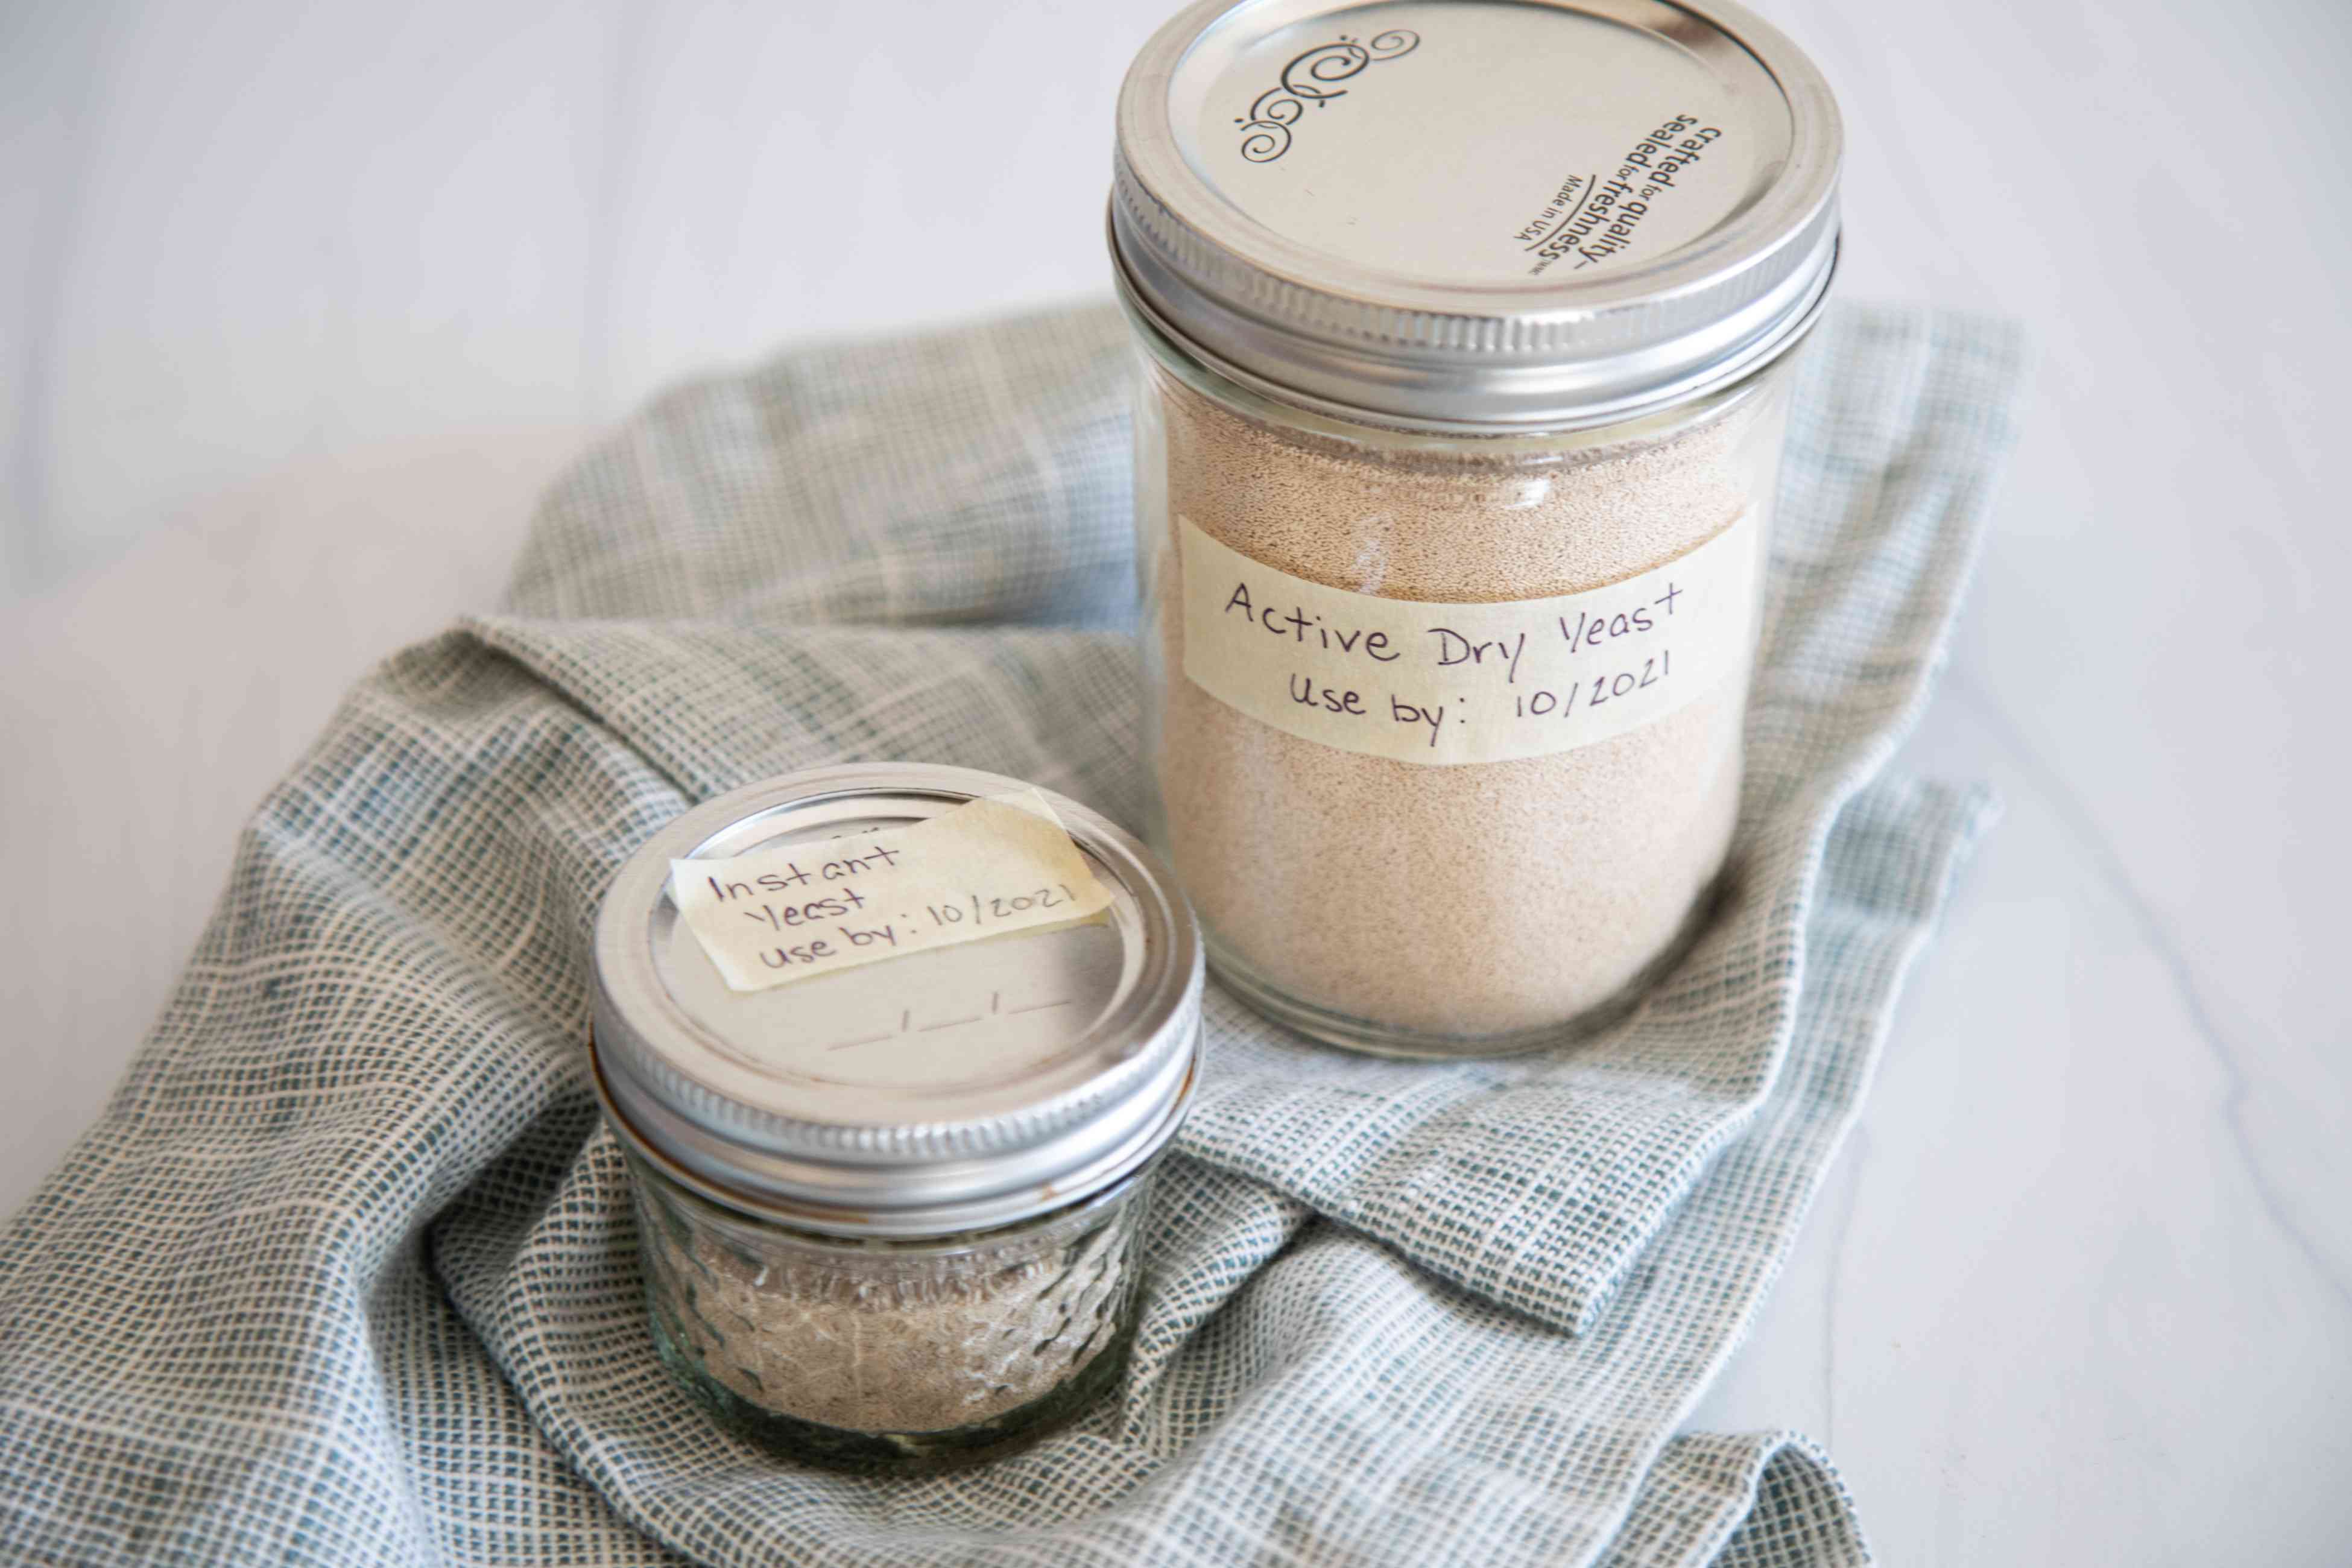
Proper labeling of the storage container is also essential to ensure easy identification and tracking of the yeast. Include the date of purchase and the expiration date on the container for reference.
By choosing the right storage container, you can create a protective environment for your dry yeast, maintaining its freshness and maximizing its shelf life.
Temperature and Humidity Considerations
Temperature and humidity play a crucial role in the longevity and viability of dry yeast. The ideal storage conditions for dry yeast involve maintaining a cool and dry environment. Here are some key considerations:
Temperature: It is recommended to store dry yeast in a cool environment, preferably between 35°F (2°C) and 50°F (10°C). Higher temperatures can accelerate yeast activity and shorten its shelf life, while temperatures below freezing can damage the yeast cells. Avoid storing yeast near sources of heat, such as ovens or stovetops.
Humidity: Dry yeast is particularly sensitive to moisture, making it essential to store it in a dry environment. Excessive moisture can cause the yeast to clump together, lose potency, and become prone to contamination. Keep the storage area free from high humidity levels and away from areas prone to condensation, such as the refrigerator door.
It is worth noting that some bakers and brewers prefer to store their dry yeast in the refrigerator or freezer to further extend its shelf life. However, it is important to take certain precautions to ensure optimal conditions for storage in these environments.
Now that we have discussed the temperature and humidity considerations, let’s explore the best location to store your dry yeast for maximum freshness.
Selecting the Ideal Storage Location
Choosing the right storage location for your dry yeast is essential to maintain its freshness and quality. Here are some factors to consider when selecting the ideal storage spot:
Cool and Dark: Find a location that is cool and dark, away from direct sunlight and sources of heat. Sunlight and heat can accelerate yeast activity and degrade its quality. A pantry or a cupboard away from the stove or any appliances that generate heat is a good choice.
Away from Moisture: Ensure that the storage location is dry and free from excessive humidity. Avoid storing yeast in areas prone to moisture, such as near sinks or in the refrigerator door where condensation can occur.
Stable Temperature: Aim for a storage location with a relatively stable temperature. Avoid areas that experience frequent temperature fluctuations, as this can affect the viability and quality of the yeast.
Avoid Strong Odors: Yeast can absorb odors from its surroundings, so it is important to keep it away from strong-smelling substances. Store yeast separately from spices, strong cheeses, and other aromatic ingredients to prevent cross-contamination.
Accessibility: Choose a storage location that is easily accessible. This allows you to quickly retrieve the yeast when needed, minimizing the time the container is exposed to air during use.
By considering these factors, you can create an optimal storage environment for your dry yeast, ensuring its longevity and maintaining its potency.
Read more: How To Store Dry Yeast Long Term
Proper Handling and Labeling Techniques
Proper handling and labeling of dry yeast are essential to maintain its freshness, prevent cross-contamination, and ensure easy identification. Here are some techniques to follow:
Clean and Dry Hands: Before handling dry yeast, make sure your hands are clean and dry. Moisture and contaminants can affect the quality of the yeast, so it is important to minimize contact with wet or dirty hands.
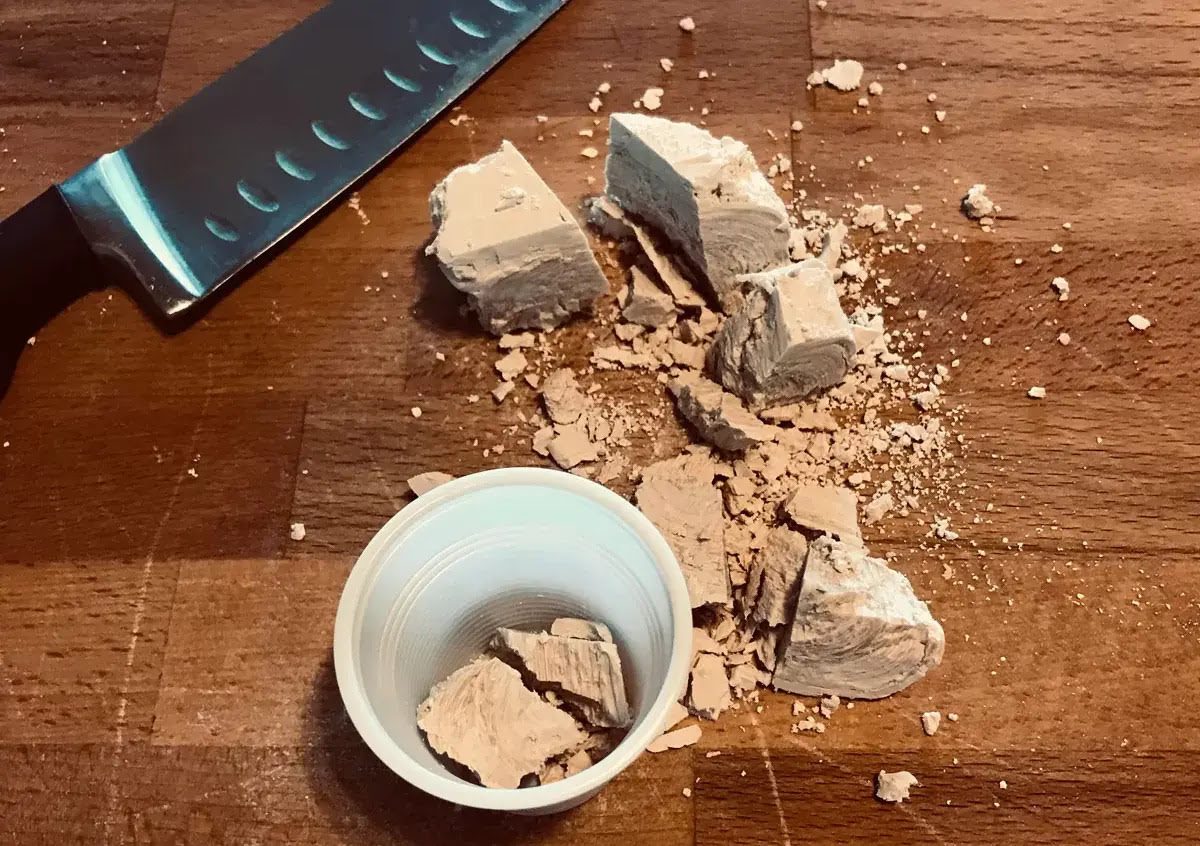
Use Clean Utensils: When measuring out dry yeast, use clean and dry measuring spoons or a kitchen scale. Avoid using utensils that have come into contact with other ingredients, as this can introduce contaminants to the yeast.
Reseal After Use: After measuring out the desired amount of yeast for your recipe, make sure to reseal the storage container tightly to prevent air and moisture from entering.
Label the Container: Properly label the storage container with the date of purchase and the expiration date of the yeast. This helps you keep track of the freshness of your yeast and ensures you always use the oldest yeast first.
Separate Contaminants: Keep your dry yeast container away from ingredients such as flour, spices, or other items that can contaminate the yeast with their strong flavors or odors.
Keep Moisture Absorbent: To further protect your dry yeast from moisture, you can place a moisture-absorbing packet, such as a silica gel packet, in the storage container. This helps to absorb any residual moisture and keep the yeast dry.
By following these proper handling and labeling techniques, you can maintain the freshness and quality of your dry yeast, ensuring optimal results in your baking and brewing endeavors.
Store dry yeast in an airtight container in the refrigerator or freezer to extend its shelf life. Keep it away from moisture and light to maintain its potency.
Storing Dry Yeast in the Fridge
The refrigerator can be an excellent option for storing dry yeast, especially if you live in a warm or humid climate. Here are some guidelines for storing dry yeast in the fridge:
Use an Airtight Container: Transfer your dry yeast to an airtight container before placing it in the refrigerator. This further protects it from moisture and odors from other foods in the fridge.
Choose the Right Shelf: Store your yeast on a middle or lower shelf in the refrigerator, away from the door. The temperature on these shelves tends to be more stable, minimizing temperature fluctuations that can affect the yeast’s viability.
Avoid Freezer Compartment: While the fridge freezer compartment is suitable for short-term storage, it is not ideal for long-term storage as it can cause ice crystals to form, damaging the yeast cells. If you plan to store your yeast for extended periods, freezing is a better option (which we will discuss later).
Check Expiry Date: Periodically check the expiration date of your yeast stored in the refrigerator. Although refrigeration can extend its shelf life, it is essential to use it before it reaches its expiration date for optimal performance.
Allow for Temperatures to Stabilize: When removing the yeast from the refrigerator, allow it to come to room temperature before using it. This helps avoid temperature shock and ensures proper yeast activation during fermentation.
Storing dry yeast in the refrigerator provides a cool and stable environment, slowing down the yeast’s activity and extending its shelf life. However, if you need long-term storage, freezing is the recommended method, as we will discuss next.
Freezing Dry Yeast for Long-Term Storage
If you want to store dry yeast for an extended period, freezing is the best option. Freezing yeast effectively slows down its activity and preserves its viability. Here’s how to freeze dry yeast for long-term storage:
Transfer to Freezer-Safe Container: Pour the dry yeast into a freezer-safe container or resealable bag. Make sure the container is airtight to prevent moisture from entering and damaging the yeast.
Date and Label: Clearly write the date of freezing on the container or bag, along with the expiration date of the yeast. This helps you keep track of the storage time and ensures you use the oldest yeast first.
Portion Control: If you often use small quantities of yeast, consider dividing it into portions before freezing. This way, you can easily thaw and use only the amount you need without repeatedly exposing the yeast to air and moisture.
Place in the Freezer: Put the container or bag of dry yeast in the freezer, preferably in a spot where it won’t be crushed or punctured by other items. Ensure it is not placed in the freezer door, as this area is subjected to more temperature fluctuations.
Thawing Process: When it’s time to use the frozen yeast, remove it from the freezer and allow it to thaw in the refrigerator overnight. Avoid thawing the yeast at room temperature, as rapid temperature change can damage the yeast cells.
It’s important to note that freezing can slightly reduce the yeast’s potency, so consider adding an extra 10% to 25% of yeast when using frozen yeast in your recipes.
By properly freezing dry yeast, you can extend its shelf life for up to a year or even longer, ensuring you always have a fresh supply on hand for your baking and brewing needs.
Reviving Refrigerated or Frozen Yeast
If you have refrigerated or frozen yeast that you’d like to use, it’s important to revive it properly to ensure its viability before incorporating it into your recipes. Here’s how to revive refrigerated or frozen yeast:
Refrigerated Yeast:
- Remove the yeast from the refrigerator and bring it to room temperature.
- In a small bowl, combine warm water (around 105°F-110°F) with a small amount of sugar or honey.
- Sprinkle the yeast over the warm water and sugar/honey mixture. Let it sit for about 5-10 minutes to activate and dissolve, forming a creamy foam.
- If the yeast is active and bubbling, it is ready to be used in your recipe. If there is no foam or activity, it may be inactive or expired, and you should consider using fresh yeast instead.
Frozen Yeast:
- Take the container or bag of frozen yeast out of the freezer and place it in the refrigerator overnight to thaw.
- Once thawed, follow the same steps as reviving refrigerated yeast mentioned above.
Reviving refrigerated or frozen yeast allows you to assess its viability before using it in your recipes. It’s important to note that the potency of revived yeast may be slightly reduced compared to fresh yeast, so you may need to use a slightly larger quantity or allow for a longer rise time in your baking or brewing process.
By properly reviving refrigerated or frozen yeast, you can reactivate its dormant cells and ensure that it will contribute to the desired fermentation and rise in your dough, resulting in delicious baked goods or well-fermented beverages.
Read more: How To Store Yeast
Tips for Extending the Shelf Life of Dry Yeast
To ensure the longest possible shelf life for your dry yeast, here are some handy tips to keep in mind:
1. Check the Expiration Date: Always purchase dry yeast with a later expiration date to maximize its freshness. Avoid buying large quantities if you don’t anticipate using them before the expiration date.
2. Store in a Cool and Dry Place: Keep your dry yeast in a cool and dry storage location, away from heat, direct sunlight, and excessive humidity. Consider using airtight containers to protect it from moisture and contaminants.
3. Avoid Temperature Fluctuations: Ensure that the storage area has a stable temperature to prevent fluctuations that can degrade the yeast. Refrigeration or freezing can be an option for long-term storage, but it’s important to handle and thaw the yeast properly.
4. Use Clean and Dry Utensils: When measuring out dry yeast, use clean and dry measuring spoons or a kitchen scale. Avoid cross-contamination by keeping yeast separate from other ingredients during handling and preparation.
5. Keep Away from Strong Odors: To prevent the yeast from absorbing strong odors, store it separately from spices, strong cheeses, or other pungent substances.
6. Date and Label Containers: Clearly mark the date of purchase and the expiration date on the storage containers. This helps you keep track of the freshness of the yeast and use older containers first.
7. Don’t Freeze Repeatedly: Avoid refreezing thawed yeast. Once you have thawed frozen yeast, it is best to use it promptly rather than refreezing it, as repeated freezing and thawing can affect its viability.
8. Follow Proper Revival Techniques: When using refrigerated or frozen yeast, make sure to revive it properly using warm water and a small amount of sweetener. This ensures the yeast is viable before incorporating it into your recipes.
9. Test the Yeast before Use: To ensure the yeast is active, you can perform a small proofing test by mixing it with warm water and sugar. If it doesn’t foam, it may have lost its viability, and it’s advisable to use fresh yeast instead.
10. Purchase in Smaller Quantities: If you don’t bake or brew frequently, consider purchasing smaller quantities of dry yeast, so you can use it up before it loses its potency.
By following these tips, you can extend the shelf life of your dry yeast and ensure you have fresh and active yeast whenever you need it for your culinary creations.
Conclusion
Proper storage of dry yeast is vital to maintain its freshness, viability, and quality over time. By following the guidelines and techniques outlined in this article, you can ensure that your dry yeast remains potent, ready to create delectable baked goods or brew flavorful beverages.
From choosing the right storage container to considering temperature and humidity conditions, every aspect of storing dry yeast plays a crucial role in its longevity. Whether you opt for the refrigerator or freezer for long-term storage, proper handling and labeling techniques are essential to preserve its quality.
Reviving refrigerated or frozen yeast is a necessary step to reactivate its dormant cells and determine its viability. By following the recommended revival methods, you can ensure that your yeast will contribute to the desired fermentation and rise in your baking or brewing process.
By implementing the tips for extending the shelf life of dry yeast, such as checking expiration dates, storing in a cool and dry place, and using clean utensils, you can maximize the freshness and potency of your yeast.
Remember, each technique covered in this article aims to provide the ideal conditions for storing dry yeast. By selecting the right storage container, finding the optimal storage location, and following proper handling and labeling techniques, you can retain the quality of your dry yeast, ensuring exceptional results in your culinary endeavors.
So, next time you embark on a baking or brewing adventure, remember the importance of proper dry yeast storage. With the right storage techniques, you can elevate your creations, delighting your taste buds and impressing your family and friends with your flavorful baked goods and well-fermented beverages.
Frequently Asked Questions about How To Store Dry Yeast
Was this page helpful?
At Storables.com, we guarantee accurate and reliable information. Our content, validated by Expert Board Contributors, is crafted following stringent Editorial Policies. We're committed to providing you with well-researched, expert-backed insights for all your informational needs.


0 thoughts on “How To Store Dry Yeast”