
Articles
How To Store Dried Apples
Modified: January 6, 2024
Learn how to store dried apples properly with these helpful articles. Find tips and tricks for preserving the flavor and freshness of your dried apples.
(Many of the links in this article redirect to a specific reviewed product. Your purchase of these products through affiliate links helps to generate commission for Storables.com, at no extra cost. Learn more)
Introduction
Welcome to our guide on how to store dried apples. Drying apples is an excellent way to preserve their flavor and nutritional value, allowing you to enjoy this delicious fruit all year round. Whether you have an abundance of fresh apples from your own orchard or you simply want to take advantage of a great deal at the local farmers market, drying apples is a simple and rewarding process. Not only will you be able to savor the natural sweetness of apples even when they are out of season, but you’ll also have the convenience of having them readily available for snacking or incorporating into your favorite recipes.
In this article, we will explore the benefits of drying apples, the best types of apples to use, different methods for drying apples, and how to properly store dried apples to maintain their quality and extend their shelf life. We will also provide tips on how to incorporate dried apples into a variety of delicious recipes.
So, let’s dive in and discover how you can enjoy the satisfying crunch and incredible flavor of dried apples anytime you want!
Key Takeaways:
- Drying apples extends their shelf life, retains nutrients, reduces waste, and offers versatile snacking and culinary options. Choose the right apples, prep them properly, and store them in a cool, dark, and dry place for long-lasting enjoyment.
- Incorporate dried apples into baked goods, trail mixes, salads, and more for a burst of natural sweetness and chewy texture. Follow storage tips to maintain their quality and experiment with different flavor combinations to elevate your recipes.
Read more: How Long To Dry Apple Slices In A Dehydrator
Benefits of Drying Apples
Drying apples offers several fantastic benefits, making it a popular preservation method for this beloved fruit. Here are some of the key advantages:
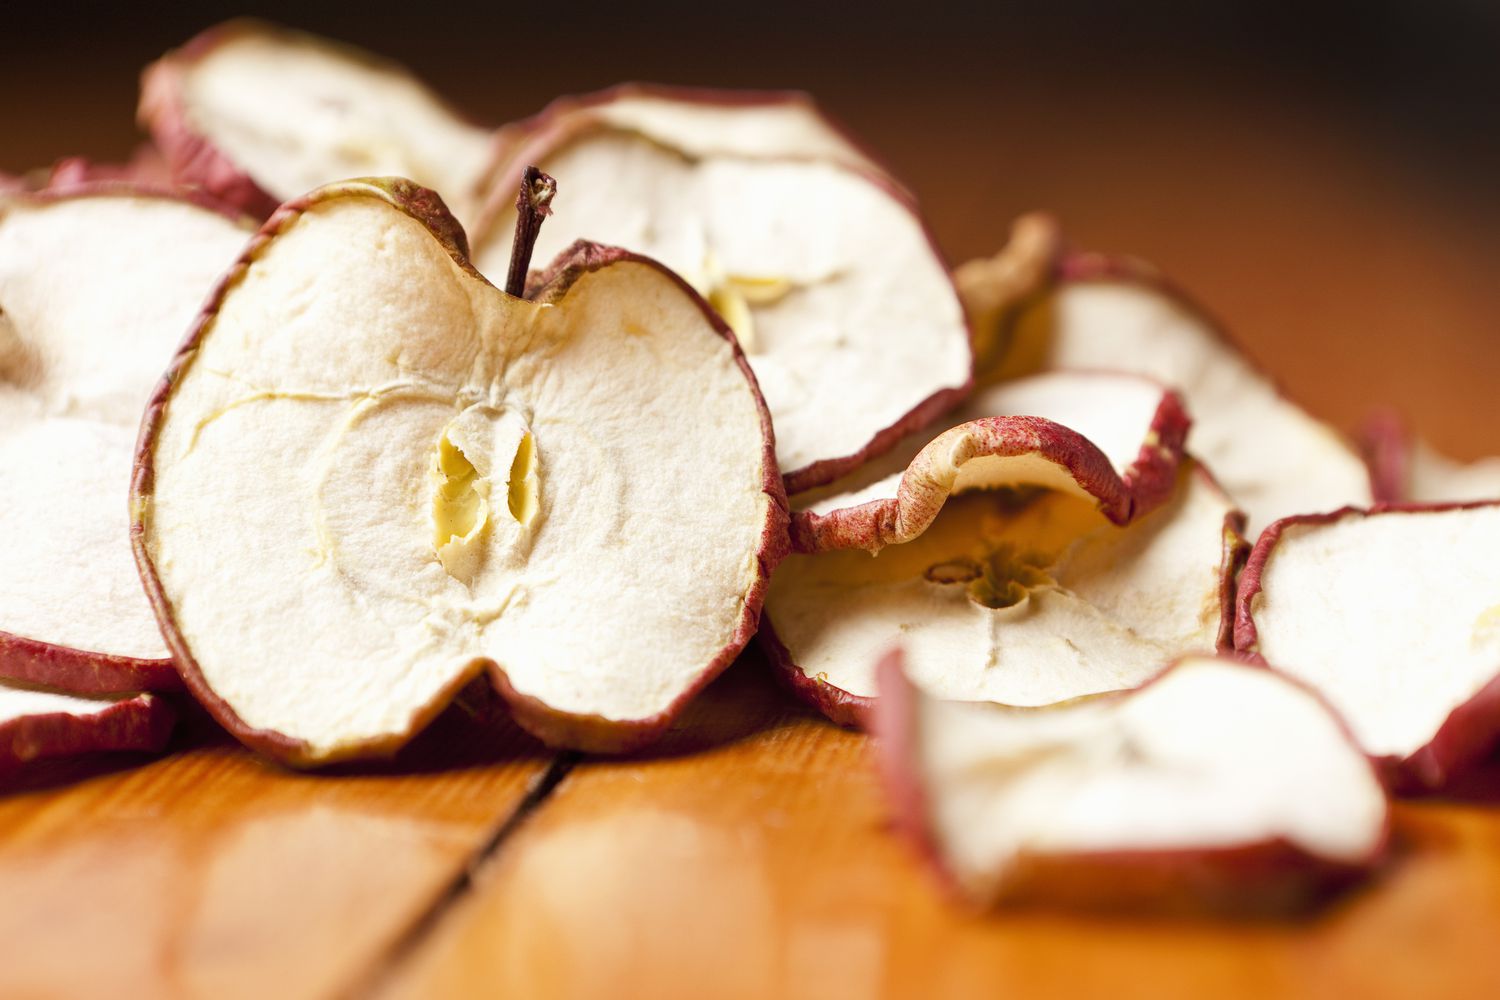
- Extended Shelf Life: Drying apples removes most of their moisture content, significantly extending their shelf life. While fresh apples can spoil within a few weeks, properly dried apples can last for several months or even up to a year when stored correctly.
- Nutritional Value: Dried apples retain a significant amount of their original nutrients, including vitamins A and C, dietary fiber, and antioxidants. They are excellent for snacking and provide a healthy alternative to processed and sugary snacks.
- Convenience: Dried apples are lightweight and compact, making them perfect for on-the-go snacking or packing in lunchboxes. Unlike fresh apples, dried apples don’t require refrigeration, making them a convenient and portable snack option.
- Versatility: Dried apples can be used in various culinary applications. They add a natural sweetness and texture to baked goods, granola, trail mixes, and even savory dishes like salads and stews. Their versatility makes them a staple ingredient in many recipes.
- Reduced Waste: Drying apples is a wonderful way to utilize excess fruit and reduce waste. Instead of letting apples go to waste or buying processed snacks, you can transform surplus apples into a delicious and nutritious snack that can be enjoyed for months to come.
These are just a few of the many benefits of drying apples. Now that we understand the advantages, let’s move on to the next section, where we will explore the different types of apples that are best for drying.
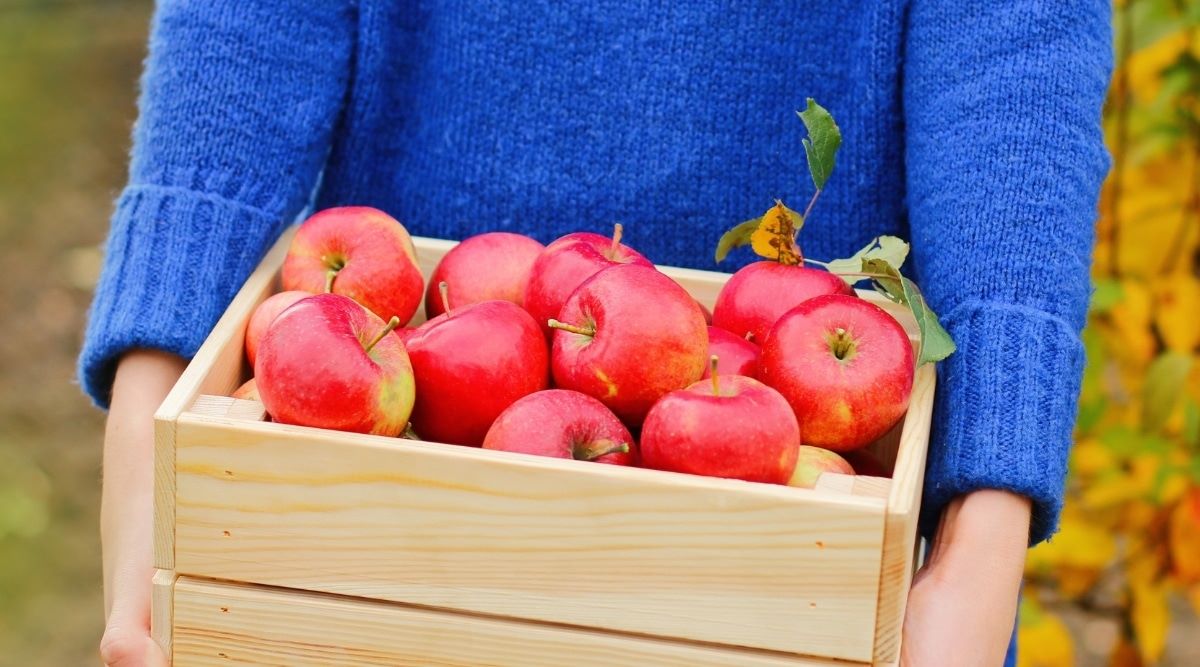
Choosing the Right Apples for Drying
When it comes to drying apples, not all varieties are created equal. Some apples are better suited for drying due to their flavor, texture, and sugar content. Here are a few factors to consider when selecting apples for drying:
- Firmness: Choose apples that are firm and not overly ripe. Soft or mushy apples will not dry well and may result in a less desirable texture.
- Sweetness: Sweeter apples tend to yield tastier dried apples. Look for varieties with a naturally high sugar content, such as Gala, Honeycrisp, Fuji, or Golden Delicious. These apples will provide a pleasant natural sweetness when dried.
- Size and Shape: Opt for apples that are relatively uniform in size and shape. This will help ensure even drying and consistent results.
- Tartness: Some people prefer a slightly tart flavor in their dried apples. If you enjoy this taste, consider using apples like Granny Smith or McIntosh, which have a tangy and vibrant flavor that translates well when dried.
- Texture: Different apple varieties have varying levels of crispness and juiciness. Choose apples with a texture that you enjoy in fresh apples, as it will be preserved to some extent during the drying process.
It’s important to note that there is some experimentation involved in choosing the right apples for drying. You may want to try different varieties to see which ones you prefer. Ultimately, the type of apple you select will depend on your personal taste preferences and the desired final outcome of your dried apples.
Now that you have some guidelines for choosing the right apples, let’s move on to the next section, where we will explore the preparation and pre-treatment steps necessary before drying your apples.
Preparation and Pre-treatment of Apples
Before you can start drying your apples, there are a few important steps to take to ensure successful results. Let’s explore the preparation and pre-treatment process:
- Washing: Begin by washing your apples thoroughly under cool, running water. This will help remove any dirt, debris, or residues. Make sure to dry them completely before moving on to the next step.
- Peeling and Coring: Depending on your preference, you can choose to peel your apples or leave the skin intact. Peeling the apples will result in a smoother texture, but leaving the skin on can add more fiber and nutrients to the final product. Additionally, remove the core of each apple using a corer or a knife.
- Slicing: Slice the apples into even, thin slices. You can use a sharp knife or a mandoline slicer for this step. Aim for slices that are about 1/4 to 1/2 inch thick. Consistent thickness will ensure even drying.
- Pre-treatment: To prevent browning and preserve the color of your apples, you can pre-treat them with a solution of lemon juice or citric acid. Simply fill a bowl with water and add a tablespoon of lemon juice or a teaspoon of citric acid. Soak the sliced apples in the solution for a few minutes, then drain and pat them dry.
Pre-treating your apples helps to maintain their visual appeal and prevents oxidation. It is especially important if you plan to store your dried apples for an extended period of time.
Now that your apples are prepped and ready, it’s time to move on to the different methods of drying apples. In the next section, we will explore these methods and discuss their pros and cons.
Methods of Drying Apples
There are several methods you can use to dry apples, each with its own advantages and considerations. Let’s take a look at a few popular methods:
- Oven Drying: This method involves using your oven to slowly and evenly dry the apple slices. Place the slices on a baking sheet lined with parchment paper and set your oven to a low temperature, around 200°F (93°C). Leave the oven door slightly ajar to allow moisture to escape. The apples will need to be turned occasionally for even drying. This method takes several hours, depending on the thickness of the slices and desired crispness.
- Dehydrator: Using a food dehydrator is a convenient and efficient way to dry apples. Arrange the apple slices on the dehydrator trays, leaving space between them for airflow. Set the dehydrator to the recommended temperature, typically around 135°F (57°C), and let it run for several hours. Dehydrators have adjustable settings to achieve the desired texture. This method allows for precise control and even drying throughout.
- Sun Drying: Sun drying is a traditional method that harnesses the power of the sun to dry the apples. This method requires warm, dry weather conditions. Place the apple slices on a drying rack or wire mesh and position it in a well-ventilated, sunny area. Protect the slices from insects and dust with a loose net or cheesecloth. Sun drying can take anywhere from several days to a couple of weeks depending on the climate.
- Freeze Drying: Freeze drying is a more advanced method that involves using a specialized machine to remove moisture from the apples. This process creates exceptionally crispy and long-lasting dried apples. However, freeze-drying equipment can be expensive and may not be feasible for home use. It is commonly done in commercial settings or specialized facilities.
Each drying method has its benefits and considerations, so choose the one that aligns with your available resources, time, and preferences.
Now that you know how to dry apples using different methods, let’s move on to the crucial step of storing your dried apples properly to maintain their quality and flavor.
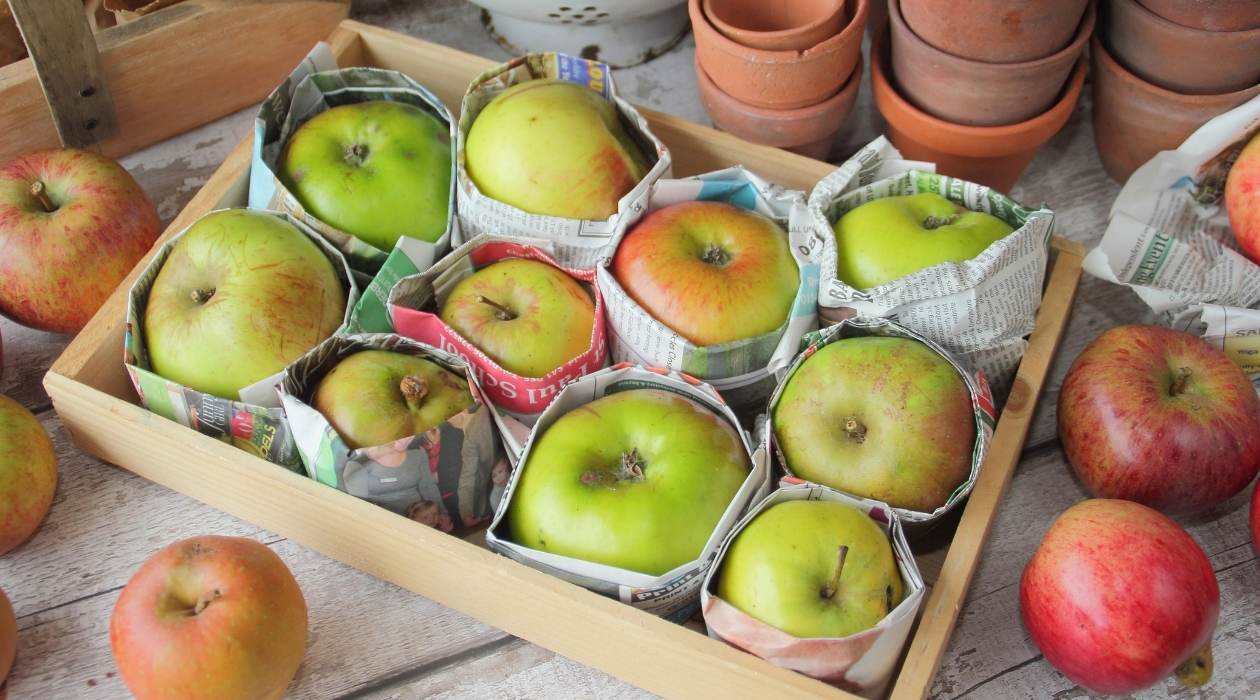
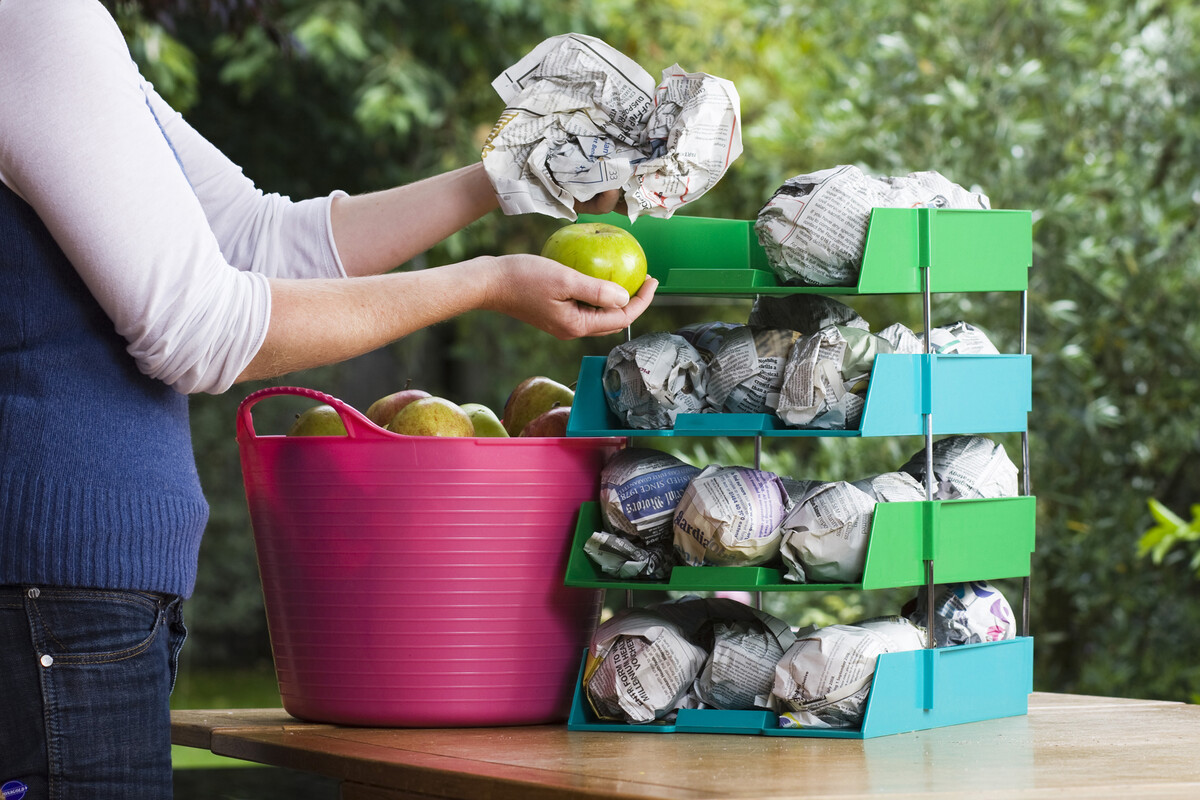
Store dried apples in an airtight container in a cool, dark place to maintain their flavor and texture. You can also store them in the refrigerator for extended shelf life.
Read more: How To Store Apple
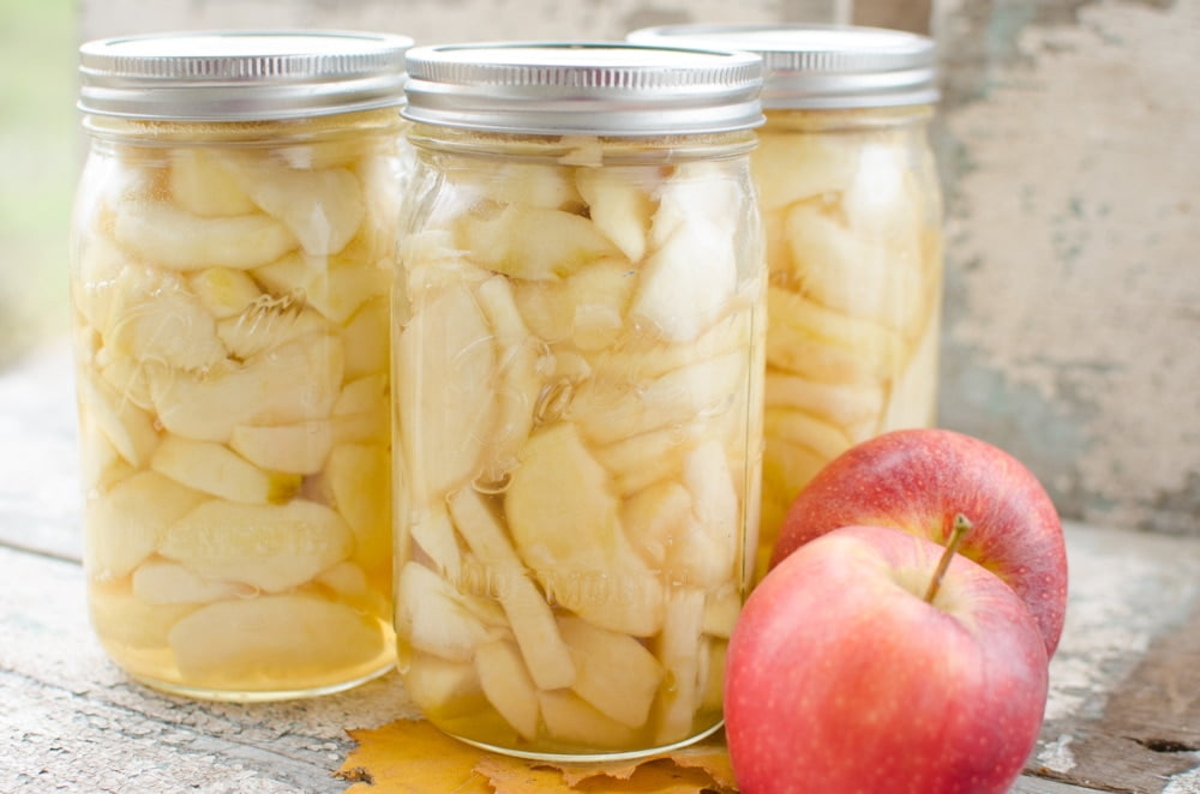
Storing Dried Apples Properly
Proper storage is key to maintaining the quality, flavor, and shelf life of your dried apples. Follow these guidelines to ensure your dried apples stay fresh and delicious:
- Cool, Dark, and Dry Environment: Store your dried apples in a cool, dark, and dry place, away from direct sunlight, heat sources, and moisture. Excessive heat and humidity can cause the apples to reabsorb moisture and spoil.
- Airtight Containers: Use airtight containers, such as glass jars or resealable plastic bags, to store your dried apples. Properly sealed containers prevent moisture and air from entering, helping to maintain the texture and flavor of the dried apples.
- Labeling and Date: Always label your containers with the contents and date of drying. This will help you keep track of their freshness and ensure you use the oldest ones first.
- Absorbent Material: To further protect your dried apples from moisture, consider adding an absorbent material such as a desiccant packet or a small amount of rice to the containers. These materials will help absorb any lingering moisture and maintain the crispness of the apples.
- Frequent Checking: Periodically check your stored dried apples for any signs of spoilage, such as mold or an off smell. If you notice any issues, discard the affected apples to prevent spoiling the rest.
When stored properly, dried apples can last for several months or up to a year. However, over time, they may lose some of their initial crispness and flavor. To make the most of your dried apples, read on for some tips on extending their shelf life.
As you can see, proper storage is crucial for preserving the quality of your dried apples. Follow these guidelines to ensure that your hard work pays off and you can enjoy delicious dried apples for an extended period.
Now that we’ve covered the necessary steps for storing your dried apples, let’s explore some tips to help extend their shelf life even further.
Tips for Extending Shelf Life
To maximize the shelf life of your dried apples and keep them fresh for as long as possible, consider the following tips:
- Properly Seal Containers: Ensure that the containers used for storing your dried apples are tightly sealed to prevent air and moisture from entering. This will help maintain their crispness and flavor.
- Cool Storage Temperature: Store your dried apples in a cool environment, preferably below room temperature. Heat can accelerate the degradation process and reduce the shelf life of the apples.
- Regularly Check for Moisture: Moisture is the enemy of dried apples. Periodically inspect your stored apples for any signs of moisture or condensation. If you notice any, remove the affected apples and quickly transfer the rest to a drier storage container.
- Avoid Exposure to Light: Keep your dried apples away from direct sunlight as it can cause them to lose color and flavor. Store them in a dark place or use opaque storage containers to protect them from light exposure.
- Rotate and Consume: To ensure you enjoy the freshest dried apples, practice a first-in, first-out approach. When adding newly dried apples to your storage, move the older ones to the front to be consumed first. This way, you can enjoy them at their best quality.
- Consider Refrigeration: If you live in a hot and humid climate or if you plan to store your dried apples for an extended period, you can prolong their shelf life by refrigerating them. Place the sealed containers in the refrigerator to maintain their freshness and ensure they stay dry.
- Avoid Mixing Flavors: Keep different varieties of dried apples separate from each other to preserve their distinct flavors. Mixing flavors may result in a loss of individual taste characteristics.
By following these tips, you can extend the shelf life of your dried apples and enjoy their crispness and flavor for an even longer period.
Now that we’ve covered the storage and shelf life considerations, let’s explore some exciting ways to incorporate dried apples into your favorite recipes.
Ways to Use Dried Apples in Recipes
Dried apples are a versatile ingredient that can add a delightful flavor and texture to a wide range of dishes. Here are some creative and delicious ways to incorporate dried apples into your favorite recipes:
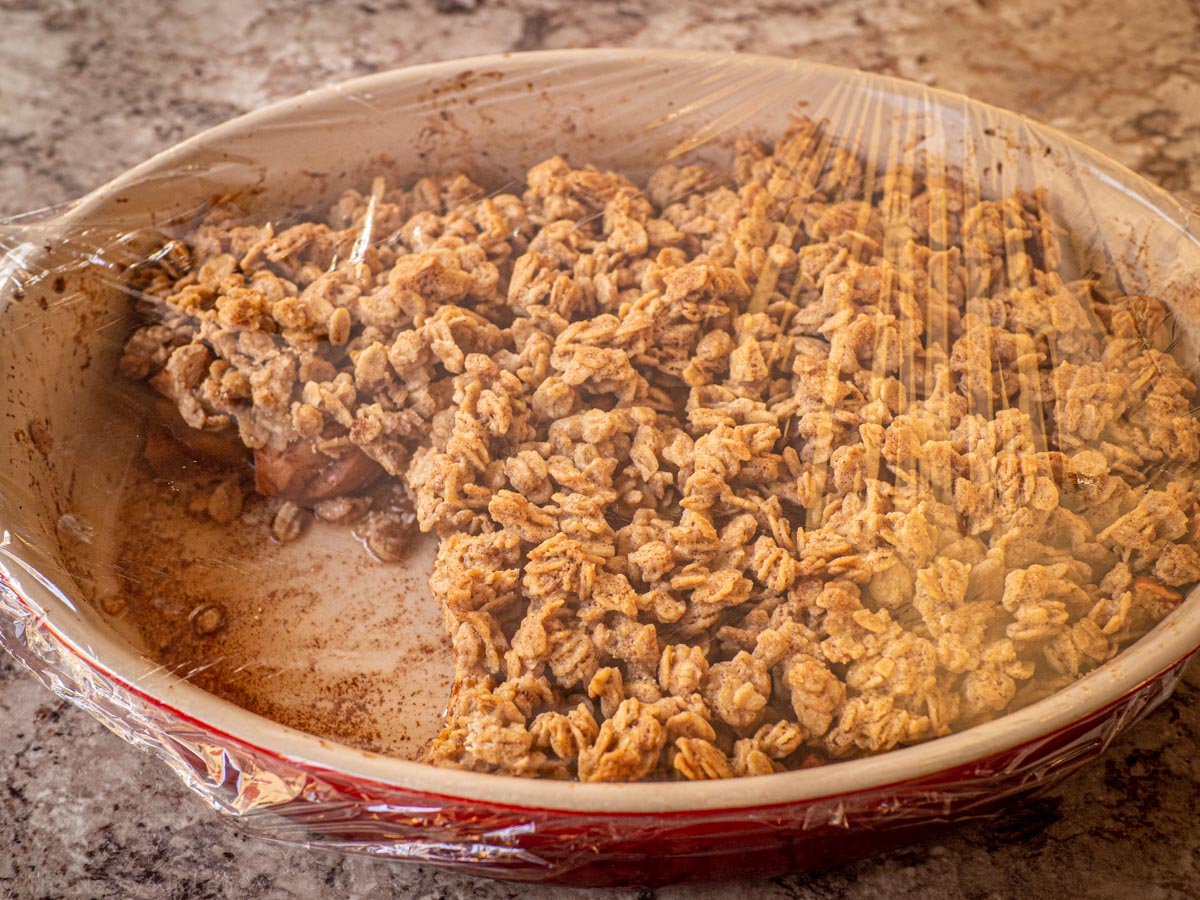
- Baked Goods: Add chopped dried apples to your favorite muffin, bread, or cake recipes for a sweet burst of fruity flavor. They also work well in cookies, scones, and granola bars.
- Oatmeal and Cereal: Sprinkle dried apple slices or diced dried apples over your morning oatmeal or cold cereal for a touch of natural sweetness and a chewy texture.
- Trail Mix: Create a homemade trail mix by combining dried apples with nuts, seeds, and other dried fruits. It’s a perfect snack for hiking, road trips, or a quick energy boost during the day.
- Salads: Add a unique twist to your salads by tossing in some dried apple slices. They provide a sweet and tangy flavor that pairs well with green salads, chicken salads, or grain-based salads.
- Stuffings and Stuffings: Incorporate dried apples into stuffing for poultry dishes or use them as a filling for stuffed pork chops or stuffed acorn squash. Their natural sweetness and chewy texture add depth to savory dishes.
- Snack Mix: Make a flavorful and satisfying snack mix by combining dried apples with pretzels, popcorn, nuts, and your favorite seasonings. It’s a delicious way to satisfy your snack cravings.
- Smoothies and Shakes: Blend dried apple slices into your favorite smoothies or shakes for added sweetness and a unique flavor profile. They pair well with ingredients like cinnamon, yogurt, and nut butter.
- Chutneys and Compotes: Create a tangy and sweet chutney or compote by simmering dried apples with spices, vinegar, and sweeteners. They make a wonderful accompaniment to cheeses, roasted meats, or even as a spread on toast.
These are just a few examples of the many ways you can use dried apples in your recipes. Don’t be afraid to get creative and experiment with different flavor combinations to discover new culinary delights!
Now that we’ve explored the various ways to use dried apples in recipes, let’s conclude our guide.
Conclusion
Congratulations! You have reached the end of our comprehensive guide on how to store dried apples. By drying apples, you can enjoy their delicious flavor and nutritional benefits all year round. We have covered the benefits of drying apples, choosing the right apples for drying, the preparation and pre-treatment process, different methods of drying, proper storage techniques, tips for extending shelf life, and creative ways to use dried apples in recipes.
Drying apples not only extends their shelf life but also allows you to reduce waste and have a healthy snack option readily available. The process itself is simple and can be achieved through various methods such as oven drying, using a food dehydrator, or sun drying.
In order to maintain the quality of your dried apples, it’s crucial to store them properly in cool, dark, and dry environments. Airtight containers and labels can help in this regard. Additionally, following some tips such as regularly checking for moisture, avoiding exposure to light, and considering refrigeration can help to extend the shelf life of your dried apples.
Furthermore, dried apples can be incorporated into a wide range of recipes, such as baked goods, trail mixes, salads, stuffings, and even smoothies. Their natural sweetness and chewy texture add a unique element to these dishes and enhance their overall flavor.
We hope that this guide has provided you with valuable insights and inspiration to start drying your own apples and enjoy the many benefits they offer. So go ahead, stock up on apples, grab your peeler, and embark on your journey of creating delicious and nutritious dried apples that can be enjoyed anytime, anywhere.
Thank you for reading, and happy drying!
Frequently Asked Questions about How To Store Dried Apples
Was this page helpful?
At Storables.com, we guarantee accurate and reliable information. Our content, validated by Expert Board Contributors, is crafted following stringent Editorial Policies. We're committed to providing you with well-researched, expert-backed insights for all your informational needs.


0 thoughts on “How To Store Dried Apples”