Articles
How To Store Dyson Attachments
Modified: October 21, 2024
Learn how to store and organize your Dyson attachments with these helpful articles. Keep your attachments easily accessible and in good condition.
(Many of the links in this article redirect to a specific reviewed product. Your purchase of these products through affiliate links helps to generate commission for Storables.com, at no extra cost. Learn more)
Introduction
Properly storing your Dyson attachments is essential for maintaining their functionality and extending their lifespan. These attachments are designed to enhance the performance of your Dyson vacuum cleaner, enabling you to tackle various cleaning tasks with ease. However, if not stored correctly, these attachments can get damaged, lost, or become less effective over time.
In this article, we will discuss the importance of storing Dyson attachments properly and provide you with some useful tips on how to do so. By following these guidelines, you can ensure that your Dyson attachments remain in excellent condition and continue to deliver optimal cleaning results.
Key Takeaways:
- Properly storing Dyson attachments is crucial for preserving functionality, preventing loss, and extending lifespan. Follow cleaning instructions, choose the right storage solution, and organize attachments for efficient use.
- Regular maintenance and inspection of Dyson attachments are essential for optimal performance. Keep attachments in a dry, safe environment, prevent tangling and damage, and label storage areas for easy access.
Read more: How To Store Dyson Vacuum
Why Properly Storing Dyson Attachments is Important
Proper storage of your Dyson attachments is crucial for several reasons:
- Preserving Functionality: When stored correctly, Dyson attachments maintain their functionality. By preventing damage, tangling, or misplacement, you ensure that the attachments can perform their intended tasks efficiently.
- Preventing Loss: One of the most common problems with Dyson attachments is losing them. By storing them in a designated place, you reduce the risk of misplacing these valuable tools.
- Extending Lifespan: By storing attachments properly, you can help prolong their lifespan. This not only saves you money in the long run but also ensures that you can enjoy the full benefits of your Dyson vacuum cleaner.
- Protecting from Damage: Storing attachments haphazardly or in unsuitable environments can lead to damage. Proper storage protects the attachments from physical harm, such as scratches, dents, or breakage.
- Efficient Cleaning: When your attachments are well-organized and easily accessible, cleaning tasks become more convenient and efficient. You won’t waste time searching for the right attachment, allowing you to complete your cleaning tasks in a timely manner.
By taking the time to store your Dyson attachments in the proper way, you can ensure that you get the most out of your cleaning tools and maintain their optimal performance for years to come.
Tips for Storing Dyson Attachments
To ensure that your Dyson attachments are stored properly, consider following these helpful tips:
- Cleaning Instructions for Dyson Attachments: Before storing your attachments, make sure to clean them thoroughly. Follow Dyson’s cleaning instructions for each specific attachment to remove any dirt, dust, or debris. This will not only keep your attachments in good condition but also prevent any cross-contamination during storage.
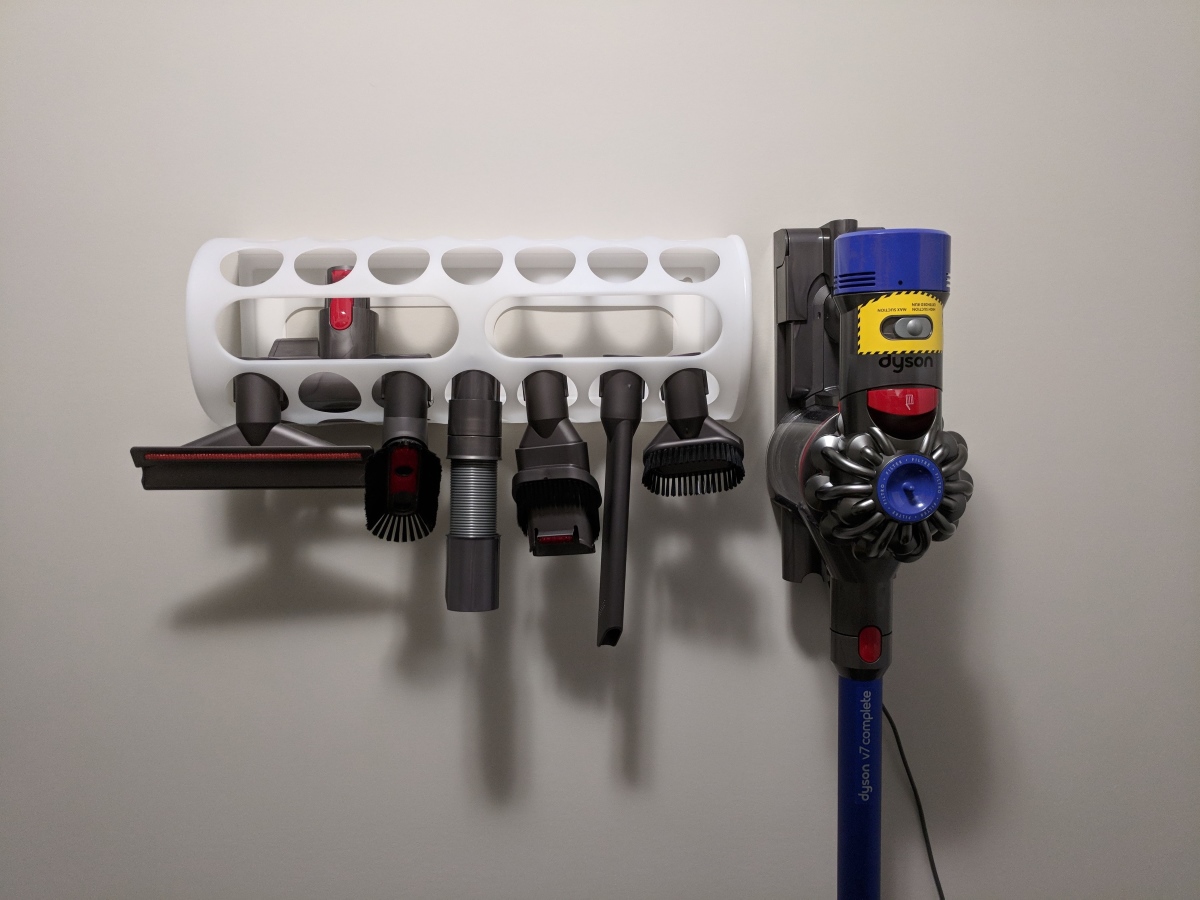
- Choosing the Right Storage Solution: Select a storage solution that suits your needs and available space. This could be a dedicated drawer, a storage box, or a wall-mounted organizer. Ensure that the storage solution provides ample protection for the attachments and keeps them easily accessible.
- Organizing Attachments by Type or Function: Categorize and group your Dyson attachments based on their type or function. This will help you locate the specific attachment you need quickly. Consider using small containers, dividers, or labeled compartments to keep the attachments organized within the storage solution.
- Keeping Attachments in a Dry and Safe Environment: Store your Dyson attachments in a dry and safe environment to prevent moisture damage. Avoid storing them in areas prone to humidity, such as bathrooms or basements. Additionally, protect them from exposure to extreme temperatures, direct sunlight, or potential hazards.
- Avoiding Tangling and Damage: Take precautions to prevent the attachments from tangling or getting damaged. For attachments with flexible hoses, coil them up neatly instead of folding or twisting. Use Velcro straps or cable ties to secure long attachments and prevent them from becoming tangled or damaged.
- Labeling and Documenting Attachment Storage: Consider labeling or documenting the storage location of each attachment. This will help you easily identify the attachment you need, especially if you have multiple Dyson vacuum cleaners or a large collection of attachments.
- Regular Maintenance and Inspection of Attachments: Periodically check and clean your Dyson attachments to ensure they remain in good working condition. Inspect them for any signs of wear and tear, such as loose parts, frayed cables, or broken bristles. If you notice any issues, address them promptly by contacting Dyson for repairs or replacements.
By implementing these tips, you can keep your Dyson attachments organized, protected, and in optimal condition, ensuring that they are ready for use whenever you need them.
Cleaning Instructions for Dyson Attachments
Keeping your Dyson attachments clean is crucial for their performance and longevity. Here are some cleaning instructions to follow:
- Read the Manual: Before cleaning your Dyson attachments, refer to the user manual that came with your vacuum cleaner. It will provide specific instructions for cleaning and maintaining each attachment.
- Remove Loose Debris: Start by removing any loose debris or dirt from the attachments. You can use a soft brush or a cloth to gently wipe away the dirt.
- Washable Attachments: If your attachments are washable, you can rinse them under lukewarm water. Avoid using harsh chemicals or abrasive cleaners, as they may damage the attachments. Allow them to air dry completely before storing.
- Non-Washable Attachments: Some Dyson attachments are not designed to be washed. For these attachments, use a cloth or a soft brush to carefully remove any dirt or debris. Pay attention to hard-to-reach areas and crevices.
- Deep Cleaning: For attachments with stubborn dirt or stains, you may need to perform a deep cleaning. Follow the instructions provided in the user manual or consult Dyson’s customer support for guidance.
- Regular Maintenance: It’s essential to maintain your Dyson attachments regularly. This includes checking for any blockages, ensuring that bristles are clean and not worn down, and inspecting for any loose or damaged parts.
- Storage When Wet: If you clean your attachments with water, make sure they are completely dry before storing them. Moisture can lead to mold or damage the attachments if stored improperly.
By following these cleaning instructions, you can keep your Dyson attachments clean, hygienic, and in optimal working condition. Remember to always refer to the user manual or contact Dyson’s customer support for specific cleaning guidelines for your attachments.
Choosing the Right Storage Solution
Selecting the appropriate storage solution for your Dyson attachments is vital to keep them organized and protected. Consider the following factors when choosing your storage option:
- Space Availability: Assess the space you have available for storing your Dyson attachments. Measure the dimensions of the area and consider whether you have enough room for a wall-mounted organizer, a dedicated drawer, or a storage box.
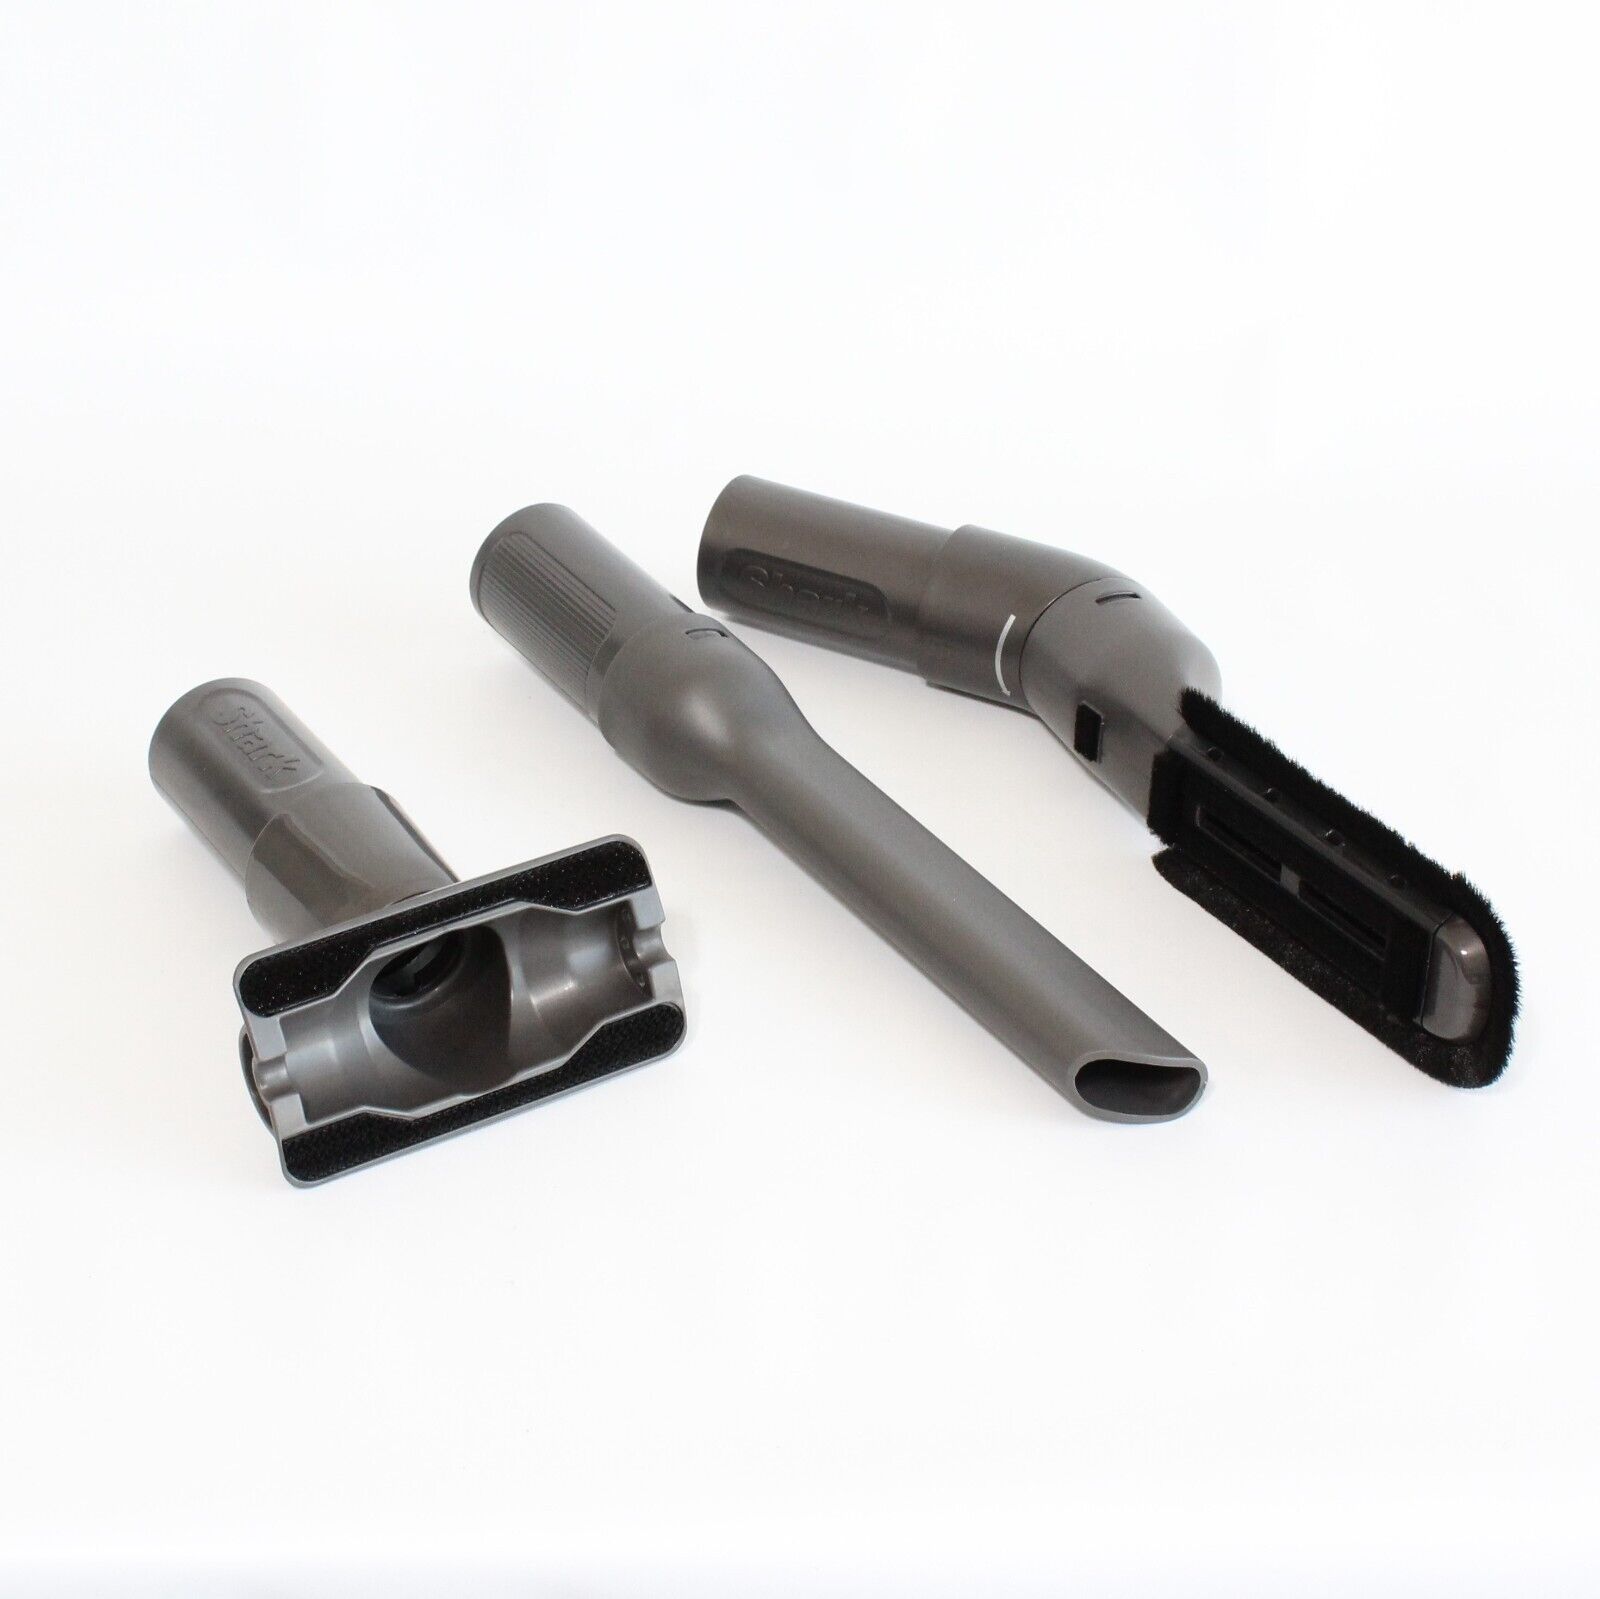
- Type of Attachments: Take into account the types and sizes of your Dyson attachments. Some attachments, like the crevice tool or brush, are longer and may require specialized storage solutions. You may need compartments or dividers to keep different attachments separate and prevent them from tangling.
- Accessibility: Choose a storage solution that allows easy access to your Dyson attachments. It should enable you to locate the desired attachment quickly without digging through a cluttered space. Consider storage options with clear lids or labeled compartments for effortless identification.
- Protection: Your storage solution should provide adequate protection for your Dyson attachments. Ensure that it safeguards them from dust, moisture, direct sunlight, or any potential damage. Look for storage options with cushioning or soft lining to protect delicate attachments.
- Portability: If you frequently move or clean various areas of your house, consider a storage solution that is portable. Opt for a bag or a caddy where you can store your attachments and carry them to different locations easily.
- Aesthetics: While functionality is crucial, it doesn’t hurt to choose a storage solution that complements your home decor. Look for options that are visually pleasing or can be easily integrated into your existing storage system.
Remember that the right storage solution may vary depending on your personal preferences and the specific attachments you have. Consider a combination of different storage solutions if necessary, such as using a wall-mounted organizer for frequently used attachments and a drawer for less frequently used ones.
By choosing the appropriate storage solution, you can keep your Dyson attachments organized, protected, and easily accessible, ensuring that they stay in excellent condition for years to come.
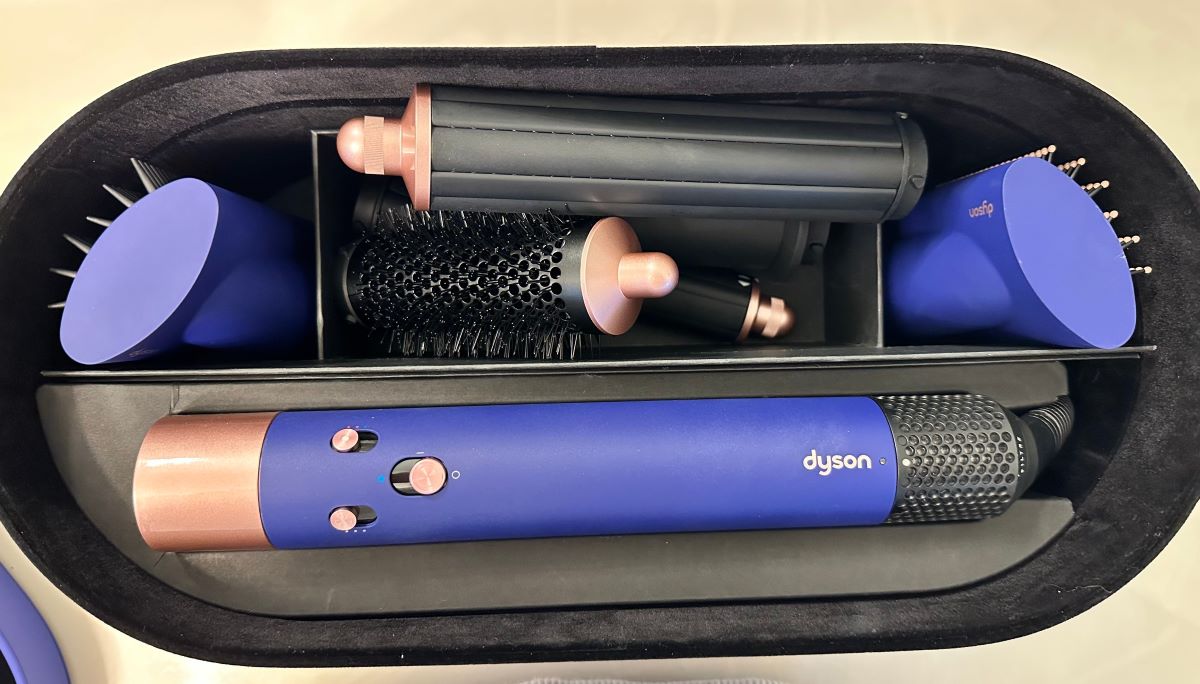
Read more: How To Store Your Dyson Airwrap
Organizing Attachments by Type or Function
Organizing your Dyson attachments by type or function is an effective way to keep them easily accessible and prevent clutter. Here are some tips for organizing your attachments:
- Categorize by Type: Group attachments together based on their type. For example, place all brush attachments in one category, crevice tools in another, and upholstery tools in a separate category. This arrangement allows you to quickly locate the specific attachment you need.
- Consider Frequency of Use: Organize your attachments based on how frequently you use them. Store frequently used attachments in a more accessible location for easy retrieval. Less frequently used attachments can be stored in a separate area to free up space for the more commonly used ones.
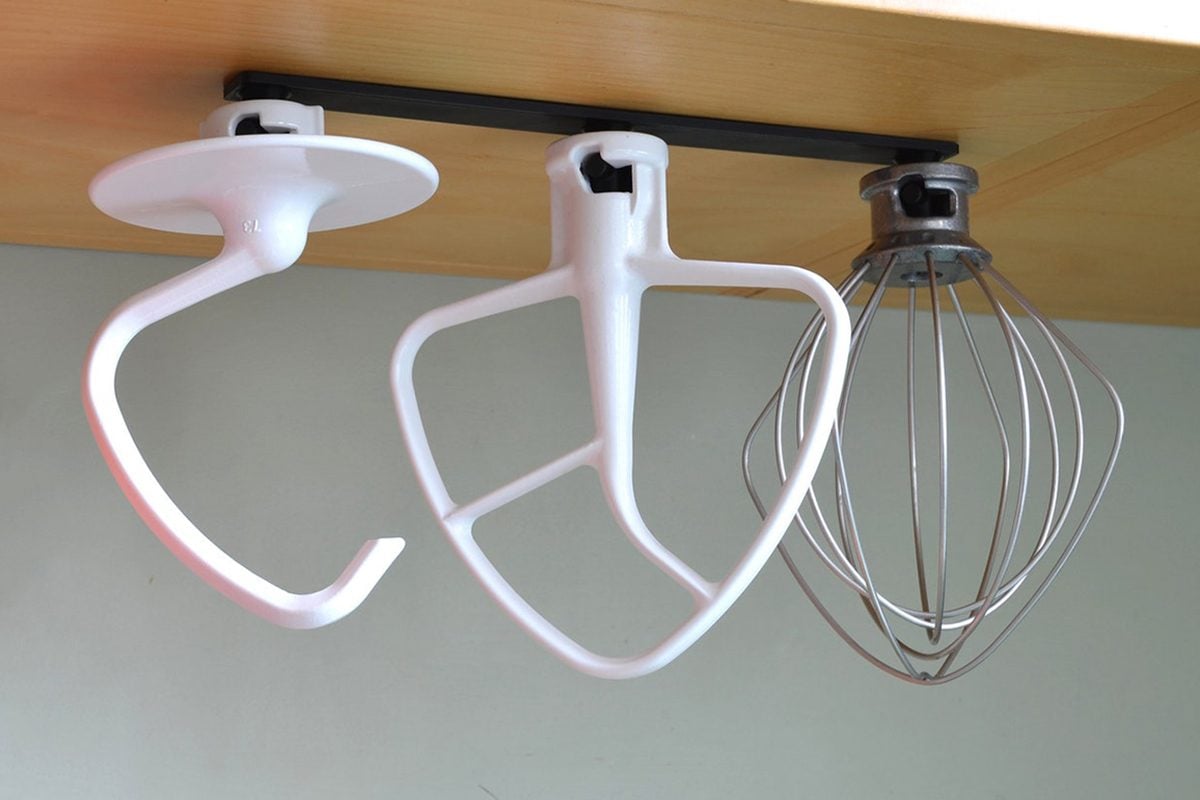
- Use Dividers or Compartments: Utilize dividers or compartments within your storage solution to keep attachments separated and prevent them from tangling. You can use small containers or boxes to create designated spaces for each attachment category.
- Labeling: Label each storage compartment or container with the name or description of the corresponding attachment. This makes it easier to identify the attachment you need without rummaging through the entire storage area.
- Create a System: Establish a consistent system for organizing your attachments. Whether it’s arranging them in alphabetical order, based on attachment size, or following a specific order that works for you, having a system in place will help you maintain a tidy and efficient storage solution.
- Consider Attachment Compatibility: Take into account the compatibility of your attachments with different Dyson vacuum models. If you have attachments that are designed for specific models, consider storing them separately or labeling them accordingly to avoid confusion.
By organizing your Dyson attachments by type or function, you can easily locate the specific attachment you need for each cleaning task. This not only saves time but also helps keep your storage area neat and clutter-free.
Remember to regularly review and adjust your organization system as your attachment collection grows or changes. This will ensure that your Dyson attachments remain well-organized and easily accessible whenever you need them.
To store Dyson attachments, consider using a designated storage container or bag to keep them organized and easily accessible. This will help prevent loss or damage to the attachments.
Keeping Attachments in a Dry and Safe Environment
Proper storage of your Dyson attachments includes keeping them in a dry and safe environment. Here are some important considerations for maintaining the condition and longevity of your attachments:
- Avoid Moisture: Moisture can lead to damage and corrosion of your Dyson attachments. Prevent exposure to damp areas, such as bathrooms or basements. Choose a storage location that is dry and well-ventilated.
- Avoid Extreme Temperatures: High temperatures can cause warping or deformation, while low temperatures can make certain materials brittle. Avoid storing attachments in areas with extreme temperature fluctuations, such as attics or garages. Opt for a storage space with stable temperature conditions.
- Protect from Sunlight: Prolonged exposure to direct sunlight can cause fading or discoloration of your attachments. Store them in a location away from windows or in a storage solution with a cover to shield them from harmful UV rays.
- Prevent Physical Damage: Choose a storage solution that provides adequate protection against physical damage. Look for options with cushioning, soft liners, or compartments that keep attachments securely in place to prevent them from banging or shifting during storage.
- Keep Away from Chemicals: Avoid storing attachments near harsh chemicals or cleaning agents. These substances can potentially cause damage or deterioration of the materials used in your Dyson attachments. Store them in a separate location to prevent any accidental exposure.
- Secure Storage: Ensure that your chosen storage solution is stable and secure. This will prevent accidental falls or damage to your attachments. If you have young children or pets, consider storing the attachments in a locked or elevated location to prevent them from tampering or potential accidents.
By providing a dry and safe environment for your Dyson attachments, you can protect them from potential damage and ensure that they remain in optimal condition. Regularly inspect the storage area and attachments for any signs of moisture, damage, or deterioration, and take appropriate action if needed.
Remember that proper storage and environmental conditions are essential for maintaining the functionality and longevity of your Dyson attachments.
Avoiding Tangling and Damage
Preventing tangling and damage to your Dyson attachments is crucial for maintaining their effectiveness and prolonging their lifespan. Here are some tips to help you avoid these issues:
- Proper Coiling: For attachments with flexible hoses, such as the extension wand or long reach hose, coil them up neatly instead of folding or twisting. This helps prevent kinks and tangling that can affect their functionality.
- Secure Attachment Connections: Ensure that the attachments are securely connected to your Dyson vacuum cleaner when in use and when stored. Loose attachments are more likely to become tangled or damaged during storage.
- Use Cable Ties or Velcro Straps: For long attachments, such as the hose or power cord, use cable ties or Velcro straps to secure them and prevent tangling. This also keeps them neatly organized within the storage solution.
- Avoid Overstuffing: Avoid overcrowding the storage area or compartments with too many attachments. Overstuffing can lead to tangling, entanglement, or damage. Leave enough space for each attachment to prevent them from being compressed or tangled with each other.
- Separate Attachments: Keep attachments separated from each other to avoid entanglement. Use dividers, compartments, or individual containers to provide a designated space for each attachment, preventing them from coming into contact with one another.
- Choose a Suitable Storage Solution: Select a storage solution that is designed to keep attachments organized and prevent tangling. Look for options that offer compartments or dividers specifically designed for the attachments you have.
- Inspect for Damage: Regularly inspect your attachments for any signs of wear and tear, such as frayed cables, broken bristles, or loose parts. Address any issues promptly, either by repairing or replacing the attachments to prevent further damage or tangling.
By following these tips, you can maintain the integrity of your Dyson attachments and prevent tangling and damage during storage. Properly storing and handling your attachments ensures that they remain in excellent condition for optimal cleaning performance.
Labeling and Documenting Attachment Storage
Labeling and documenting the storage of your Dyson attachments can greatly enhance organization and convenience. Here are some tips for effectively labeling and documenting your attachment storage:
- Label the Storage Solution: Use labels or tags to clearly identify the storage solution itself, whether it’s a drawer, box, or wall-mounted organizer. This makes it easier to locate the specific storage area for your attachments.
- Label Compartments or Dividers: If you have divided your storage solution into compartments or utilized dividers, label each section accordingly. This allows you to quickly identify which attachment category is stored in each compartment.
- Use Descriptive Labels: Ensure that your labels provide enough information to identify the attachments. Use descriptive names or include the function of the attachment on the label. This helps you easily locate the specific attachment you need.
- Consider Color-Coding: If you have multiple Dyson vacuum cleaners or a large collection of attachments, consider using a color-coding system. Assign each vacuum cleaner or category of attachments a specific color, and use color-coded labels or tags to make identification even easier.
- Create an Inventory List: Document all of your Dyson attachments in an inventory list. Include the name of each attachment, its function, and the location where it is stored. This list can serve as a reference guide to quickly find the attachment you need.
- Take Photos: Another helpful method is to take photos of your attachments and their corresponding storage locations. This visual reference can make it easier to identify specific attachments and ensure they are returned to the correct storage area after use.
- Update and Review: Regularly update and review your labeling and documentation system. As you add new attachments or make changes to your storage solution, make sure to reflect those updates in your labels, inventory list, and photos.
By labeling and documenting the storage of your Dyson attachments, you can quickly locate the specific attachment you need and maintain an organized and efficient system. It eliminates the guesswork and saves you time when searching for the right attachment for your cleaning tasks.
Remember to keep your labeling and documentation system consistent and clear, ensuring that it works for your specific needs and makes the process of storing and retrieving your Dyson attachments as seamless as possible.
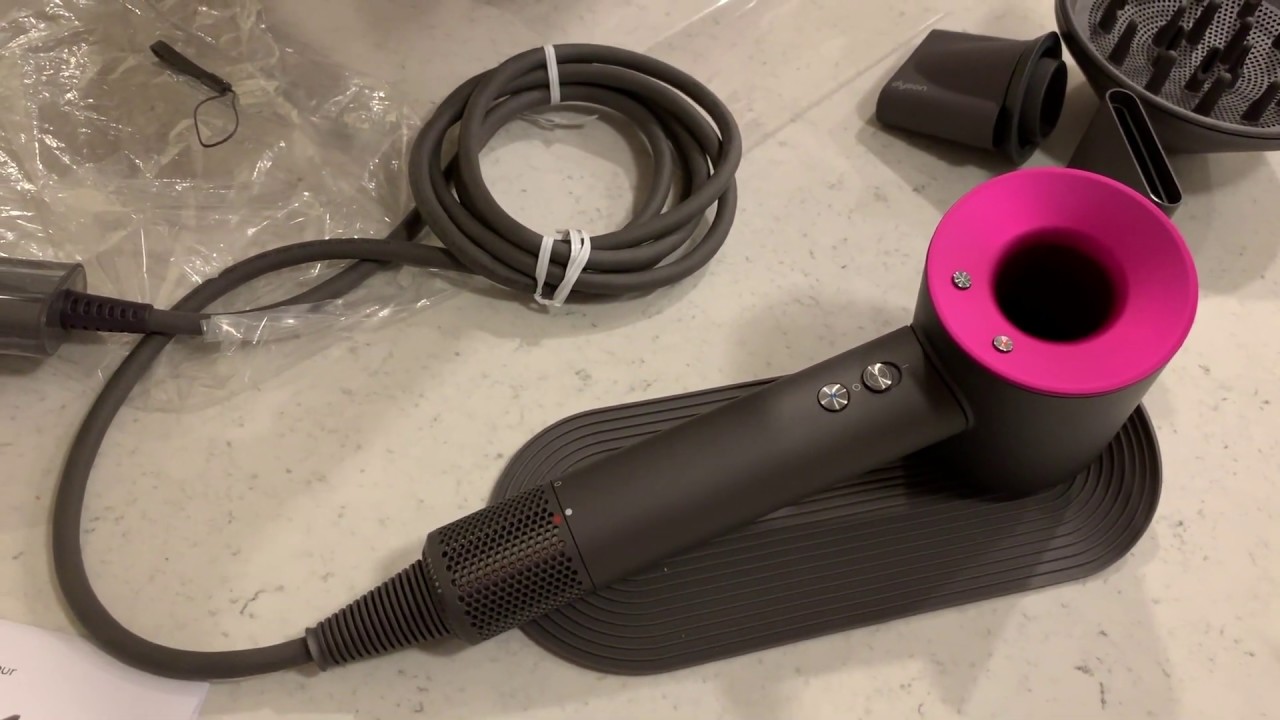
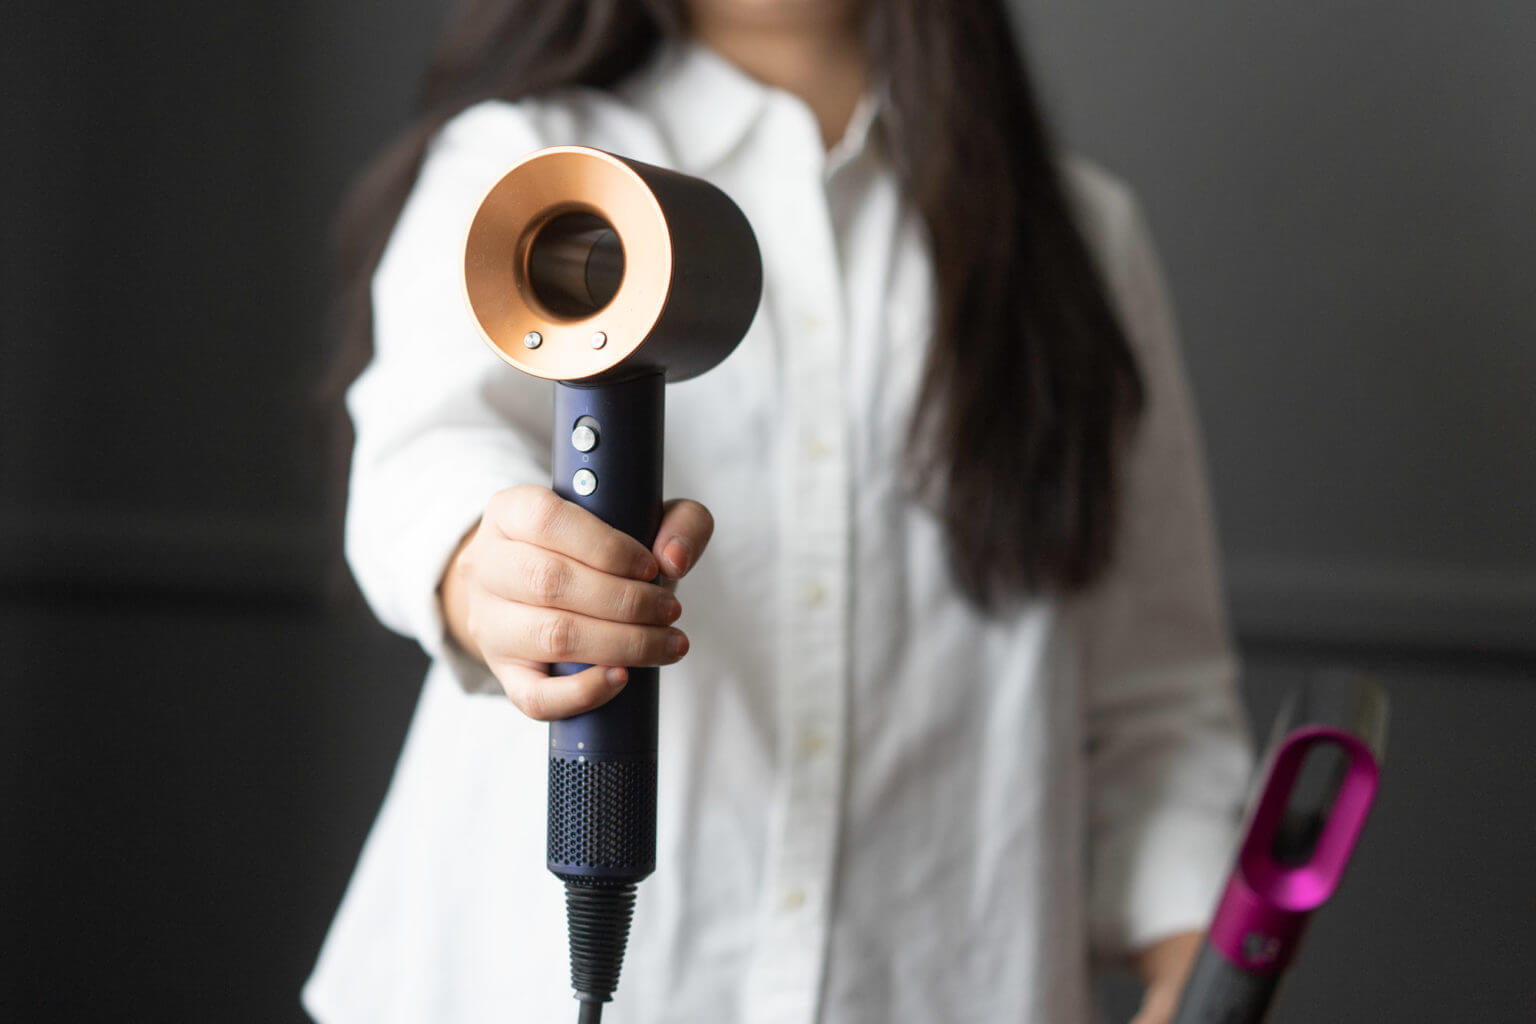
Read more: How To Store Dyson Hair Dryer
Regular Maintenance and Inspection of Attachments
Regular maintenance and inspection of your Dyson attachments are essential for ensuring their continued functionality and longevity. Here are some tips for keeping your attachments in excellent condition:
- Periodic Cleaning: Regularly clean your Dyson attachments to remove dirt, debris, and any blockages. Follow the manufacturer’s cleaning instructions for each specific attachment to maintain their performance.
- Inspect for Wear and Tear: Routinely inspect your attachments for any signs of wear and tear. Check for loose parts, frayed cables, worn-down bristles, or any other damage that may affect their performance. Address any issues promptly.
- Tighten Loose Connections: Check the connections between the attachments and your Dyson vacuum cleaner. If any connections are loose, tighten them to ensure a secure fit. Loose connections can affect the suction power and overall performance of your vacuum.
- Address Blockages: Check for and remove any blockages in the attachments, such as hair, debris, or clogs. Blocked attachments can compromise the airflow and reduce the effectiveness of your vacuum cleaner.
- Test Functionality: Periodically test the functionality of your attachments. Ensure that brushes rotate smoothly, hoses are flexible, and attachments are easy to attach and detach from the vacuum cleaner.
- Follow Maintenance Schedule: Consult the Dyson user manual or their website for recommended maintenance schedules for your specific attachments. Some attachments may require more frequent cleaning or servicing than others, so it’s important to follow the recommended guidelines.
- Contact Customer Support: If you encounter any issues or have concerns about the performance of your attachments, reach out to Dyson’s customer support. They can provide guidance, troubleshooting tips, or recommendations for repairs or replacements.
By regularly maintaining and inspecting your Dyson attachments, you can detect and address any issues promptly, ensuring that they continue to perform at their best. This practice helps to prolong their lifespan and optimize your cleaning experience.
Make it a habit to incorporate attachment maintenance into your regular vacuuming routine. By doing so, you can enjoy the full benefits of your Dyson vacuum cleaner and its attachments for years to come.
Conclusion
Properly storing and maintaining your Dyson attachments is crucial for preserving their functionality, protecting them from damage, and extending their lifespan. By following the tips outlined in this article, you can ensure that your attachments remain organized, easily accessible, and in excellent condition.
Cleaning your attachments regularly and following Dyson’s cleaning instructions is essential to remove dirt and debris, preventing cross-contamination during storage. Choosing the right storage solution based on space availability, attachment type, and accessibility ensures that your attachments are protected and well-organized.
Organizing attachments by type or function, using dividers or compartments, and labeling storage areas help you easily locate the specific attachment you need for each cleaning task. Keeping attachments in a dry and safe environment, away from moisture, extreme temperatures, and direct sunlight, prevents damage and prolongs their lifespan.
Preventing tangling and damage by proper coiling, securing attachment connections, and avoiding overstuffing ensures that your attachments remain in optimal condition. Labeling and documenting your attachment storage with descriptive labels, inventory lists, and photos aid in quick identification and organization.
Regular maintenance and inspection of your attachments, including cleaning, inspecting for wear and tear, and testing functionality, is vital to keep them performing at their best. Addressing any issues promptly and following recommended maintenance schedules ensures their longevity.
In conclusion, investing time and effort in properly storing and maintaining your Dyson attachments will pay off in the long run. By following the guidelines provided in this article, you can enjoy the convenience and efficiency of your Dyson vacuum cleaner for years to come, with attachments that are always ready for any cleaning task.
Now that you've got the scoop on keeping Dyson attachments tidy and functional, why stop there? Spruce up your storage game across the board with our guide on choosing perfect fabric storage cubes. These versatile organizers not only tidy up spaces but also elevate your home’s overall aesthetic. Dive into our detailed insights and transform clutter into neat, visually appealing arrangements. After all, smart storage solutions extend beyond just vacuum accessories!
Frequently Asked Questions about How To Store Dyson Attachments
Was this page helpful?
At Storables.com, we guarantee accurate and reliable information. Our content, validated by Expert Board Contributors, is crafted following stringent Editorial Policies. We're committed to providing you with well-researched, expert-backed insights for all your informational needs.


0 thoughts on “How To Store Dyson Attachments”