Articles
How To Clean Dyson Fan
Modified: October 19, 2024
Learn effective ways to clean your Dyson fan with these helpful articles. Keep your fan running smoothly and efficiently!
(Many of the links in this article redirect to a specific reviewed product. Your purchase of these products through affiliate links helps to generate commission for Storables.com, at no extra cost. Learn more)
Introduction
Welcome to the comprehensive guide on how to clean your Dyson fan. Over time, dust, dirt, and debris can accumulate on your fan, affecting its performance and potentially reducing its lifespan. By regularly cleaning your Dyson fan, you can ensure that it continues to provide you with clean and refreshing air. In this article, we will walk you through the step-by-step process of cleaning your Dyson fan, from gathering the necessary materials to reassembling the fan after cleaning.
Dyson fans are known for their innovative design and powerful airflow. Whether you have a tower fan or a desk fan, the cleaning process remains largely the same. By following these simple steps, you can maintain your fan’s efficiency and keep the air in your home clean and fresh.
Before we dive into the cleaning process, it is important to gather all the necessary materials. Having these items ready will make the cleaning process more efficient and ensure that you have everything needed to get the job done properly.
Key Takeaways:
- Regularly cleaning your Dyson fan with simple household items like a vacuum cleaner, soft cloth, and mild dish soap can maintain its efficiency and provide clean, refreshing air in your home.
- Following the step-by-step cleaning process, including dismantling, vacuuming, and reassembling, ensures that your Dyson fan operates smoothly and continues to circulate clean air for years to come.
Read more: How To Reset Filter On Dyson Fan
Step 1: Gather Necessary Materials
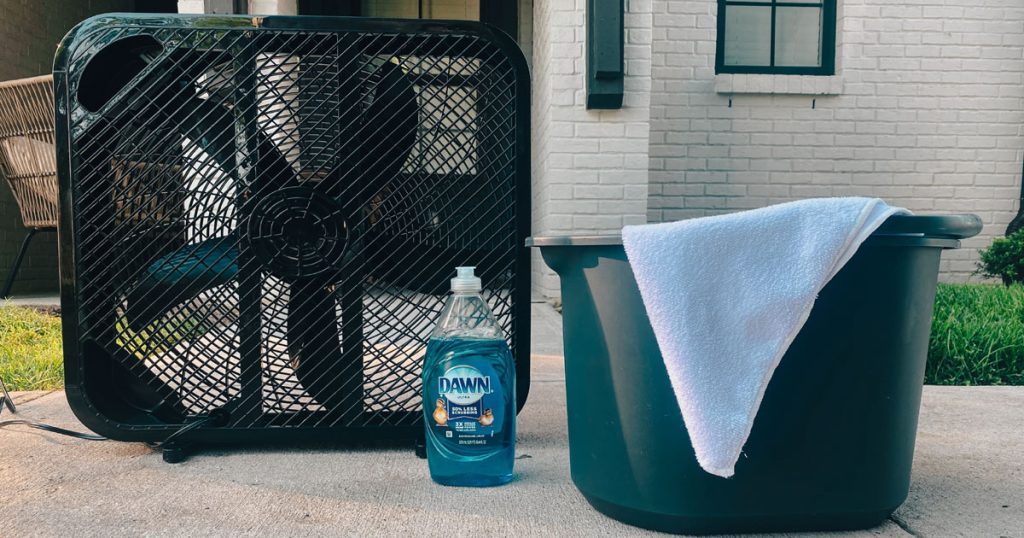
Before you begin cleaning your Dyson fan, it’s important to gather all the necessary materials to ensure a thorough and effective cleaning process. Here are the items you will need:
- Vacuum Cleaner: A vacuum cleaner with a brush attachment will be useful for removing loose debris and dust from your Dyson fan.
- Soft Cloth or Microfiber Cloth: A soft cloth or microfiber cloth will be used to wipe down and clean the various parts of the fan.
- Dish Soap: Mild dish soap mixed with water will be used to clean the fan blades and other parts of the fan.
- Water: You will need water to mix with the dish soap for cleaning purposes.
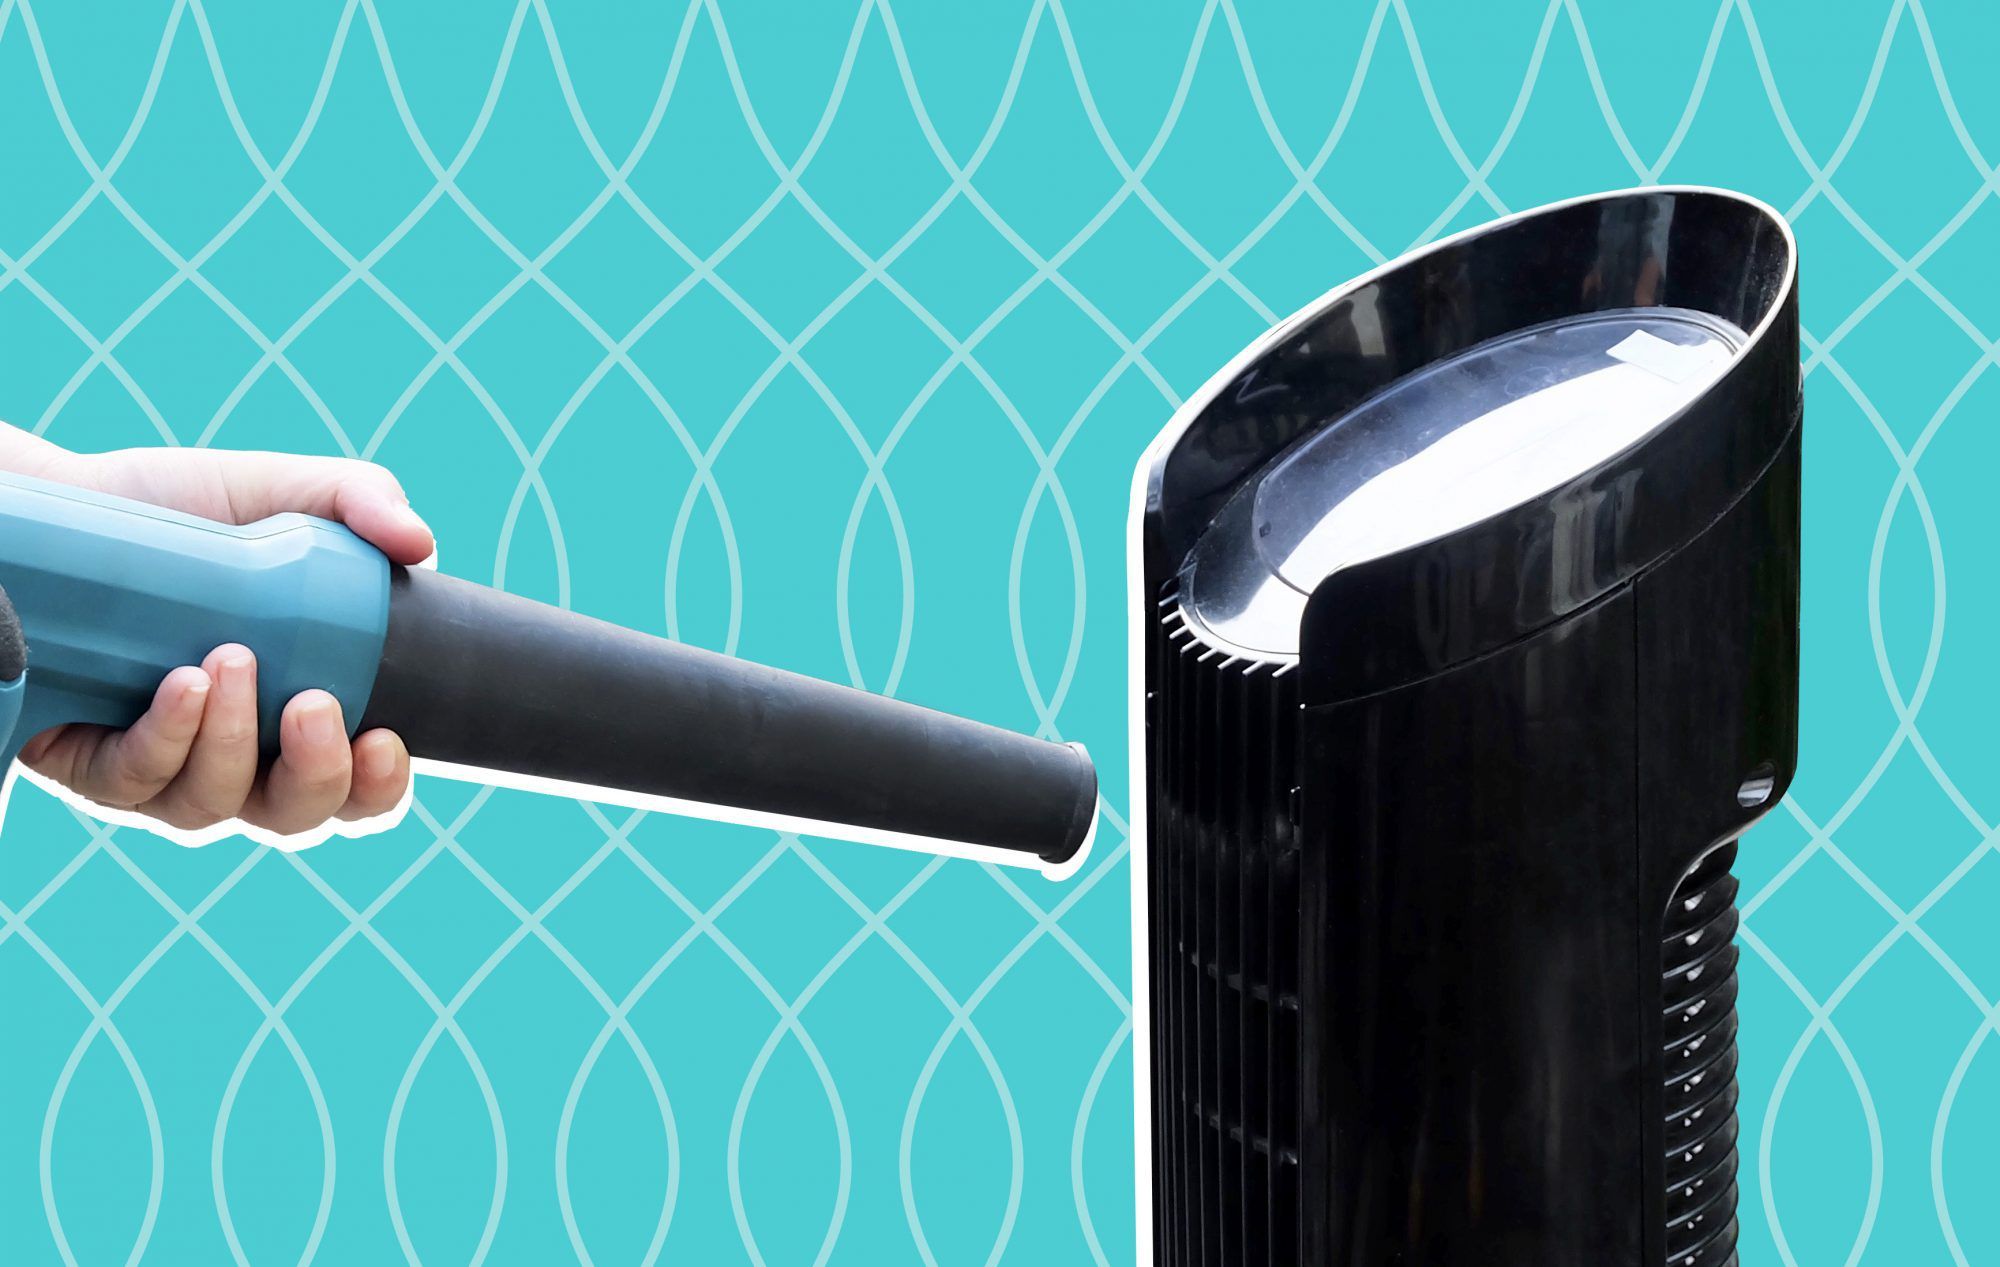
- Compressed Air Canister (Optional): If you have access to a compressed air canister, it can be used to blow away stubborn dust from hard-to-reach areas of the fan.
- Soft Brush (Optional): A soft brush, such as a paintbrush or makeup brush, can be used to gently remove dust from delicate parts of the fan.
Once you have gathered all these materials, you will be ready to start the cleaning process. Having all the necessary supplies on hand will make the process smoother and more efficient.
Step 2: Unplug the Dyson Fan
Prior to cleaning your Dyson fan, it is crucial to ensure that it is completely powered off and unplugged from the electrical outlet. This step is essential to prevent any accidents or injuries during the cleaning process. Here is a step-by-step guide on how to safely unplug your Dyson fan:
- Locate the power cord of your Dyson fan. It is usually located at the base or back of the fan.
- Gently pull the power cord out of the electrical outlet. Make sure to hold onto the plug itself rather than tugging on the cord, as this can help prevent any damage to the cord.
- Inspect the power cord for any signs of damage, such as frayed wires or exposed insulation. If you notice any damage, it is important to refrain from using the fan and get the cord repaired or replaced by a professional.
By following these steps, you can ensure that your Dyson fan is completely disconnected from the power source, guaranteeing your safety throughout the cleaning process. Now that your fan is unplugged, you can proceed to the next steps to dismantle and clean the different parts of the fan.
Step 3: Dismantle the Fan Cage
Once your Dyson fan is safely unplugged, it’s time to dismantle the fan cage. Dismantling the fan cage will allow you to access the fan blades and clean them thoroughly. Follow these steps to dismantle the fan cage:
- Locate the screws or fasteners that hold the fan cage in place. These are usually located around the perimeter of the fan cage.
- Using the appropriate screwdriver or tool, carefully remove the screws or fasteners. Place them in a safe location to avoid misplacing them.
- Gently lift off the fan cage from the base or stand of the Dyson fan. Be cautious not to force it or apply excessive pressure, as this could damage the fan.
- Set the fan cage aside in a safe and clean area to prevent it from getting dirty while you clean the other components.
By following these steps, you can easily dismantle the fan cage and prepare it for cleaning. Remember to handle the fan cage with care to avoid any accidental damage. Now that the fan cage is removed, you can proceed to the next step to clean the fan blades.
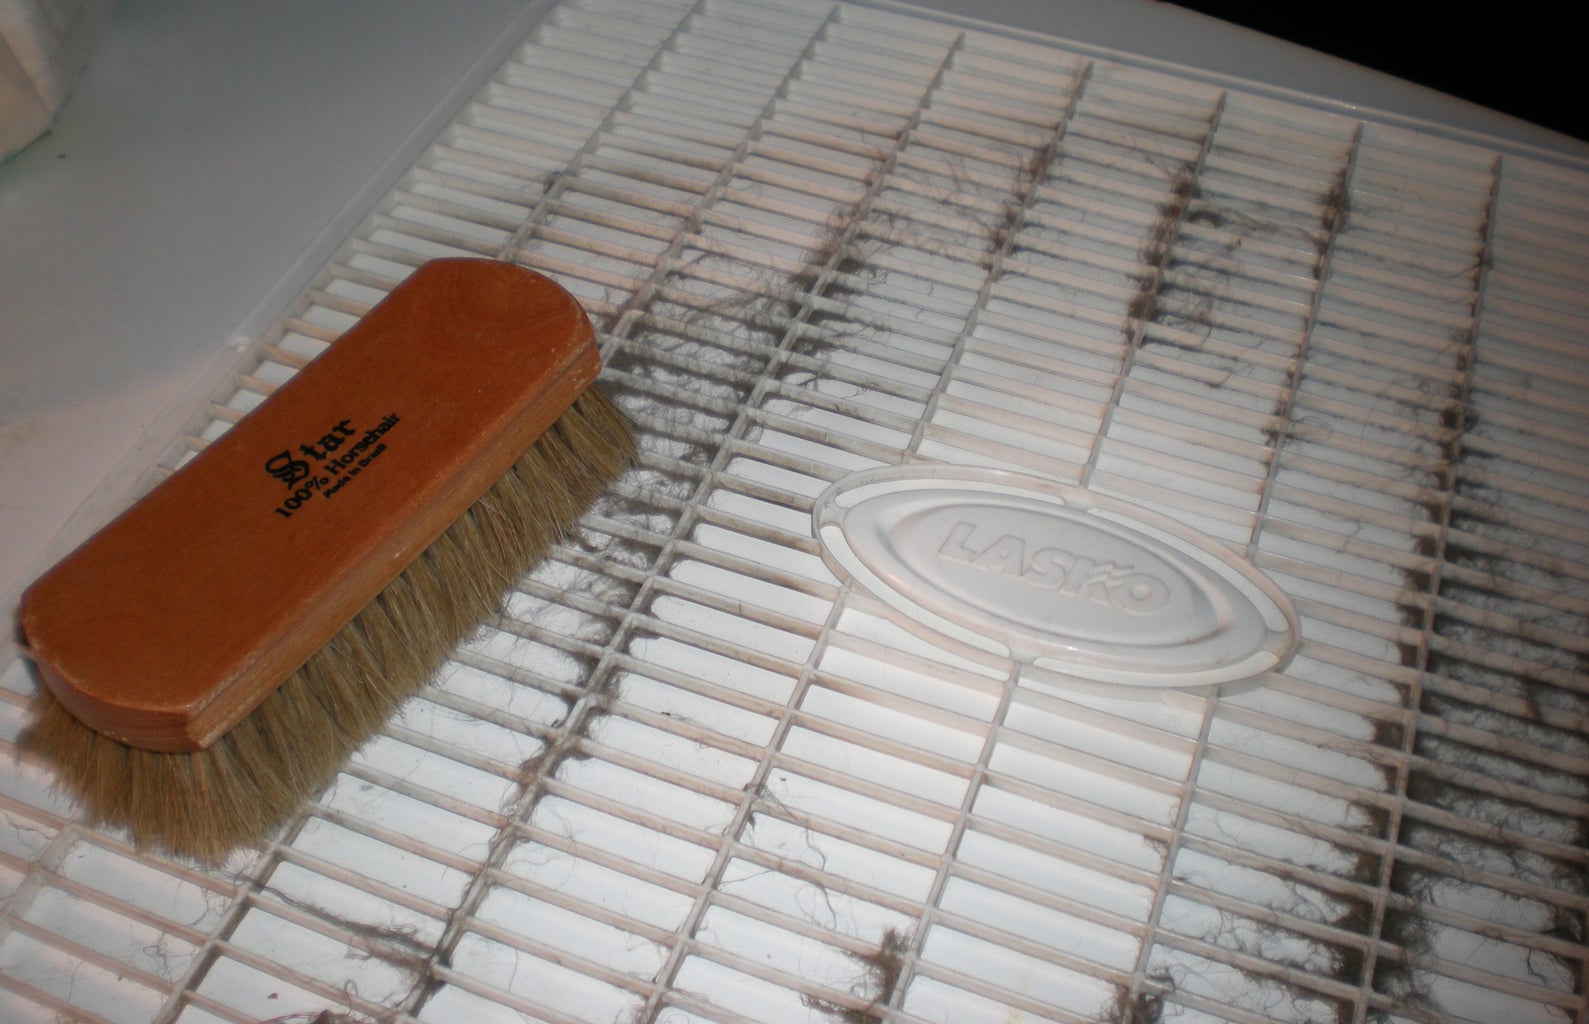
Step 4: Vacuum the Fan Cage
Now that you have dismantled the fan cage, it’s time to remove any loose dust and debris that may have accumulated inside. Vacuuming the fan cage will help ensure a thorough cleaning. Follow these steps to vacuum the fan cage:
- Attach the brush attachment to your vacuum cleaner. This attachment is ideal for cleaning delicate surfaces like the fan blades.
- Turn on the vacuum cleaner and adjust the suction power to a medium setting. High suction can potentially damage the fan blades, while low suction may not effectively remove dirt and dust.
- Starting from the top of the fan cage, slowly move the brush attachment across the surface, making sure to cover all areas. Use gentle, overlapping strokes to capture as much dust as possible.
- Pay extra attention to the edges and corners of the fan cage, as these areas tend to accumulate more dust. Use the brush attachment to reach tight spots if necessary.
- Continue vacuuming until you have removed all visible dust and debris from the fan cage.
By vacuuming the fan cage, you can effectively remove loose dirt and dust, preparing it for a more thorough cleaning. Vacuuming is particularly useful for capturing small particles that may be hard to reach with other cleaning methods. Once you are satisfied with the vacuuming, you can proceed to the next step and clean the fan blades.
Read also: 14 Best Dyson Fan for 2025
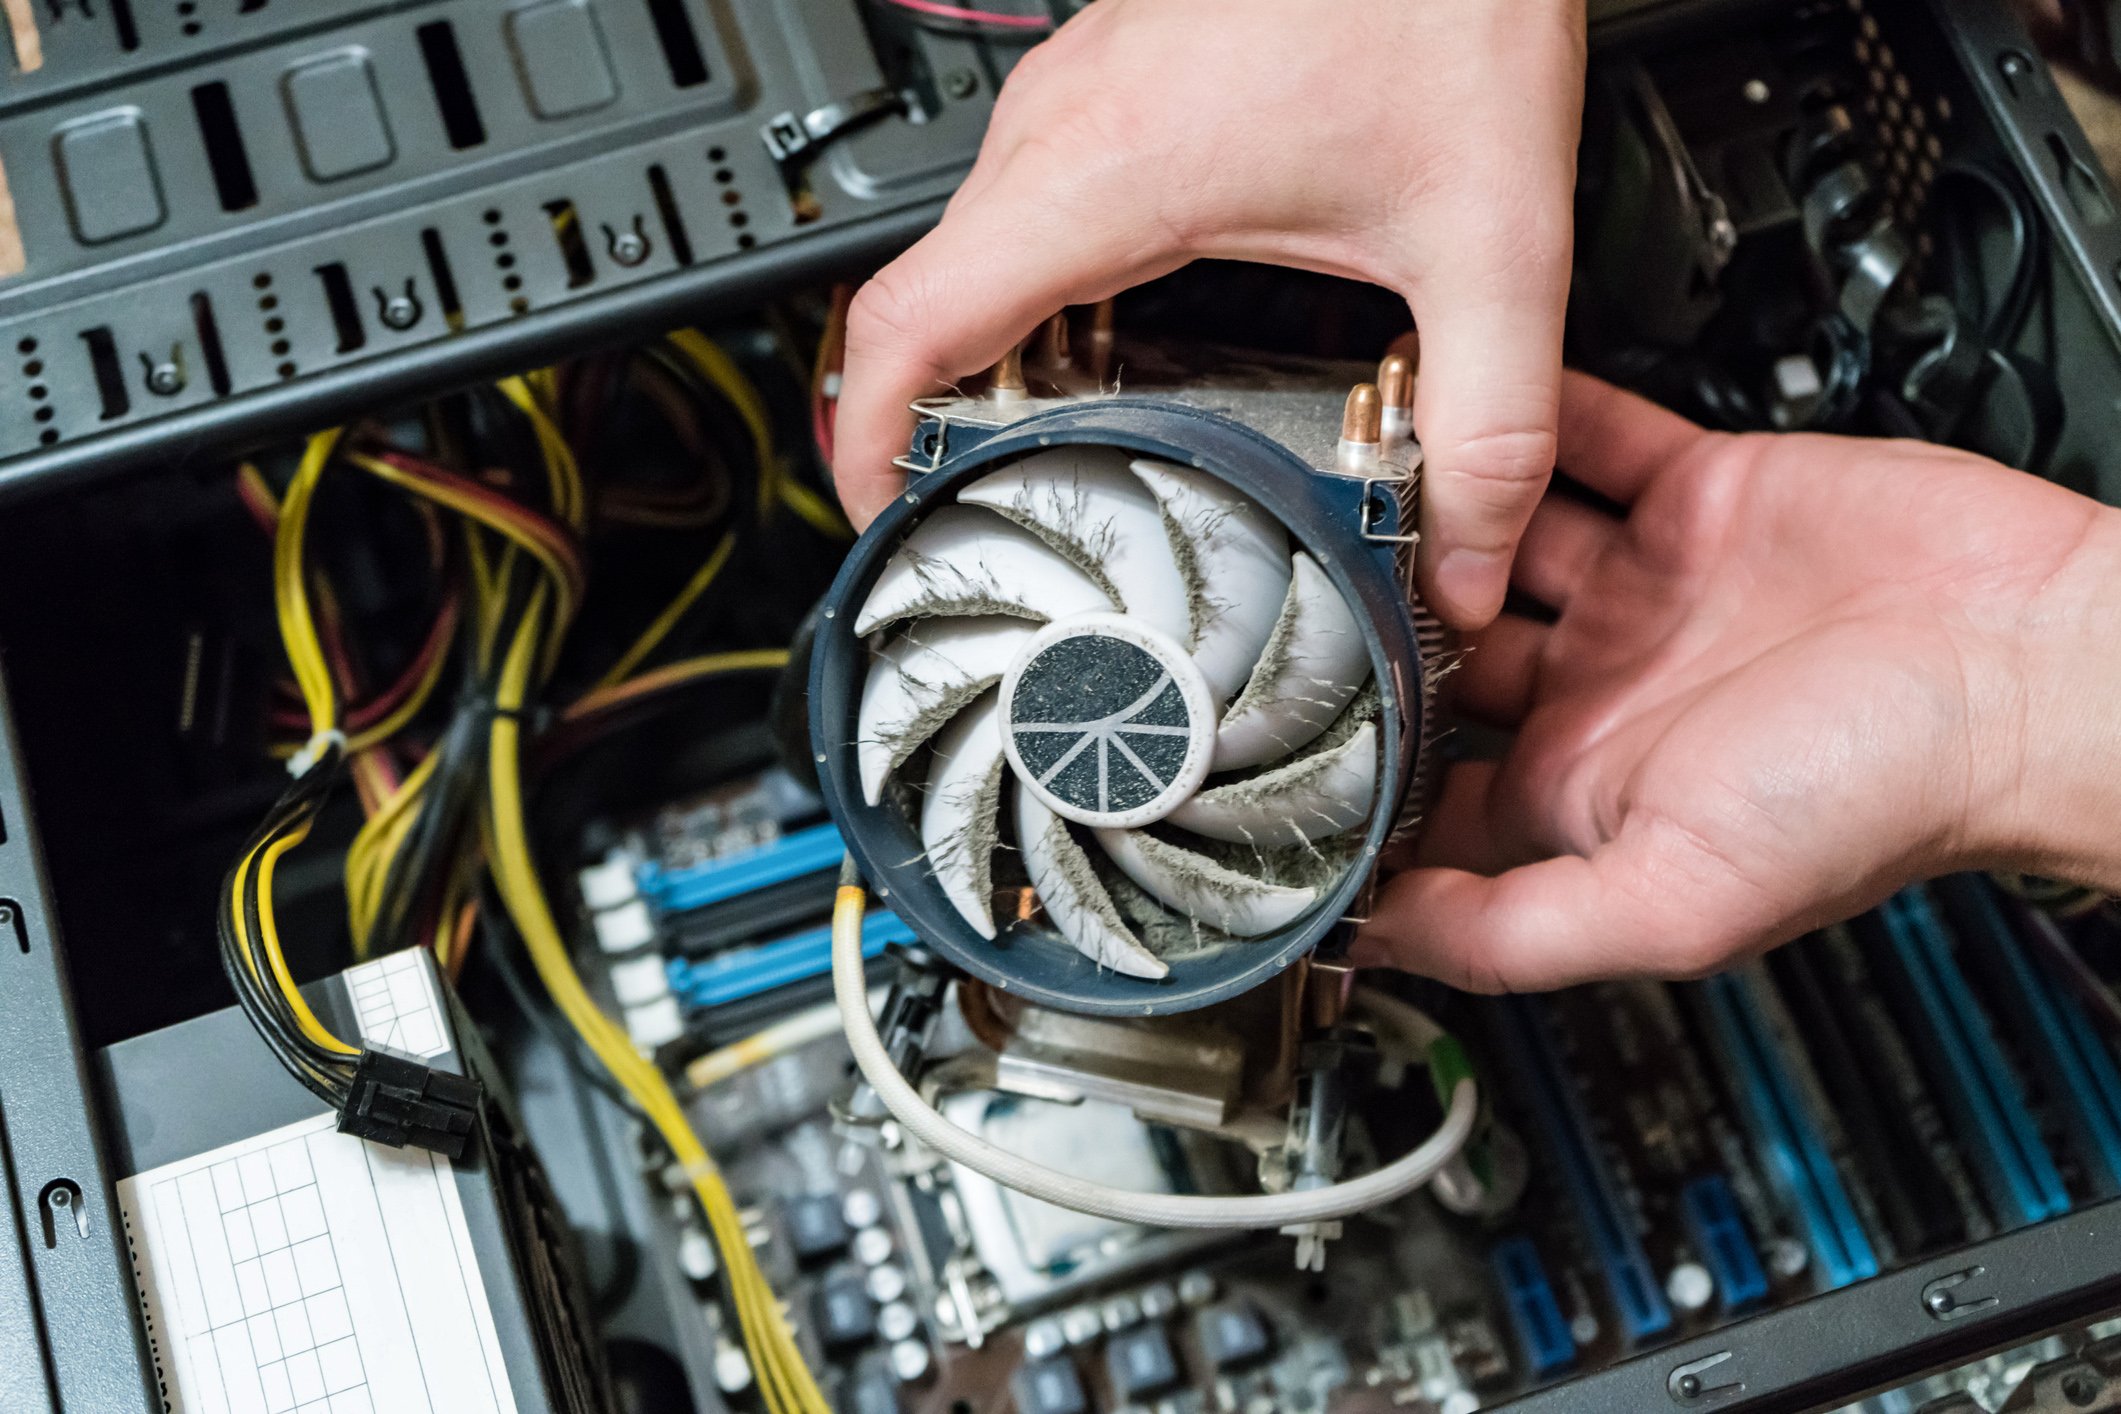
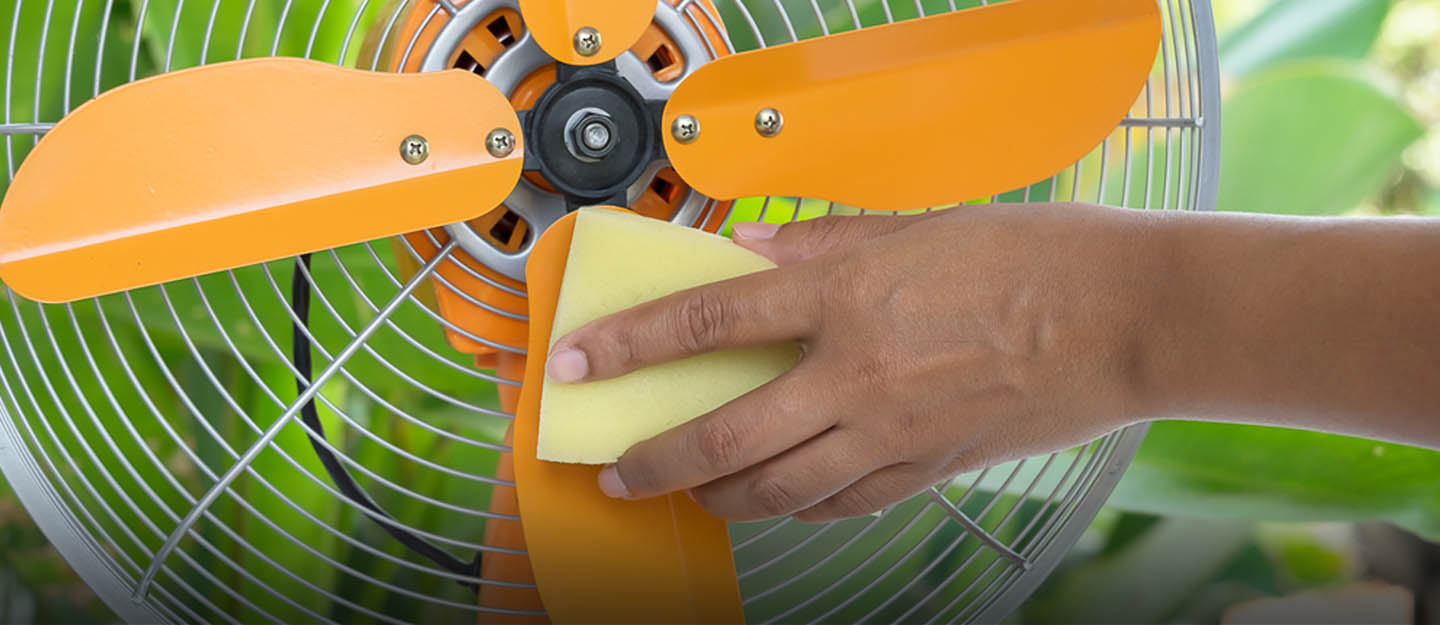
Step 5: Clean the Fan Blades
With the fan cage vacuumed and free of loose dust and debris, it’s time to focus on cleaning the fan blades themselves. The fan blades are responsible for circulating air, so keeping them clean is essential for optimal fan performance. Follow these steps to clean the fan blades:
- Fill a bucket or sink with warm water and add a few drops of mild dish soap. Mix the soap and water to create a soapy solution.
- Dip a soft cloth or microfiber cloth into the soapy solution. Make sure the cloth is damp but not dripping wet.
- Gently wipe each fan blade, starting from the base and moving towards the tip. Use gentle, circular motions to remove any dirt or grime from the blades.
- If the fan blades have stubborn dirt or residue, you can use a soft brush, like a paintbrush or makeup brush, to gently scrub the affected area. Be careful not to apply excessive force that could damage the blades.
- Rinse the cloth in clean water and wring out excess moisture. Use the damp cloth to wipe off any soap residue from the fan blades.
It is important to avoid getting the fan blades overly wet as this could damage the electronic components of the fan. Ensure that the cloth is only damp and not dripping wet to prevent water from seeping into the fan motor. Once you have cleaned all the fan blades, set them aside to dry completely before reassembling the fan.
Cleaning the fan blades will remove any dirt or buildup that can affect the performance of the fan. By ensuring that the blades are clean and free from debris, you can maintain a steady and powerful airflow. With the fan blades cleaned, you can move on to the next step and clean the air intake grille.
To clean a Dyson fan, start by unplugging it and wiping the exterior with a damp cloth. Use a soft brush or compressed air to remove dust from the vents and grille. Clean the filter according to the manufacturer’s instructions.
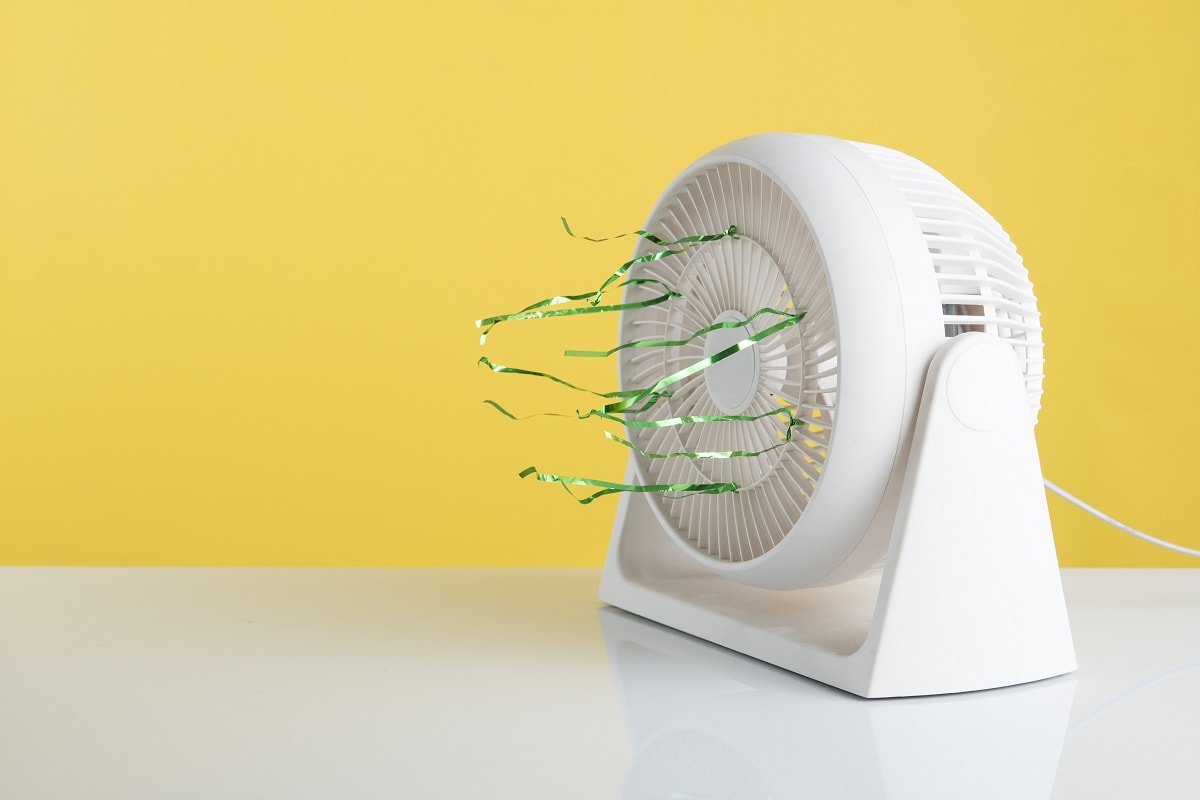
Step 6: Clean the Air Intake Grille
As you continue to clean your Dyson fan, it is essential to pay attention to the air intake grille. The air intake grille is responsible for drawing air into the fan and can accumulate dust and debris over time. Follow these steps to clean the air intake grille:
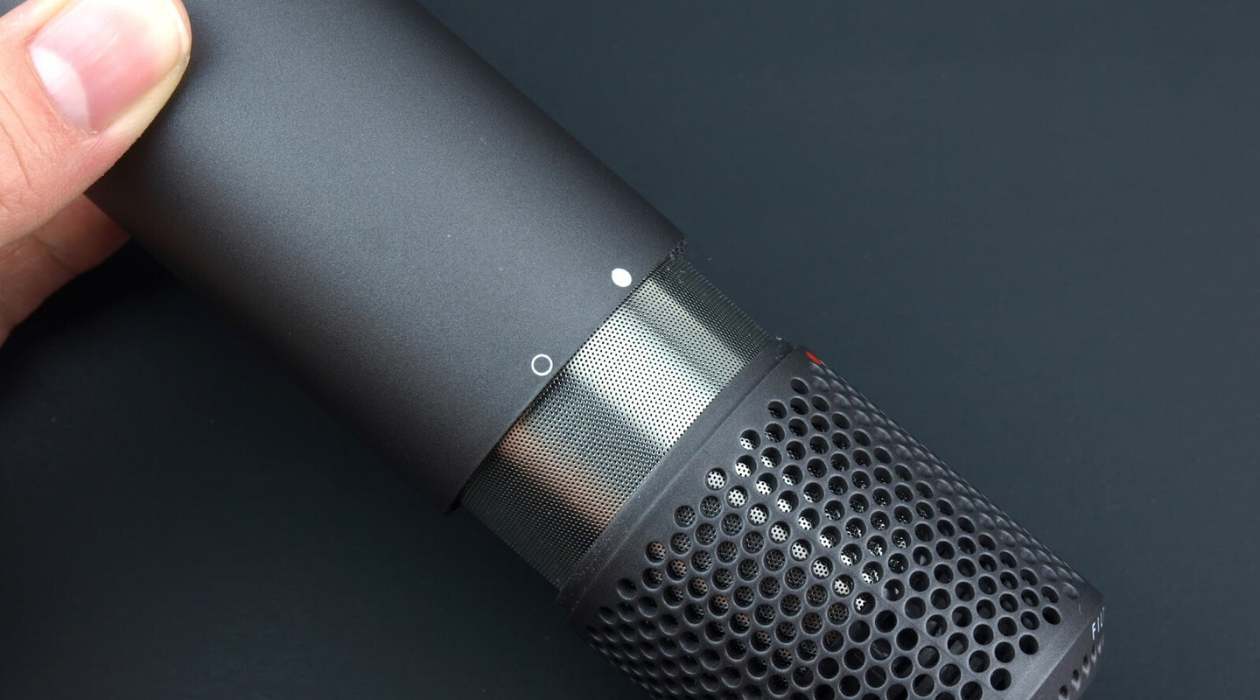
- Using a soft cloth or microfiber cloth, gently wipe the exterior of the air intake grille to remove any loose dust or debris.
- If the dust is stubborn or the grille has visible buildup, you can use a soft brush, such as a toothbrush or paintbrush, to loosen the dirt. Be gentle to avoid damaging the grille.
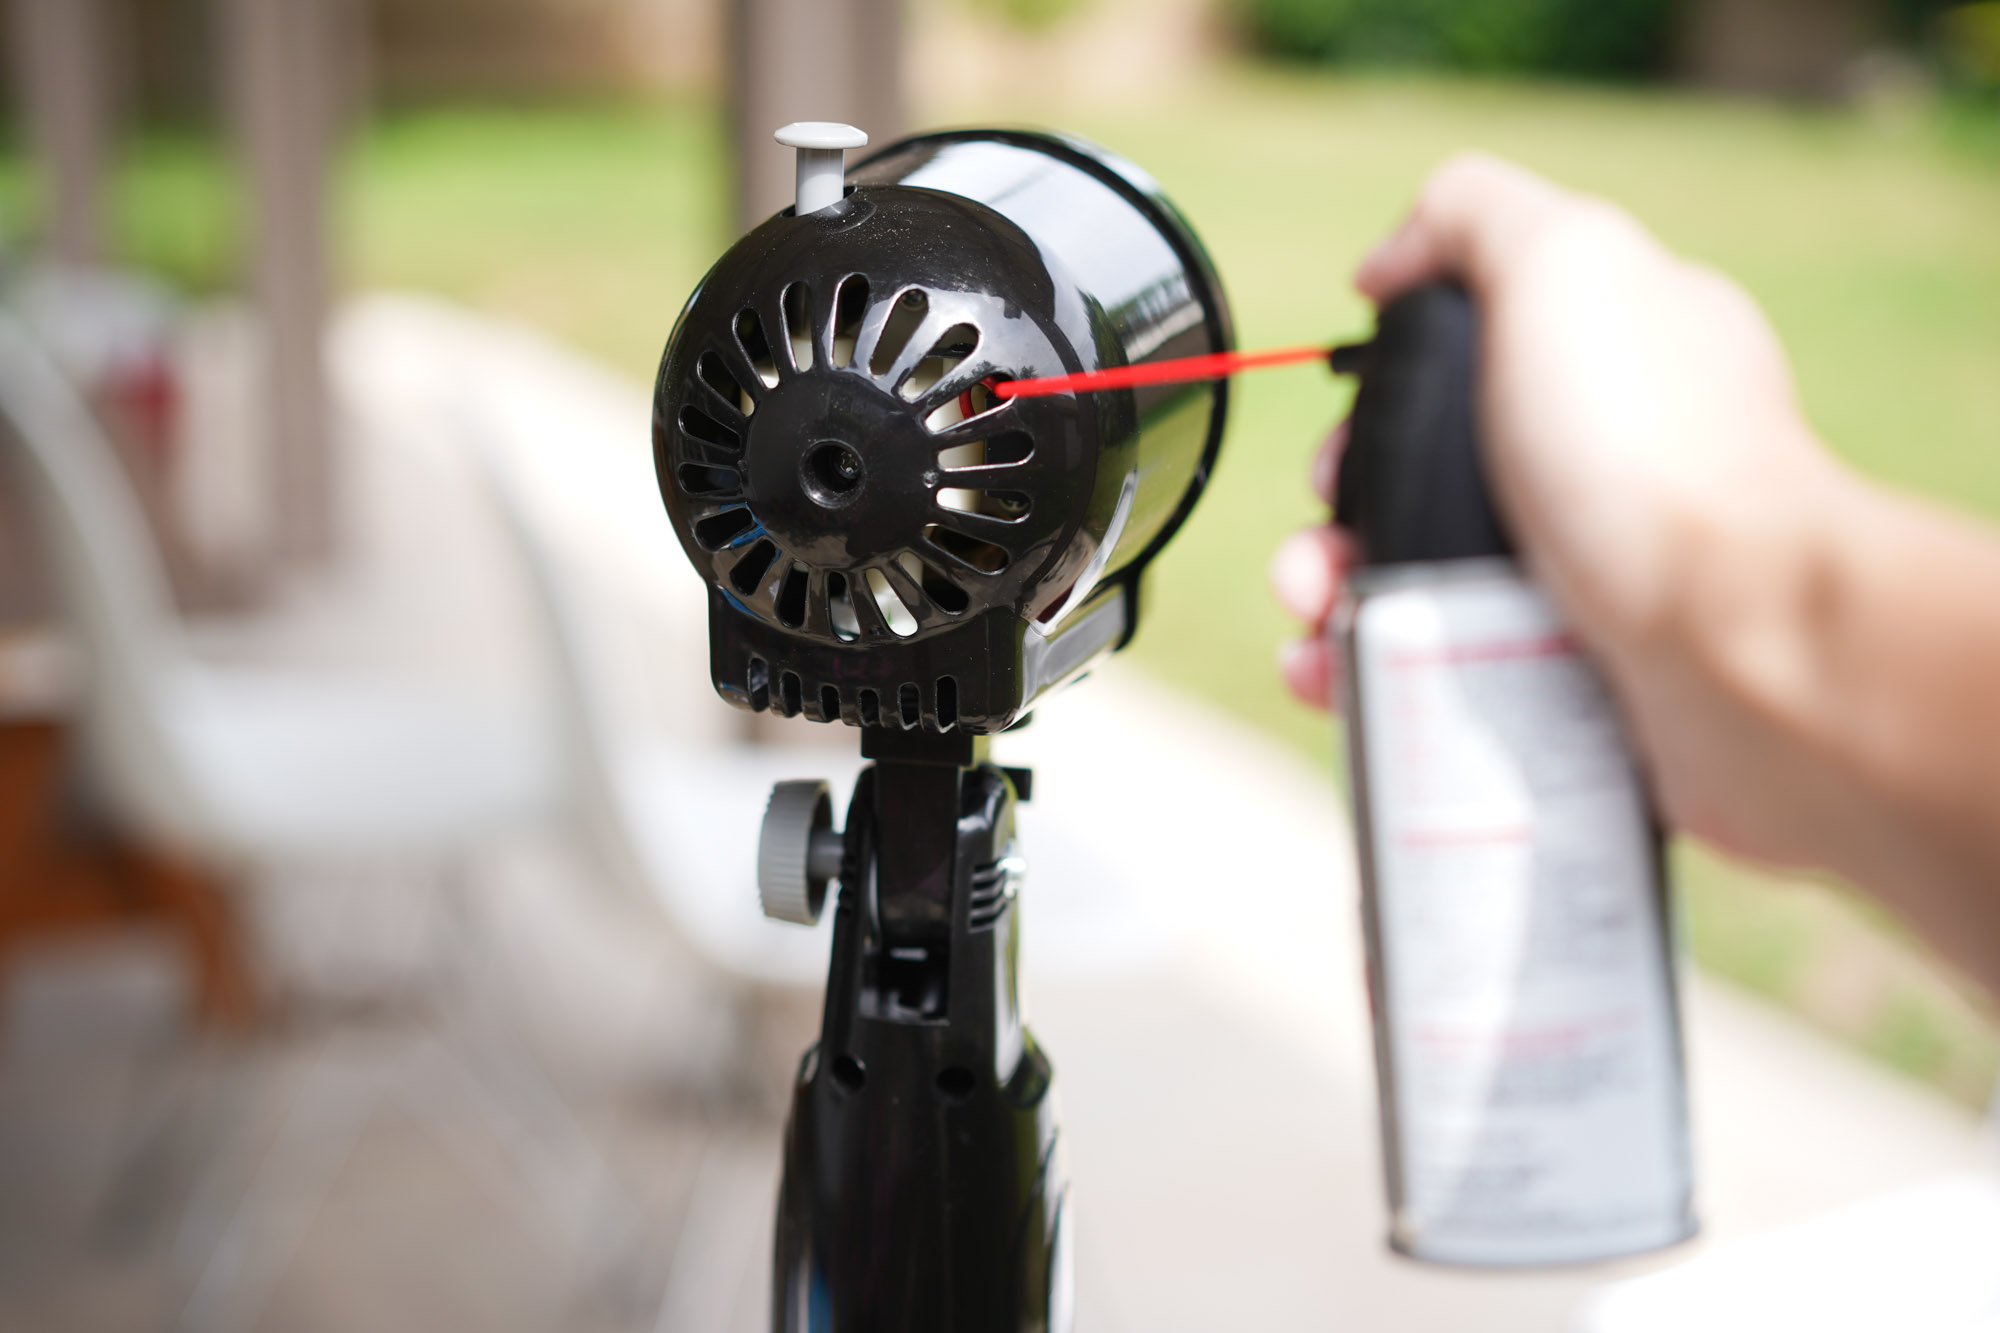
- For a more thorough cleaning, you can use a can of compressed air to blow away any remaining dust or debris from the air intake grille. Hold the can upright and use short bursts to avoid excessive force.
- After using the compressed air, wipe the grille once again with a cloth to remove any dislodged dust.
It’s important to clean the air intake grille regularly to ensure unrestricted airflow and maintain the efficiency of your Dyson fan. A clean grille allows the fan to draw in and circulate clean air effectively. Once you have finished cleaning the air intake grille, move on to the next step and clean the base and stand of your Dyson fan.
Step 7: Clean the Base and Stand (if applicable)
If your Dyson fan has a base and stand, it’s important to clean these components as well. Over time, dust and dirt can accumulate on the base and stand, affecting the overall cleanliness and appearance of your fan. Follow these steps to clean the base and stand:
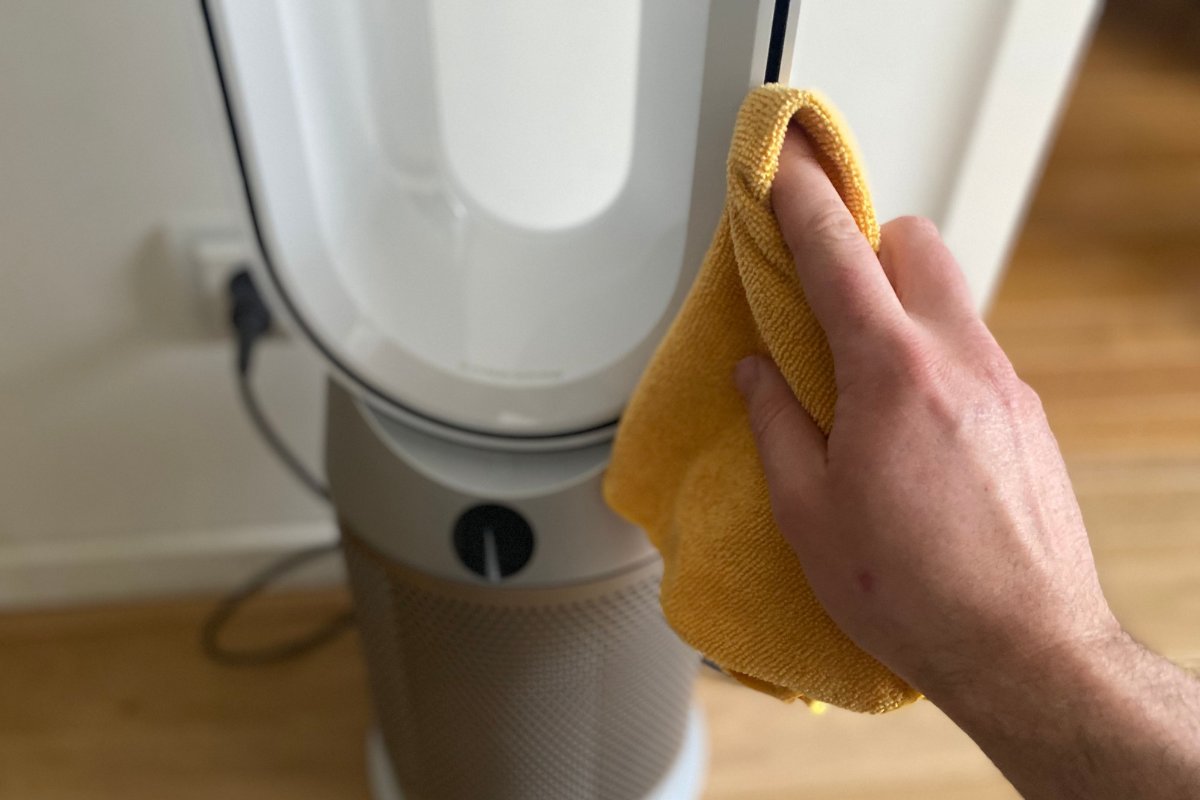
- Dampen a soft cloth or microfiber cloth with water.
- Gently wipe down the base and stand of your Dyson fan to remove any dust or debris.
- If there are stubborn stains or dirt on the base and stand, you can add a mild dish soap to the cloth and continue wiping until they are clean.
- For hard-to-reach areas or intricate designs, you can use a soft brush or toothbrush to gently scrub away dirt or grime.
- Once you have cleaned the base and stand, use a clean, damp cloth to remove any soap residue.
Cleaning the base and stand of your Dyson fan not only improves its appearance but also ensures that dust and dirt do not accumulate in these areas. It’s important to keep these components clean to maintain the overall cleanliness and performance of your fan. After cleaning the base and stand, you can move on to the next step and clean the remote control (if applicable).
Step 8: Clean the Remote Control (if applicable)
If your Dyson fan comes with a remote control, it’s essential to clean it regularly as well. The remote control can accumulate dust, fingerprints, and other dirt over time, affecting its functionality and appearance. Follow these steps to clean the remote control:
- Remove the batteries from the remote control to prevent any accidental activation during the cleaning process.
- Use a soft cloth or microfiber cloth lightly dampened with water or a mild cleaning solution to wipe down the exterior of the remote control.
- If there are stubborn stains or dirt on the remote control, you can use a cotton swab dipped in isopropyl alcohol to gently clean the buttons and crevices.
- Take care not to use excessive moisture or cleaning solution that could damage the electronics of the remote control.
- After cleaning, use a clean, dry cloth to remove any remaining moisture or cleaning solution.
Cleaning the remote control not only improves its appearance but also ensures that it functions properly. By removing dust and dirt, you can maintain clear signals and responsiveness when controlling your Dyson fan. Once the remote control is clean and dry, you can move on to the next step and reassemble your Dyson fan.
Read more: Why Is Dyson Fan So Expensive
Step 9: Reassemble the Dyson Fan
After thoroughly cleaning each component of your Dyson fan, it’s time to reassemble all the parts. Follow these steps to put your Dyson fan back together:
- Retrieve the fan cage that you set aside earlier.
- Align the fan cage with the base or stand of the Dyson fan.
- Slowly and carefully lower the fan cage onto the base or stand, ensuring that it fits snugly into place.
- Use the screws or fasteners that you removed earlier to secure the fan cage to the base or stand. Tighten them gently to avoid over-tightening and causing damage.
- Double-check that all the screws or fasteners are securely in place.
With the fan cage reattached to the base or stand, your Dyson fan should now be fully reassembled and ready for use. Before plugging in the fan and turning it on, make sure that all the components are securely in place and there are no loose screws or fasteners.
Once you have reassembled your Dyson fan, you can move on to the final step: testing the fan to ensure that it is working correctly.
Step 10: Test the Fan
After completing the cleaning and reassembly process, it’s crucial to test your Dyson fan to ensure everything is functioning correctly. Follow these steps to test your fan:
- Plug the fan into a power outlet.
- Make sure the fan is set to the desired speed or mode.
- Turn on the fan and observe its performance.
- Listen for any unusual sounds or vibrations that may indicate an issue.
- Check that the fan blades are spinning smoothly without any obstructions.
- Ensure that the airflow is strong and consistent.
- Test any additional features of your Dyson fan, such as oscillation or timer settings, to ensure they are functioning properly.
If you notice any issues during the testing process, such as unusual noises, weak airflow, or malfunctioning features, it may be necessary to repeat the cleaning process or seek assistance from Dyson’s customer support. Taking the time to thoroughly test your fan after cleaning will ensure it continues to operate at its best performance and circulates clean and refreshing air in your space.
Congratulations! You have successfully cleaned and tested your Dyson fan. By following these steps regularly, you can maintain the longevity and efficiency of your fan, ensuring it continues to provide you with clean and refreshing airflow.
Remember to clean your Dyson fan periodically to prevent excessive dust buildup and maintain optimal performance. By keeping your fan clean, you can enjoy the benefits of fresh and clean air in your home for years to come.
Conclusion
Cleaning your Dyson fan is an essential maintenance task that helps keep the air in your home clean and refreshing. By following the step-by-step guide provided in this article, you can effectively clean your Dyson fan and ensure its optimal performance.
Starting with gathering the necessary materials, such as a vacuum cleaner, soft cloth, dish soap, and water, you can gather everything you need for a thorough clean. Unplugging the fan and carefully dismantling the fan cage, you can access the fan blades for cleaning.
Using a vacuum cleaner and a soft cloth, you can remove loose dirt and dust from the fan cage and then proceed to clean the fan blades with a damp cloth and mild dish soap solution. Cleaning the air intake grille, base, and stand (if applicable) helps maintain the overall cleanliness and efficiency of your Dyson fan.
If your Dyson fan has a remote control, it’s important to clean it as well, ensuring that it functions properly. Once all the components are cleaned, you can reassemble your Dyson fan and perform a final test to ensure smooth operation.
Regularly maintaining and cleaning your Dyson fan will help prolong its lifespan, maintain optimal performance, and ensure that it continues to provide clean and refreshing air in your living space.
Remember, when cleaning your Dyson fan, follow safety precautions, such as unplugging the fan and handling the components with care. If you encounter any issues or have questions, consult the manufacturer’s guidance or contact their customer support for assistance.
Now that you have the knowledge and steps to clean your Dyson fan, embrace the cleanliness and enjoy the refreshing airflow that your fan provides!
Frequently Asked Questions about How To Clean Dyson Fan
Was this page helpful?
At Storables.com, we guarantee accurate and reliable information. Our content, validated by Expert Board Contributors, is crafted following stringent Editorial Policies. We're committed to providing you with well-researched, expert-backed insights for all your informational needs.


0 thoughts on “How To Clean Dyson Fan”