Articles
How To Store Kitchenaid Attachments
Modified: October 20, 2024
Learn the best ways to store your Kitchenaid attachments with these informative articles. Keep your kitchen organized and your attachments in great condition.
(Many of the links in this article redirect to a specific reviewed product. Your purchase of these products through affiliate links helps to generate commission for Storables.com, at no extra cost. Learn more)
Introduction
Having a Kitchenaid stand mixer can be a game-changer in the kitchen. It makes whipping up delicious treats and mouthwatering recipes a breeze. However, with all the different attachments that come with the mixer, it is essential to have a proper storage system in place. Storing your Kitchenaid attachments correctly not only ensures that they are easily accessible but also extends their lifespan.
In this article, we will discuss the benefits of properly storing your Kitchenaid attachments and provide a step-by-step guide on how to do it efficiently. Additionally, we will share some tips for organizing your attachments to maximize space and avoid any potential damage. Lastly, we will emphasize the importance of cleaning your attachments before storing them and highlight common mistakes to avoid.
By following these guidelines, you can keep your Kitchenaid attachments in pristine condition, making your cooking and baking experiences all the more enjoyable.
Key Takeaways:
- Properly storing Kitchenaid attachments ensures easy access, preserves their lifespan, protects against damage, maximizes kitchen space, maintains hygiene, and prevents cross-contamination, enhancing cooking experiences.
- Gather storage materials, clean attachments, utilize efficient storage solutions, organize by function and size, label containers, and avoid common storage mistakes to protect and maintain Kitchenaid attachments for long-term use.
Read more: How To Remove Kitchenaid Mixer Attachment
Benefits of Properly Storing Kitchenaid Attachments
Properly storing your Kitchenaid attachments offers several benefits that can enhance your cooking experience and prolong the life of your equipment. Here are some of the key advantages:
- Organized and Easy Access: Storing your Kitchenaid attachments in a systematic manner ensures that they are readily available whenever you need them. Having a designated space for each attachment eliminates the hassle of rummaging through drawers or cabinets, saving you time and effort.
- Preserves Attachment Lifespan: By storing your Kitchenaid attachments properly, you can prevent unnecessary wear and tear. When attachments are scattered or piled on top of each other, they can become scratched or damaged, reducing their effectiveness and lifespan. Proper storage allows them to remain in optimal condition, ensuring consistent performance for years to come.
- Protects Against Damage: Storing attachments in a safe and secure way safeguards them from potential accidents or mishaps. Without proper storage, attachments can get knocked over or misplaced, leading to breakage or loss. Protecting your attachments from accidental damage will save you the cost and inconvenience of having to replace them.
- Maximizes Kitchen Space: A well-organized storage system for your Kitchenaid attachments can help maximize your kitchen space. By utilizing vertical storage solutions or dedicated drawers, you can free up valuable countertop or cabinet space for other cooking essentials.
- Easy Identification: Proper storage makes it easier to identify each attachment at a glance. When attachments are stored haphazardly, it can be challenging to find the specific one you need, leading to frustration and wasted time. By storing attachments in an organized manner, you can quickly locate the one you require, streamlining your cooking process.
- Maintains Hygiene: Storing your Kitchenaid attachments properly helps maintain their cleanliness and hygiene. Dust, dirt, and food particles can accumulate on attachments that are left exposed or stored in unsanitary conditions. Storing them in clean and closed containers or drawers protects them from contamination and ensures they are ready for use whenever you need them.
Overall, properly storing your Kitchenaid attachments not only offers convenience and efficiency but also protects your investment by preserving the attachments’ condition and lifespan. By implementing a systematic storage approach, you can enjoy the full benefits of your Kitchenaid stand mixer and its attachments for many years to come.
Materials Needed for Storing Kitchenaid Attachments
Before you start organizing and storing your Kitchenaid attachments, it is important to gather the necessary materials. Here are the materials you will need:
- Storage Containers: Invest in sturdy and appropriately sized storage containers for your Kitchenaid attachments. Look for containers with dividers or compartments to keep each attachment separate and prevent them from moving around during storage. Clear containers are ideal as they allow you to easily identify the attachment you need.
- Drawer Inserts: If you plan to store your attachments in a drawer, consider purchasing drawer inserts or organizers. These inserts provide compartments to neatly store and separate attachments, keeping them organized and preventing them from banging into each other.
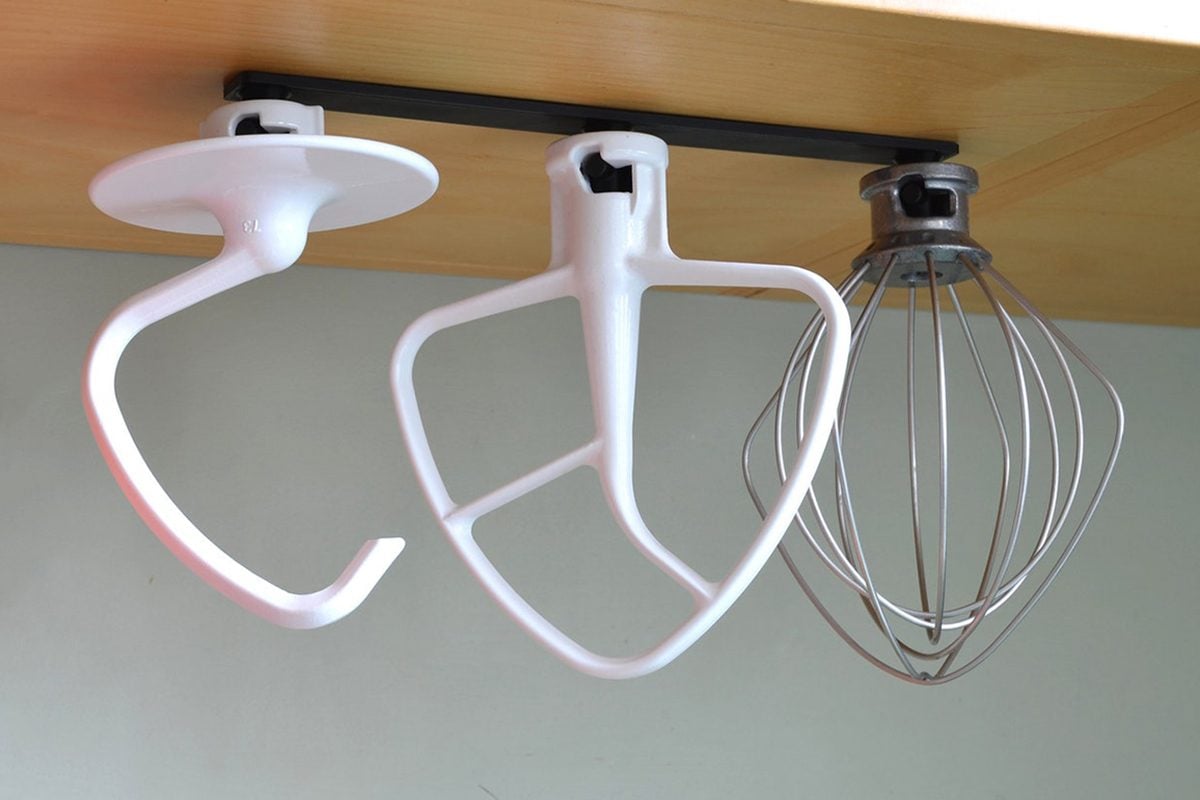
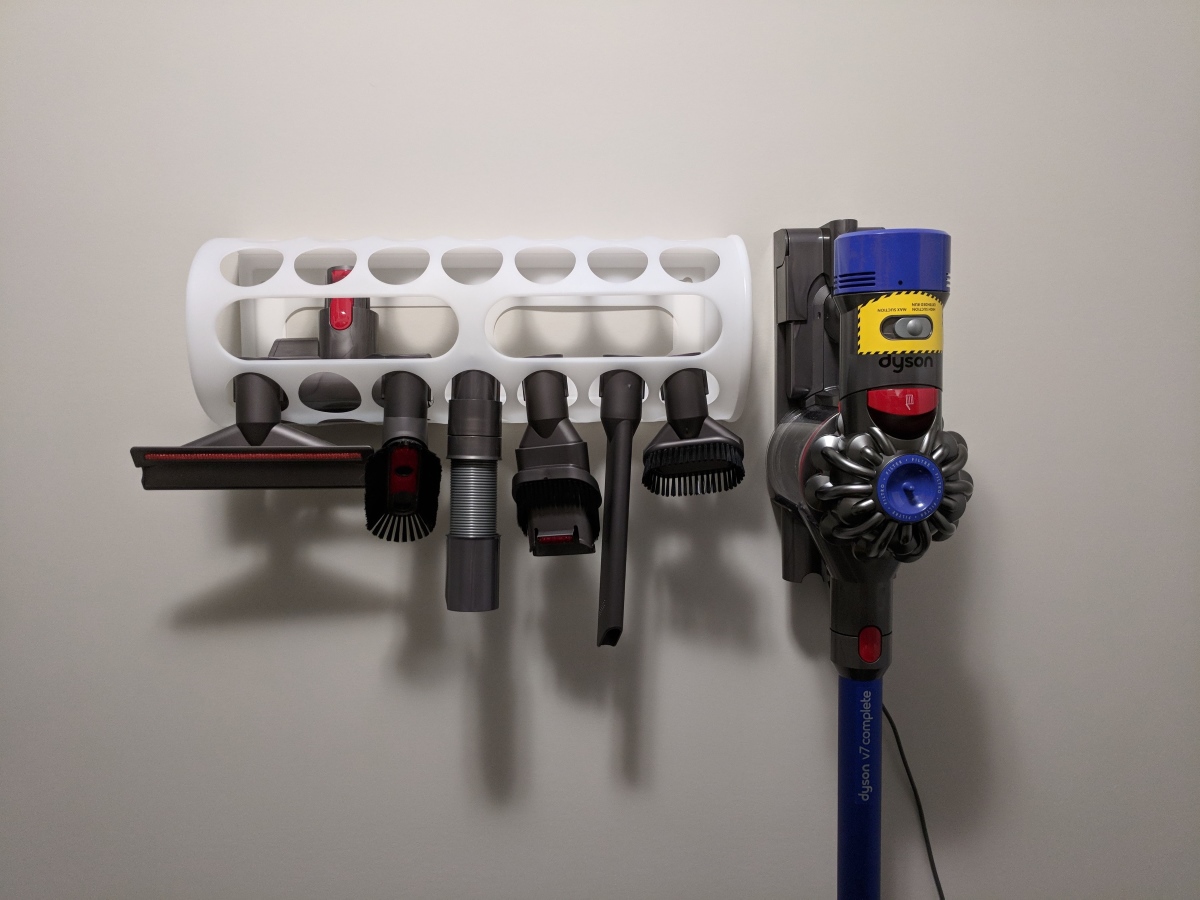
- Hanging Racks or Wall Mounts: If you have limited cabinet or drawer space, consider using hanging racks or wall mounts to store your Kitchenaid attachments. These storage solutions keep your attachments within reach while saving valuable counter or cabinet space.
- Padded Bags or Cases: If you frequently travel with your Kitchenaid attachments, invest in padded bags or cases specifically designed for storing and transporting attachments. These bags provide extra protection and cushioning, ensuring that your attachments remain safe and secure during transportation.
- Labels and Marker: To keep your storage system organized, use labels and a marker to clearly identify each attachment and its corresponding storage space. This will make it easier to find the attachment you need quickly.
- Cleaning Supplies: Before storing your attachments, make sure you have cleaning supplies on hand. This includes mild dish soap, warm water, a soft brush or cloth, and a drying rack or towel to dry the attachments thoroughly before storing them.
By gathering these materials beforehand, you will be well-equipped to store your Kitchenaid attachments efficiently and effectively. Having the right storage containers and organizers will help protect your attachments and keep them easily accessible whenever you need them.
Step-by-Step Guide to Storing Kitchenaid Attachments
Properly storing your Kitchenaid attachments is crucial for their longevity and accessibility. Follow this step-by-step guide to ensure you store your attachments in an organized and efficient manner:
- Clean the Attachments: Before storing your attachments, it is essential to clean them thoroughly. Wash each attachment with mild dish soap and warm water, using a soft brush or cloth to remove any residue. Rinse them well and dry them completely before proceeding to the next step. This will help prevent the growth of mold or bacteria during storage.
- Find the Right Storage Solution: Decide on the storage solution that works best for you. Whether it’s dedicated drawers, storage containers, hanging racks, or a combination of these, choose an option that is practical and fits your kitchen space.
- Separate and Arrange: If using storage containers or drawers, separate each attachment and arrange them according to size or function. Use dividers or compartments within the containers to keep attachments from moving around and scratching against each other.
- Label Containers or Drawers: To keep your storage system organized, label each container or drawer with the name or picture of the attachment it holds. This will make it easier to find the specific attachment you need without having to search through all of them.
- Store Vertically: When possible, store your attachments vertically to save space and prevent potential damage. This is especially important for attachments with delicate parts or blades. For example, you can use a jar or cup to hold the attachments upright in a drawer or cabinet.
- Utilize Hanging Racks or Wall Mounts: If you have limited cabinet or drawer space, consider using hanging racks or wall mounts to store your attachments. Hang them within reach near your Kitchenaid stand mixer for easy access. Just make sure they are securely mounted and will not fall or tip over.
- Regularly Inspect and Maintain: Periodically inspect your stored attachments to ensure they remain in good condition. Check for any signs of rust, damage, or wear and tear. If necessary, clean and oil any metal attachments to prevent corrosion.
By following these steps, you can establish an efficient and organized system for storing your Kitchenaid attachments. This will keep them in optimal condition and make it effortless to find the attachment you need for your next culinary adventure.
Store Kitchenaid attachments in a designated drawer or cabinet to keep them organized and easily accessible. Use dividers or containers to separate and protect each attachment.
Tips for Organizing Kitchenaid Attachments
Organizing your Kitchenaid attachments is essential for maintaining a neat and efficient kitchen. Here are some tips to help you maximize space and keep your attachments organized:
- Categorize by Function: Group your attachments based on their function. For example, keep all the mixing attachments together and separate them from the slicing and shredding attachments. This will make it easier to locate the specific attachment you need.
- Utilize Drawer Inserts: If you store your attachments in a drawer, invest in drawer inserts or organizers. These inserts have compartments and dividers that can be customized to fit your attachments. They keep the attachments separated, preventing them from rolling around or banging into each other.
- Arrange by Size: Place attachments of similar sizes next to each other, from largest to smallest. This makes it easier to identify the attachment you need at a quick glance and avoids clutter.
- Consider Vertical Storage: Take advantage of vertical storage options, such as hanging racks or wall mounts. This allows you to display your attachments and keep them within reach while maximizing counter or cabinet space.
- Label Everything: Label each container, drawer, or hanging rack to indicate which attachment belongs where. This will save you time and effort when searching for a specific attachment, especially if you have a large collection.
- Use Clear Containers: Opt for clear storage containers that allow you to see the contents without having to open them. This way, you can quickly locate the attachment you need without rummaging through multiple containers.
- Store Attachments Separately: Avoid stacking attachments on top of each other, as this can result in scratches or damage. Instead, store them individually or use dividers to keep them separate and secure.
- Take Advantage of Unused Cabinet Space: If you have empty space in your cabinets, consider installing shelves or hooks to store your attachments. This maximizes cabinet space and keeps the attachments easily accessible.
- Regularly Declutter: Periodically assess your attachment collection and declutter any attachments that you no longer use or need. This will help maintain an organized storage system and prevent unnecessary clutter.
- Keep the Most Used Attachments Handy: Store the attachments you use most frequently within easy reach. Place them in a separate container or drawer near your Kitchenaid stand mixer for quick access during your cooking or baking sessions.
Implementing these organizing tips will not only streamline your kitchen workflow but also help protect your Kitchenaid attachments and keep them in optimal condition. A well-organized storage system ensures that you can find the attachment you need when you need it, making your cooking and baking experiences more enjoyable.
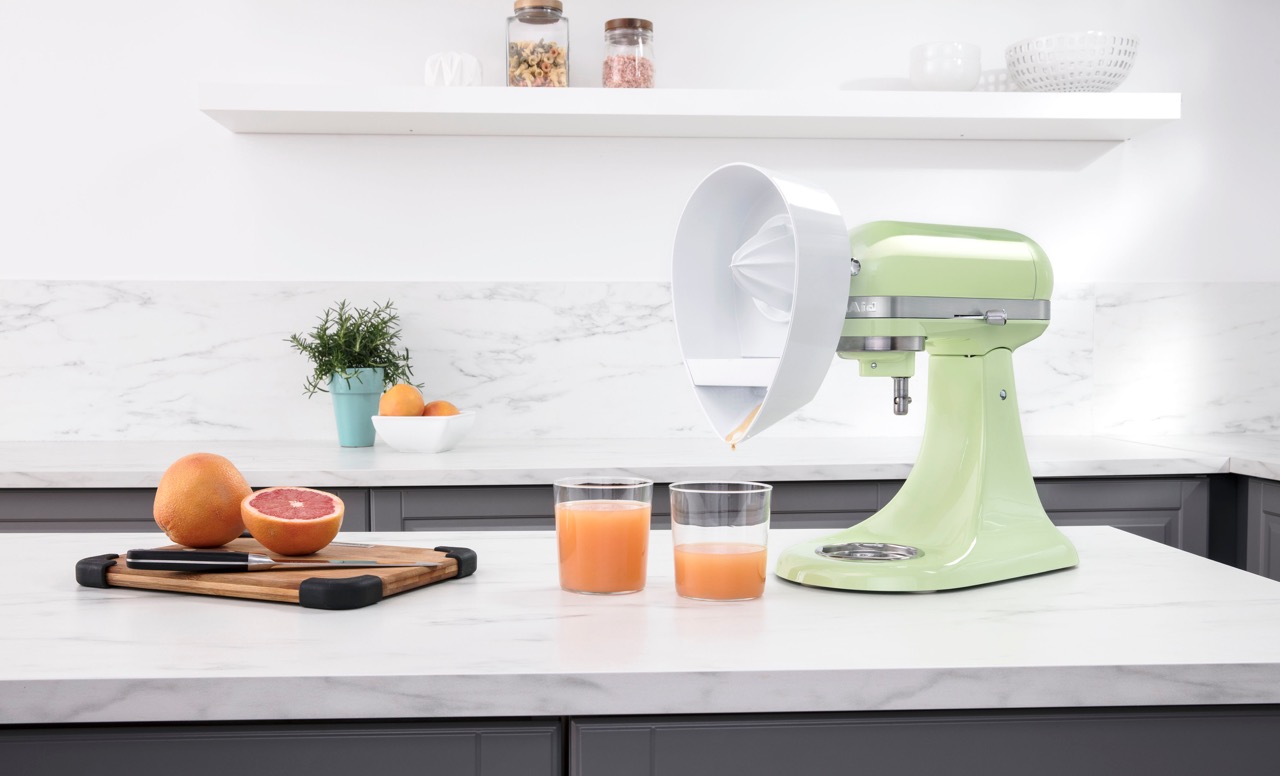
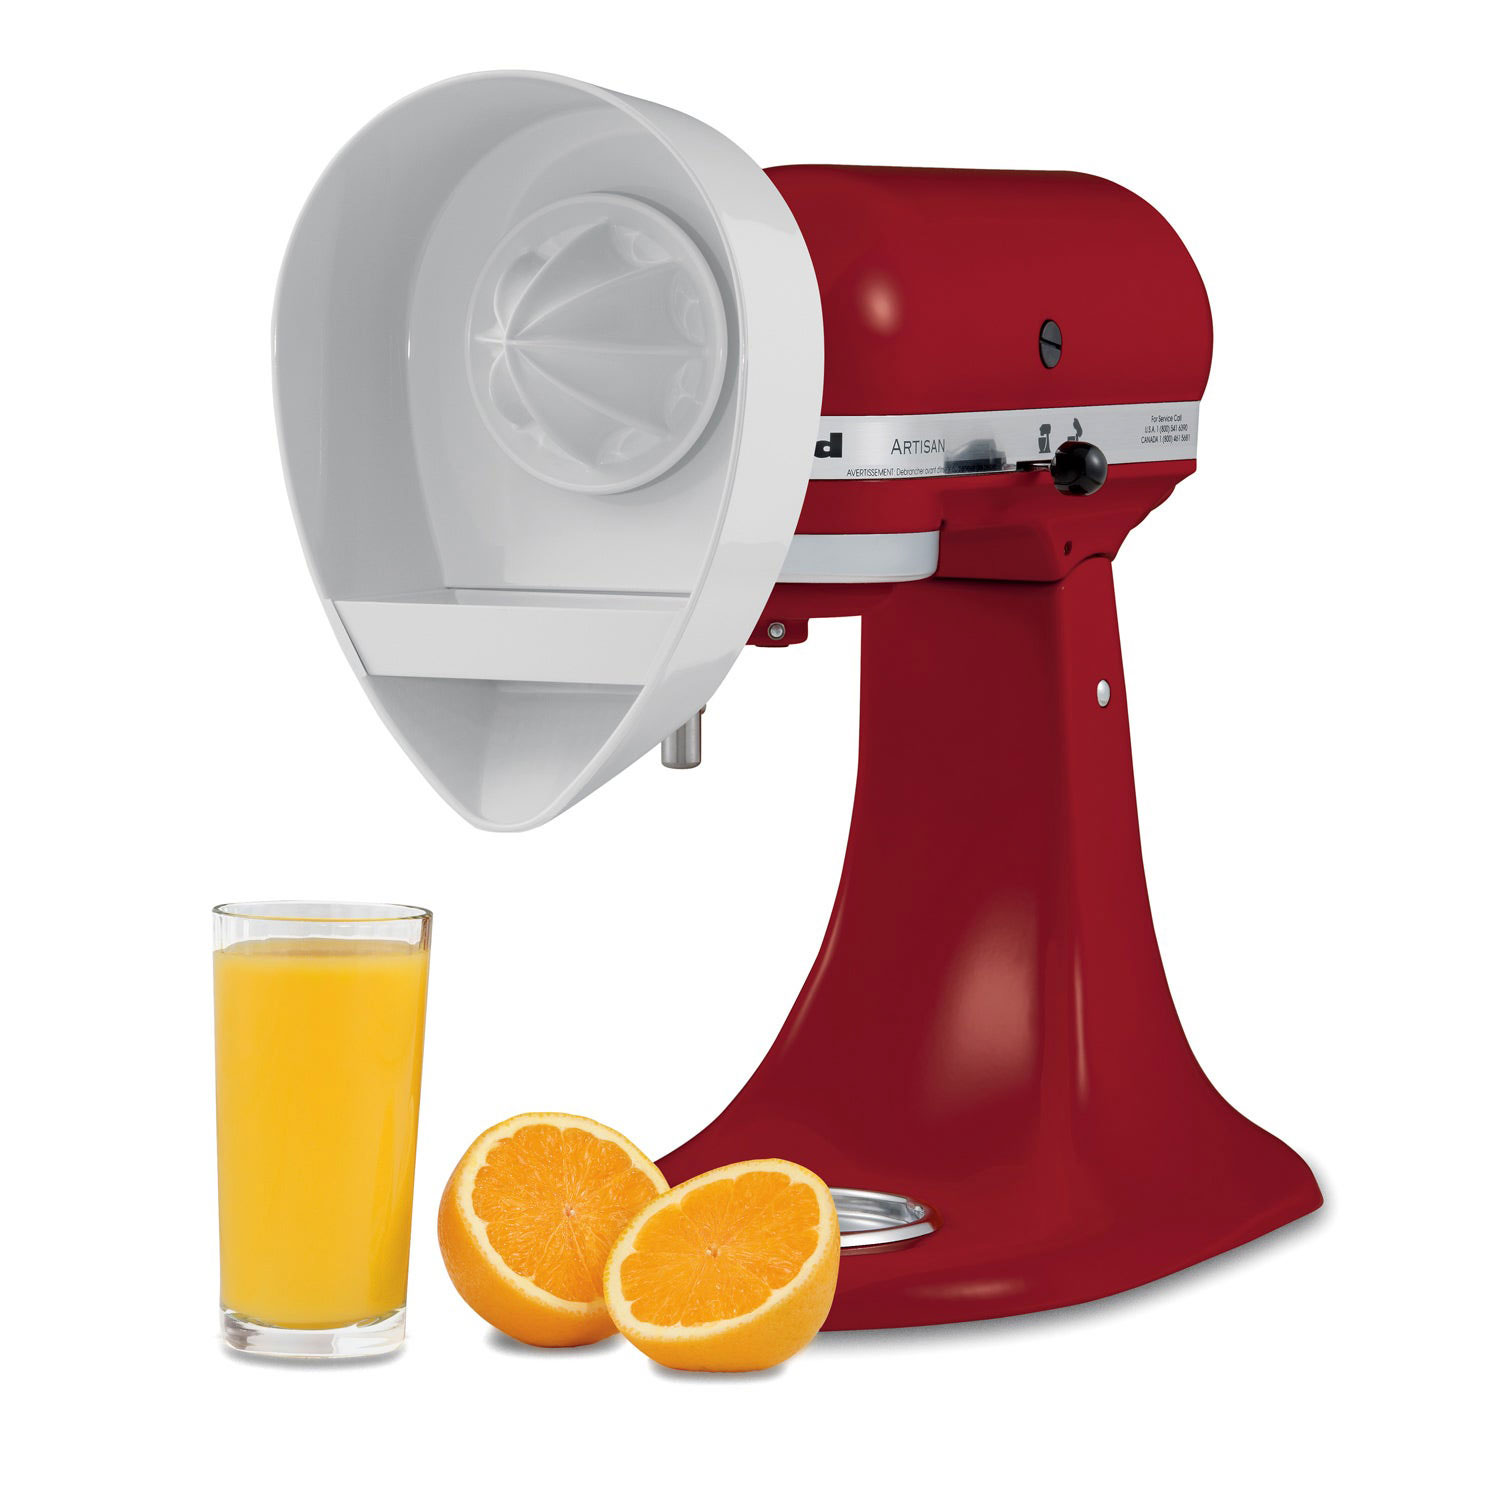
Read more: How To Use A Kitchenaid Juicer Attachment
Importance of Cleaning Before Storing
Cleaning your Kitchenaid attachments before storing them is an essential step in maintaining their performance and prolonging their lifespan. Here are the reasons why cleaning before storing is important:
- Prevents Bacterial Growth: Food residues left on attachments can promote the growth of bacteria and mold. By thoroughly cleaning your attachments before storage, you eliminate any lingering trace of food that could lead to contamination. This helps ensure that your attachments remain clean and safe for future use.
- Keeps Attachments Fresh: Cleaning your attachments removes any odors or flavors that may be absorbed during use. This is particularly important for attachments that are used with strong or pungent ingredients. By cleaning them before storing, you prevent the transfer of flavors and maintain the freshness of your attachments.
- Prevents Cross-Contamination: Failure to clean attachments before storage can result in cross-contamination. If residue from one ingredient is left on an attachment and comes into contact with another ingredient during storage, it can compromise the quality and safety of both substances. Cleaning ensures that attachments are free from any potential cross-contamination risks.
- Extends Attachment Lifespan: Proper maintenance and cleaning are vital for extending the lifespan of your attachments. Food residues left on attachments can cause corrosion, rust, and deterioration over time. By cleaning and drying them thoroughly before storage, you prevent the buildup of moisture that can lead to these issues, thereby preserving the longevity of your attachments.
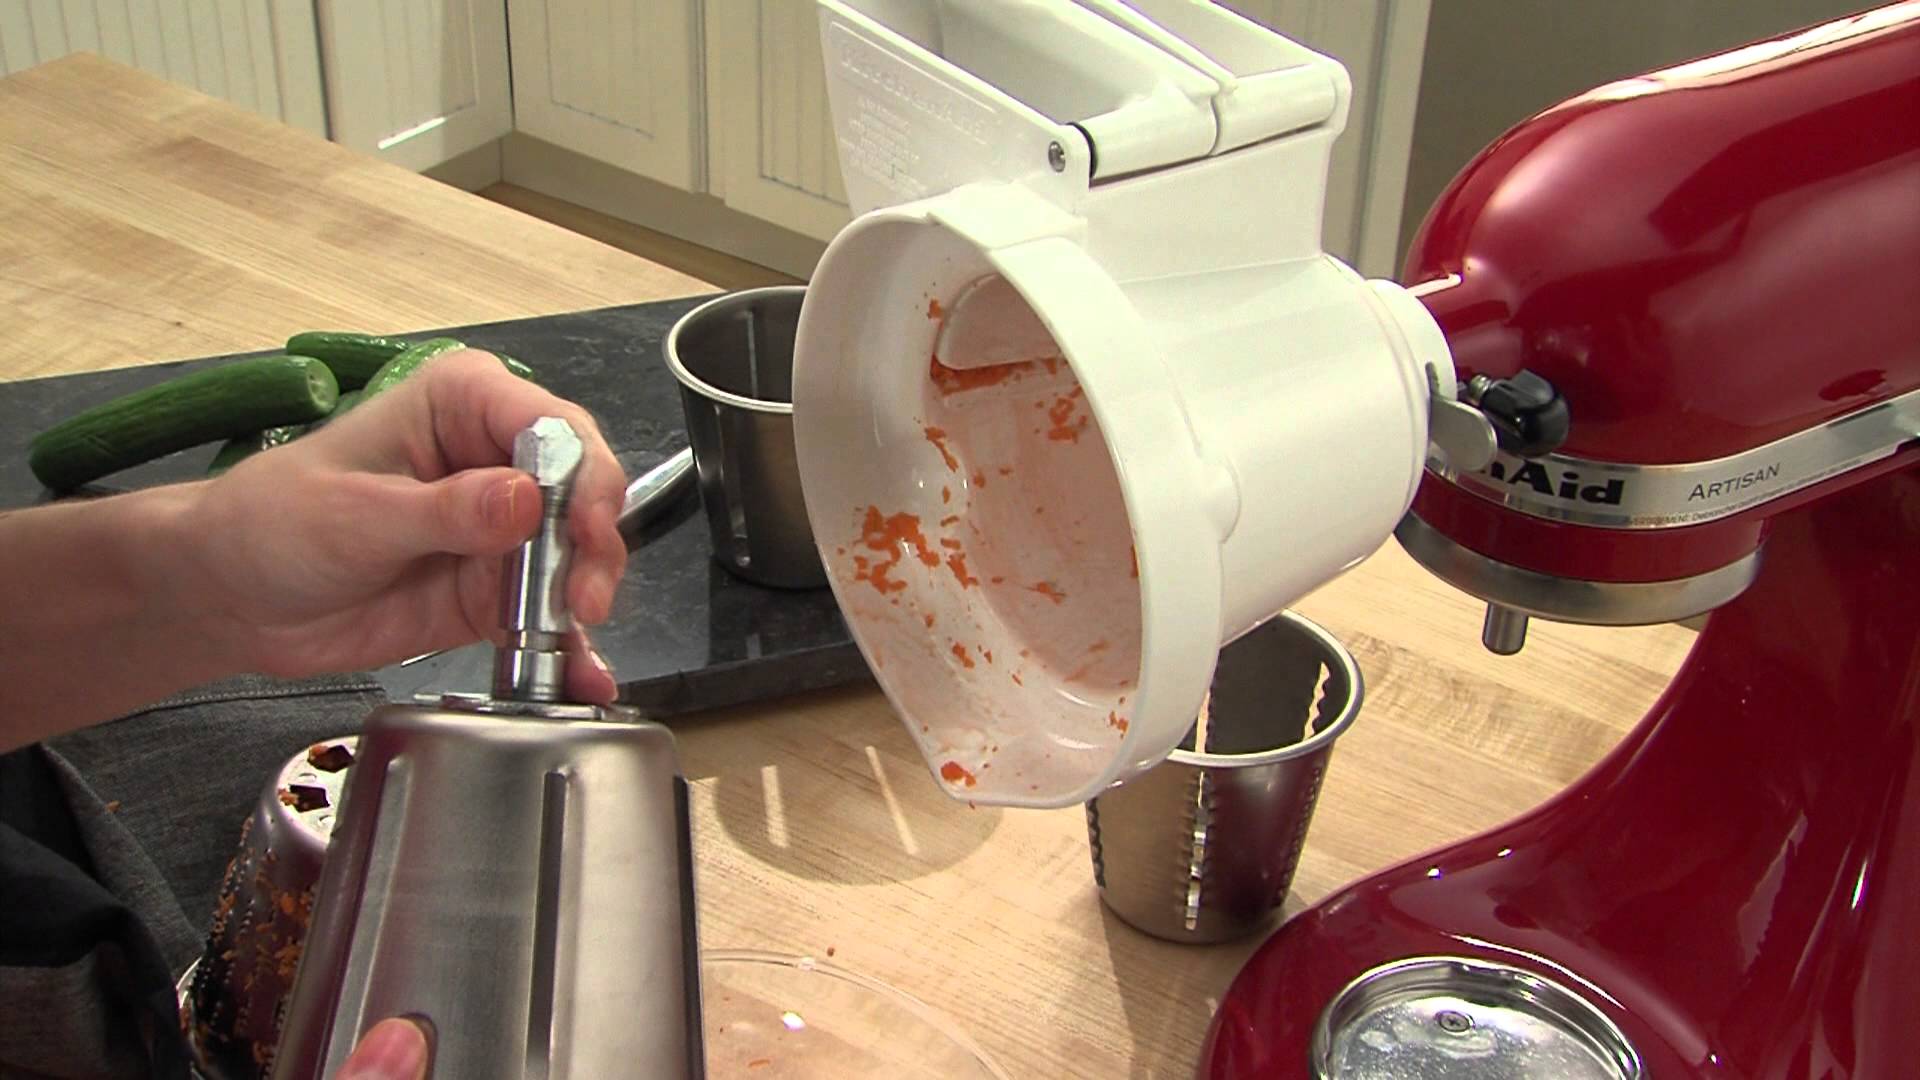
- Prevents Clogging and Malfunction: Some attachments, such as the pasta press or meat grinder, have small crevices and parts that can become clogged if not cleaned properly. This can affect their functionality and performance. Cleaning the attachments before storage ensures that any food particles or debris are removed, preventing clogs and ensuring smooth operation when you use them again.
- Improves Food Safety: Keeping your attachments clean and sanitized is important for maintaining food safety standards. Proper cleaning removes any potential contaminants that could transfer to your food during the next use. By ensuring that your attachments are thoroughly cleaned before storage, you can cook and bake with peace of mind, knowing that your food is prepared in a safe and hygienic manner.
By prioritizing the cleaning of your Kitchenaid attachments before storing them, you not only maintain their performance and durability but also uphold food safety standards. Regular cleaning ensures that your attachments are in optimal condition for future use, allowing you to enjoy hassle-free and worry-free cooking and baking experiences.
Common Mistakes to Avoid While Storing Kitchenaid Attachments
When it comes to storing your Kitchenaid attachments, certain mistakes can lead to damage, inefficiencies, or inconvenience. Here are common mistakes to avoid to ensure proper storage:
- Stacking Attachments: Avoid stacking attachments on top of each other without any protection. This can cause scratches or damage to the attachments, reducing their effectiveness and lifespan. Instead, store attachments individually or use dividers to keep them separate and secure.
- Storing Wet Attachments: Never store wet or damp attachments. Moisture can promote the growth of mold or bacteria and lead to rust or corrosion. Ensure that attachments are thoroughly dried before storing them to prevent any potential damage.
- Neglecting Cleaning Before Storage: Failing to clean attachments before storage can result in food residues, odors, and potential cross-contamination. It is important to clean attachments thoroughly using mild dish soap and warm water, and ensure they are completely dry before storing them.
- Overcrowding Storage Containers: Avoid overcrowding storage containers with too many attachments. Overpacking can lead to attachments getting tangled or damaged. Leave enough space for each attachment to prevent them from rubbing against each other or becoming difficult to remove.
- Incorrect Storage Location: Choose a suitable storage location that is away from heat, direct sunlight, or extreme temperature fluctuations. These conditions can damage the attachments, especially those with plastic or rubber components. Additionally, avoid storing attachments near sharp objects or heavy equipment to prevent accidental damage.
- Not Using Proper Storage Containers: Using unsuitable containers for storing attachments can result in damage. Containers that are too small can cause attachments to warp or bend, while those that are too large can allow attachments to move around and become damaged. Invest in appropriate storage containers with dividers or compartments to keep attachments secure and organized.
- Forgetting to Label Containers: Neglecting to label storage containers or drawers can lead to confusion and wasted time. Clearly label each container or drawer to indicate which attachment belongs there. This will make it easier to find the specific attachment you need without having to go through multiple containers.
- Not Inspecting Attachments Regularly: Failure to inspect attachments periodically can lead to overlooked issues or damaged parts. Take the time to examine your attachments for any signs of wear and tear, rust, or damage. This allows you to address any problems promptly and ensure the attachments remain in good working condition.
- Ignoring Attachment Manuals: Each Kitchenaid attachment may come with specific storage recommendations or precautions outlined in the user manual. Ignoring these instructions can result in damage or reduced performance. Take the time to read and follow the guidelines provided to ensure proper storage and maintenance of each attachment.
- Not Having a System in Place: A lack of organization can make it challenging to find the attachment you need when you need it. Establish a system for storing your attachments, whether it is through labeled containers, drawer dividers, or hanging racks. Having a well-organized storage system will save you time and prevent unnecessary frustration.
By avoiding these common mistakes, you can protect your Kitchenaid attachments and maintain their functionality and longevity. With proper storage practices in place, you can ensure that your attachments are ready for use whenever you need them, allowing you to enjoy seamless and efficient cooking and baking experiences.
Conclusion
Properly storing your Kitchenaid attachments is crucial for maintaining their performance, extending their lifespan, and ensuring that they are easily accessible when you need them. By following the tips and guidelines outlined in this article, you can create an organized and efficient storage system for your attachments.
Benefits of properly storing your Kitchenaid attachments include easy access, preservation of attachment lifespan, protection against damage, maximization of kitchen space, easy identification, maintenance of hygiene, and prevention of cross-contamination.
To store your attachments effectively, gather the necessary materials such as storage containers, drawer inserts, hanging racks or wall mounts, padded bags or cases, labels, and cleaning supplies. Clean your attachments thoroughly before storing them to prevent bacterial growth, maintain freshness, and prevent cross-contamination.
Follow the step-by-step guide to storing your attachments to ensure an organized and efficient system. Consider categorizing attachments by function, utilizing drawer inserts, arranging attachments by size, utilizing vertical storage options, labeling containers or drawers, and inspecting and maintaining attachments regularly.
While organizing your attachments, be mindful of common mistakes to avoid, such as stacking attachments, storing wet attachments, neglecting cleaning, overcrowding storage containers, using incorrect storage locations, not using proper storage containers, forgetting to label containers, ignoring attachment manuals, not inspecting attachments regularly, and not having a system in place.
By avoiding these mistakes and implementing proper storage techniques, you can protect your Kitchenaid attachments, keep them in optimal condition, and enjoy hassle-free cooking and baking experiences for years to come.
Remember, a well-organized storage system not only makes your kitchen more efficient but also reflects your care and appreciation for your valuable Kitchenaid attachments. So, take the time to store them properly, and you’ll reap the rewards every time you use your beloved Kitchenaid stand mixer.
Frequently Asked Questions about How To Store Kitchenaid Attachments
Was this page helpful?
At Storables.com, we guarantee accurate and reliable information. Our content, validated by Expert Board Contributors, is crafted following stringent Editorial Policies. We're committed to providing you with well-researched, expert-backed insights for all your informational needs.


0 thoughts on “How To Store Kitchenaid Attachments”