Home>Garden Essentials>When To Plant Elderberry Seeds

Garden Essentials
When To Plant Elderberry Seeds
Modified: March 16, 2024
Discover the perfect time to plant elderberry seeds in your garden. Learn essential tips for successful gardening and growing healthy elderberry plants.
(Many of the links in this article redirect to a specific reviewed product. Your purchase of these products through affiliate links helps to generate commission for Storables.com, at no extra cost. Learn more)
Introduction
Welcome to the world of gardening! If you’re looking to add a unique and nutritious plant to your garden, elderberry is an excellent choice. Elderberries are beautiful, versatile, and known for their numerous health benefits. Growing elderberries from seeds can be a rewarding and fulfilling experience.
In this article, we’ll guide you through the process of planting elderberry seeds, from selecting the right seeds to caring for the seedlings until they are ready to be transplanted. So, grab your gardening gloves and let’s get started!

Key Takeaways:
- Choose fresh elderberry seeds from reputable suppliers and ensure proper storage. Prepare the soil with organic matter and adjust pH levels for optimal growth. Patience is key for successful germination.
- After germination, plant elderberry seedlings in well-drained, sunny spots. Provide regular care, including watering, mulching, and pruning. Transplant seedlings in cooler seasons for best results.
Read more: How To Grow Elderberry From Seed
Selecting Elderberry Seeds
When it comes to selecting elderberry seeds, there are a few factors to consider. First, you’ll want to determine the variety of elderberry you wish to grow. Common varieties include American elderberry (Sambucus canadensis) and European elderberry (Sambucus nigra).
Next, it’s important to choose reputable seed suppliers. Look for suppliers with good reviews and a track record of providing quality seeds. This will increase your chances of success and ensure that you’re getting seeds from healthy elderberry plants.
Additionally, consider the age and freshness of the seeds. Fresh seeds have a higher germination rate, so it’s a good idea to purchase seeds that are no more than a year old. If you’re unsure about the age of the seeds, you can conduct a germination test by planting a few seeds in a separate container and observing how many sprout.
Lastly, ensure that the seeds have been properly stored. Elderberry seeds should be stored in a cool, dry place to maintain their viability. Seeds that have been exposed to moisture or extreme temperatures may not germinate as well.
By taking these factors into account, you’ll be on your way to selecting high-quality elderberry seeds that have the best chance of thriving in your garden.
Preparing the Soil
Before planting elderberry seeds, it’s crucial to prepare the soil to provide the best growing conditions for your plants. Elderberries thrive in moist, well-drained soil with a pH level between 5.5 and 7.5.
Start by clearing the area where you plan to grow elderberries. Remove any weeds, rocks, or debris that may hinder the growth of your plants. It’s also a good idea to loosen the soil with a garden fork or tiller to improve aeration and drainage.
If your soil lacks organic matter, consider mixing in compost or well-rotted manure. This will enrich the soil, improve its structure, and enhance nutrient retention. Spread a layer of organic matter over the planting area and mix it in with the soil using a garden rake or tiller.
Once the soil is prepared, it’s a good idea to perform a soil test to assess its nutrient levels. This will help you determine if any additional amendments are needed before planting. Soil testing kits can be purchased at garden centers, or you can send a soil sample to a local agricultural extension office for analysis.
Based on the results of the soil test, you may need to adjust the pH level of your soil. If the pH is too acidic, add lime to raise it. If it’s too alkaline, incorporate sulfur or peat moss to lower the pH. Aim for a slightly acidic to neutral pH level to create optimal growing conditions for elderberries.
By taking the time to properly prepare the soil, you’ll provide a healthy foundation for your elderberry plants, ensuring they have the best chance of flourishing and producing an abundant harvest.
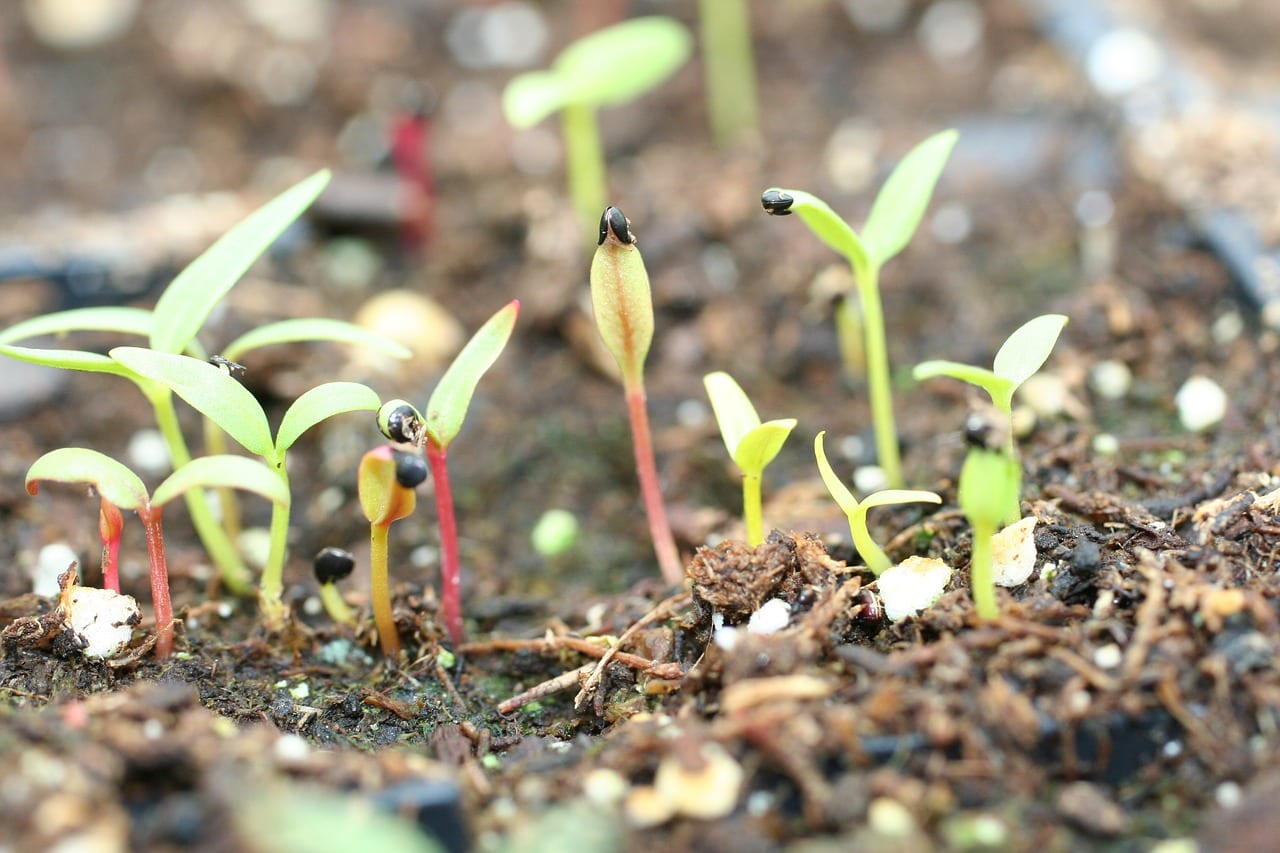
Germinating Elderberry Seeds
Germinating elderberry seeds is the first step towards growing your own elderberry plants. To increase the chances of successful germination, it’s important to provide the seeds with the right conditions.
One method to help germinate elderberry seeds is stratification. Stratification is a process that mimics the natural cold winter conditions that some seeds require to break dormancy. To stratify elderberry seeds, place them in a moist paper towel or sphagnum moss and put them in a sealed plastic bag. Store the bag in the refrigerator for 6-8 weeks, making sure the seeds are exposed to a temperature range of 32-41°F (0-5°C). This cold treatment helps break the seed dormancy and prepares them for germination.
After the stratification period is complete, you can sow the seeds. Fill a seed tray or small pots with seed starting mix or a well-draining soil mixture. Plant the germinated seeds about 1/4 to 1/2 inch deep and cover them lightly with soil. Keep the soil consistently moist but not waterlogged.
It’s important to note that elderberry seeds can be slow to germinate, often taking several weeks to a couple of months. Be patient and provide consistent moisture and care during this time.
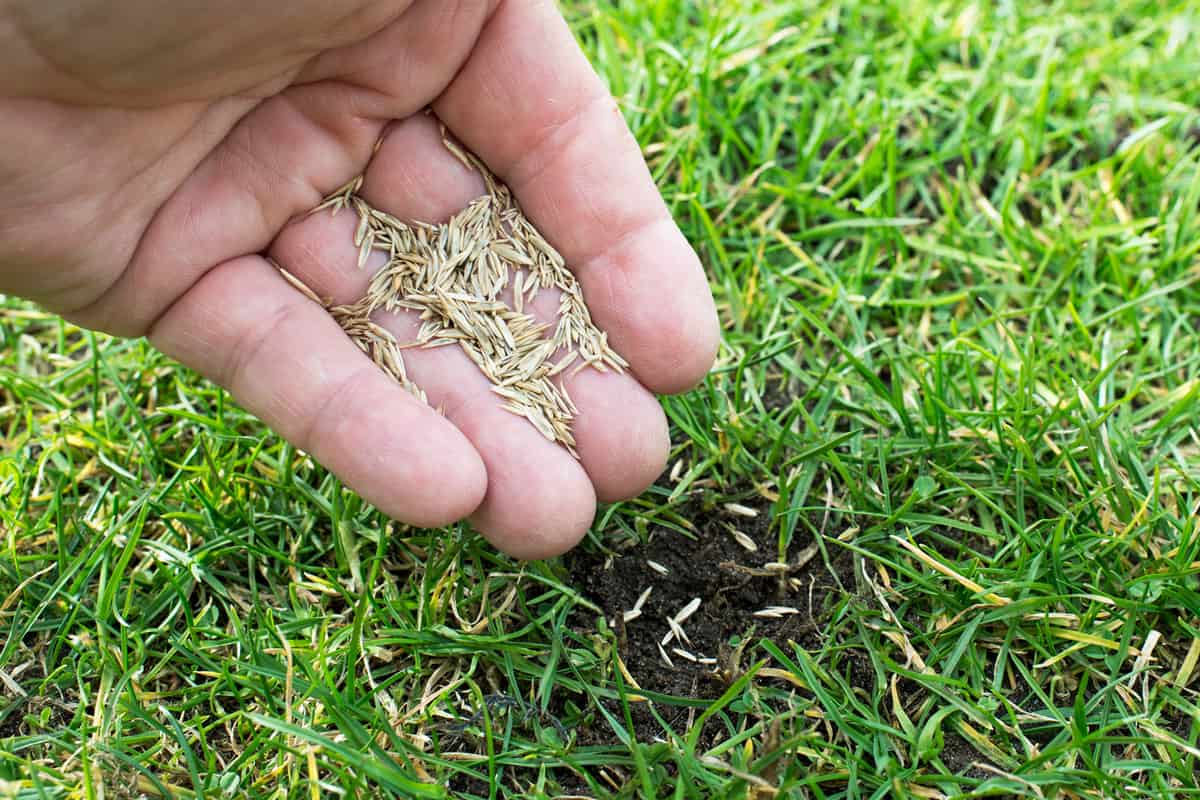
Alternatively, you can also try direct seeding in the garden after the last frost date in your area. Prepare the soil as mentioned earlier and sow the seeds directly in the desired location, following the recommended seeding depth. Keep the soil consistently moist until the seeds germinate.
Whether you choose the stratification method or direct seeding, providing the right conditions is key to successful germination. With a little patience and care, you’ll soon see the first signs of life as your elderberry seeds sprout and begin their journey towards becoming robust plants.
Plant elderberry seeds in the late fall or early spring. Soak the seeds in water for 24 hours before planting to improve germination. Plant in well-draining soil and keep the seeds moist until they sprout.
Planting Elderberry Seeds
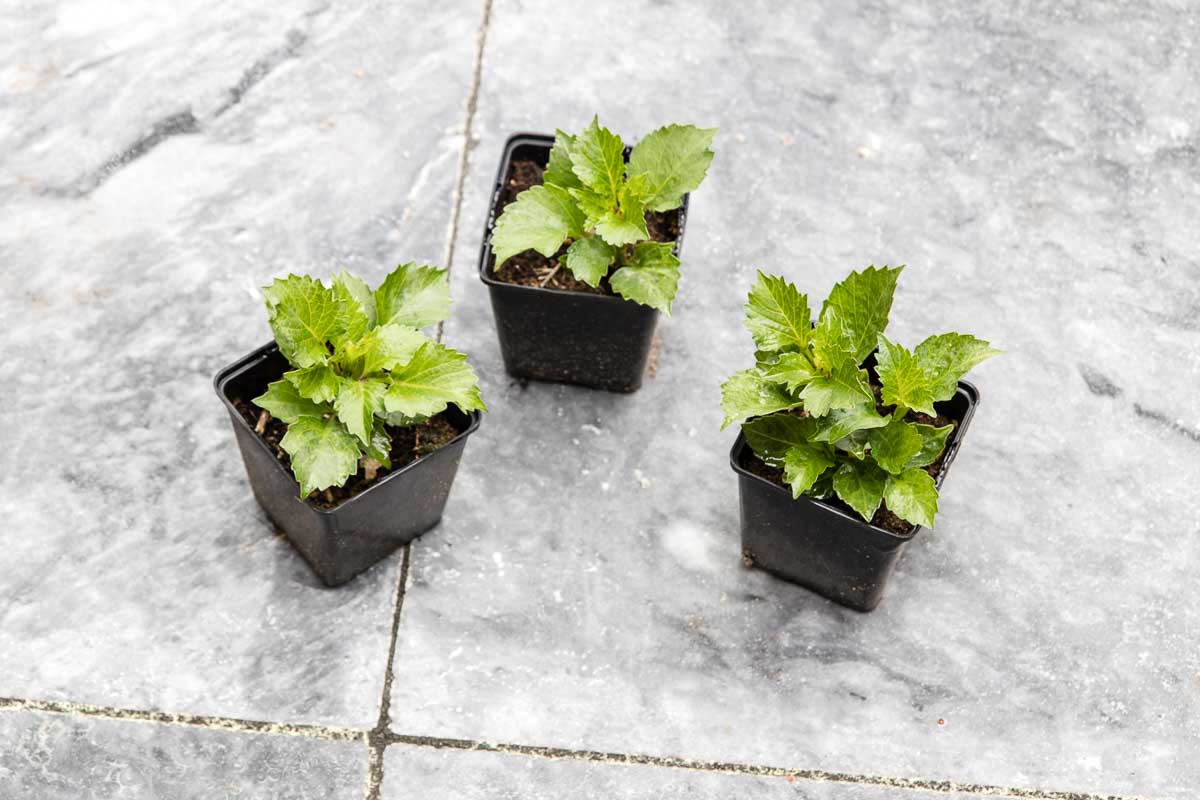
Once your elderberry seeds have successfully germinated, it’s time to plant them in their permanent growing location. Whether you’re planting them outdoors in the garden or in containers, here are some important steps to follow:
1. Choose the right location: Elderberries thrive in full sun, so select a spot that receives at least 6-8 hours of direct sunlight each day. Ensure that the soil is well-drained to prevent waterlogging, as elderberries don’t tolerate standing water.
2. Dig the planting hole: Dig a hole that is slightly larger than the root ball of your seedling or the depth of the container it is currently in. Make sure to space your plants at least 6-10 feet apart to provide ample room for growth.
3. Amend the soil: If your soil lacks organic matter or nutrients, it’s beneficial to incorporate compost or well-rotted manure into the planting hole. This will provide a nutrient-rich environment for the young seedling to establish itself.
4. Transplant the seedling: Gently remove the seedling from its container, or if you germinated the seed in a seed tray, carefully separate it from the other seedlings. Place the roots into the planting hole, making sure that the seedling sits at the same depth it was previously growing.
5. Backfill and water: Fill the hole with soil, gently firming it around the roots. Water the newly planted seedling thoroughly to settle the soil and help eliminate any air pockets. Avoid overwatering, as this can lead to root rot.
6. Mulch and support: Apply a layer of organic mulch around the base of the seedling, leaving a gap around the stem to prevent moisture buildup. This will help retain moisture, suppress weeds, and regulate soil temperature. If you’re growing your elderberries in an area with strong winds, consider providing support such as stakes or cages to prevent the plants from bending or breaking.
7. Regular care: Keep an eye on your newly planted seedlings and provide consistent moisture. Water deeply, especially during dry spells, to encourage root growth. Monitor the plants for any signs of pests or diseases and take appropriate action if needed.
By following these steps, you’ll give your elderberry seedlings a strong start and set them up for healthy growth and abundant harvests in the future. Enjoy watching your plants thrive and transform your garden into a beautiful and bountiful space.
Read more: When To Plant Borage Seeds
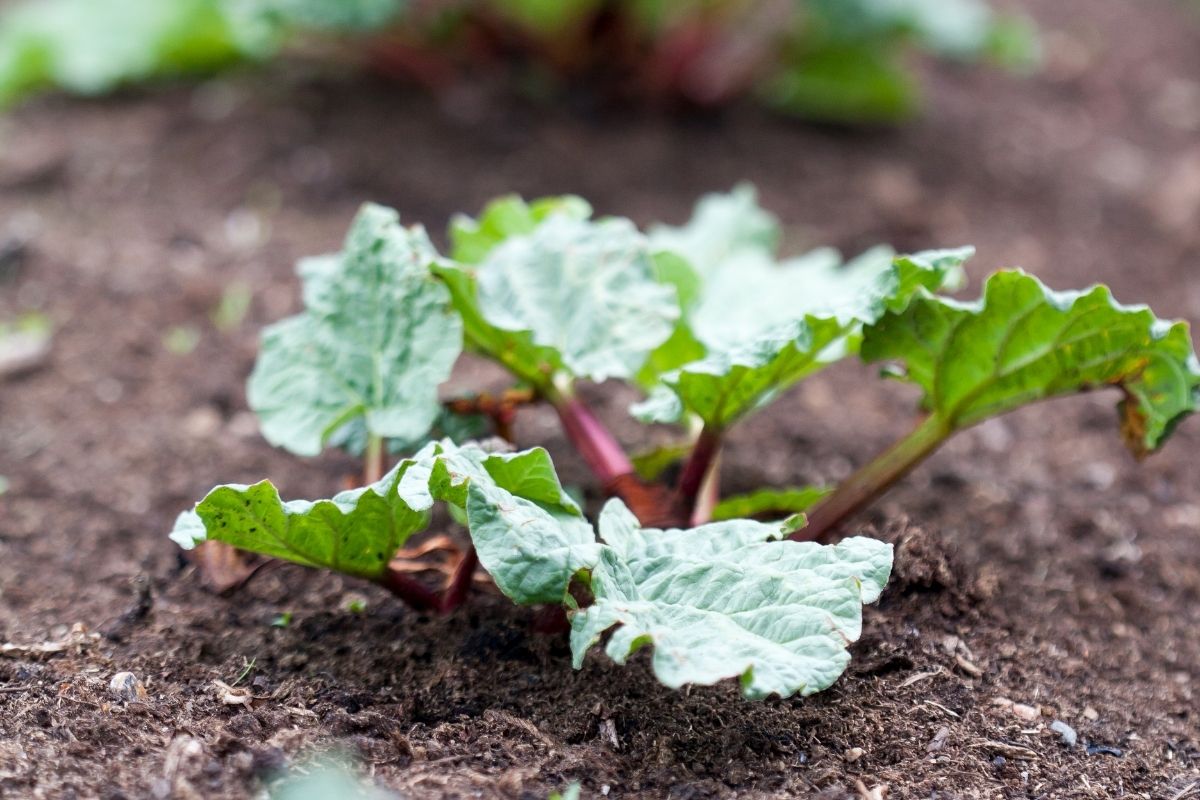
Caring for Elderberry Seedlings
As your elderberry seedlings continue to grow, it’s important to provide them with proper care to ensure their health and vitality. Here are some essential tips for caring for your elderberry seedlings:
1. Watering: Elderberry seedlings require regular watering, especially during the first few months of growth. Keep the soil evenly moist, but be cautious not to overwater, as waterlogged soil can lead to root rot. Aim to water deeply, allowing the water to reach the root zone.
2. Mulching: Apply a layer of organic mulch, such as wood chips or straw, around the base of the seedlings. Mulching helps conserve moisture, suppresses weed growth, and regulates soil temperature. Leave a small gap around the stem to prevent moisture buildup and potential rotting.
3. Fertilizing: Elderberries are generally low-maintenance plants, and in most cases, they don’t require heavy fertilization. However, if your soil is lacking in nutrients, you can apply a balanced, slow-release organic fertilizer in early spring. Be sure to follow the package instructions and avoid over-fertilizing, as excessive nutrients can lead to weak growth and reduced fruit production.
4. Pruning: Once your elderberry seedlings have established themselves, it’s beneficial to prune them annually for optimal growth and fruiting. Pruning should be done during the dormant season, typically in late winter or early spring. Remove any dead or damaged wood and cut back any weak or crossing branches. This will promote airflow, reduce disease risk, and encourage the growth of strong, productive stems.
5. Pest and Disease Management: Monitor your elderberry seedlings regularly for signs of pests or diseases. Common pests include aphids, caterpillars, and spider mites. If you notice any infestations, try using organic pest control methods or consult with a local gardening expert. Additionally, keep an eye out for common diseases like powdery mildew or bacterial leaf spot. Proper spacing, good air circulation, and avoiding overhead watering can help prevent these issues.
6. Winter Protection: Elderberries are generally hardy plants, but in extremely cold climates, providing some winter protection can be beneficial. Consider mulching the base of the plant with a layer of straw or leaves to insulate the roots. You can also wrap the young seedlings in burlap or cover them with frost blankets during harsh winter conditions.
By following these care tips, you will help your elderberry seedlings thrive and become strong, productive plants. Remember to observe your plants closely and make adjustments to their care as needed. With proper care and attention, you’ll soon enjoy the beauty and bounty of mature elderberry plants in your garden.
Transplanting Elderberry Seedlings
Transplanting elderberry seedlings is an exciting step in the growth process, as it allows you to establish these young plants in their permanent location. Here’s a guide to successfully transplanting your elderberry seedlings:
1. Timing: Choose the right time to transplant your elderberry seedlings. It’s best to wait until the seedlings have developed a strong root system and are actively growing. In general, this is when they reach a height of about 12-18 inches and have several sets of leaves. Transplanting in early spring or late fall, when temperatures are cooler, is ideal.
2. Preparing the new location: Prior to transplanting, prepare the new location in your garden. Ensure that the soil is well-draining, rich in organic matter, and has a pH level between 5.5 and 7.5—similar to the conditions required for germinating elderberry seeds. Clear any weeds or debris from the area and loosen the soil to promote proper root penetration.
3. Digging the planting hole: Dig a planting hole that is slightly wider and deeper than the root ball of the seedling. This will allow room for the roots to spread out. If transplanting multiple seedlings, space the holes at least 6-10 feet apart to ensure adequate growth and air circulation.
4. Transplanting process: Carefully remove the seedling from its current container or location, ensuring you disturb the roots as little as possible. Gently place the seedling into the planting hole and backfill with soil, firming it around the roots to eliminate air pockets. The crown of the seedling should be level with or slightly above the soil surface.
5. Watering and mulching: After transplanting, water the seedlings thoroughly to help settle the soil around the roots. Provide enough water to moisten the entire root zone. Apply a layer of organic mulch around the base of the plant, leaving a small gap around the stem to prevent moisture buildup and potential rotting. Mulching will help retain moisture, suppress weed growth, and regulate soil temperature.
6. Staking and support: If your elderberry seedlings are tall or in an area prone to strong winds, consider staking them to provide support. Use soft ties or cloth to loosely secure the seedling to the stake, allowing room for growth and movement. This will help prevent the plants from bending or breaking during gusts of wind.
7. Post-transplant care: Monitor the newly transplanted seedlings closely in the first few weeks. Keep the soil evenly moist, but avoid overwatering, as it can lead to root rot. Regularly check for signs of stress, such as wilting or yellowing leaves, and take appropriate action if needed. Consider providing shade or wind protection if the seedlings show signs of struggling.
By following these steps, you can successfully transplant your elderberry seedlings and help them establish a strong root system in their permanent home. With proper care and attention, your elderberries will grow into beautiful, productive plants that will provide you with a bountiful harvest year after year.
Conclusion
Congratulations on successfully learning about planting elderberry seeds and caring for the seedlings! By following the steps outlined in this article, you are well-equipped to embark on your journey of growing these beautiful and nutritious plants in your garden.
From selecting high-quality elderberry seeds to preparing the soil and germinating the seeds, you have gained valuable insights into the process. You have also learned crucial tips on planting the seedlings, caring for them, and eventually transplanting them to their permanent location.
Remember, elderberries are hardy plants that offer not only aesthetic beauty but also an abundance of health benefits. From the vibrant flowers in the spring to the clusters of berries in the summer, these plants are a joy to have in any garden.
As your elderberry plants mature, continue to provide adequate care and attention, including watering, mulching, and pruning. Regularly monitor for pests and diseases, and take appropriate measures to maintain the health and productivity of your plants.
Once your elderberry bushes begin to fruit, you can enjoy their delicious, tart berries that are rich in antioxidants, vitamins, and minerals. Harvest the ripe berries and incorporate them into various culinary delights, such as jams, pies, and even elderberry wine.
Remember, gardening is a continuous learning process, and each season brings new experiences and opportunities for growth. Keep exploring and expanding your gardening skills, and don’t hesitate to seek advice from other gardeners or local resources if needed.
So, roll up your sleeves, put on your gardening gloves, and enjoy the rewarding journey of growing elderberries from seeds. Happy gardening!
Frequently Asked Questions about When To Plant Elderberry Seeds
Was this page helpful?
At Storables.com, we guarantee accurate and reliable information. Our content, validated by Expert Board Contributors, is crafted following stringent Editorial Policies. We're committed to providing you with well-researched, expert-backed insights for all your informational needs.


0 thoughts on “When To Plant Elderberry Seeds”