
Articles
How To Store Jam
Modified: February 20, 2024
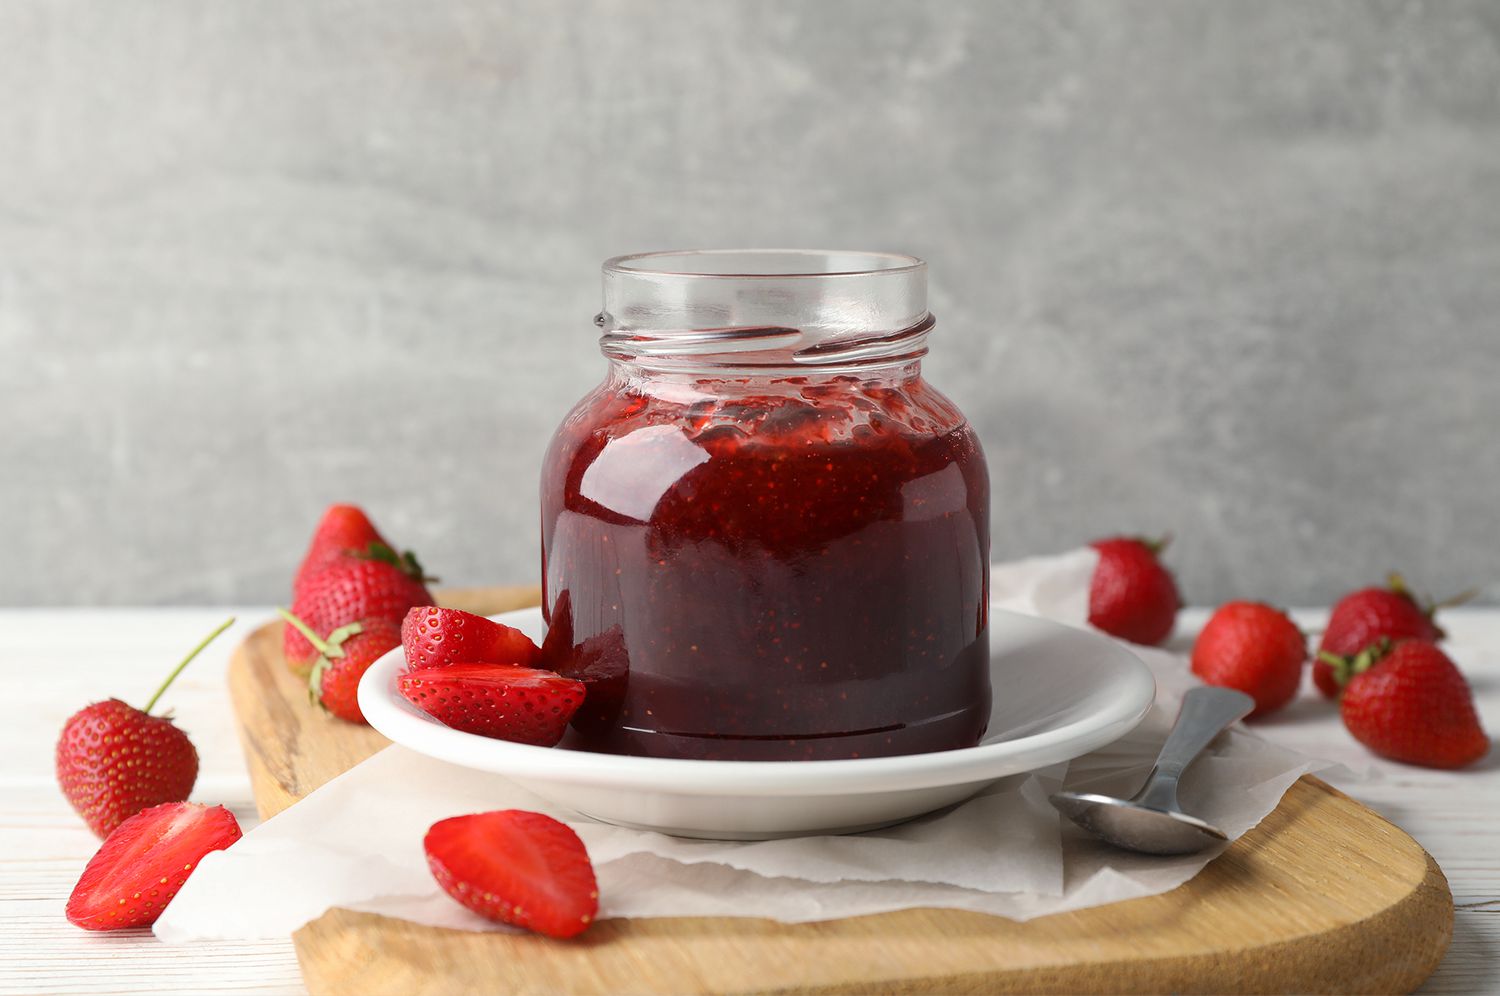
Learn expert tips and tricks for properly storing jam with our informative articles. Extend the shelf life and preserve the flavors of your homemade treats.
(Many of the links in this article redirect to a specific reviewed product. Your purchase of these products through affiliate links helps to generate commission for Storables.com, at no extra cost. Learn more)
Introduction
Welcome to the world of homemade jam! If you’ve ever taken the time and effort to make a delectable batch of jam, you’ll know how important it is to store it properly to maintain its freshness and flavor. Whether you’re a seasoned jam-maker or a beginner, this article will guide you through the best practices and techniques for storing your homemade jams.
Proper storage not only helps to preserve the taste and texture of your homemade jam but also ensures its long shelf life. The right storage methods will prevent spoilage, maintain its vibrant colors, and guarantee its safety to consume for months to come.
So, let’s dive into the essential steps and guidelines for storing jam, whether you’re planning to keep it in the pantry, refrigerator, or even the freezer.
Key Takeaways:
- Choose the right containers, sterilize them, and seal your homemade jam with care to ensure optimal freshness and flavor. Experiment with pantry, refrigerator, or freezer storage for year-round enjoyment.
- Keep your homemade jam clean, properly sealed, and stored at consistent temperatures to maintain its quality and safety. Label, date, and rotate your stock for organized and delightful jam experiences.
Read more: How To Store Homemade Jam
Choosing the Right Containers
When it comes to storing jam, selecting the right containers is key. The ideal containers are those that provide an airtight seal to prevent air and moisture from entering, which can lead to spoilage. Here are a few factors to consider when choosing the right containers for your homemade jam:
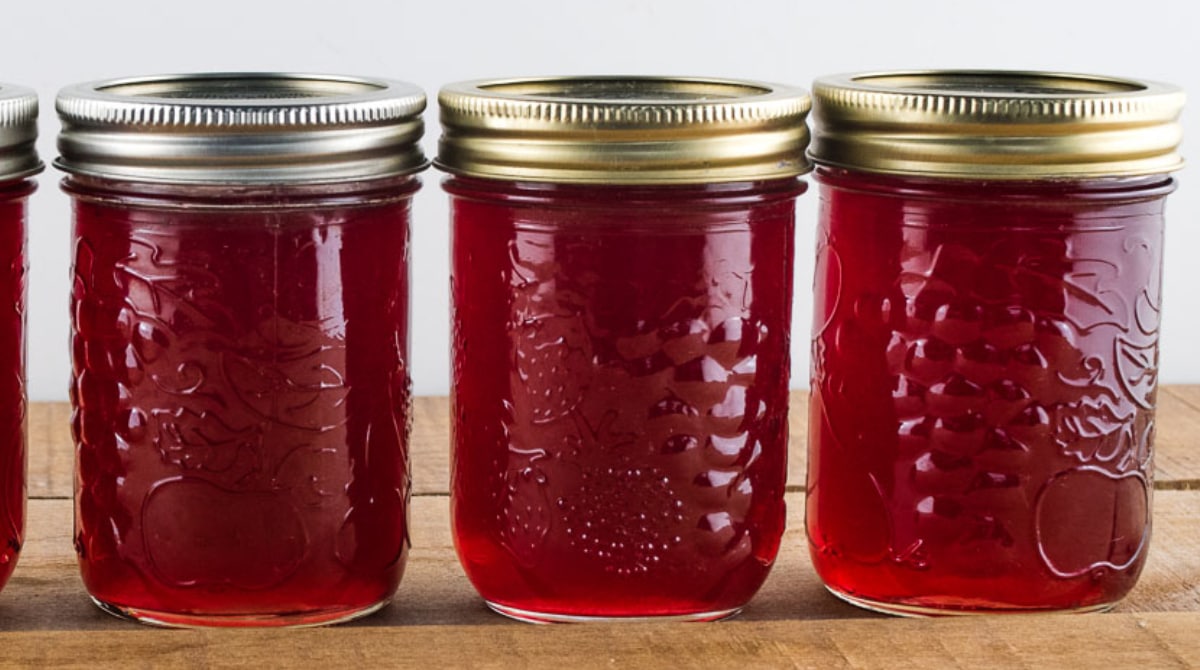
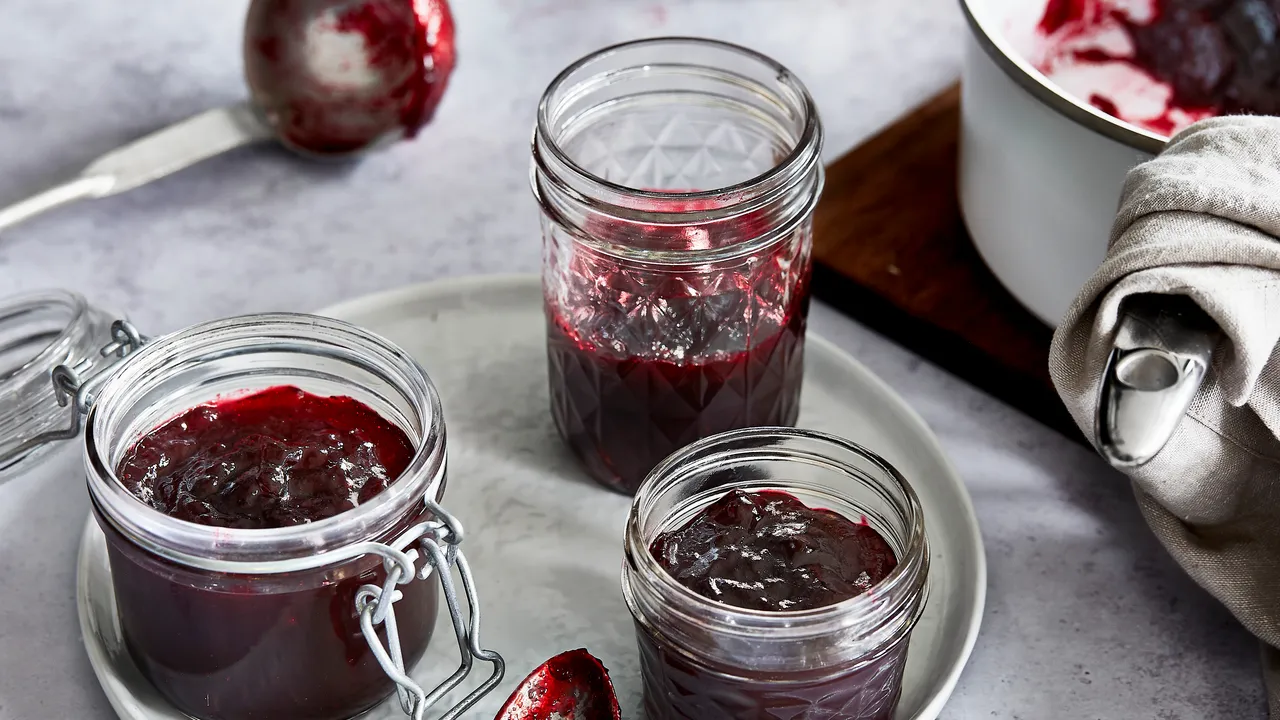
- Material: Glass jars are the most popular choice for storing jam. They are non-reactive, meaning they won’t affect the flavor or quality of the jam. Look for jars made of high-quality, food-grade glass that is dishwasher-safe and resistant to cracking or breaking.
- Size: Consider the size of the jars based on the quantity of jam you typically make. Smaller jars are ideal for creating individual portions or gifting, while larger jars are suitable for storing larger batches.
- Shape: Opt for jars with straight sides, as they allow for easier filling and cleaning. Avoid jars with shoulders or curves, as they can make it difficult to scrape out the last remnants of jam.
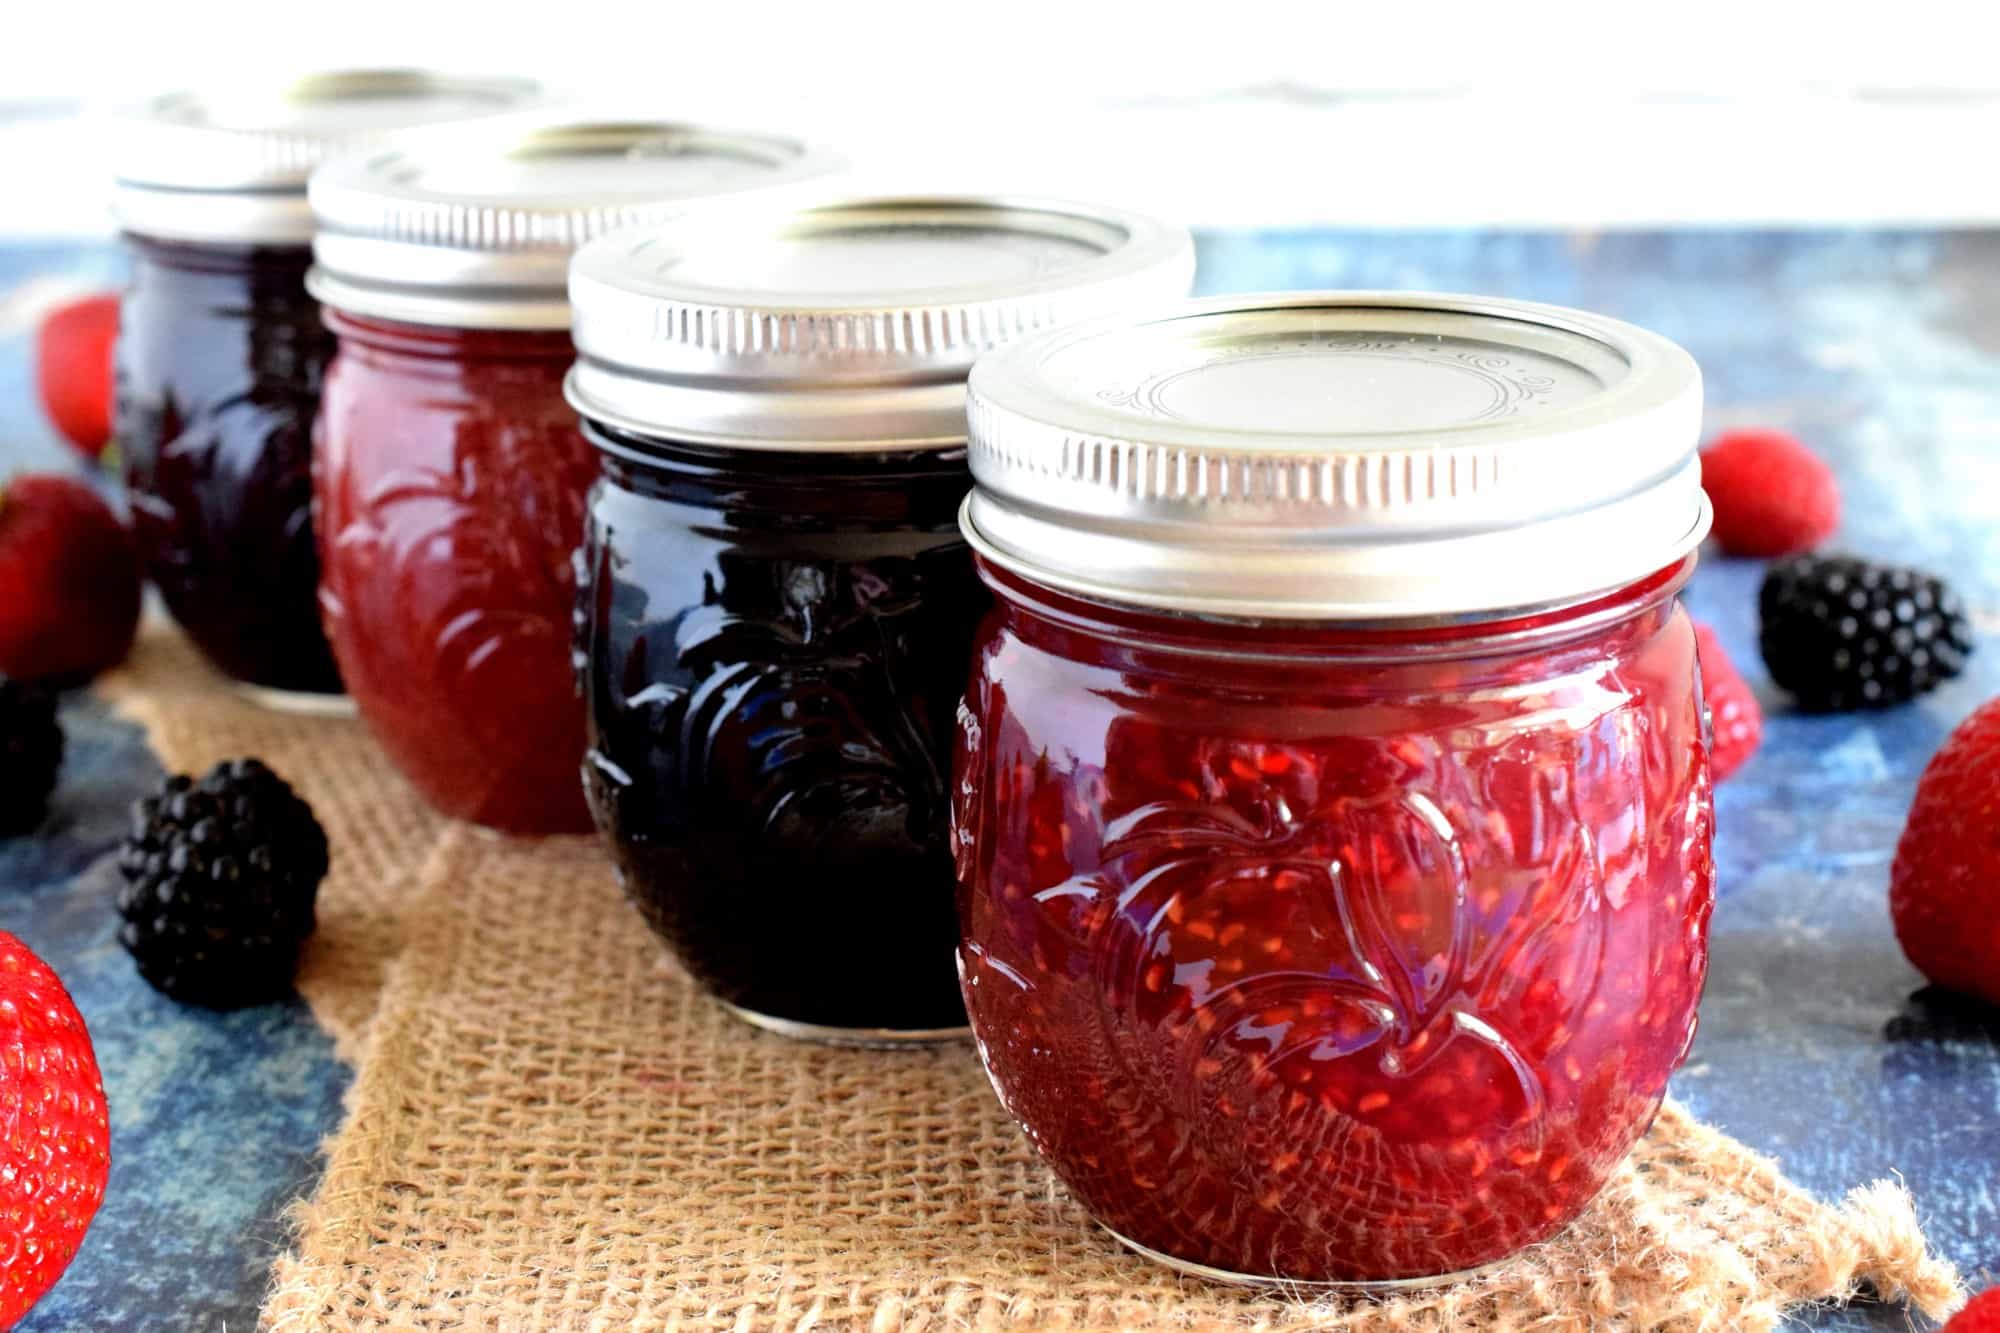
- Lids: Look for jars with lids that have a plastisol coating or rubber gasket, as these provide a secure and airtight seal. Mason jars with two-piece lids, including a metal ring and a flat lid, are a popular choice for jam storage.
It’s important to note that if you’re reusing jars from store-bought products, ensure they are thoroughly cleaned, and the lids are in good condition. Avoid using containers with rusty or dented lids, as they may compromise the seal and lead to spoilage.
Additionally, consider the aesthetic appeal of the containers. Using clear glass jars allows you to appreciate the vibrant colors of your jams, making them perfect for showcasing your culinary creations or for gifting to friends and family.
Now that you have the right containers, the next step is to properly prepare them for storing your homemade jam. Let’s explore the essential steps for sterilizing and cleaning the containers to maintain the quality and safety of your jam.
Sterilizing and Cleaning Containers
Before filling your containers with homemade jam, it’s crucial to ensure they are properly sterilized and cleaned. This will help to eliminate any bacteria or contaminants that could compromise the quality and safety of your jam. Follow these steps to sterilize your containers:
- Wash the containers: Start by washing the jars and lids in warm, soapy water. Use a bottle brush or sponge to scrub the inside and outside of the jars, ensuring you remove any dirt or residue. Rinse them thoroughly with hot water.
- Sterilize in boiling water: Once the jars are washed, place them in a large pot and fill it with enough water to cover the jars. Bring the water to a boil and let the jars simmer for about 10 minutes. This boiling process kills any lingering bacteria or germs.
- Dry the containers: Carefully remove the jars from the boiling water using tongs or a jar lifter. Place them on a clean towel or a drying rack, allowing them to air dry completely. Make sure the jars are upright to prevent any water from pooling inside.
- Sanitize the lids: While the jars are drying, sanitize the lids by placing them in a small pot of boiling water for a few minutes. This helps to soften the rubber gaskets and ensures a secure seal when you close the jars.
It’s important to note that if you’re using brand new jars or lids, they may already be sterilized. In such cases, you can skip the boiling step and simply wash them with hot, soapy water.
Once your containers are sterilized and dried, you can proceed with filling them with your delicious homemade jam. The next section will cover the steps for preparing the jam, ensuring it’s ready for storage.
Preparing the Jam
Before you can store your homemade jam, you need to ensure that it’s properly prepared. Follow these steps to prepare your jam for storage:
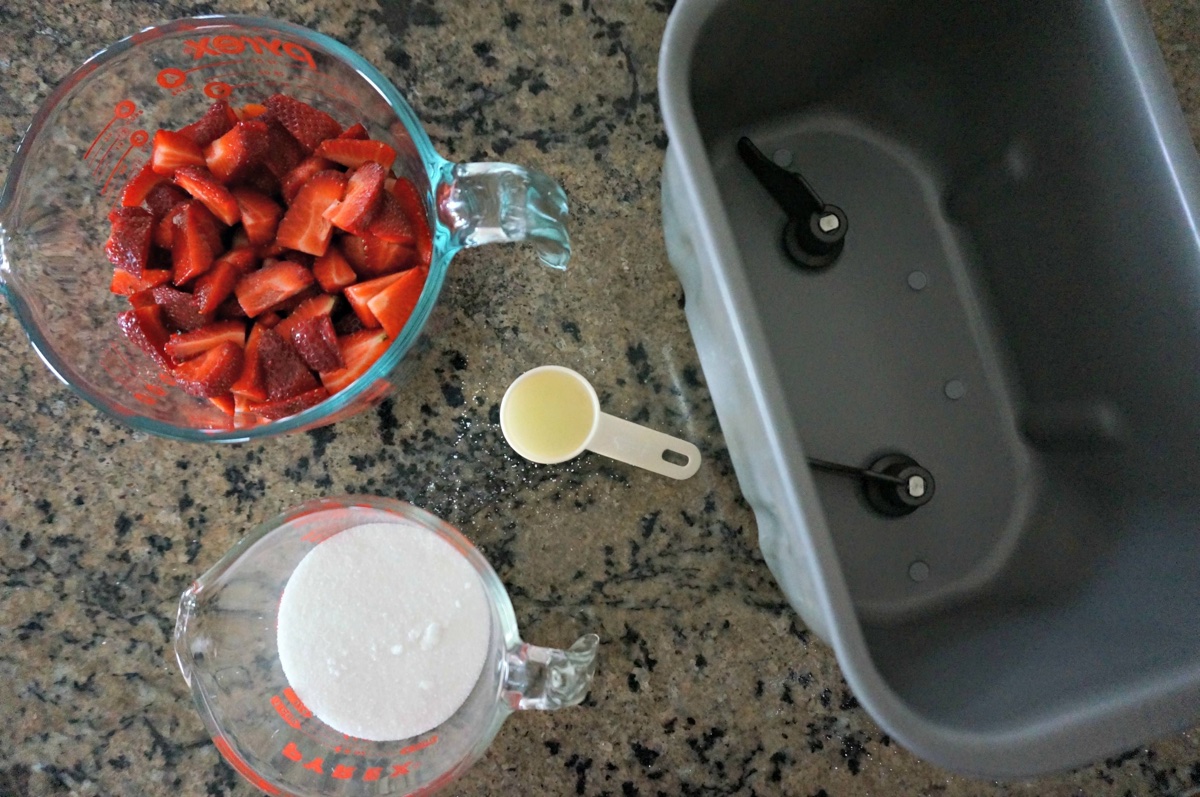
- Gather your ingredients: Begin by gathering all the ingredients needed for your jam recipe. This typically includes fresh fruits, sugar, pectin (if necessary), and any additional flavorings or spices.
- Prepare the fruit: Wash and prepare the fruit by removing any stems, seeds, or pits. Chop or crush the fruit according to your recipe’s instructions, ensuring that it’s in the desired consistency for your jam.
- Cook the jam: In a large pot, combine the prepared fruit, sugar, and any other ingredients specified in your recipe. Stir the mixture continuously over medium heat until the sugar is fully dissolved. Increase the heat to bring the mixture to a rolling boil.
- Skim off any foam: As the jam boils, foam may rise to the surface. Use a spoon or a fine mesh sieve to skim off the foam and discard it. This helps to improve the clarity and texture of the finished jam.
- Test for doneness: To determine if the jam has reached the desired consistency, perform a “jell” or “wrinkle” test. Place a small amount of the jam on a chilled plate and allow it to cool. If it wrinkles or holds its shape when pushed with a finger, it has reached the desired thickness.
- Remove from heat: Once the jam has reached the desired consistency, remove the pot from the heat. Stir in any additional flavorings, if necessary.
It’s important to note that every jam recipe may have slightly different instructions and cooking times. Follow the specific cooking instructions provided in your recipe to ensure optimal results.
Once your jam is cooked and ready to be stored, it’s important to fill the containers promptly and with care. The next section will guide you through the steps for filling your containers with the jam.
Filling the Containers
Now that your homemade jam is prepared and cooked to perfection, it’s time to fill your containers. Follow these steps to ensure a smooth and efficient filling process:
- Prepare the workspace: Set up a clean and organized workspace for filling the containers. Make sure you have the sterilized jars, sanitized lids, and a ladle or funnel ready.
- Fill the jars: Using a ladle or funnel, carefully pour the hot jam into the sterilized jars, leaving about 1/4 inch of headspace at the top. This small gap allows room for expansion and creates a proper seal. Avoid overfilling the jars, as it can lead to leakage during storage.
- Remove air bubbles: After filling the jars, use a clean utensil, like a chopstick or a plastic spatula, to gently remove any air bubbles trapped in the jam. Slide the utensil along the sides of the jar to release the bubbles.
- Wipe the rims: Before sealing the jars, wipe the rims with a clean, damp cloth or paper towel to remove any traces of jam. This ensures a clean and secure seal.
- Apply the lids: Take the sanitized lids out of the hot water and place them on the jars. Secure the lids by tightly screwing on the metal rings. Ensure that the lids are placed centrally and sit flat on the jars.
It’s important to work quickly and efficiently during the filling process to prevent the jam from cooling and solidifying. This helps to ensure a proper seal and extend the shelf life of your homemade jam.
With the jars filled and the lids securely fastened, you’re now ready to move on to the next crucial step: sealing the jars to safeguard the freshness and longevity of your delicious jam.
Read more: How To Store Bacon Jam
Proper Sealing Techniques
Properly sealing your jam jars is crucial to maintain the freshness, flavor, and safety of your homemade jam. Follow these techniques to ensure a secure and airtight seal:
- Check for proper lid condition: Before sealing the jars, inspect the lids for any signs of damage or defects. Make sure the rubber gaskets are intact and free from cracks. Discard any lids that show visible signs of wear or damage.
- Apply the lids securely: Place the lids on the jars, ensuring they are centered and sit flat. Screw on the metal rings tightly but avoid over-tightening, as this can prevent air from escaping during processing.
- Use a water bath canner: To create a proper seal, process your filled and sealed jars in a water bath canner. Submerge the jars in boiling water, making sure the water level covers the jars by at least one inch. Follow the recommended processing time provided in your recipe.
- Remove from water bath and cool: After the processing time is complete, carefully remove the jars from the water bath canner using tongs or a jar lifter. Place them on a clean towel or a cooling rack to cool. As the jars cool, you may hear a “pop” sound, indicating that the jars have properly sealed.
- Check for a proper seal: Once the jars are fully cooled, check for a proper seal by pressing down on the center of the lids. A properly sealed lid should be firm and not move or flex. If a lid can be pressed down and springs back, it indicates a failed seal, and the jar should be refrigerated and consumed within a few weeks.
Proper sealing techniques not only ensure the integrity of your homemade jam but also help to prevent spoilage and extend its shelf life. It’s important to note that if you prefer not to process your jam in a water bath canner, you can utilize alternative methods such as storing the jam in the refrigerator or freezer. We will cover these storage options in the upcoming sections.
With your jam jars properly sealed, it’s now time to label and date them for easy identification. We will explore this step in the next section.
Store jam in a cool, dark place to prevent it from spoiling. Once opened, keep it in the refrigerator to maintain its freshness and flavor for a longer period of time.
Labeling and Dating
Labeling and dating your homemade jam jars is essential for organization and ensuring that you can easily identify them in the future. This step helps you keep track of the batch, flavor, and date of production. Follow these tips for effective labeling and dating:
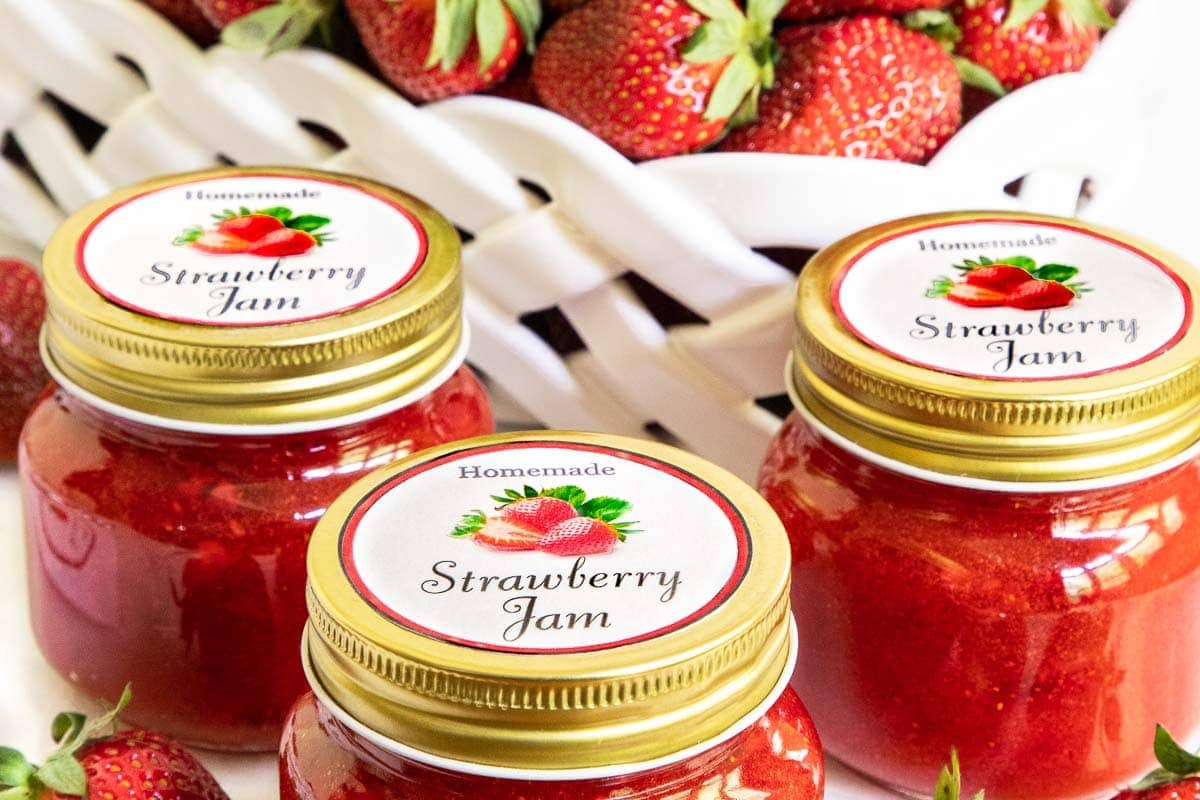
- Use waterproof labels: Choose labels that are designed to withstand moisture and won’t peel or smudge over time. Waterproof labels can be found in office supply stores or online.
- Include necessary information: Write down important details on the labels such as the type of jam, date of production, and any additional notes or ingredients. This information will come in handy when you’re deciding which jars to use first or when you want to gift or share your jams.
- Add decorative touches: Get creative and add decorative touches to your labels. You can use colorful markers, stickers, or even include your own custom-designed labels to make the jars more visually appealing.
- Attach the labels securely: Make sure the labels are firmly attached to the jars and won’t come off during storage. You can use adhesive labels or opt for string or twine to tie a label around the neck of the jar.
Properly labeled and dated jam jars provide a professional touch and make it easier for you to keep track of your inventory. They also add a personal touch if you’re gifting your homemade jam to friends or family.
Now that your jam jars are labeled and dated, it’s time to explore different storage options depending on your preferred method of preservation. Let’s dive into the best practices for storing in the pantry, refrigerator, and freezer.
Storing in the Pantry
Storing your homemade jam in the pantry is a great option if you prefer to keep it at room temperature and easily accessible for everyday use. Follow these guidelines to ensure optimal storage in your pantry:
- Choose a cool and dark location: Find a cool and dark spot in your pantry, away from direct sunlight or sources of heat. Exposure to light and temperature fluctuations can affect the quality and shelf life of your jam.
- Keep jars upright: Store the sealed jars upright, preventing any potential leakage or air pockets that can affect the seal. Placing them on a sturdy shelf will help maintain their position.
- Avoid extreme temperatures: Ensure that the ambient temperature in your pantry does not exceed the recommended storage temperature for your specific jam recipe. High temperatures can lead to spoilage, while low temperatures can affect the texture and consistency of the jam.
- Rotate your stock: To maintain optimal freshness, rotate your jam stock by using the jars in a first-in, first-out (FIFO) order. This ensures that older jars are used before newer ones.
- Regularly inspect for spoilage: It’s important to regularly check your stored jam for any signs of spoilage. Look out for mold growth, off odors, or unusual discoloration. If any of these signs are present, discard the jar immediately.
Properly stored, homemade jam can typically last in the pantry for up to a year. However, it’s always recommended to consume it within 6-12 months for the best flavor and quality.
Now that you know how to store jam in the pantry, let’s move on to the next storage option: storing in the refrigerator.
Storing in the Refrigerator
If you prefer to keep your homemade jam close at hand and enjoy it chilled, storing it in the refrigerator is the way to go. Follow these guidelines to ensure proper storage of your jam in the refrigerator:
- Use airtight containers: Transfer your homemade jam into airtight containers before placing them in the refrigerator. This helps to maintain the flavor and prevent absorption of any odors from other foods.
- Label and date the containers: As mentioned earlier, make sure to label and date your jam containers to keep track of their freshness.
- Place on a stable shelf: Find a stable shelf in your refrigerator to store the jam. Avoid placing it on the refrigerator door, as it is subject to temperature fluctuations each time the door is opened.
- Keep away from strong-smelling foods: Ensure that your jam containers are stored away from strong-smelling foods like onion, garlic, or spices, as they can transfer odors and impact the flavor of the jam.
- Consume within a few weeks: Unlike pantry storage, refrigerated jam has a shorter shelf life. Consume it within a few weeks to enjoy its freshness and flavor at its best.
Storing your homemade jam in the refrigerator not only keeps it cool but also helps to maintain its taste and texture. It’s a convenient option for regular use and is especially delightful when spread on a piece of toast or incorporated into your favorite recipes.
Now, let’s explore the final storage option for your homemade jam – the freezer.
Read more: How To Store Jam Once Opened
Storing in the Freezer
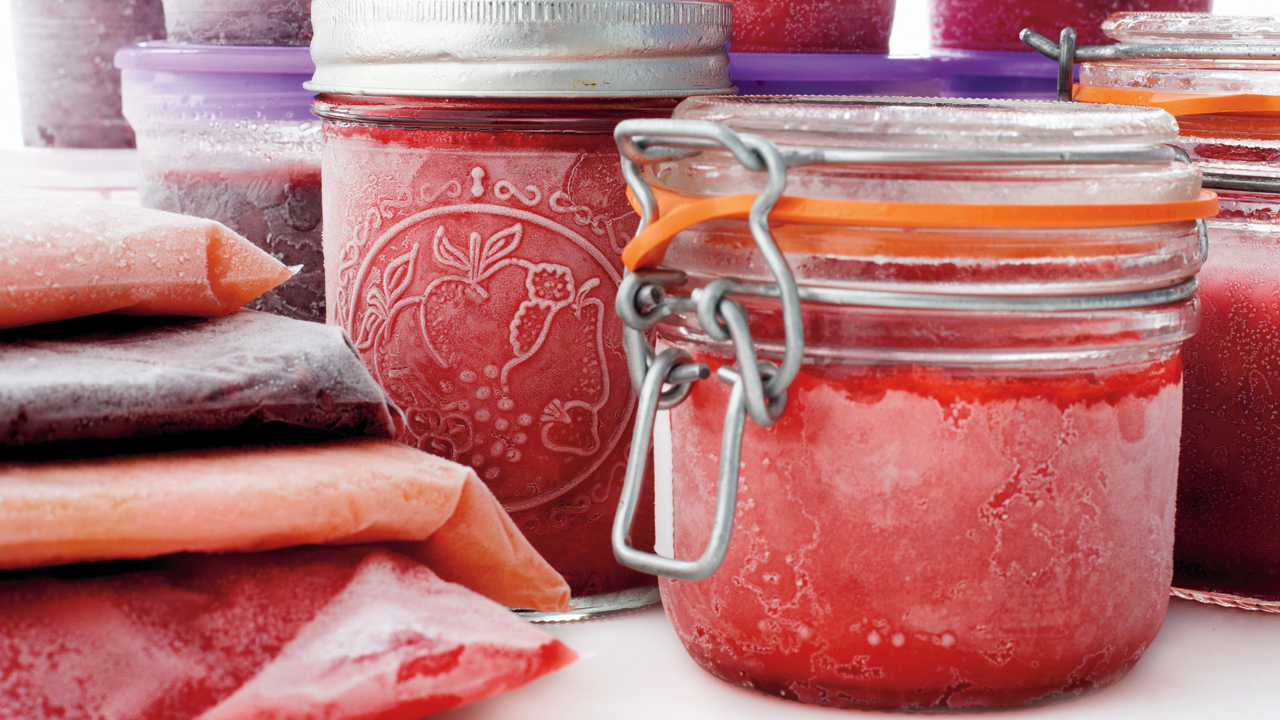
Freezing your homemade jam is an excellent option for long-term storage, allowing you to enjoy the flavors of your homemade creations for months to come. Follow these guidelines to properly store your jam in the freezer:
- Select freezer-safe containers: Choose containers specifically designed for freezing, such as freezer-safe glass jars or plastic containers with airtight lids. Make sure they are made of durable materials capable of withstanding freezing temperatures.
- Leave headspace in containers: Leave some headspace in the containers to allow for expansion as the jam freezes. This prevents the containers from breaking and helps to maintain the integrity of the seal.
- Label and date the containers: Clearly label each container with the type and date of the jam. This makes it easier to identify and use the oldest batch first.
- Fill containers to the brim: Fill the containers to the brim to minimize air contact, which can lead to freezer burn and affect the quality of the jam.
- Store in a deep freezer if possible: If you have access to a deep freezer, it is ideal for long-term storage of jam. Deep freezers provide stable and consistent temperatures, which help maintain the quality of the jam for an extended period.
- Thaw before use: When you’re ready to enjoy your frozen jam, transfer a container from the freezer to the refrigerator and let it thaw slowly overnight. Thawed jam can be stored in the refrigerator for a few weeks.
When properly stored in the freezer, homemade jam can retain its quality and flavor for up to a year or even longer. This allows you to savor the taste of summer fruits even during the colder months.
Now that you know how to store your jam in the pantry, refrigerator, and freezer, it’s time to share some additional tips to ensure optimal storage regardless of the method you choose.
Tips for Optimal Jam Storage
To ensure the best storage conditions and maintain the quality of your homemade jam, consider the following tips:
- Keep it clean: Always make sure your containers, utensils, and workspace are clean and free from any contaminants or residue that can affect the taste and safety of your jam.
- Avoid temperature extremes: Whether you store your jam in the pantry, refrigerator, or freezer, avoid exposing it to extreme temperatures. Fluctuations in temperature can lead to spoilage or affect the texture and flavor of the jam.
- Check for signs of spoilage: Regularly inspect your stored jam for any signs of spoilage such as mold growth, unusual odors, or off flavors. If you notice any of these signs, discard the jar immediately.
- Keep it tightly sealed: Ensure that your jam containers are tightly sealed to prevent air from getting in. Loose or improperly sealed lids can lead to spoilage and affect the overall quality.
- Store in smaller portions: If you prefer to have smaller servings of jam readily available, consider dividing your batch into smaller containers or using ice cube trays for portioning. This allows you to defrost only what you need rather than thawing a large container every time.
- Rotate your stock: When storing multiple batches or flavors of jam, practice a first-in, first-out approach. Use the older jars first to maintain the freshest and highest quality jam.
- Label allergens and ingredients: If your jam contains common allergens or specific ingredients, ensure you mention them on the label to inform consumers about potential allergenic substances.
- Experiment with different storage methods: Feel free to try out different storage methods to find what works best for you. Some flavors and types of jam may excel in the pantry, while others may be better suited for refrigeration or freezing.
By following these tips, you can maximize the shelf life, flavor, and safety of your homemade jam, ensuring that every spoonful brings delight and satisfaction.
Now that you’re well-equipped with knowledge on how to store your jams, from choosing the right containers to the best storage methods, you can confidently embark on your jam-making adventures and enjoy the fruits of your labor for months to come.
Happy jam-making and happy storing!
Conclusion
Congratulations! You’ve learned all the ins and outs of storing homemade jam for optimal freshness and flavor. By choosing the right containers, sterilizing them properly, and filling and sealing them with care, you can ensure that your hard work in making delicious jams pays off in the long run.
Remember to label and date your jars, and consider the various storage options available to you. Whether you store your jam in the pantry, refrigerator, or freezer, each method has its own advantages and considerations.
Storing your jam in the pantry provides easy access and is suitable for short-term use. Refrigeration keeps your jam chilled and readily available for several weeks. Freezing allows you to enjoy your jams year-round, maintaining their quality for up to a year or more.
Regardless of the storage method you choose, it’s important to maintain cleanliness, avoid temperature extremes, and regularly check for signs of spoilage. These practices will ensure that your homemade jam remains safe, flavorful, and enjoyable.
Experiment with different flavors, containers, and storage methods to find what works best for you. Each batch of homemade jam is unique, and you can have fun customizing your own storage system to suit your preferences and needs.
Now that you’re armed with all the knowledge and tips for proper jam storage, it’s time to put it into practice and savor the fruits of your labor. So go ahead, whip up some delicious jam, store it with care, and enjoy the amazing flavors whenever and however you prefer.
Happy jam-making and happy storing!
Frequently Asked Questions about How To Store Jam
Was this page helpful?
At Storables.com, we guarantee accurate and reliable information. Our content, validated by Expert Board Contributors, is crafted following stringent Editorial Policies. We're committed to providing you with well-researched, expert-backed insights for all your informational needs.





0 thoughts on “How To Store Jam”