Home>Garden Essentials>How To Grow Elderberry From Seed
Garden Essentials
How To Grow Elderberry From Seed
Modified: March 15, 2024
Learn how to grow elderberry from seed in your garden and enjoy the benefits of this versatile and nutritious plant.
(Many of the links in this article redirect to a specific reviewed product. Your purchase of these products through affiliate links helps to generate commission for Storables.com, at no extra cost. Learn more)
Introduction
Welcome to the world of elderberries – a versatile and beautiful plant that can grace any garden or landscape. Elderberries, scientifically known as Sambucus, are not only known for their ornamental value but also for their numerous health benefits. Growing elderberries from seed can be a rewarding experience, allowing you to witness the entire lifecycle of these remarkable plants.
In this article, we will guide you through the process of growing elderberry plants from seed. We will explore the steps involved, from selecting the right seeds to harvesting the bountiful berries. So, let’s dive in and discover how you can cultivate your very own elderberry plant from scratch!
Before we get started, it’s important to note that there are several varieties of elderberries available, such as Sambucus nigra and Sambucus canadensis. While the general cultivation principles remain the same, specific requirements and characteristics may vary between different types. So, make sure to choose the variety that best suits your climate and gardening preferences.
Benefits of Growing Elderberry from Seed
Growing elderberries from seed offers a range of advantages. Firstly, starting from seed allows you to witness the complete growth cycle of the plants, from tiny seeds to mature berries. Secondly, growing from seed gives you a wider variety of options when it comes to selecting specific cultivars or genetic variations. Finally, by starting from scratch, you have the opportunity to nurture and shape the plants according to your preferences and growing conditions.
Getting Started with Elderberry Seeds
When it comes to selecting elderberry seeds, there are a few factors to consider. First and foremost, ensure that your seeds are fresh and of good quality. Look for reputable seed suppliers or consider harvesting the seeds from mature elderberry plants in your area.
Moreover, it’s important to understand that elderberries are typically grown through seed stratification. Seed stratification is a process that mimics the natural conditions required for germination. Most elderberry seeds need a period of cold stratification, usually around 90-120 days, to break dormancy and germinate successfully. This process can be achieved by refrigerating the seeds in a moist medium, such as peat moss or vermiculite, at a temperature between 32-40°F (0-4°C).
Once your seeds have undergone the stratification process, you’re ready to embark on the journey of growing elderberry plants from seed. Let’s explore the steps involved in the next sections.
Key Takeaways:
- Growing elderberries from seed allows you to witness the entire lifecycle, from tiny seeds to bountiful berries, offering a rewarding and fulfilling gardening experience.
- Providing optimal growing conditions, proper care, and protection from pests and diseases are essential for nurturing healthy elderberry plants and enjoying abundant harvests of delicious and nutritious berries.
Read more: When To Plant Elderberry Seeds
Selecting Elderberry Seeds
When it comes to selecting elderberry seeds, it’s important to choose high-quality seeds from reliable sources. Here are some key factors to consider when selecting your elderberry seeds:
- Variety: Determine the specific elderberry variety you want to grow. Sambucus nigra and Sambucus canadensis are two common varieties, but there are also other cultivars available. Consider your climate, growing conditions, and personal preferences when selecting the variety.
- Seed Freshness: Freshness is crucial for seed viability. Look for seeds that have been harvested recently or purchase them from reputable seed suppliers. Check the expiration date or inquire about the seed’s freshness if purchasing from a seller.
- Seed Quality: Opt for seeds that are clean, plump, and free from any signs of damage or disease. Avoid seeds that appear shriveled, discolored, or have mold growth.
- Germination Rate: Some seed suppliers provide information about the germination rate of their seeds. Ideally, choose seeds with a high germination rate to increase the chances of successful germination and seedling growth.
- Organic Options: If you prefer organic gardening, look for organic elderberry seeds that have been produced without the use of synthetic pesticides or fertilizers.
Additionally, it’s worth mentioning that you also have the option to harvest elderberry seeds from mature plants in your area. However, keep in mind that the resulting plants may not necessarily exhibit the exact characteristics of the parent plants due to genetic variations.
Once you have acquired your elderberry seeds, it’s time to prepare the growing area and get ready for planting. The next section will guide you through the necessary steps to create an ideal environment for your elderberry seeds to thrive.
Preparing the Growing Area
Before planting your elderberry seeds, it’s important to prepare the growing area to provide optimal conditions for their growth. Here are the steps to follow:
- Choose the Right Location: Elderberries thrive in full sun, so select a location that receives at least 6-8 hours of direct sunlight per day. Additionally, ensure that the area has well-draining soil to prevent waterlogging, which can cause root rot.
- Clear the Area: Remove any weeds, grass, or debris from the chosen location. Clearing the area will minimize competition for nutrients and space, allowing your elderberry plants to grow more efficiently.
- Improve Soil Quality: Elderberries prefer loamy soil that is rich in organic matter. If your soil is heavy clay or sandy, amend it with compost, well-rotted manure, or organic matter to improve its fertility, drainage, and moisture-retaining capacity.
- Test Soil pH: Elderberries prefer a slightly acidic to neutral soil pH range of 5.5 to 7. If needed, adjust the soil pH using appropriate amendments to create an optimal growing environment for your elderberry plants.
- Provide Adequate Space: Keep in mind that elderberry plants can grow quite large, reaching heights of 6-12 feet (1.8-3.6 meters) with a spread of 6-10 feet (1.8-3 meters). Plan the spacing between plants accordingly, allowing enough room for each plant to grow and expand.
Once you have prepared the growing area, you’re now ready to plant your elderberry seeds. The next section will walk you through the process of planting the seeds and ensuring proper germination.
Planting Elderberry Seeds
Planting elderberry seeds is an exciting step in growing your own elderberry plants. Follow these guidelines to ensure successful germination and healthy seedling growth:
- Timing: Plant your elderberry seeds in early spring, after the frosty weather has passed. This allows the seeds to take advantage of the warming soil temperatures and longer days for optimal germination.
- Seed Prep: If you have refrigerated the seeds for stratification, remove them from the refrigerator and allow them to come to room temperature before planting. This helps prevent shock to the seeds and improves their chances of germination.
- Seed Depth: Elderberry seeds are small, and therefore, should be planted at a shallow depth. Plant the seeds no more than ¼ inch (0.6 cm) deep in the prepared soil. Sprinkle a thin layer of soil or vermiculite over the seeds to cover them lightly.
- Watering: After planting the seeds, water the soil gently to ensure that it remains moist but not waterlogged. Keep the soil consistently moist throughout the germination and seedling stage. Avoid overwatering, as excessive moisture can lead to fungal diseases.
- Germination Time: Elderberry seeds can take anywhere from 2-3 weeks to several months to germinate, so be patient. Maintain consistent moisture and provide warmth to the seeds by placing trays or pots in a warm location or utilizing a seedling heat mat.
It’s worth noting that not all elderberry seeds will germinate, as germination rates can vary. Planting multiple seeds will increase the chances of successful germination and ensure a higher number of seedlings.
Once the seeds have germinated and the seedlings have emerged, it’s time to provide the optimal growing conditions to help them thrive. The next section will guide you through the essential steps for caring for elderberry seedlings.
Providing the Optimal Growing Conditions
When it comes to growing elderberry seedlings, providing the right growing conditions is crucial for their development. Here are the key factors to consider:
- Sunlight: Elderberries require full sun exposure for optimal growth and fruit production. Ensure that your seedlings receive at least 6-8 hours of direct sunlight daily. If necessary, place them in a location with the most sunlight or consider using grow lights to supplement the natural sunlight.
- Temperature: Elderberry seedlings thrive in moderate temperatures. Keep them in an area where the temperature ranges between 60-75°F (15-24°C) during the day and slightly cooler at night. Avoid extreme temperature fluctuations, as they can stress the seedlings.
- Watering: Consistent and adequate watering is vital for healthy elderberry seedlings. Ensure that the soil is evenly moist, but not waterlogged. Regularly check the moisture level of the soil and adjust the watering frequency accordingly, especially during hot, dry periods.
- Fertilization: As the seedlings develop, you can start applying a balanced organic fertilizer or compost to provide them with essential nutrients. Follow the instructions on the fertilizer package or use compost as a natural, slow-release option. Avoid over-fertilizing, as it can lead to excessive vegetative growth.
- Support and Pruning: As your elderberry seedlings grow taller, provide them with support such as stakes or trellises to ensure they remain upright. Additionally, prune the seedlings by removing any weak or damaged branches to encourage stronger growth and shape the plants as desired.
- Weed Control: Keep the area around the seedlings free from weeds, as they can compete for nutrients and water. Regularly weed the surrounding soil, or consider adding a layer of organic mulch to suppress weed growth.
By implementing these optimal growing conditions, you can provide a nurturing environment for your elderberry seedlings and help them flourish into healthy, mature plants. The next section will cover the essential steps for transplanting the seedlings into the garden.
To grow elderberry from seed, stratify the seeds in the refrigerator for 2-3 months before planting in well-draining soil. Keep the soil consistently moist and provide full sun for best results.
Read more: How To Grow Okra From Seed
Taking Care of Elderberry Seedlings
Once your elderberry seedlings have reached a certain size and are ready to be transplanted, it’s important to continue providing them with proper care to ensure their successful transition and ongoing growth. Here are the key steps to take in caring for your elderberry seedlings:
- Transplanting: Transplant the seedlings into their permanent growing location once they have developed 2-3 sets of true leaves and the threat of frost has passed. Dig a hole slightly larger than the root ball and carefully transfer the seedling, making sure to handle the roots with care. Backfill the hole, firming the soil gently around the base of the seedling.
- Watering: After transplanting, water the seedlings thoroughly to help them settle in their new location. Keep the soil consistently moist during the initial weeks until the root system establishes. Gradually reduce the frequency of watering as the seedlings mature, while still ensuring they receive adequate moisture when needed.
- Mulching: Apply a layer of organic mulch around the base of the seedlings, leaving a small space around the stem to prevent moisture accumulation and potential rot. Mulch helps conserve soil moisture, suppresses weed growth, and regulates soil temperature.
- Pruning: Regularly inspect your elderberry seedlings and remove any dead, damaged, or weak branches. Pruning helps improve air circulation, reduces the risk of disease, and encourages the growth of strong and productive branches. Prune during late fall or early spring when the plants are dormant.
- Support: As the seedlings grow taller and produce more foliage, consider providing support such as stakes or trellises to prevent bending or breaking under the weight of the branches and future fruit clusters.
- Monitor for Pests and Diseases: Keep a close eye on your elderberry seedlings for any signs of pests or diseases, such as aphids, powdery mildew, or leaf spot. Take appropriate measures to control pests and promptly address any signs of disease through organic methods like neem oil or copper fungicides, if necessary.
- Regular Maintenance: Continue to provide regular care and maintenance for your elderberry seedlings, including watering as needed, fertilizing with organic matter or compost, and maintaining a weed-free environment.
By following these care guidelines, you are setting your elderberry seedlings up for healthy growth and eventual fruit production. With proper care and attention, your seedlings will mature into robust elderberry plants that will reward you with their beautiful blooms and delicious berries. The next section will discuss the importance of protecting elderberry plants from pests and diseases.
Transplanting Elderberry Seedlings
Transplanting elderberry seedlings marks a significant step in their growth journey. When the seedlings have reached a suitable size and the risk of frost has passed, it’s time to transplant them into their permanent growing location. Follow these steps for successful transplantation:
- Choose the Right Time: Transplant your elderberry seedlings in early spring or late fall when the weather is mild and there is minimal stress on the plants. Avoid transplanting during extreme heat or cold as it can hinder their establishment.
- Prepare the Planting Hole: Dig a hole that is slightly larger and deeper than the root ball of the seedling. Ensure that the hole allows ample space for the roots to spread and grow. Loosen the soil at the bottom of the hole to promote healthy root growth.
- Remove the Seedling: Carefully take out the seedling from its current container or the nursery bed, handling the plant by the base of the stem or the root ball. Avoid pulling or twisting the seedling, as it can damage the delicate roots.
- Planting: Place the seedling in the prepared hole, ensuring that the base of the stem is level with the soil surface. Gently backfill the hole with the excavated soil, pressing it down lightly to eliminate air pockets. Avoid compacting the soil too firmly.
- Watering: Immediately after transplanting, water the seedling generously to settle the soil around the roots and provide hydration. A thorough watering helps promote root establishment. Continue to water regularly during the initial weeks to keep the soil consistently moist but not oversaturated.
- Mulching: Apply a layer of organic mulch, such as wood chips or straw, around the base of the seedling. Mulch helps retain moisture, suppresses weeds, and improves the overall soil environment. Leave a gap around the stem to prevent moisture buildup and potential rot.
- Provide Support: If your elderberry variety is prone to leaning or if you anticipate heavy fruiting, install a support system such as stakes or a trellis near the seedling. This provides stability and prevents the plants from bending or breaking under the weight of the branches.
- Care and Maintenance: Regularly monitor the transplanted seedlings for signs of stress or any issues. Provide ongoing care, including proper watering, fertilizing, pruning, and protection against pests and diseases.
Transplanting elderberry seedlings can be a delicate process, so ensure that you handle the seedlings with care and provide them with the necessary support and care as they adjust to their new environment. With proper transplanting techniques and follow-up care, your elderberry seedlings will establish themselves well and continue to flourish in their new home.
Protecting Elderberry Plants from Pests and Diseases
Just like any other plant, elderberry plants are susceptible to pests and diseases that can impact their growth and fruit production. It’s important to be proactive in protecting your elderberry plants to ensure their health and vitality. Here are some effective measures to safeguard your plants:
- Pest Identification: Regularly inspect your elderberry plants for any signs of pests such as aphids, spider mites, or caterpillars. Identify the pests correctly to determine the appropriate course of action.
- Natural Predators: Encourage and attract beneficial insects and predators to your garden, such as ladybugs, lacewings, and birds. These organisms can help keep pest populations in check and provide natural pest control.
- Handpicking: If you notice small colonies of pests, you can physically remove them from the plants by hand. This method is particularly effective for larger pests like caterpillars and beetles.
- Organic Sprays: Utilize organic pest control sprays such as neem oil, insecticidal soap, or garlic spray to deter and control pests. Follow the instructions on the product label and apply the sprays when the pests are most active.
- Disease Prevention: To prevent diseases, ensure proper airflow and spacing between plants to reduce humidity and minimize the risk of fungal infections. Avoid overhead watering, as wet foliage can promote the development of diseases like powdery mildew.
- Sanitation: Keep the immediate area around your elderberry plants clean and free from fallen leaves, debris, and decaying plant material. This helps reduce the risk of diseases and pest infestations.
- Proper Watering: Water your elderberry plants at the soil level, avoiding overhead watering. This helps keep the foliage dry and minimizes the risk of fungal diseases.
- Regular Pruning: Prune and remove any dead, damaged, or diseased branches from your elderberry plants. This helps improve airflow, reduces the chances of disease spread, and promotes overall plant health.
- Monitoring: Regularly monitor your elderberry plants for any signs of pests or diseases. Early detection allows for prompt intervention and minimizes the potential damage to your plants.
By implementing these protective measures, you can significantly reduce the risk of pests and diseases affecting your elderberry plants. Regular observation, proactive care, and prompt action will contribute to the overall well-being and longevity of your elderberry plants.
Harvesting Elderberries
After months of nurturing and care, the time will finally come to harvest the bountiful berries from your elderberry plants. Knowing when and how to harvest elderberries is crucial to ensure you reap the maximum flavor and nutritional benefits. Follow these guidelines for a successful harvest:
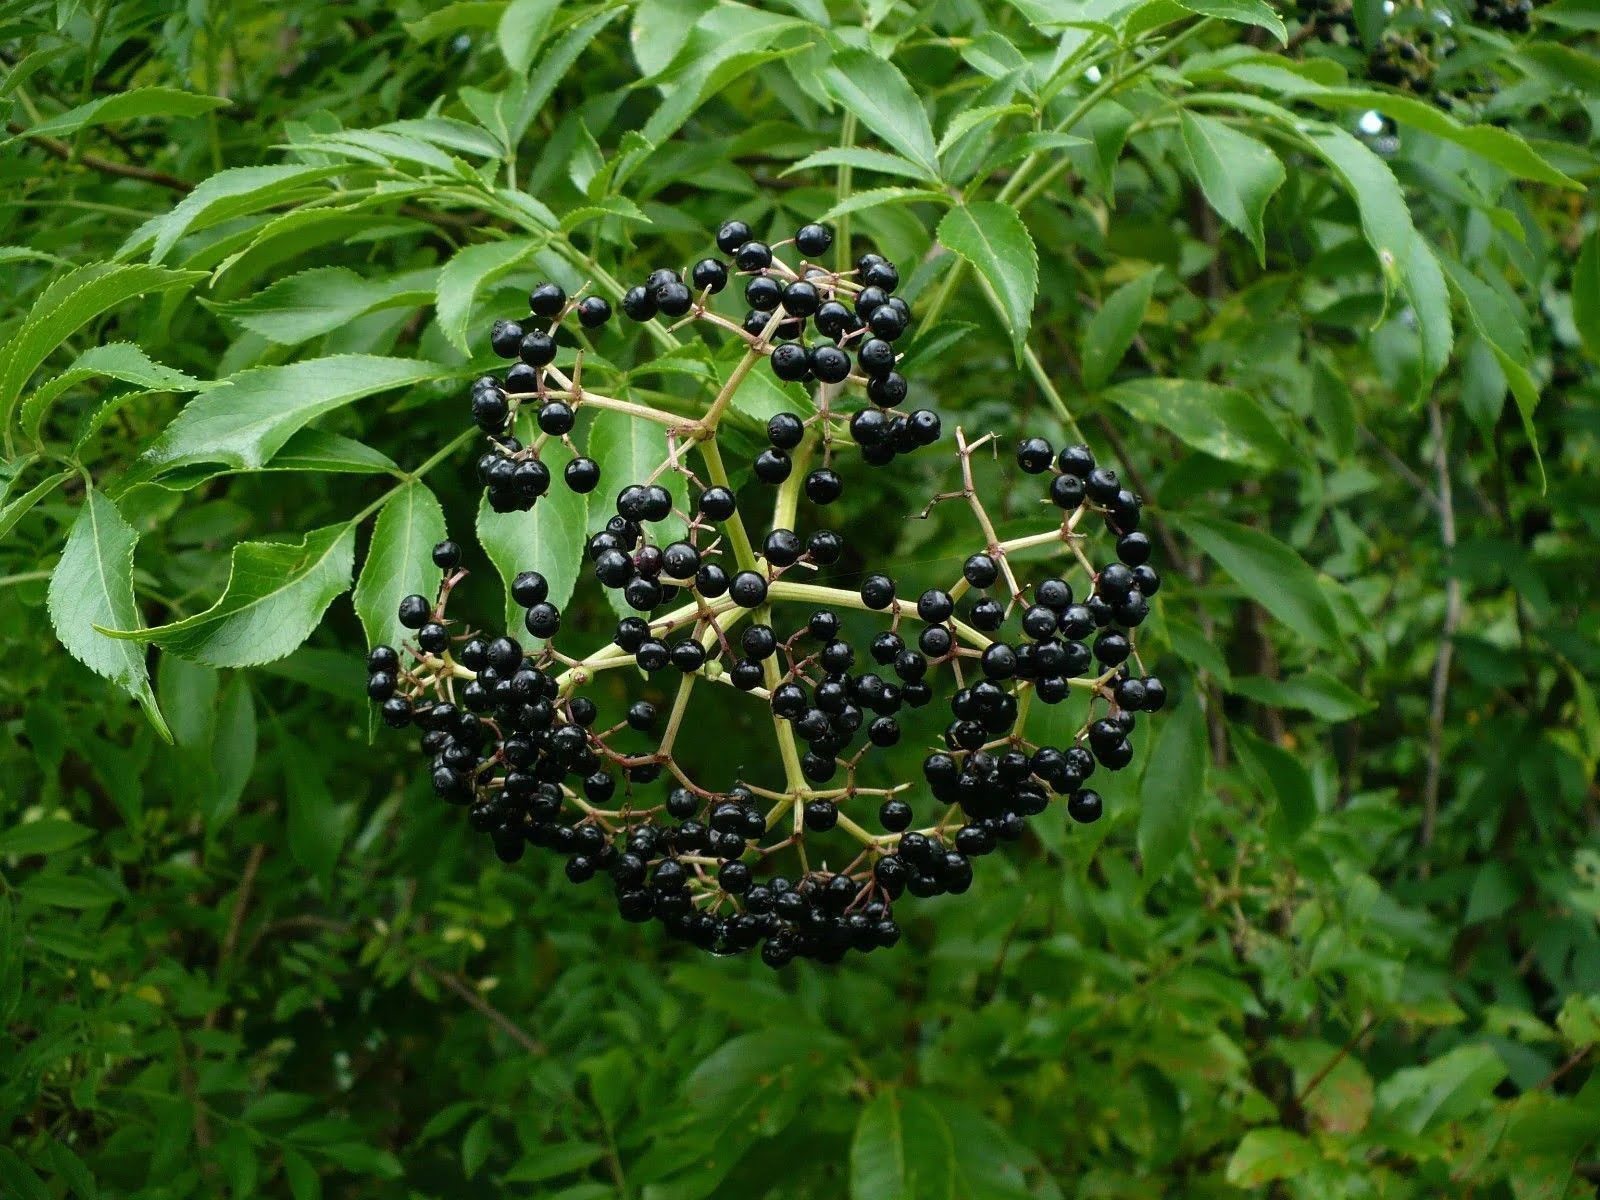
- Timing: Elderberries are typically ready for harvest in late summer or early fall, around August to September, depending on your growing region and the specific variety. The berries should be dark purple or black in color, indicating full ripeness.
- Inspecting the Berries: Before harvesting, inspect the berries to ensure they are plump, firm, and fully colored. Avoid picking unripe or green berries, as they may be sour and less flavorful.
- Harvesting Method: There are two common methods for harvesting elderberries: the individual berry picking method and the cluster cutting method.
- Individual berry picking: Carefully pluck individual ripe berries from the clusters using your fingers or small scissors. This method is more time-consuming but allows for more precision.
- Cluster cutting: Using gardening shears or sharp scissors, cut entire clusters of ripe berries from the plant. This method is quicker, especially for larger harvests, but requires careful handling to avoid damaging the plant.
- Storage: After harvest, promptly transfer the berries to a clean container such as a basket, bowl, or bucket. Avoid stacking or pressing the berries, as they can easily bruise. Store the harvested berries in a cool, well-ventilated place or refrigerate them to maintain freshness.
- Processing: Once harvested, you can process the elderberries to make various culinary creations such as jams, jellies, pies, or syrups. Alternatively, freeze the berries for later use, ensuring they are thoroughly washed and dried before freezing.
It’s important to note that elderberries should not be consumed raw as they contain toxic compounds that are eliminated through processing and cooking. Always cook or bake the berries before consumption to ensure they are safe to eat.
Harvesting elderberries is a rewarding experience that allows you to enjoy the delicious, antioxidant-rich fruits of your labor. Enjoy the harvest and explore the endless possibilities of using elderberries in your culinary endeavors!
Read more: How To Grow A Tree From A Seed
Conclusion
Growing elderberries from seed is a fulfilling endeavor that allows you to witness the remarkable journey of these versatile and beneficial plants. By selecting high-quality seeds, preparing the growing area, planting with care, and providing optimal growing conditions, you can successfully nurture elderberry seedlings into thriving plants.
Throughout the process, it’s important to remain attentive to the needs of the plants, from watering and fertilizing to pruning and protecting them from pests and diseases. By practicing proper care and maintenance, you can ensure the health and vitality of your elderberry plants, leading to abundant harvests of delicious and nutritious berries.
When the time comes to harvest your elderberries, be sure to choose ripe berries and employ the appropriate harvesting methods. Remember to store or process the berries promptly to maintain their freshness and explore the endless culinary possibilities they offer.
Whether you’re a seasoned gardener or new to cultivating plants, growing elderberries from seed provides a rewarding experience that connects you with nature and offers a wealth of benefits. From their ornamental beauty to their medicinal properties and culinary uses, elderberries are a true treasure in any garden or landscape.
So why wait? Start your journey of growing elderberries from seed and enjoy the beauty, health benefits, and delicious flavors that these remarkable plants have to offer. Happy gardening!
Frequently Asked Questions about How To Grow Elderberry From Seed
Was this page helpful?
At Storables.com, we guarantee accurate and reliable information. Our content, validated by Expert Board Contributors, is crafted following stringent Editorial Policies. We're committed to providing you with well-researched, expert-backed insights for all your informational needs.


0 thoughts on “How To Grow Elderberry From Seed”