
Articles
How To Store Flower Seeds
Modified: September 1, 2024
Learn how to properly store flower seeds to ensure their longevity and viability. Check out our helpful articles for expert tips and advice.
(Many of the links in this article redirect to a specific reviewed product. Your purchase of these products through affiliate links helps to generate commission for Storables.com, at no extra cost. Learn more)
Introduction
Welcome to the world of gardening! If you’re a plant enthusiast or a seasoned gardener, you’ve likely encountered the joys of growing flowers from seed. Not only is it a cost-effective way to expand your garden, but it also allows you to witness the fascinating journey from seed to blooming beauty.
However, as any experienced gardener knows, the key to success lies not only in growing beautiful flowers but also in preserving the seeds for future use. Properly storing flower seeds ensures their longevity and viability, allowing you to continue growing varieties that bring you joy.
In this article, we will explore the essential steps and techniques for storing flower seeds. From choosing the right seeds to planting the stored ones, we’ll cover everything you need to know to keep your seeds safe and healthy.
So, if you’re ready to learn how to store flower seeds and embark on a journey of preserving nature’s beauty, let’s dive in!
Key Takeaways:
- Preserve the beauty of nature by storing flower seeds properly. Choose the right seeds, dry and store them in a cool, dry place to ensure longevity and successful germination. Happy gardening!
- Label and organize your stored flower seeds for easy retrieval. Keep them cool and dry, periodically checking their viability. Plant and nurture them to enjoy a garden full of vibrant blooms.
Read more: How Long For Moon Flowers To Germinate
Choosing the Right Seeds
When it comes to storing flower seeds, the first step is selecting the right seeds to save. Not all flowers produce viable seeds, so it’s important to choose plants that are known for their ability to produce quality seeds.
One crucial factor to consider is whether the flower is an annual, biennial, or perennial. Annual flowers complete their life cycle in one year and produce seeds that can be stored for the next growing season. Biennials take two years to complete their life cycle, producing seeds in the second year. Perennials, on the other hand, live for multiple years and may produce seeds annually or every few years.
While all three types of flowers can be stored, it’s important to note that perennial seeds require more specialized storage techniques due to their longer dormancy periods.
Additionally, consider the quality and health of the flowers from which you’re saving seeds. Look for plants that are disease-free, strong, and have well-formed flowers. This will increase the chances of obtaining viable seeds that will germinate successfully in the future.
Lastly, if you’re planning to collect seeds from hybrid flowers, keep in mind that the offspring may not resemble the parent plant. Hybrid plants are created through cross-breeding, resulting in unique characteristics. It’s usually best to save seeds from open-pollinated or heirloom plants if you want to preserve the traits of the parent plants.
By carefully selecting the right seeds for storage, you’re setting yourself up for success in growing beautiful flowers in the seasons to come.
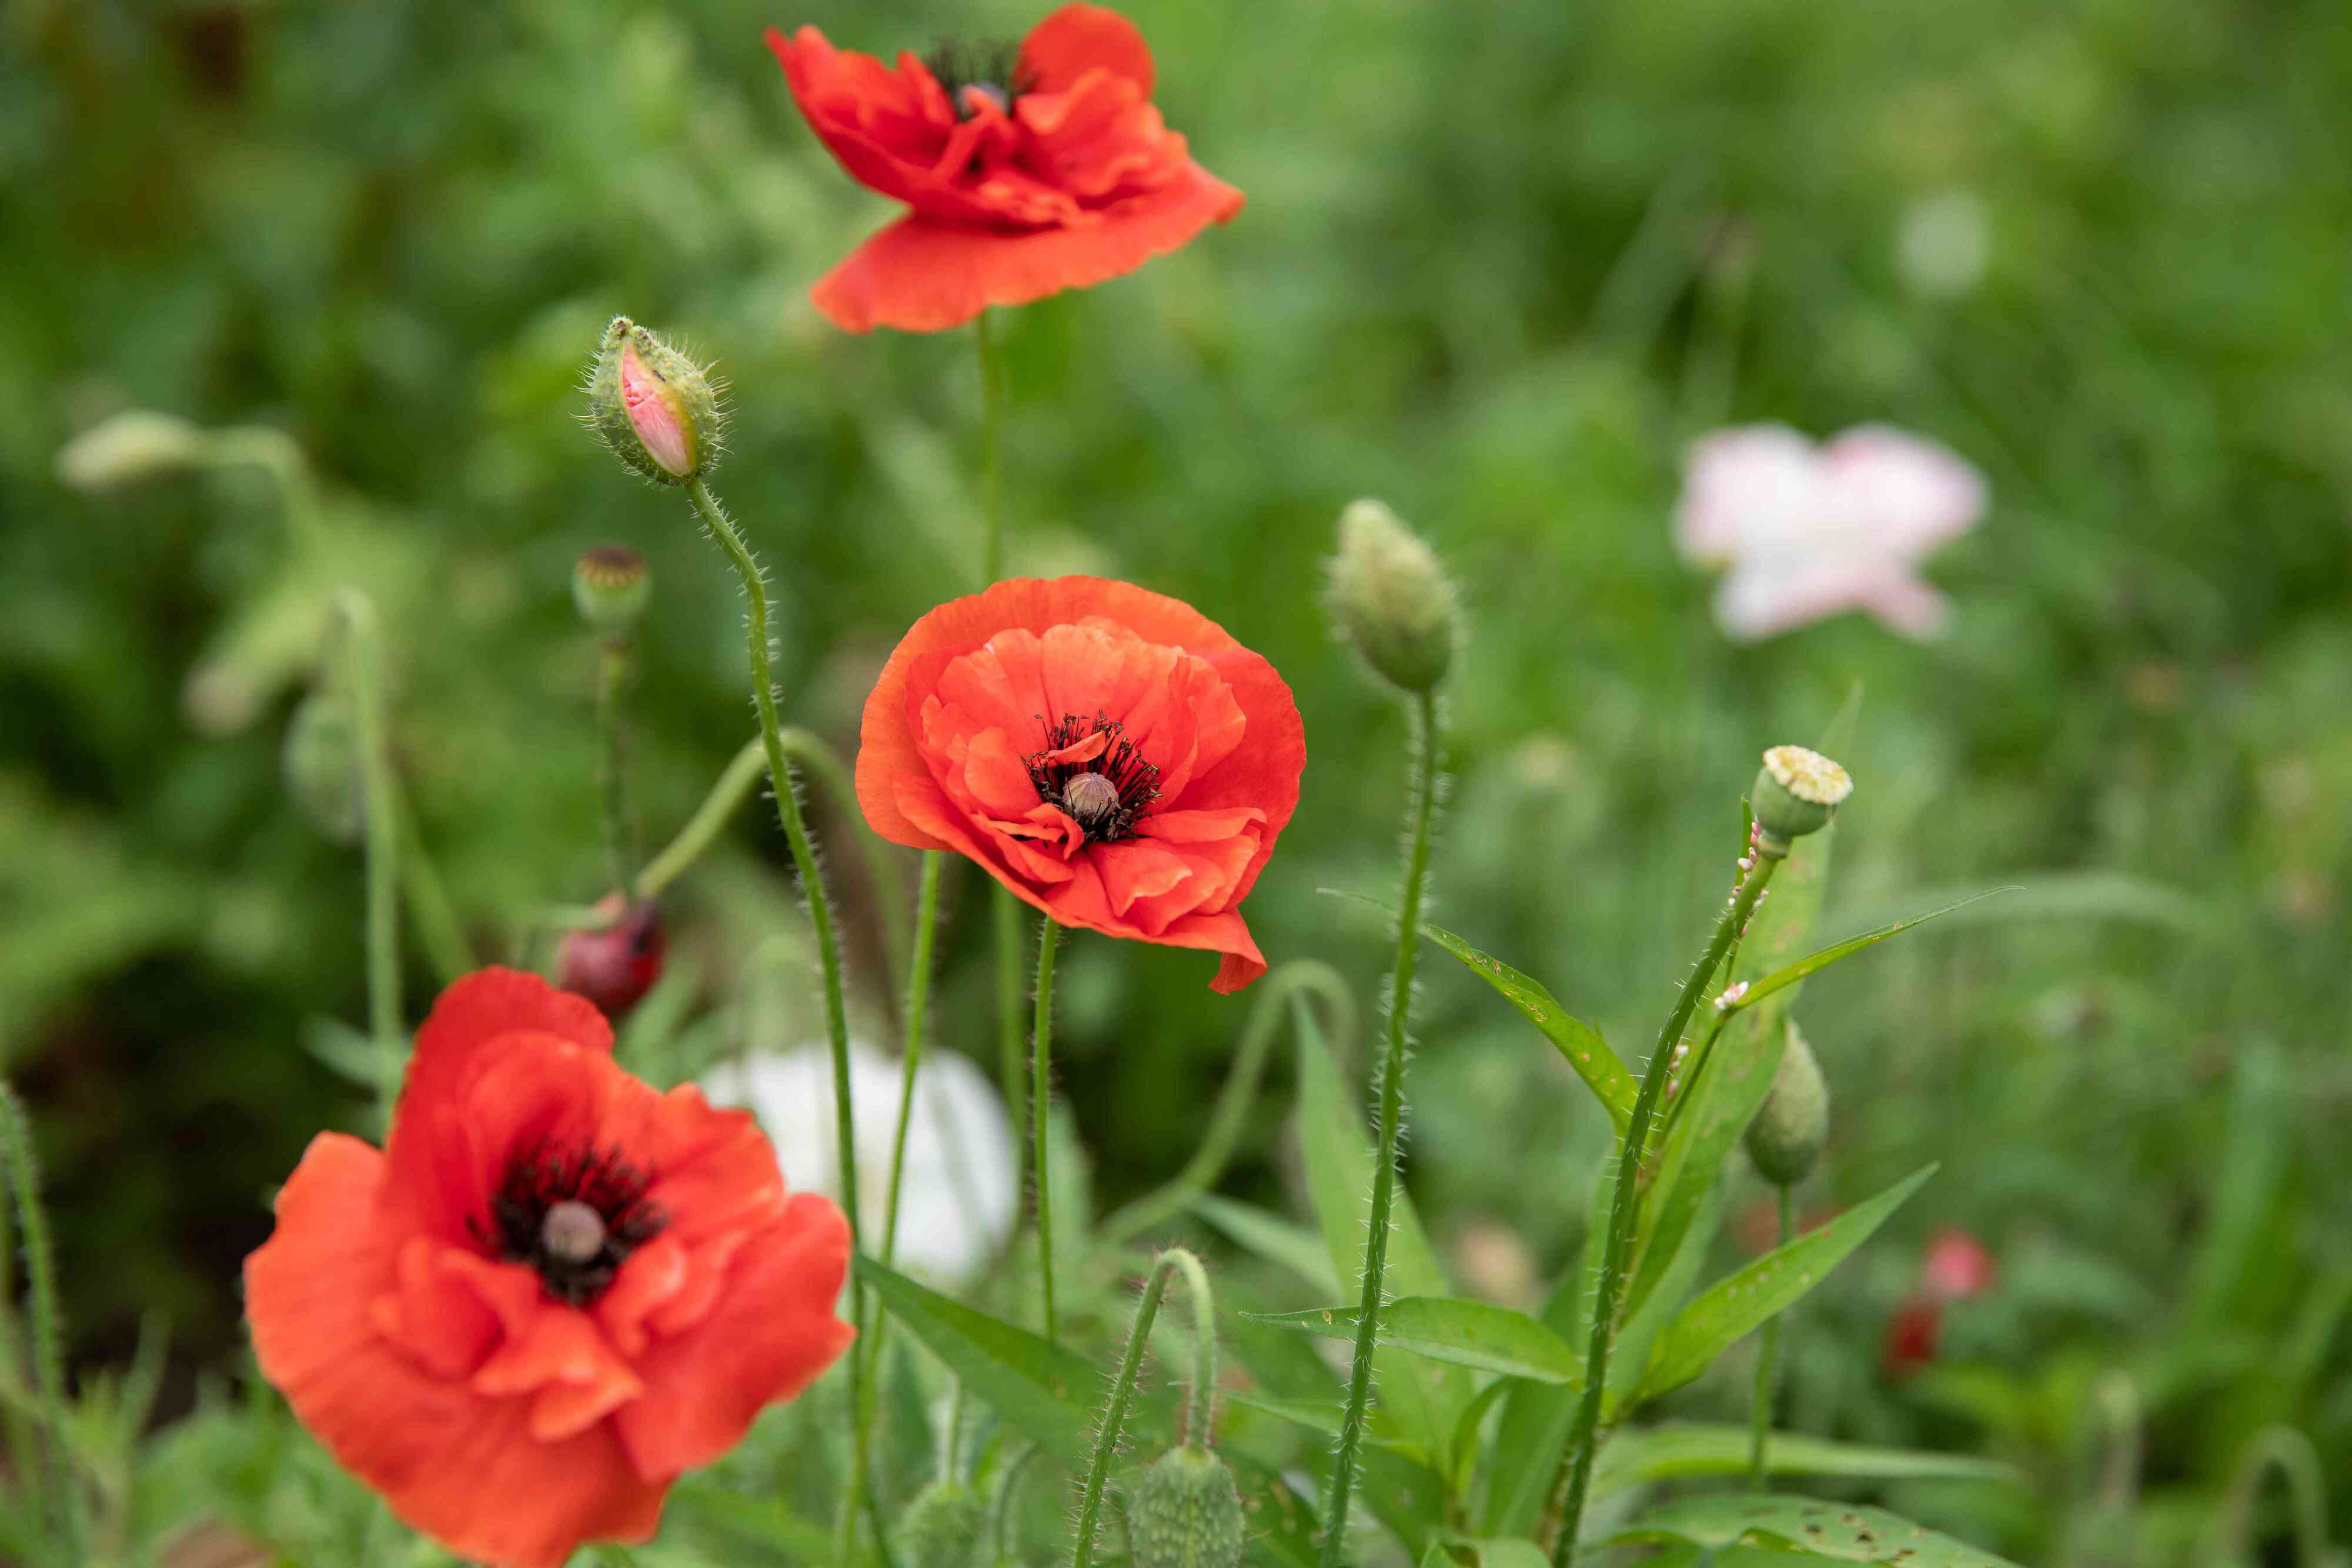
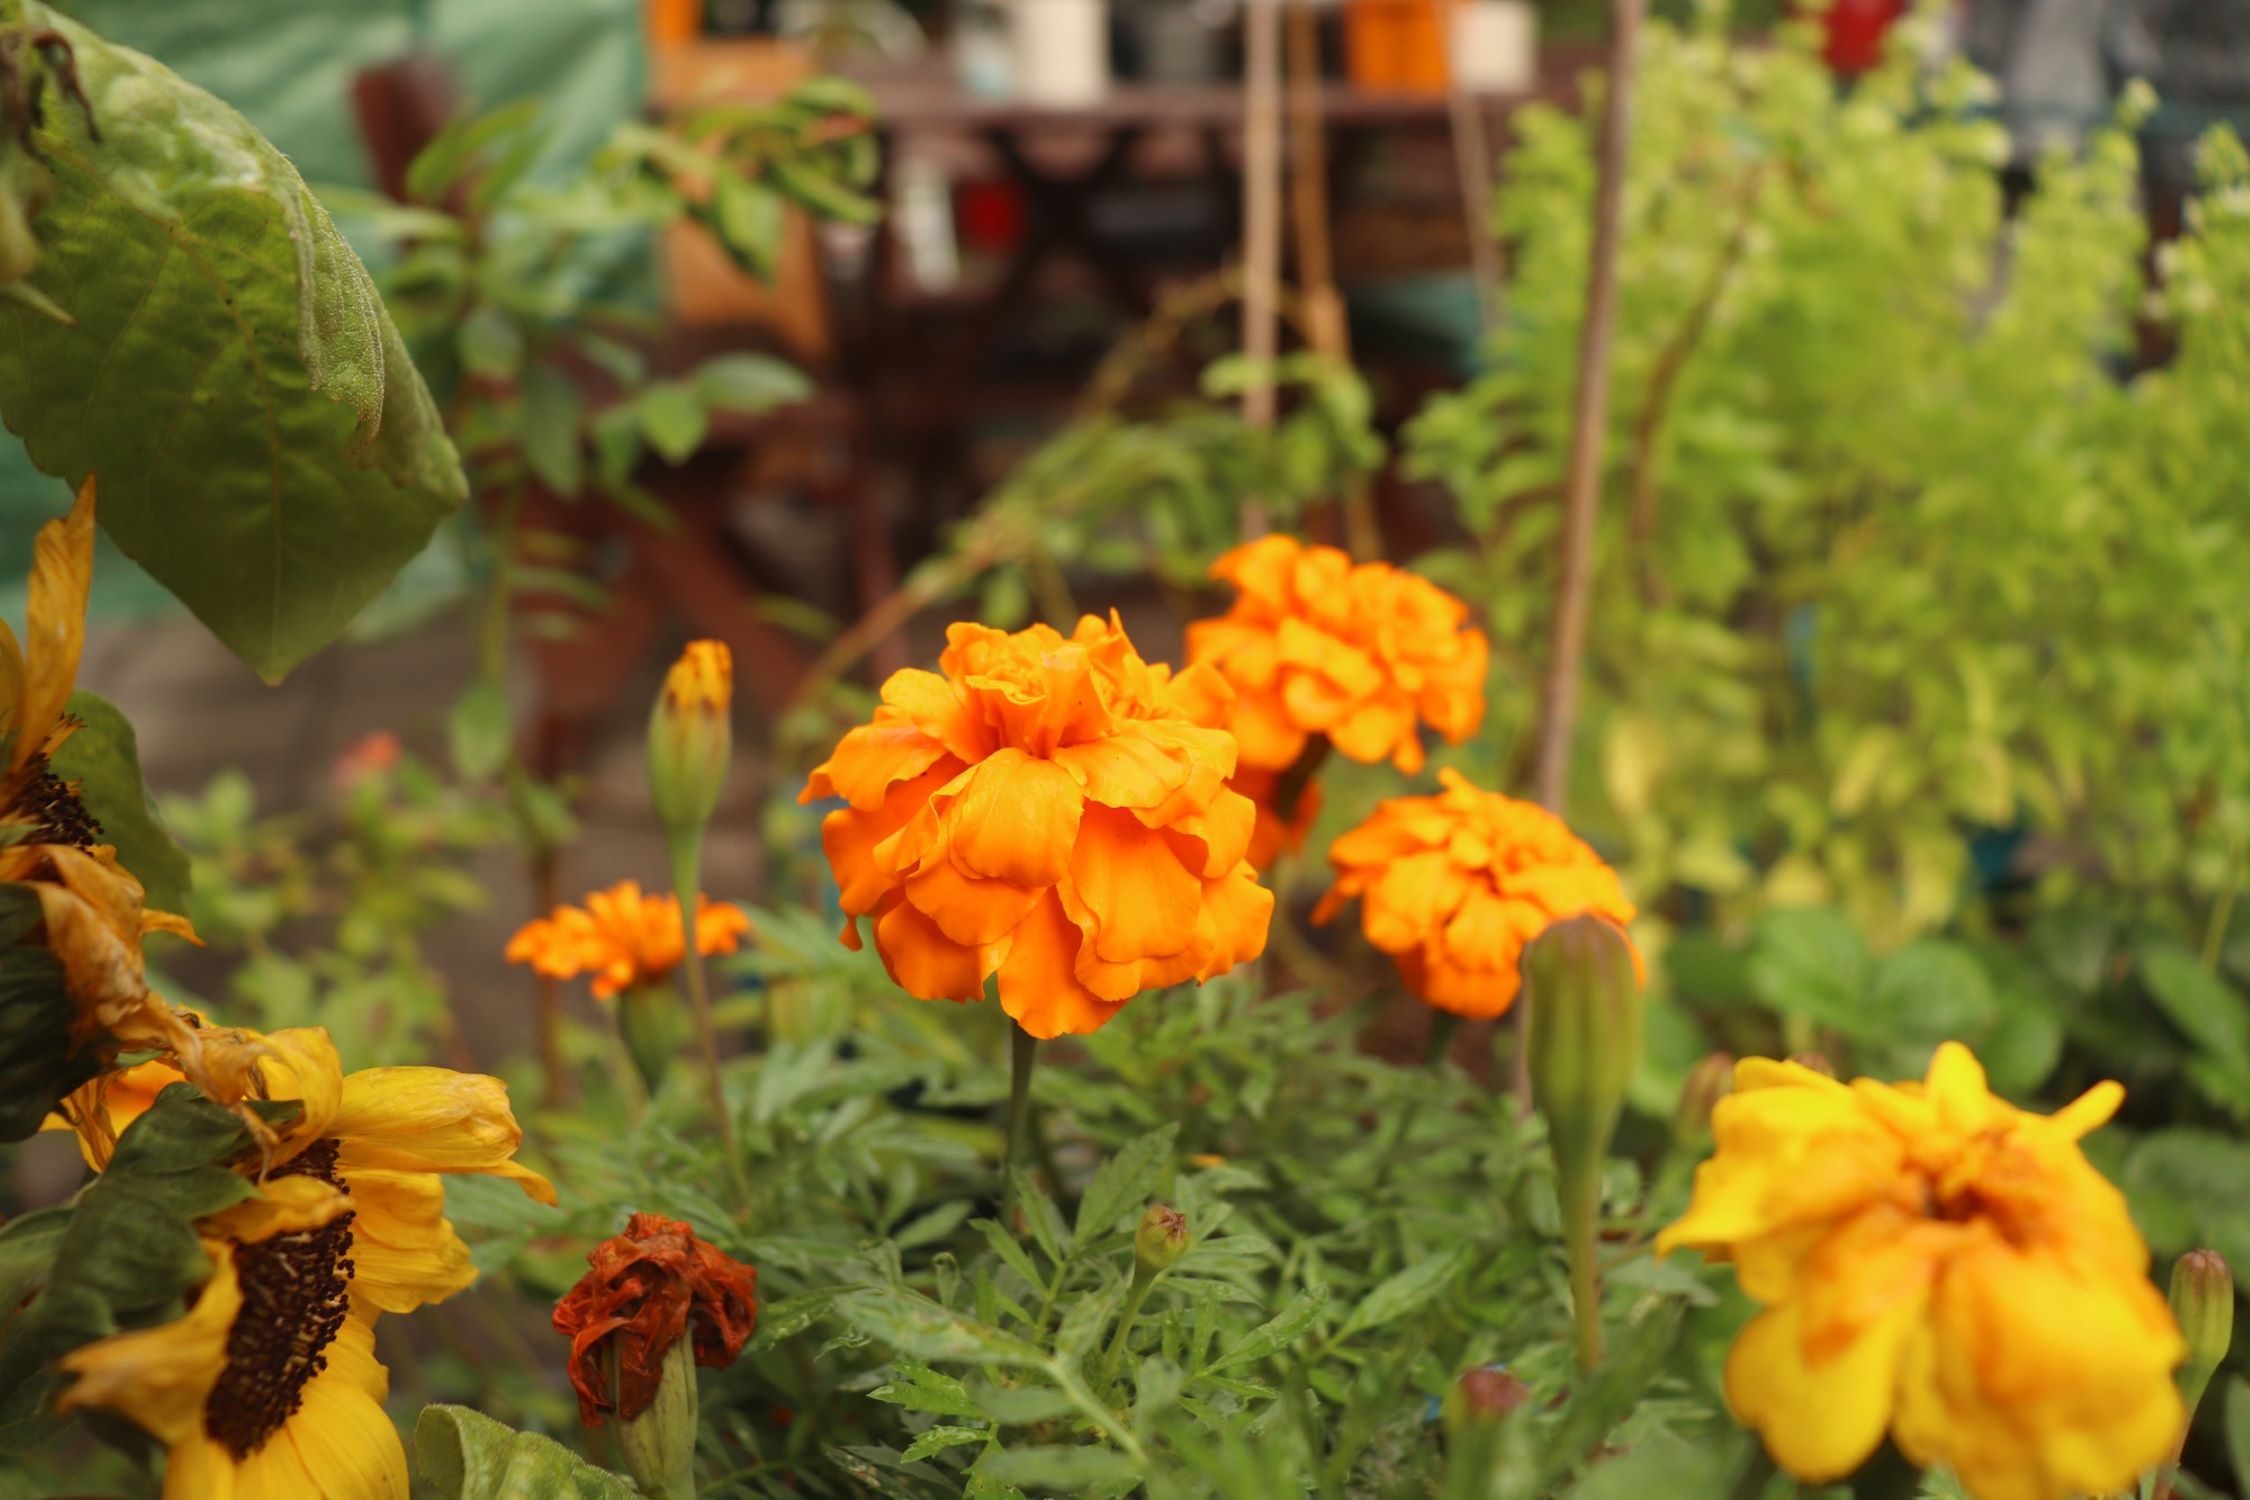
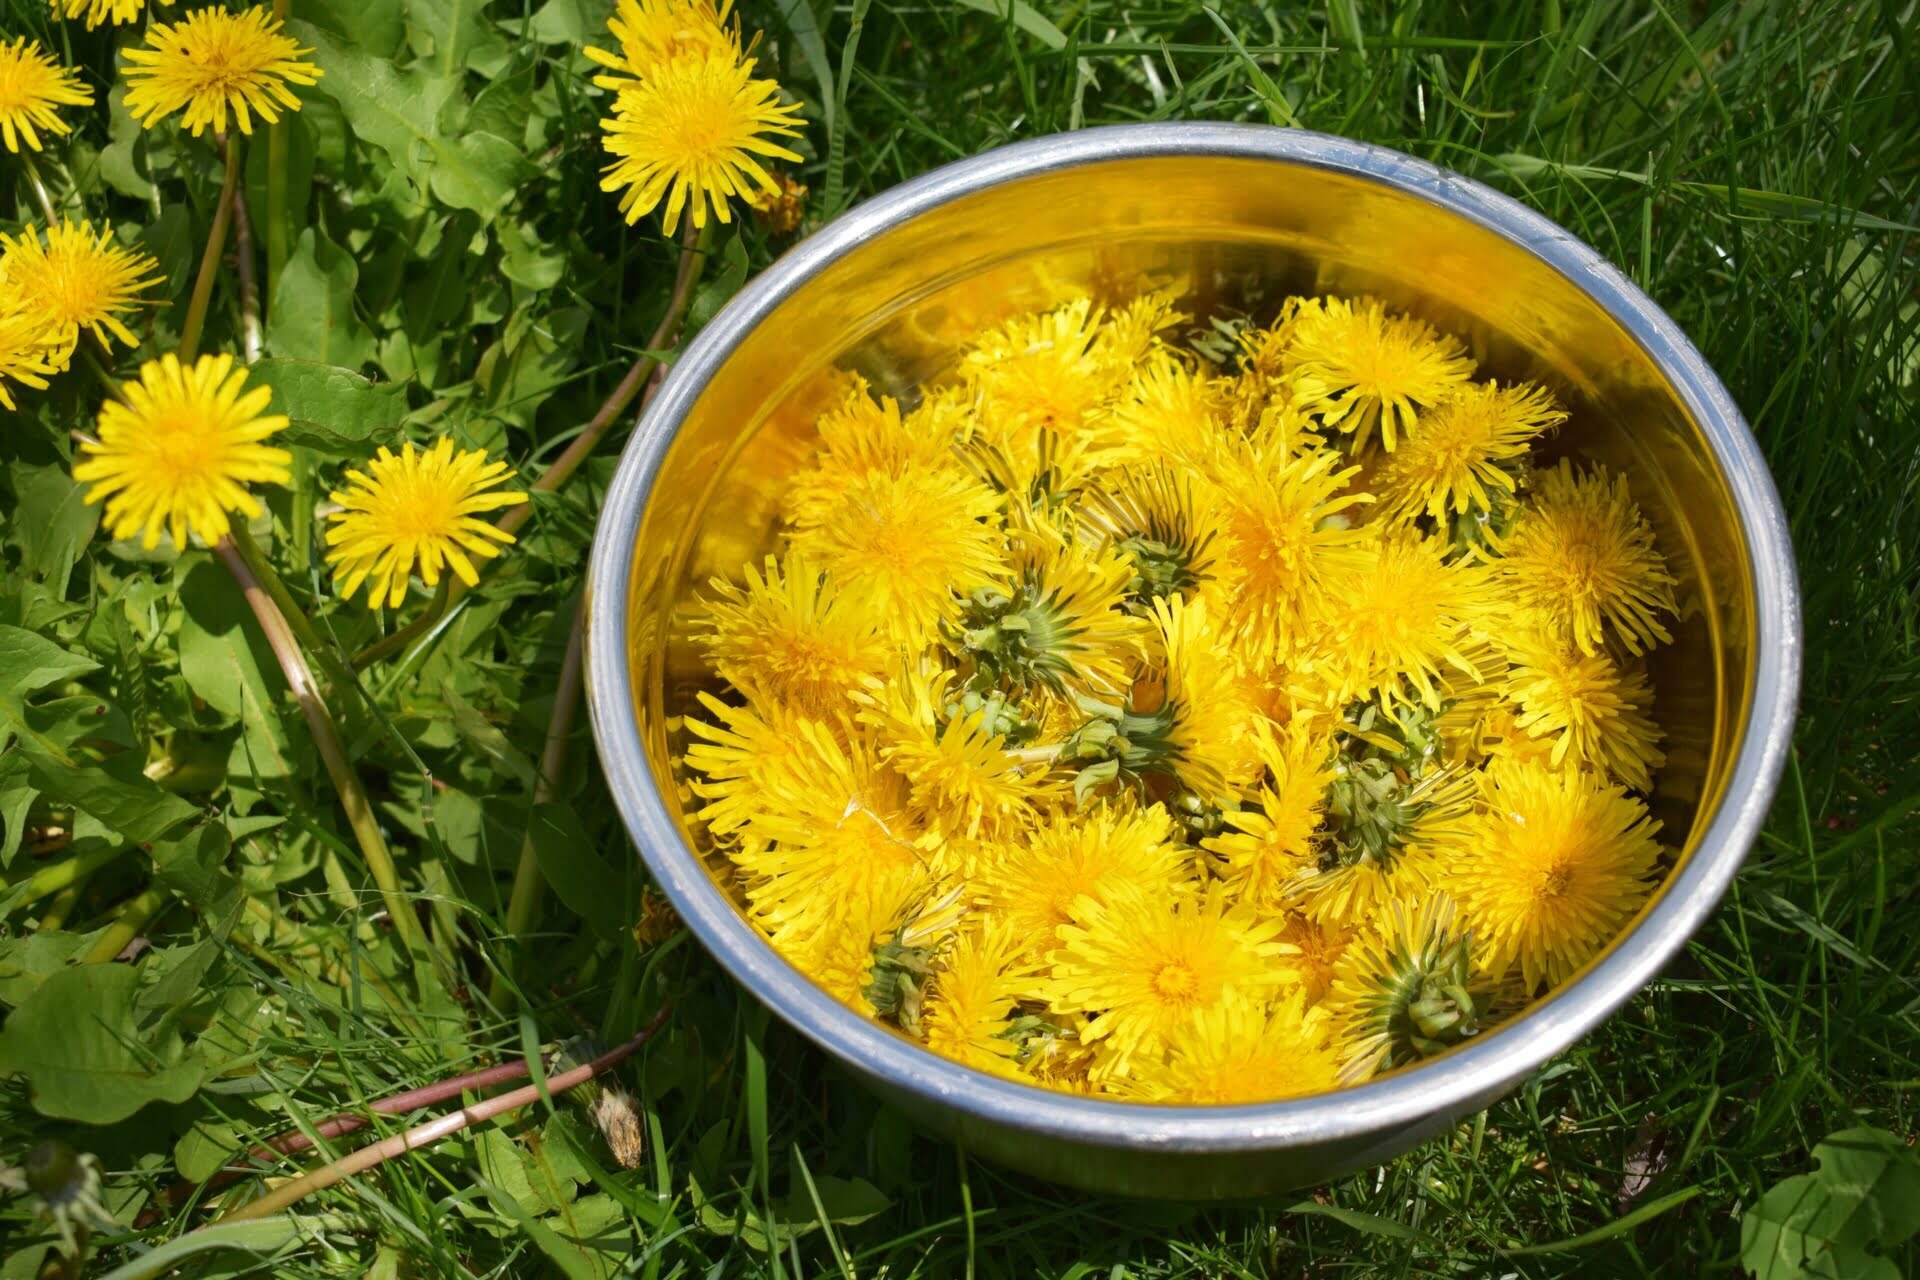
Harvesting the Flowers
Once your flowers have bloomed and are at their peak, it’s time to start the process of harvesting the flowers to collect the seeds. Timing is crucial during this stage, as you want to ensure that the flowers have fully matured and that the seeds are ready for collection.
First, closely observe the flowers and look for signs of maturity. This may include the fading of petals, the drying of seed pods, or the appearance of brown or black seeds. Each flower variety has different indicators of seed maturity, so it’s essential to research and understand the specific characteristics of the flowers you’re harvesting.
Using clean and sharp pruning shears or scissors, carefully cut the flower heads from the plant. Ensure that the stems are long enough for easy handling and that the flowers are not damp or wet, as moisture can lead to mold and rot during the drying process.
Once you’ve collected the flower heads, gently shake or tap them over a clean surface or container to release the seeds. Some seeds may naturally fall out, while others may be trapped within seed pods or structures. Use your fingers or a small tool to extract any remaining seeds.
Be thorough in your seed collection process to ensure that you collect as many viable seeds as possible. Don’t worry if you also collect some chaff or debris; you can separate them during the next step of the process.
Remember to only collect seeds from healthy plants, as diseased or weak flowers may produce inferior seeds. By harvesting seeds from the best specimens, you’re increasing the chances of success in growing healthy and beautiful flowers in the future.
With the flowers harvested and the seeds collected, it’s time to move on to the next step: drying the seeds.
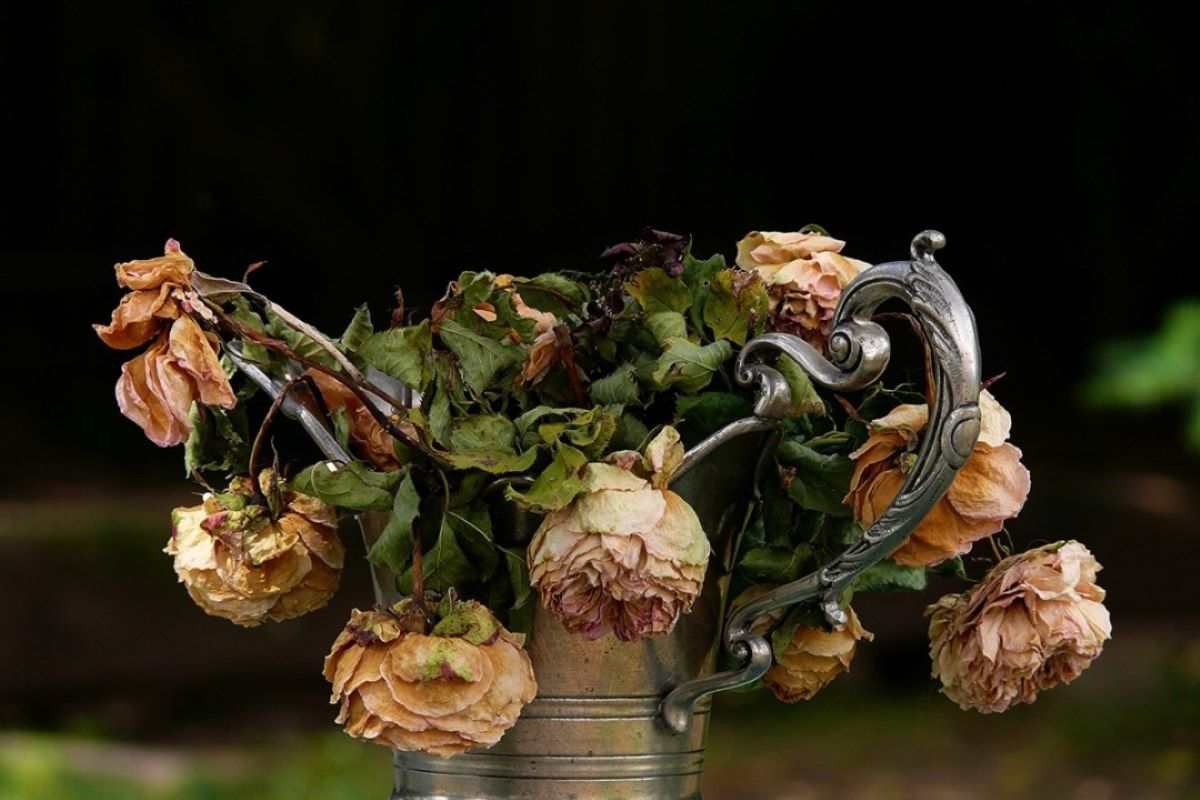
Drying the Seeds
After harvesting the flowers and collecting the seeds, the next crucial step in storing flower seeds is drying them properly. Drying removes any remaining moisture from the seeds, ensuring their long-term viability and preventing mold or rot during storage.
Start by spreading out the seeds in a single layer on a clean surface such as a paper towel or a screen. Make sure to separate any chaff or debris from the seeds as much as possible. This will help facilitate the drying process and prevent the seeds from sticking together.
Place the seeds in a dry and well-ventilated area that is away from direct sunlight. Avoid humid environments, as excess moisture can impair seed quality. The ideal temperature for drying seeds is around 70°F (21°C).
Allow the seeds to air dry for approximately one to two weeks, or until the seeds feel dry and brittle when touched. Larger seeds may take longer to dry completely. During this time, gently stir or turn the seeds occasionally to ensure even drying and to prevent any potential mold growth.
It’s important to note that some seeds, particularly those from fleshy fruits, may require additional steps such as fermentation or washing to remove any inhibitors or coatings that prevent germination. Research specific seed species to determine if any additional treatments are necessary for optimal storage and future germination.
Once the seeds are completely dry, it’s time to move on to the crucial step of storing the seeds properly to maintain their viability.
Storing the Seeds
Proper storage is essential for maintaining the viability of flower seeds over an extended period. By creating optimal conditions, you can ensure that the stored seeds remain healthy and capable of germinating when the time comes to plant them.
The first consideration when storing seeds is the container. Choose containers that are airtight and moisture-proof, such as glass jars or plastic containers with tight-fitting lids. Avoid using paper or cardboard containers, as they can absorb moisture and lead to mold or degradation of the seeds.
Before transferring the seeds to the chosen container, ensure that they are completely dry. Moisture is the enemy of seed storage, as it can cause seeds to lose their viability or even rot. Any residual moisture can be disastrous for seed preservation.
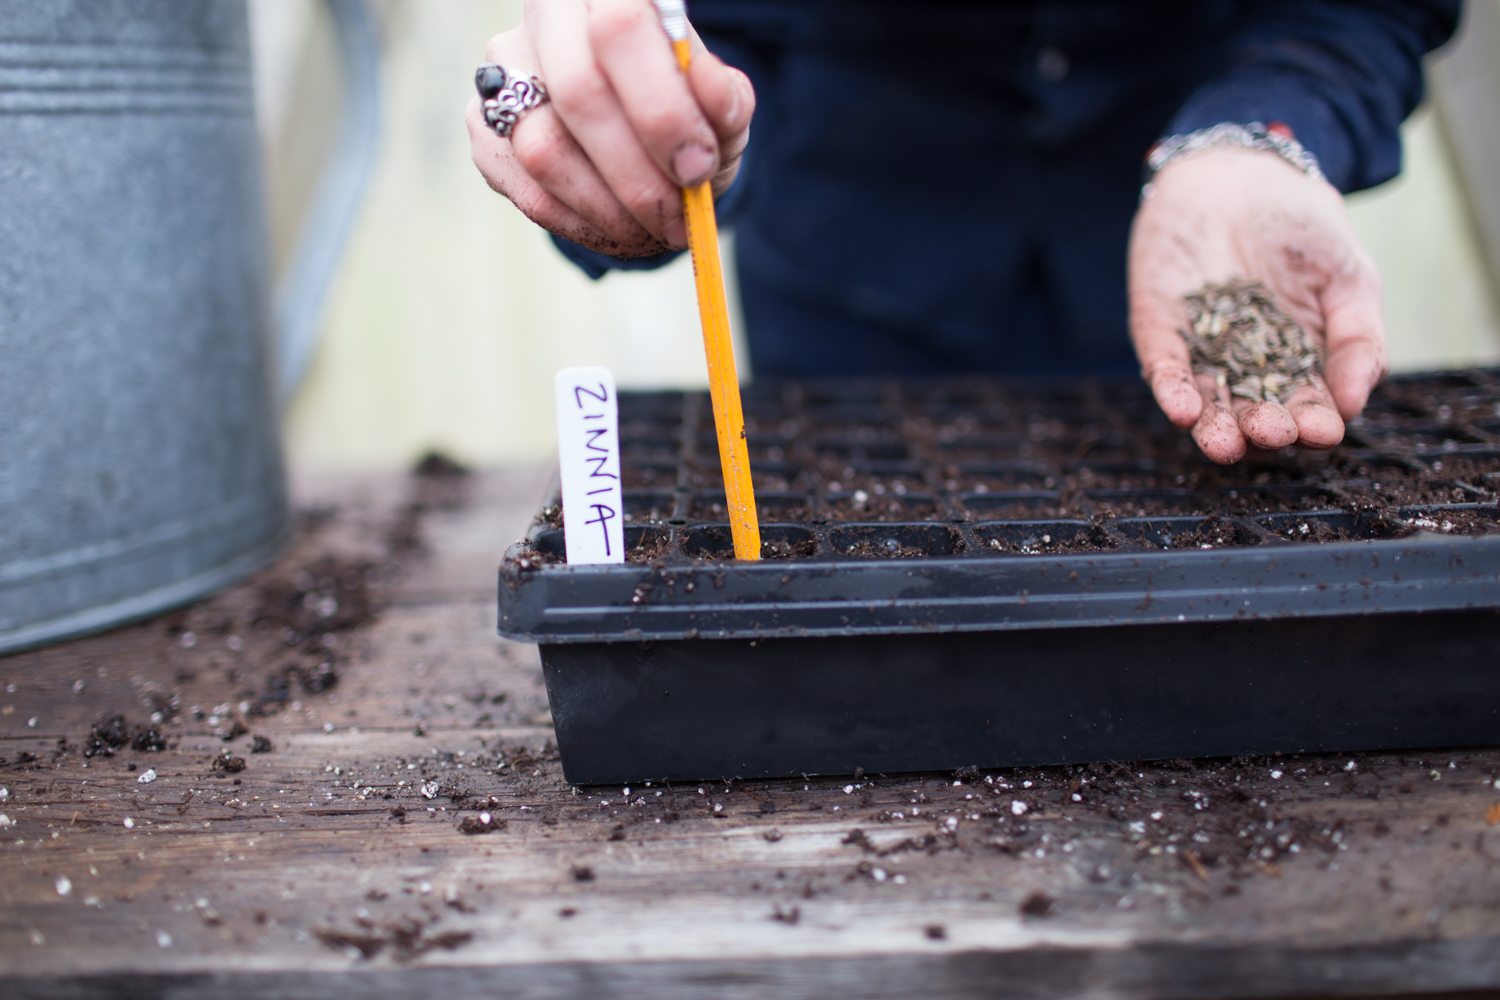
Once the seeds are dry, place them into individual envelopes or small paper bags. Label each envelope with the name of the flower, the date of collection, and any other relevant information, such as the specific variety or any special growing requirements.
Group similar seeds together based on their flowering period or the conditions they require for successful germination. This will help you easily locate and organize the seeds when it’s time to plant them.
Store the labeled envelopes or bags in the chosen airtight container. Consider adding silica gel packets or rice in the container to absorb any excess moisture and maintain a dry environment.
Choose a cool, dark, and dry location for storing the seeds. Ideally, the temperature should be around 32°F to 41°F (0°C to 5°C). Avoid storing seeds in areas that are subject to extreme temperatures or fluctuations, such as garages or attics.
Regularly check on the stored seeds to ensure there are no signs of moisture or pests. If you notice any signs of mold or insects, remove the affected seeds immediately to prevent further damage.
By following these proper storage techniques, you can maximize the longevity and viability of your flower seeds, allowing you to enjoy beautiful blooms for years to come.
Store flower seeds in a cool, dry place, such as a paper envelope or glass jar. Label with the seed type and date collected. Keep away from moisture and direct sunlight to maintain viability.
Read more: How To Harvest Zinnia Flower Seeds
Labeling the Seeds
Properly labeling your stored flower seeds is crucial for organization and easy retrieval when the time comes to plant them. Clear and accurate labeling ensures that you can identify each seed variety and understand its specific needs and characteristics.
Start by creating labels for each seed packet or envelope. Use durable and waterproof materials such as waterproof marker pens, adhesive labels, or small weatherproof tags. You don’t want the label to smudge or become illegible over time.
On each label, write the name of the flower species, the date of collection, and any additional information that may be relevant, such as the specific variety, preferred growing conditions, or special requirements for germination.
When it comes to the name of the flower species, use both the common name and the botanical name if possible. This helps prevent confusion and ensures accuracy if you have multiple varieties of the same flower.
Consider organizing your labeled seed packets or envelopes in a systematic manner. You can store them alphabetically, based on the plant family, or by flowering season. Choose a method that works best for you and allows for easy access and retrieval when needed.
Another helpful tip is to create a master list or catalog of all the seeds you have stored. This list can include the name of each flower, the date of collection, and any additional notes or observations you may have. This catalog will serve as a quick reference guide and help you keep track of your collection.
Remember to update your labeled packets or envelopes and the master list whenever you collect new seeds or use any from your collection. Making regular updates ensures that your records are accurate and up to date.
By taking the time to label your seed packets and maintain a comprehensive catalog, you’ll be able to easily identify and locate the seeds you need, making the planting process more efficient and enjoyable.
Keeping the Seeds Cool and Dry
When it comes to properly storing flower seeds, maintaining a cool and dry environment is crucial for their long-term viability. Heat and moisture can negatively impact seed quality, leading to poor germination rates or even complete loss of viability.
Find a cool and dry location for storing your seeds, away from direct sunlight and extreme temperature fluctuations. Ideally, the storage area should have a temperature between 32°F to 41°F (0°C to 5°C). A cool basement, refrigerator, or a climate-controlled room are suitable options.
It’s important to note that freezing temperatures can damage the seeds, so avoid storing them in a freezer. Additionally, make sure the storage area is well-ventilated to prevent any buildup of moisture or condensation.
Moisture is the enemy of seed storage, as it can lead to mold, rot, and bacterial growth. Keep the seeds in airtight containers such as glass jars or moisture-proof plastic bags to limit their exposure to humidity.
Consider including moisture-absorbing packets like silica gel or rice in the storage containers. These packets help absorb any excess moisture and maintain a dry environment. Just make sure they are not in direct contact with the seeds to avoid any possible damage.
Regularly check on the stored seeds to ensure that the storage containers are still airtight and free from moisture. If you notice any signs of moisture, such as condensation on the containers or seeds, remove them immediately and allow them to dry thoroughly before returning them to storage.
Remember to handle the seeds with clean and dry hands when you need to remove them from storage. Moisture and oils from your hands can transfer onto the seeds and potentially impact their viability.
By providing a cool and dry storage environment, you are ensuring that your flower seeds remain in optimal condition for an extended period. This will greatly increase their chances of maintaining their viability and giving you successful germination when it’s time to plant them.
Checking the Seeds for Viability
Periodically checking the viability of your stored flower seeds is an important step to ensure their success when it comes time to plant them. Viability refers to the ability of the seeds to germinate and grow into healthy plants.
One simple method to check seed viability is the “germination test.” This test involves germinating a sample of the seeds to determine how many of them successfully sprout. Here’s how you can perform a basic germination test:
- Start by selecting a small sample of seeds from the stored collection. Ideally, choose around 10 seeds of each type you want to test.
- Moisten a paper towel or a piece of filter paper and place the seeds on top of it.
- Fold the paper towel or filter paper to cover the seeds, creating a moist environment.
- Place the folded paper towel or filter paper with the seeds in a sealed plastic bag or a covered dish to maintain humidity.
- Keep the bag or dish in a warm location, preferably between 70°F to 85°F (21°C to 29°C), for a set amount of time, depending on the specific seed variety you are testing.
- After the designated time, carefully unfold the paper towel or filter paper and observe the seeds for signs of germination.
Count the number of seeds that have successfully sprouted and calculate the germination rate by dividing the number of sprouted seeds by the total number of seeds tested. This will give you an indication of the seed viability.
It’s essential to keep in mind that different flower seeds have different germination requirements and timelines. Some may germinate within a few days, while others may take several weeks. Research the specific germination requirements for each seed variety you are testing.
If a high percentage of the tested seeds have germinated, it indicates good seed viability. However, if the germination rate is low or no seeds have sprouted, it may indicate that the stored seeds have lost their viability over time.
Remember to record the results of your germination test, including the date, the number of seeds tested, and the germination rate. This information will be helpful for future reference when planning your planting and seed saving activities.
Regularly performing germination tests on your stored seeds, especially for long-term storage, will help you determine the viability and make informed decisions about using or replacing them.
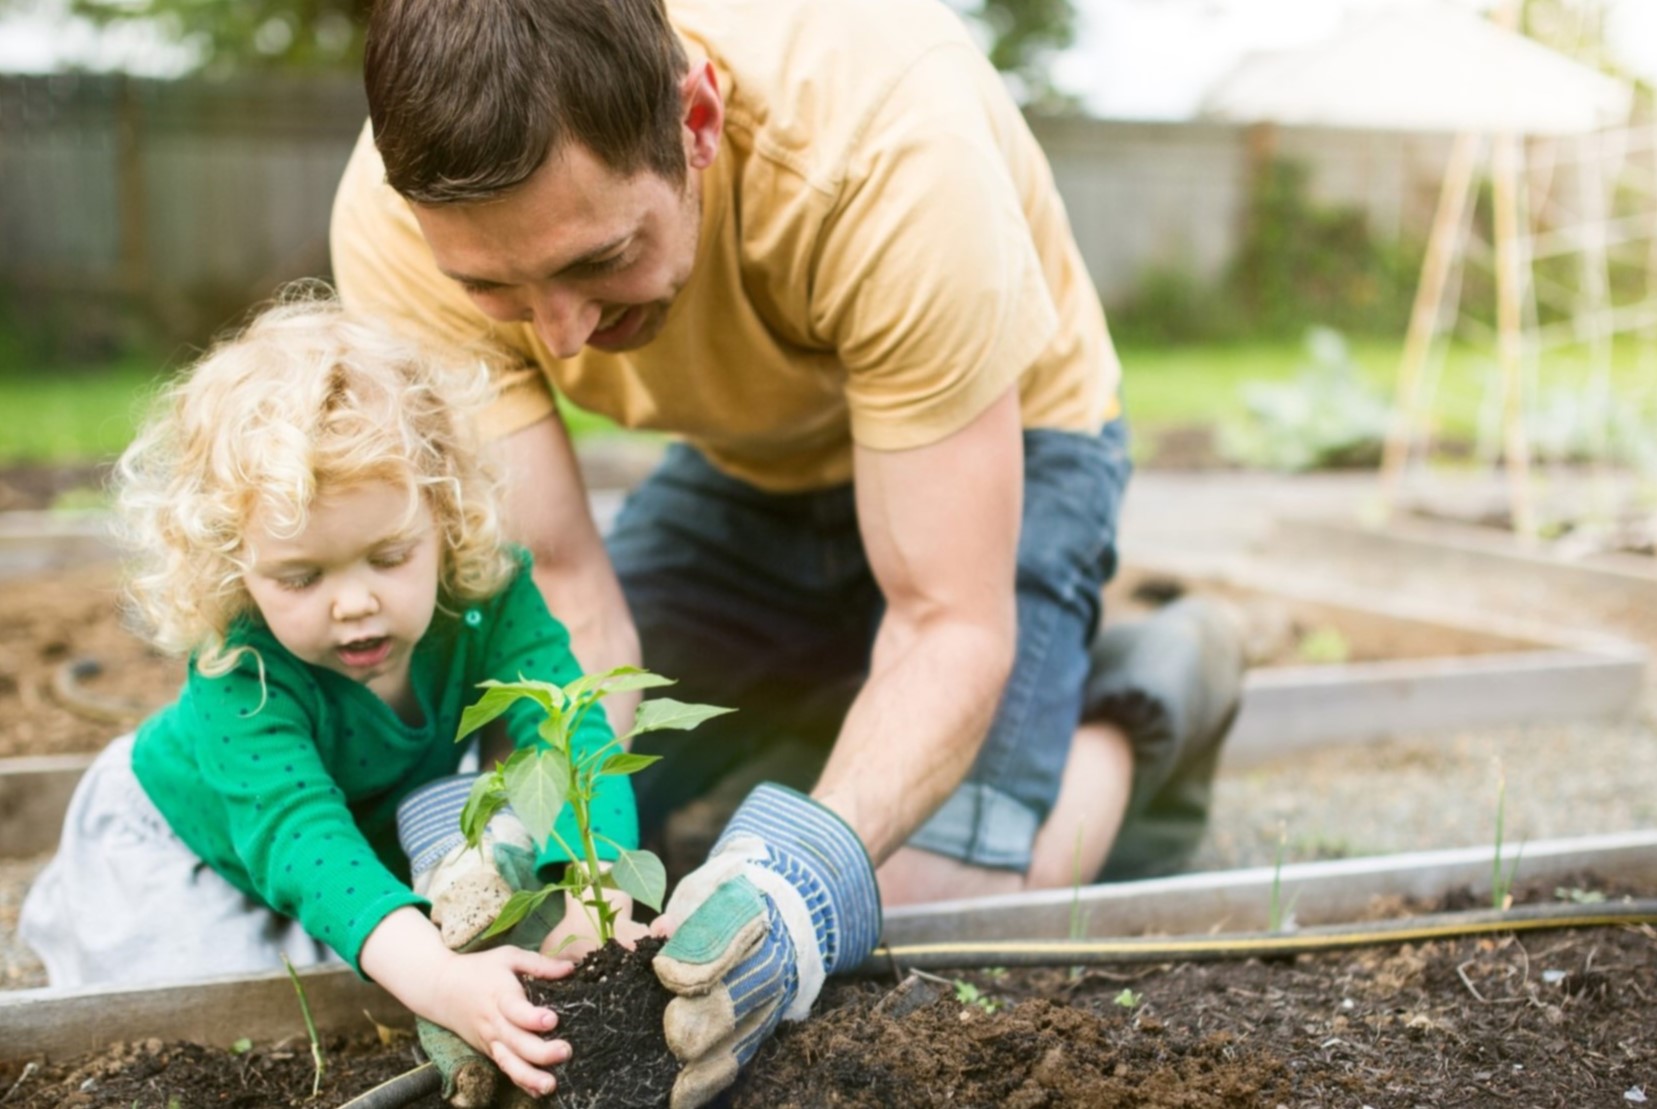
Planting the Stored Seeds
After carefully storing and checking the viability of your flower seeds, it’s finally time to put them to use by planting them and watching them grow into beautiful flowers. Follow these steps to ensure successful germination and growth:
- Prepare the soil: Choose a location in your garden that is suitable for the specific flower species you’re planting. Prepare the soil by removing any weeds or debris and loosening it with a garden fork or tiller. Ensure that the soil is well-drained as excess moisture can lead to root rot.
- Sowing the seeds: Read the specific planting instructions for each flower variety to determine the proper depth and spacing for sowing the seeds. As a general guideline, plant the seeds at a depth that is approximately three times their own size. Gently press the soil over the seeds to ensure good seed-to-soil contact.
- Watering: After sowing the seeds, water the area thoroughly but gently. Use a fine mist or a watering can with a rose attachment to avoid displacing the seeds. Keep the soil moist but not waterlogged during the germination period.
- Provide proper care: As the seeds germinate and seedlings emerge, monitor them regularly. Thin out overcrowded seedlings if necessary to give them ample space to grow. Provide adequate sunlight, water, and nutrients according to each flower’s specific requirements.
- Protect from pests and diseases: Keep an eye out for any pests or diseases that may damage the young seedlings. Take appropriate measures such as applying organic pest control methods or using protective coverings to prevent damage.
- Monitor growth and maintenance: As the plants mature, continue to monitor their growth and provide proper care. This includes regular watering, fertilizing as needed, and providing support or staking if required for taller or vining flowers.
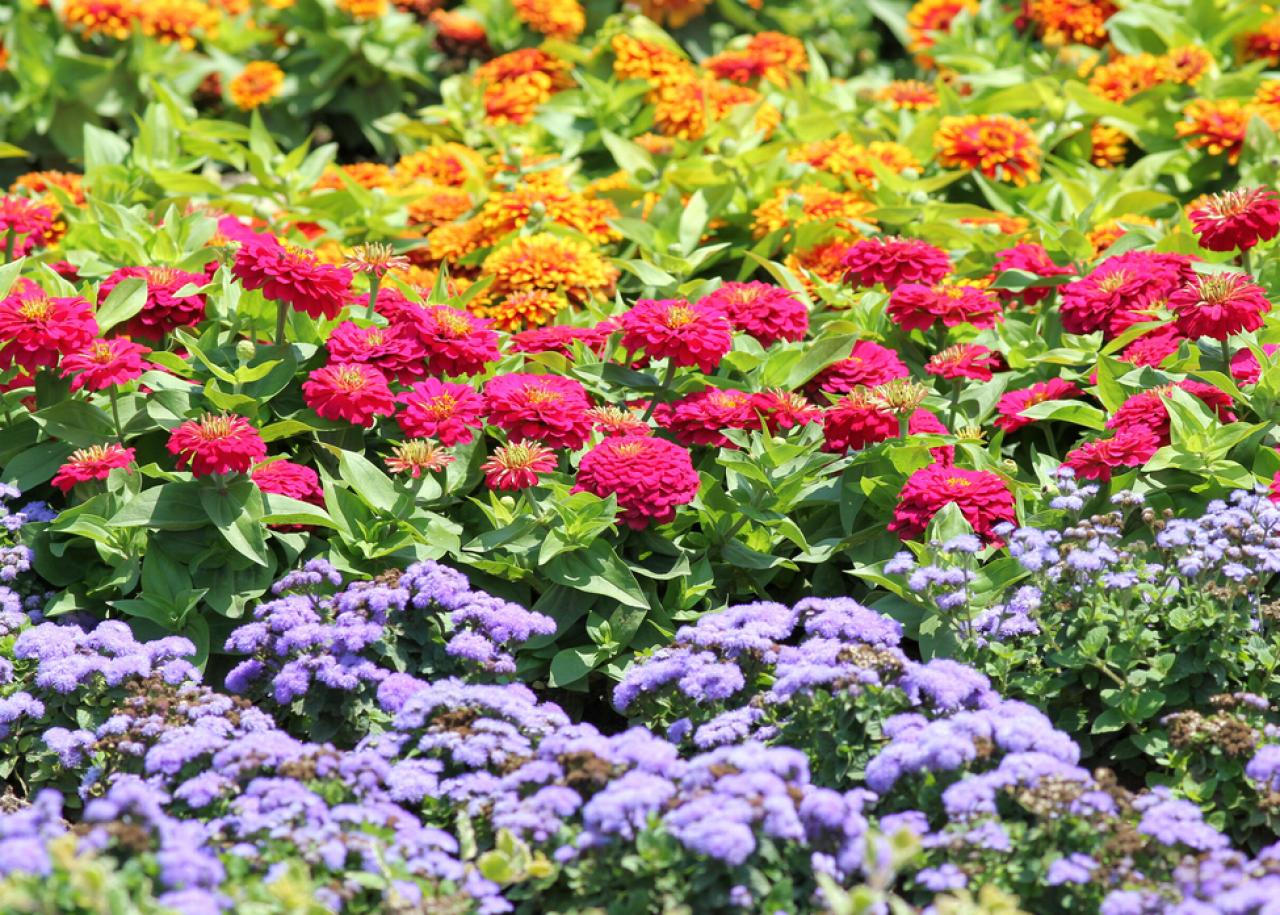
- Enjoy the blooms: Finally, sit back, relax, and enjoy the colorful and fragrant blooms that will reward you for your efforts. Take the time to appreciate the beauty and diversity of the flowers you have grown from the carefully stored seeds.
Remember to collect new seeds from your flowering plants for future storage and use, ensuring a continuous cycle of growth and preservation.
By following these steps, you will be able to successfully plant and cultivate the stored flower seeds, bringing your garden to life with an array of vibrant and delightful blooms.
Read more: How To Store Flowers
Conclusion
Congratulations on learning how to store flower seeds and embark on the journey of preserving nature’s beauty! By choosing the right seeds, harvesting them at the right time, and properly drying and storing them, you have taken a significant step in ensuring the longevity and viability of your seeds.
Remember to label your seeds accurately and keep them in a cool and dry environment to maintain their quality. Regularly check the viability of your stored seeds through germination tests and make necessary adjustments to your storage practices if needed.
When the time comes to plant the stored seeds, follow proper planting techniques and provide the necessary care to nurture the seedlings into thriving plants. Take pleasure in the process and the beauty of the flowers that will grace your garden.
Additionally, don’t forget to collect new seeds from your mature flowers, expanding your collection and continuing the cycle of growth and preservation.
Successful seed storage allows you to preserve your favorite flower varieties, explore new species, and share seeds with fellow gardeners. It’s a rewarding experience that connects you to the wonders of nature and provides a sense of accomplishment in the garden.
So, embrace the art of storing flower seeds and enjoy the fulfillment of witnessing the magical transformation from seed to blooming beauty. Happy gardening!
Frequently Asked Questions about How To Store Flower Seeds
Was this page helpful?
At Storables.com, we guarantee accurate and reliable information. Our content, validated by Expert Board Contributors, is crafted following stringent Editorial Policies. We're committed to providing you with well-researched, expert-backed insights for all your informational needs.

0 thoughts on “How To Store Flower Seeds”