Home>Garden Essentials>How To Harvest Seeds From Flowers

Garden Essentials
How To Harvest Seeds From Flowers
Modified: March 15, 2024
Learn how to harvest seeds from your garden flowers and save them for future planting. Get valuable tips and techniques for successful seed collection.
(Many of the links in this article redirect to a specific reviewed product. Your purchase of these products through affiliate links helps to generate commission for Storables.com, at no extra cost. Learn more)
Introduction
Harvesting seeds from flowers is not only a rewarding experience but also an essential practice for any avid gardener. It allows you to preserve and propagate your favorite flower varieties, ensuring their continued beauty and availability in your garden for years to come. Learning how to harvest seeds from flowers gives you the power to control the plant life cycle and play an active role in the growth and sustainability of your garden.
In addition to the benefits of preserving your favorite flower species, harvesting seeds also offers a cost-effective way to expand your garden. Instead of purchasing new plants or seeds each year, you can rely on the seeds you collect to grow new flowers. This not only saves you money but also provides a sense of satisfaction and accomplishment.
While the process of harvesting seeds from flowers may seem daunting at first, it is a relatively simple and enjoyable task. With a bit of knowledge and some essential tools, you can easily collect, clean, and store seeds from a wide variety of flowers.
In this comprehensive guide, we will explore the importance of seed harvesting, discuss the best time to harvest seeds, outline the necessary tools and materials, provide a step-by-step process for collecting seeds, and share tips and tricks to ensure successful seed harvesting. We will also discuss common mistakes to avoid, so you can have a fruitful and fulfilling seed harvesting experience.
So, whether you are a seasoned gardener looking to expand your collection or a novice ready to embark on your first seed harvesting journey, this article will equip you with the knowledge and skills needed to master the art of seed harvesting from flowers. Let’s dive in and discover the world of seeds!
Key Takeaways:
- Harvesting seeds from flowers allows you to preserve plant diversity, save money, and connect with nature’s cycles, empowering you to be an active contributor to the ecosystem.
- To successfully harvest seeds, choose the right time, use the proper tools, and avoid common mistakes. By being patient and observant, you can ensure a bountiful supply of viable seeds for future gardening adventures.
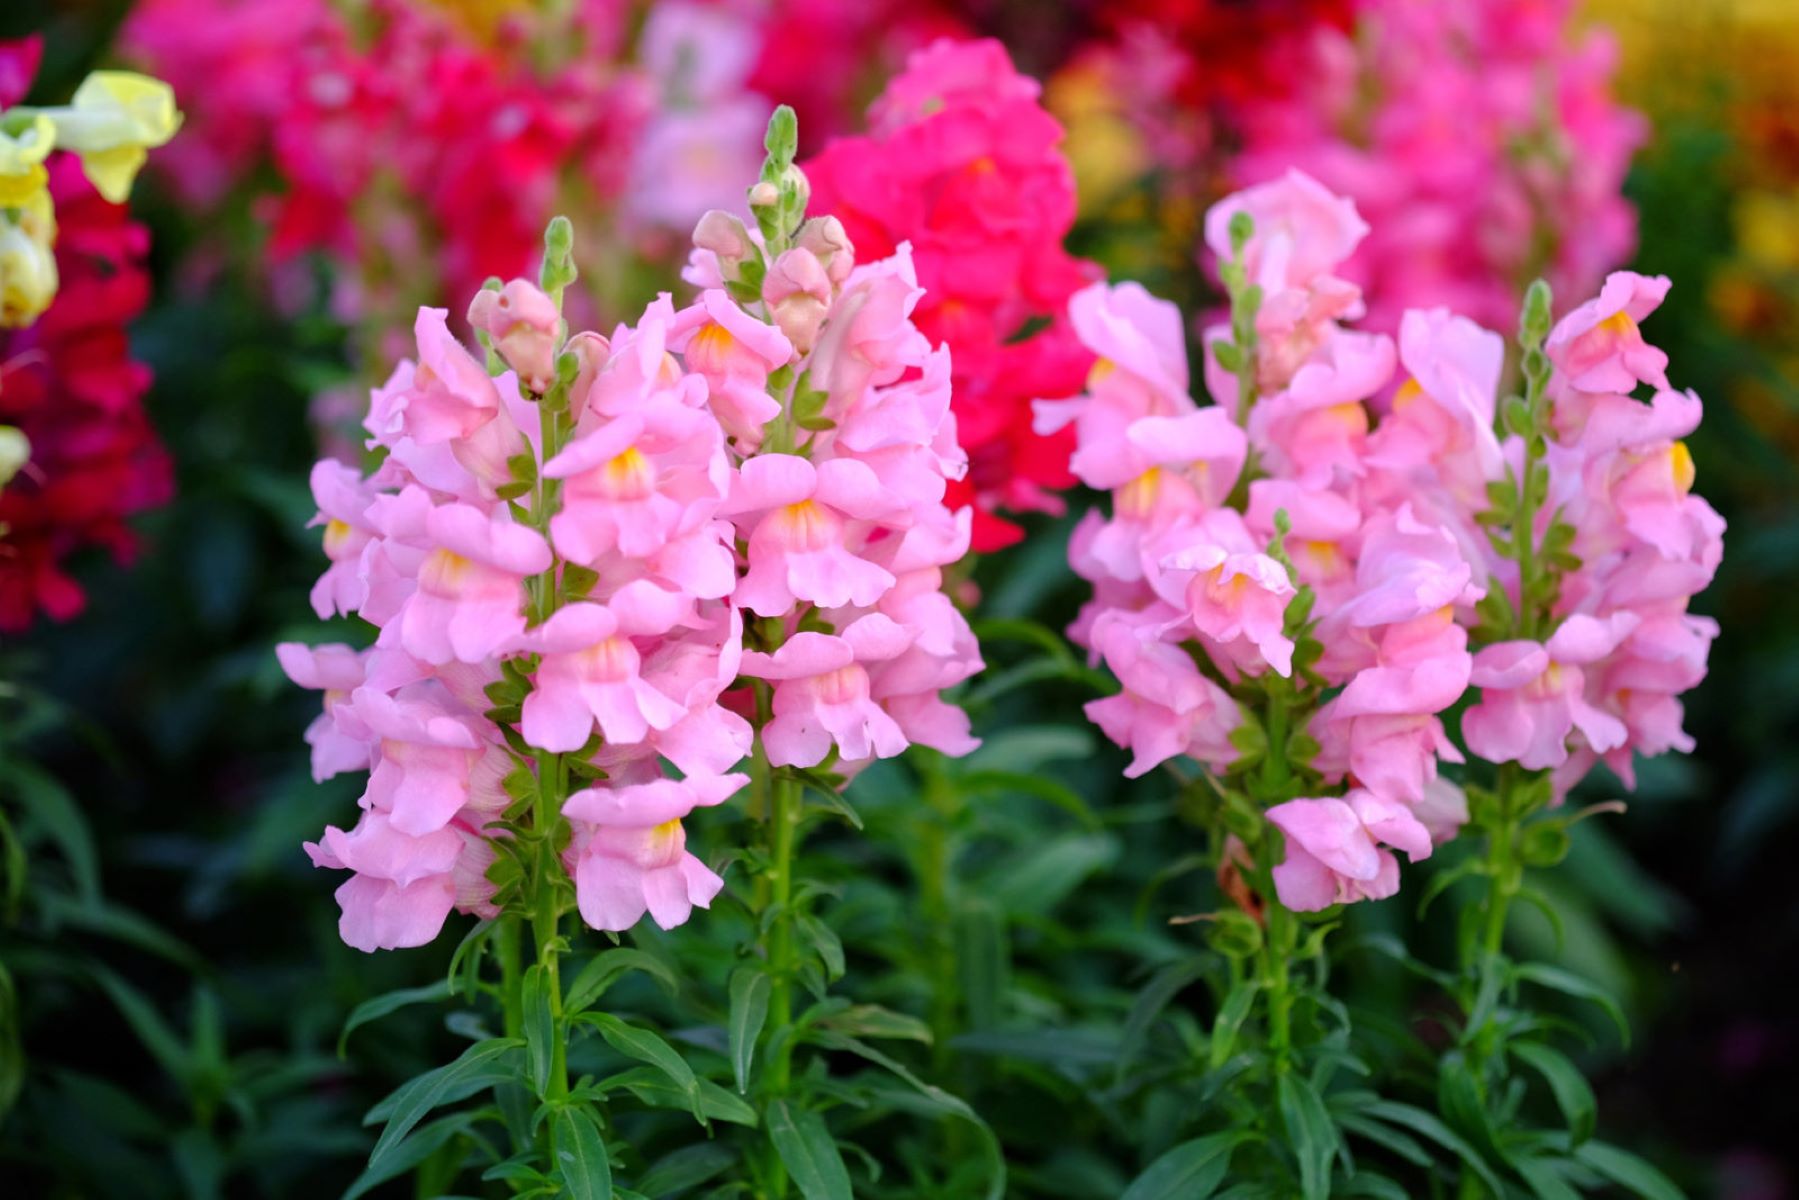
Read more: How To Harvest Zinnia Flower Seeds
Importance of Harvesting Seeds from Flowers
Harvesting seeds from flowers is a crucial practice with numerous benefits for both gardeners and the environment. Let’s explore why this process holds such importance:
Preserving Plant Diversity: By harvesting seeds from flowers, we contribute to the preservation of plant diversity. Many flowers, especially heirloom and rare varieties, are at risk of extinction due to habitat loss and industrial agriculture. By growing and saving seeds from these plants, we ensure their continued existence and the conservation of their unique traits.
Cost-Effective Gardening: One of the most significant advantages of harvesting seeds is that it provides an affordable way to expand your garden. Instead of purchasing new seeds or seedlings each year, you can rely on the seeds you collect to grow new flowers. This not only saves you money but also enables you to experiment with a wider range of plants without breaking the bank.
Adapting to Local Conditions: When you save seeds from flowers grown in your garden, you are essentially building a collection of plants that have adapted to your specific climate, soil conditions, and pests. Over time, these plants will become better suited to your local environment, resulting in stronger, healthier, and more resilient garden specimens.
Sharing Seeds and Knowledge: Seed harvesting provides an opportunity to share your abundance with other gardeners. By saving and exchanging seeds, you can contribute to a vibrant seed-sharing community, allowing others to enjoy the beauty of your favorite flowers and promoting a sense of collaboration and community among garden enthusiasts.
Connecting with Nature’s Cycles: Harvesting seeds from flowers allows us to connect with the natural cycles of life. It is a reminder that plants go through a continuous process of growth, reproduction, and renewal. By actively participating in this process, we develop a deeper understanding and appreciation for the intricate dynamics of the natural world.
In summary, harvesting seeds from flowers is not just about practicality and cost savings. It is an opportunity to play a role in preserving plant diversity, adapt to local conditions, share knowledge, and foster a deeper connection with nature. It empowers gardeners to be active contributors to the ecosystem and stewards of the earth’s floral treasures.
Choosing the Right Time to Harvest Seeds
Timing is crucial when it comes to harvesting seeds from flowers. Choosing the right time ensures that the seeds are mature, fully developed, and ready for collection. Here are a few factors to consider when determining the optimal harvesting time:
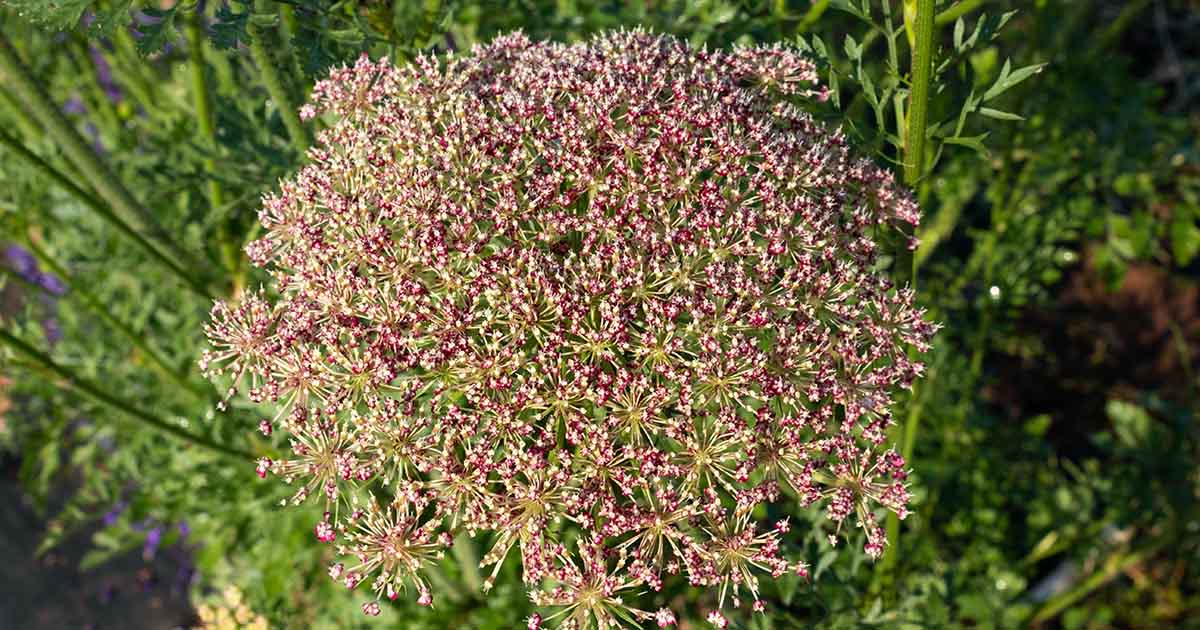
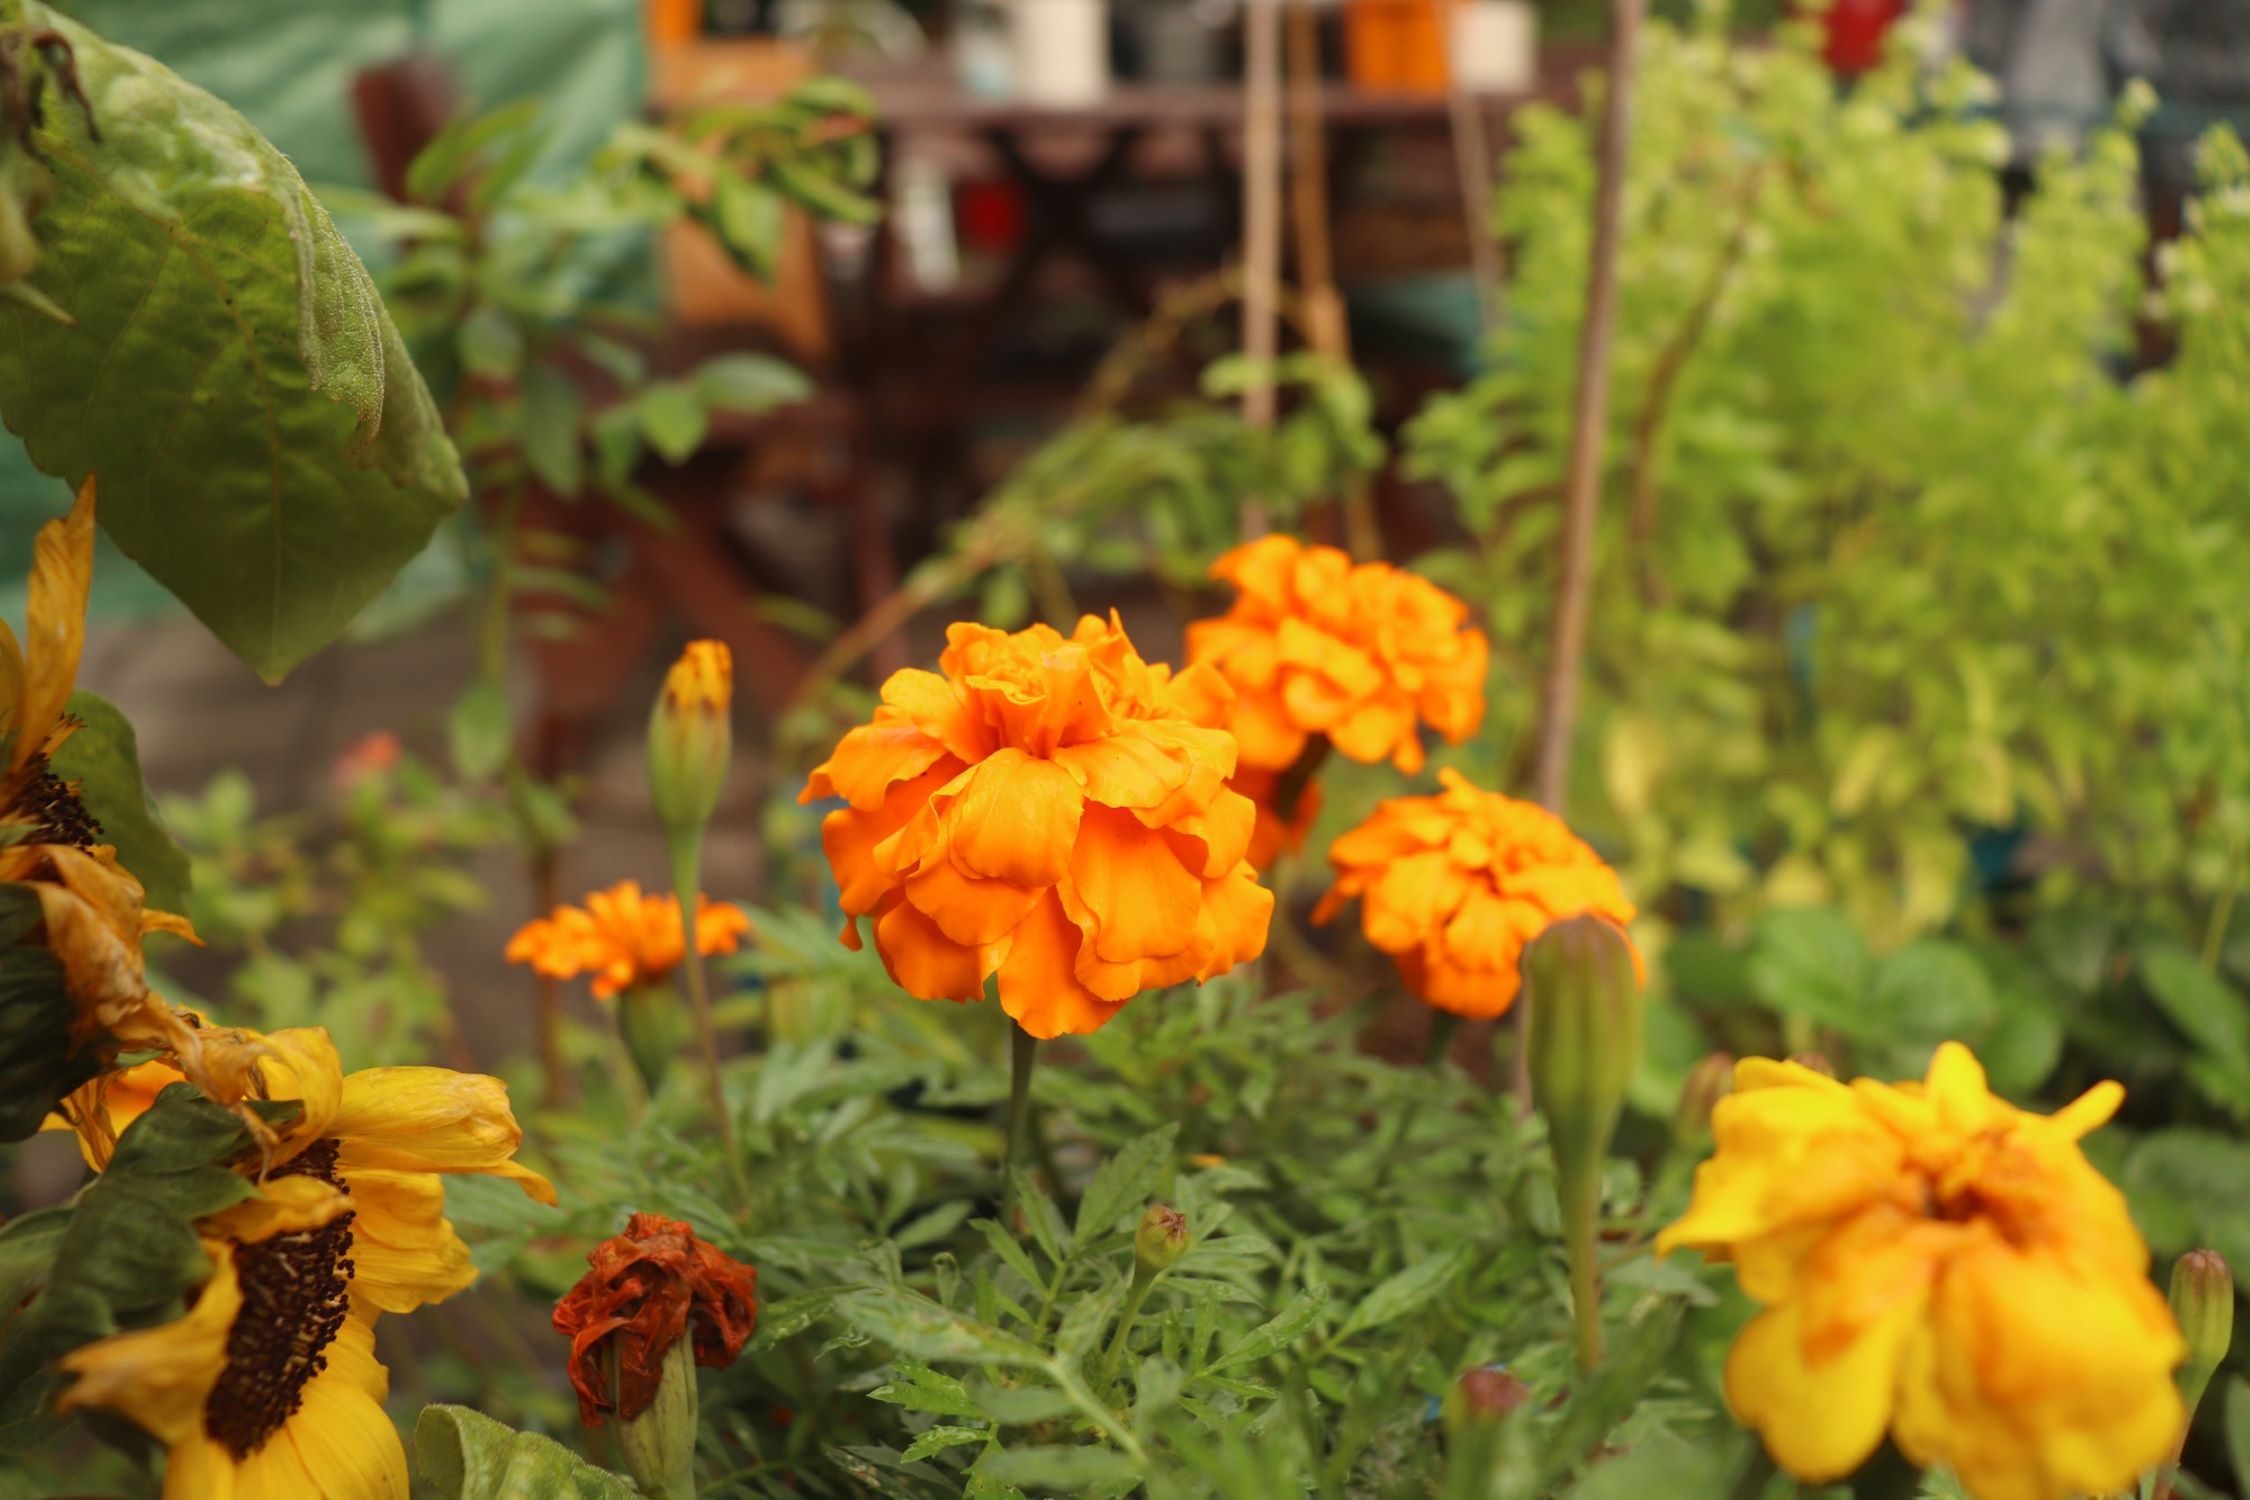
Observing Seed Development: It’s essential to observe the flower from the moment it blooms until the seed pods or capsules start to form. When the flower starts to fade, the seed-producing structures typically develop and mature. Pay attention to changes in color, size, and texture of the seed pods, as these are signs that the seeds are nearing maturity.
Considering Weather Conditions: Weather conditions can influence the development and ripening of seeds. Ideally, you want to harvest seeds on dry and sunny days. Rainy or humid weather can lead to mold or rotting, reducing the viability of the seeds.
Checking for Seed Ripeness: Different flower species have varying indicators of seed ripeness. Some seeds will naturally fall out of the seed pods when they are ready, while others will change color or become firm and hard. Research the specific flower species you are harvesting seeds from to understand the telltale signs of seed ripeness.
Testing Seed Viability: If you are unsure whether the seeds are ready for harvest, you can perform a viability test. Take a few seeds and place them in a damp paper towel or germination medium. Keep it in a warm and well-lit area. If the seeds successfully germinate within a specific timeframe, it is a clear indication that the remaining seeds are mature and ready to be harvested.
Considering Pollination Methods: In some plants, cross-pollination can occur, leading to seeds with different genetic characteristics. If you want to ensure that the harvested seeds will produce plants similar to the parent plant, it’s important to isolate or hand-pollinate the flowers to eliminate the risk of cross-pollination. This way, you can have more control over the traits and qualities of the offspring.
Record Keeping: As a diligent gardener, it’s helpful to maintain a gardening journal or log. Record the date the flower blooms, observe the changes in the seed pod, and note the approximate time when you expect the seeds to be ready for harvest. This record-keeping practice will provide valuable insights for future seed harvesting endeavors.
By carefully observing the development of the flower and considering the factors mentioned above, you can determine the ideal time for harvesting seeds. Remember, patience is key, as premature harvesting may result in immature seeds that are unlikely to germinate. Waiting for the seeds to fully mature ensures a higher success rate when it comes to germination and growing new plants.
Tools and Materials Needed for Seed Harvesting
When it comes to harvesting seeds from flowers, having the right tools and materials is essential for a successful and efficient process. Here is a list of the key items you will need:
Gloves: Protect your hands from prickly seed pods, thorns, or any potential irritants by wearing a pair of sturdy gardening gloves. They’ll provide the necessary grip and shield your hands from scratches or injuries.
Pruning Shears or Scissors: A sharp pair of pruning shears or scissors will come in handy for cutting the seed heads or seed pods from the plant. Look for tools with clean, sharp blades to ensure clean cuts and minimize damage to the plant.
Tweezers or Forceps: These fine-tipped tools are ideal for extracting small seeds from seed pods or flower heads. They allow for precise handling and help avoid damaging or crushing delicate seeds in the process.
Paper Bags or Envelopes: Use paper bags or envelopes to collect and store the harvested seed heads or pods. Avoid using plastic bags, as they can trap moisture and cause the seeds to mold or rot. Ensure that the bags or envelopes are labeled with the name of the flower species and the date of harvest.
Seed Trays or Screens: Seed trays or screens provide a convenient way to dry and separate the seeds from the rest of the plant material. These trays or screens allow for proper airflow, preventing moisture buildup and minimizing the risk of mold. Choose trays or screens with fine mesh to catch smaller seeds effectively.
Marker or Labeling Tags: It’s crucial to label your collected seeds to avoid confusion later on. Use a waterproof marker or labeling tags to indicate the flower species, date, and any relevant notes about the seeds. This ensures that you can easily identify and organize your seeds during the cleaning and storage process.
Storage Containers: Once the seeds are fully dried and cleaned, they need to be stored in appropriate containers. Choose airtight containers such as glass jars or seed envelopes to keep the seeds safe from moisture, pests, and temperature fluctuations. Make sure to label the containers with the appropriate information for future reference.
Drying Rack or Hanging Mesh: To facilitate the drying process, consider using a drying rack or hanging mesh. These allow air to circulate around the seeds, ensuring they dry thoroughly and reducing the risk of mold or mildew. Choose a well-ventilated area out of direct sunlight to hang the racks or mesh.
Optional: Seed Cleaning Tools: Depending on the flower species, you may need additional tools to clean the seeds from chaff or debris. These can include sieves, screens of varying sizes, or a winnowing basket for separating lightweight chaff. Research the specific cleaning methods required for the flower species you are harvesting seeds from.
Having these tools and materials readily available will make your seed harvesting process more efficient and enjoyable. By using the right equipment, you can ensure the successful collection, cleaning, and storage of your precious seeds, setting the stage for future gardening success and enjoyment.
Step-by-Step Guide to Harvesting Seeds from Flowers
Harvesting seeds from flowers may seem daunting at first, but with the following step-by-step guide, you’ll be well-equipped to tackle the process with confidence:
- Observe the Flower: Monitor the flower from the time it blooms until the seeds begin to develop. This allows you to track the growth and make note of any changes in the seed pods or capsules.
- Choose the Right Time: Determine the optimal time to harvest seeds based on the specific plant species. The seeds should be mature, fully developed, and ready for collecting. Look for signs such as changes in color, size, or texture of the seed pods.
- Prepare your Tools: Gather the necessary tools, including gloves, pruning shears or scissors, tweezers or forceps, paper bags or envelopes, seed trays or screens, and marker or labeling tags.
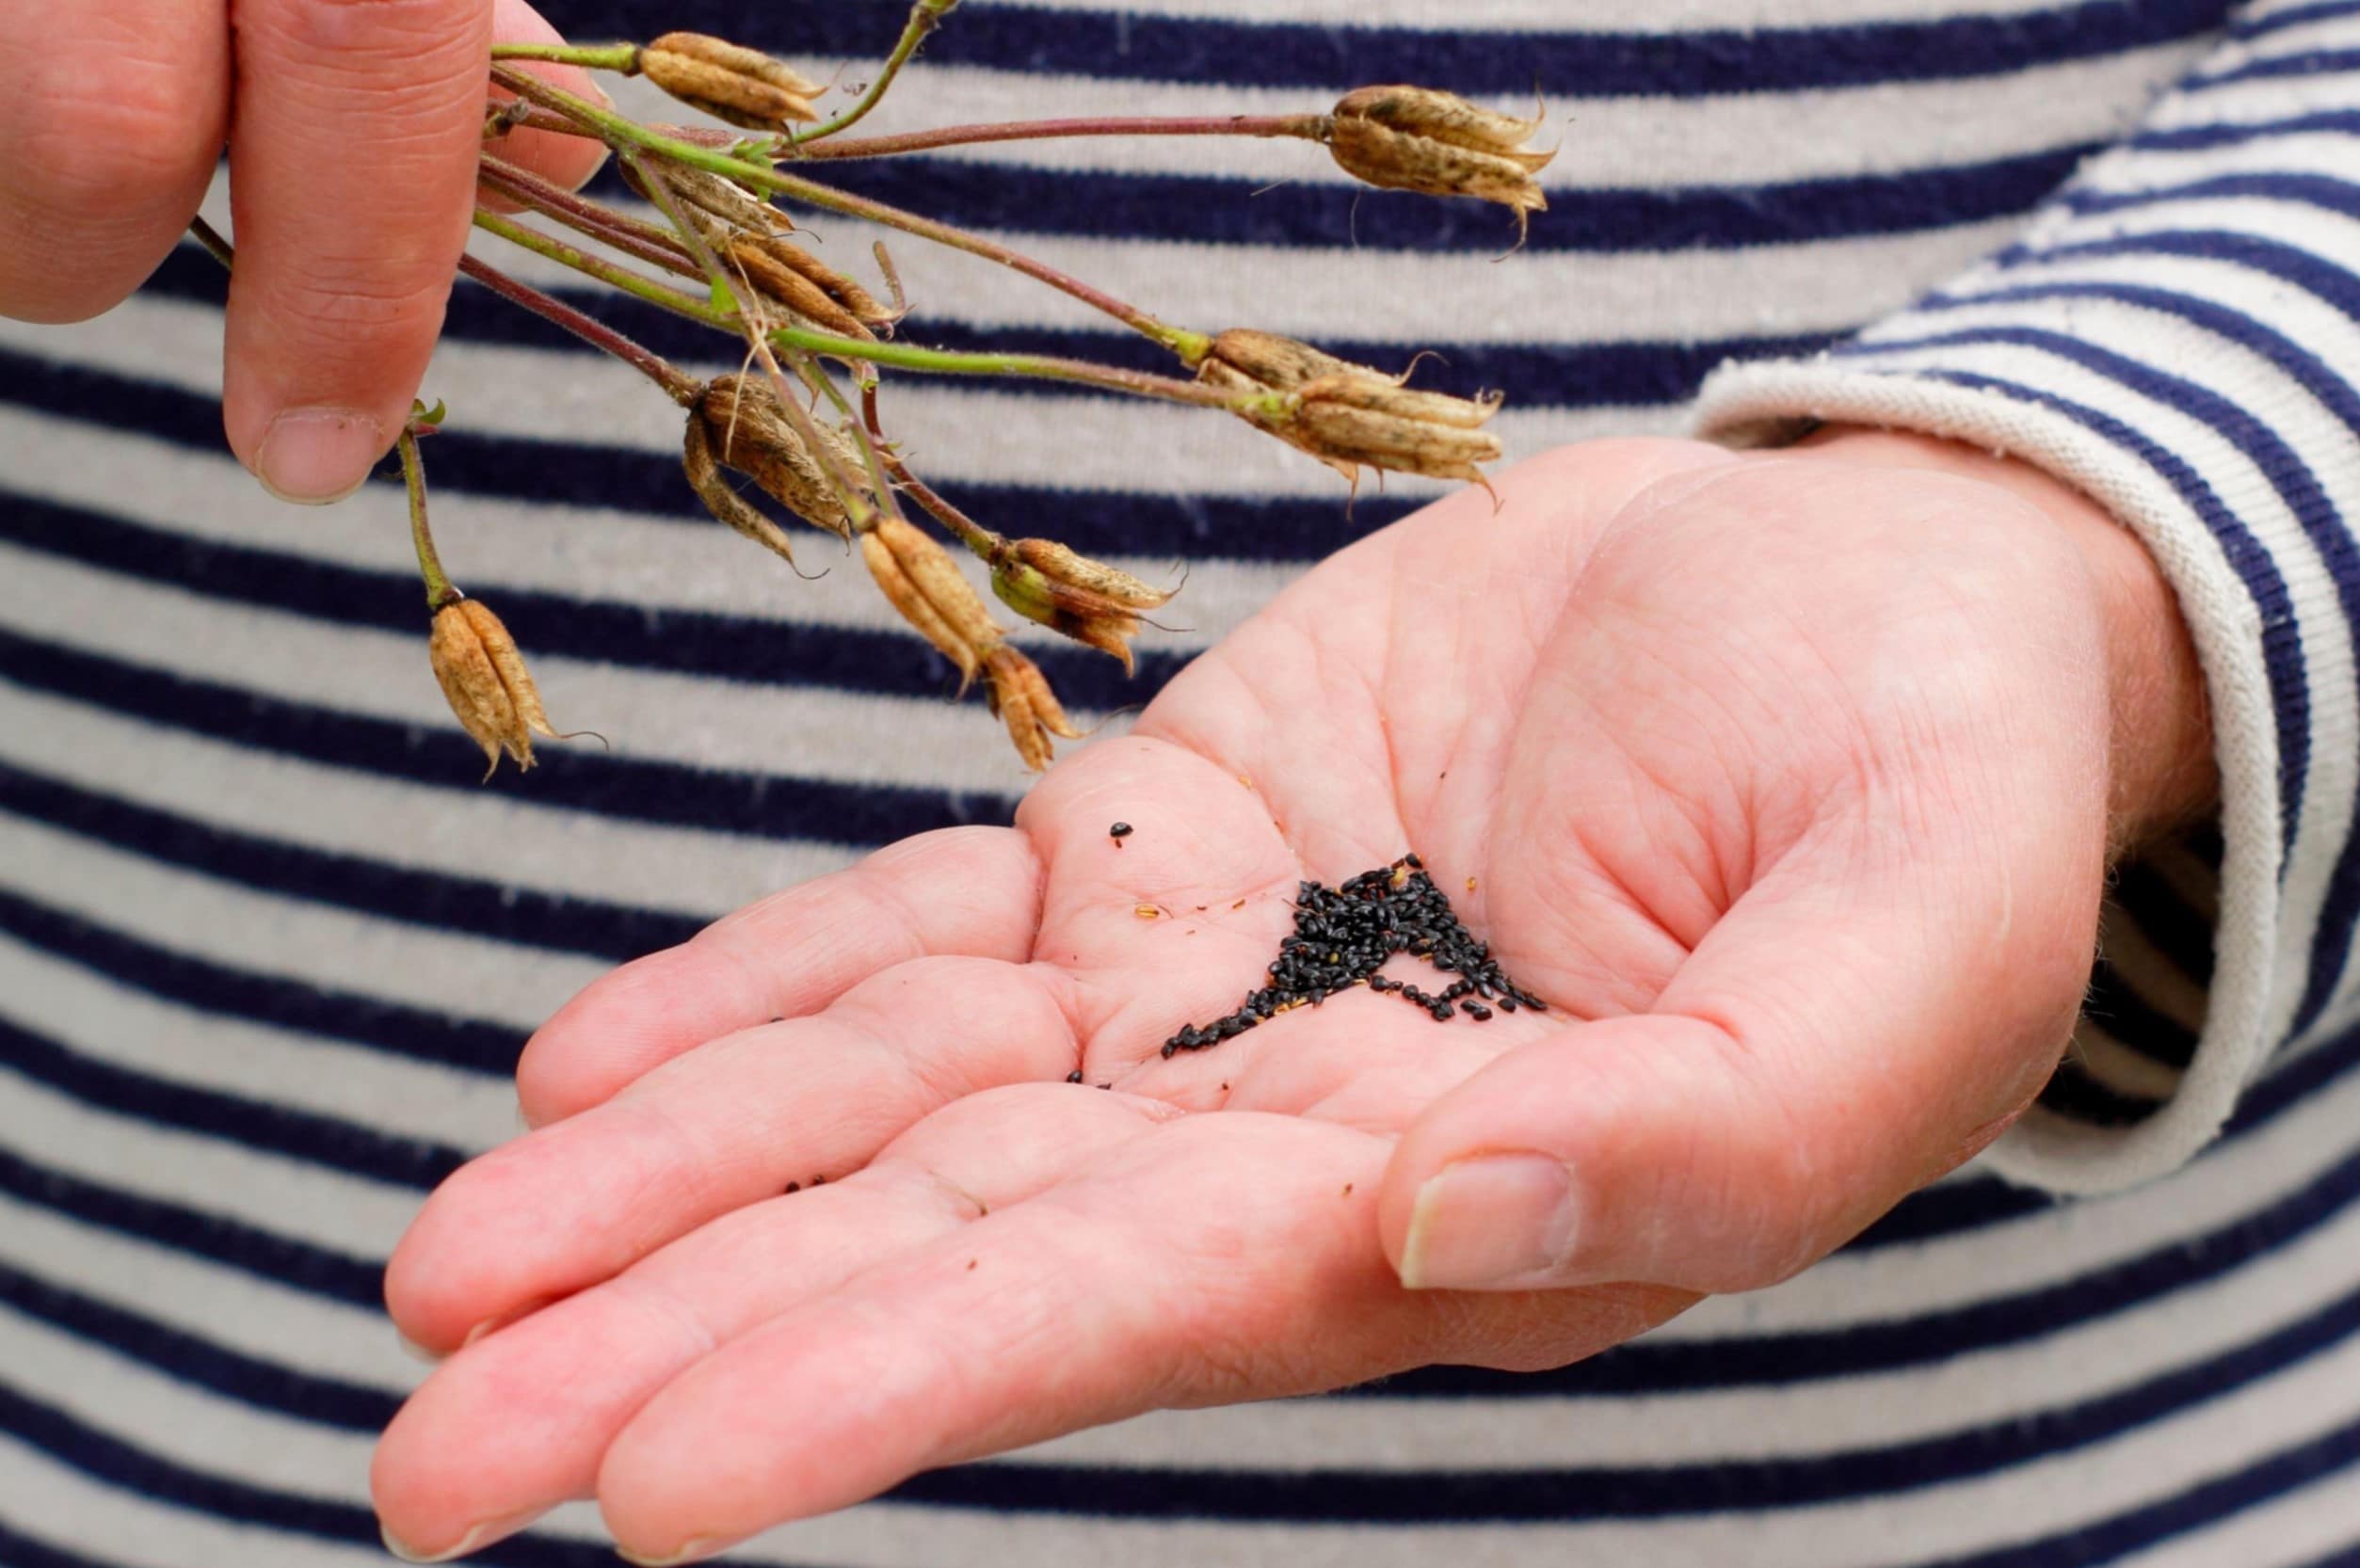
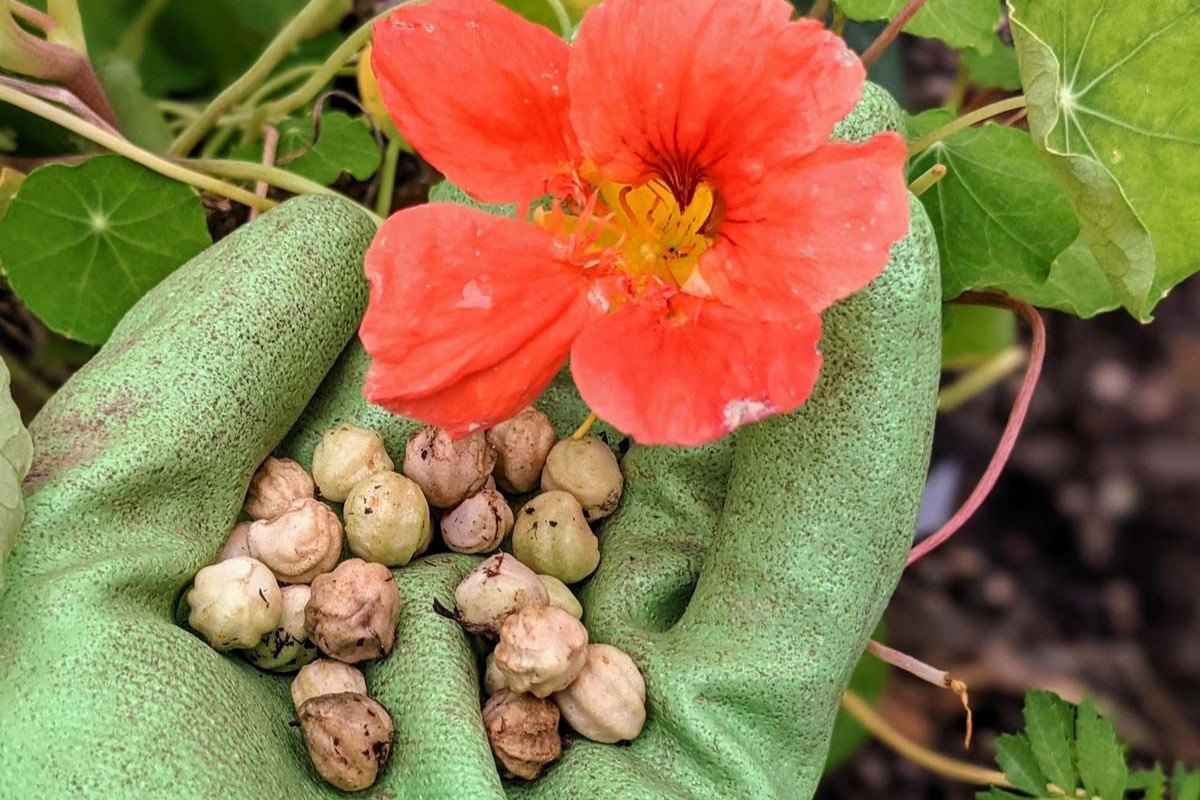
- Cut or Collect the Seed Heads: Using clean pruning shears or scissors, carefully cut the seed heads or seed pods from the plant, ensuring minimal damage to the surrounding foliage. Alternatively, for larger flower varieties, gently collect the seed heads that have naturally fallen to the ground.
- Collect Seeds in Paper Bags or Envelopes: Place the harvested seed heads or pods into separate paper bags or envelopes. Label each bag or envelope with the name of the flower species and the date of harvest. This step helps you keep track of the seeds and their respective plant varieties.
- Dry the Seeds: Allow the seed heads or pods to dry completely by placing them in a well-ventilated area. Consider using a drying rack or hanging mesh to promote proper airflow and prevent moisture buildup. The seeds should be fully dried before proceeding to the next step.
- Clean the Seeds: If necessary, clean the seeds to remove any chaff or debris. This step depends on the specific flower species and may involve methods such as sieving or winnowing. Utilize seed cleaning tools such as screens or sieves to separate the seeds from unwanted plant material.
- Store the Seeds: Once the seeds are fully cleaned and dried, transfer them to airtight containers such as glass jars or seed envelopes. Label the containers with the relevant information, including the flower species, date, and any additional notes. Store the containers in a cool, dry, and dark location to maintain seed viability.
- Record and Organize: Keep a gardening journal or log to record the details of the seed harvesting process. Note the date of harvest, the flower species, the success rate of germination, and any other relevant observations. This record-keeping helps you learn from past experiences and plan for future seed harvesting endeavors.
Remember, each flower species may have unique requirements and characteristics, so it’s essential to research specific instructions for harvesting seeds from different plants. By following this step-by-step guide and adapting it to your specific flower varieties, you’ll be able to successfully harvest, clean, and store seeds, guaranteeing a bountiful supply for future gardening adventures.
When harvesting seeds from flowers, wait until the flower has wilted and the seeds have fully formed. Then, gently remove the seeds and allow them to dry completely before storing in a cool, dry place.
Read more: How To Harvest Seeds From Lettuce
Cleaning and Storing the Harvested Seeds
Once you have harvested the seeds from your flowers, the next critical step is to clean and properly store them. Proper cleaning ensures that the seeds are free from debris, while appropriate storage conditions maintain their viability for future use. Follow these steps to clean and store your harvested seeds:
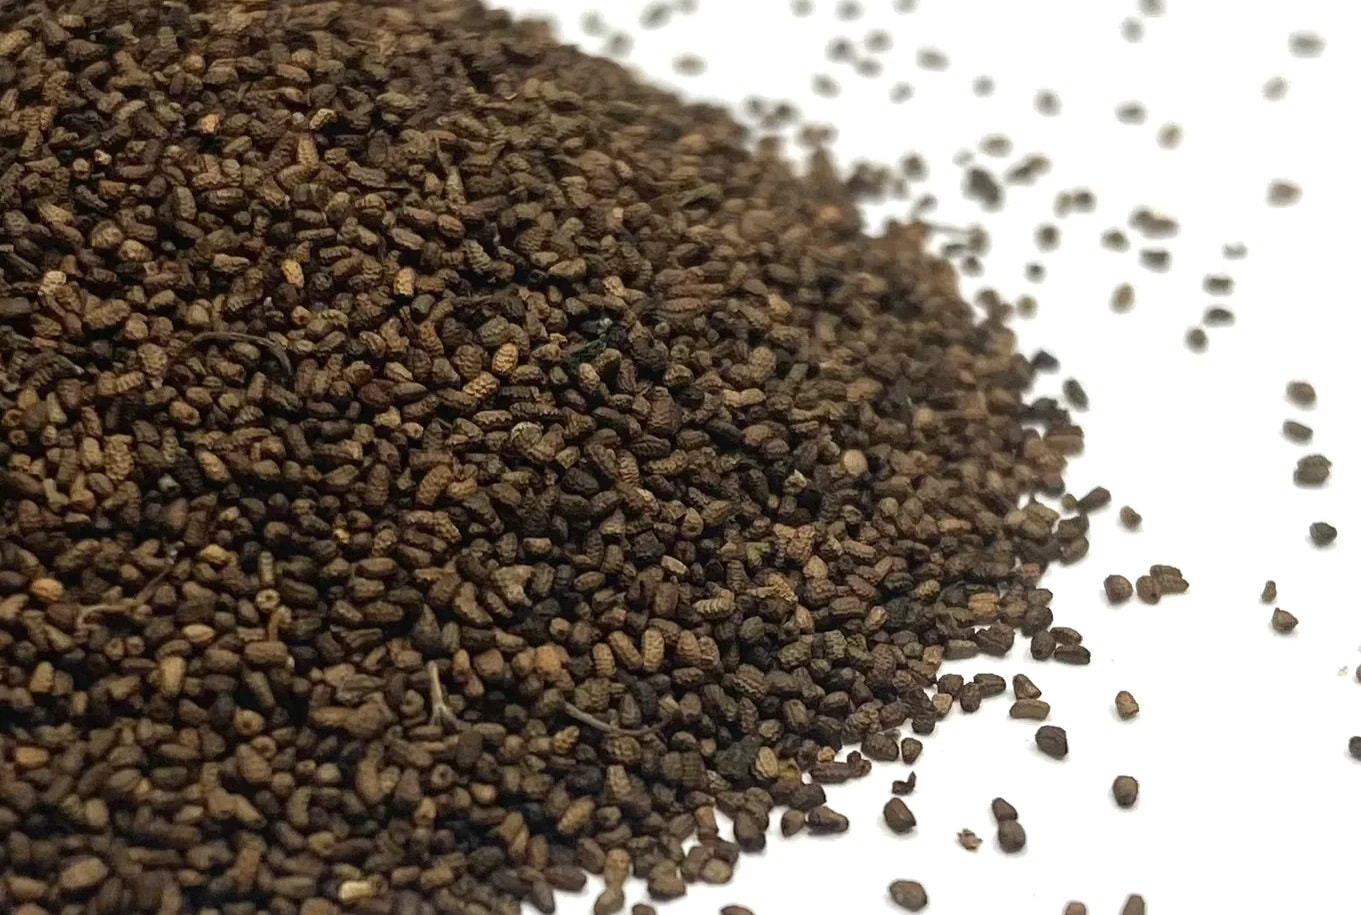
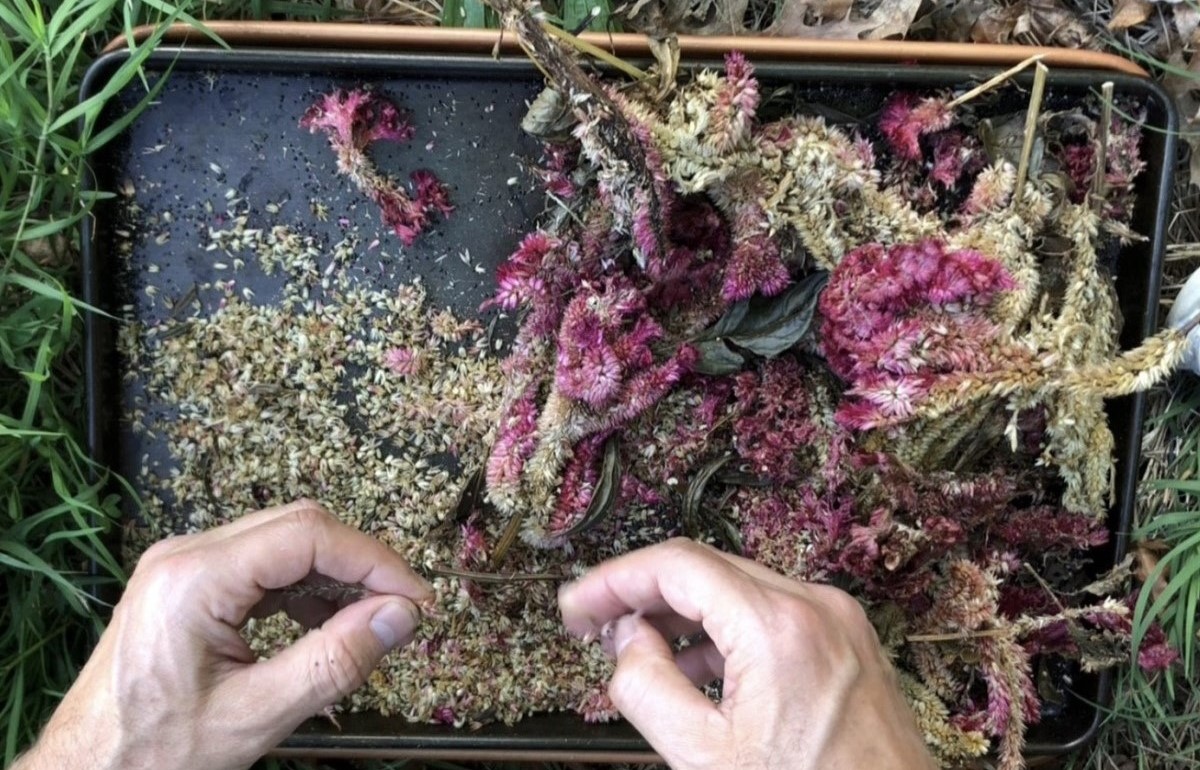
- Remove Debris: Begin by separating the seeds from any plant material or chaff. This can be done by gently shaking the seed heads or pods over a clean surface or by using screens or sieves with appropriate mesh sizes to catch the seeds while allowing the debris to fall through.
- Winnowing: For seeds with lightweight and chaff-like material, you can perform the winnowing process. Stand near a gentle breeze or use a fan to blow away the lighter debris while allowing the heavier seeds to fall. Repeat this step until most of the chaff is removed.
- Drying: After cleaning, spread the seeds out in a single layer on a tray or screen. Place them in a well-ventilated area away from direct sunlight to dry completely. Make sure the seeds are fully dry before storing them, as any remaining moisture may lead to mold or reduced viability.
- Labeling: Before storing the seeds, it’s crucial to label them correctly. Use a waterproof or permanent marker to write the name of the flower species, the date of harvest, and any additional notes on the storage containers. This helps you identify your seeds easily when you decide to plant them in the future.
- Choosing the Right Containers: Select suitable containers based on the quantity of seeds and their specific storage requirements. For small amounts of seeds, seed envelopes or small glass jars work well. Opt for airtight containers to protect the seeds from moisture, pests, and temperature fluctuations.
- Proper Storage Conditions: Store the labeled containers in a cool, dry, and dark location, such as a pantry or a refrigerator. The ideal temperature for seed storage is typically between 32°F (0°C) and 50°F (10°C). Ensure that the storage area is free from extreme temperatures, humidity, and direct sunlight.
- Monitoring and Viability Testing: Periodically check your stored seeds for any signs of mold or deterioration. If you notice any issues, remove the affected seeds promptly. Conduct occasional viability tests by germinating a small sample of the seeds to ensure their ability to sprout.
- Record Keeping: Document the details of your harvested seeds, including the flower species, harvest date, storage location, and any relevant observations in your gardening journal or log. This meticulous record-keeping will help you track the seed’s viability and guide future seed-saving endeavors.
By following these steps, you can ensure that your harvested seeds are clean, dry, and stored under optimal conditions. Proper cleaning and storage increase the likelihood of successful germination and the growth of healthy plants when the time comes to sow the seeds. With patience and care, you’ll have a well-curated collection of viable seeds ready to bring life to your future gardens.
Tips and Tricks for Successful Seed Harvesting
Seed harvesting can be a rewarding and satisfying experience. To increase your chances of success and make the most out of your efforts, consider the following tips and tricks:
- Choose Healthy Plants: Select plants that are healthy, disease-free, and exhibit desirable characteristics for seed harvesting. Healthy plants produce better quality seeds, ensuring a higher success rate for germination and growth.
- Isolate or Hand-Pollinate Flowers: To maintain the genetic integrity of the parent plant, isolate the flowers to prevent cross-pollination with other plant varieties. Alternatively, hand-pollinate the flowers to control the pollination process and ensure the purity of the seeds.
- Harvest Seeds from Multiple Plants: Whenever possible, collect seeds from multiple individual plants. This helps preserve genetic diversity and ensures a more robust and varied gene pool for future plant generations.
- Mature Seeds Fully: Allow the seeds to reach full maturity before harvesting. Immature seeds may not germinate or produce weak plants. Look for signs of maturity, such as changes in color, hardness, or natural shedding of seeds from the flower.
- Timing Matters: Harvest seeds on dry and sunny days, as excess moisture or rain can lead to mold or rotting. Plan your seed harvesting activities accordingly and monitor the weather conditions for the best timing.
- Handling Delicate Seeds: Some seeds are incredibly small and delicate. Use tweezers or forceps to handle them with care, preventing damage and ensuring the viability of these tiny seeds.
- Label Everything: Proper labeling is crucial to avoid confusion and maintain organization. Label each seed container with the flower species, harvest date, and any specific notes or observations you want to remember. This helps you track the provenance and characteristics of each seed batch.
- Experiment and Learn: Seed harvesting provides an excellent opportunity for experimentation. Try different techniques, such as fermenting or dry-stratifying seeds, to enhance germination rates. Keep records of your methods and outcomes to learn from your successes and mistakes.
- Share and Exchange Seeds: Engage with fellow gardeners and join seed-sharing communities to diversify your collection. Sharing and exchanging seeds not only expands your selection but also promotes biodiversity and strengthens the gardening community as a whole.
- Regularly Update Your Knowledge: Stay informed about the specific requirements and characteristics of the flower species you are working with. Research optimal harvesting techniques, seed storage conditions, and any recent discoveries in seed-saving practices to refine your skills and achieve better results.
By following these tips and tricks, you can enhance your seed harvesting experience and increase the chances of successful seed germination and plant growth. Remember to enjoy the process, learn from each harvest, and pass along the knowledge and love for seed saving to future generations of gardeners. Happy seed harvesting!
Common Mistakes to Avoid
While seed harvesting can be a relatively straightforward process, there are some common mistakes that gardeners should be aware of and avoid. By learning from these mistakes, you can increase your chances of successful seed collection and ensure the highest quality seeds for future planting. Here are some common mistakes to watch out for:
- Harvesting Seeds Too Early: Harvesting seeds before they are fully mature can result in low germination rates or weak seedlings. Be patient and allow the seeds to fully develop and ripen before collecting them.
- Not Providing Proper Ventilation: During the drying process, it is essential to provide adequate ventilation to prevent moisture buildup and the development of mold or mildew. Ensure that the drying area is well-ventilated and that the seeds are spread out in a single layer.
- Using Inappropriate Containers: Using improper storage containers can result in reduced seed viability. Avoid using containers that are not airtight or that can allow light to penetrate. Choose glass jars or seed envelopes that can protect the seeds from moisture, pests, and temperature fluctuations.
- Forgetting to Label Seeds: Properly labeling your harvested seeds is crucial for organization and future identification. Ensure that each container is clearly labeled with the flower species, harvest date, and any additional relevant information to avoid confusion and facilitate easy retrieval in the future.
- Failing to Keep Seeds Dry: Moisture is the enemy of stored seeds, as it can lead to mold, rot, or reduced viability. Keep seeds in a cool, dry location and avoid exposing them to high humidity or drastic temperature changes.
- Not Rotating Seed Stock: Avoid keeping and using the same batch of seeds year after year without replenishing them. Over time, seed viability can decrease, resulting in poor germination rates. Rotate your seed stock regularly, ensuring that you always have fresh and viable seeds on hand.
- Not Assessing Seed Viability: It’s essential to periodically assess the viability of stored seeds. Conduct germination tests by planting a sample of seeds to ensure their ability to sprout. This helps you identify seeds that may have lost their viability and allows you to adjust your planting strategy accordingly.
- Skipping the Cleaning Process: Neglecting to clean the harvested seeds properly can result in poor seed quality. Remove any debris or chaff to ensure clean, viable seeds. This step improves germination rates and prevents the spread of diseases or pests.
- Ignoring Seed Harvesting Guidelines: Different plant species have unique requirements and characteristics when it comes to seed harvesting. Follow specific guidelines for each flower variety to ensure you are collecting seeds at the appropriate time and using the correct methods for that particular plant.
- Not Documenting Key Details: Keep a record of your seed harvesting activities, including the flower species, harvest dates, and any observations or techniques used. This documentation helps you track your successes and failures, learn from your experiences, and refine your seed harvesting practices.
By being mindful of these common mistakes and taking the necessary precautions, you can maximize the success of your seed harvesting efforts. Remember to be patient, attentive, and organized throughout the process, ensuring the collection of high-quality seeds for future plantings.
Conclusion
Seed harvesting from flowers is a rewarding and important practice that allows gardeners to preserve plant diversity, save money, and take an active role in their gardening journey. By learning how to properly harvest and store seeds, you can ensure a continuous cycle of growth, propagation, and enjoyment in your garden.
In this comprehensive guide, we explored the significance of seed harvesting and the benefits it offers gardeners and the environment. We discussed the importance of choosing the right time to harvest seeds, equipped you with the necessary tools and materials, and provided a step-by-step guide for successful seed harvesting.
We also shared tips and tricks to enhance your seed harvesting process and highlighted common mistakes to avoid. By following these recommendations, you can increase your chances of collecting high-quality, viable seeds that will thrive when planted.
Remember to be patient, observant, and meticulous throughout the entire seed harvesting journey. By carefully selecting healthy plants, timing your harvest correctly, providing proper ventilation and storage conditions, and keeping accurate records, you can ensure the long-term success of your seeds.
Whether you are a seasoned gardener looking to expand your plant collection or a beginner eager to delve into the world of seed saving, seed harvesting is an invaluable skill that allows you to deepen your connection with nature and enjoy the wonders of plant life.
So, put on your gardening gloves, grab your pruning shears, and embark on your seed harvesting adventure. Explore different flower species, experiment with techniques, and share your knowledge and seeds with fellow gardeners. Together, we can contribute to the preservation of plant diversity and create thriving gardens filled with beauty and abundance.
Frequently Asked Questions about How To Harvest Seeds From Flowers
Was this page helpful?
At Storables.com, we guarantee accurate and reliable information. Our content, validated by Expert Board Contributors, is crafted following stringent Editorial Policies. We're committed to providing you with well-researched, expert-backed insights for all your informational needs.

0 thoughts on “How To Harvest Seeds From Flowers”