Home>Garden Essentials>How To Plant Flowers From Seeds
Garden Essentials
How To Plant Flowers From Seeds
Modified: March 24, 2024
Learn how to plant flowers from seeds and create a beautiful garden. Discover essential tips and techniques for successful gardening.
(Many of the links in this article redirect to a specific reviewed product. Your purchase of these products through affiliate links helps to generate commission for Storables.com, at no extra cost. Learn more)
Introduction
Planting flowers from seeds is a rewarding and fulfilling experience that allows you to witness the remarkable journey from tiny seeds to blooming beauties. Whether you’re an experienced gardener or just starting out, planting flowers from seeds offers a cost-effective way to fill your garden with a vibrant array of colors and fragrances.
In this article, we will guide you through the step-by-step process of planting flowers from seeds, ensuring that you have all the information you need to succeed. From preparing the soil to transplanting the seedlings, we will cover every aspect of the process to help you create a flourishing garden.
Get ready to embark on a journey filled with dirt-stained hands, the smell of freshly turned soil, and the anticipation of watching tiny seeds grow into resplendent flowers. Let’s dive in!
Key Takeaways:
- Planting flowers from seeds is a joyful journey that requires soil preparation, proper seed selection, and attentive care. With patience and dedication, you can create a vibrant and flourishing garden.
- Providing the right amount of water, sunlight, and nutrients, along with ongoing care and maintenance, ensures the long-term health and beauty of your flowers. Enjoy the rewarding experience of gardening and connect with nature.
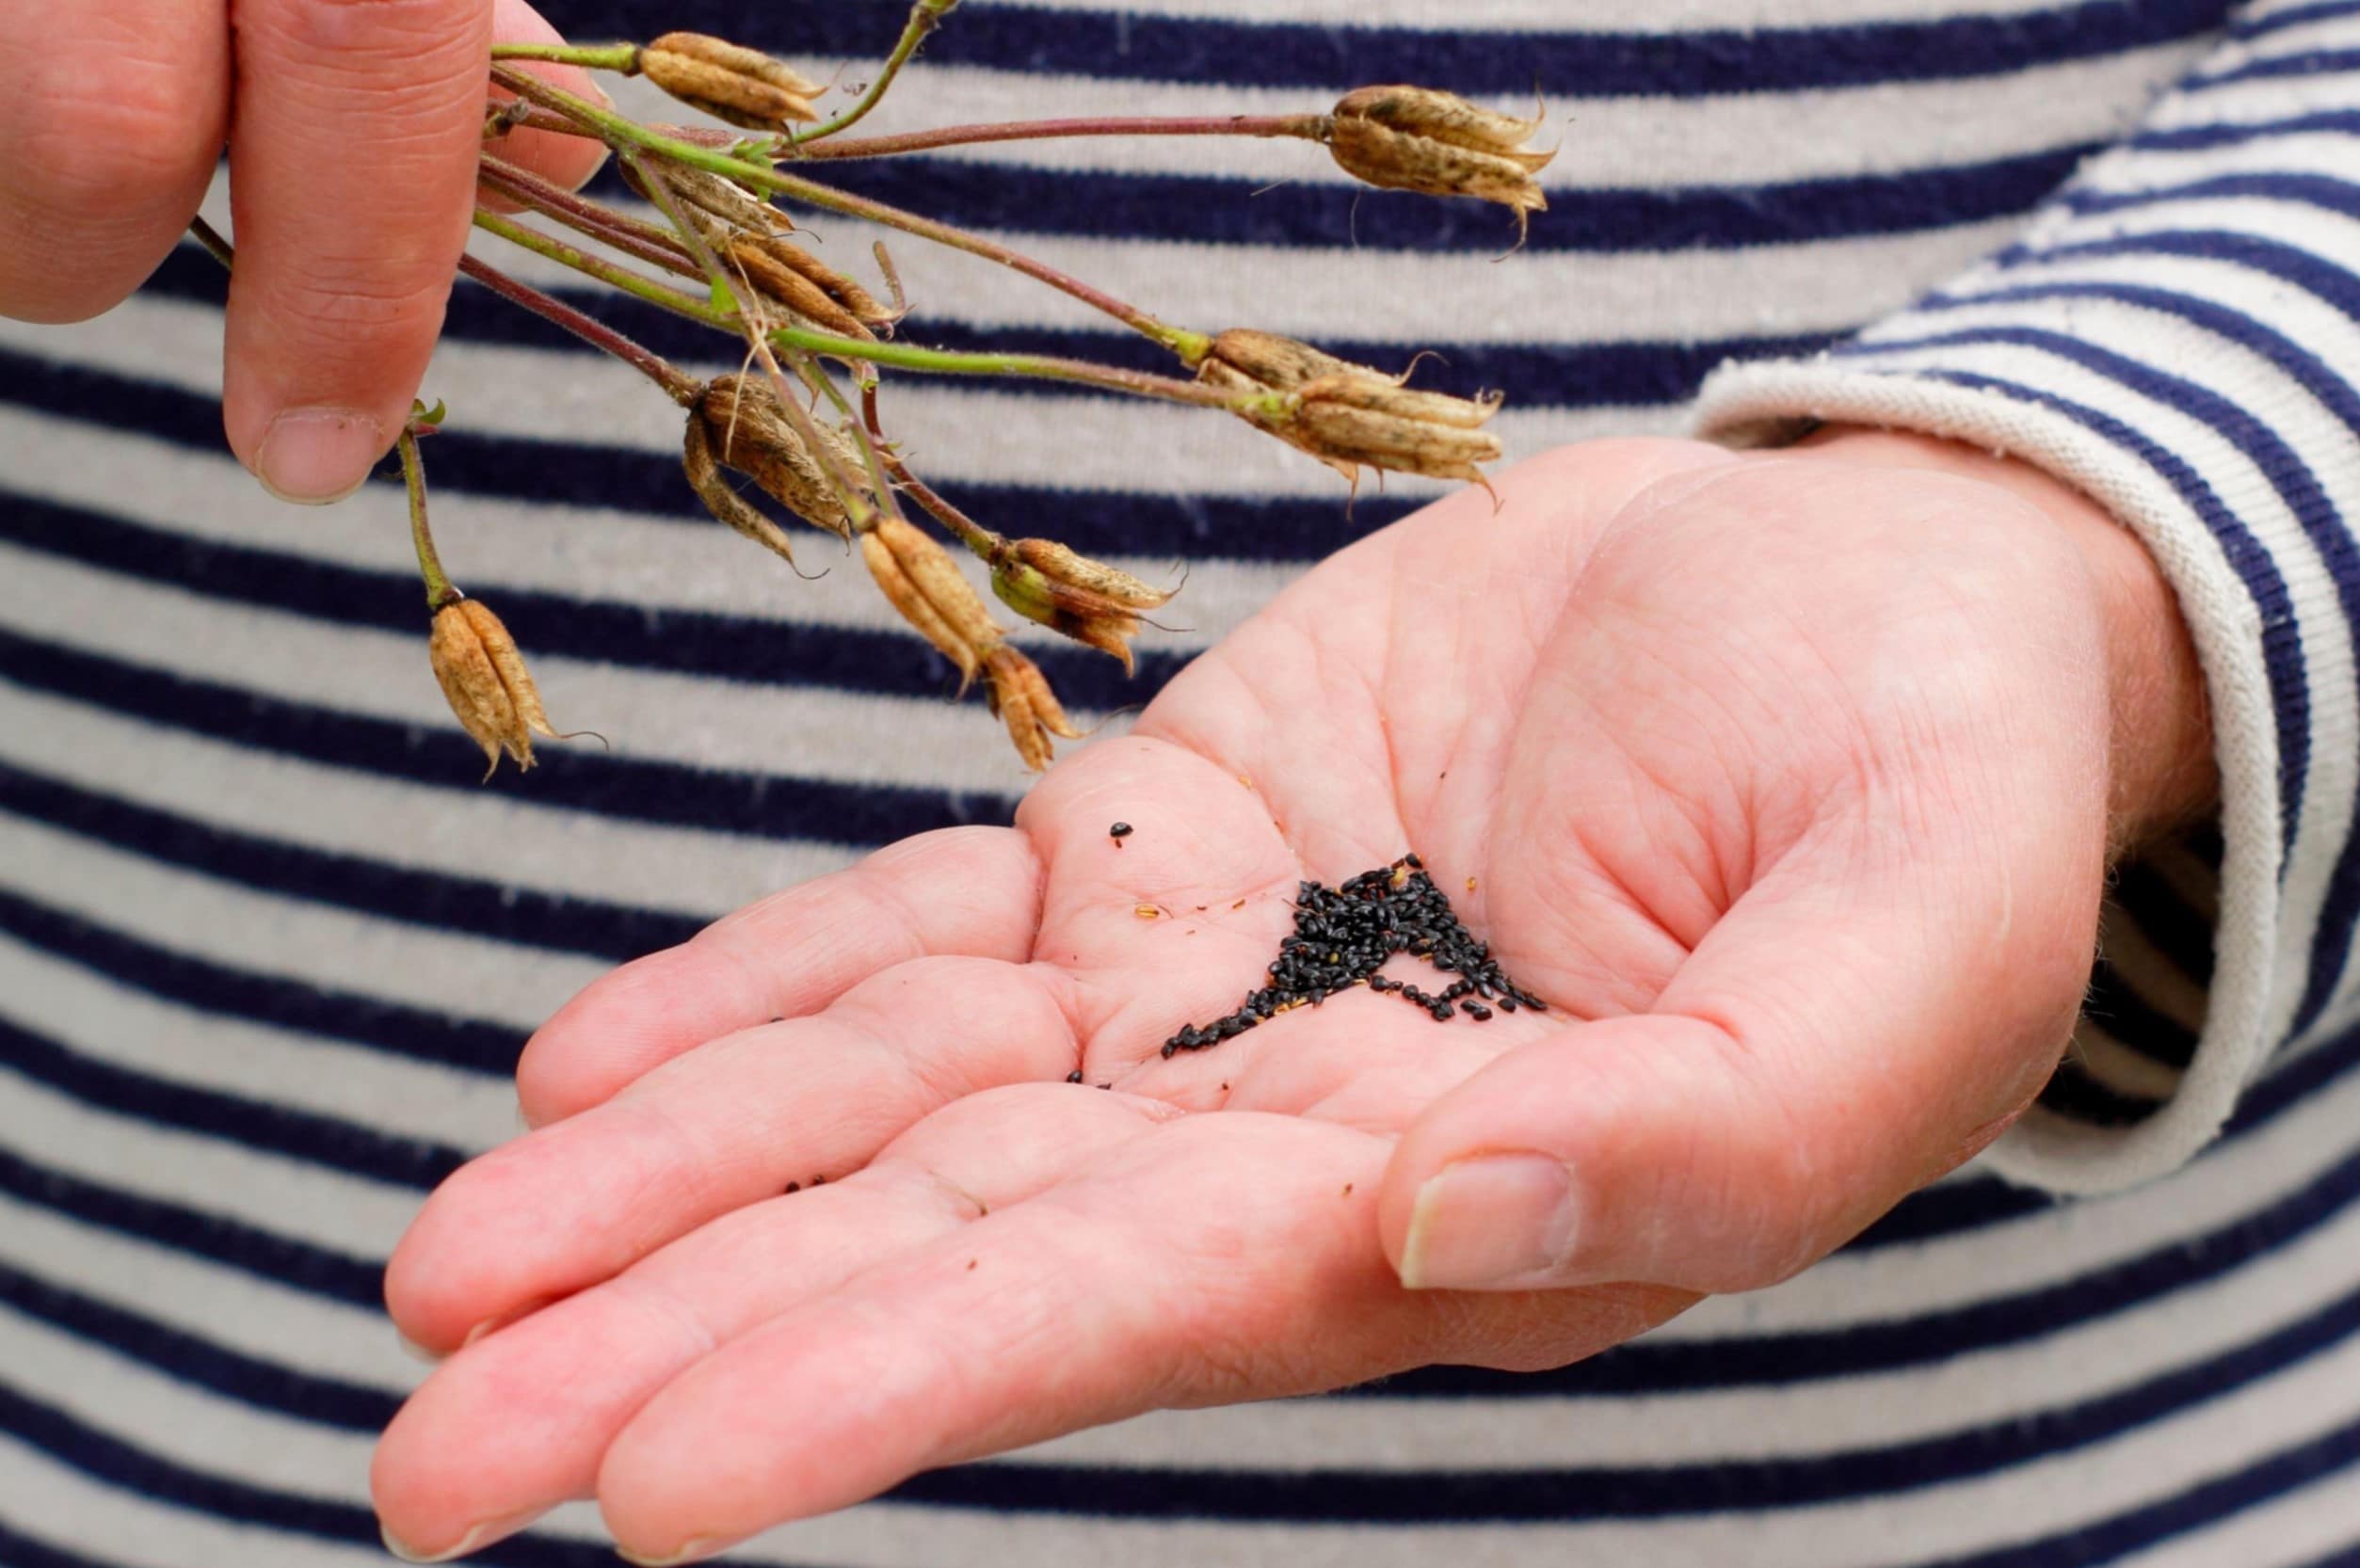
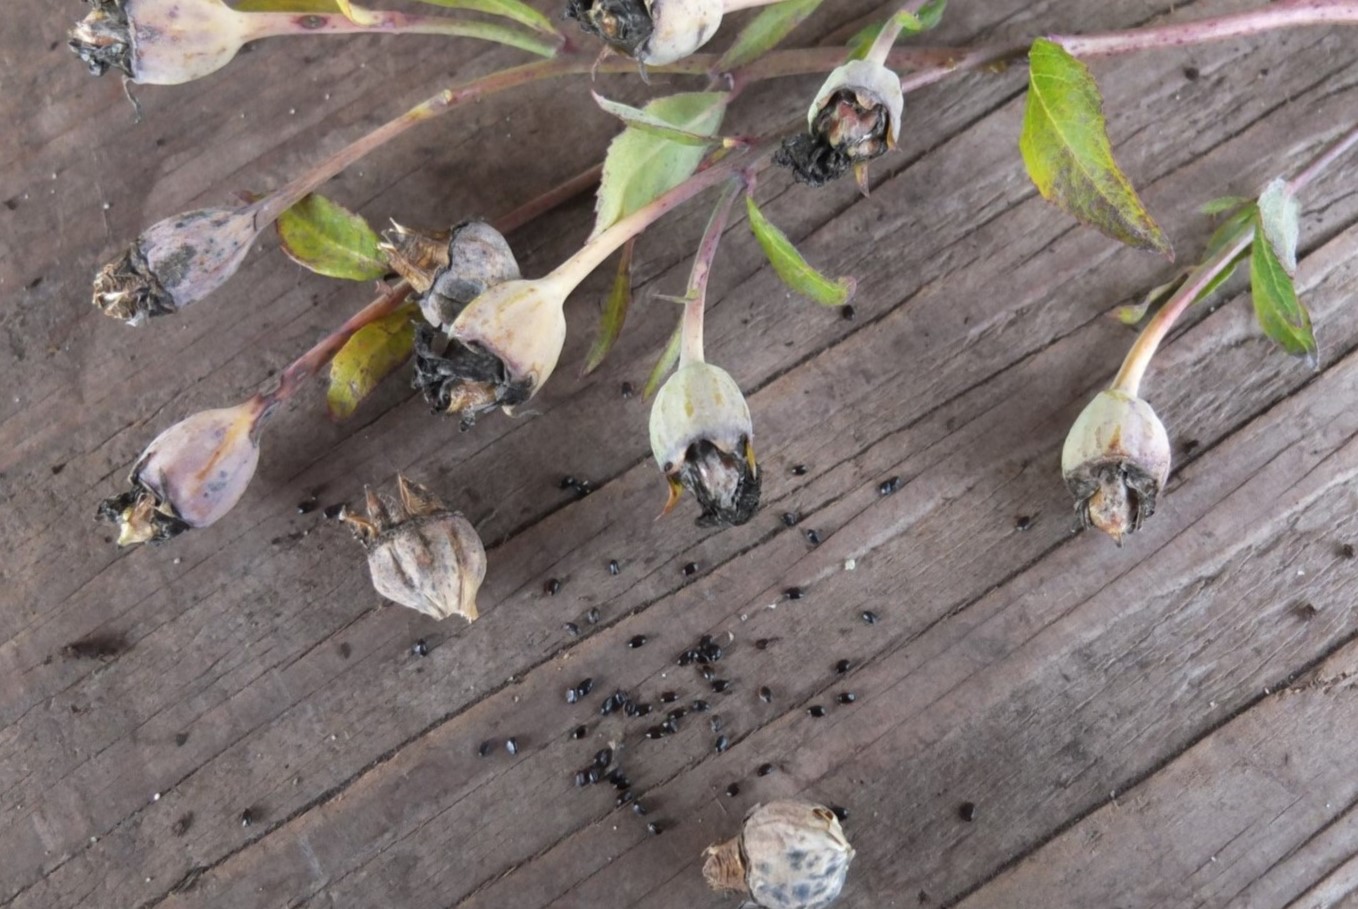
Read more: How To Harvest Seeds From Flowers
Step 1: Prepare the Soil
The first crucial step in planting flowers from seeds is to prepare the soil. A healthy and nutrient-rich soil will provide the ideal foundation for your seeds to germinate and grow into strong, vigorous plants.
Start by clearing the area where you plan to sow the seeds. Remove any weeds, rocks, or debris that could hinder the growth of your flowers. Loosen the soil with a garden fork or tiller, breaking up any clumps to create a fine, crumbly texture.
Next, it’s essential to improve the soil’s fertility by adding organic matter such as compost or well-rotted manure. This will enrich the soil with essential nutrients and improve its moisture-retaining capacity. Spread a layer of organic matter over the soil and work it into the top few inches using a garden rake.
Once the organic matter is incorporated, it’s time to assess the soil’s pH level. Most flowers prefer a slightly acidic to neutral pH range between 6.0 and 7.0. You can use a soil testing kit to determine the pH level and make any necessary adjustments by adding lime to raise the pH or sulfur to lower it.
After amending the soil, give it a final rake to level the surface and remove any debris. Your soil is now prepared and ready for sowing the seeds.
Pro Tip: Before preparing the soil, consider the specific requirements of the flower seeds you plan to sow. Some flowers may prefer well-draining soil, while others thrive in moist or sandy soil. Tailor your soil preparation based on the needs of the flowers you wish to grow.
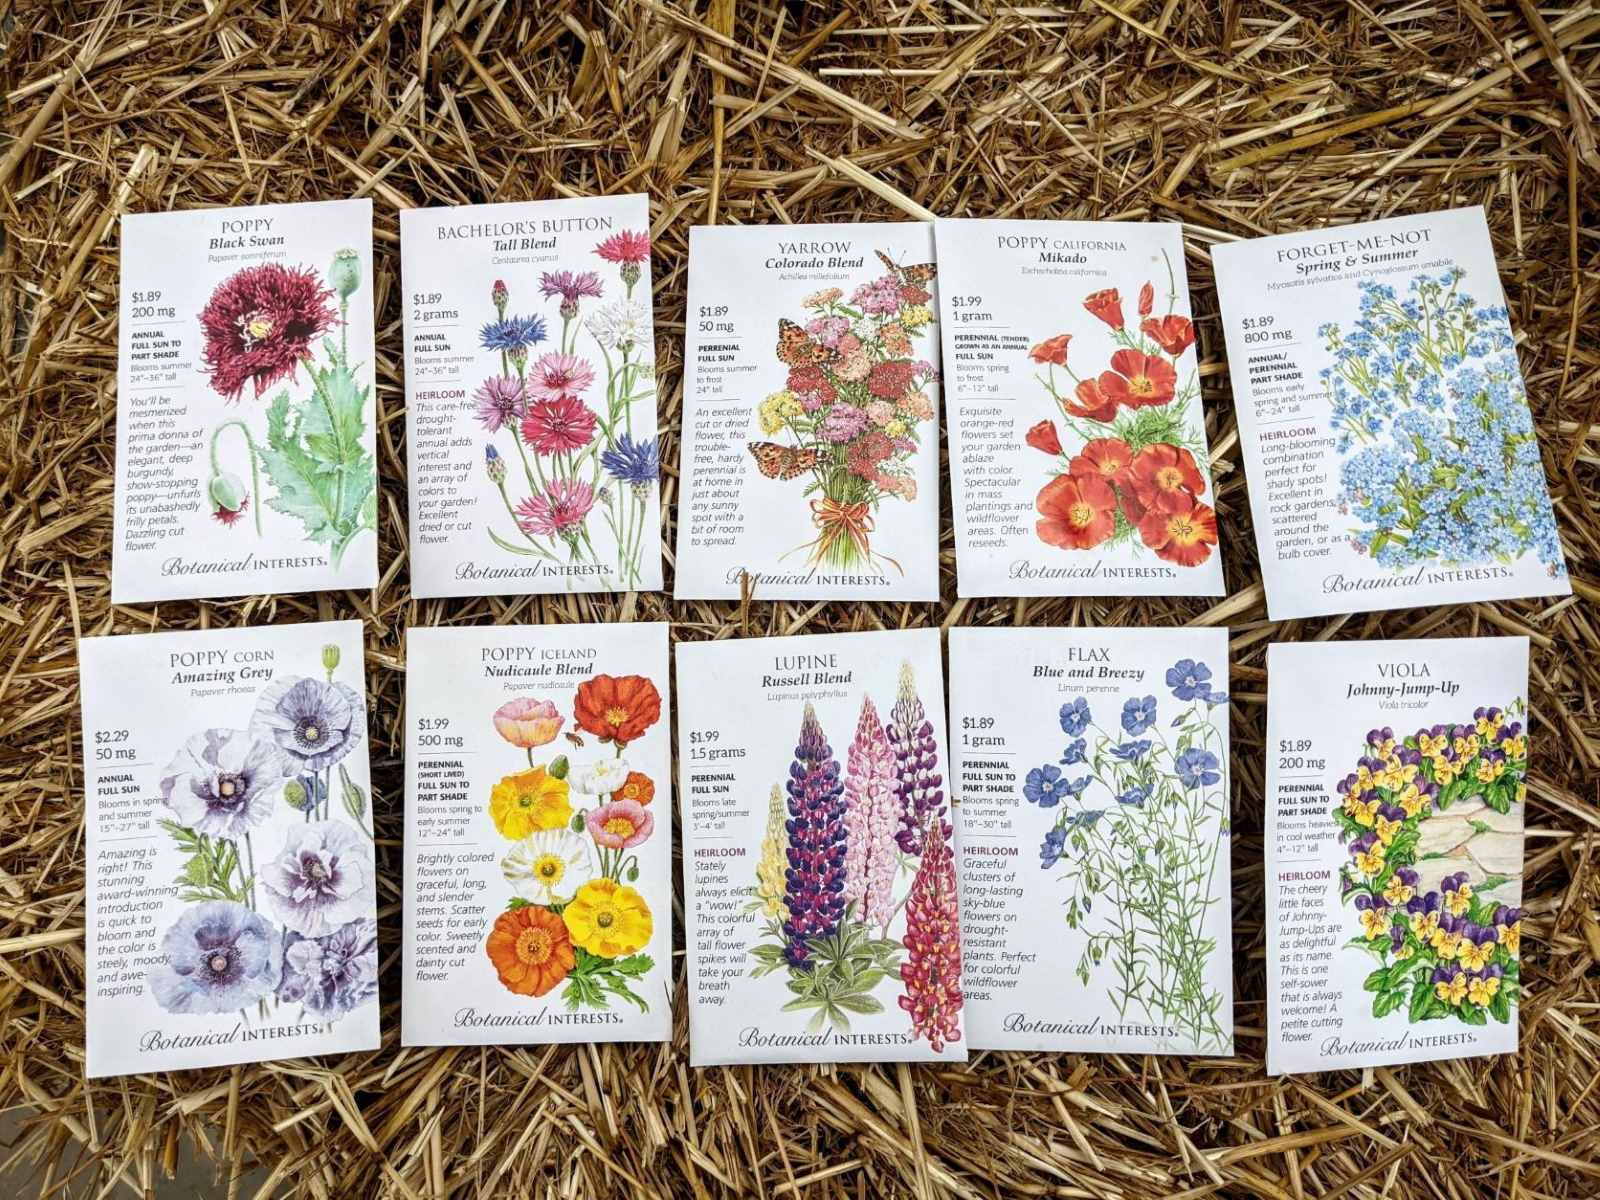
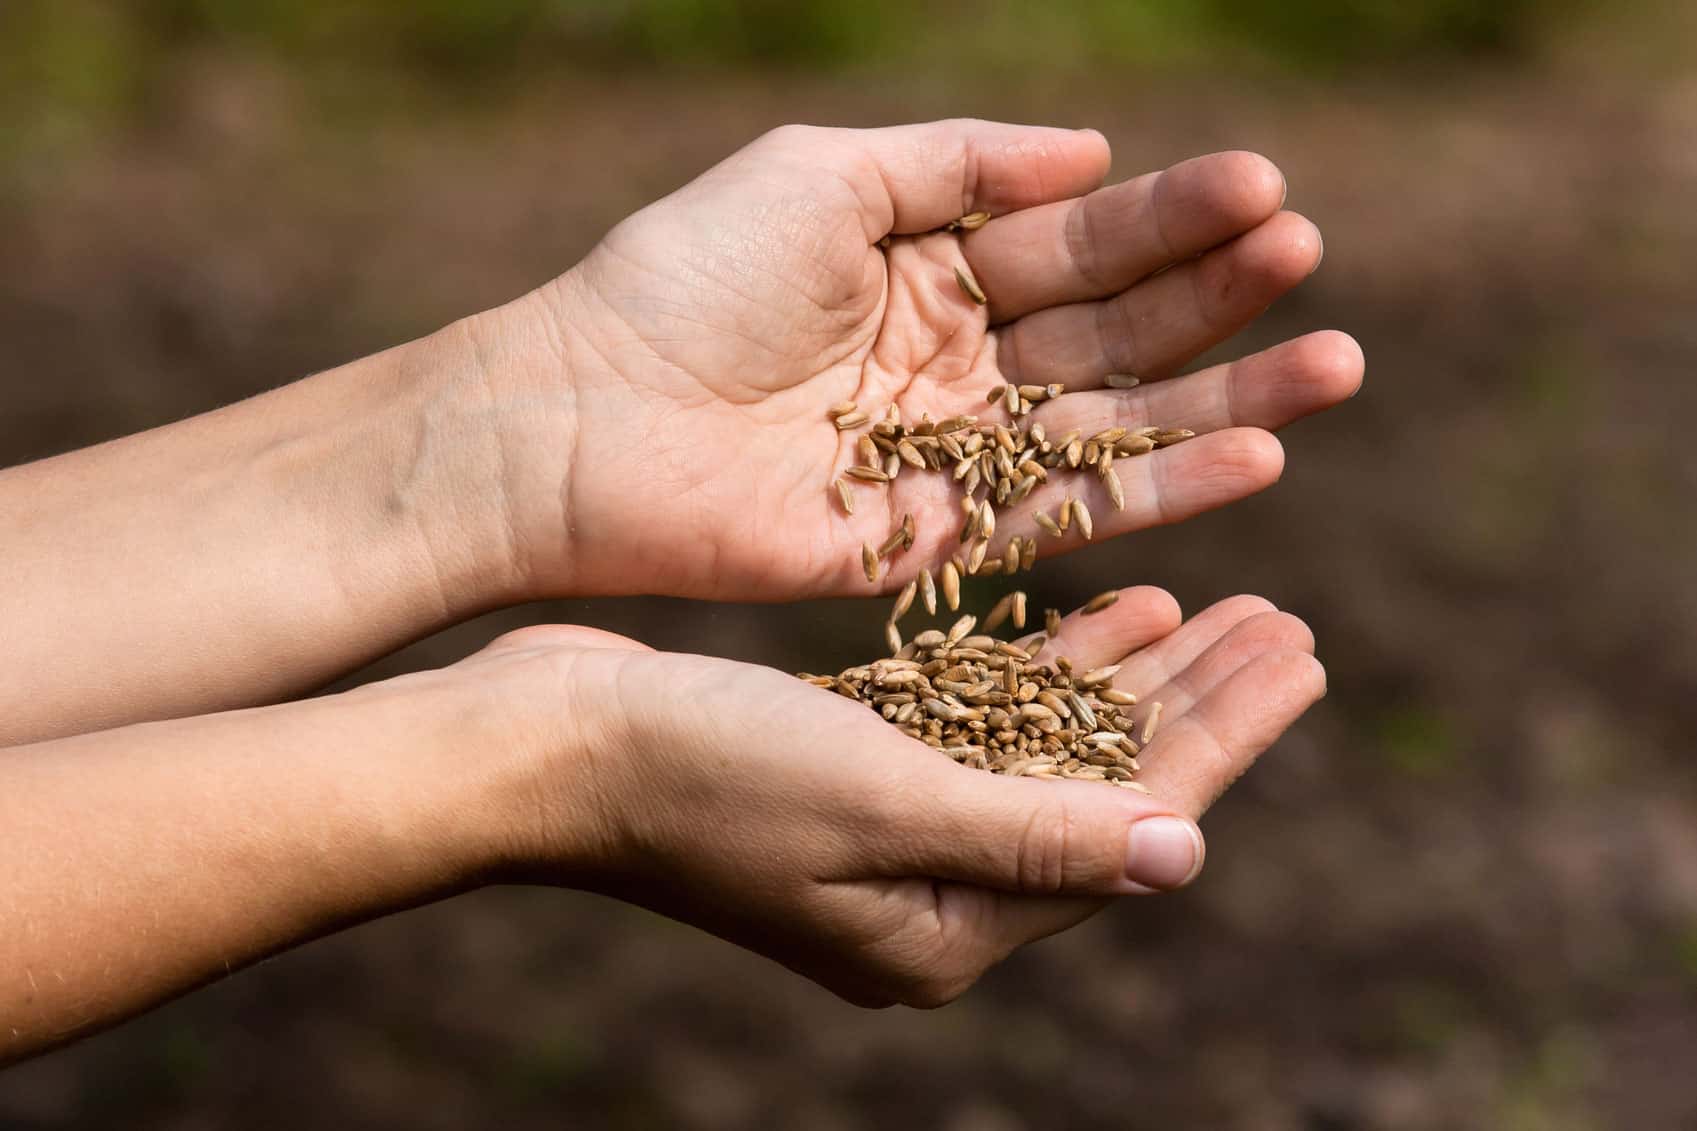
Step 2: Choose the Right Seeds
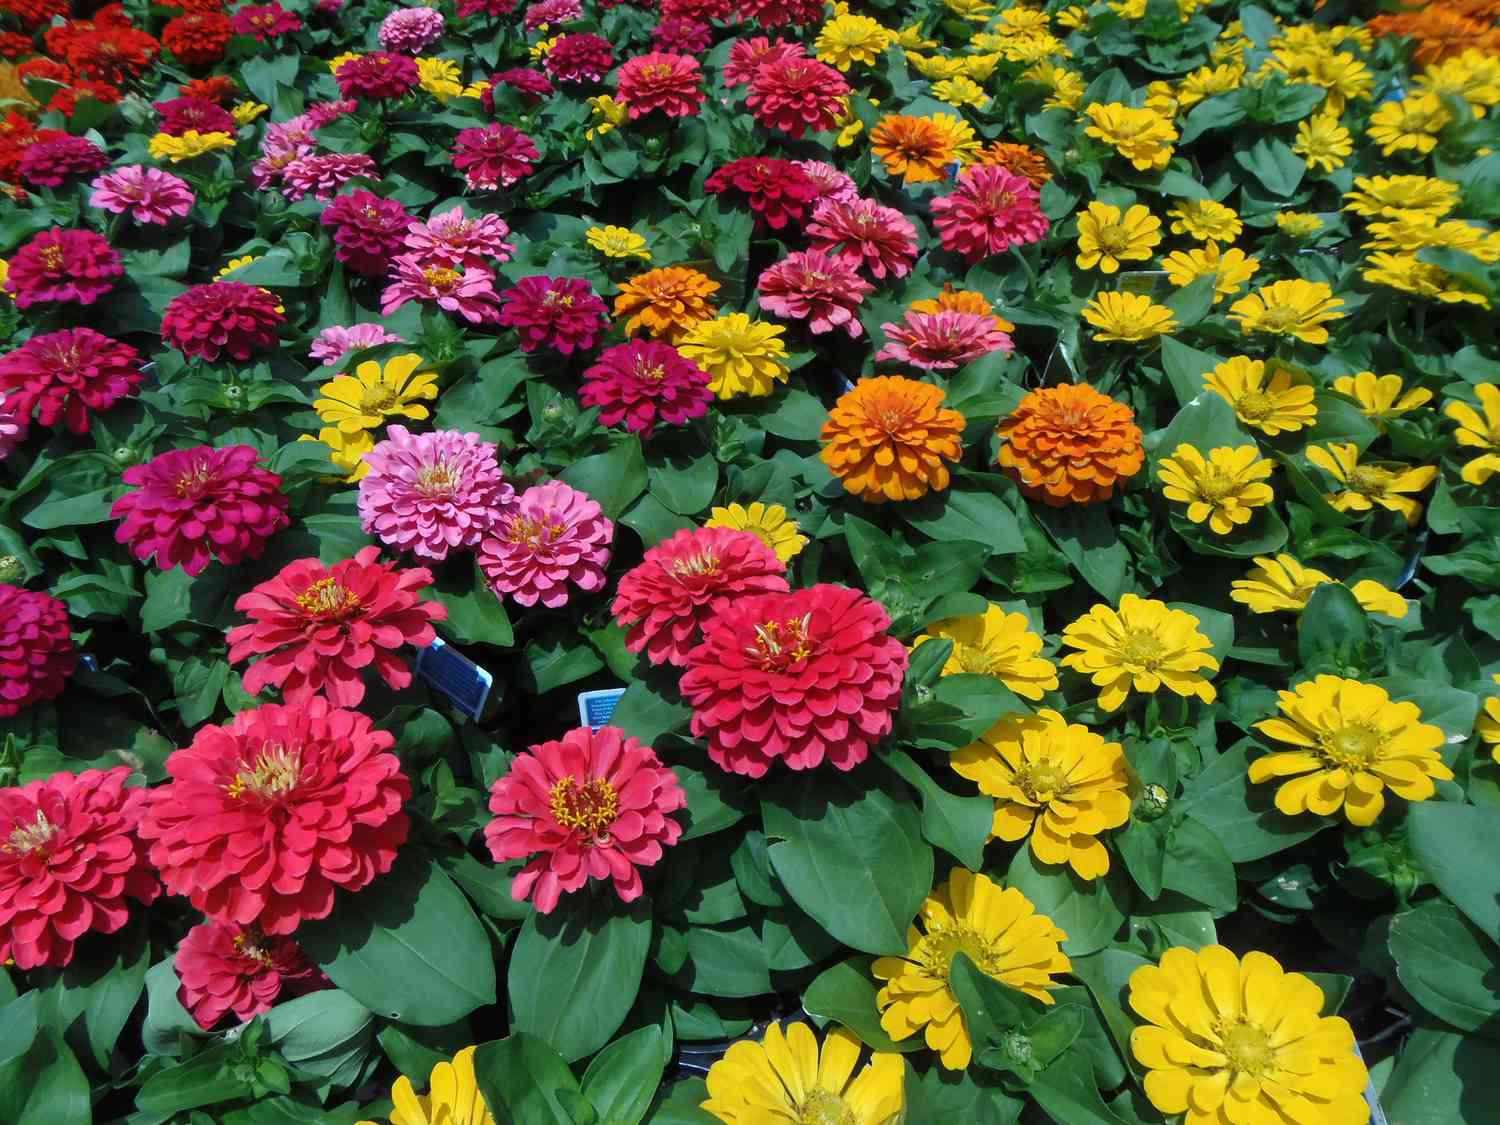
Choosing the right seeds is essential to ensure successful germination and the growth of healthy plants. When selecting flower seeds, consider factors such as your climate, available space, and personal preferences.
Begin by researching the flowers that are well-suited to your particular region. Certain flowers thrive in specific climates, so it’s important to choose seeds that are adapted to your local weather conditions. Look for information on the seed packets or consult a local gardening expert for advice on the best flower varieties for your area.
Consider the available space in your garden as well. Some flowers require ample room to spread and may not be suitable for small or crowded gardens. If space is limited, opt for compact or dwarf varieties that can thrive in containers or raised beds.
Furthermore, think about the purpose of your flower garden. Do you want to attract pollinators like bees and butterflies? Are you looking to create a vibrant burst of colors or a soothing and serene color palette? Determine your desired outcome and select flower seeds accordingly.
When purchasing seeds, ensure that you choose from reputable sources to guarantee their quality and viability. Look for seed packets that provide detailed information on planting instructions, germination times, and any special care requirements. High-quality seeds will give you the best chance of success.
Pro Tip: Consider starting with a mix of annual and perennial flower seeds. Annuals provide instant bursts of color and are ideal for filling gaps while perennial seeds will establish long-lasting plants that bloom year after year.
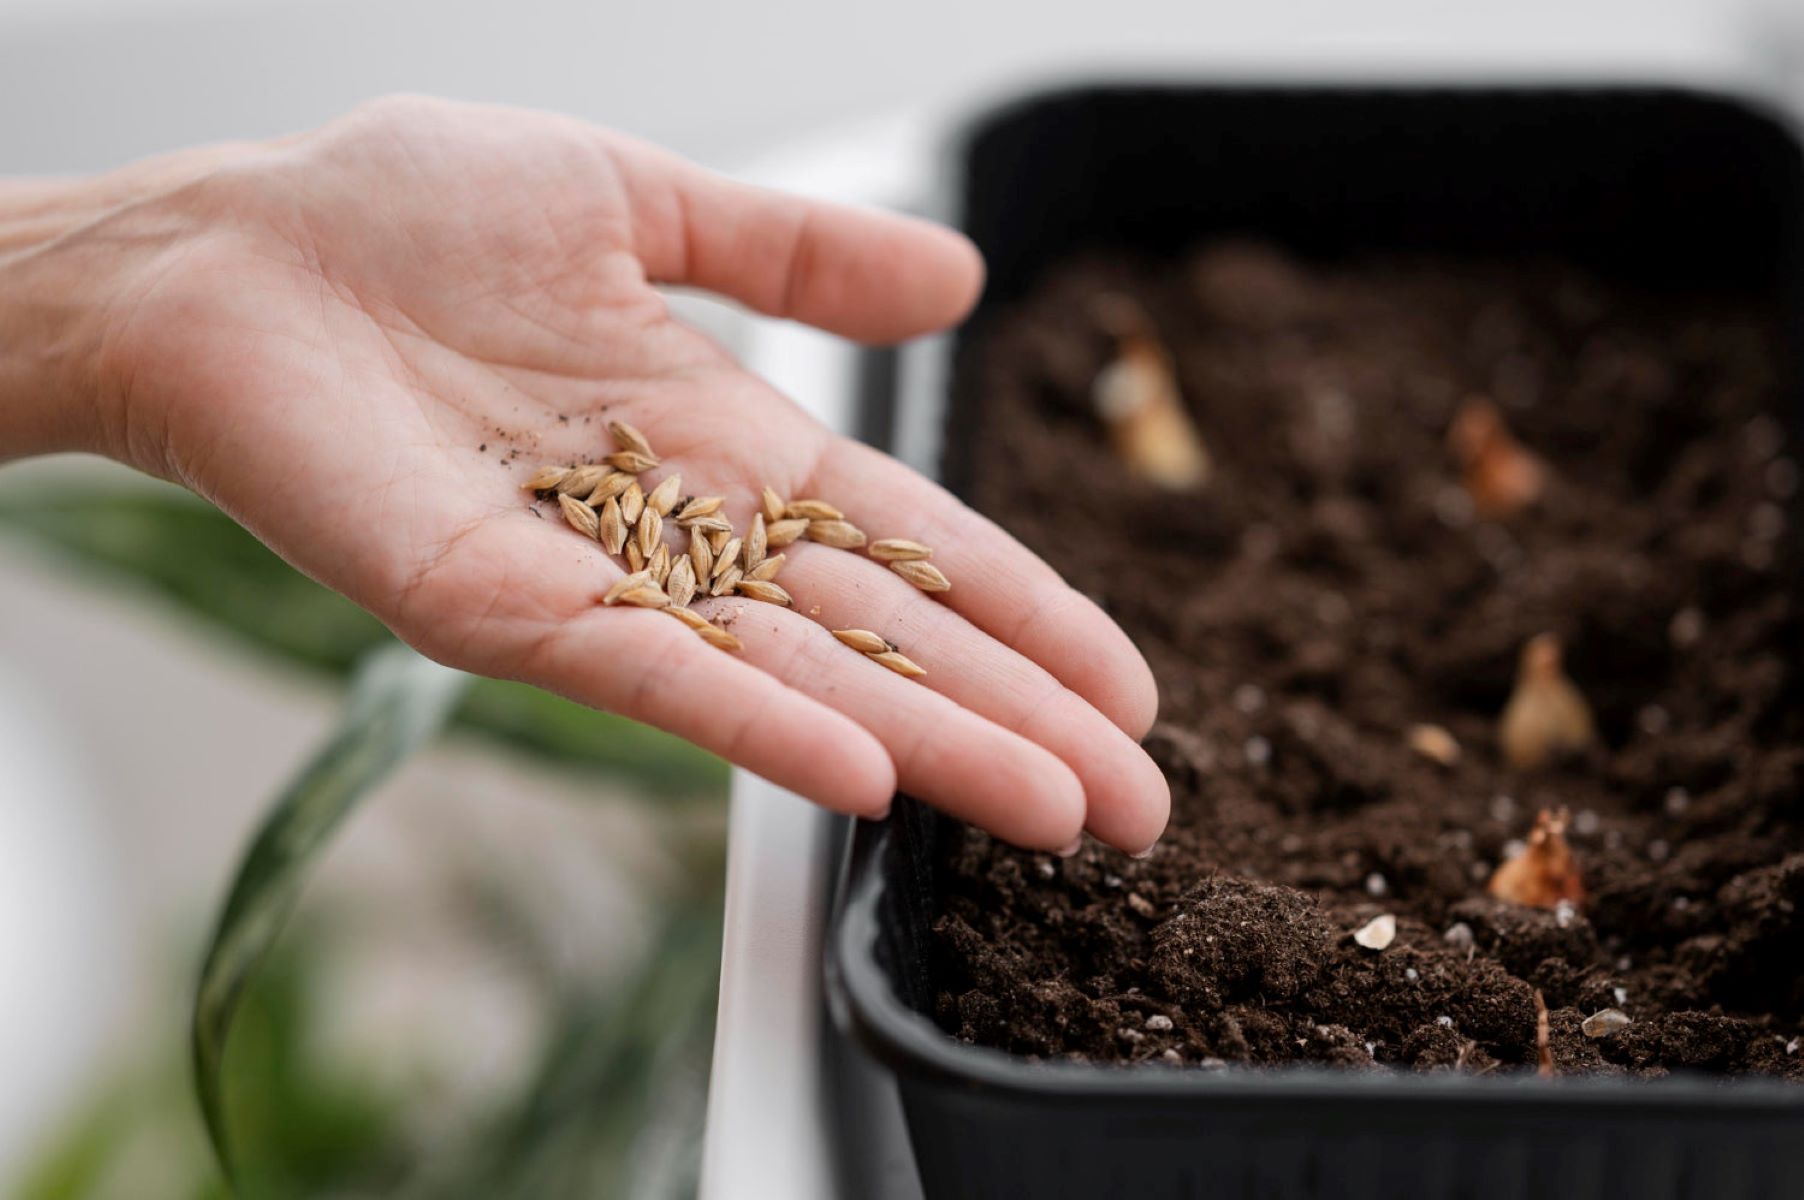
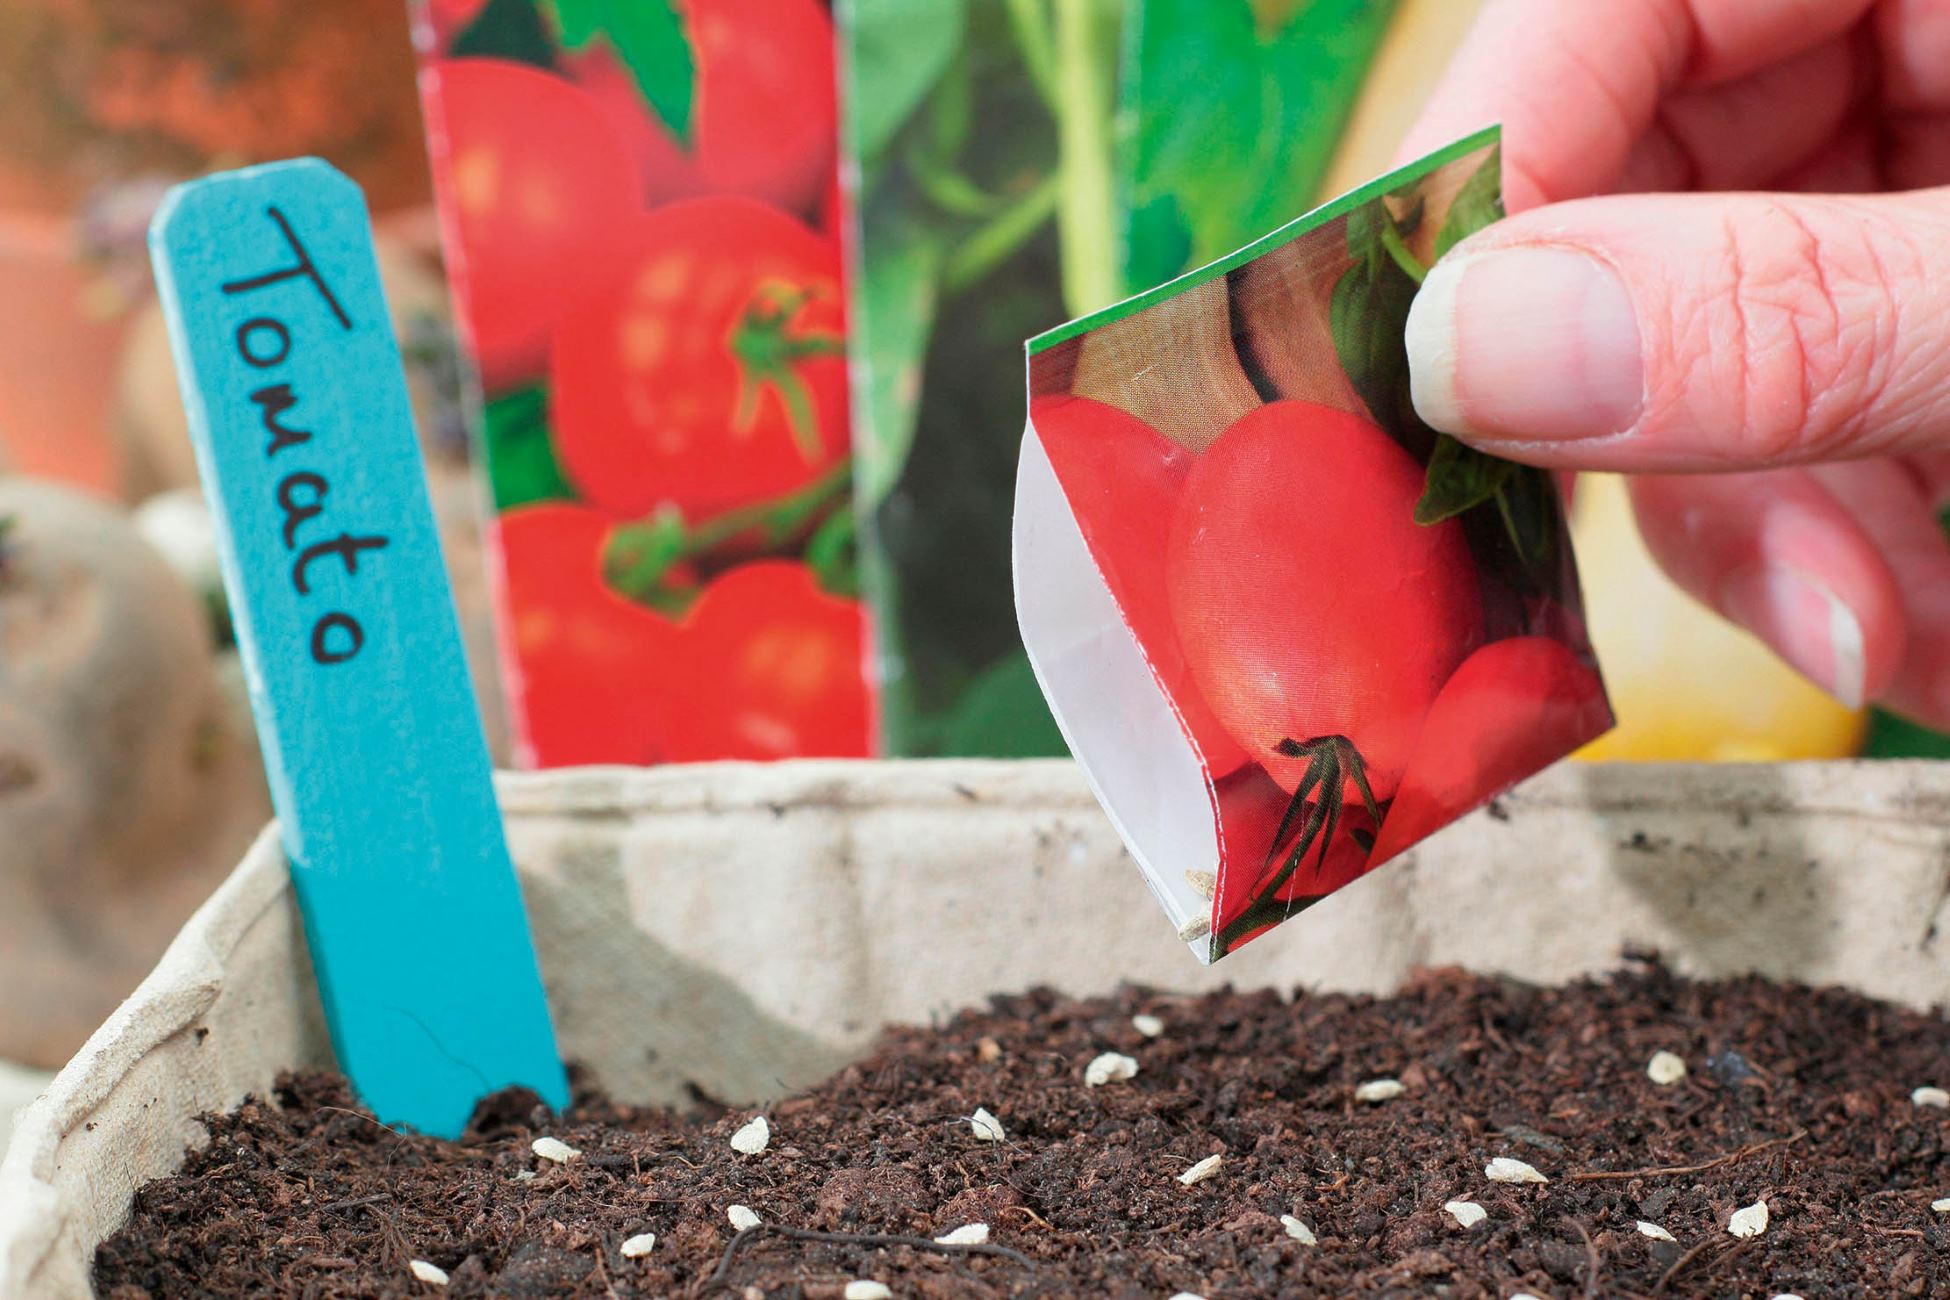
Step 3: Sow the Seeds
Once you have prepared the soil and selected the right seeds, it’s time to sow them in the garden. Proper sowing techniques will ensure optimal seed germination and set the stage for healthy plant growth.
Begin by referring to the instructions on the seed packet. Different flowers have varying requirements for planting depth and spacing. Some seeds may need to be directly sown into the soil, while others may benefit from pre-soaking or starting indoors before transplanting.
Using a small garden trowel or your finger, create small furrows or holes in the prepared soil according to the recommended spacing from the seed packet. Gently place the seeds into the furrows, making sure to space them appropriately. If the seeds are very tiny, it helps to mix them with a bit of sand or vermiculite to ensure even distribution.
Cover the seeds with a thin layer of soil or vermiculite, following the suggested planting depth. Lightly pat down the soil to ensure good seed-to-soil contact. Water the newly sown seeds gently with a watering can or a misting nozzle, taking care not to dislodge them.
It’s important to label your planting rows or use plant markers to identify the different flower varieties you have sown. This way, you can keep track of their progress and provide suitable care and maintenance as they grow.
Pro Tip: If you’re sowing a variety of flowers, consider grouping them by similar preferences, such as watering needs or sun exposure. This will make it easier to meet the specific requirements of each group, ensuring optimal plant growth.
Step 4: Provide Adequate Watering
Water is a vital component for the successful growth of your planted flower seeds. Proper watering ensures that the seeds remain hydrated, encouraging germination and the development of strong, healthy plants. Follow these guidelines to provide adequate hydration to your growing flowers:
1. Watering Frequency: Newly sown seeds require consistent moisture to germinate. Water the soil gently immediately after sowing the seeds, ensuring that the soil is moist but not waterlogged. As the seedlings emerge, continue to monitor the moisture levels and water as needed. Depending on the climate and weather conditions, you may need to water every 1-2 days or adjust the frequency accordingly.
2. Watering Technique: When watering seedlings, it’s crucial to use a gentle watering technique to prevent the seeds from being washed away or the delicate seedlings from being damaged. A watering can with a fine rose attachment or a misting nozzle is ideal for providing a gentle and even spray of water. Avoid using a high-pressure hose, as it may dislodge the seeds or create large puddles that can lead to waterlogging.
3. Deep Watering: As the seedlings grow and their roots develop, it’s important to promote deep root growth by watering deeply. This encourages the roots to reach down into the soil, making the plants more resilient and better able to withstand drought conditions. Water slowly and deeply, allowing the water to penetrate the soil and reach the root zone.
4. Watering Time: Early morning is the best time to water your growing flowers. Watering in the morning allows the plants to absorb moisture before the heat of the day, reducing evaporation and ensuring that the foliage dries before nighttime. Avoid watering in the late afternoon or evening, as this can create a damp environment that promotes disease and fungal growth.
5. Monitor Moisture Levels: Regularly check the moisture level of the soil to ensure it remains consistently moist, but not waterlogged. Stick your finger into the soil to a depth of one inch. If it feels dry at this level, it’s time to water the plants. However, be careful not to overwater, as excessive moisture can lead to root rot and other issues.
Remember, different flowers have varying water requirements, so it’s important to consider the specific needs of the flower varieties you are growing. Some flowers prefer well-drained soil, while others thrive in consistently moist conditions. Tailor your watering practices accordingly to ensure optimum growth and health of your flowers.
Pro Tip: Consider using mulch around your newly sown seeds to help retain soil moisture and prevent weed growth. Organic mulch, such as straw or shredded leaves, can also add valuable nutrients to the soil as it breaks down.
Before planting flower seeds, make sure to prepare the soil by loosening it and removing any debris. Plant the seeds at the recommended depth and spacing, and water them regularly to keep the soil moist.
Read more: How To Plant Flower Seeds Outside
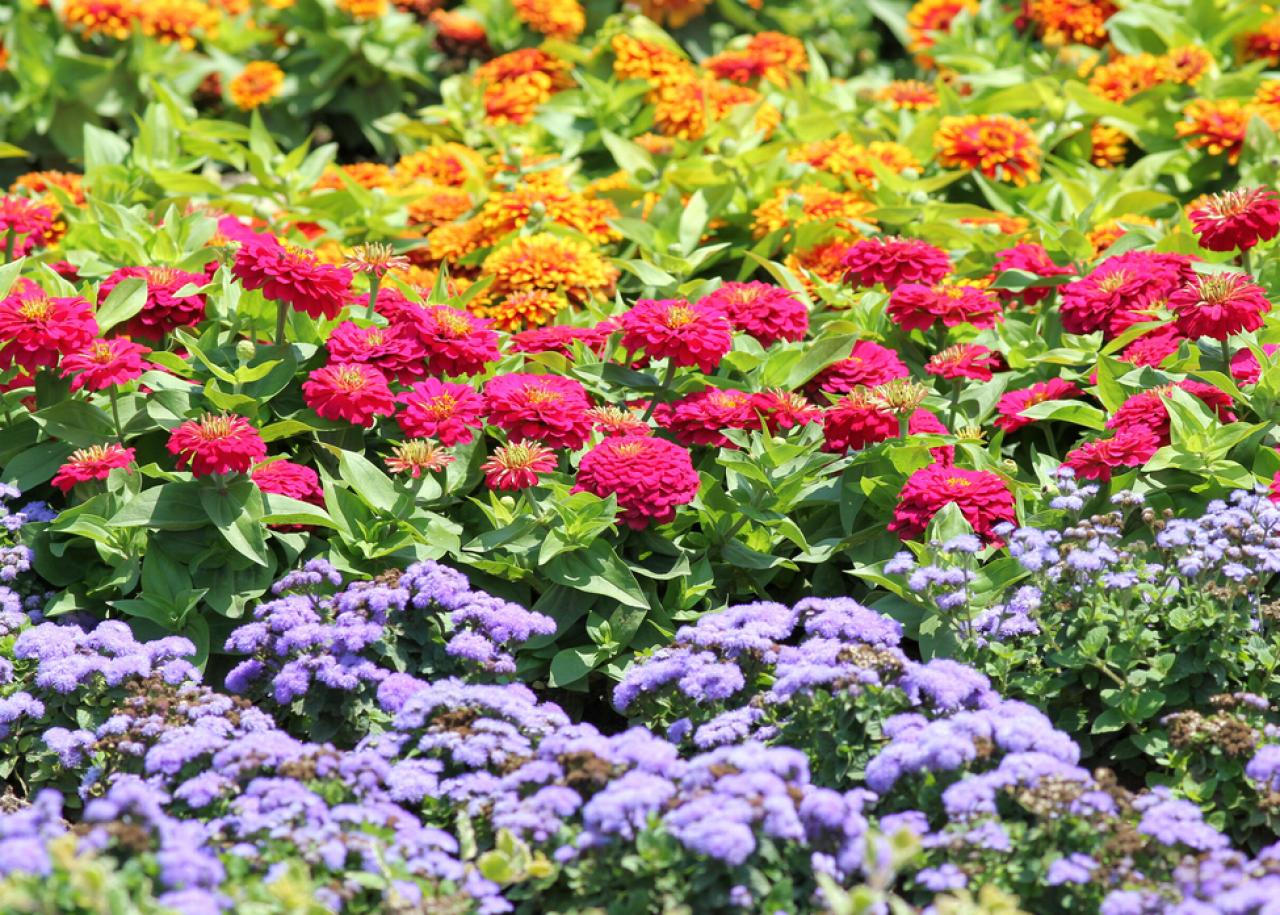
Step 5: Ensure Proper Sunlight Exposure
Proper sunlight exposure is crucial for the healthy growth and development of your planted flower seeds. Sunlight provides the energy needed for photosynthesis, which fuels the growth and blooming of the plants. Follow these guidelines to ensure your flowers receive the right amount of sunlight:
1. Know Your Flowers: Different flower varieties have varying sunlight requirements. Some flowers thrive in full sunlight, while others prefer partial shade or dappled sunlight. Before planting the seeds, research the specific sunlight preferences of the flowers you have chosen. This information can usually be found on the seed packet or obtained through gardening resources.
2. Observe Your Garden: Take note of the sunlight patterns in your garden. Observe how the sun moves throughout the day and identify areas that receive full sunlight, partial shade, or full shade. Use this knowledge to determine the best spots for planting your flower seeds.
3. Full Sun Exposure: Flowers that require full sunlight should be planted in areas that receive at least six hours of direct sunlight per day. These flowers thrive in bright light and will produce more vibrant blooms when exposed to ample sunlight. Make sure the chosen area is not shaded by buildings, trees, or other structures that may obstruct sunlight.
4. Partial Shade: If your flower seeds require partial shade, select areas that receive a balance of sunlight and shade throughout the day. These areas may be under the canopy of a tree or partially shaded by a structure. Partially shaded areas provide relief from intense sunlight while still allowing enough light for the plants to thrive.
5. Rotate Sunlight Exposure: To ensure even growth and avoid lopsided plants, rotate the pots or beds periodically to expose all sides of the plants to sunlight. This will promote balanced development and prevent the flower stems from leaning or reaching towards the light.
6. Protection from Harsh Sun: In regions with extremely hot climates or intense sun exposure, it’s important to protect your flowers from scorching. Consider using shade cloth or erecting temporary structures to provide filtered sunlight or dappled shade during the hottest part of the day. This will prevent sunburn and help the flowers retain moisture.
Remember that sunlight exposure needs may change as the flowers grow and mature. Monitor their growth and make adjustments if necessary. With the right amount of sunlight, your flowers will thrive, producing vibrant blooms and adding beauty to your garden.
Pro Tip: If you have limited sunlight in your garden, consider growing shade-loving flowers, such as impatiens or begonias, in areas with partial shade. These flowers will flourish in areas that receive less sunlight.
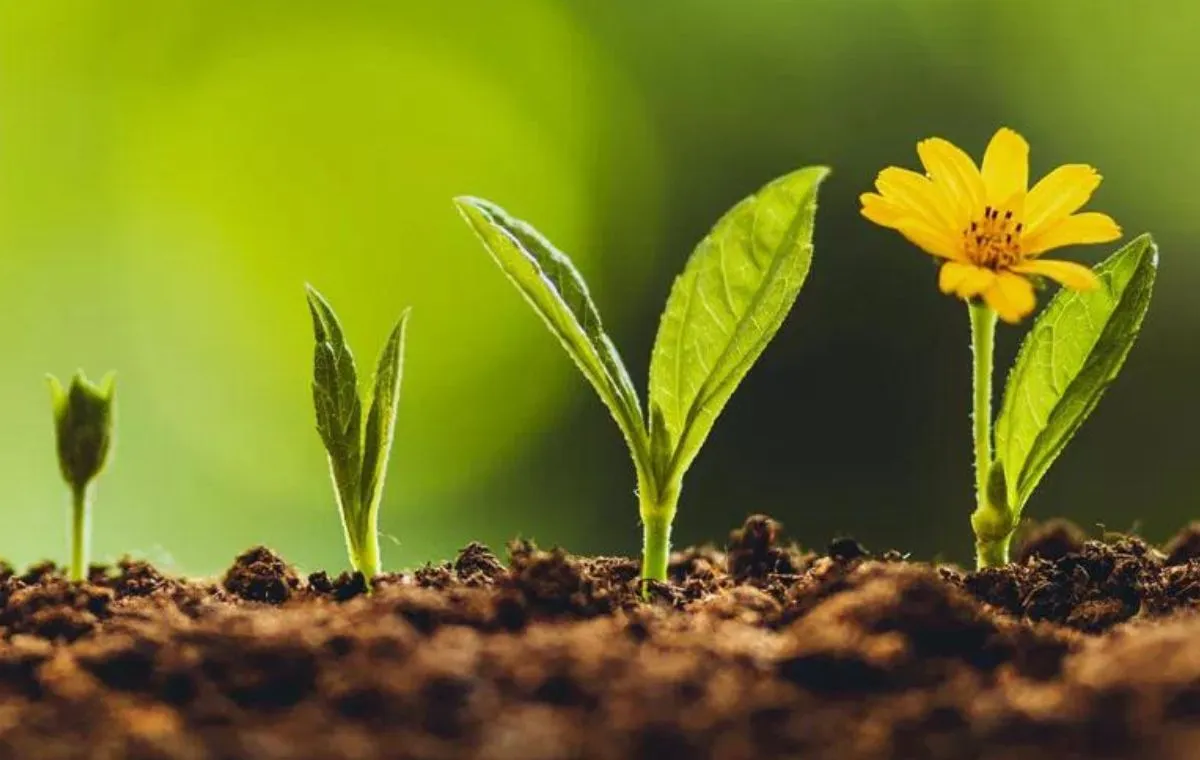
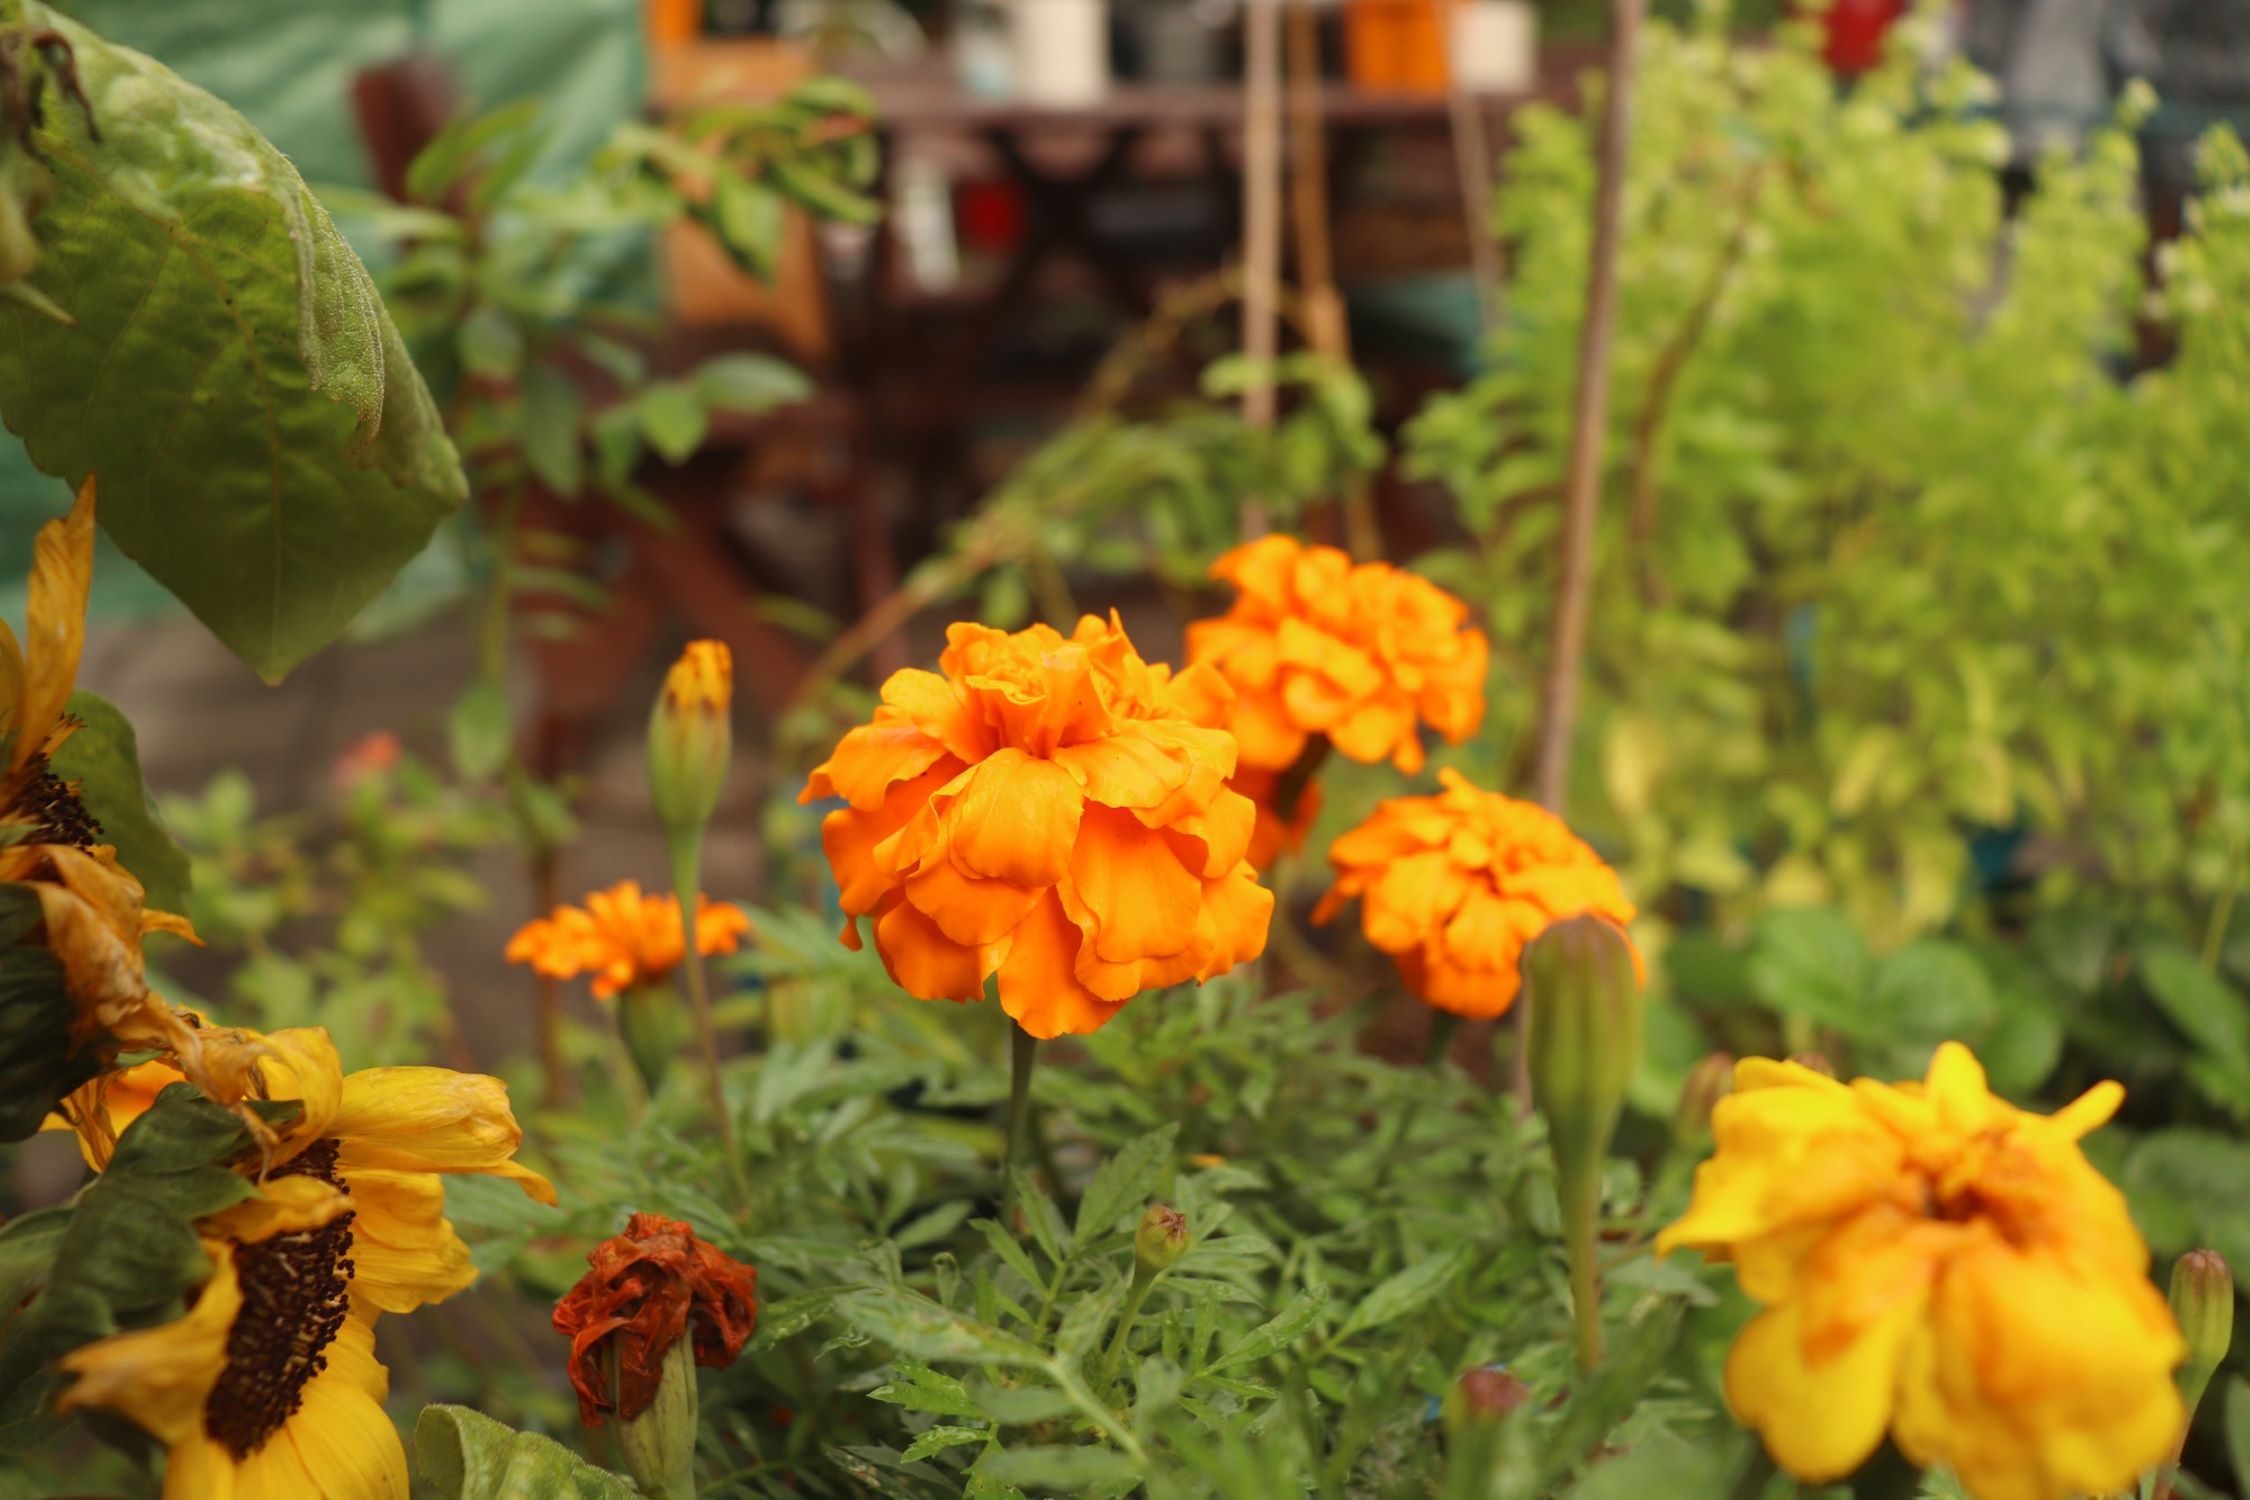
Step 6: Monitor and Care for Seedlings
Once your flower seeds have sprouted and transformed into delicate seedlings, it’s important to provide them with proper care and attention. Monitoring their growth and providing the necessary nurturing conditions will help ensure the healthy development of your plants. Follow these tips to effectively care for your seedlings:
1. Watering: Continuously monitor the moisture levels in the soil and water the seedlings as needed. Avoid overwatering, as overly wet soil can lead to root rot and other issues. Aim to keep the soil consistently moist, but not saturated.
2. Thinning: If your seedlings are growing closely together, thin them out to provide adequate space for each plant to grow. Carefully remove the weaker seedlings, leaving behind the strongest and healthiest ones. Thinning allows the remaining seedlings to receive sufficient nutrients, sunlight, and air circulation.
3. Fertilizing: To promote healthy growth, consider fertilizing your seedlings. Look for a balanced and diluted fertilizer suitable for young plants and follow the recommended application instructions. Over-fertilization can cause burning and damage to the seedlings, so it’s important to use fertilizers sparingly.
4. Mulching: Apply a layer of organic mulch around the base of your seedlings. Mulch helps retain moisture, suppresses weed growth, and regulates soil temperature. Make sure not to mulch too close to the stems to prevent moisture-related issues or diseases.
5. Protection from Pests: Pay attention to any signs of pests or diseases and take appropriate action. Common pests that may attack seedlings include aphids, slugs, and snails. Identify the culprit and use organic pest control methods or insecticidal soaps to keep them at bay. Regularly inspect your seedlings to catch any problems early.
6. Pruning: As your seedlings grow, you may need to prune them to encourage bushier and more compact growth. Pinch off the top set of leaves or the growing tips to stimulate lateral branching. This will result in fuller and more robust plants.
7. Provide Support: Some flowering plants may require support as they grow taller. Install stakes or trellises near the seedlings to provide support and prevent them from drooping or breaking under their own weight.
Remember to regularly observe your seedlings and adjust their care as necessary. Your attentiveness and proper care will help ensure robust and healthy plants that are ready for the next stage: transplantation.
Pro Tip: Keeping a gardening journal can help you monitor the progress of your seedlings, record observations, and make note of any notable changes or issues. This will help you learn from your experiences and make improvements in future gardening endeavors.
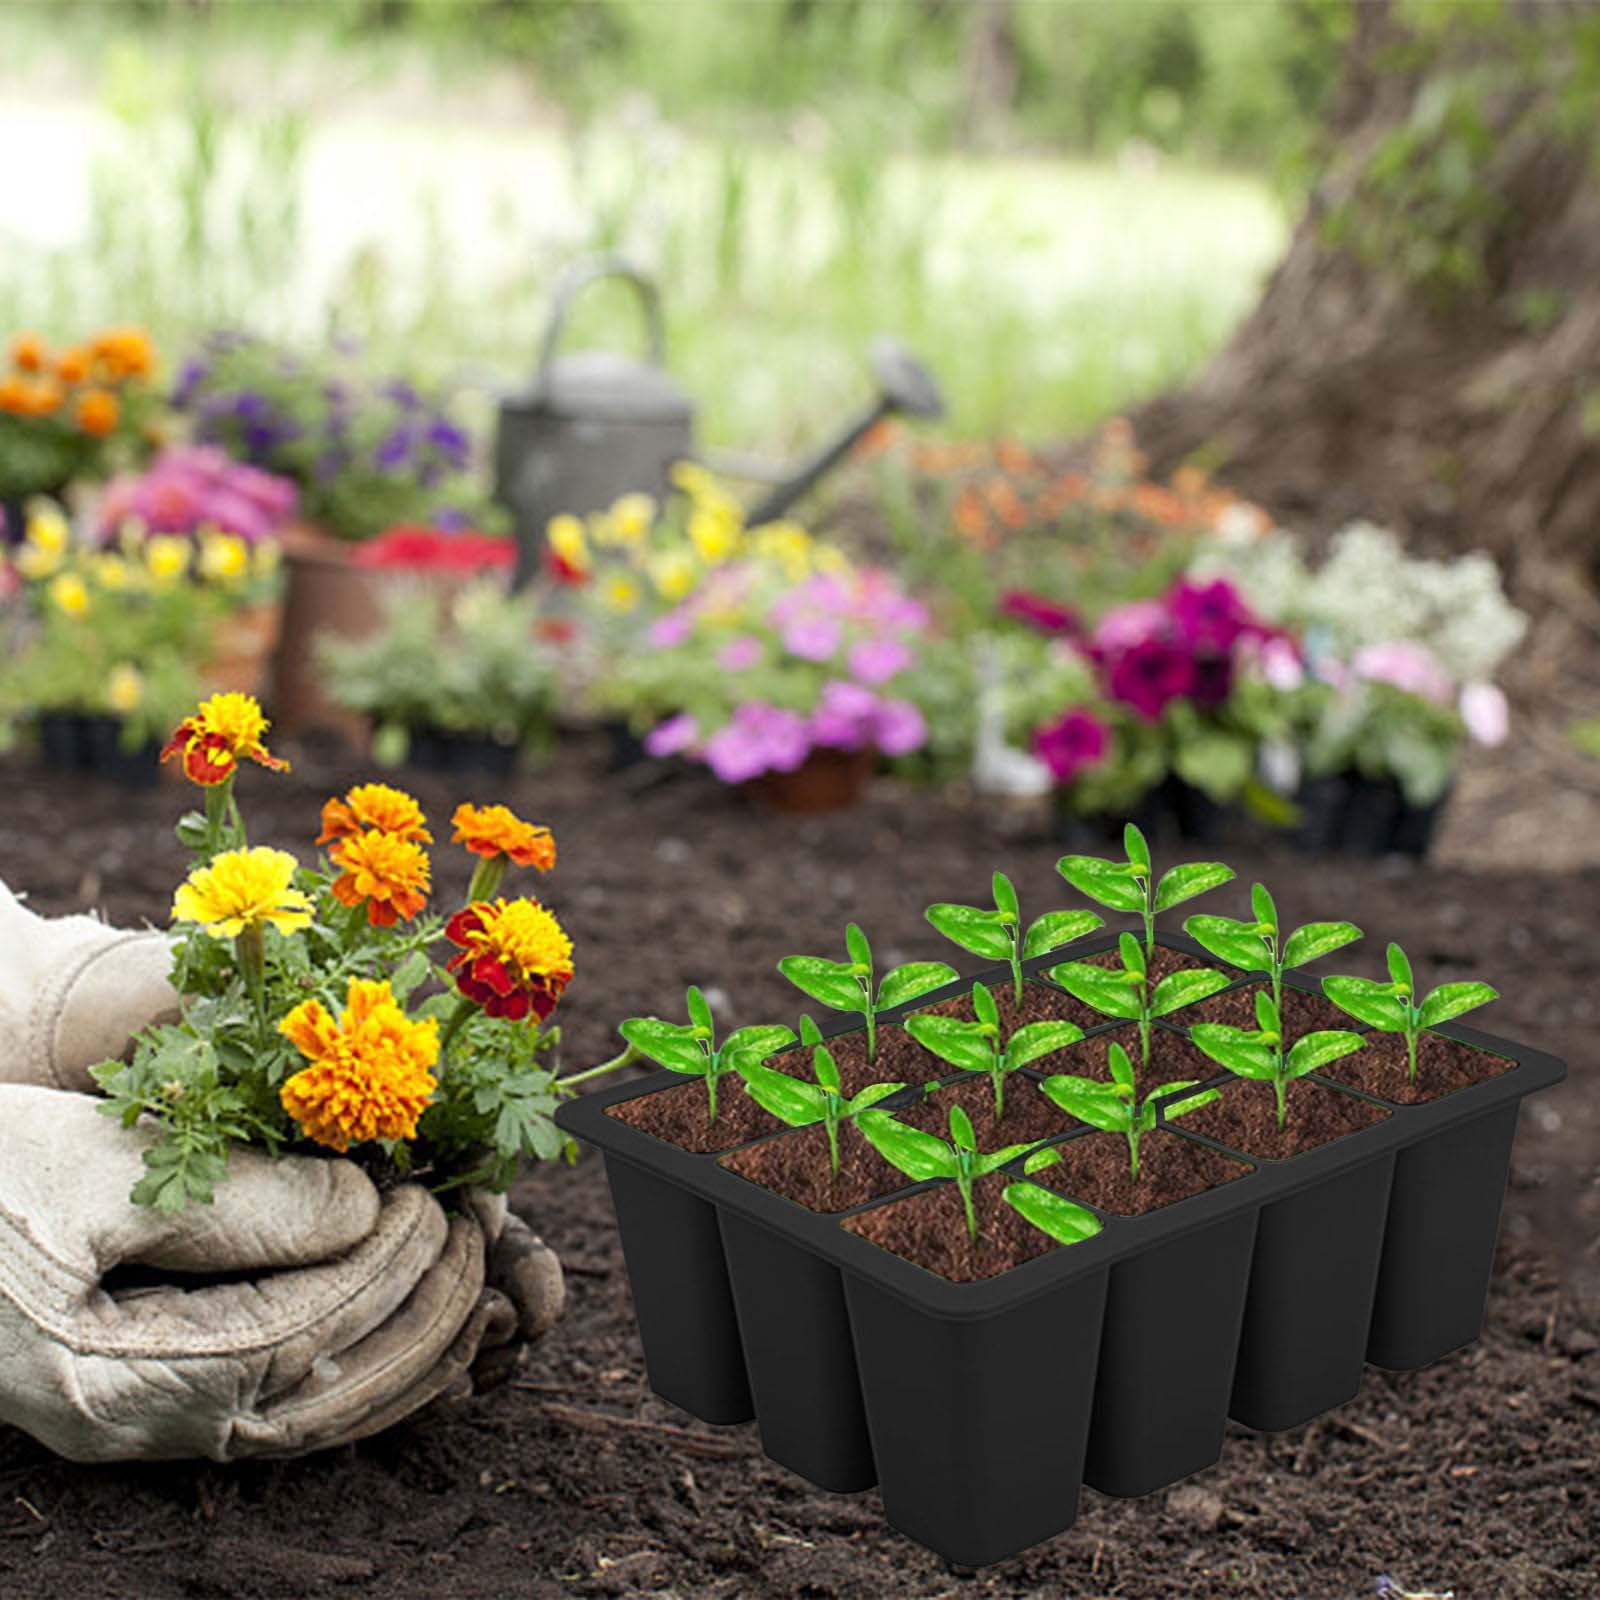
Step 7: Transplanting the Seedlings
Transplanting your seedlings from their nursery pots or seed trays to their permanent garden location is a critical step in their growth journey. Proper transplanting techniques will help minimize stress and ensure the seedlings establish well in their new environment. Follow these guidelines for successful transplanting:
1. Timing: Transplant your seedlings when they have developed a strong root system and have at least two to three sets of true leaves. This typically occurs when the seedlings are 4-6 weeks old. Check the specific recommendations for the flower variety you are growing for the ideal transplanting time.
2. Prepare the Soil: Just as you did in Step 1, prepare the soil in the garden bed or container where you plan to transplant the seedlings. Ensure it is loose, well-draining, and enriched with organic matter. Water the soil before transplanting to help ease the seedlings’ transition.
3. Dig the Hole: Dig a hole large enough to accommodate the root ball of the seedling. Make the hole slightly deeper than the root ball to allow for settling. If you are planting multiple seedlings, space them according to the recommended spacing for the specific flower variety.
4. Gently Remove the Seedlings: Carefully remove the seedlings from their nursery pots or seed trays, taking care not to damage the delicate roots. Gently loosen the soil around the roots if they appear root-bound. Handle the seedlings by their leaves or root ball, avoiding excessive contact with the stem.
5. Planting: Place the seedling into the prepared hole, ensuring that the top of the root ball is level with or slightly above the surrounding soil. Backfill the hole with soil, gently firming it around the base of the seedling to remove any air pockets. Water the transplanted seedlings gently to settle the soil around the roots.
6. Provide Support: If your transplanted seedlings are tall or prone to bending, consider providing support. Place stakes or a small plant support near the seedling, being careful not to damage the roots. Tie the stem to the support using soft twine or plant clips, giving the seedling the stability it needs while it establishes.
7. Aftercare: After transplanting, continue to monitor the seedlings closely. Water them regularly, ensuring the soil remains consistently moist but not waterlogged. Avoid overwatering, as it can lead to root rot. Protect the seedlings from harsh weather conditions, such as strong winds or excessive heat, by providing shade or temporary covers.
8. Gradual Adaptation: If the seedlings were previously grown indoors or in a greenhouse, they may need a period of acclimation to outdoor conditions before transplanting. Gradually expose the seedlings to increasing amounts of sunlight and outdoor temperatures over a few days before planting them in the garden.
By following these transplanting steps, you will provide your seedlings with the best chance of thriving in their new home. With proper care and attention, they will continue to grow and bloom, adding beauty to your garden.
Pro Tip: Transplant seedlings on a calm and cloudy day, if possible, to minimize stress from harsh sunlight and heat. If you must transplant on a sunny day, do so in the early morning or late afternoon when temperatures are cooler.
Step 8: Continued Care and Maintenance
After transplanting your seedlings, their journey to becoming robust and flourishing plants is not yet complete. Ongoing care and maintenance are essential for their continued growth and success in your garden. Follow these guidelines to keep your flowers healthy and vibrant:
1. Watering: Water your transplanted seedlings regularly, ensuring the soil remains consistently moist but not soggy. Deep watering, allowing the water to penetrate the root zone, encourages the development of strong and deep root systems. Adjust your watering routine based on weather conditions, ensuring that the plants receive adequate hydration.
2. Mulching: Apply a layer of organic mulch, such as straw or shredded bark, around the base of your plants. Mulch helps retain soil moisture, suppress weed growth, regulate soil temperature, and add nutrients to the soil as it breaks down. Leave a small space around the stem to prevent pest and disease issues.
3. Fertilizing: Regularly feed your flowers with a balanced fertilizer to provide them with essential nutrients. Follow the recommended dosage and frequency based on the specific fertilizer instructions. Avoid over-fertilizing, as excessive nutrients can lead to lush foliage but fewer blooms.
4. Weeding: Regularly remove weeds from your garden bed or container to prevent competition for nutrients, water, and sunlight. Weeds can also harbor pests and diseases that may affect the health of your flowers. Regularly inspect your garden and remove any undesired plants promptly.
5. Deadheading: Deadheading, the process of removing spent flowers, is essential to encourage continuous blooming. Prune off faded or wilted flowers regularly to redirect the plant’s energy toward producing new buds. This will keep your flowers looking tidy and ensure a steady display of blooms.
6. Disease and Pest Control: Monitor your plants for any signs of pests or diseases. Common problems include aphids, powdery mildew, and fungal infections. Take immediate action at the first sign of trouble, using organic methods or appropriate treatments to control the issue. Regularly inspect the leaves, stems, and flowers for any abnormalities.
7. Support and Staking: As your flowers grow taller, provide support and staking if needed. Install stakes or trellises near the plants to prevent them from bending or breaking under their own weight. Secure the stems to the support structure using soft ties or plant clips, allowing them to grow upright and remain sturdy.
8. Pruning and Pinching: Prune your plants as needed to remove any dead, damaged, or diseased parts. Additionally, consider pinching back the stems to promote bushier growth and more branching. Regular pruning and pinching will help maintain the shape, health, and vigor of your flowers.
By providing consistent care and maintenance, you will enjoy a garden filled with healthy and vibrant flowers. Regular attention to watering, feeding, weeding, and pest control will guarantee the best possible environment for your plants to thrive.
Pro Tip: Take the time to appreciate your flowers and connect with nature. Spend moments in your garden, observing the beauty and fragrance of your blossoms. Regularly remove any spent flowers, while taking in the rewarding experience of gardening.
Read more: What Is A Flowering Seed Plant Called?
Conclusion
Planting flowers from seeds is a fulfilling and joyous experience that allows you to witness the miraculous transformation from tiny seeds to blooming beauties. By following the step-by-step process outlined in this guide, you can successfully grow a garden filled with vibrant colors, captivating fragrances, and the incredible beauty of nature.
Starting with the essential step of preparing the soil, you create a favorable environment for your seedlings to take root and thrive. Carefully selecting the right seeds ensures that you choose the varieties best suited to your climate, space, and personal preferences.
Sowing the seeds with care and attentiveness, providing adequate water, sunlight, and nutrients, and monitoring their growth are critical steps to ensure healthy and strong plants. Transplanting the seedlings into their permanent positions allows them to establish deeper roots and fully integrate into the garden ecosystem.
Continued care and maintenance, including proper watering, fertilizing, weeding, and pest control, ensure the long-term health and beauty of your flowers. Regular deadheading, pruning, and providing support when necessary help your plant maintain their lushness and structure.
As you tend to your garden, remember to appreciate the beauty and connect with nature. Gardening is not just a hobby but a way to cultivate a deeper connection with the natural world. Take the time to enjoy the fragrance, colors, and tranquility that your flowers bring to your outdoor space.
So, roll up your sleeves, prepare your soil, and embark on the wonderful journey of planting flowers from seeds. With patience, dedication, and a little bit of green thumb magic, you will be rewarded with a garden bursting with life and beauty for years to come.
Happy gardening!
Frequently Asked Questions about How To Plant Flowers From Seeds
Was this page helpful?
At Storables.com, we guarantee accurate and reliable information. Our content, validated by Expert Board Contributors, is crafted following stringent Editorial Policies. We're committed to providing you with well-researched, expert-backed insights for all your informational needs.

0 thoughts on “How To Plant Flowers From Seeds”