
Articles
How To Store Fondant Covered Cookies
Modified: December 7, 2023
Learn how to properly store fondant covered cookies in this informative article. Discover tips and tricks to keep your cookies fresh and beautifully decorated for longer.
(Many of the links in this article redirect to a specific reviewed product. Your purchase of these products through affiliate links helps to generate commission for Storables.com, at no extra cost. Learn more)
Introduction
Welcome to the wonderful world of fondant-covered cookies! If you’re a fan of beautifully decorated treats, then learning how to store fondant-covered cookies is essential. Fondant is a smooth and pliable icing that can be rolled out and draped over cookies to create a flawless, professional look. Whether you’re making fondant-covered cookies for a special occasion or just as a delightful treat, knowing how to store them correctly will ensure that they stay fresh and visually stunning.
In this article, we will guide you through the step-by-step process of preparing the cookies, making the fondant, covering the cookies with fondant, and finally, storing the fondant-covered cookies in the best way possible. By following our expert tips and techniques, you’ll be able to preserve the taste, texture, and visual appeal of your fondant-covered cookies until you’re ready to enjoy them.
So, gather your ingredients, roll up your sleeves, and let’s get started on the journey to creating and storing delectable fondant-covered cookies!
Key Takeaways:
- Create visually stunning fondant-covered cookies by following expert tips for preparation, fondant-making, and covering techniques. Store them in airtight containers at room temperature for freshness and visual appeal.
- Master the art of making and storing fondant-covered cookies to preserve their taste, texture, and aesthetic appeal. Share these delightful treats with loved ones and enjoy the smiles they bring!
Read more: How To Store Fondant
Materials Needed
Before you begin the process of making and storing fondant-covered cookies, it’s important to gather all the necessary materials. Here’s a list of items you’ll need:
- Cookies – You can use your favorite sugar cookie recipe or store-bought cookies.
- Fondant – Choose ready-to-use fondant in various colors or make your own using marshmallows and powdered sugar.
- Cornstarch or powdered sugar – This is used to prevent sticking when rolling out the fondant.
- Fondant smoother – A tool used to smooth out the fondant and achieve a polished finish.
- Rolling pin – An essential tool for rolling out the fondant to the desired thickness.
- Cookie cutters – Select cookie cutters in various shapes and sizes to create your desired designs.
- Food coloring – If you wish to customize the color of your fondant, food coloring will come in handy.
- Parchment paper or silicone mat – This will prevent the fondant from sticking to your work surface.
- Airtight container – Choose a container large enough to store the fondant-covered cookies without them touching or smudging.
- Wax paper or parchment paper – Used to separate layers of fondant-covered cookies.
Having these materials ready before you begin will ensure a smooth and efficient fondant-covered cookie-making process. Now that you have everything you need, let’s move on to the first step in the process – preparing the cookies!
Step 1: Preparing the Cookies
Before you can cover your cookies with fondant, you need to ensure that they are properly prepared. Follow these steps to prepare your cookies:
- Bake the cookies: Start by baking your cookies according to your desired recipe. Whether you choose a classic sugar cookie recipe or a different flavor, make sure they are thoroughly baked and cooled before moving on to the next step.
- Level your cookies: If your cookies have any uneven edges or rough surfaces, use a small knife or cookie cutter to gently trim and level them. This will ensure an even and smooth base for the fondant.
- Ice the cookies (optional): If you prefer a layer of icing under the fondant, you can choose to ice your cookies before applying the fondant. Allow the icing to set completely before moving on to the next step.
By preparing your cookies properly, you will create a solid foundation for the fondant and achieve a professional-looking final result. Once your cookies are baked, leveled, and iced (if desired), it’s time to move on to the next step – making the fondant!
Step 2: Making the Fondant
Now that your cookies are prepared, it’s time to make the fondant that will be draped over them. Making your own fondant is cost-effective and allows you to customize the flavor and color. Follow these steps to make your own fondant:
- Gather the ingredients: To make fondant, you’ll need marshmallows, powdered sugar, water, and flavoring extracts (optional). You can also use pre-made fondant if you prefer.
- Melt the marshmallows: Place the marshmallows in a microwave-safe bowl and melt them in the microwave in short bursts, stirring in between, until they are completely melted and smooth.
- Add powdered sugar: Gradually add powdered sugar to the melted marshmallows, stirring well after each addition. Continue adding powdered sugar until the mixture forms a dough-like consistency.
- Knead the fondant: Turn the fondant out onto a clean, powdered sugar-dusted surface and knead it with your hands until it becomes smooth and pliable. If the fondant is too sticky, add more powdered sugar; if it’s too dry, add a few drops of water.
- Flavor and color (optional): You can add flavoring extracts, such as vanilla or almond, to enhance the taste of the fondant. If you want to color the fondant, add small amounts of food coloring and knead until evenly distributed.
Once your fondant is made, tightly wrap it in plastic wrap and let it rest at room temperature for about 30 minutes. This will make the fondant easier to work with and prevent it from drying out. Now that you have the fondant ready, let’s move on to the next step – rolling out the fondant!
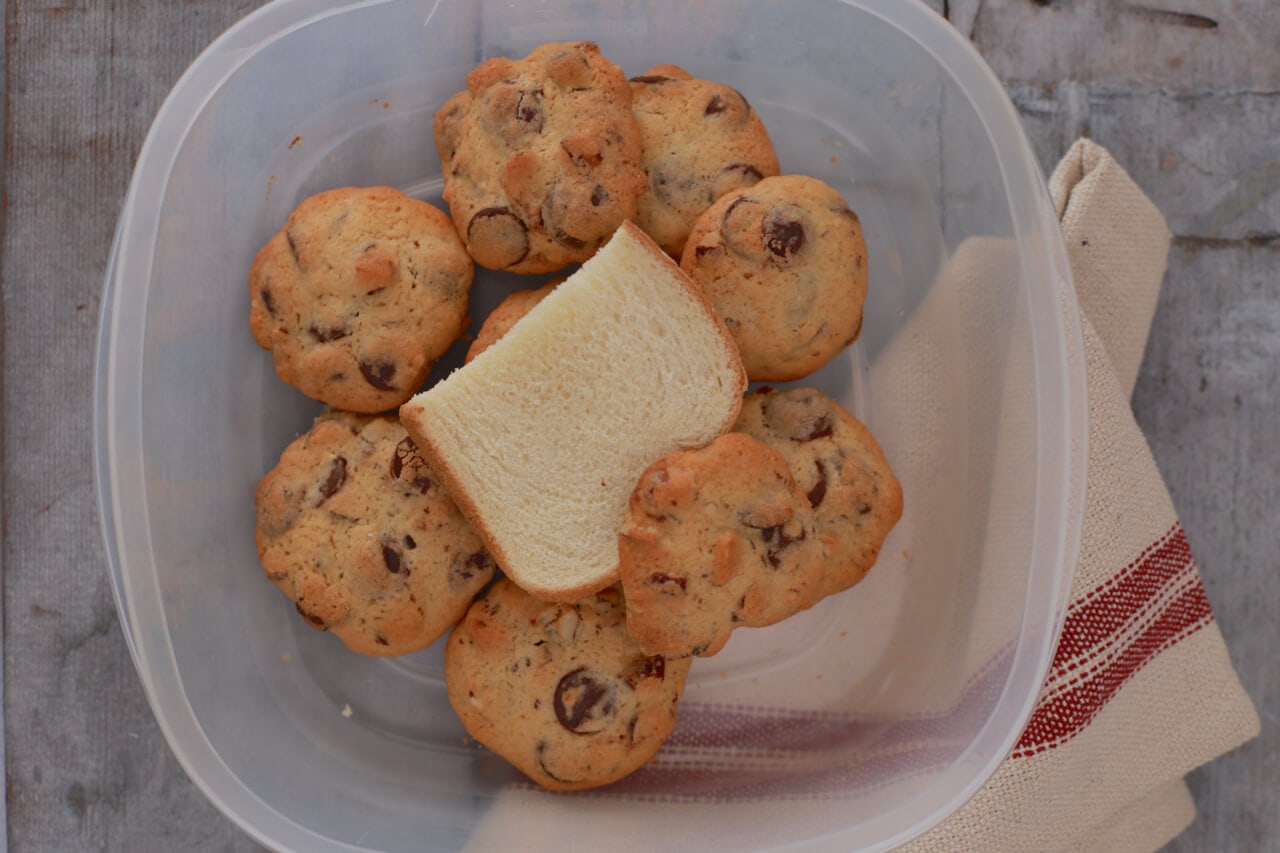
Store fondant covered cookies in an airtight container at room temperature, away from direct sunlight and heat sources. Layer with parchment paper to prevent sticking. They will stay fresh for up to 2 weeks.
Step 3: Rolling Out the Fondant
With your fondant prepared, it’s time to roll it out to the perfect thickness for covering your cookies. Follow these steps to roll out your fondant:
- Dust your work surface: Start by dusting your work surface with cornstarch or powdered sugar. This will prevent the fondant from sticking to the surface.
- Knead the fondant: Take a portion of the fondant and knead it gently with your hands to soften it and make it more pliable.
- Roll out the fondant: Using a rolling pin, roll out the fondant into a thin, even sheet. Aim for a thickness of about 1/8 inch (3mm) to ensure that it covers your cookies smoothly.
- Rotate and lift: As you roll, rotate the fondant occasionally to maintain an even thickness. Lift and reposition the fondant to prevent it from sticking to the work surface.
- Measure the fondant: Make sure that the rolled out fondant is large enough to fully cover each cookie with some excess for smoothing and trimming.
Remember to work quickly to prevent the fondant from drying out. If the fondant becomes sticky or difficult to work with, dust your hands and rolling pin with cornstarch or powdered sugar. Once your fondant is rolled out to the desired thickness, it’s time to move on to the exciting part – covering the cookies with fondant!
Read more: How To Store Marshmallow Fondant
Step 4: Covering the Cookies with Fondant
Now that you have your fondant rolled out, it’s time to cover your cookies and give them that smooth, flawless finish. Follow these steps to cover your cookies with fondant:
- Prepare the cookies: Make sure your cookies are clean and dry. If necessary, brush off any loose crumbs or icing sugar.
- Apply a thin layer of adhesive: Using a small brush or your finger, lightly brush a thin layer of water or edible adhesive on top of each cookie. This will help the fondant adhere to the cookie surface.
- Place the fondant: Carefully lift the rolled fondant using a rolling pin or your hands, and place it over the cookie. Gently smooth the fondant onto the cookie, starting from the center and working your way outwards. Take your time to prevent air bubbles or wrinkles.
- Trim the excess fondant: Using a sharp knife or fondant cutter, trim the excess fondant around the edges of the cookie. Be precise but gentle to avoid damaging the fondant or cookie.
- Smooth and refine: Use a fondant smoother or your fingers to gently smooth out any imperfections, ensuring a clean and polished look.
- Decorate (optional): If desired, you can add additional decorative elements such as fondant cutouts, edible paints, or sprinkles to enhance the look of your fondant-covered cookies.
Repeat these steps for each cookie, taking care to maintain a consistent look throughout. Once all cookies are covered with fondant and any additional decorations are added, it is time to move on to the final step – storing the fondant-covered cookies.
Step 5: Storing the Fondant Covered Cookies
Now that your fondant-covered cookies are beautifully decorated and ready to be enjoyed, it’s important to store them properly to ensure their freshness and visual appeal. Follow these steps to store your fondant-covered cookies:
- Cool and dry: Allow your fondant-covered cookies to cool completely before storing them. This will prevent condensation from forming and causing the fondant to become sticky or smudged.
- Layering: If you need to stack your fondant-covered cookies for storage, place a sheet of wax paper or parchment paper between each layer to prevent them from sticking together or damaging the decorations.
- Airtight container: Transfer the fondant-covered cookies to an airtight container to maintain their freshness and protect them from exposure to air and humidity. Choose a container that is large enough to accommodate the size of the cookies without them touching or getting squished.
- Store at room temperature: Fondant-covered cookies can be stored at room temperature in a cool, dry place away from direct sunlight. Avoid placing them in the refrigerator, as the moisture can cause the fondant to become soft and lose its shape.
- Proper handling: When handling the stored fondant-covered cookies, be careful not to press or squeeze them, as this can deform the fondant decorations. Use gentle hands and keep the cookies upright if possible.
- Enjoy within a few days: Fondant-covered cookies are at their best when consumed within a few days of being made. The fondant may start to harden slightly over time, so it’s recommended to enjoy them while they are still fresh and soft.
By following these storage guidelines, your fondant-covered cookies will preserve their taste, texture, and aesthetic appeal. So, whenever you’re ready to indulge, simply retrieve them from their airtight container and savor the deliciousness!
With these five easy steps, you can confidently store your fondant-covered cookies and ensure their longevity and quality. Now you can enjoy these delightful treats or share them with family and friends, knowing that they will remain fresh and visually stunning.
So, get creative with your fondant designs, experiment with different flavors, and start making and storing your own batch of beautiful fondant-covered cookies today!
Conclusion
Congratulations! You’ve now learned the step-by-step process of creating and storing fondant-covered cookies. By following these techniques, you can produce visually stunning treats that are sure to impress both in taste and appearance.
From preparing the cookies to making your own fondant, rolling it out, covering the cookies, and finally storing them properly, each step is crucial in achieving the best results. Remember to take your time and pay attention to the small details, as they can make a significant difference in the overall outcome.
Storing your fondant-covered cookies correctly is essential to preserve their freshness and keep them looking their best. By using airtight containers, layers of wax or parchment paper, and storing them at room temperature, you can extend their shelf life and maintain their texture and visual appeal.
Now, it’s time to put your newly acquired knowledge into practice. Get creative with different flavors, shapes, and designs, and let your imagination soar as you decorate your fondant-covered cookies. These delightful treats are perfect for special occasions, celebrations, or simply as a sweet indulgence for yourself.
Remember to share your creations with loved ones and enjoy the smiles and compliments that are sure to follow. So, gather your ingredients, set up your workstation, and embark on the journey of making and storing your own batch of fondant-covered cookies.
Happy baking and may your fondant-covered cookies bring joy, beauty, and deliciousness to all who taste them!
Frequently Asked Questions about How To Store Fondant Covered Cookies
Was this page helpful?
At Storables.com, we guarantee accurate and reliable information. Our content, validated by Expert Board Contributors, is crafted following stringent Editorial Policies. We're committed to providing you with well-researched, expert-backed insights for all your informational needs.


0 thoughts on “How To Store Fondant Covered Cookies”