Articles
How To Store Cookies With Frosting
Modified: August 28, 2024
Learn how to properly store your delicious cookies with frosting to maintain their freshness and taste. Read our informative articles on the best storage techniques and tips.
(Many of the links in this article redirect to a specific reviewed product. Your purchase of these products through affiliate links helps to generate commission for Storables.com, at no extra cost. Learn more)
Introduction
When it comes to baking and decorating cookies, frosting is often the key ingredient that adds a touch of sweetness and visual appeal. Whether you’re making cookies for a special occasion, as gifts, or simply to enjoy with a cup of tea or coffee, knowing how to store cookies with frosting is essential to maintain their freshness and preserve their decorative designs.
In this article, we will guide you through the process of storing frosted cookies to ensure they stay delicious and presentable for as long as possible. We will walk you through the necessary materials, the steps involved, and some helpful tips along the way.
So, let’s get started on your journey to becoming a pro at storing beautifully frosted cookies!
Key Takeaways:
- Preserve the Freshness: Properly storing frosted cookies is essential to maintain their delicious taste and decorative appeal. Follow the step-by-step guide to ensure your cookies stay fresh and visually appealing for days.
- Get Creative with Frosting: Experiment with different frosting flavors, colors, and patterns to make each batch of frosted cookies unique. Have fun decorating and storing your delicious treats for any occasion!
Read more: How To Store Frosted Cupcakes
Materials Needed
Before diving into the process of storing cookies with frosting, let’s make sure you have all the necessary materials on hand. Here’s what you’ll need:
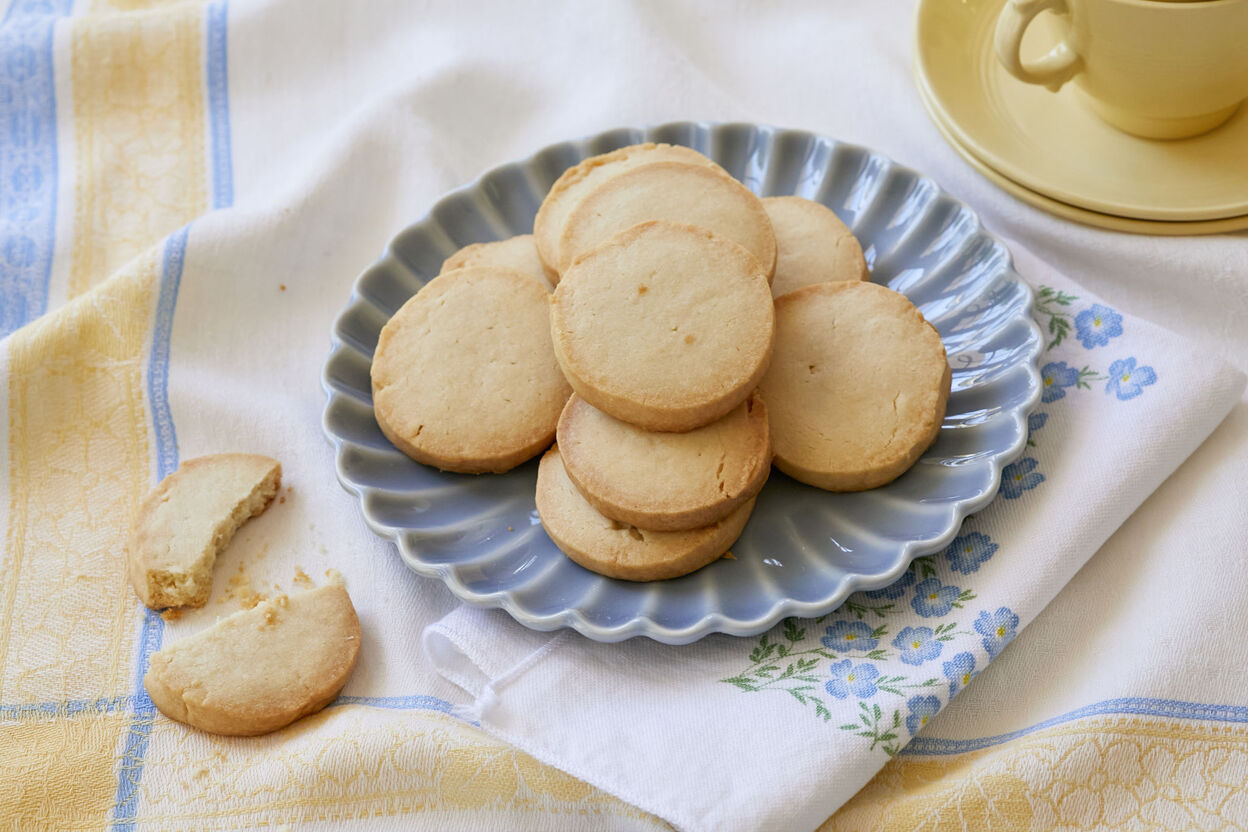
- Baked cookies: Start with a batch of your favorite cookies, such as sugar cookies, chocolate chip cookies, or gingerbread cookies. Make sure they have completely cooled before applying the frosting.
- Frosting: Choose a frosting that suits your taste and the type of cookies you’re making. You can opt for buttercream frosting, royal icing, cream cheese frosting, or any other frosting that holds well and complements the flavor of the cookies.
- Spatula or icing knife: This tool will come in handy for applying the frosting to the cookies. It should have a flat blade that allows for smooth and even spreading.
- Airtight container: Invest in a good-quality airtight container that can accommodate the size of your cookies. This will help prevent air and moisture from reaching the cookies, ensuring they stay fresh.
- Parchment paper or wax paper: This will act as a barrier between the frosting and the container, preventing the cookies from sticking to the surface and getting damaged when storing.
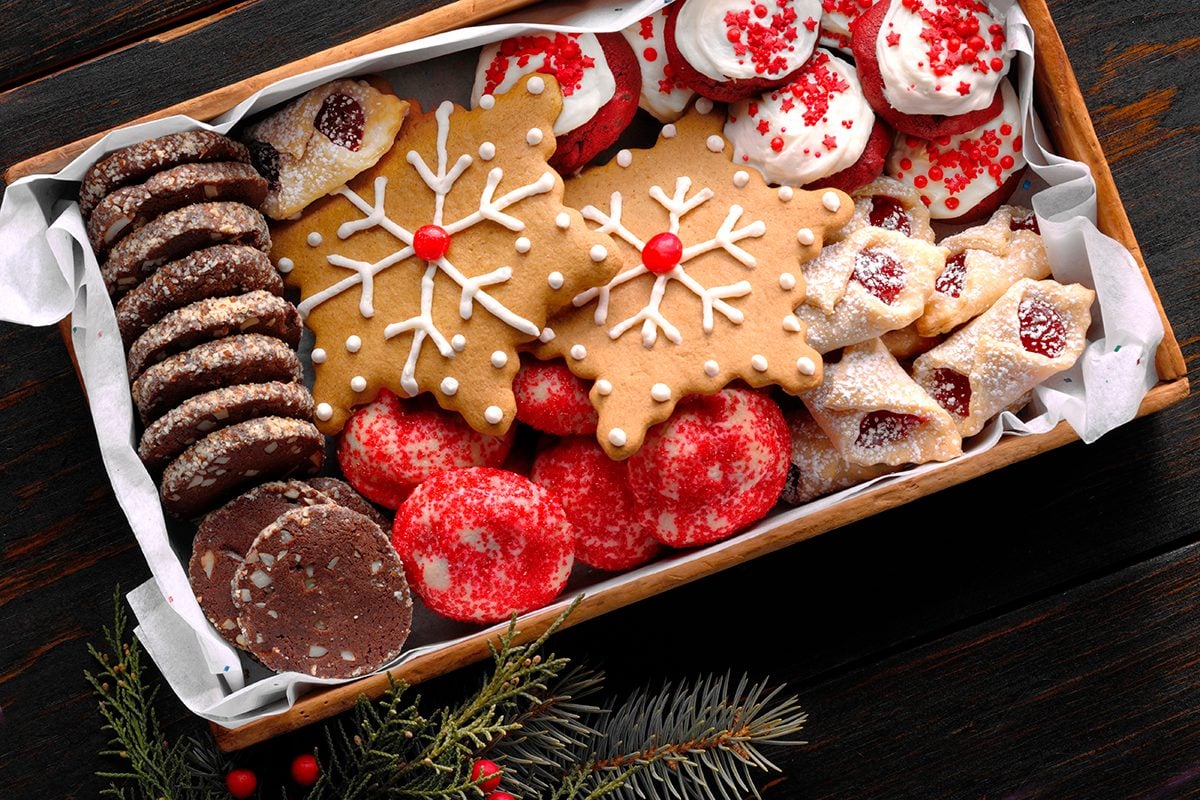
- Decorations (optional): If you plan on adding any extra decorations to your frosted cookies, gather items such as sprinkles, edible glitter, or icing pens.
Now that you have all the necessary materials ready, let’s move on to the step-by-step process of storing your freshly frosted cookies!
Step 1: Baking the Cookies
The first step in the process of storing cookies with frosting is to bake a batch of your desired cookies. Follow your favorite cookie recipe or choose a pre-made mix if you prefer. Make sure to consider the flavor and texture of the cookies when selecting a recipe.
Once you have your cookie dough ready, preheat your oven to the recommended temperature. Line a baking sheet with parchment paper or a silicone baking mat to prevent the cookies from sticking and to ease the clean-up process.
Take small portions of the cookie dough and roll them into balls. Place the dough balls on the prepared baking sheet, leaving some space between them to allow for spreading during baking.
Place the baking sheet in the preheated oven and bake the cookies according to the recipe’s instructions. Keep a close eye on them to prevent overbaking, as this can lead to dry and crunchy cookies. They should be lightly golden around the edges when done.
Once the cookies are baked, remove them from the oven and let them cool on the baking sheet for a few minutes before transferring them to a wire rack to cool completely. It’s important to ensure that the cookies are completely cooled before moving on to the next step, as applying frosting to warm cookies can cause it to melt and slide off.
Now that you have freshly baked and cooled cookies, you’re ready to move on to the next step of the process: preparing the frosting.
Step 2: Allowing the Cookies to Cool
After baking your delicious cookies, it’s crucial to allow them to cool completely before applying frosting. This step is essential to ensure that the frosting adheres well to the cookies and doesn’t melt or become messy.
Once you remove the cookies from the oven, leave them on the baking sheet for a few minutes to cool and set. This will help them firm up slightly and make them easier to handle without breaking apart.
After a few minutes, transfer the cookies from the baking sheet to a wire rack to cool completely. This allows air to circulate around the cookies, speeding up the cooling process and preventing any residual heat from causing the frosting to melt when applied.
It’s important to note that if you apply frosting to warm or hot cookies, the heat can cause the frosting to become runny, losing its shape and potentially sliding off the cookies. Cooling the cookies completely ensures that the frosting will adhere properly and maintain its decorative appearance.
Depending on the recipe and the size of your cookies, the cooling time may vary. As a general guideline, allow the cookies to cool for at least 30 minutes to an hour. You can also touch the cookies lightly to check for firmness and ensure they are no longer warm.
While the cookies are cooling, you can start preparing the frosting, which will be the next step in the process of storing cookies with frosting.
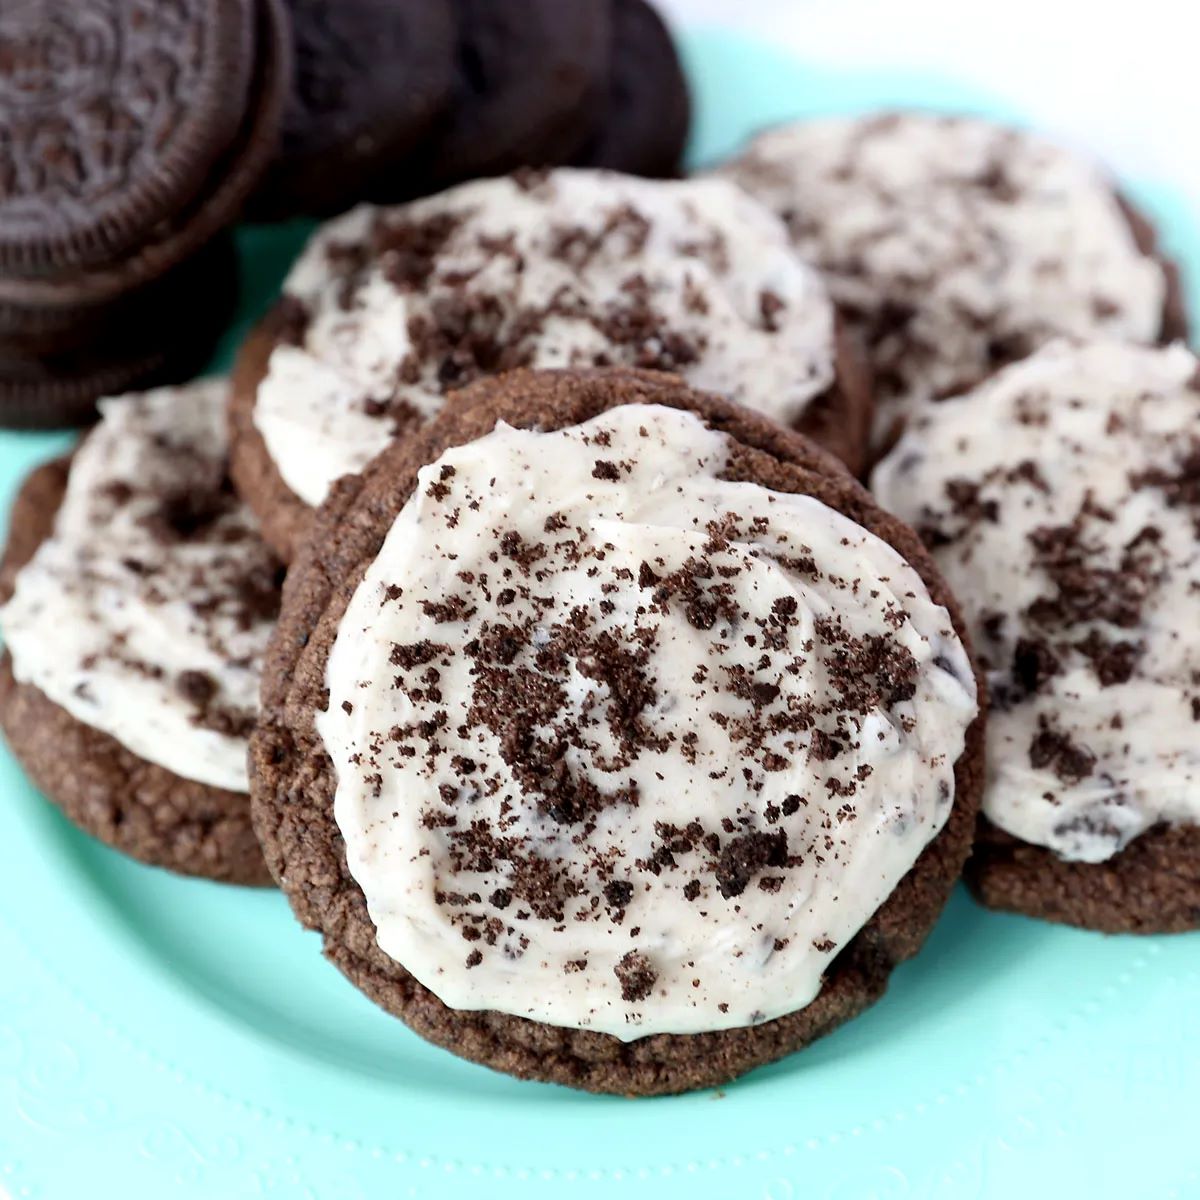
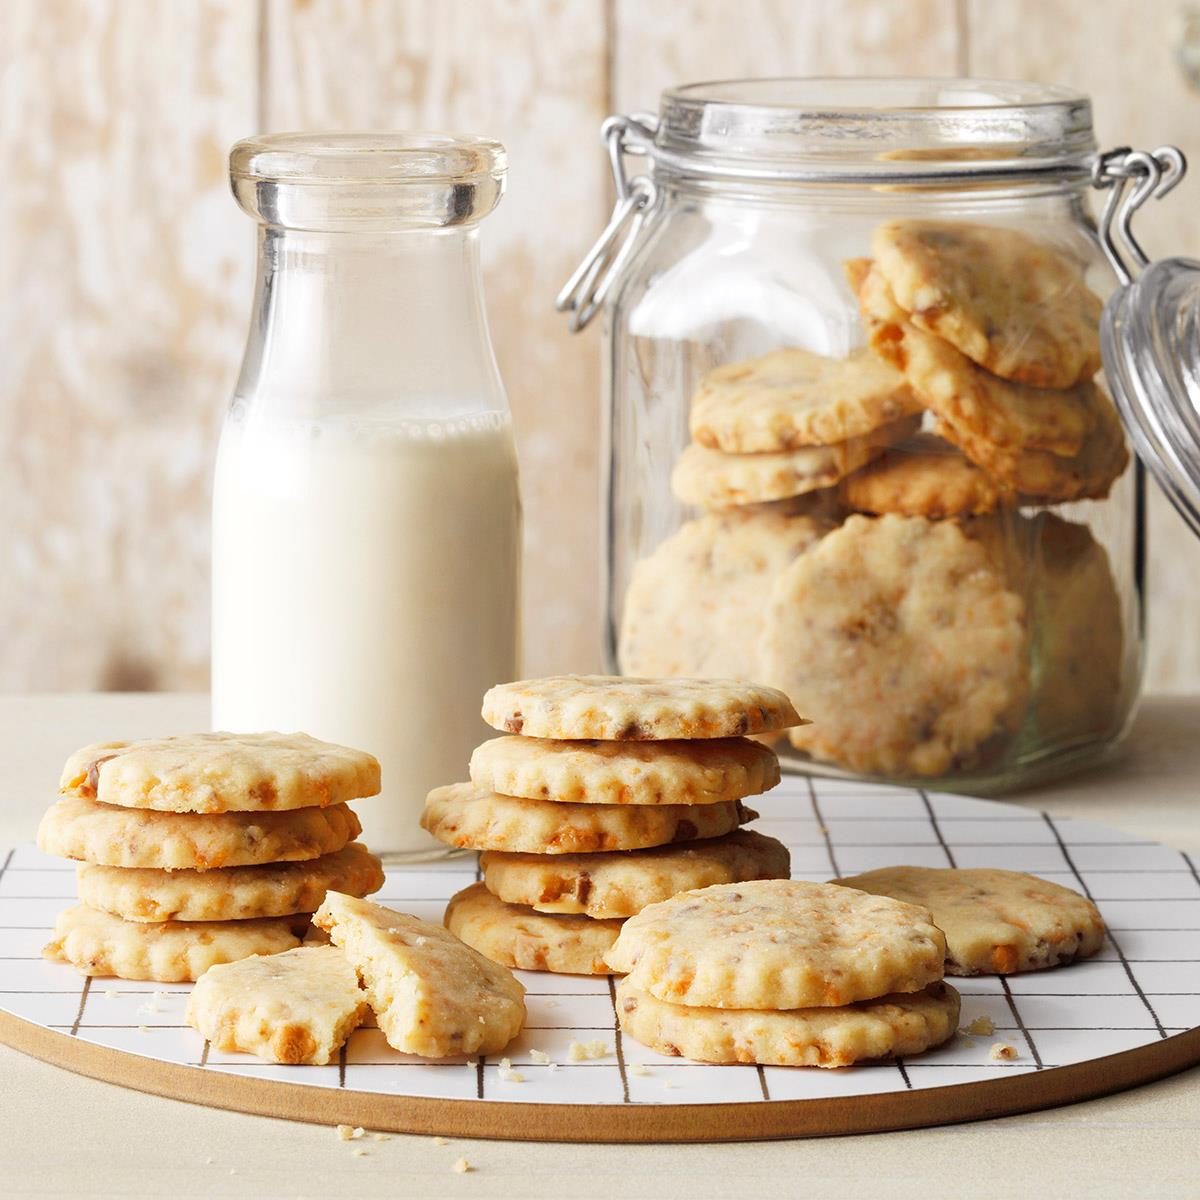
Store cookies with frosting in a single layer in an airtight container, with parchment paper between layers to prevent sticking. Keep the container in a cool, dry place to maintain the freshness of the frosting.
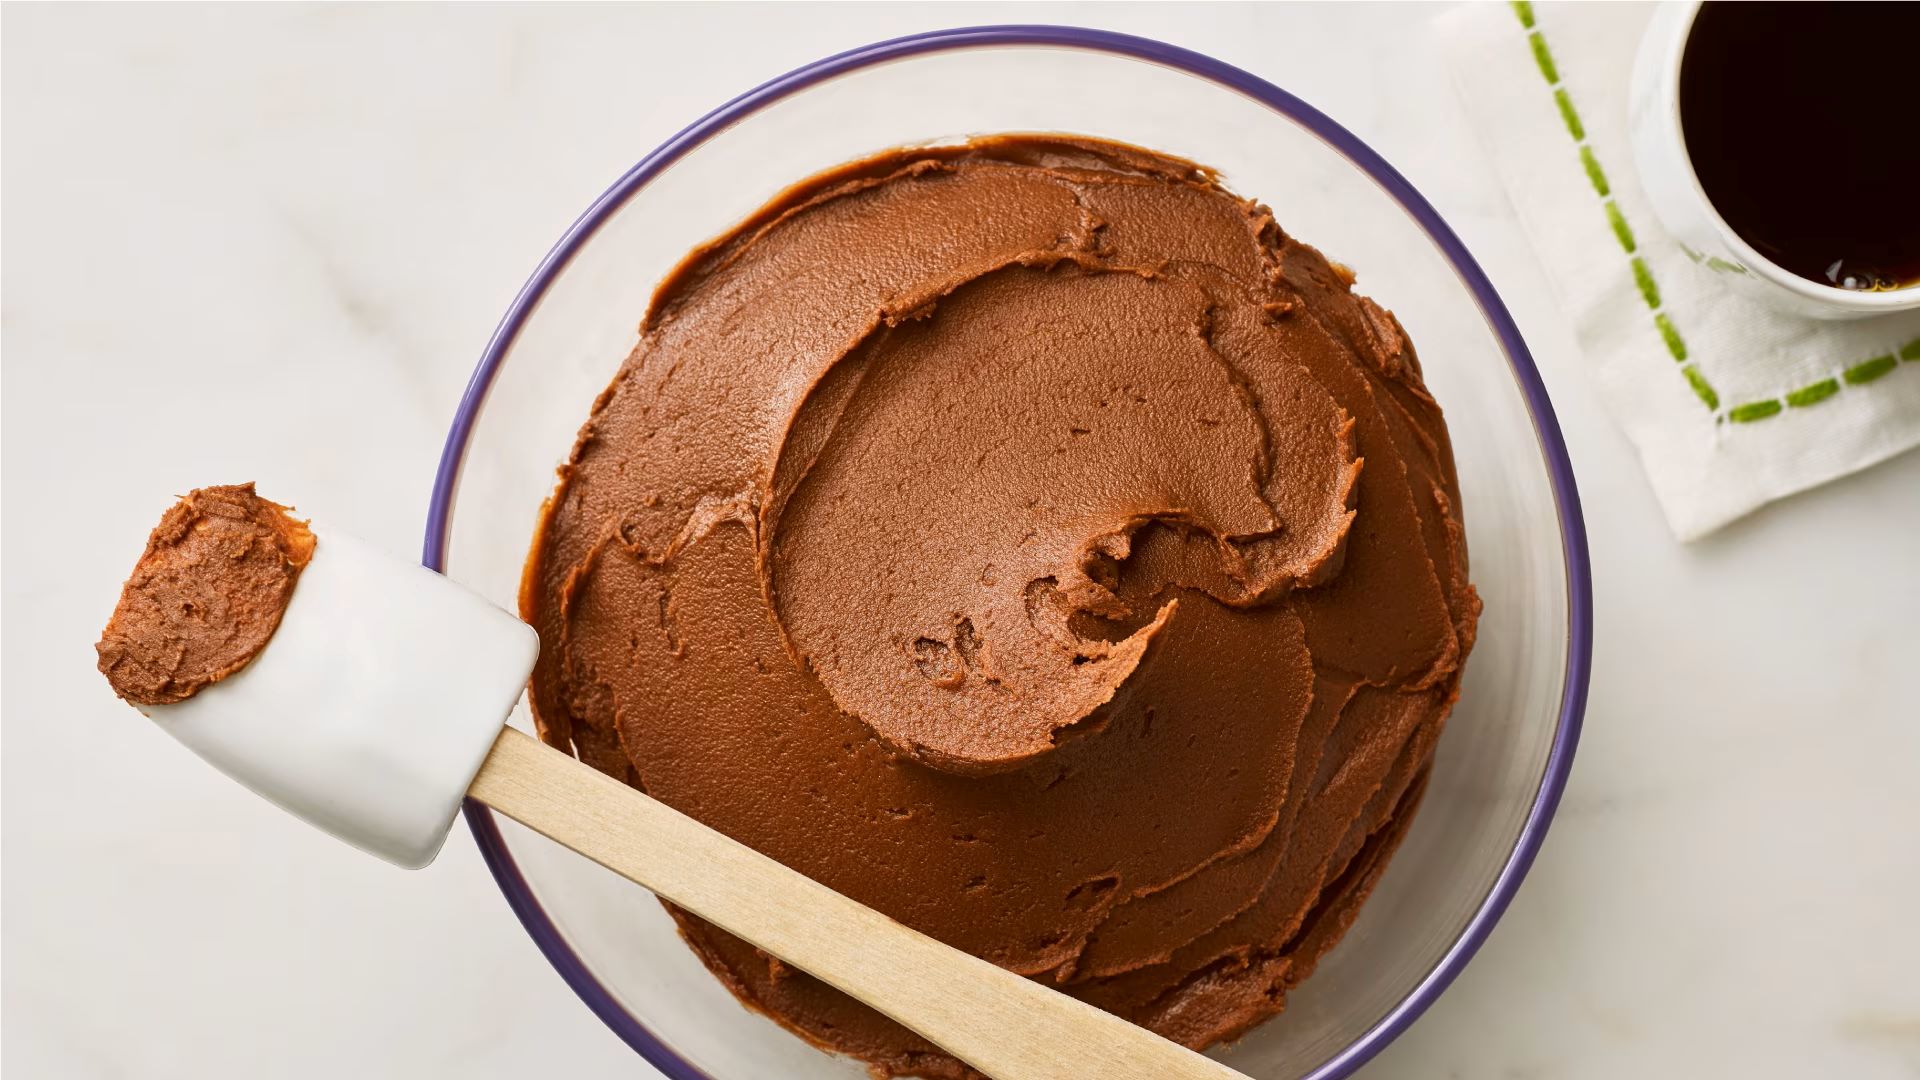
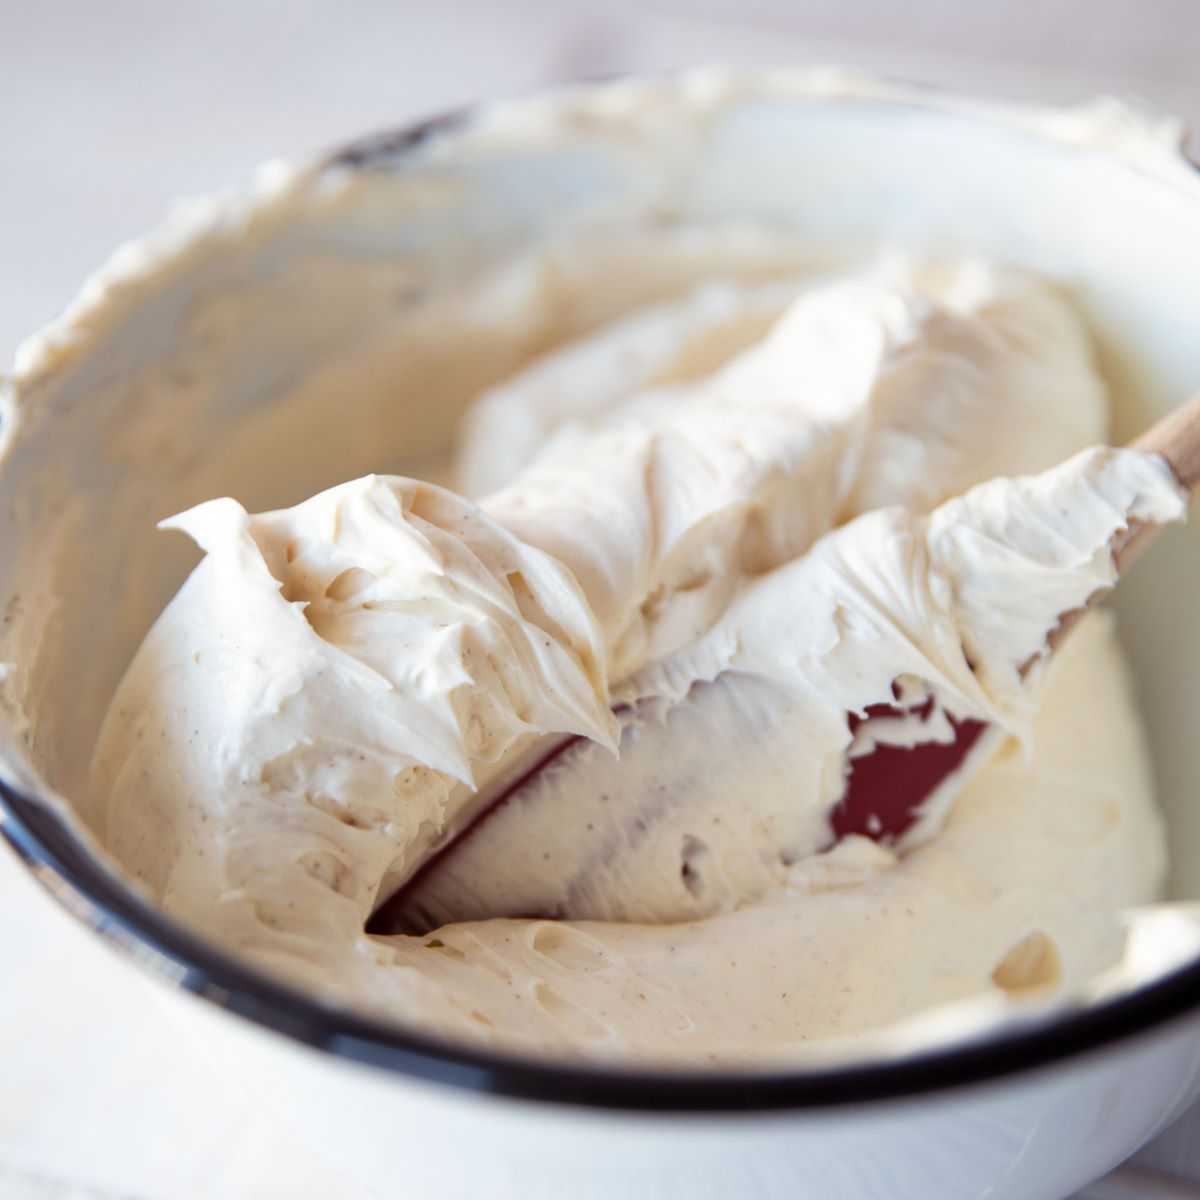
Step 3: Preparing the Frosting
Now that your cookies are fully cooled, it’s time to prepare the frosting. The type of frosting you choose will depend on your personal preference and the desired taste and texture for your cookies.
If you’re looking for a classic and versatile option, buttercream frosting is a popular choice. It’s smooth, creamy, and can be flavored in various ways. Cream cheese frosting is another delicious option that pairs well with many cookie flavors, providing a tangy and creamy taste.
If you’re aiming for a more professional and decorative finish, royal icing is commonly used. It dries hard and smooth, making it ideal for intricate designs and details.
Here’s a basic recipe for buttercream frosting:
- Ingredients:
- 1 cup (227g) unsalted butter, softened
- 4 cups (480g) powdered sugar
- 2-3 tablespoons milk or heavy cream
- 1 teaspoon vanilla extract (optional)
- Instructions:
- In a mixing bowl, cream the softened butter until smooth and creamy.
- Add powdered sugar gradually, mixing between each addition, until fully incorporated.
- Add milk or heavy cream, starting with 2 tablespoons, and mix well. Add more if needed to achieve desired consistency.
- If desired, add vanilla extract for flavor and mix until combined.
Remember, you can customize the flavor and color of your frosting by adding extracts, spices, or food coloring. Be creative and experiment with different combinations to complement your cookies.
Once your frosting is ready, it’s time to move on to the exciting part – applying it to your cooled and delicious cookies!
Read more: How To Store Frosting Overnight
Step 4: Applying the Frosting to the Cookies
With your freshly prepared frosting in hand, it’s time to apply it to your cooled cookies. This step allows you to get creative and add a decorative touch to your treats.
Here’s a step-by-step guide on how to apply frosting to your cookies:
- Using a spatula or an icing knife, scoop a generous amount of frosting onto the center of a cookie.
- Gently spread the frosting over the surface of the cookie, starting from the center and working your way towards the edges. Use the spatula or icing knife to create a smooth and even layer.
- For a more decorative touch, you can pipe the frosting onto the cookies using a piping bag fitted with a decorating tip. This allows you to create intricate designs and patterns.
- If you’re adding any extra decorations, such as sprinkles or edible glitter, now is the time to do so. Sprinkle them onto the freshly frosted cookies before the frosting dries and sets.
- Repeat the process for each cookie, applying the desired amount of frosting and decorations.
Remember to have fun and get creative with your frosting designs. You can experiment with different colors, patterns, and techniques to make your cookies truly stand out.
Once all the cookies are frosted and decorated to your liking, it’s time to move on to the final step – properly storing them to maintain their freshness.
Step 5: Storing the Decorated Cookies
After investing time and effort into baking and decorating your cookies, it’s important to store them properly to maintain their freshness and keep them looking beautiful. Here’s how to store your decorated cookies:
- Allow the frosting to dry: Before attempting to store the cookies, wait for the frosting to dry and set completely. This usually takes a few hours, depending on the type of frosting used. Touch the frosting lightly to ensure it is no longer sticky or wet.
- Choose an airtight container: Select a container that is large enough to accommodate your decorated cookies without overcrowding them. It should be airtight to prevent air and moisture from seeping in.
- Layer the cookies: Place a sheet of parchment paper or wax paper at the bottom of the container. This will prevent the frosting from sticking to the surface and keep the cookies protected.
- Arrange the cookies in a single layer: Lay the decorated cookies in a single layer in the container, ensuring they are not touching each other. If you have more cookies to store, place another sheet of parchment paper or wax paper on top and repeat the process for additional layers.
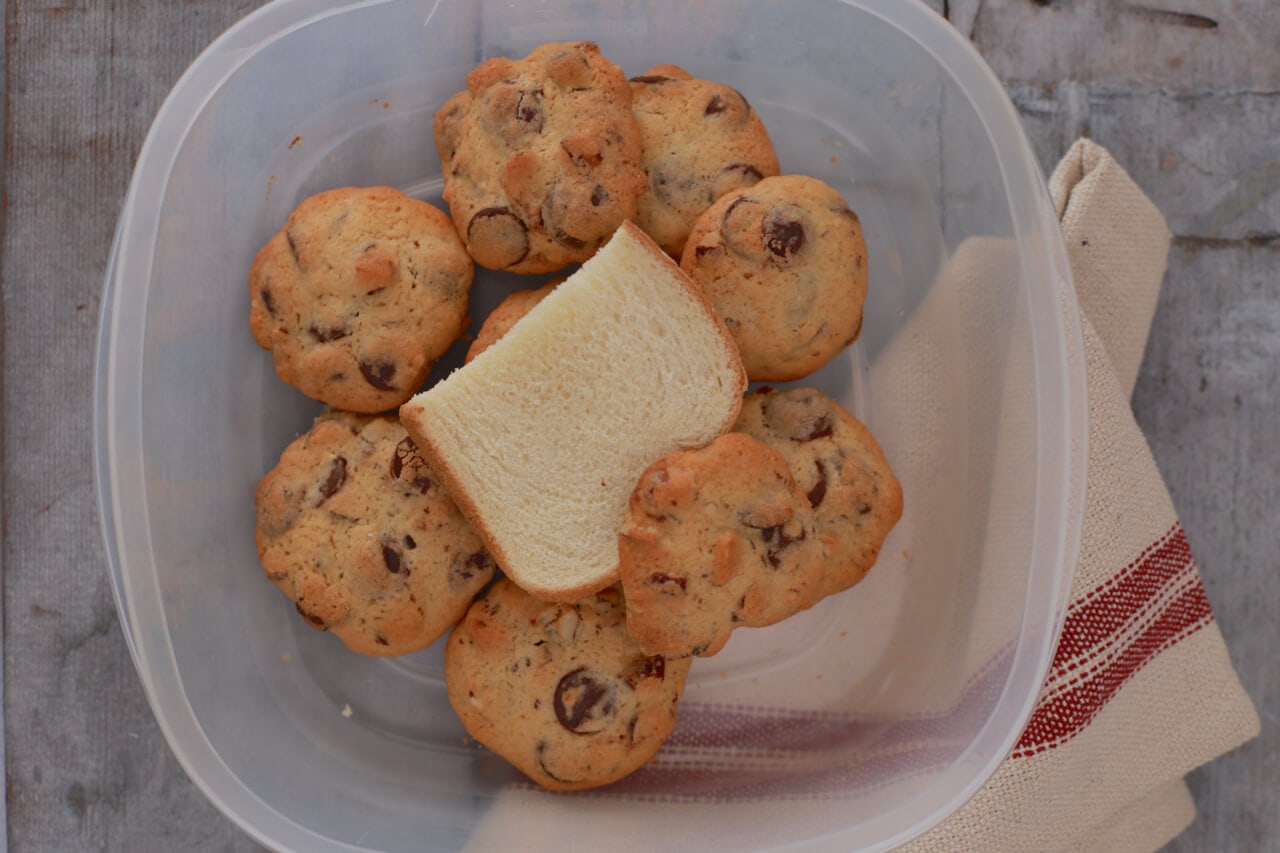
- Add a moisture absorber (optional): If desired, you can include a moisture absorber packet or a piece of bread in the container to help keep the cookies fresh and prevent them from becoming soft or stale.
- Store in a cool, dry place: Place the airtight container of decorated cookies in a cool, dry place away from direct sunlight and heat sources. Avoid storing them in the refrigerator, as this can cause the frosting to become excessively firm or develop condensation when taken out.
By following these steps, your beautifully decorated cookies should stay fresh and maintain their appearance for several days. However, it’s important to note that the storage time may vary depending on the type of frosting and decorations used.
Remember to check the cookies regularly for any signs of spoilage or changes in texture. Should any issues arise, it’s best to consume the cookies sooner rather than later.
Now that you know how to store your decorated cookies properly, you can confidently enjoy and share your delicious treats for days to come!
Conclusion
Storing cookies with frosting is a crucial step in preserving their freshness and appearance. By following the steps outlined in this article, you can ensure that your beautifully decorated cookies remain delicious and visually appealing for as long as possible.
From baking the cookies to allowing them to cool, preparing the frosting, and applying it with creativity, every step is essential in achieving the best results. Properly storing the decorated cookies in an airtight container, using parchment paper or wax paper as a protective layer, and keeping them in a cool, dry place will help maintain their freshness.
Remember to exercise your creativity when decorating your cookies and try different frosting flavors, colors, and patterns to make each batch unique. Whether you’re making cookies for a special occasion, as gifts, or simply to satisfy your sweet tooth, knowing how to store them properly will ensure that they are enjoyed to the fullest.
So, the next time you embark on a cookie baking adventure, refer back to this article to ensure that your frosted cookies are stored in the best possible way. Get ready to impress your friends and family with your baking skills and delight in the scrumptious taste of freshly stored cookies!
Frequently Asked Questions about How To Store Cookies With Frosting
Was this page helpful?
At Storables.com, we guarantee accurate and reliable information. Our content, validated by Expert Board Contributors, is crafted following stringent Editorial Policies. We're committed to providing you with well-researched, expert-backed insights for all your informational needs.


0 thoughts on “How To Store Cookies With Frosting”