Articles
How To Store Fresh Garlic Bulbs
Modified: August 24, 2024
Learn the best techniques for storing fresh garlic bulbs in this informative article. Discover how to keep them fresh and flavorful for longer periods.
(Many of the links in this article redirect to a specific reviewed product. Your purchase of these products through affiliate links helps to generate commission for Storables.com, at no extra cost. Learn more)
Introduction
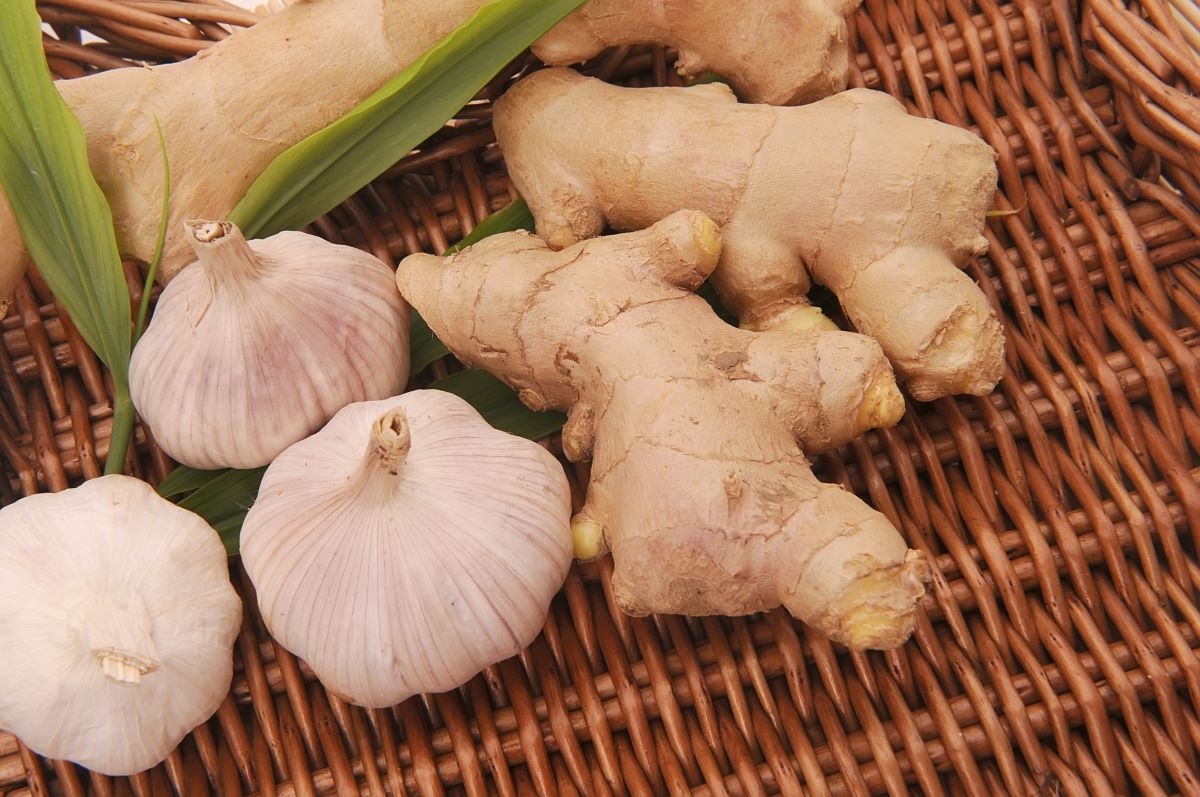
Garlic is a staple ingredient in many cuisines around the world, known for its distinct flavor and numerous health benefits. Fresh garlic bulbs are versatile and can be used in a variety of dishes, from soups and sauces to roasted vegetables and marinades. However, if you find yourself with an excess of fresh garlic bulbs, it’s important to know how to store them properly to maintain their flavor and freshness.
In this article, we will explore the benefits of storing fresh garlic bulbs and provide you with tips on how to choose the right bulbs for storage and how to properly store them to extend their shelf life. Whether you’re a passionate home cook or simply enjoy the occasional garlic-infused dish, this guide will help you make the most of your fresh garlic bulbs.
Key Takeaways:
- Properly storing fresh garlic bulbs in a cool, dark place, the refrigerator, or the freezer can extend their shelf life, ensuring a readily available supply and preserving their robust flavor for culinary creations.
- Selecting high-quality garlic bulbs, preparing them correctly, and implementing proper handling and maintenance practices are essential for maximizing the longevity and flavor of stored garlic bulbs.
Read more: How To Store Fresh Peeled Garlic
Benefits of Storing Fresh Garlic Bulbs
Storing fresh garlic bulbs properly offers several benefits. Firstly, it allows you to have a readily available supply of garlic whenever you need it. It can be frustrating to run out of garlic when you’re in the middle of cooking a delicious meal, but by storing fresh garlic bulbs, you can ensure you always have some on hand.
In addition to convenience, proper storage helps preserve the flavor and aroma of the garlic. Freshly harvested garlic bulbs have a robust and pungent flavor that can elevate any dish. Storing garlic bulbs in the right conditions can help maintain this flavor for a longer period of time.
Storing garlic bulbs also allows the flavors to mellow and develop over time. When stored in the correct conditions, the garlic goes through a curing process, where the flavors become deeper and more complex. This can be especially beneficial if you enjoy using garlic in more subtle dishes where a strong garlic flavor may overpower the other ingredients.
Lastly, storing fresh garlic bulbs can also save you money. Buying garlic in bulk when it’s in season or on sale and storing it properly can prevent wastage, as garlic bulbs have a relatively long shelf life when stored correctly. This means you don’t have to constantly buy small amounts of garlic, which can be more expensive in the long run.
Now that we understand the benefits of storing fresh garlic bulbs, let’s move on to exploring how to choose the right bulbs for storage.
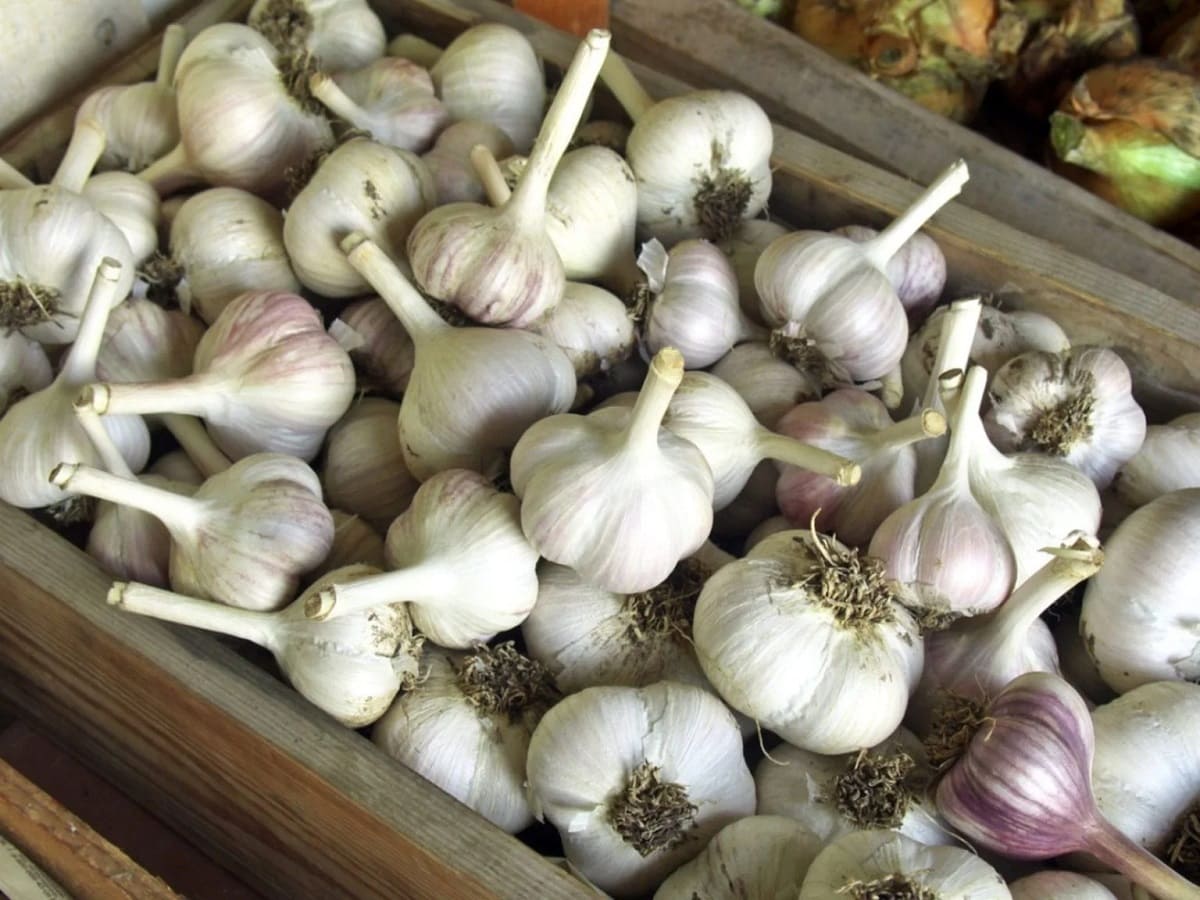
Choosing the Right Garlic Bulbs for Storage
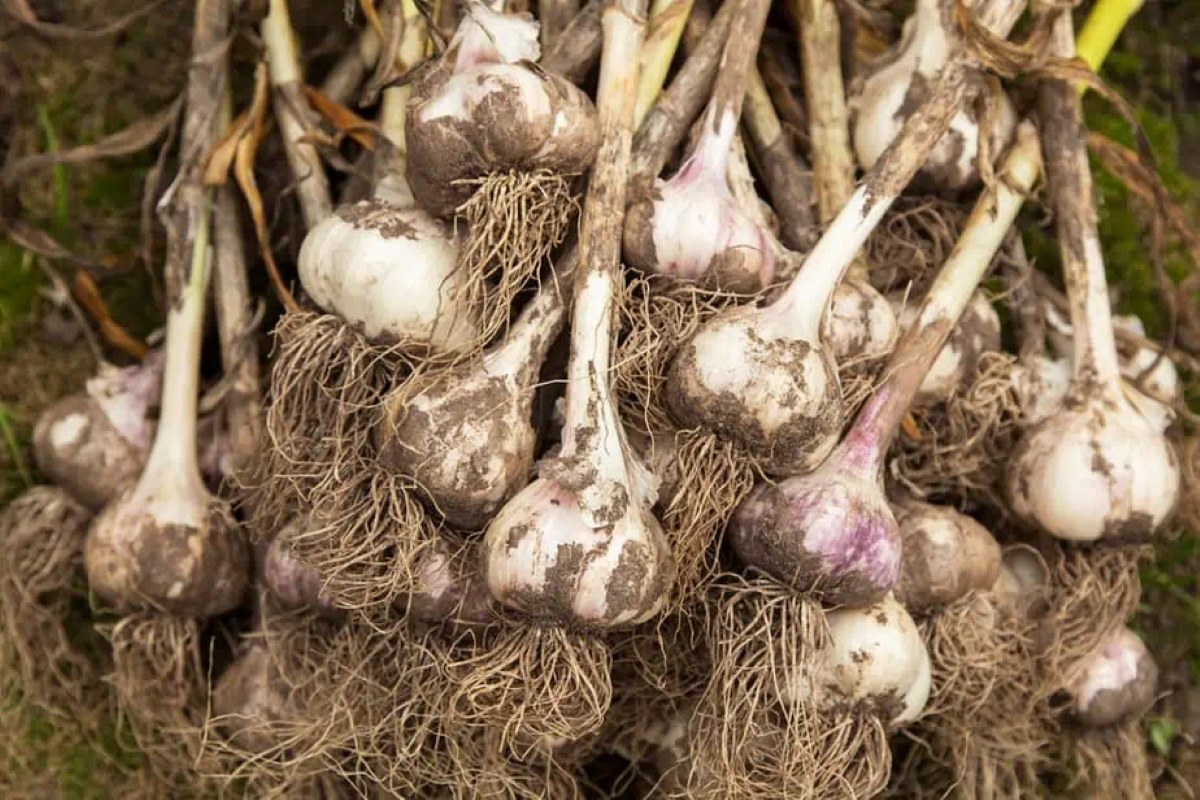
When it comes to choosing garlic bulbs for storage, there are a few key factors to consider. First and foremost, you want to select bulbs that are firm and intact. Avoid bulbs that feel soft, as they may be beginning to rot or have been damaged during storage or transportation.
Look for garlic bulbs that have tight and unbroken skins. This is important because the outer skin acts as a protective layer, helping to keep the garlic fresh and prevent moisture loss. Bulbs with loose or damaged skins are more prone to drying out and spoiling.
It’s also a good idea to choose bulbs that have large cloves. Larger cloves are generally easier to peel, which can save you time and effort in the kitchen. Additionally, larger cloves tend to have a more robust flavor.
Consider the variety of garlic as well. There are many different varieties of garlic, each with its own unique flavor profile. Experiment with different varieties to find the ones that suit your taste preferences. Some popular varieties for storage include California Early, Inchelium Red, and Music.
Furthermore, opt for organically grown garlic whenever possible. Organic garlic is free from chemical pesticides and fertilizers, making it a healthier choice for you and the environment.
By selecting high-quality, firm, intact, and well-skinned garlic bulbs, you are setting yourself up for successful storage and enjoying the benefits of fresh garlic for an extended period.
Now that you know how to choose the right garlic bulbs for storage, let’s dive into the next step: preparing the garlic bulbs for storage.
Preparing Garlic Bulbs for Storage
Before you store fresh garlic bulbs, it’s essential to properly prepare them to ensure their longevity and quality. Follow these steps to prepare garlic bulbs for storage:
- Remove any excess dirt: Gently brush off any loose dirt or soil from the garlic bulbs. Avoid using water, as moisture can encourage mold development.
- Do not wash the bulbs: It’s important not to wash the garlic bulbs before storage. Washing can introduce moisture, which can lead to rotting.
- Trim the roots: Trim the roots of the garlic bulbs to about 1/4 inch in length. This will help prevent them from drying out while in storage.
- Leave the outer skin intact: Do not remove the outer skin or separate the cloves. Keeping the bulbs intact helps to prevent moisture loss and maintain freshness.
- Inspect for any damage: Check for any signs of damage or bruising on the bulbs. Remove any damaged cloves or bulbs, as they can speed up spoilage for the rest of the batch.
By following these steps, you are ensuring that your garlic bulbs are clean, trimmed, intact, and free from any damage that could affect their quality during storage. Now, let’s explore the different methods for storing fresh garlic bulbs.
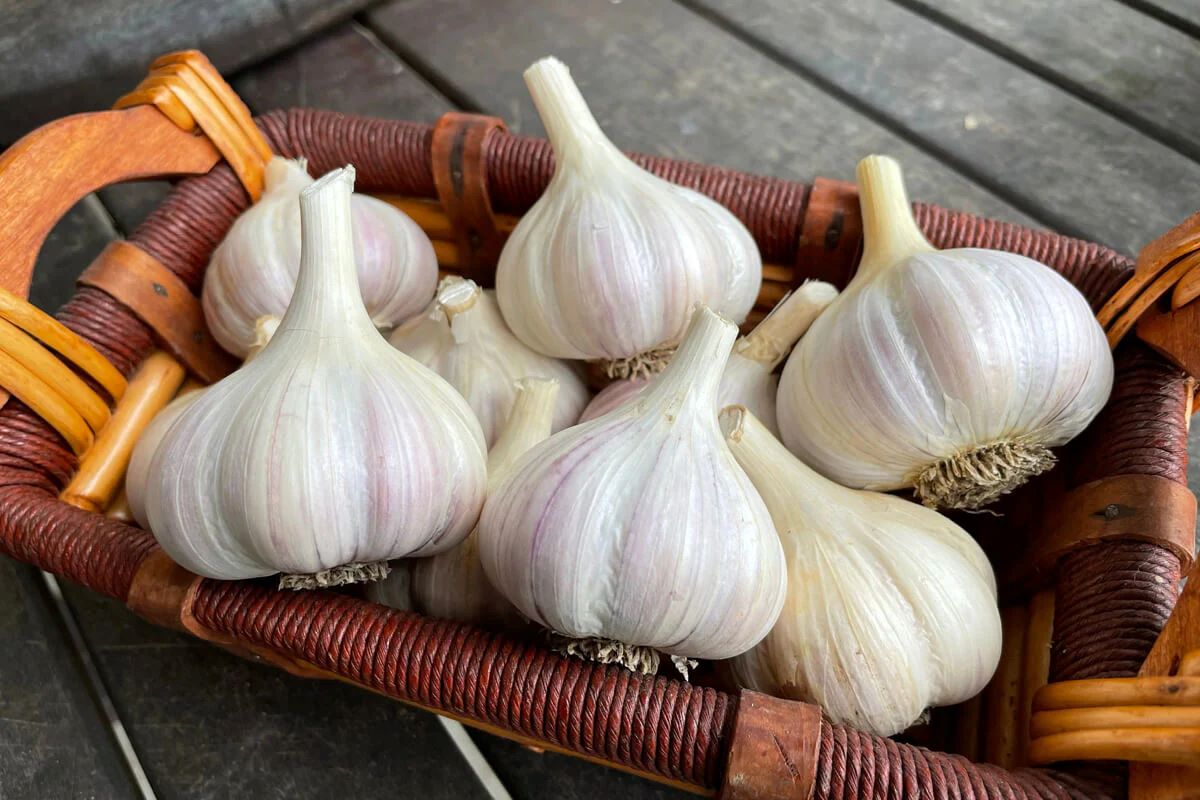
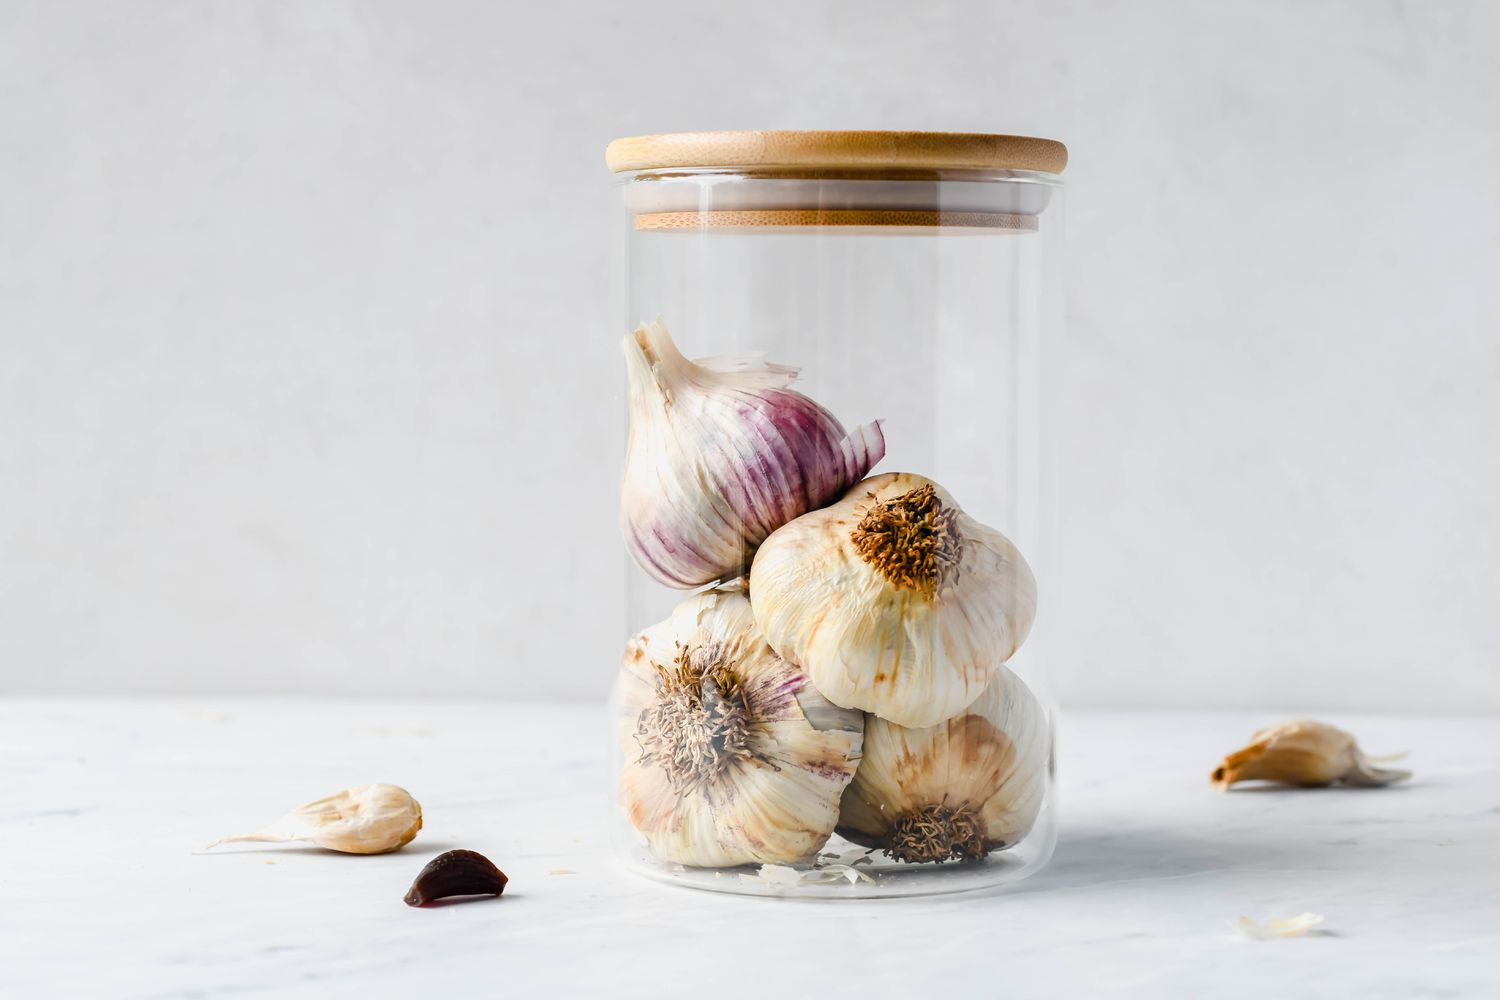
Storing Fresh Garlic Bulbs in a Cool, Dark Place
One of the most common and effective methods for storing fresh garlic bulbs is to keep them in a cool, dark place. Garlic bulbs can be stored at room temperature, as long as the conditions are cool and dry.
Here’s how to store fresh garlic bulbs in a cool, dark place:
- Choose a suitable storage location: Find a cool, dark area in your home, such as a pantry, basement, or cupboard. The ideal temperature for storing garlic bulbs is around 60-65°F (15-18°C).
- Ensure proper ventilation: Make sure the storage area has good air circulation to prevent the garlic from becoming damp or moldy.
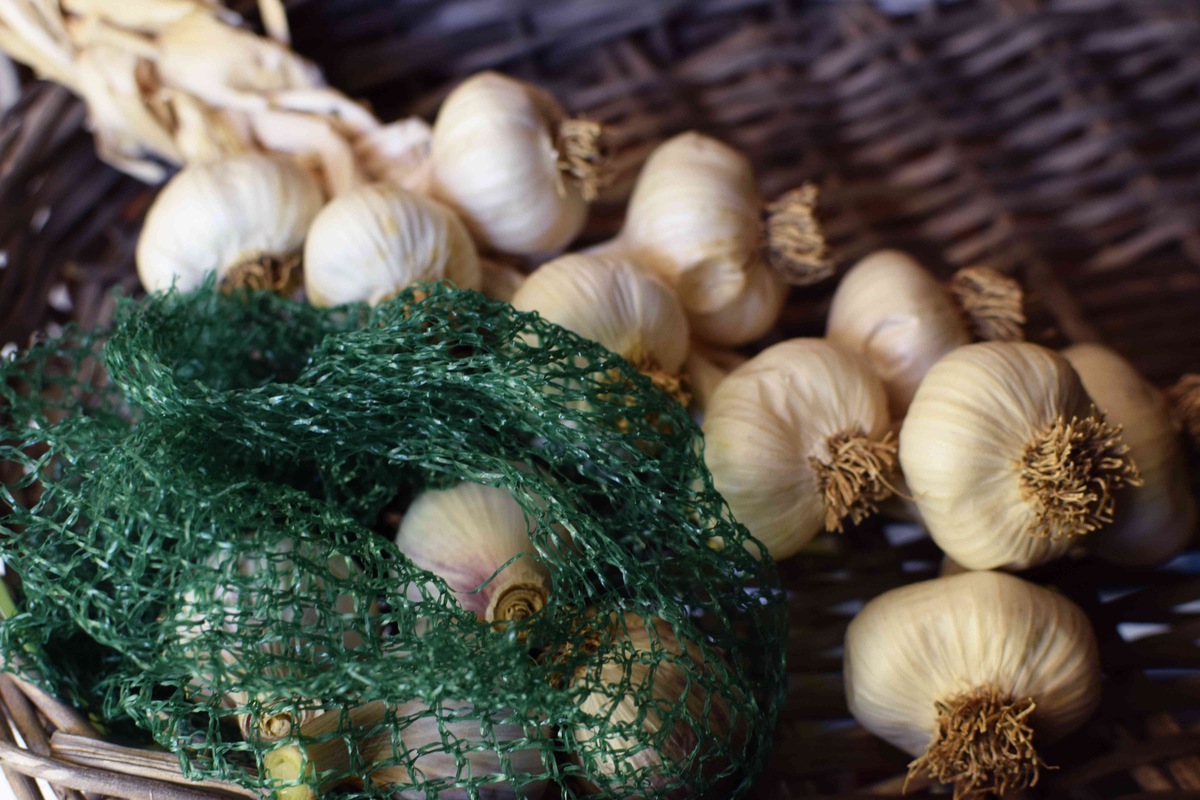
- Use a breathable container: Place the garlic bulbs in a breathable container, such as a mesh bag or a ceramic garlic keeper. Avoid storing them in airtight containers, as this can trap moisture and cause the garlic to spoil.
- Avoid exposure to light: Ensure the storage area is completely dark, as exposure to light can cause the garlic to sprout or lose its flavor.
- Check regularly for any signs of spoilage: Periodically inspect the stored garlic bulbs for any signs of mold, rotting, or sprouting. Remove any affected bulbs to prevent further spoilage.
By storing fresh garlic bulbs in a cool, dark place, you can extend their shelf life and maintain their flavor and quality for several weeks to several months.
In the next section, we will explore another option for storing fresh garlic bulbs: the refrigerator.
Store fresh garlic bulbs in a cool, dark, and well-ventilated place, such as a pantry or a garlic keeper. Avoid storing them in the refrigerator, as the cold and moisture can cause them to sprout or become moldy.
Read more: How To Store Fresh Garlic Scapes
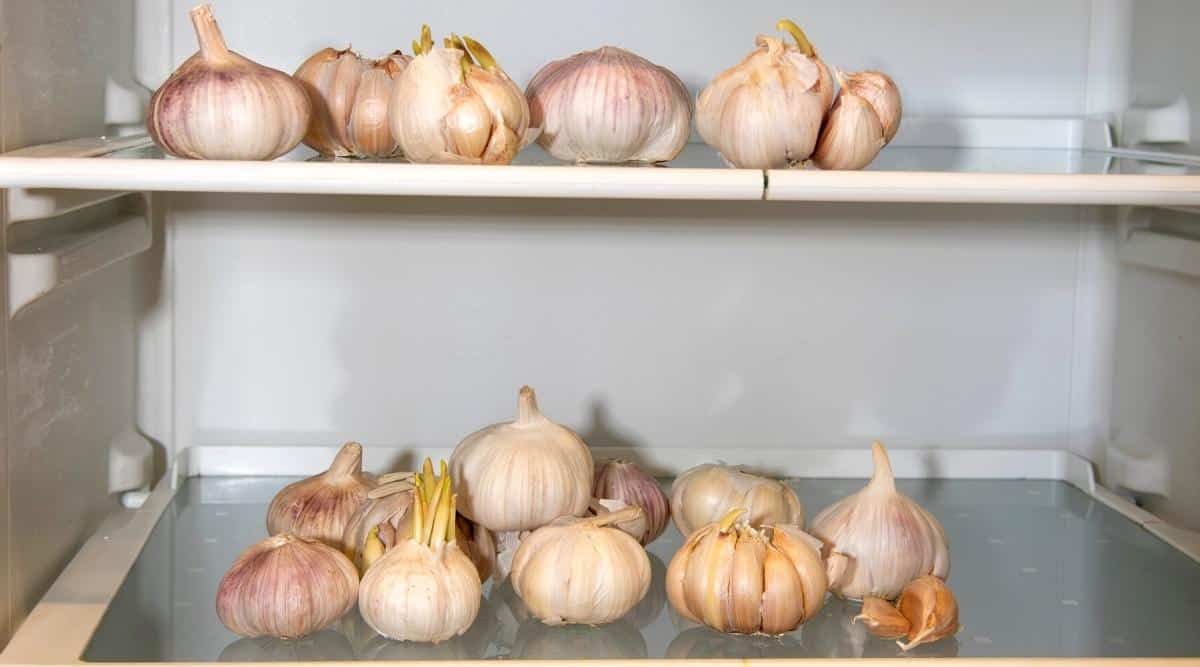
Storing Fresh Garlic Bulbs in the Refrigerator
If you live in a warm climate or need to store your fresh garlic bulbs for an extended period, an alternative option is to store them in the refrigerator. The cool and stable temperature of the refrigerator can help prolong the shelf life of the garlic.
Here are the steps to store fresh garlic bulbs in the refrigerator:
- Prepare the garlic bulbs: Trim the roots and remove any loose dirt, but do not peel or separate the cloves.
- Place garlic bulbs in a bag or container: Transfer the garlic bulbs to a paper bag or a mesh bag. Alternatively, you can use a container with ventilation holes to allow air circulation.
- Store in the refrigerator: Put the bag or container of garlic bulbs in the vegetable crisper drawer or a cool part of your refrigerator, away from any strong-smelling foods.
- Monitor for any signs of spoilage: Regularly check the stored garlic bulbs for any signs of mold, sprouting, or deterioration. Remove any damaged bulbs promptly to prevent the spread of spoilage.
It’s important to note that storing garlic in the refrigerator may cause the cloves to become softer and lose some flavor over time. However, refrigeration is still a viable option if you live in a hot climate or if you’re storing the garlic for an extended period.
Next, we will explore another storage option for fresh garlic bulbs: the freezer.
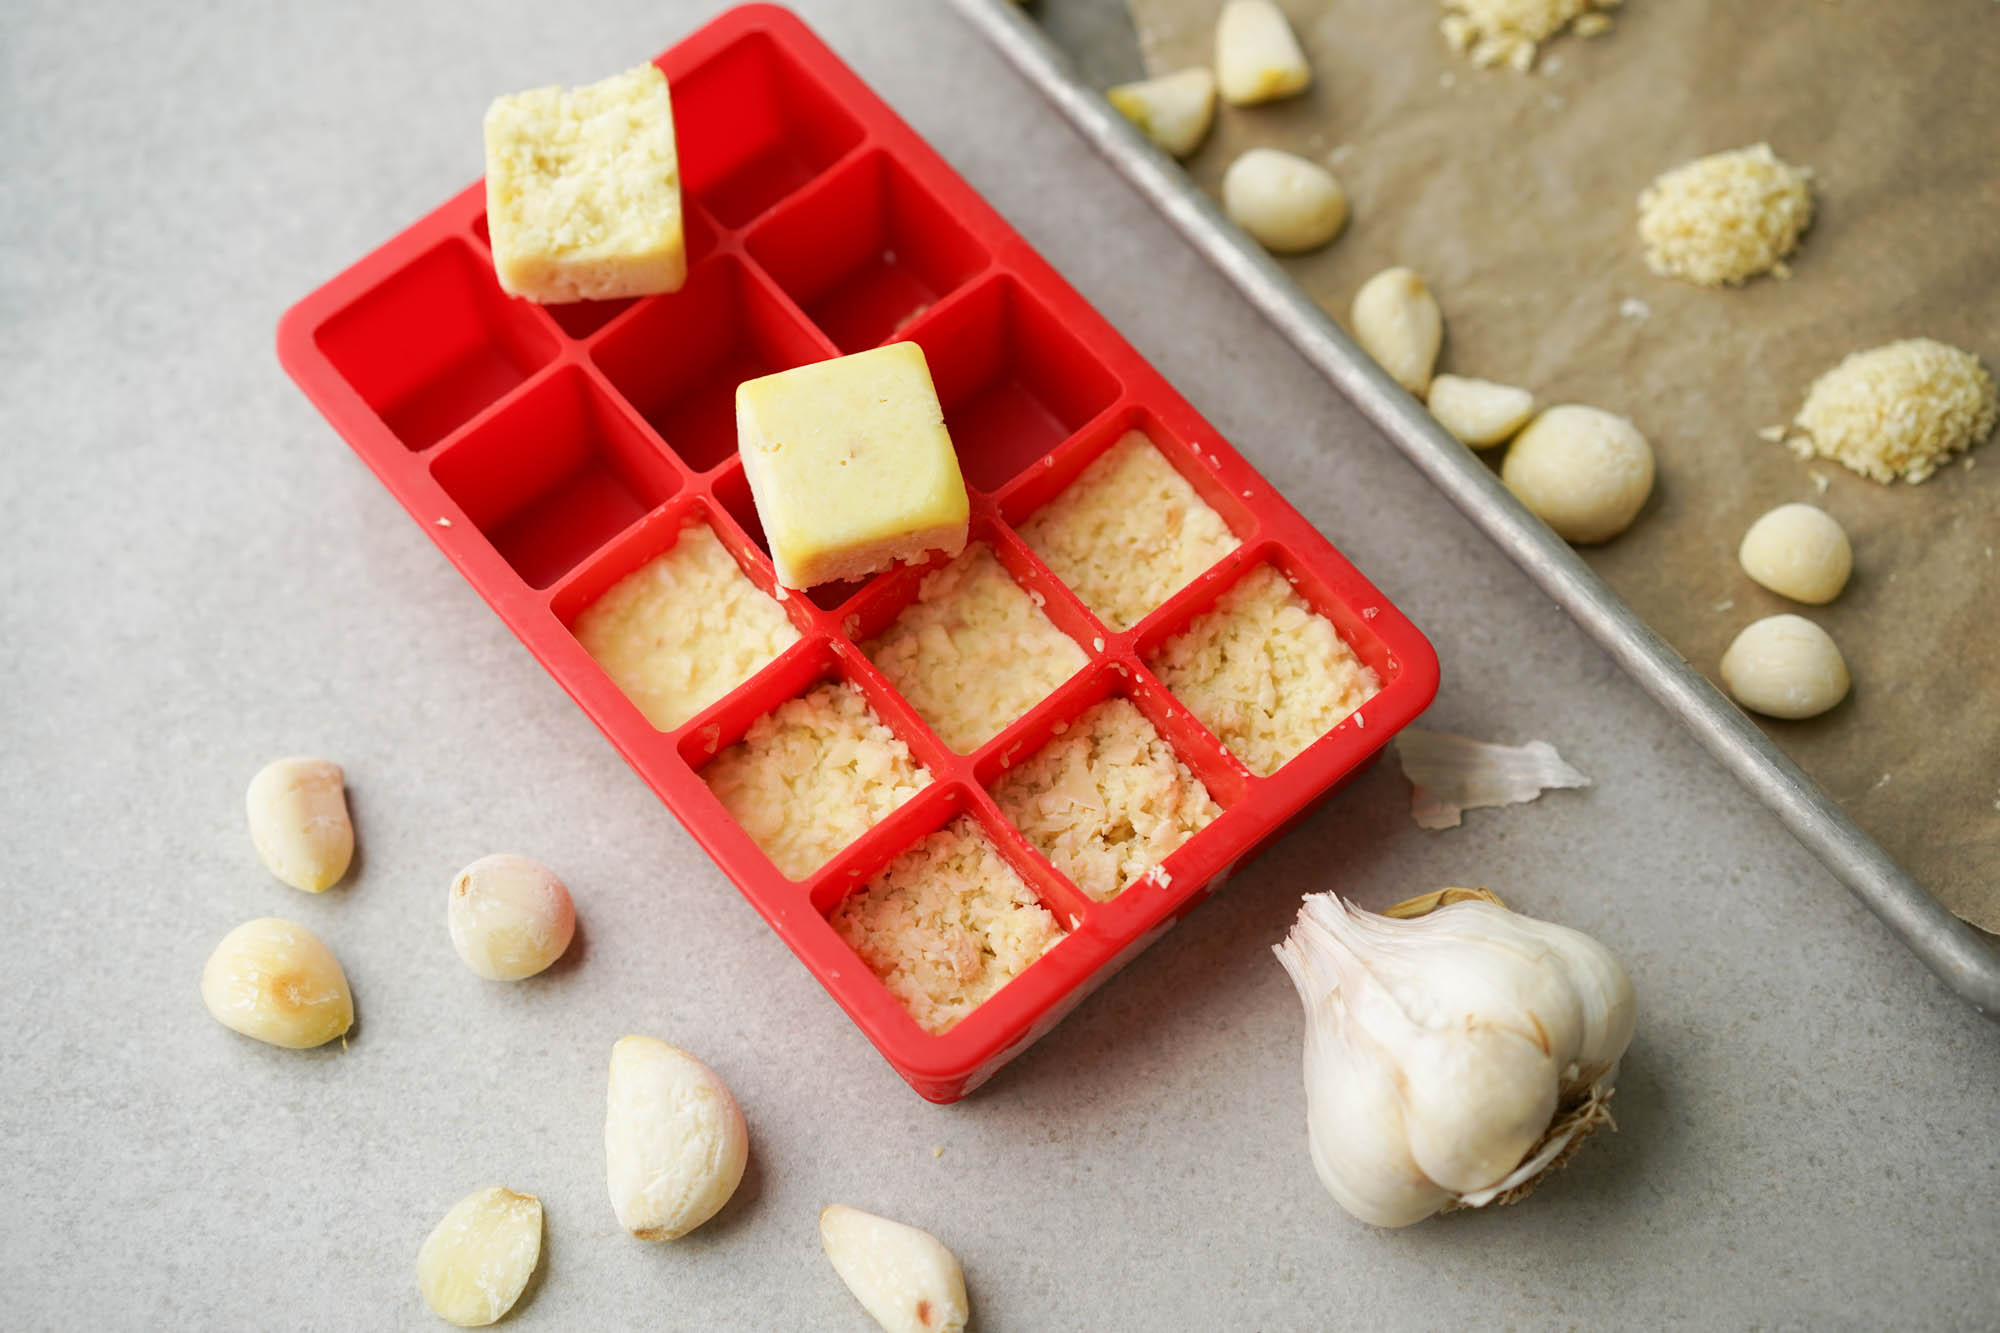
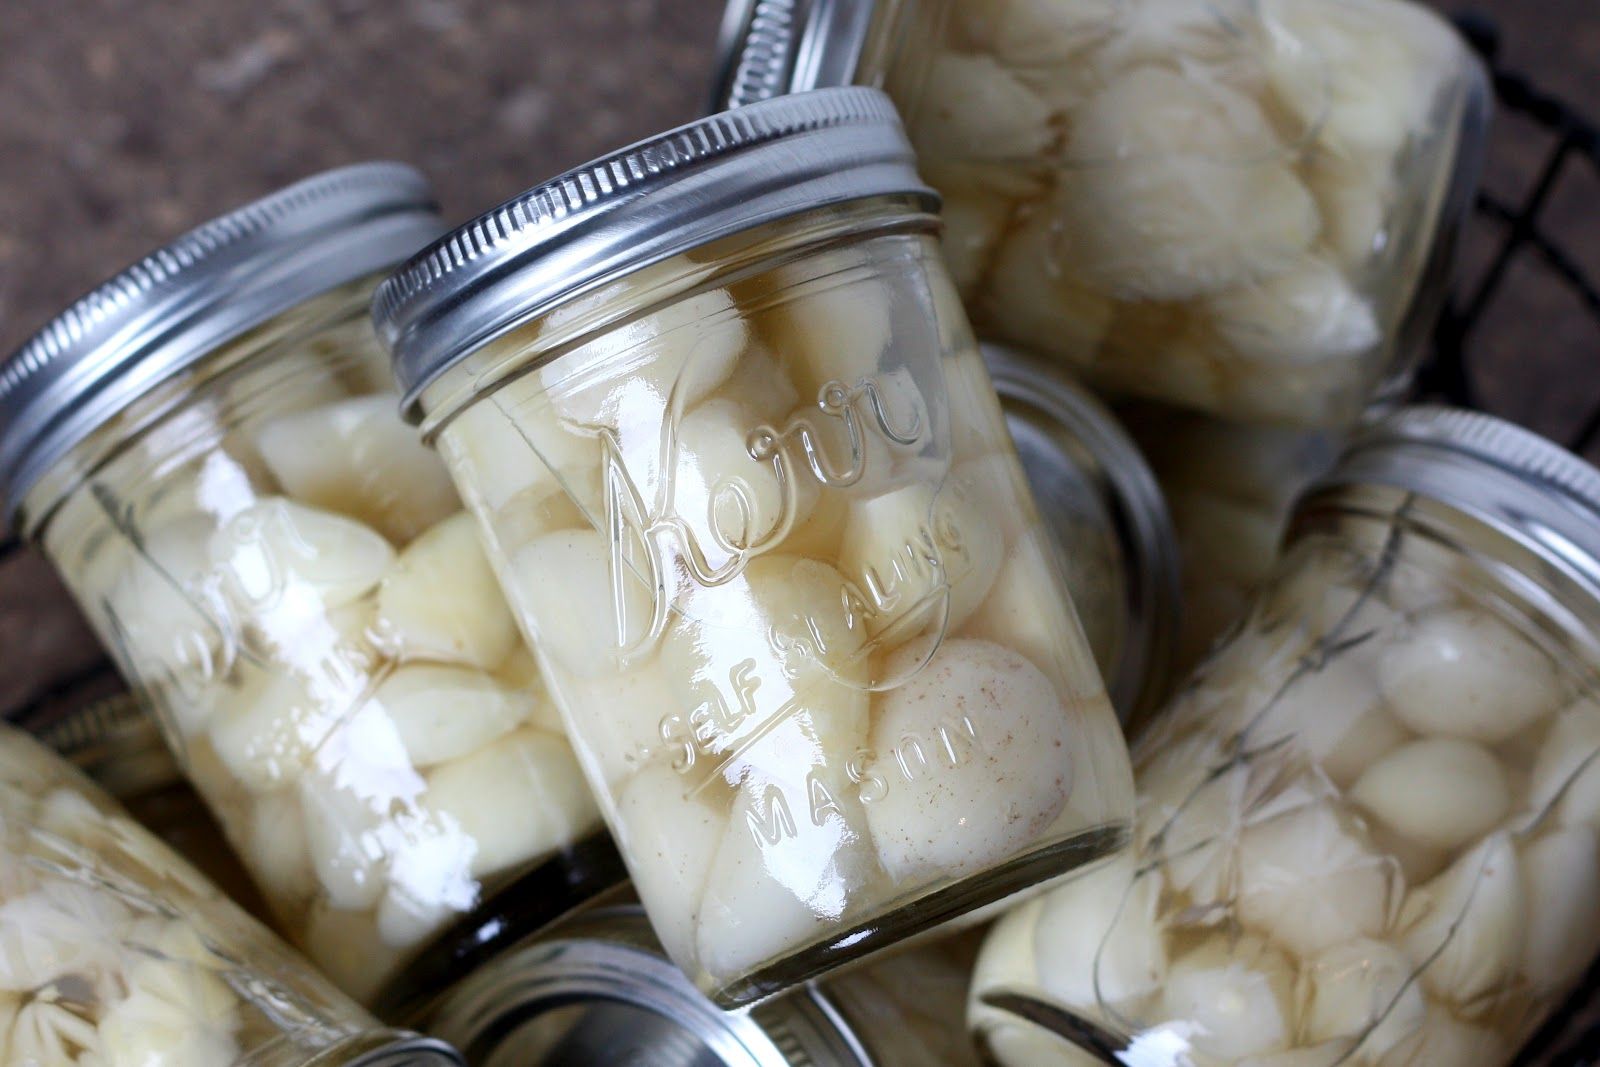
Storing Fresh Garlic Bulbs in the Freezer
If you have a surplus of fresh garlic bulbs and want to extend their shelf life for a longer period, freezing is a great option. Freezing garlic bulbs can help preserve their flavor and texture, allowing you to enjoy the fresh taste of garlic even months later.
Follow these steps to store fresh garlic bulbs in the freezer:
- Prepare the garlic bulbs: Peel and separate the individual cloves from the garlic bulb.
- Blanch the cloves: Bring a pot of water to a boil and blanch the garlic cloves for about 1-2 minutes. Blanching helps preserve the flavor and texture of the garlic.
- Shock in ice water: Immediately transfer the blanched garlic cloves to a bowl of ice water to stop the cooking process.
- Dry the cloves: Remove the garlic cloves from the ice water and pat them dry with a clean towel or paper towel.
- Package for freezing: Place the dried garlic cloves in a resealable freezer bag or an airtight container. Squeeze out any excess air before sealing to prevent freezer burn.
- Label and date: Write the date on the freezer bag or container, so you can keep track of how long the garlic has been stored.
- Freeze the garlic: Lay the freezer bag or container flat in the freezer to allow the cloves to freeze individually. Once frozen, you can stack or organize them as needed.
Frozen garlic cloves can be stored in the freezer for up to several months, maintaining a good quality and flavor. They can be used directly from frozen in recipes that require minced or crushed garlic, or you can also thaw them in the refrigerator before using.
Now that you know how to store fresh garlic bulbs in the freezer, let’s move on to discussing the proper handling and maintenance of stored garlic bulbs.
Proper Handling and Maintenance of Stored Garlic Bulbs
Once you have stored your fresh garlic bulbs using the appropriate method, it’s important to handle and maintain them properly to ensure they stay fresh and flavorful for as long as possible. Here are some tips for proper handling and maintenance of stored garlic bulbs:
- Avoid excessive handling: As much as possible, avoid unnecessary handling of the garlic bulbs. Garlic bulbs can be sensitive, and excessive touching can bruise or damage them, leading to quicker spoilage.
- Keep stored garlic bulbs dry: Moisture is the enemy of fresh garlic bulbs; it can cause rotting and spoilage. Make sure the storage area is dry, and avoid exposing the garlic bulbs to any moisture or humidity.
- Check for signs of spoilage: Regularly inspect the garlic bulbs for any signs of mold, sprouting, or softening. Remove any spoiled bulbs immediately to prevent the spread of spoilage to other bulbs.
- Avoid temperature fluctuations: Try to maintain a consistent temperature in the storage area. Avoid drastic temperature changes, as they can affect the quality and shelf life of the garlic bulbs.
- Avoid storing garlic near other foods: Garlic has a strong aroma that can transfer to other foods if stored in close proximity. Keep the garlic away from other produce or foods that might absorb its pungent smell.
- Properly dispose of spoiled bulbs: If any garlic bulbs in your storage have gone bad, discard them in a sealed bag or container to prevent the spread of mold or pests.
By following these simple handling and maintenance tips, you can maximize the shelf life of your stored garlic bulbs and continue to enjoy their robust flavor and aroma in your culinary creations.
Next, let’s explore a few additional tips for extending the shelf life of fresh garlic bulbs.
Tips for Extending the Shelf Life of Fresh Garlic Bulbs
To ensure your fresh garlic bulbs stay fresh and flavorful for as long as possible, here are some additional tips for extending their shelf life:
- Avoid exposure to light: Light can cause garlic bulbs to sprout or deteriorate more quickly. Store them in a dark place or wrap them in dark paper to prevent light exposure.
- Don’t remove the skin until ready to use: The skin of the garlic bulb acts as a protective layer, so it’s best to leave it intact until you’re ready to use the cloves.
- Don’t store garlic near moisture-producing foods: Moisture can cause garlic bulbs to spoil. Keep them away from foods like onions or potatoes, which tend to produce moisture.
- Don’t store garlic in plastic bags: Plastic bags can trap moisture and promote rotting. Instead, opt for breathable containers or mesh bags to allow for proper air circulation.
- Avoid storing garlic in the refrigerator door: The temperature fluctuations that occur when opening and closing the refrigerator door can affect the quality of the garlic. Store it in a more stable temperature area of the fridge.
- Label and rotate your garlic bulbs: If you have multiple batches of stored garlic, label them with their purchase or storage date. Consume the older bulbs first to prevent them from spoiling.
- Keep garlic away from strong odors: Garlic easily absorbs and transfers odors. Store it separately from strong-smelling foods to maintain its individual flavor.
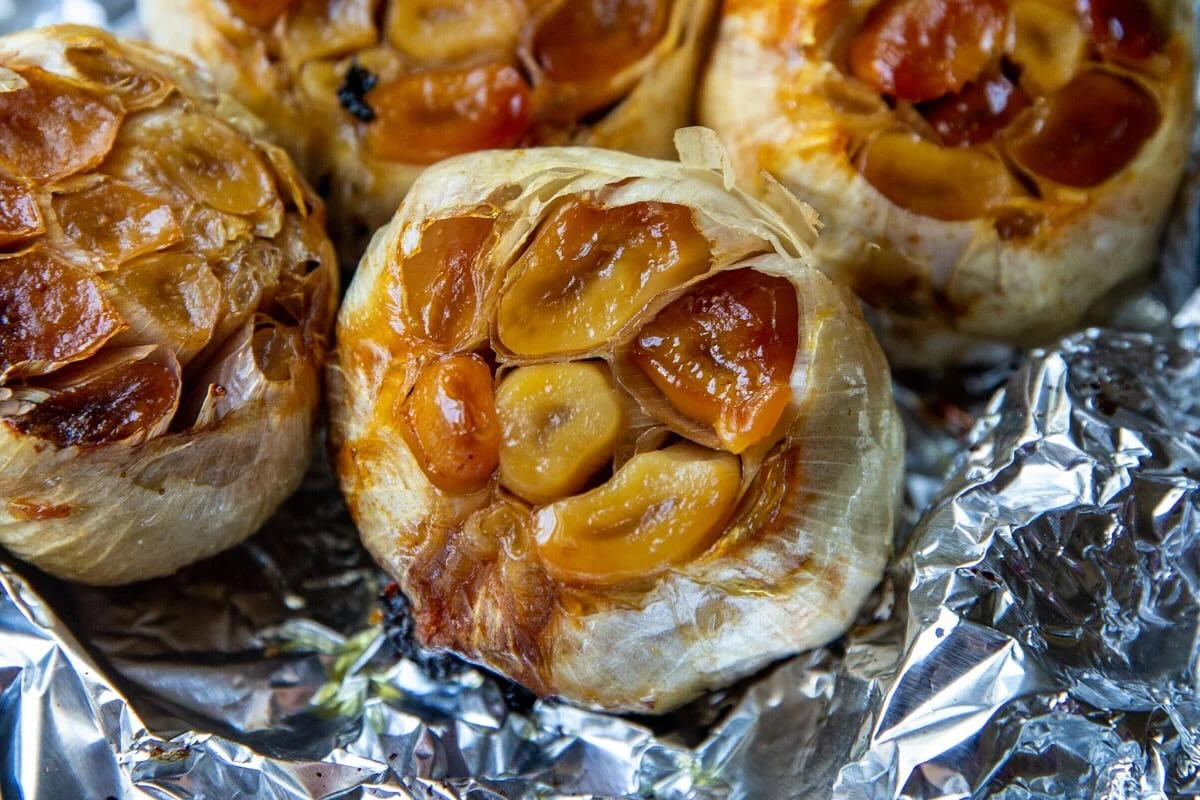
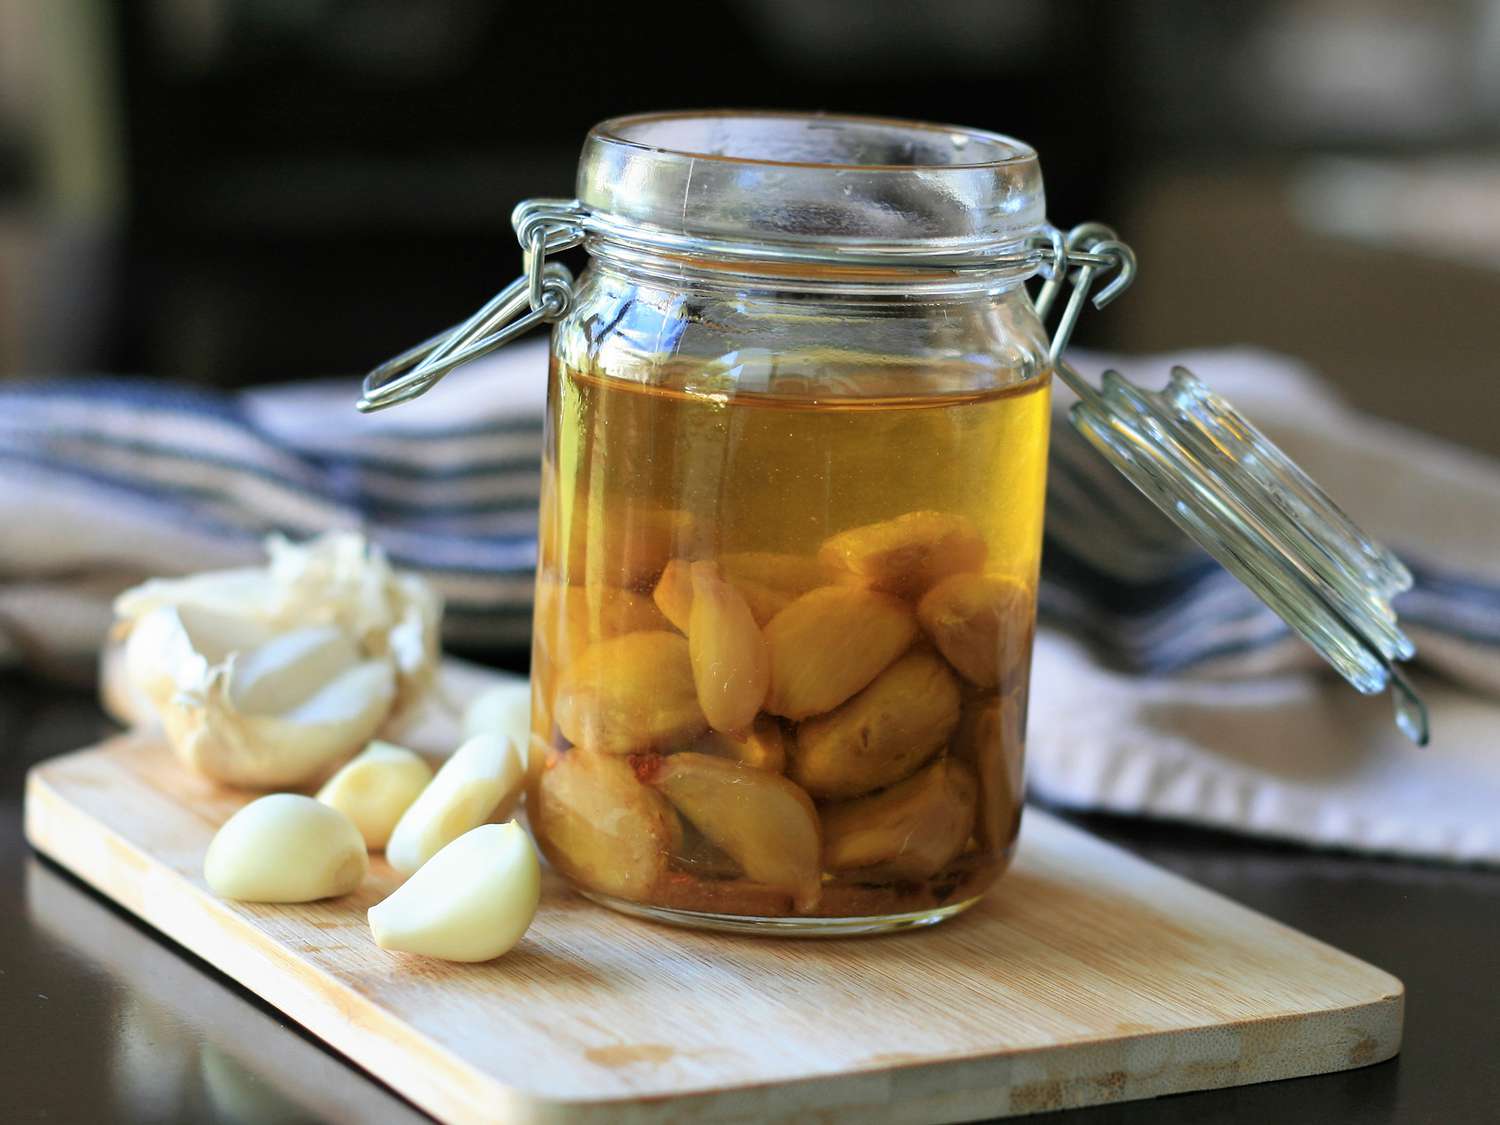
- Consider making garlic-infused oil: If you have an abundance of garlic bulbs, another option is to make garlic-infused oil. This can be stored in the refrigerator and used for cooking or as a flavorful dressing.
By following these tips, you can significantly extend the shelf life of your fresh garlic bulbs, ensuring they remain fresh, flavorful, and ready to enhance your culinary creations.
Now that you have all the information you need to store and maintain your fresh garlic bulbs, you can enjoy their delicious flavor in your favorite dishes for an extended period of time.
To conclude, storing fresh garlic bulbs properly in a cool, dark place, the refrigerator, or the freezer can help preserve their flavor and freshness. With the right handling and maintenance, you can make the most of your garlic bulbs and always have them available when needed.
Read more: How To Store Fresh Minced Garlic
Conclusion
Storing fresh garlic bulbs properly is essential to preserve their flavor, freshness, and quality. Whether you choose to store them in a cool, dark place, the refrigerator, or the freezer, following the right handling and maintenance practices can significantly extend their shelf life.
Storing fresh garlic bulbs offers numerous benefits, including convenience, maintaining flavor, and saving money. By having a readily available supply of garlic and preserving its robust flavor, you can enhance the taste of your culinary creations.
When selecting garlic bulbs for storage, choose firm, intact bulbs with tight skins. Organic varieties are preferable if available. Preparing the bulbs properly by trimming the roots and leaving the skins intact sets the stage for successful storage.
If storing in a cool, dark place, find an area with good ventilation and store the bulbs in a breathable container. Avoid exposing them to light, moisture, or extreme temperature fluctuations. Regularly check for any signs of spoilage and remove any damaged bulbs promptly.
Alternatively, the refrigerator can be used for longer-term storage. Blanching and freezing garlic cloves is another option, allowing you to enjoy the fresh taste of garlic months after harvest.
Proper handling and maintenance of stored garlic bulbs, such as avoiding excessive handling, keeping them dry, and monitoring for spoilage, are crucial to extend their shelf life. Additionally, implementing tips such as avoiding light exposure, not removing the skins, and storing away from moisture-producing foods can further enhance their longevity.
By following these guidelines, you can make the most of your fresh garlic bulbs, ensuring they stay fresh, flavorful, and ready to elevate your dishes with their unique taste and health-boosting properties.
So, whether you’re a home cook looking to add flavor to your meals or a garlic enthusiast who wants to stock up on this versatile ingredient, proper storage of fresh garlic bulbs is the key to a lasting supply of culinary goodness.
Frequently Asked Questions about How To Store Fresh Garlic Bulbs
Was this page helpful?
At Storables.com, we guarantee accurate and reliable information. Our content, validated by Expert Board Contributors, is crafted following stringent Editorial Policies. We're committed to providing you with well-researched, expert-backed insights for all your informational needs.

0 thoughts on “How To Store Fresh Garlic Bulbs”