Articles
How To Store Garlic For Planting
Modified: October 20, 2024
Learn the best methods for storing garlic bulbs to ensure successful planting and healthy growth. Read more in our informative articles.
(Many of the links in this article redirect to a specific reviewed product. Your purchase of these products through affiliate links helps to generate commission for Storables.com, at no extra cost. Learn more)
Introduction
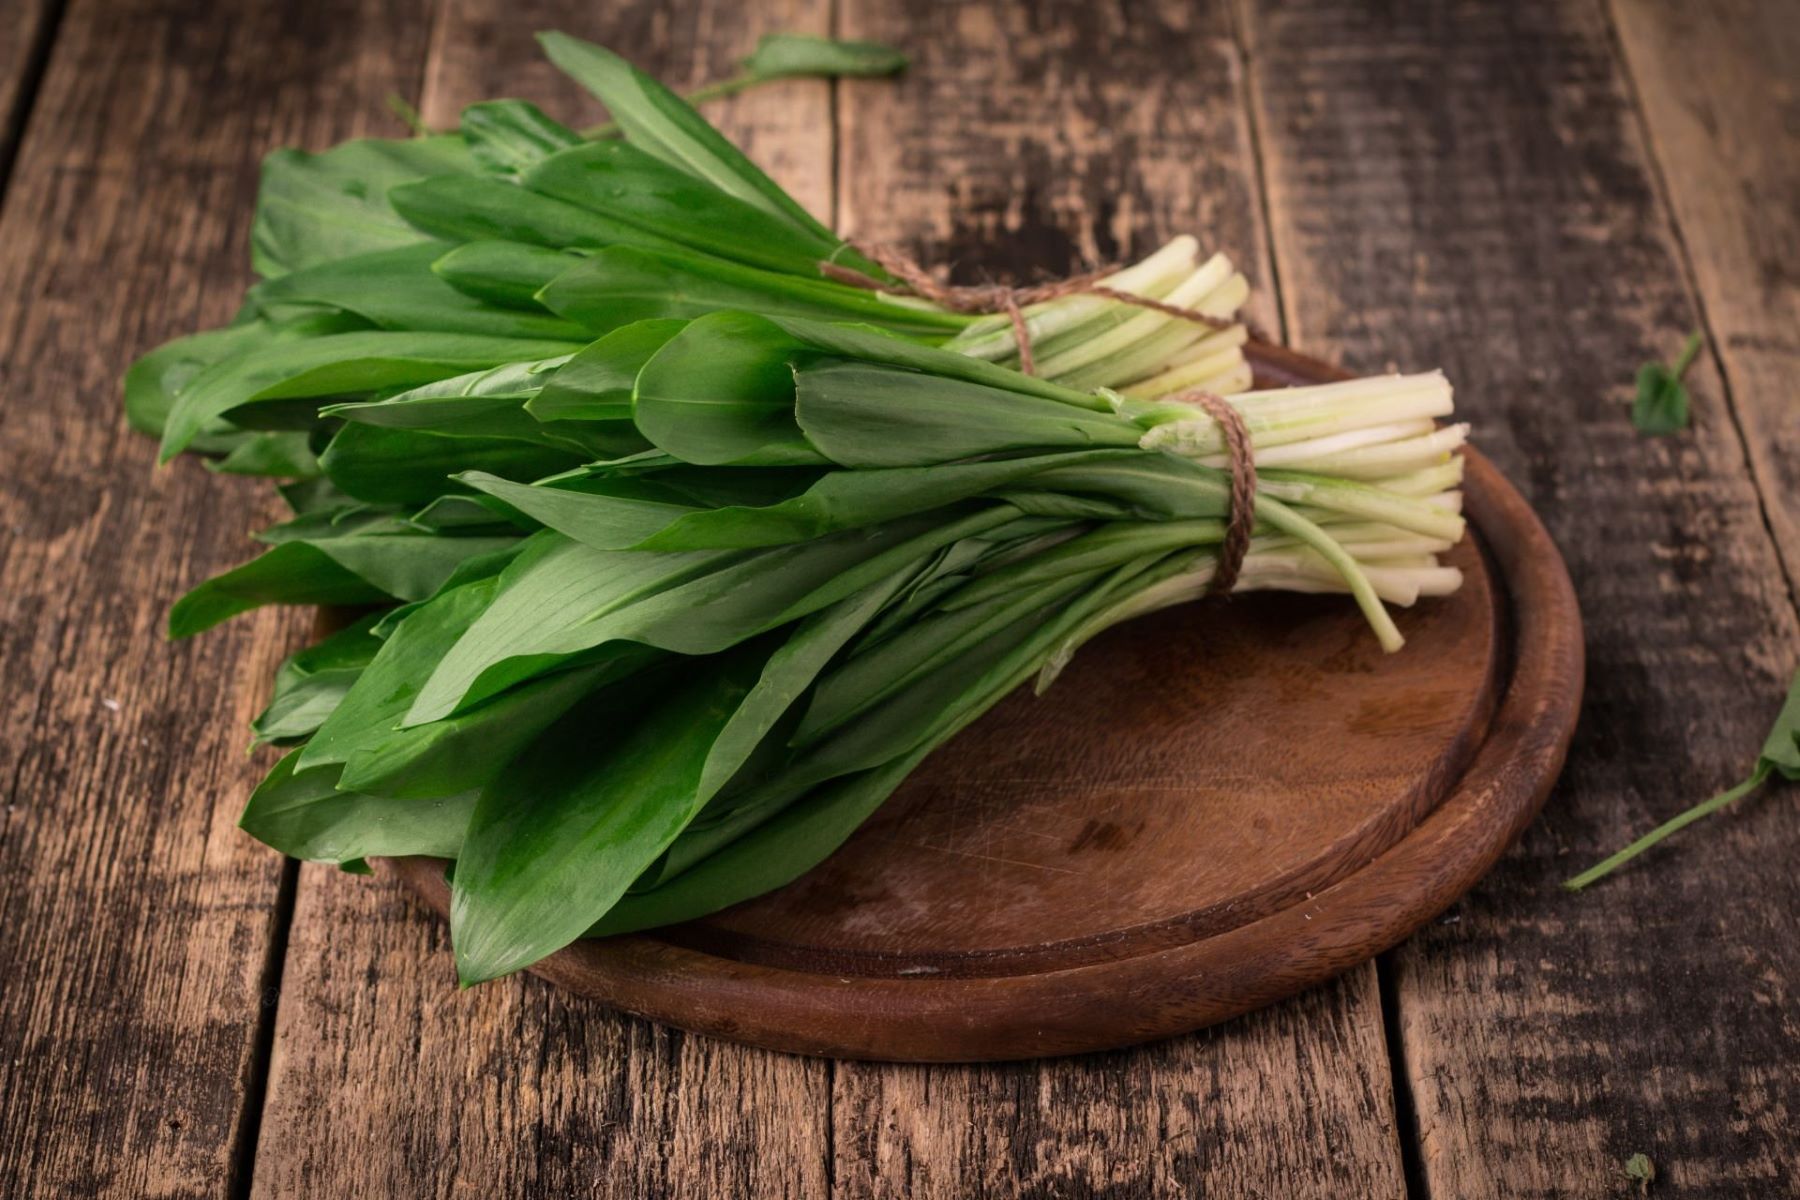
Garlic is a versatile and flavorful ingredient that adds a wonderful taste to a variety of dishes. But did you know that garlic can also be grown in your own backyard? Growing garlic from store-bought bulbs is a rewarding and cost-effective way to enjoy a fresh supply of this pungent herb. However, to ensure successful growth, it is crucial to store the garlic properly before planting.
In this article, we will guide you through the process of storing garlic for planting. We will cover everything from choosing the right garlic bulbs to curing and preparing them for storage. By following these steps, you can maximize the chances of successful garlic growth and enjoy a bountiful harvest in the future.
So, let’s dive in and learn how to store garlic for planting!
Key Takeaways:
- Choose high-quality, locally adapted garlic bulbs for successful planting. Consider flavor preferences and harvest at the right time to ensure a bountiful homegrown garlic crop.
- Properly cure and store garlic in cool, dark, well-ventilated conditions to maintain viability. Enjoy the rewarding journey of growing your own flavorful garlic at home.
Read more: How To Store Garlic Before Planting
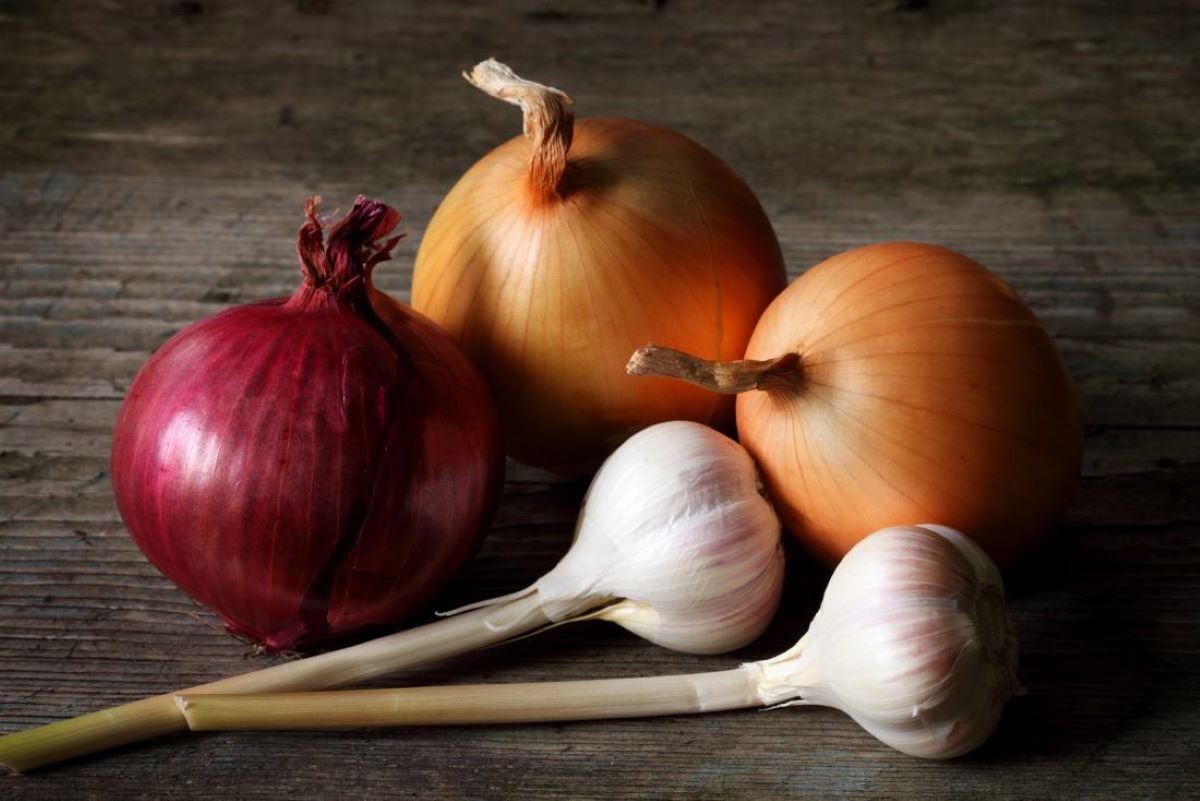
Choosing the Right Garlic
When it comes to choosing garlic bulbs for planting, it’s important to select high-quality bulbs that are suited for the local climate. There are two main types of garlic: softneck and hardneck. Softneck garlic is known for its milder flavor and longer shelf life, while hardneck garlic has a more robust flavor and is better suited for colder climates.
Here are some tips to help you choose the right garlic bulbs for planting:
- Buy from reputable sources: Purchase garlic bulbs from trustworthy nurseries or seed catalogs. This ensures that you are getting healthy and disease-free bulbs.
- Choose large and firm bulbs: Look for bulbs that are plump, firm, and free from any signs of rot or mold. Larger bulbs tend to produce larger cloves, which will result in bigger garlic plants.
- Select locally adapted varieties: Garlic varieties that are adapted to your local climate have a better chance of thriving. Check with local gardeners or agricultural extension offices to find out which varieties are recommended for your region.
- Consider taste preferences: Decide whether you prefer mild or strong-flavored garlic. Softneck varieties are ideal for those who enjoy a milder taste, while hardneck varieties offer a more pungent and complex flavor.
By carefully choosing the right garlic bulbs, you set the foundation for successful garlic planting. Now that you have selected the bulbs, let’s move on to the next step: harvesting garlic for planting.
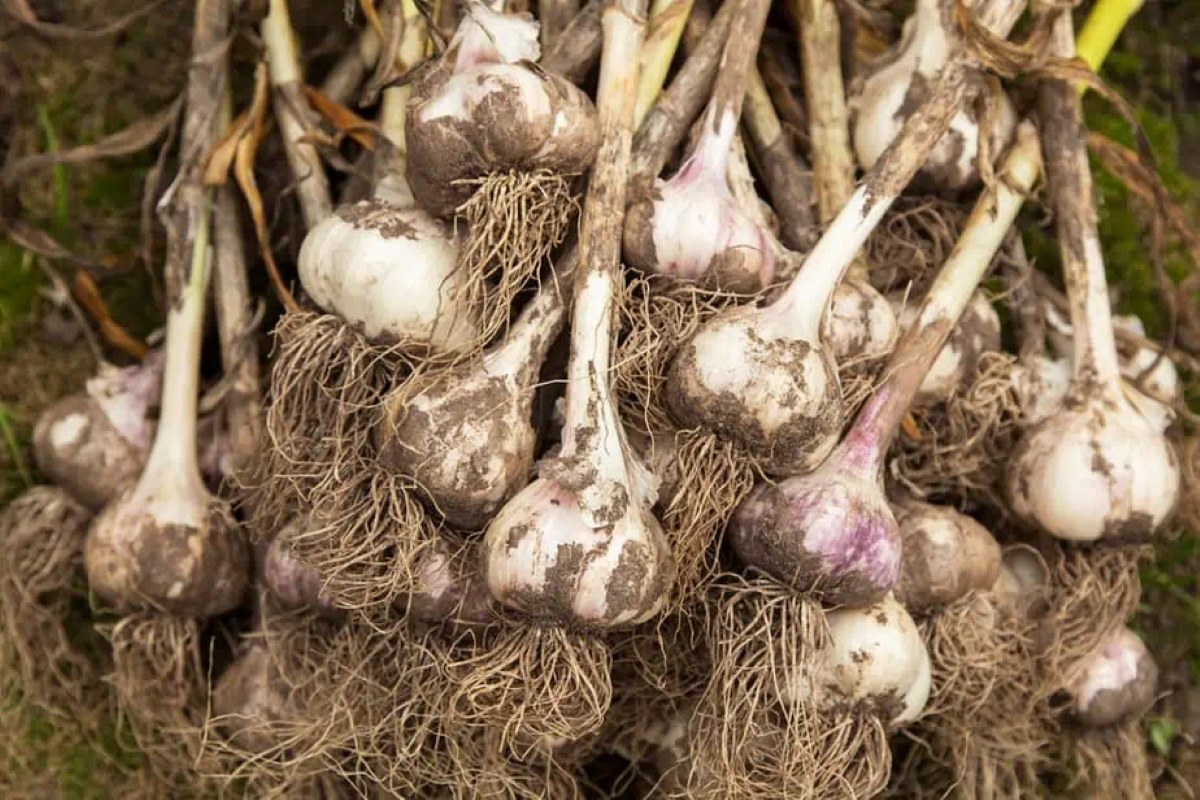
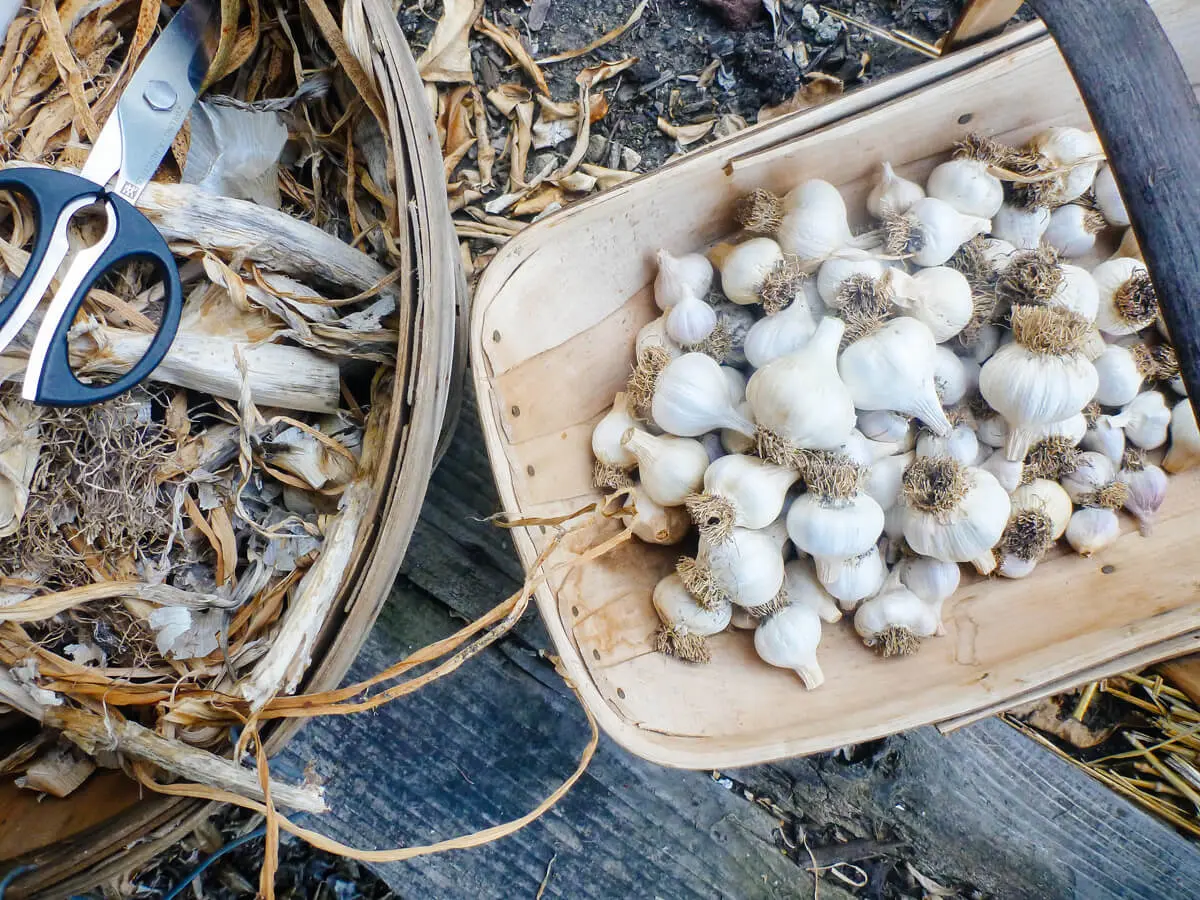
Harvesting Garlic for Planting
Harvesting garlic at the right time is crucial to ensure optimal storage and successful planting. Garlic bulbs are typically ready to be harvested when the leaves start to turn yellow and dry out, usually between late spring and early summer, depending on your growing region.
Here are the steps to follow when harvesting garlic bulbs:
- Observe the garlic plants: Keep a close eye on your garlic plants and look for signs of maturity. The leaves will begin to yellow and wither, indicating that the bulbs are reaching full size.
- Check a few bulbs for readiness: Gently dig up a couple of garlic bulbs from the soil to check their size and development. The cloves should be plump and well-formed.
- Loosen the soil: Use a garden fork or spade to carefully loosen the soil around the garlic plants. Be cautious not to damage the bulbs in the process.
- Lift the plants: Grip the garlic plants near the base and lift them carefully from the ground. Shake off excess soil and gently brush off any remaining dirt.
- Trim the foliage: Use a pair of clean garden shears to trim the leaves to about an inch above the bulb. This helps divert energy to the bulb and promotes better storage.
Once you have harvested your garlic bulbs, it is important to allow them to cure before storing them for planting. Curing helps improve the flavor and enhances the storage potential of the bulbs. Let’s explore the process of curing garlic in the next section.
Curing Garlic
After harvesting garlic bulbs, it is essential to properly cure them before storing them for planting. Curing is the process of drying the garlic and allowing it to develop a protective layer that helps extend its shelf life.
Here are the steps to follow when curing garlic:
- Keep the bulbs intact: Leave the garlic bulbs with their stems and leaves attached. Do not remove or trim them at this stage as they play a crucial role in the curing process.
- Create a well-ventilated space: Choose a warm and dry area with good air circulation to cure your garlic bulbs. A well-ventilated garage, basement, or covered porch will work well.
- Avoid direct sunlight: Place the garlic bulbs in a shaded area or cover them with a mesh or paper bag to protect them from direct sunlight. Exposure to sunlight can lead to the bulbs drying out too quickly.
- Hang or lay them out: Depending on the space available, you can either hang the garlic plants in bundles or lay them out on a mesh or wire rack. Ensure that there is enough space between the bulbs for air to circulate.
- Patiently wait for curing: Allow the garlic bulbs to cure for around two to three weeks. During this time, the outer layers of the bulb will dry out, and the flavor will intensify.
- Check for readiness: After the curing period, check the garlic bulbs for firmness and dryness. The outer skin should feel papery and the cloves should be firm when pressed.
Once your garlic bulbs are fully cured, they are ready to be stored for planting. Let’s explore how to prepare the garlic for storage in the next section.
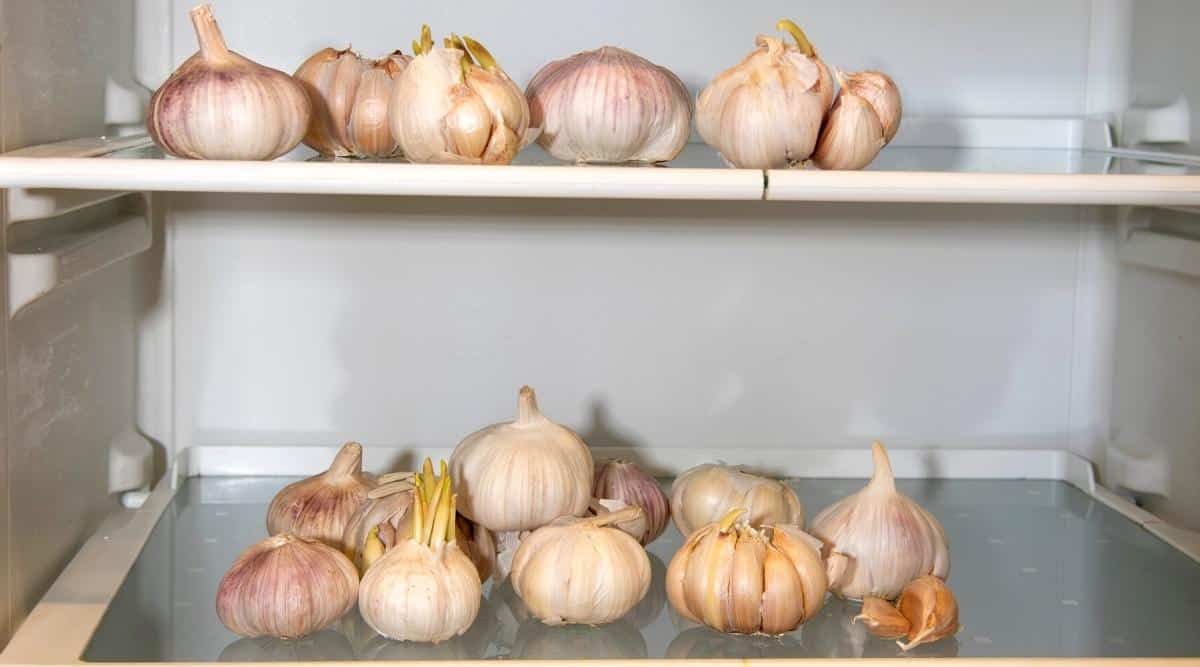
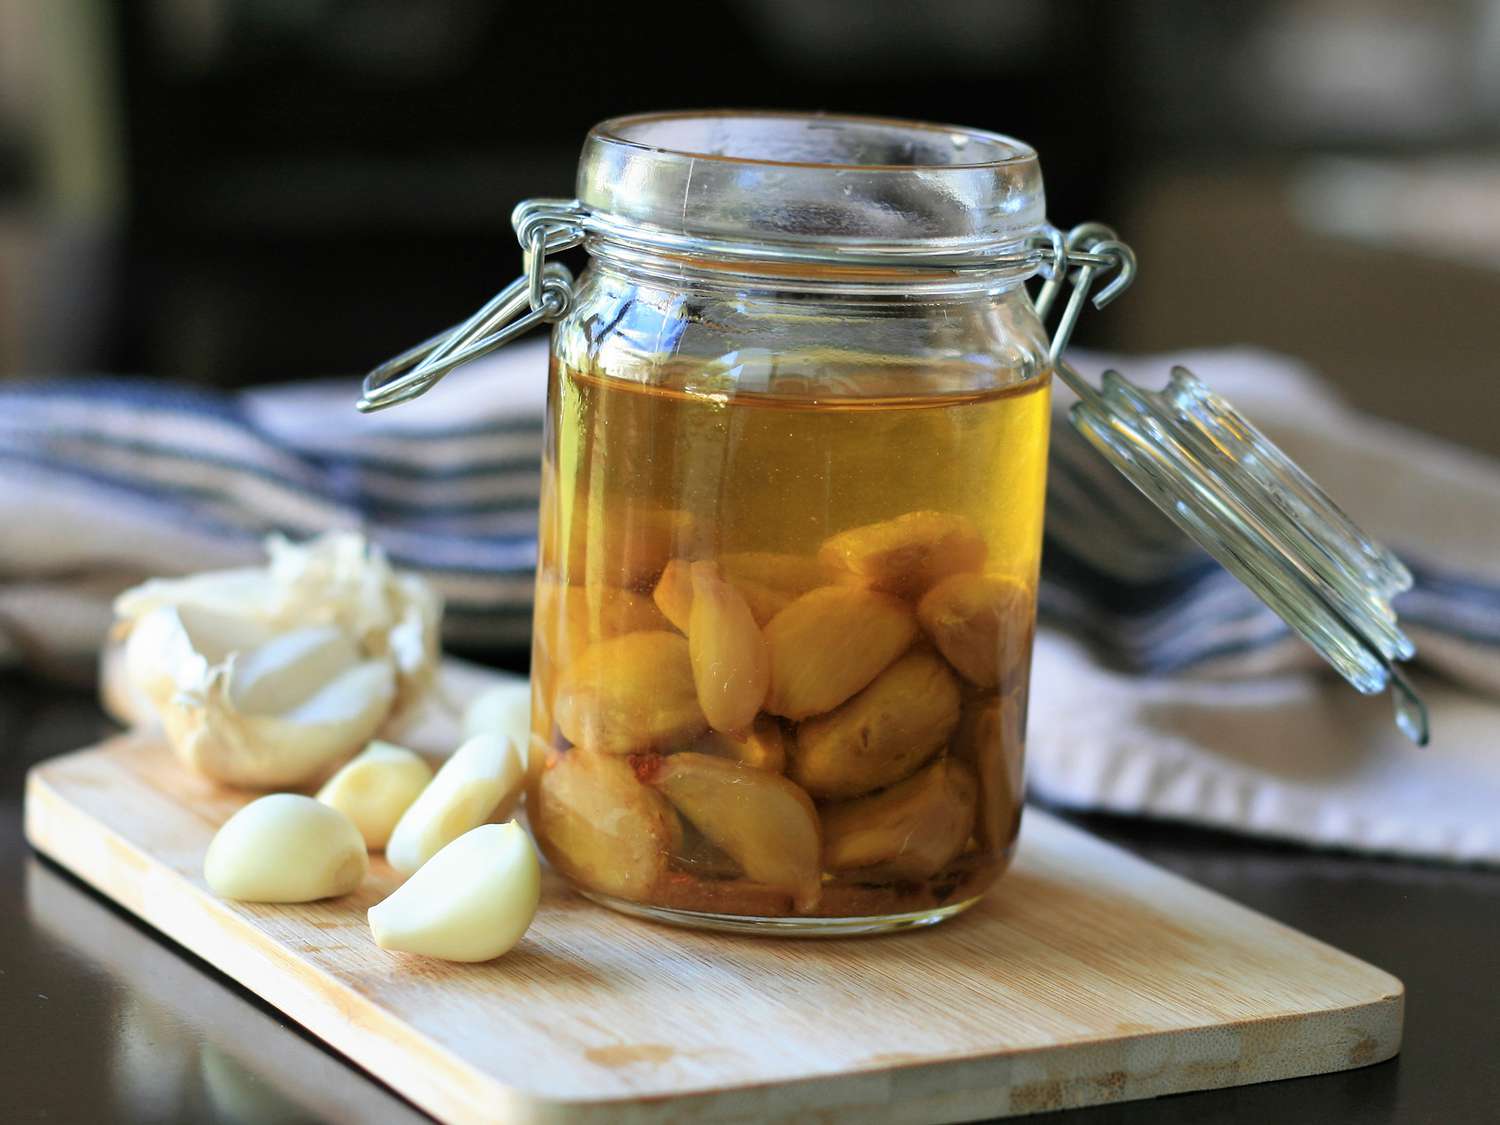
Store garlic bulbs in a cool, dry place with good air circulation. Avoid storing in the refrigerator, as the moisture can cause the bulbs to rot. Keep them in a mesh bag or basket to allow for air flow.
Preparing Garlic for Storage
Before storing garlic bulbs for planting, it is important to properly prepare them to ensure they stay in optimal condition. Preparing garlic for storage involves cleaning the bulbs and removing any excess dirt or debris.
Here are the steps to follow when preparing garlic for storage:
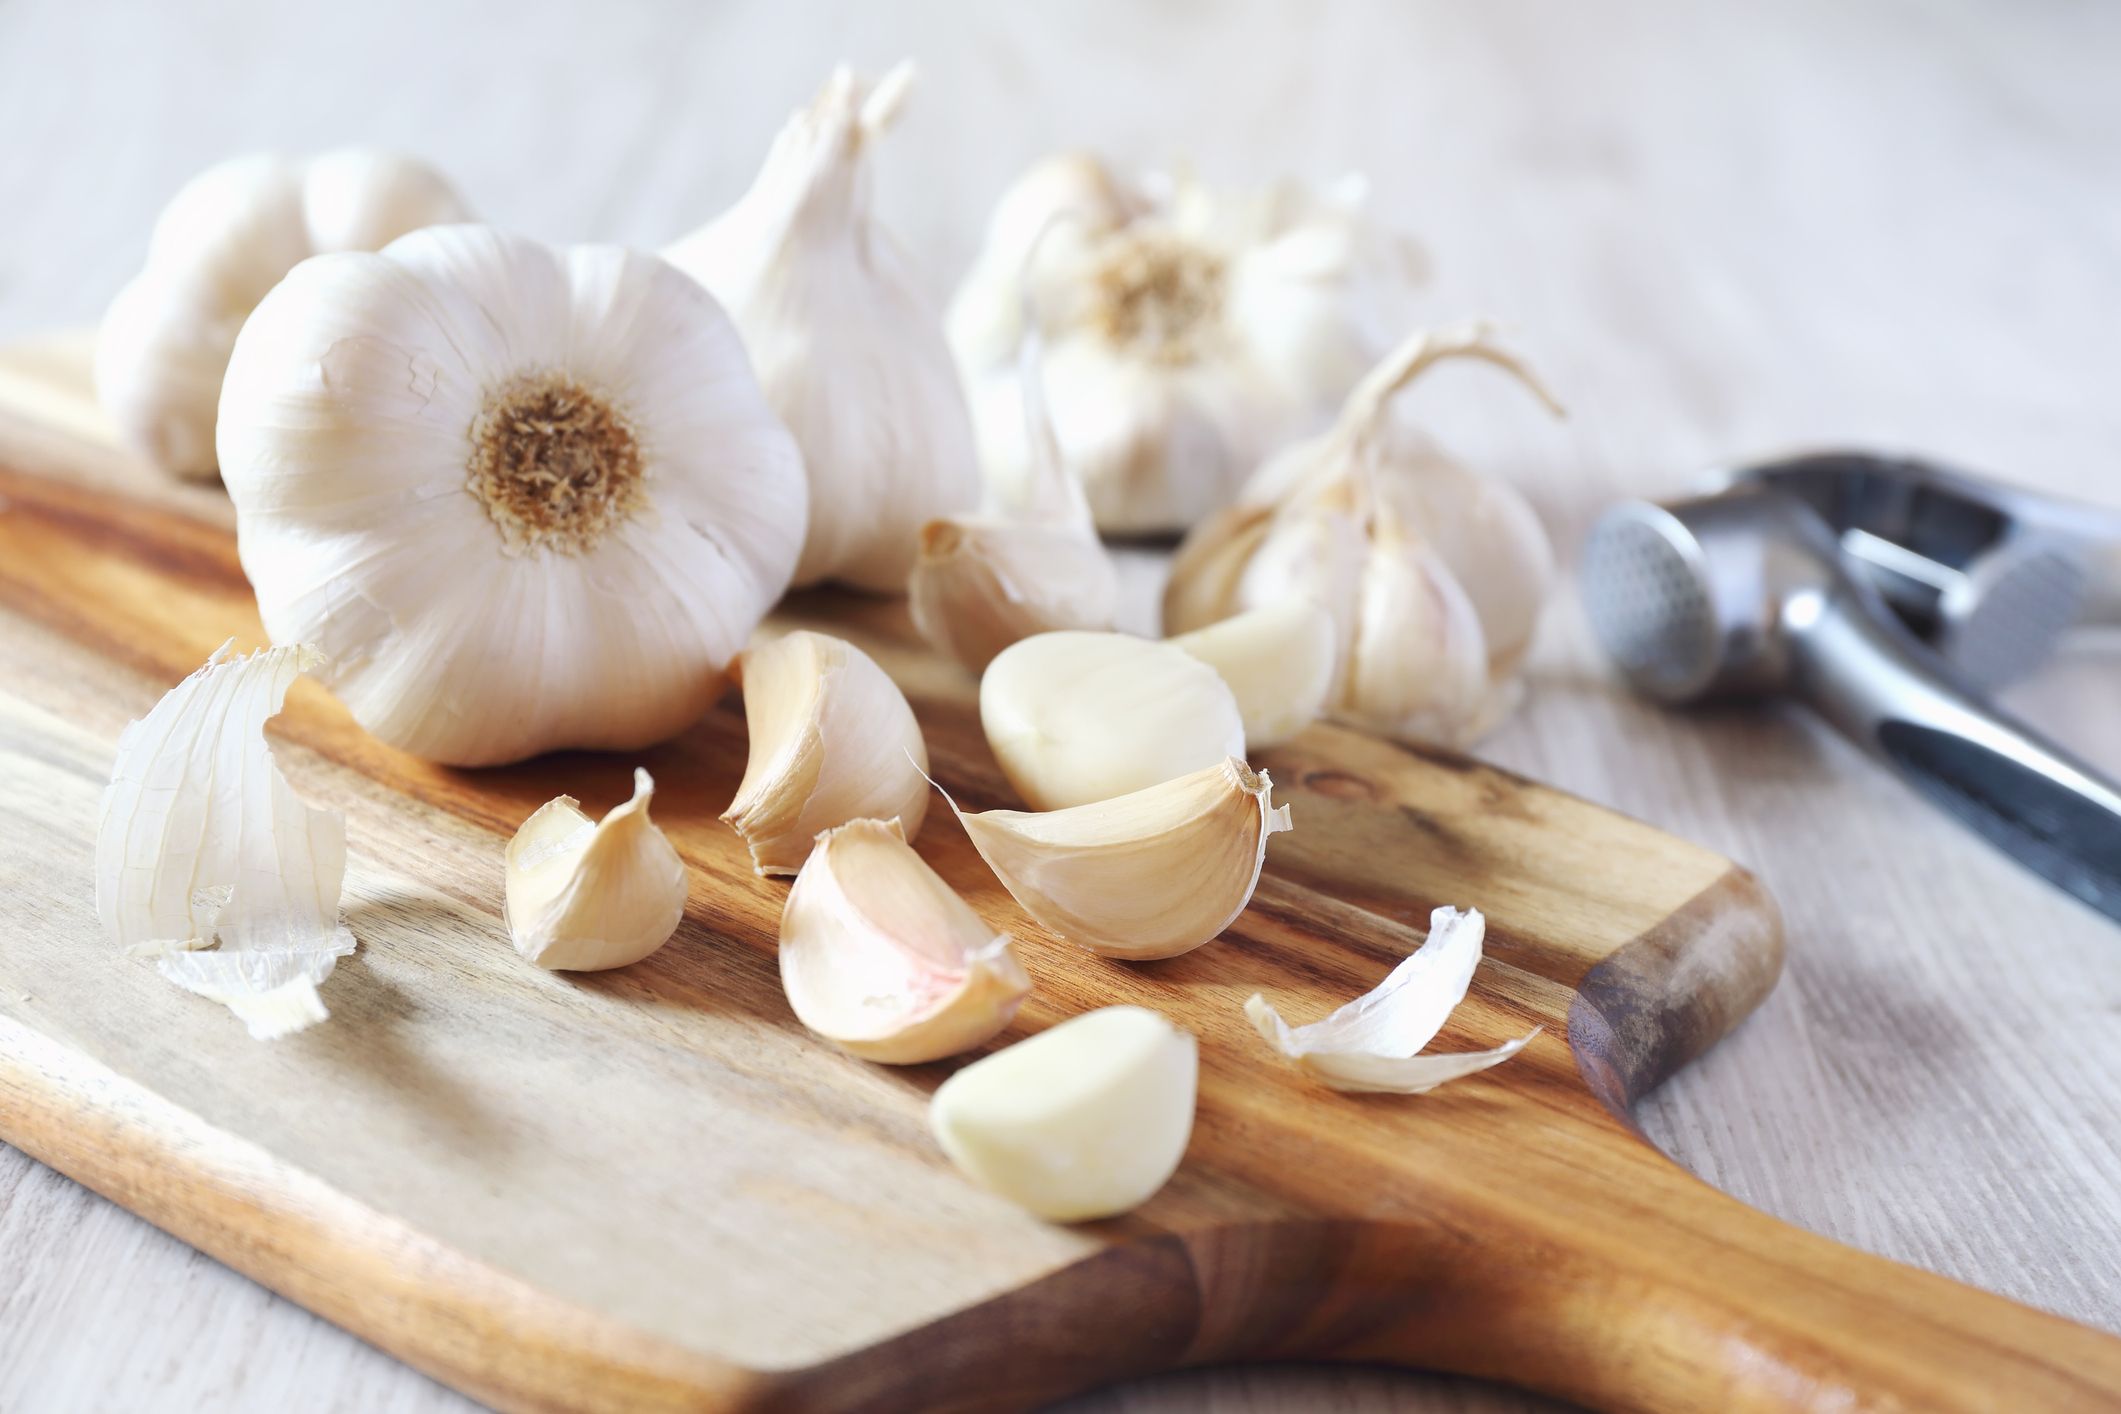
- Gently clean the bulbs: Use a soft brush or your fingers to remove any loose soil or dirt from the garlic bulbs. Be careful not to damage the outer skin or remove too many layers.
- Remove the outermost layer: Inspect the bulbs and remove any loose or damaged outer layers. This will help prevent the spread of mold or disease during storage.
- Trim the roots: Trim the roots of the garlic bulbs to about half an inch in length. This will neaten the bulbs and make them easier to handle during planting.
- Avoid washing the garlic: Unlike other vegetables, garlic should not be washed before storage. Moisture can promote sprouting and premature spoilage. It is best to store the bulbs with their natural protective coating intact.
By properly preparing the garlic bulbs, you are ensuring that they are clean and free from any potential contaminants. Now, let’s move on to the final step: storing the garlic bulbs for planting.
Read more: How To Plant Seed Garlic
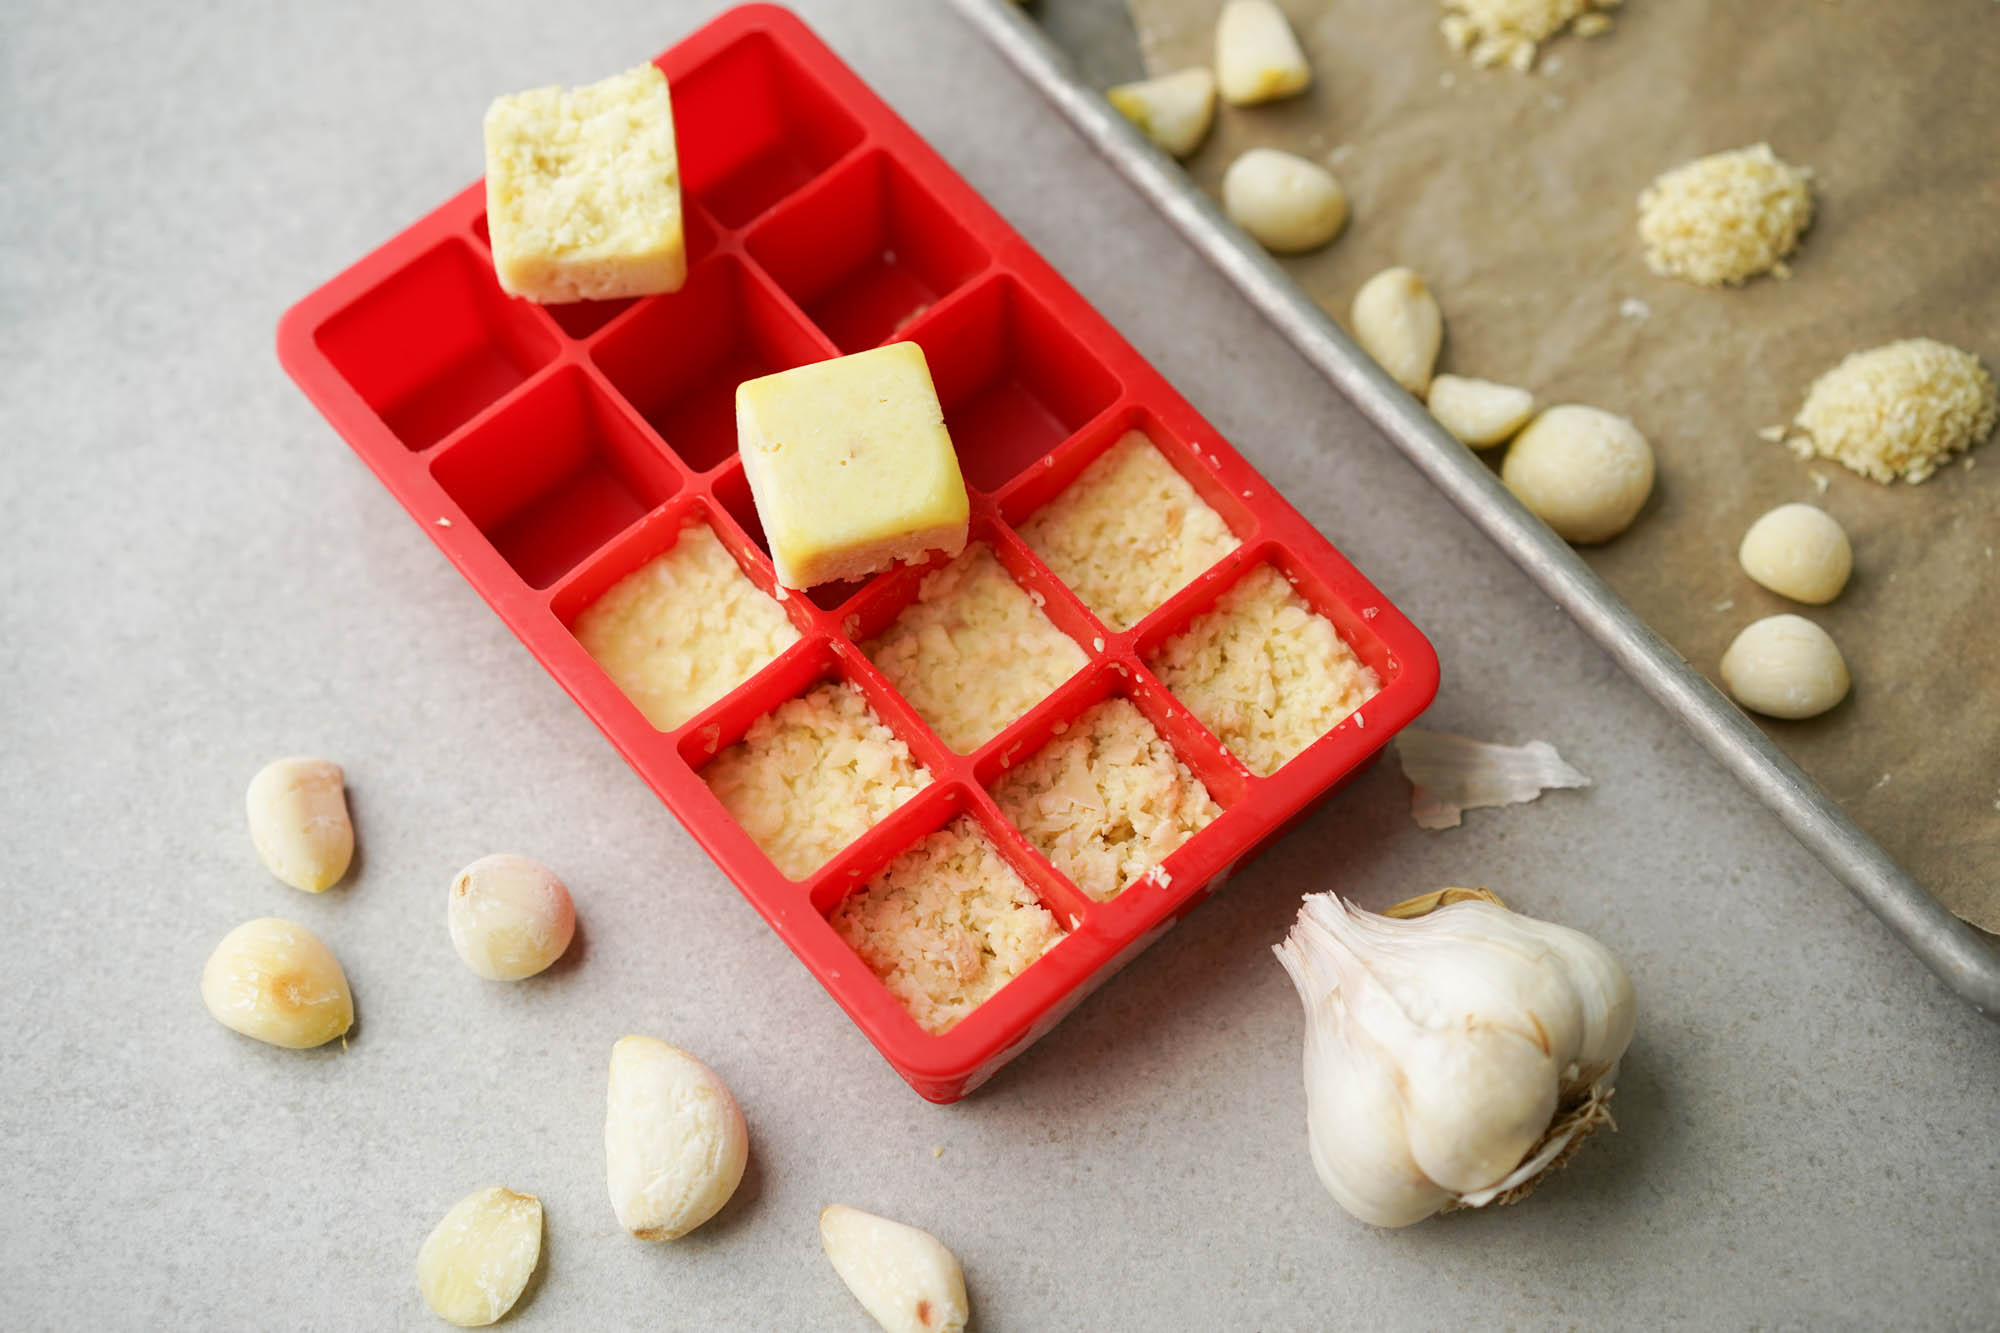
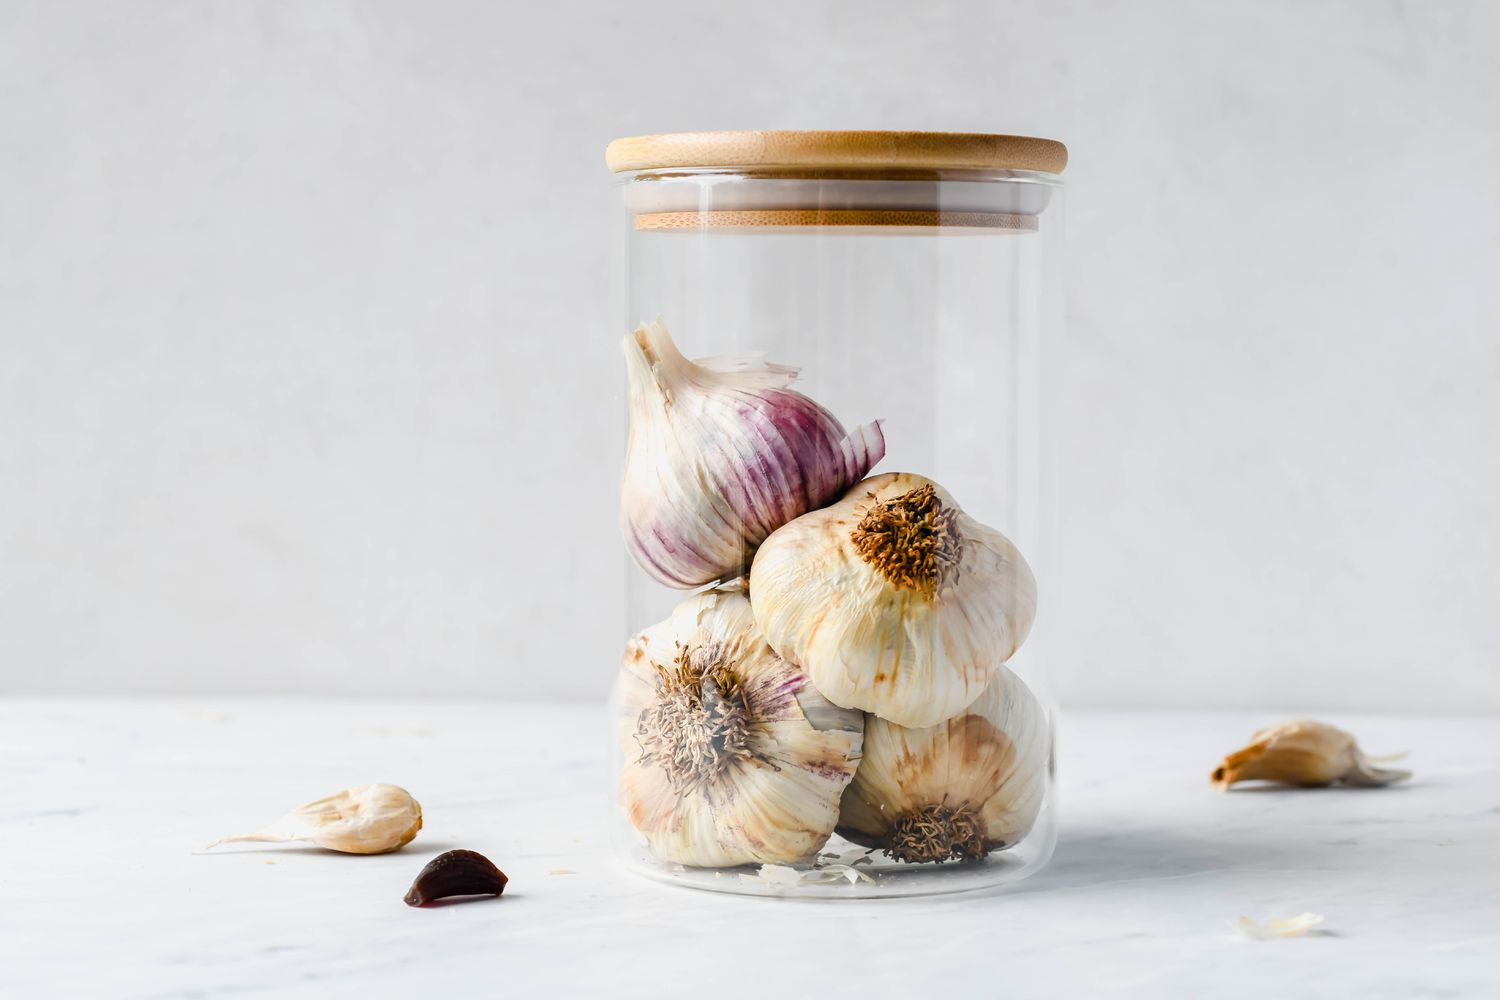
Storing Garlic for Planting
Proper storage is crucial to maintain the viability of garlic bulbs for planting. When storing garlic, you want to create conditions that are cool, dark, and well-ventilated to prevent sprouting and premature spoilage.
Here are the steps to follow when storing garlic bulbs for planting:
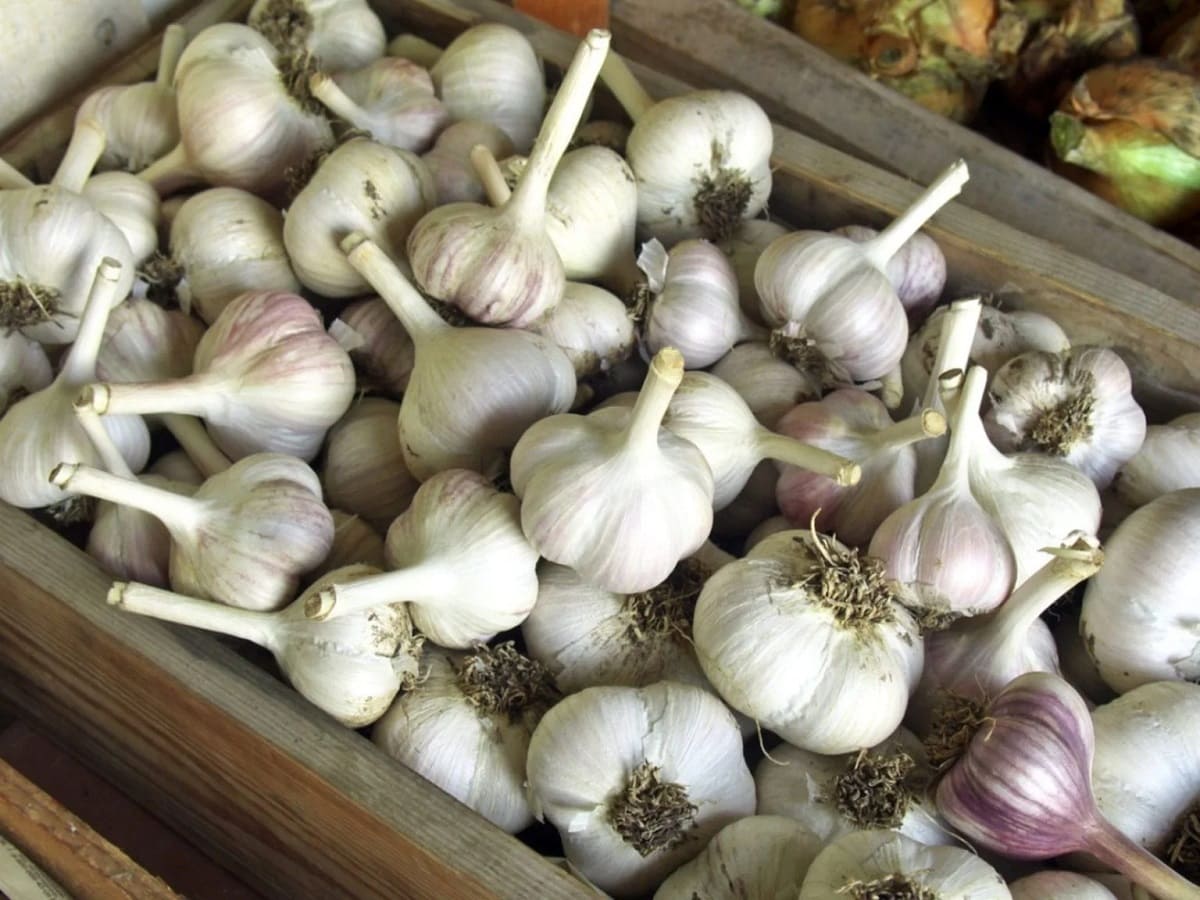
- Select a suitable storage container: Choose a container that allows for good air circulation, such as a mesh bag, paper bag, or wooden crate. Avoid using plastic bags or airtight containers as they can trap moisture and promote rotting.
- Place the bulbs in the container: Arrange the garlic bulbs in a single layer in the storage container. Avoid overcrowding the bulbs, as this can lead to increased moisture buildup and potential spoilage.
- Store in a cool and dark location: Find a dark and cool location with temperatures between 50-60°F (10-15°C). A pantry, cellar, or basement are suitable options. Avoid storing garlic in the refrigerator, as the cold temperatures can cause the bulbs to sprout prematurely.
- Monitor regularly: Check the stored garlic bulbs periodically to ensure they are in good condition. Remove any bulbs that show signs of rot or mold to prevent it from spreading to other bulbs.
By following these storage guidelines, you can maintain the quality and viability of the garlic bulbs until you are ready to plant them. When it’s time to plant, simply break apart the bulbs into individual cloves, leaving the papery skin intact, and plant them with the pointy end facing up.
Now that you know how to store garlic for planting, you can embark on the journey of growing your own garlic and enjoying the delicious rewards of homegrown harvests. Happy planting!
Conclusion
Growing garlic from store-bought bulbs is a gratifying and cost-effective way to have a fresh supply of this flavorful herb right in your own backyard. By following the proper steps to store garlic for planting, you can ensure the success of your garlic crop and enjoy a bountiful harvest.
In this article, we covered the essential aspects of storing garlic for planting. We discussed the importance of choosing the right garlic bulbs, harvesting them at the appropriate time, and curing them to enhance their flavor and storage potential. Additionally, we explored the process of preparing garlic for storage and the ideal conditions for storing garlic bulbs to maintain their viability.
Remember to choose high-quality bulbs from reputable sources, observe the signs of maturity for harvesting, properly cure the bulbs to develop a protective layer, clean and trim the bulbs before storage, and store them in cool and dark conditions to prevent premature sprouting and spoilage.
Now that you have the knowledge and understanding of how to store garlic for planting, you can confidently embark on the journey of growing your own garlic. There is nothing quite as satisfying as enjoying the fruits of your labor and adding fresh, homegrown garlic to your favorite recipes.
So, roll up your sleeves, get your gardening tools ready, and start storing garlic for planting. Before you know it, you’ll be reaping the rewards of your own garlic harvest and discovering the joy of growing your own delicious and aromatic garlic.
Frequently Asked Questions about How To Store Garlic For Planting
Was this page helpful?
At Storables.com, we guarantee accurate and reliable information. Our content, validated by Expert Board Contributors, is crafted following stringent Editorial Policies. We're committed to providing you with well-researched, expert-backed insights for all your informational needs.

0 thoughts on “How To Store Garlic For Planting”