
Articles
How To Store Garlic Seeds
Modified: February 25, 2024
Learn the best methods for storing garlic seeds in this informative article. Discover how to keep your seeds fresh and viable for successful planting.
(Many of the links in this article redirect to a specific reviewed product. Your purchase of these products through affiliate links helps to generate commission for Storables.com, at no extra cost. Learn more)
Introduction
Welcome to the world of garlic cultivation! Growing garlic from seeds can be a rewarding experience, and it all starts with selecting and storing quality garlic seeds. Garlic seeds, also known as cloves, are the key to a successful garlic harvest. In this article, we will explore the process of selecting, harvesting, cleaning, drying, and storing garlic seeds to ensure their viability for future planting.
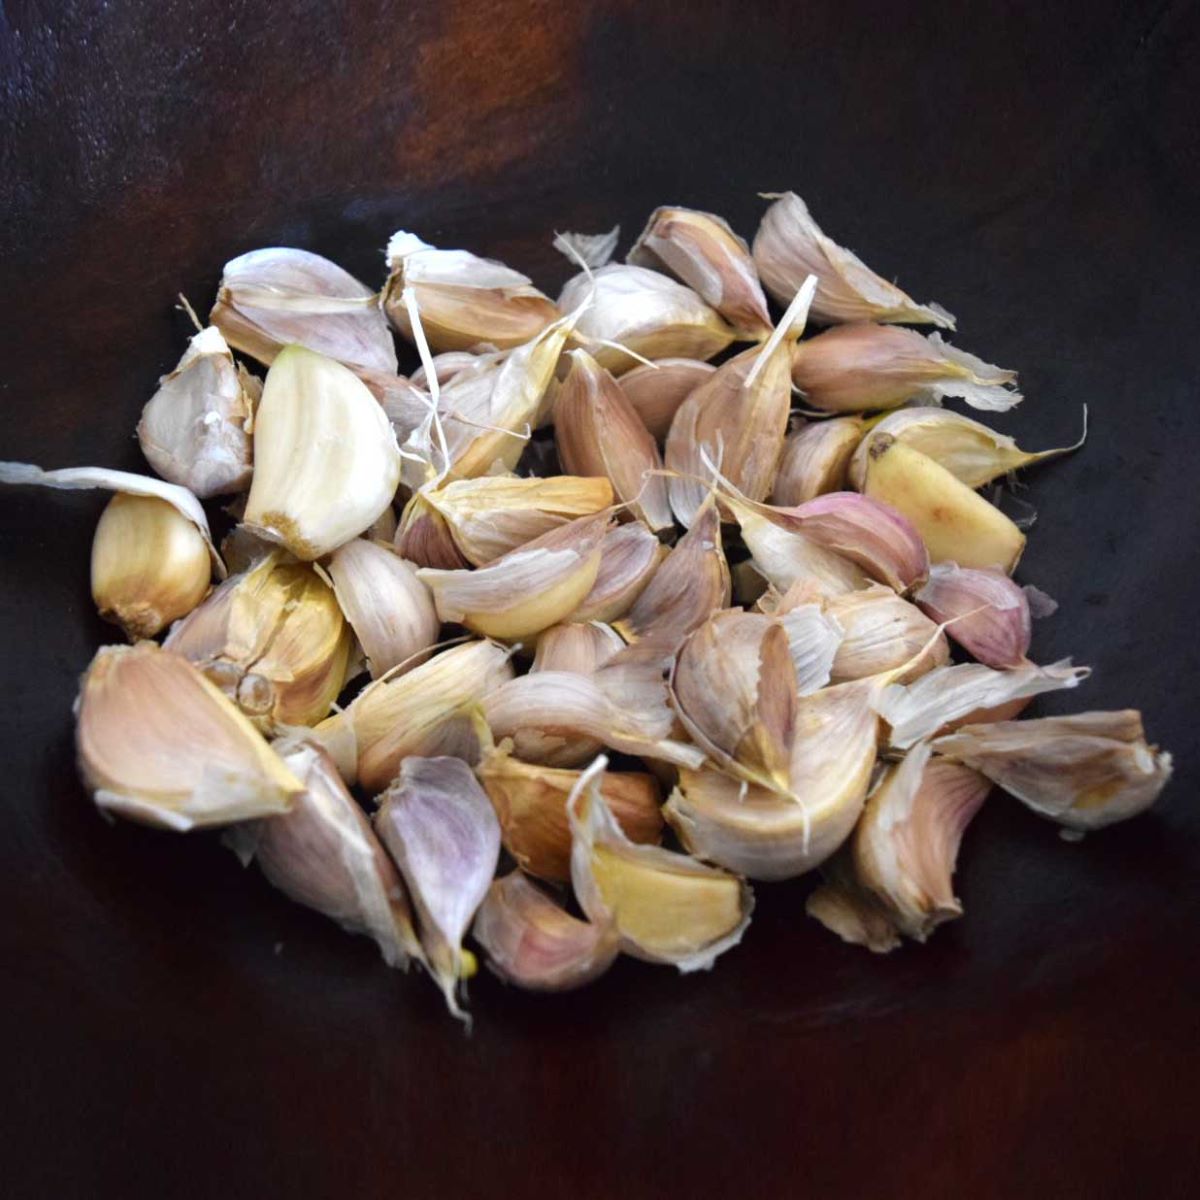
Garlic is a versatile and flavorful culinary ingredient that also offers numerous health benefits. It is no wonder that many gardeners are eager to grow their own garlic. While garlic is typically propagated through cloves rather than true seeds, these cloves serve as the “seeds” for garlic production. Properly storing garlic seeds is crucial to ensure their viability and success in producing healthy garlic plants.
To get started, let’s dive into the process of selecting garlic seeds.
Key Takeaways:
- Selecting the right garlic variety, monitoring foliage for optimal harvest, and proper storage are key to ensuring successful garlic seed cultivation.
- Regularly checking for moisture, maintaining stable temperatures, and practicing good crop rotation are essential for preserving garlic seed viability.
Read more: How To Plant Seed Garlic
Selecting Garlic Seeds
When it comes to selecting garlic seeds, it is essential to choose the right variety that suits your taste preferences and growing conditions. There are numerous garlic varieties to choose from, each offering its unique flavor profile, bulb size, and growth characteristics. Here are some factors to consider when selecting garlic seeds:
- Variety: Research different garlic varieties and choose ones that appeal to your taste buds. Some popular varieties include Purple Stripe, Rocambole, Hardneck, and Softneck. Each variety has its own distinct flavor, with some being spicier or milder than others.
- Adaptability: Consider the climate and growing conditions in your region. Certain garlic varieties thrive in colder climates, while others are more suited to warmer regions. Choose varieties that have been proven to perform well in your specific climate.
- Bulb Size: Garlic bulbs can vary in size, ranging from small to large. Consider the intended use of your garlic crop. If you prefer larger bulbs for culinary purposes, select a variety known for producing bigger garlic heads.
- Disease Resistance: Some garlic varieties exhibit better resistance to particular diseases, such as garlic rust or white rot. If these diseases are prevalent in your area, choosing resistant varieties can help ensure a healthier crop.
Once you have identified the garlic varieties that meet your requirements, it’s time to move on to the next step: harvesting the garlic seeds.
Harvesting Garlic Seeds
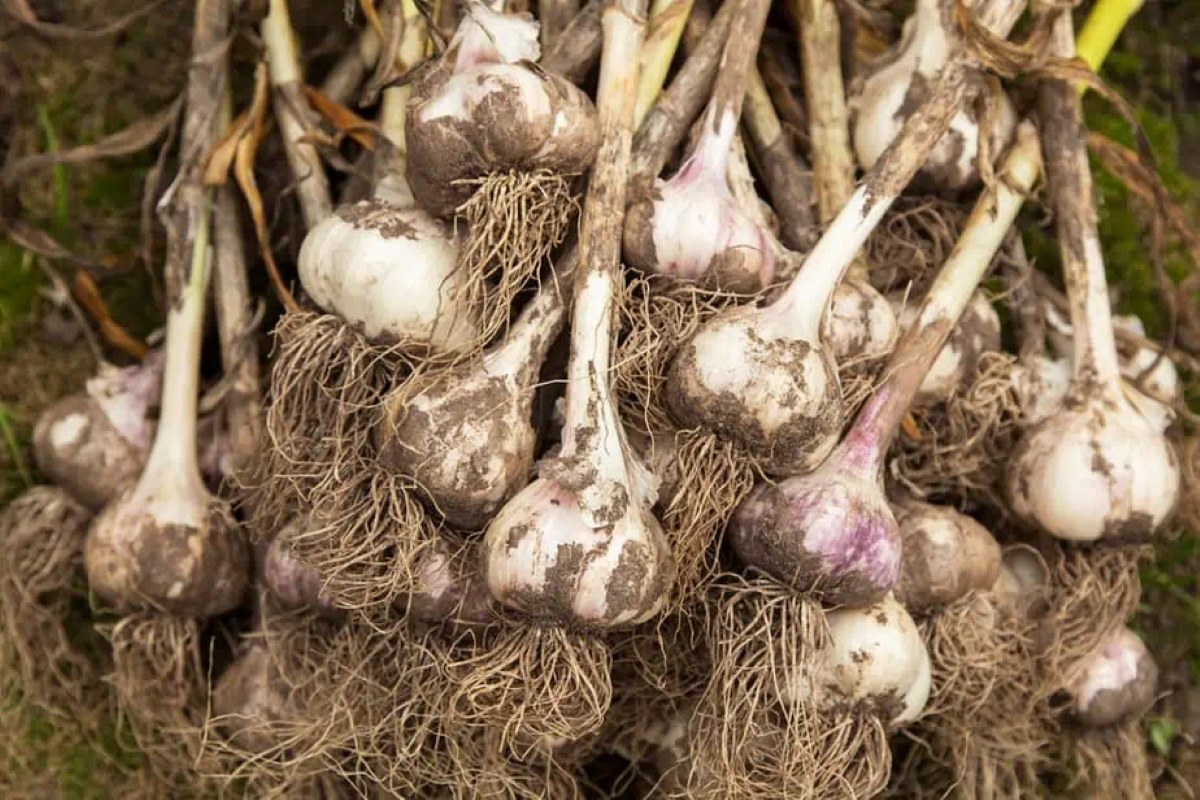
Harvesting garlic seeds, or cloves, is an exciting stage in the garlic growing process. The timing of the harvest is crucial to ensure the cloves are mature and ready for storing. Here are the steps to follow when harvesting garlic seeds:
- Monitor the foliage: Keep a close eye on the garlic plants’ foliage as they approach maturity. The leaves will start to turn yellow and dry out, indicating that the bulbs are reaching the optimal stage for harvesting.
- Perform a bulb evaluation: Prior to harvesting, gently dig up a few garlic bulbs to check their size and condition. The cloves should be well-formed, plump, and tightly wrapped within the bulb. Avoid harvesting bulbs that have overly loose cloves or signs of rot or damage.
- Choose the right time: Harvesting garlic should ideally take place when about 50-75% of the foliage has dried up. This usually occurs in mid to late summer, depending on your growing zone. Avoid waiting too long, as overly dried foliage can lead to cloves deteriorating or sprouting prematurely.
- Loosen the soil: Gently loosen the soil around the base of the garlic plants using a garden fork or digging tool. Be cautious not to damage the bulbs while doing this.
- Carefully lift the bulbs: With a firm grip on the base of each garlic plant, carefully lift them out of the ground. Avoid pulling forcefully, as this can damage the bulbs.
- Clean off excess soil: Brush off any excess soil clinging to the garlic bulbs. It’s best to do this outdoors or in a well-ventilated area to minimize mess.
Once you have harvested the garlic bulbs, it’s time to move on to the next step: cleaning and drying the garlic seeds.
Cleaning and Drying Garlic Seeds
After harvesting garlic bulbs, it’s crucial to clean and dry the garlic seeds properly. This ensures that the seeds are free from dirt and moisture, which can lead to rot or fungal growth during storage. Here are the steps to clean and dry garlic seeds:
- Remove outer layers: Gently remove the loose and papery outer layers of the garlic bulbs, exposing the individual cloves. Be careful not to remove too many layers, as this can leave the cloves vulnerable to damage.
- Separate the cloves: Carefully separate the cloves from the main bulb. Avoid breaking or bruising the cloves while doing this.
- Inspect the cloves: Inspect each garlic clove for any signs of damage, rot, or disease. Discard any cloves that appear unhealthy to prevent them from affecting the overall quality of the garlic crop.
- Wash the cloves: Rinse the garlic cloves gently under cool running water to remove any remaining debris or dirt. Do not scrub the cloves forcefully, as this can damage the protective outer layer.
- Air drying: Place the cleaned garlic cloves on a clean, dry surface, such as a mesh drying rack or a well-ventilated tray. Allow them to air dry in a cool, dry location away from direct sunlight for about 1-2 weeks. Ensure that the cloves are spread out and not touching each other, allowing for proper airflow.
- Check for dryness: After the initial drying period, check the cloves for dryness. They should feel firm and have a papery skin. If any cloves still feel soft or moist, continue drying them for a few more days before proceeding to the next step.
Once the garlic seeds are cleaned and adequately dried, it’s time to move on to the crucial step of storing the garlic seeds properly.
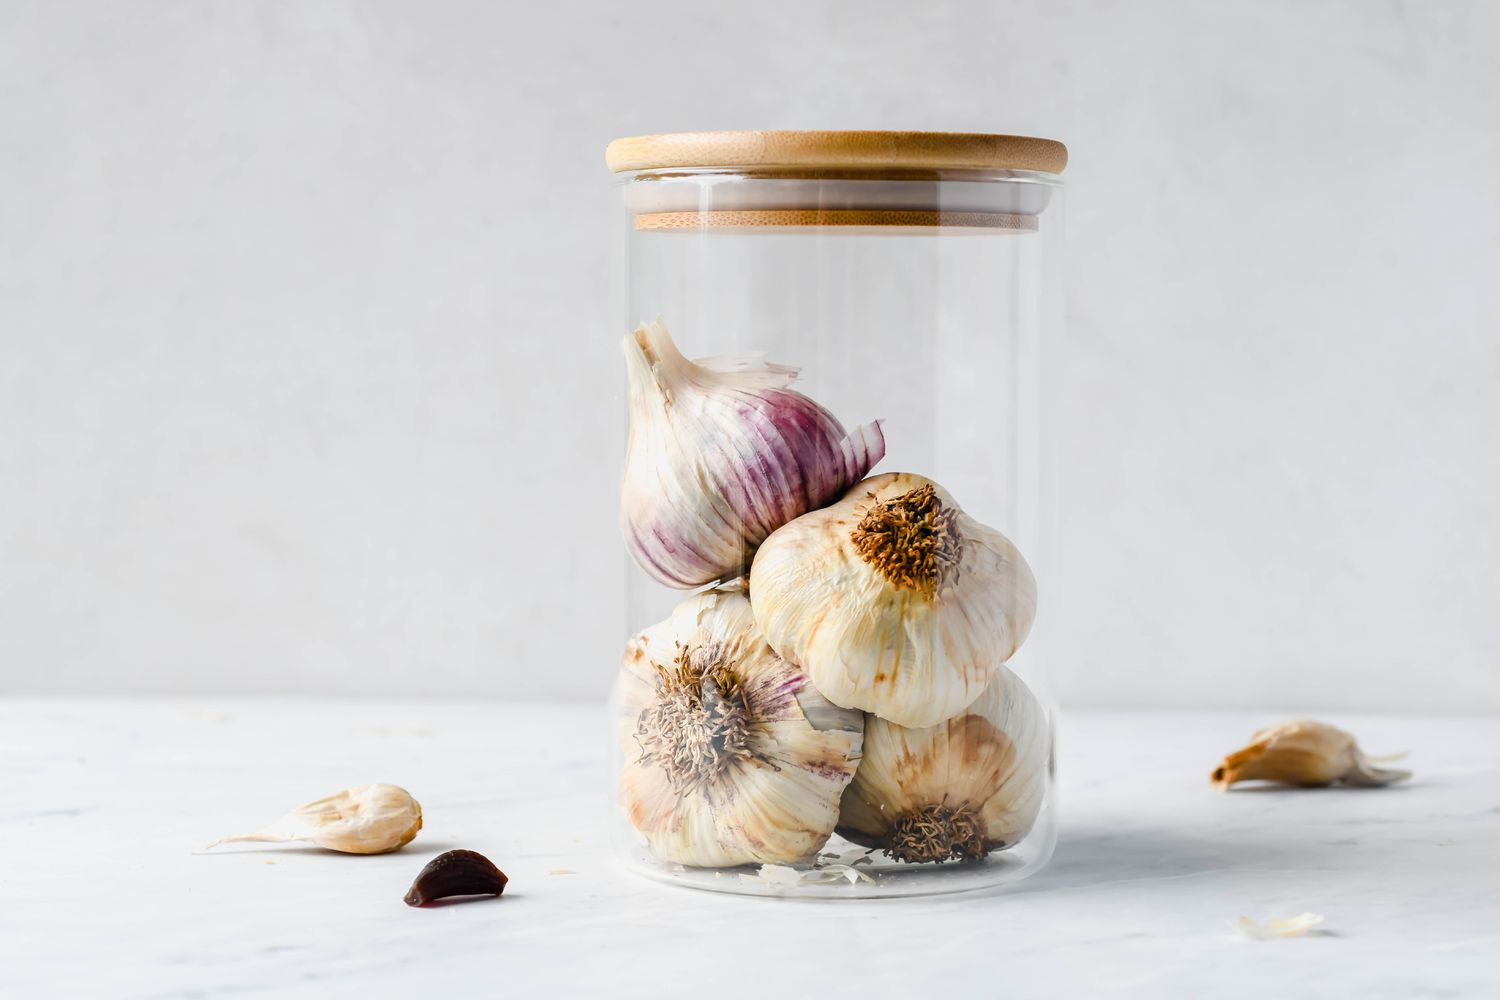
Store garlic seeds in a cool, dry place with good air circulation. Avoid storing them in airtight containers, as they need some airflow to prevent mold and sprouting. Keep them away from direct sunlight to prevent them from drying out.
Storing Garlic Seeds
Proper storage is essential to maintain the viability and quality of garlic seeds. Here are some guidelines to follow when storing garlic seeds:
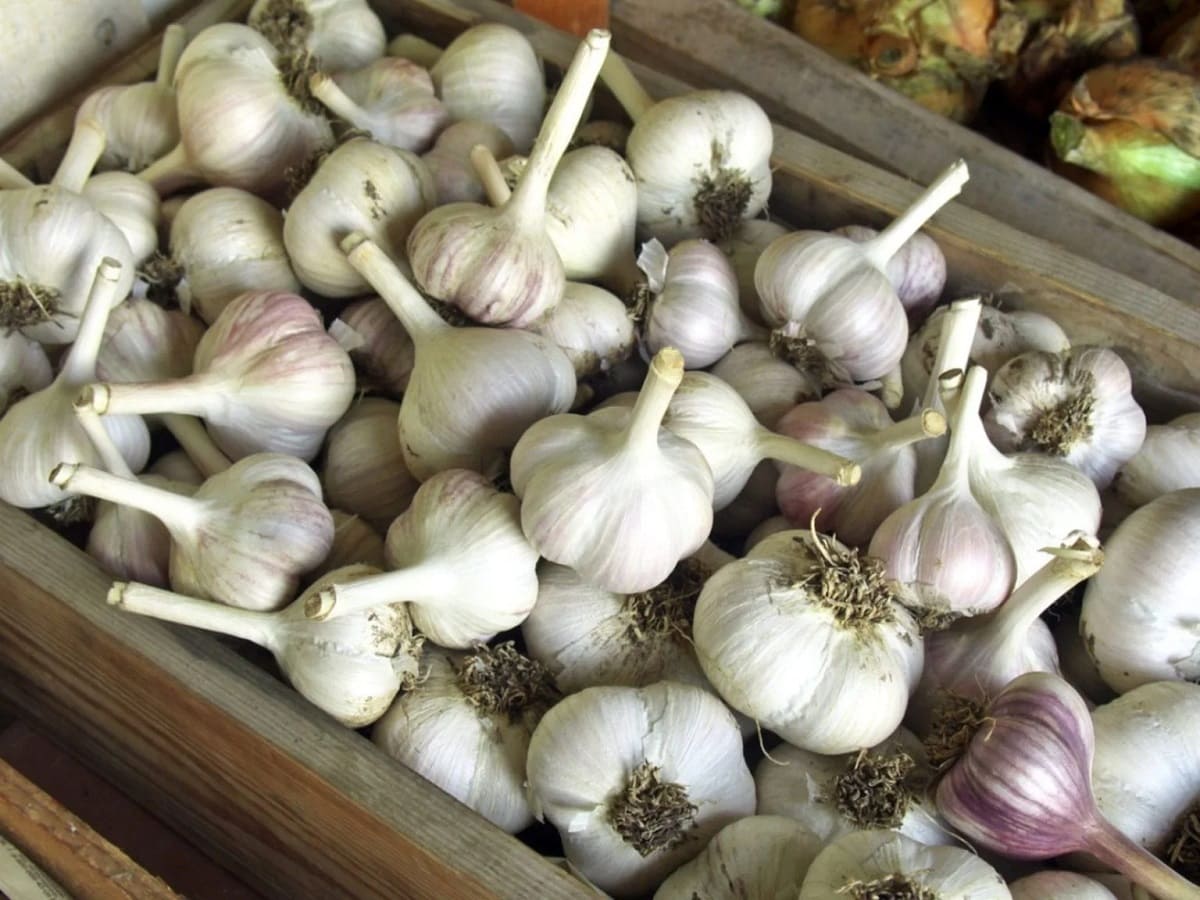
- Select appropriate containers: Choose containers that are clean, dry, and well-ventilated. Avoid using plastic bags or containers that can trap moisture, as this can lead to premature sprouting or rotting of the garlic cloves. Ideal options include mesh bags, paper bags, or wooden crates.
- Prepare the garlic seeds: Before storing, ensure that the garlic seeds are fully dry and free from any moisture. Trim any remaining roots or stalks attached to the cloves.
- Arrange cloves: Place the garlic cloves in a single layer in the chosen storage container. Avoid overcrowding or piling up the cloves, as this can lead to increased moisture and potential damage.
- Store in a cool, dry place: Garlic seeds should be stored in a cool location with low humidity. The ideal storage temperature is around 40-50 degrees Fahrenheit (4-10 degrees Celsius). Avoid exposure to direct sunlight or extreme temperature fluctuations, as these can affect the viability of the garlic seeds.
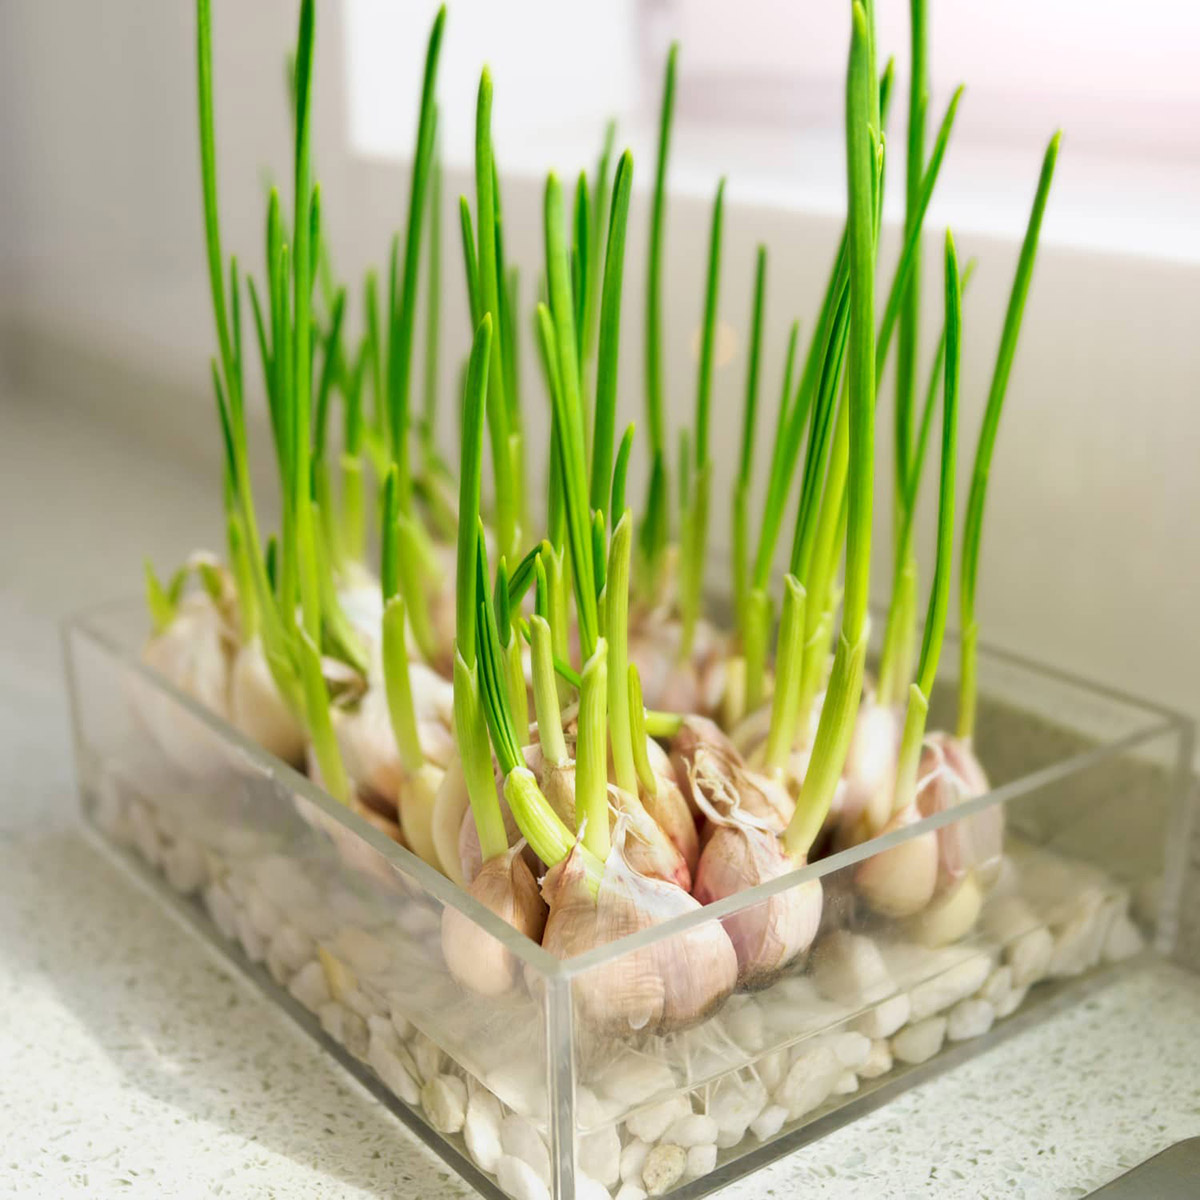
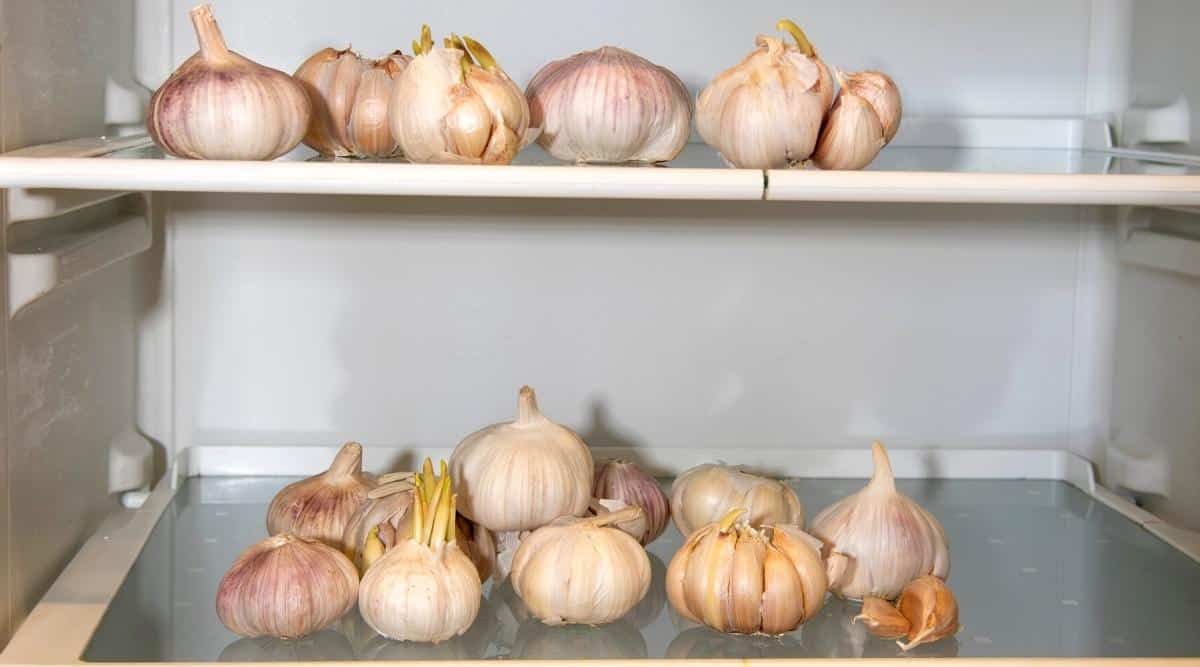
- Monitor for sprouting or damage: Regularly check the stored garlic seeds for any signs of sprouting or damage. If you notice any cloves sprouting, remove them from the storage immediately to prevent the sprouting from spreading to the rest of the cloves.
- Maintain proper airflow: Ensure that there is adequate airflow around the stored garlic seeds. This helps prevent the buildup of moisture and reduces the risk of mold or fungal growth. If using bags or containers with closed lids, make small holes in them to allow for ventilation.
- Label and organize: To keep track of the garlic varieties and their storage duration, label the containers with the names of the garlic varieties. You can also note the date of storage to ensure that you use the oldest garlic seeds first.
By following these proper storage practices, you can maximize the shelf life and maintain the quality of your garlic seeds for future planting.
Read more: How To Harvest Garlic Seeds
Maintaining Garlic Seed Viability
Ensuring the long-term viability of garlic seeds is important for successful future plantings. Here are some tips to help maintain the viability of your garlic seeds:
- Regularly check for moisture: Moisture is one of the biggest threats to the viability of garlic seeds. Regularly inspect the storage containers and cloves for any signs of moisture. If you notice any condensation or dampness, remove the affected cloves and allow them to dry before returning them to storage.
- Monitor for temperature fluctuations: Fluctuations in temperature can negatively impact the garlic seeds. It’s important to store them in a cool and stable environment, away from heat sources and extreme temperature changes. Avoid storing garlic seeds near appliances or in areas prone to temperature fluctuations.
- Rotate the stock: To ensure that you always have fresh and viable garlic seeds, it’s a good practice to rotate your stock. Use the oldest garlic seeds first and save a portion of the harvest specifically for the purpose of seed-saving for the next planting season.
- Perform germination tests: Periodically perform germination tests to assess the viability of your stored garlic seeds. Take a small sample of cloves from each variety and plant them in a separate section of your garden or in pots. Monitor their germination rate to determine if the stored seeds are still viable. If the germination rate is low, it may be time to replenish your stock with fresh garlic seeds.
- Practice good crop rotation: To prevent the buildup of diseases, pests, or nutrient depletion, practice crop rotation in your garden. Avoid planting garlic in the same spot continually. Wait at least three years before replanting garlic in the same area to minimize the risk of disease transmission and maintain the health of the garlic plants.
- Save seeds from healthy plants: When selecting garlic seeds for future plantings, choose cloves from healthy and robust plants. Avoid using cloves from plants that showed signs of disease or poor growth. By selecting seeds from the best-performing plants, you increase the likelihood of obtaining strong and productive garlic crops.
By implementing these practices, you can ensure the long-term viability of your garlic seeds and enjoy successful garlic harvests for years to come.
Conclusion
Growing garlic from seeds, or cloves, can be a fulfilling and rewarding experience. By following the proper steps to select, harvest, clean, dry, and store garlic seeds, you can ensure their viability and maximize your chances of a successful garlic harvest. It’s important to choose the right variety of garlic, considering factors such as taste preferences, adaptability to your region, bulb size, and disease resistance.
Harvesting garlic seeds requires careful timing and attention to the plant’s foliage. When the leaves start to dry up and turn yellow, it’s a good indication that the bulbs are ready for harvesting. Cleaning and drying the garlic seeds is crucial in removing dirt and excess moisture, ensuring optimal storage conditions.
Proper storage plays a vital role in maintaining the viability of garlic seeds. Choosing appropriate containers, storing in a cool and dry environment, and monitoring for moisture and temperature fluctuations are essential practices. Regularly checking the seeds for sprouting or damage and rotating the stock will help ensure a fresh and viable seed collection.
In addition to proper storage, maintaining the viability of garlic seeds involves good garden practices such as crop rotation, saving seeds from healthy plants, and performing germination tests. These practices contribute to the long-term success of your garlic harvests and help prevent disease buildup in the garden.
With these guidelines in mind, you can confidently embark on your journey of growing garlic from seeds. Enjoy the process and savor the flavorful rewards of homegrown garlic in your culinary creations, knowing that you have mastered the art of selecting, harvesting, and storing garlic seeds for future plantings.
Frequently Asked Questions about How To Store Garlic Seeds
Was this page helpful?
At Storables.com, we guarantee accurate and reliable information. Our content, validated by Expert Board Contributors, is crafted following stringent Editorial Policies. We're committed to providing you with well-researched, expert-backed insights for all your informational needs.

0 thoughts on “How To Store Garlic Seeds”