
Articles
How To Store Garlic Bulbs For Planting
Modified: February 23, 2024
Learn how to properly store garlic bulbs for planting in this informative article. Find useful tips and techniques to ensure successful growth of your garlic plants.
(Many of the links in this article redirect to a specific reviewed product. Your purchase of these products through affiliate links helps to generate commission for Storables.com, at no extra cost. Learn more)
Introduction
Welcome to the world of garlic bulb storage for planting! If you’re someone who loves gardening and wants to grow your own garlic, storing garlic bulbs properly is key to ensuring a successful harvest. By understanding the process of selecting, preparing, and storing garlic bulbs, you can set yourself up for a bountiful crop.
Growing your own garlic is not only rewarding but also economical. By storing garlic bulbs from your previous harvest, you can save money on purchasing new bulbs each year. Additionally, you have the opportunity to select the healthiest and best-quality bulbs for planting, ensuring optimal growth and flavor.
In this article, we will guide you through the steps of selecting garlic bulbs for planting, preparing them for storage, choosing an ideal storage location, properly curing them, preparing the storage container, storing them for the long term, and performing regular inspection and maintenance. By following these guidelines, you will have a higher chance of success in growing your own garlic.
Before diving into the details, it’s important to note that the success of storing garlic bulbs for planting depends on various factors, such as the quality of the bulbs, the storage conditions, and the care taken during the process. With proper attention and care, you can increase the likelihood of healthy bulbs and a successful harvest.
Now, let’s get started with the first step – selecting garlic bulbs for planting!
Key Takeaways:
- Selecting high-quality, firm garlic bulbs free from damage and disease is crucial for successful planting. Choose the right size and variety to ensure a bountiful harvest and flavorful cloves.
- Properly curing and storing garlic bulbs in a cool, dark, and well-ventilated environment is essential for maintaining their quality and viability. Regular inspection and maintenance help prevent issues and ensure a fresh supply for planting or culinary use.
Read more: How To Store Garlic Bulbs
Selecting Garlic Bulbs for Planting
The first step in storing garlic bulbs for planting is selecting the right bulbs. Choosing high-quality bulbs will give you a head start in achieving a successful garlic harvest.
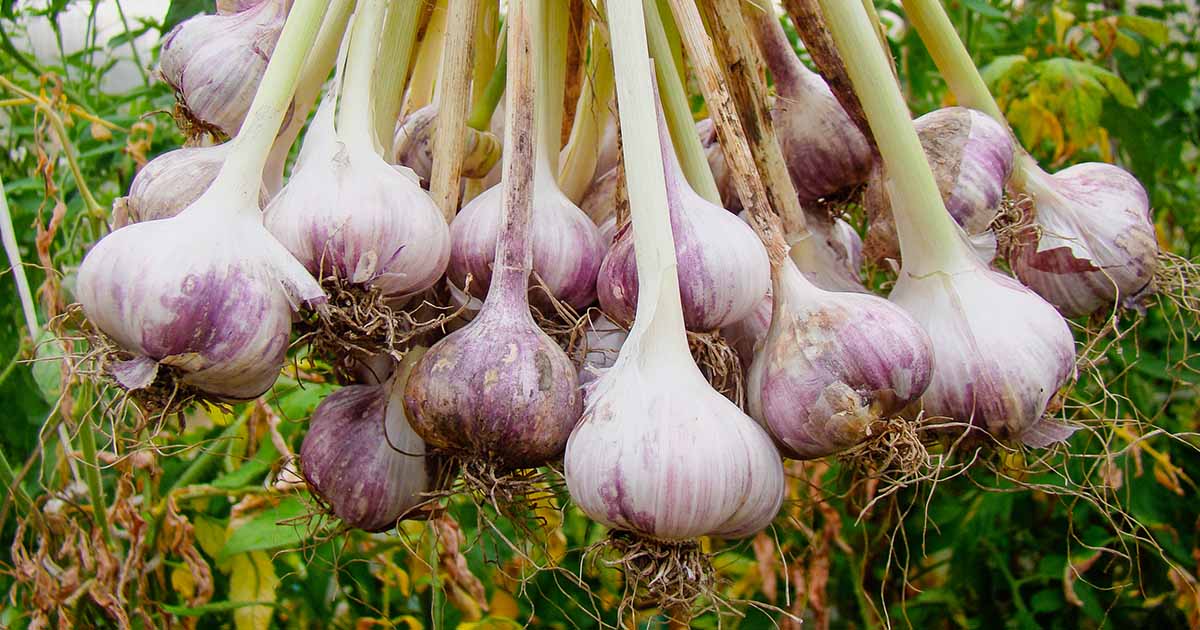
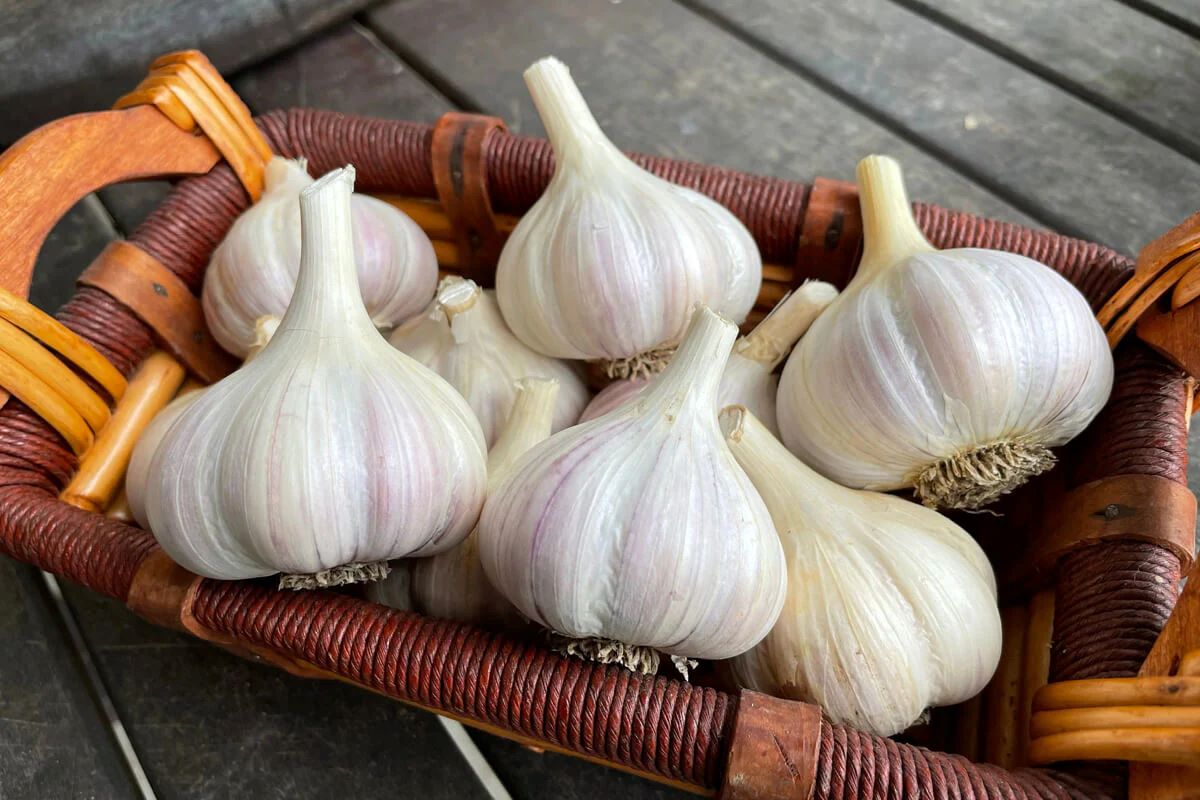
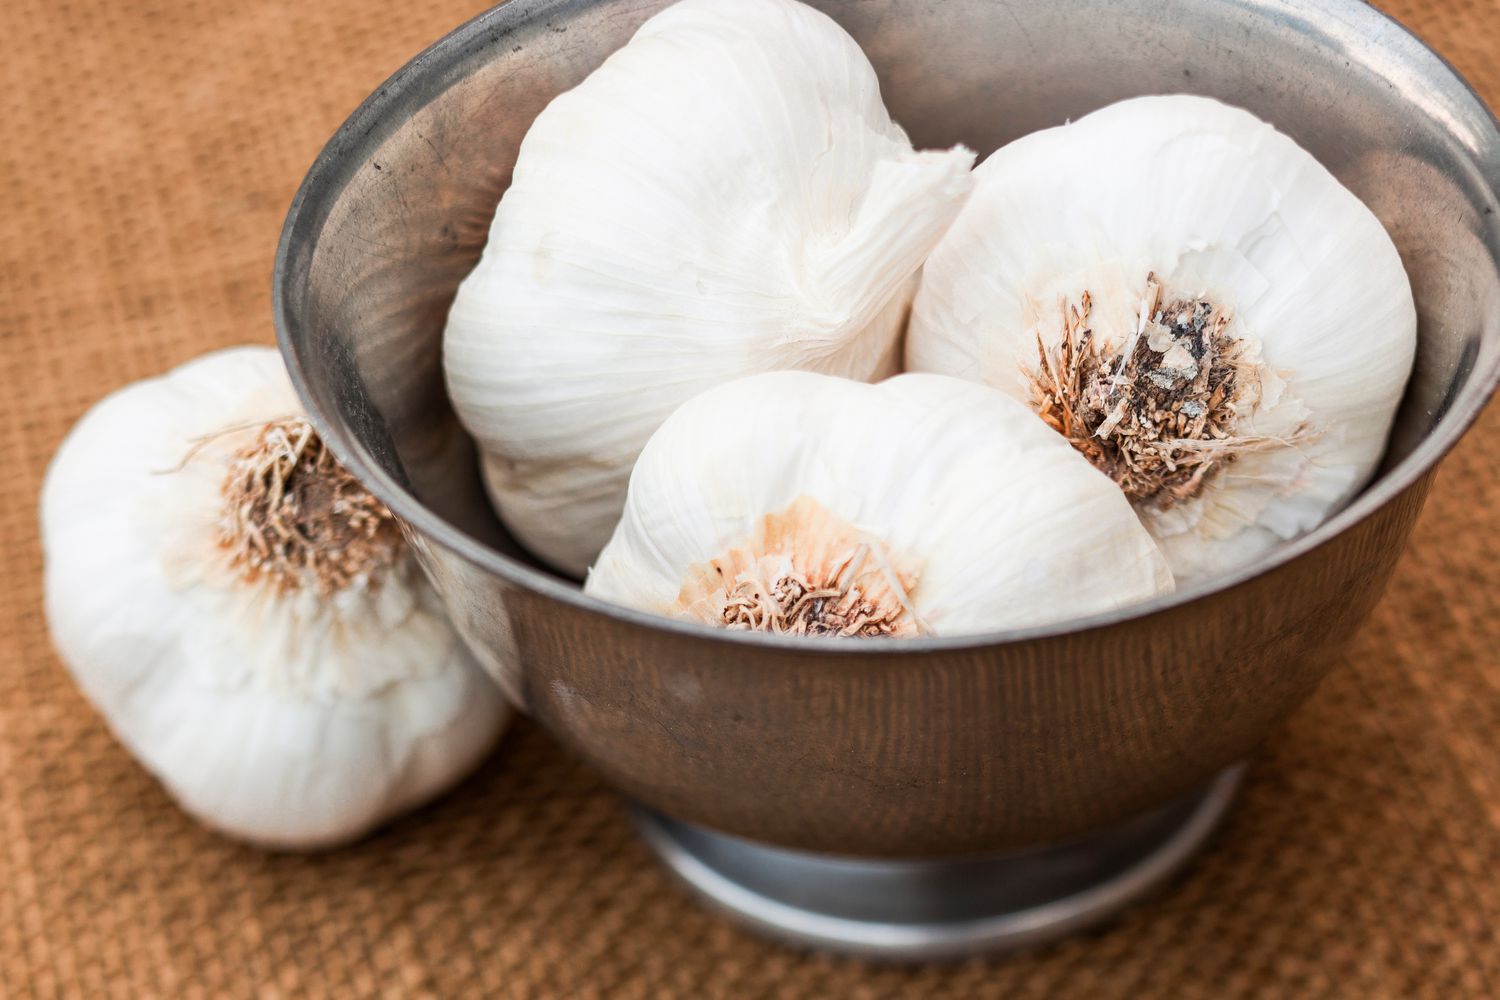
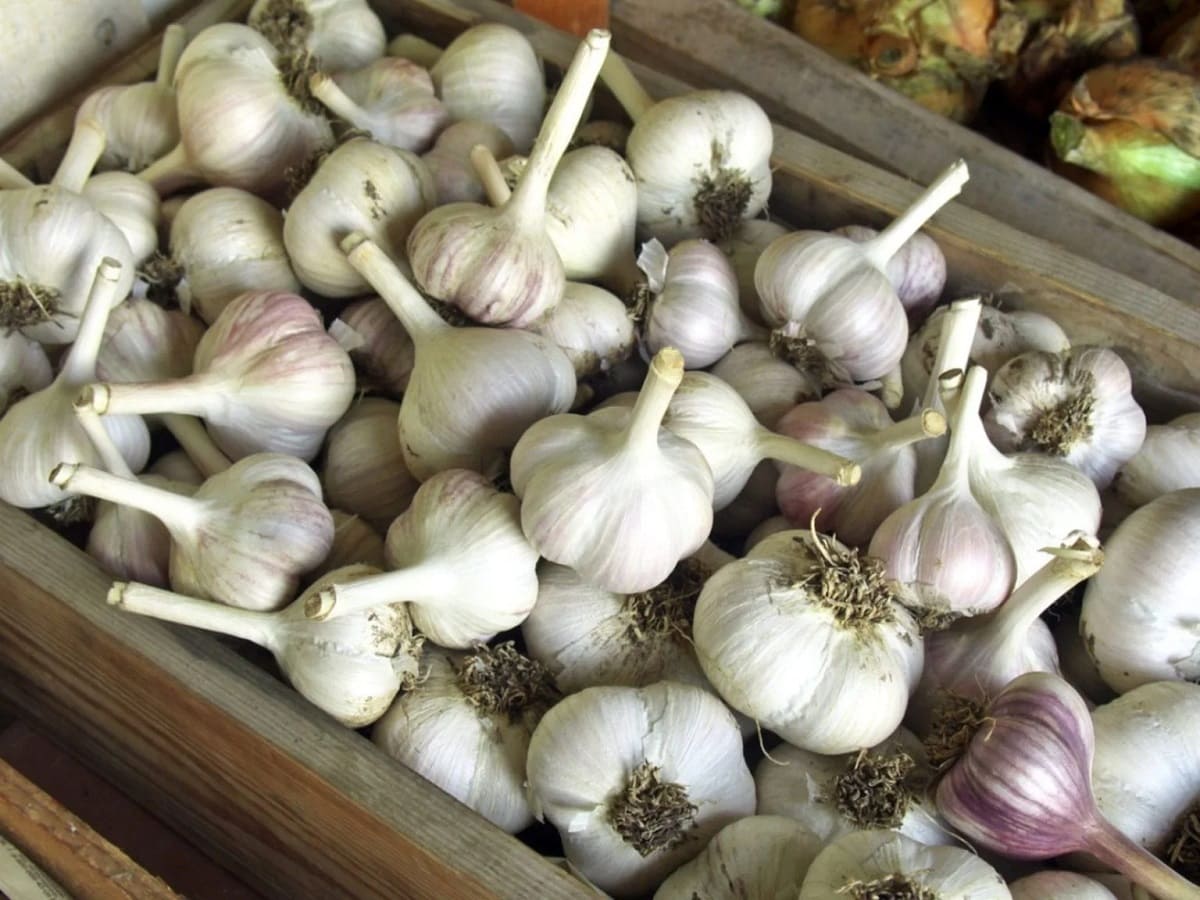
When selecting garlic bulbs for planting, it’s essential to choose bulbs that are firm, healthy, and free from any signs of disease or damage. Look for bulbs that have tight, papery skin and are free from any soft spots or mold.
Another factor to consider is the size of the bulbs. Generally, larger bulbs will produce larger cloves, which can lead to larger heads of garlic. However, keep in mind that larger bulbs often have fewer cloves, so it’s important to strike a balance between size and quantity.
Additionally, take note of the variety of garlic you’re selecting. There are two main types of garlic: hardneck and softneck. Hardneck garlic varieties generally produce larger cloves and have a more complex flavor, while softneck garlic varieties have smaller cloves and a milder taste. Choose a variety that suits your preference and growing conditions.
If possible, source your garlic bulbs from a reputable supplier or local farmer to ensure their quality and freshness. This will provide you with the assurance of obtaining healthy bulbs that are suitable for planting.
Remember, the quality of the garlic bulbs you select will greatly impact the success of your harvest. Spend some time carefully choosing the best bulbs to set yourself up for gardening success.
Preparing and Sorting Garlic Bulbs
Once you’ve selected the garlic bulbs for planting, the next step is to prepare and sort them. This process helps ensure that only the best bulbs are stored for long-term storage and planting.
Start by gently cleaning the garlic bulbs to remove any dirt or debris. Use a soft brush or cloth to wipe away the soil particles. Avoid washing the bulbs with water, as excessive moisture can lead to rot. Let the bulbs dry for a short period before proceeding to the sorting step.
Sorting the garlic bulbs involves assessing their quality and separating them into different categories. Look for bulbs that are firm, plump, and have intact outer layers. Discard any bulbs that show signs of damage, softness, or disease.
Separate the bulbs into different sizes or categories, such as large, medium, and small. This will make it easier to plant them at the appropriate depth and spacing in your garden. You can also choose to save the largest bulbs for planting and use the smaller ones for culinary purposes.
During the sorting process, it’s important to check for any signs of disease or pests. Look for brown spots, black mold, or any indications of insect infestation. Discard any bulbs that show these signs to prevent the spread of disease.
Once you have sorted the garlic bulbs, it’s a good idea to label each category or size group. This will help you keep track of the bulbs and ensure that you plant them in the right location and manner when the time comes.
By taking the time to prepare and sort your garlic bulbs, you are setting the stage for a successful storage and planting experience. Remember to handle the bulbs with care during this process to avoid any unnecessary damage.
Choosing an Ideal Storage Location
After preparing and sorting your garlic bulbs, it’s crucial to find the ideal storage location to ensure their longevity and viability. The right storage conditions will help maintain the bulbs’ quality and prevent the onset of rot or other issues.
One of the key factors to consider when choosing a storage location is temperature. Garlic bulbs should be stored in a cool environment with a temperature range between 35°F (1.6°C) and 50°F (10°C). This temperature range helps prolong the dormancy of the bulbs and prevents premature sprouting.
Avoid storing garlic bulbs in areas that are prone to extreme temperature fluctuations, such as garages or sheds that are not temperature-controlled. Fluctuating temperatures can cause the bulbs to break dormancy and start sprouting prematurely, leading to reduced quality.
In addition to temperature, it’s important to choose a storage location that is well-ventilated and has good airflow. Proper ventilation helps prevent the build-up of excess moisture, which can lead to rot and mold. Avoid storing the bulbs in plastic bags or airtight containers, as this can trap moisture and hasten decay.
A dark storage location is also preferable for storing garlic bulbs. Exposure to direct sunlight can cause the bulbs to sprout prematurely and may result in bitter-tasting cloves. Choose a storage area that is away from windows or any other sources of direct sunlight.
Lastly, consider the humidity levels in the storage area. Garlic bulbs prefer a humidity range of 60-70%. High humidity can lead to mold growth, while low humidity can cause the bulbs to dry out. Use a hygrometer to monitor the humidity levels in the storage area and make adjustments if necessary.
In summary, selecting an ideal storage location for your garlic bulbs involves keeping them in a cool, well-ventilated, dark, and moderately humid environment. By providing the proper storage conditions, you will help ensure the bulbs remain fresh and viable for planting in the future.
Properly Curing Garlic Bulbs
Properly curing garlic bulbs is a crucial step in storing them for long-term use or planting. Curing allows the bulbs to dry out gradually, ensuring their longevity and enhancing their flavor and storage potential.
To begin the curing process, start by removing any excess dirt or debris from the garlic bulbs. Gently brush off the soil or use a clean, dry cloth to wipe them clean. It’s essential to handle the bulbs delicately to avoid any damage or bruising.
After cleaning, allow the garlic bulbs to air dry for a few days. Choose a well-ventilated area with good airflow, such as a shaded outdoor spot or a cool, breezy room. Avoid exposing the bulbs directly to sunlight, as this can cause them to sprout prematurely or become discolored.
During the curing process, it’s important to ensure that the garlic bulbs are spread out in a single layer. This allows for maximum airflow and even drying. Avoid stacking or overcrowding the bulbs, as this can create a humid environment and increase the risk of mold or rot.
Curing typically takes around two to four weeks, depending on the humidity levels in your area. Monitor the progress of the bulbs and check for signs of uniform drying. The outer skins should become papery and dry to the touch, and the cloves should feel firm and plump.
Keep in mind that curing times may vary, and it’s crucial to gauge the readiness of the bulbs based on their appearance and texture. If the climate is particularly humid, you may consider using fans or dehumidifiers to speed up the curing process.
Once the garlic bulbs have dried sufficiently, remove any loose soil or papery outer layers. Be cautious not to remove too many layers, as this can expose the cloves and reduce their shelf life. Some gardeners prefer to leave a thin layer of the outer skin intact for added protection.
Properly cured garlic bulbs are now ready for long-term storage or planting. Store them in a cool, dark, and well-ventilated area to maintain their quality and viability until you’re ready to use them.
By following the proper curing process, you can ensure that your garlic bulbs are in optimal condition for storage or planting, setting the stage for a successful harvest and flavorful culinary creations.
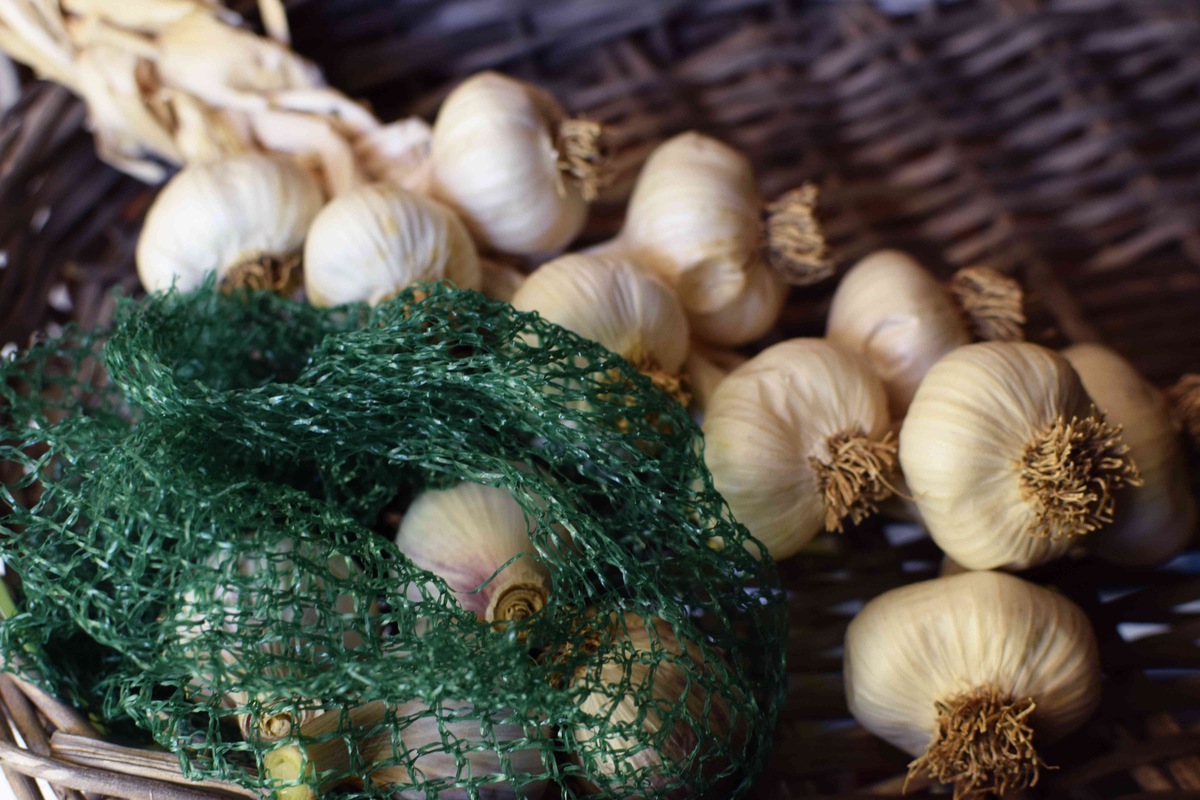
Store garlic bulbs for planting in a cool, dry place with good air circulation. Avoid storing in the refrigerator as it can cause the bulbs to sprout prematurely. Keep them in a mesh bag or basket to prevent mold and rot.
Read more: How To Store Garlic For Planting
Preparing the Storage Container
Choosing the right storage container is an important step in effectively storing garlic bulbs for the long term. The container should provide a suitable environment that protects the bulbs from moisture, light, and fluctuations in temperature.
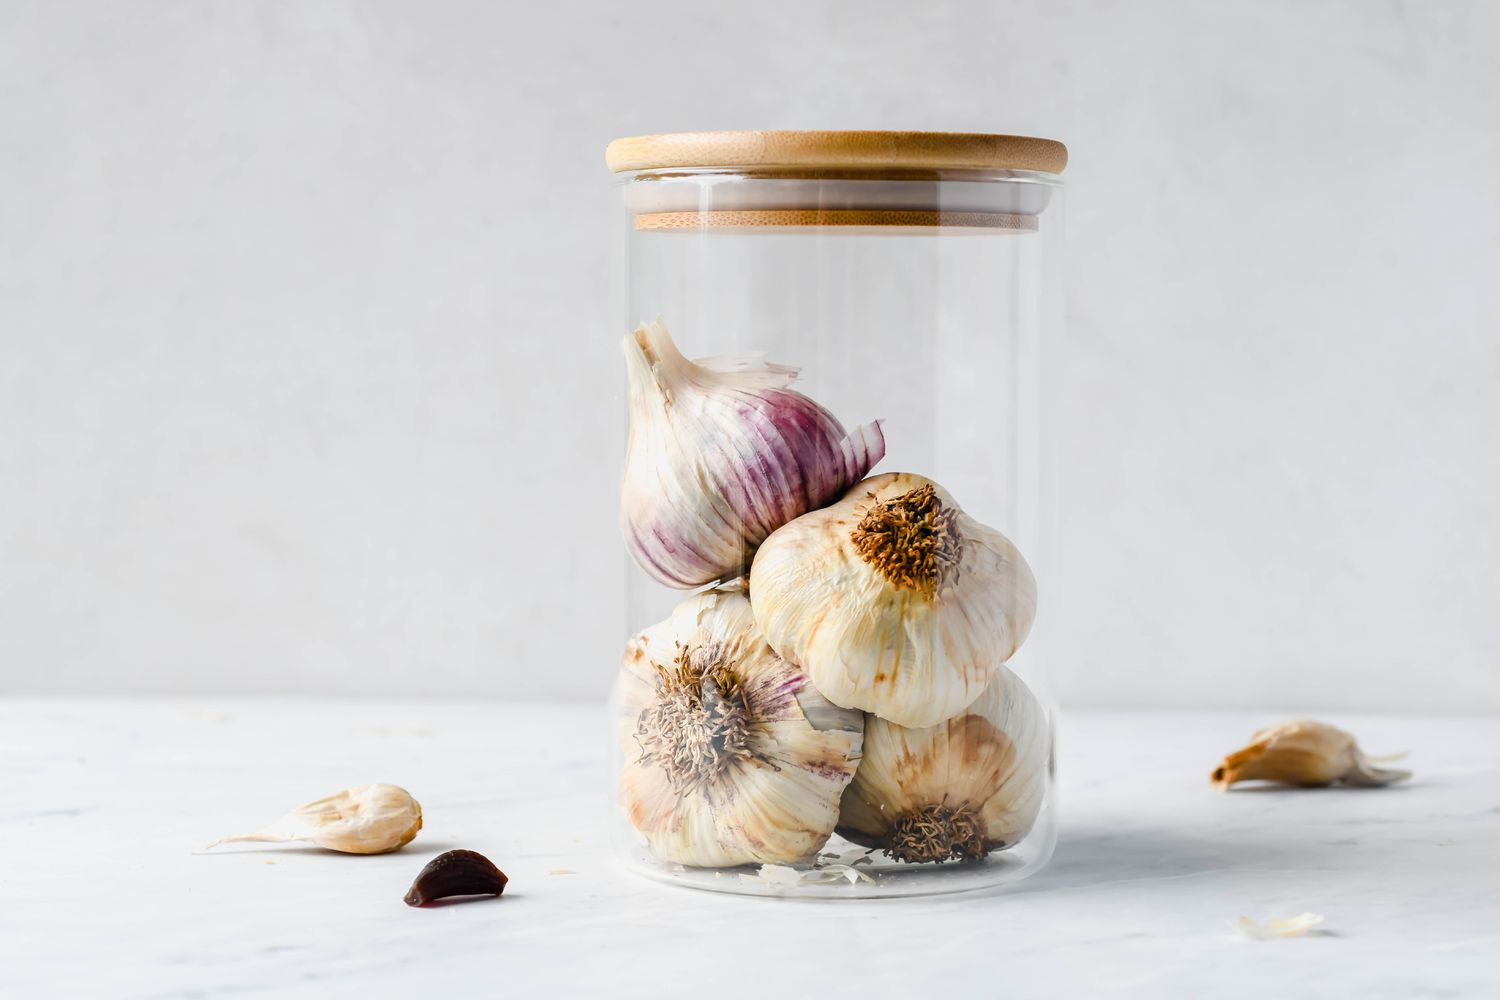
When selecting a storage container, opt for one that is clean, dry, and preferably made of a breathable material such as mesh bags, paper bags, or wooden crates. These materials allow for good air circulation and help prevent the build-up of excess moisture.
Avoid using plastic bags or airtight containers, as these can trap moisture and lead to rotting or mold development. Remember, maintaining proper ventilation is crucial for preserving the quality of the garlic bulbs.
Prior to using the storage container, ensure it is thoroughly cleaned and sanitized. Use mild soap and warm water to clean the container, then rinse it well to remove any residue. Allow the container to completely dry before placing the garlic bulbs inside.
If you prefer using a mesh bag, inspect it for any holes or tears that might allow pests or excess humidity to enter. If any damage is found, consider repairing or replacing the bag to ensure the garlic bulbs remain protected.
Additionally, if you’re using a wooden crate or box, check for any signs of mold or decay. Sand down any rough edges to prevent the garlic bulbs from being damaged, and consider lining the container with clean paper or cloth for added protection.
Before placing the garlic bulbs into the storage container, make sure they are completely dry and have undergone the curing process. Moisture can lead to mold growth or premature sprouting, so it’s crucial to ensure the bulbs are adequately dried.
Lastly, it’s a good practice to label or mark the storage container with the date of storage and any relevant details such as the garlic variety or size categories. This will help you keep track of the stored bulbs and maintain proper rotation as needed.
By taking the time to prepare the storage container and choosing the right material, you can ensure that the garlic bulbs are stored in an optimal environment that promotes their longevity and preserves their quality.
Storing Garlic Bulbs for the Long Term
Now that you have prepared the storage container, it’s time to store your garlic bulbs for the long term. Proper storage conditions are crucial to maintaining the bulbs’ quality and viability until you’re ready to use them for planting or culinary purposes.
Place the prepared garlic bulbs in the storage container, ensuring that they are arranged in a single layer to allow for good air circulation. Avoid overcrowding or stacking the bulbs, as this can create a humid environment and increase the risk of mold or rot.
Store the container in a cool, dark, and well-ventilated area, such as a basement, pantry, or root cellar. The ideal temperature range for storing garlic bulbs is between 35°F (1.6°C) and 50°F (10°C). Make sure the storage location maintains a relatively stable temperature and is protected from extreme fluctuations.
Avoid storing the garlic bulbs near sources of heat, such as ovens or radiators, as this can cause them to dry out prematurely. Additionally, keep them away from direct sunlight, as exposure to light can lead to sprouting and bitterness.
Regularly check the storage container to ensure the garlic bulbs remain in good condition. Inspect for any signs of mold, rot, or sprouting. Remove any bulbs that show signs of damage or sprouting to prevent the spread of issues to the rest of the stored batch.
It’s important to note that the storage duration can vary depending on the garlic variety and the conditions in your storage area. Hardneck varieties typically have a shorter storage life compared to softneck varieties. Softneck garlic can be stored for 6-9 months, while hardneck garlic may last 3-5 months.
Remember to maintain good airflow in the storage area, check for any changes in the bulbs’ condition periodically, and make adjustments if necessary. If you notice any issues such as mold or sprouting, address them promptly to ensure the longevity of the stored garlic bulbs.
By following these storage guidelines, you can maximize the shelf life of your garlic bulbs and have a supply of fresh, quality bulbs for planting or culinary use throughout the year.
Regular Inspection and Maintenance
Regular inspection and maintenance are essential to ensure the long-term success of storing garlic bulbs. By monitoring the stored bulbs and taking necessary actions, you can prevent issues such as mold, sprouting, or decay from spreading and compromising the quality of the bulbs.
Check the storage container periodically for any signs of moisture build-up, mold, or rot. Make sure the container remains dry and well-ventilated. If you notice excess moisture or signs of mold, remove the affected bulbs immediately and inspect the surrounding bulbs for any damage or contamination.
Inspect the bulbs for any signs of sprouting. Garlic cloves naturally start to sprout when conditions are favorable. If you notice any green shoots emerging from the cloves, remove them promptly to prevent energy depletion and maintain the quality of the stored bulbs.
As part of the maintenance routine, consider rotating the garlic bulbs periodically. Take out the oldest bulbs and use them first, while placing the newly harvested or purchased bulbs in the back of the storage container. This practice ensures a consistent supply of fresh garlic and prevents any bulbs from being stored for too long.
During the inspection, pay attention to the overall condition of the bulbs. Look for any soft spots, shriveling, or signs of disease. Discard any bulbs that show significant damage or deterioration to prevent the spreading of issues to the rest of the batch.
Keep in mind that storage conditions can vary based on factors such as humidity, temperature, and garlic variety. Regularly monitor and adjust the storage environment accordingly. If necessary, you can make temperature or humidity adjustments to ensure the bulbs remain in optimal conditions.
By consistently inspecting and maintaining your stored garlic bulbs, you can address any issues promptly and ensure the longevity and quality of the bulbs until they are ready to be planted or used in your culinary endeavors.
Final Thoughts
Storing garlic bulbs for planting can be a rewarding endeavor that allows you to grow your own fresh and flavorful garlic. By following the steps outlined in this article, you can ensure the successful long-term storage of your garlic bulbs and set the stage for a bountiful harvest.
From selecting high-quality bulbs to properly curing them and preparing the storage container, each step in the process plays a crucial role in maintaining the bulbs’ quality and viability. A cool, dark, and well-ventilated storage location is essential, as it helps preserve the bulbs’ flavor and prevents issues such as mold or premature sprouting.
Regular inspection and maintenance are key to keeping an eye on the stored bulbs and addressing any potential issues promptly. By monitoring for signs of mold, sprouting, or deterioration, you can ensure the quality of your stored garlic bulbs and prevent further damage or contamination.
Remember that the storage duration may vary depending on the garlic variety and storage conditions. Softneck garlic typically has a longer storage life compared to hardneck garlic. By knowing the characteristics of the garlic variety you are storing, you can better plan for the timing of their use.
Whether you’re storing garlic bulbs for planting or culinary purposes, proper storage ensures that you have a supply of fresh and flavorful garlic throughout the year. By taking the time to properly select, prepare, and store your garlic bulbs, you can enjoy the satisfaction of growing your own garlic and adding a delicious touch to your favorite recipes.
Now it’s time to put your knowledge into action and start storing your garlic bulbs for planting or culinary adventures. Remember to enjoy the process, experiment with different garlic varieties, and savor the rewards of your efforts as you harvest and use your homegrown garlic crop.
Frequently Asked Questions about How To Store Garlic Bulbs For Planting
Was this page helpful?
At Storables.com, we guarantee accurate and reliable information. Our content, validated by Expert Board Contributors, is crafted following stringent Editorial Policies. We're committed to providing you with well-researched, expert-backed insights for all your informational needs.

0 thoughts on “How To Store Garlic Bulbs For Planting”