
Articles
How To Store Freshly Picked Apples
Modified: February 27, 2024
Learn how to store freshly picked apples with our informative articles. Keep your apples fresh and delicious for longer with our expert tips and advice.
(Many of the links in this article redirect to a specific reviewed product. Your purchase of these products through affiliate links helps to generate commission for Storables.com, at no extra cost. Learn more)
Introduction
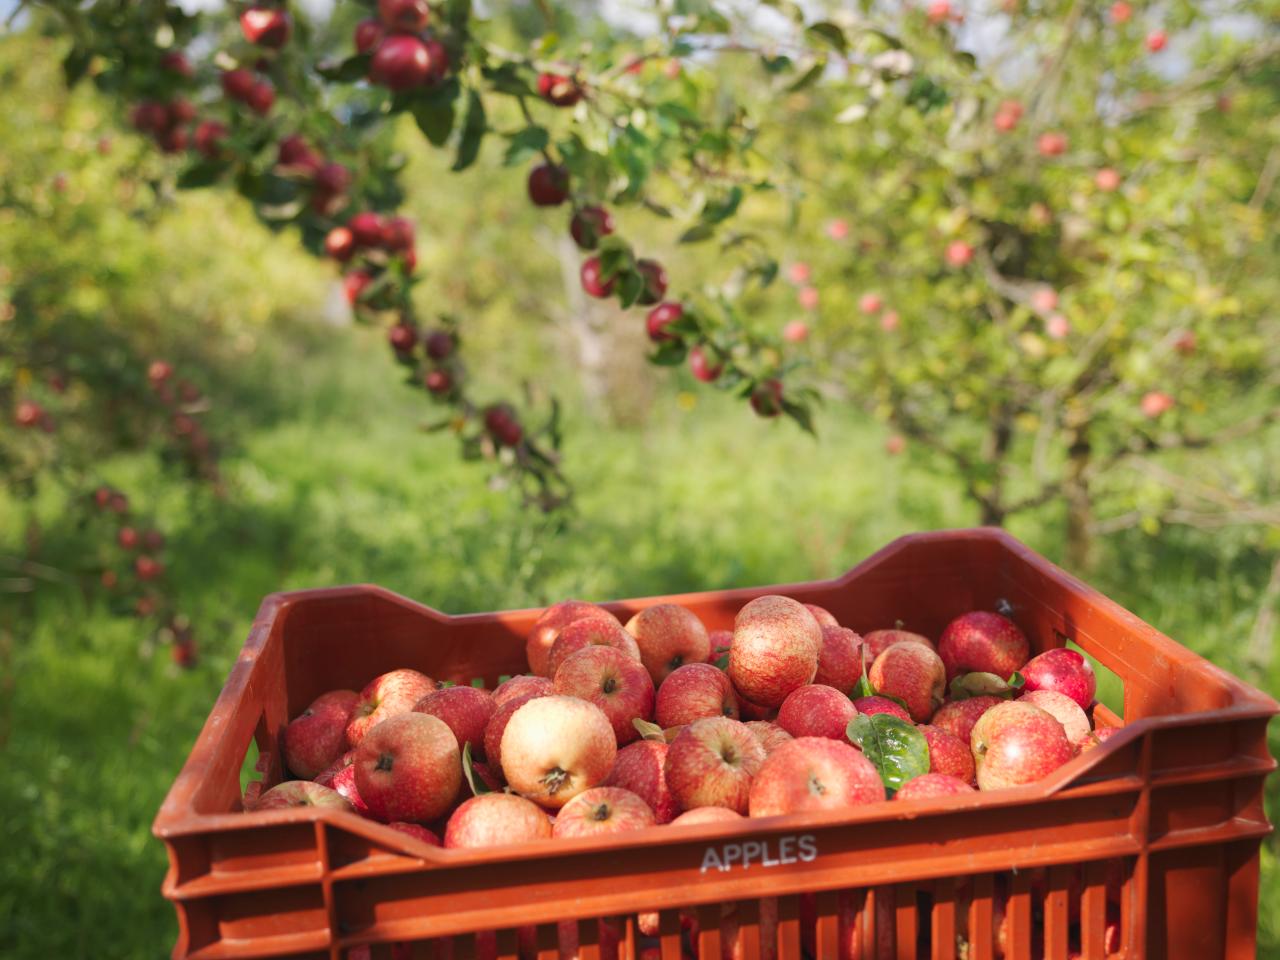
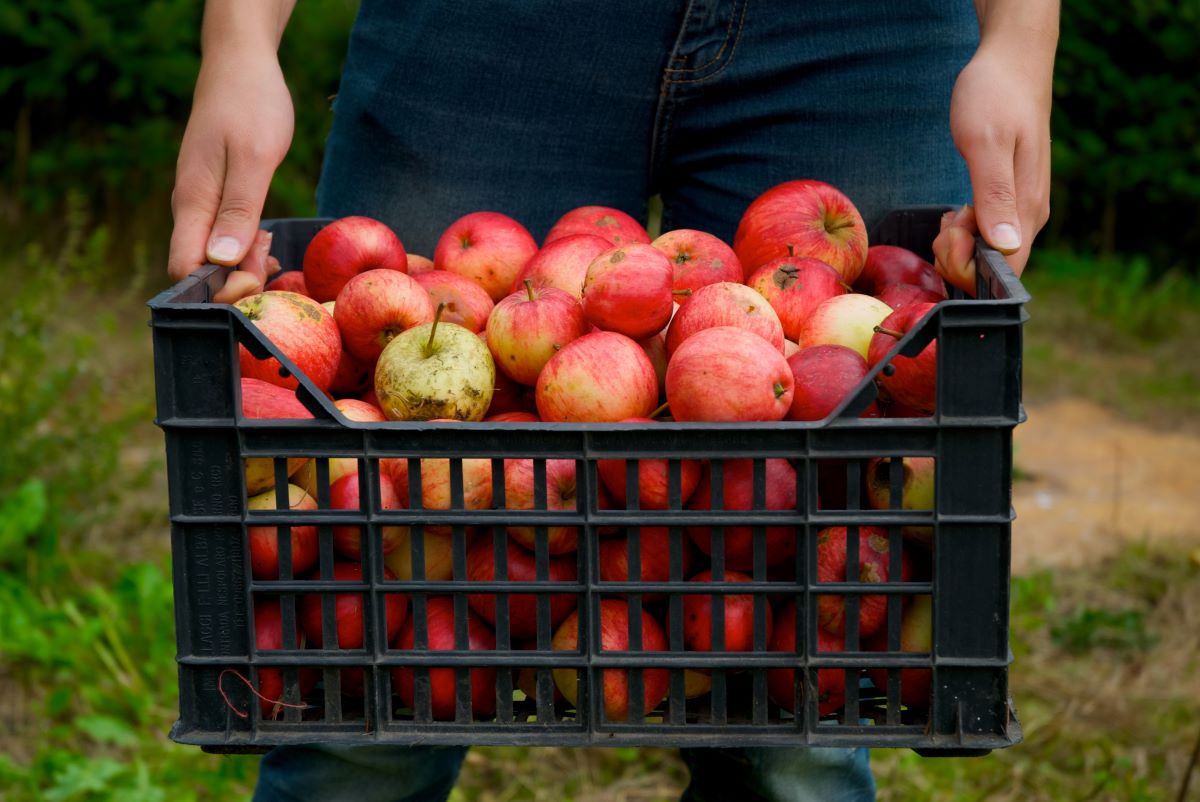
There’s nothing quite like the taste of freshly picked apples. Whether you’ve gone apple picking at a local orchard or harvested them from your own backyard, you know the joy of biting into a juicy, crisp apple that’s bursting with flavor. But what do you do when you have more apples than you can consume in a short period of time? Proper storage is key to preserving the freshness and quality of your freshly picked apples.
Storing apples may seem like a simple task, but if not done correctly, the apples can quickly lose their freshness, become mealy, or even spoil. In this article, we’ll guide you through the process of storing your freshly picked apples to ensure they stay delicious and enjoyable for as long as possible.
Before we dive into the details, it’s important to note that not all apple varieties have the same storage life. Some apples are better suited for long-term storage, while others are more suitable for immediate consumption. It’s essential to identify the type of apples you have and their recommended storage duration.
In the following steps, we’ll cover everything from choosing the right apples and preparing them for storage to selecting suitable containers and creating optimal storage conditions. We’ll also discuss how to check and sort stored apples regularly and provide tips for preventing them from ripening too quickly. Lastly, we’ll explore some fun and delicious ways you can use your stored apples in various recipes.
So let’s get started and make sure those freshly picked apples stay fresh and flavorful for weeks to come!
Key Takeaways:
- Store freshly picked apples by choosing the right variety, preparing them carefully, and creating optimal storage conditions. Regularly check, sort, and use them in delicious recipes to savor their natural sweetness year-round.
- Ensure the freshness of freshly picked apples by proper preparation, suitable storage containers, and ideal storage conditions. Regularly check, sort, and get creative with various recipes to enjoy their flavors in countless culinary creations.
Read more: How To Store Picked Apples
Step 1: Choosing the Right Apples
When it comes to storing apples, selecting the right variety is crucial. Not all apples are suitable for long-term storage, and some are better for immediate consumption. Here are a few factors to consider when choosing the right apples for storage:
- Variety: Certain apple varieties have a longer storage life than others. Varieties like Granny Smith, Honeycrisp, and Jonathan are known for their ability to stay fresh for an extended period. It’s a good idea to research the specific variety you have and its recommended storage duration.
- Ripeness: It’s important to choose apples that are ripe but not overripe. Overripe apples are more likely to spoil quickly, so look for apples that are firm and have a vibrant color. Avoid apples with bruises or significant blemishes, as they are more prone to spoilage.
- Size and Shape: While the size and shape of an apple may not affect its storage life, it’s worth considering for practical purposes. Uniform-sized apples will stack more easily in storage containers, saving space and making it easier to organize.
It’s also worth noting that apples may continue to ripen in storage, so if you prefer your apples slightly underripe, you can store them for longer.
When picking apples from an orchard, be gentle and handle them with care. Avoid dropping or mishandling the apples, as this can cause bruising and increase the chances of early spoilage.
Once you’ve chosen the right apples, it’s time to prepare them for storage. Let’s move on to the next step to learn how to do that effectively.
Step 2: Preparing the Apples for Storage
Properly preparing your apples before storing them is essential to maintain their freshness and quality throughout the storage period. Follow these steps to prepare your apples:
- Wash and Dry: Start by gently washing the apples with cool water to remove any dirt or debris. Avoid using any soaps or detergents, as they can leave a residue on the apples. After washing, ensure that the apples are completely dry before proceeding to the next step. Dampness can lead to premature spoilage and the growth of mold.
- Remove Stem and Leaves: Take a moment to remove the stems and any attached leaves from the apples. Leaving them intact may contribute to moisture retention and encourage spoilage. Simply twist or gently pull the stem to detach it from the apple.
- Inspect for Damage: Examine each apple carefully for any signs of damage, such as bruises, cuts, or soft spots. Damaged apples should be set aside and used for immediate consumption as they are more likely to spoil quickly.
- Sort by Ripeness: As mentioned earlier, apples may continue to ripen in storage. To prevent overripening, it’s a good idea to sort your apples based on their ripeness. Place the ripest apples that you plan to use first in a separate container for easy access.
By taking the time to properly prepare your apples, you are creating the optimal conditions for successful storage. Now that your apples are ready, let’s move on to the next step to learn about selecting the appropriate storage containers.
Step 3: Selecting the Appropriate Storage Container
Choosing the right storage container for your apples is critical to maintain their freshness and protect them from damage. Consider the following factors when selecting a storage container:
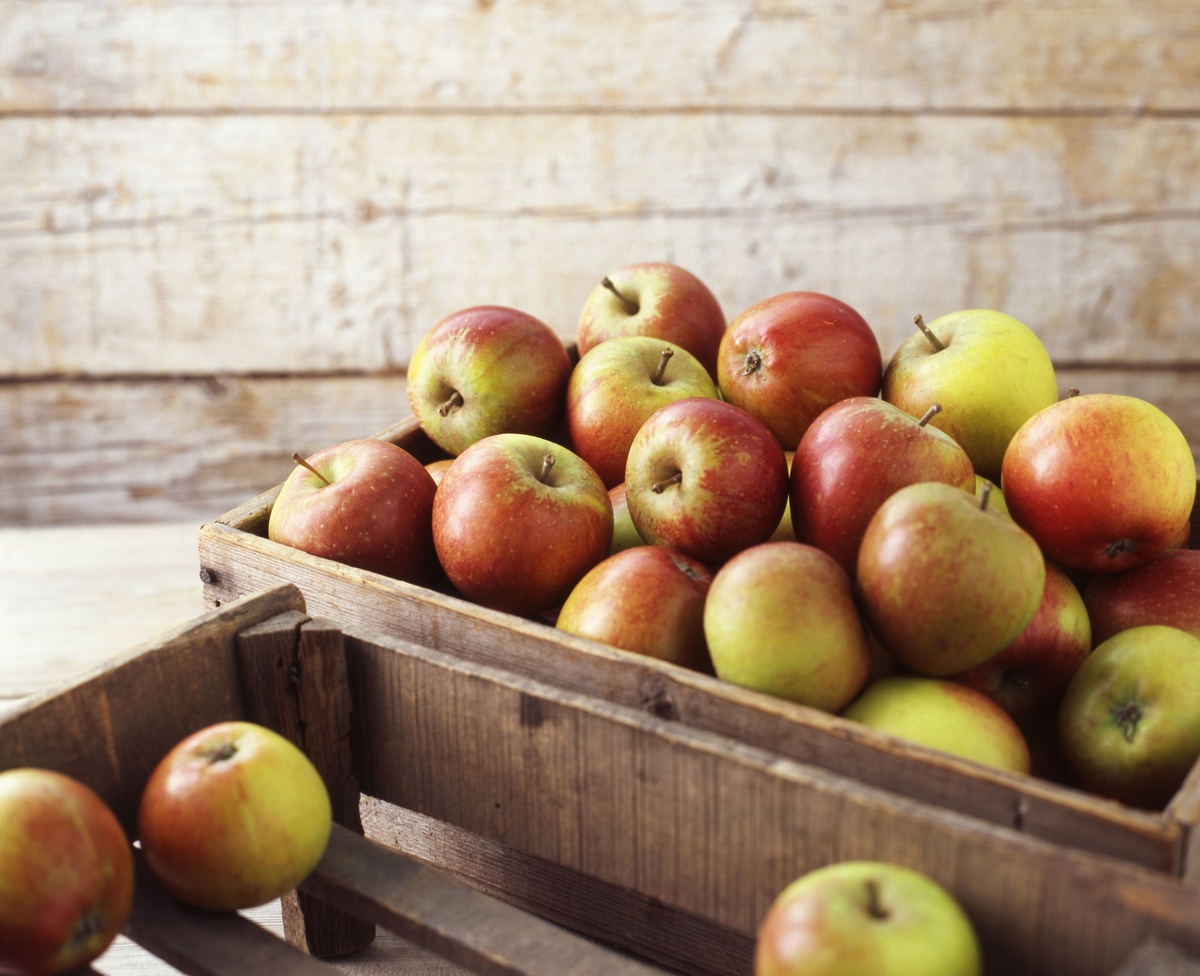
- Material: Opt for containers made of breathable materials to prevent moisture buildup. Wooden crates or baskets, mesh bags, or perforated plastic containers are good options, as they allow air circulation around the apples. Avoid airtight containers, as they can trap moisture and promote spoilage.
- Size: Select a container that can accommodate your desired quantity of apples while allowing them to be easily layered without excessive crowding. Overcrowding can accelerate spoilage by limiting airflow and causing bruising.
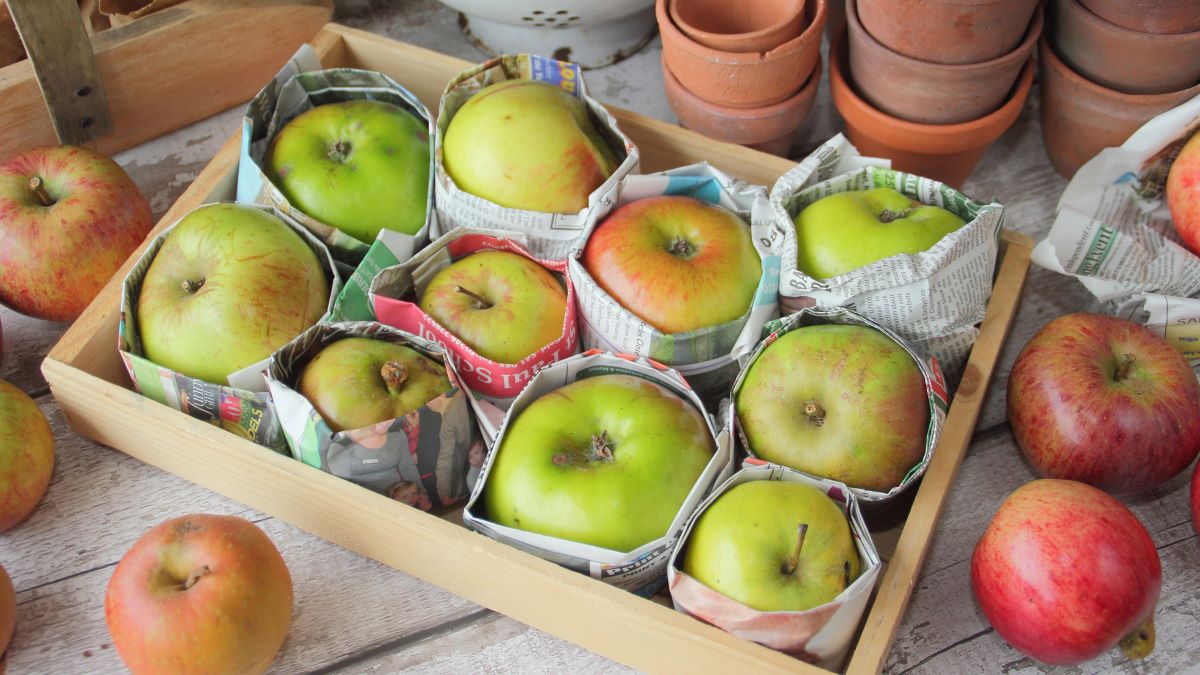
- Dividers: If you plan to store a considerable number of apples, consider using dividers within your storage container. These dividers can help compartmentalize the apples, preventing them from touching and potentially causing bruising or damage.
- Labeling: To keep track of the different apple varieties and their respective storage durations, consider labeling each container. This will ensure that you can easily identify and use the apples accordingly.
Once you have selected the appropriate storage container, ensure that it is clean and dry before placing your prepared apples inside. A clean container minimizes the risk of contamination and mold growth.
Now that your storage container is ready, let’s move on to the next step to learn about the ideal storage conditions for your apples.
Step 4: Storing Apples in a Cool and Dark Place
The storage conditions play a crucial role in determining how long your apples will stay fresh. Follow these steps to create an ideal environment for storing your apples:
- Temperature: Apples thrive in cool temperatures. Ideally, store your apples between 32 to 40 degrees Fahrenheit (0 to 4 degrees Celsius). Avoid storing them near heat sources or in areas that experience high temperatures, such as near ovens, stoves, or direct sunlight. Fluctuating temperatures can cause the apples to spoil quickly.
- Humidity: While it’s crucial to maintain a cool environment, the humidity level should be slightly higher to prevent the apples from drying out. Aim for a humidity range of 90-95%. You can achieve this by placing a damp cloth or a small tray of water near the storage container.
- Light: To preserve the quality of your apples, store them in a dark place. Exposure to light can cause the apples to deteriorate quickly and even promote the growth of sprouts.
- Location: Find a suitable location in your home for storing the apples. A basement, cellar, or a garage can often provide the cool and dark conditions required. Make sure that the storage area is clean, free from pests, and well-ventilated.
When placing your apples in the storage container, arrange them in a single layer if possible. This allows for better airflow and reduces the risk of bruising. If you need to stack the apples, place a layer of clean, breathable material, such as straw or newspaper, between each layer.
Remember to check the storage area regularly to ensure that the temperature and humidity levels remain stable. Any changes in the environment should be addressed promptly to maintain the freshness of the stored apples.
Now that your apples are safely stored in optimal conditions, let’s move on to the next step to discuss how to check and sort them regularly.
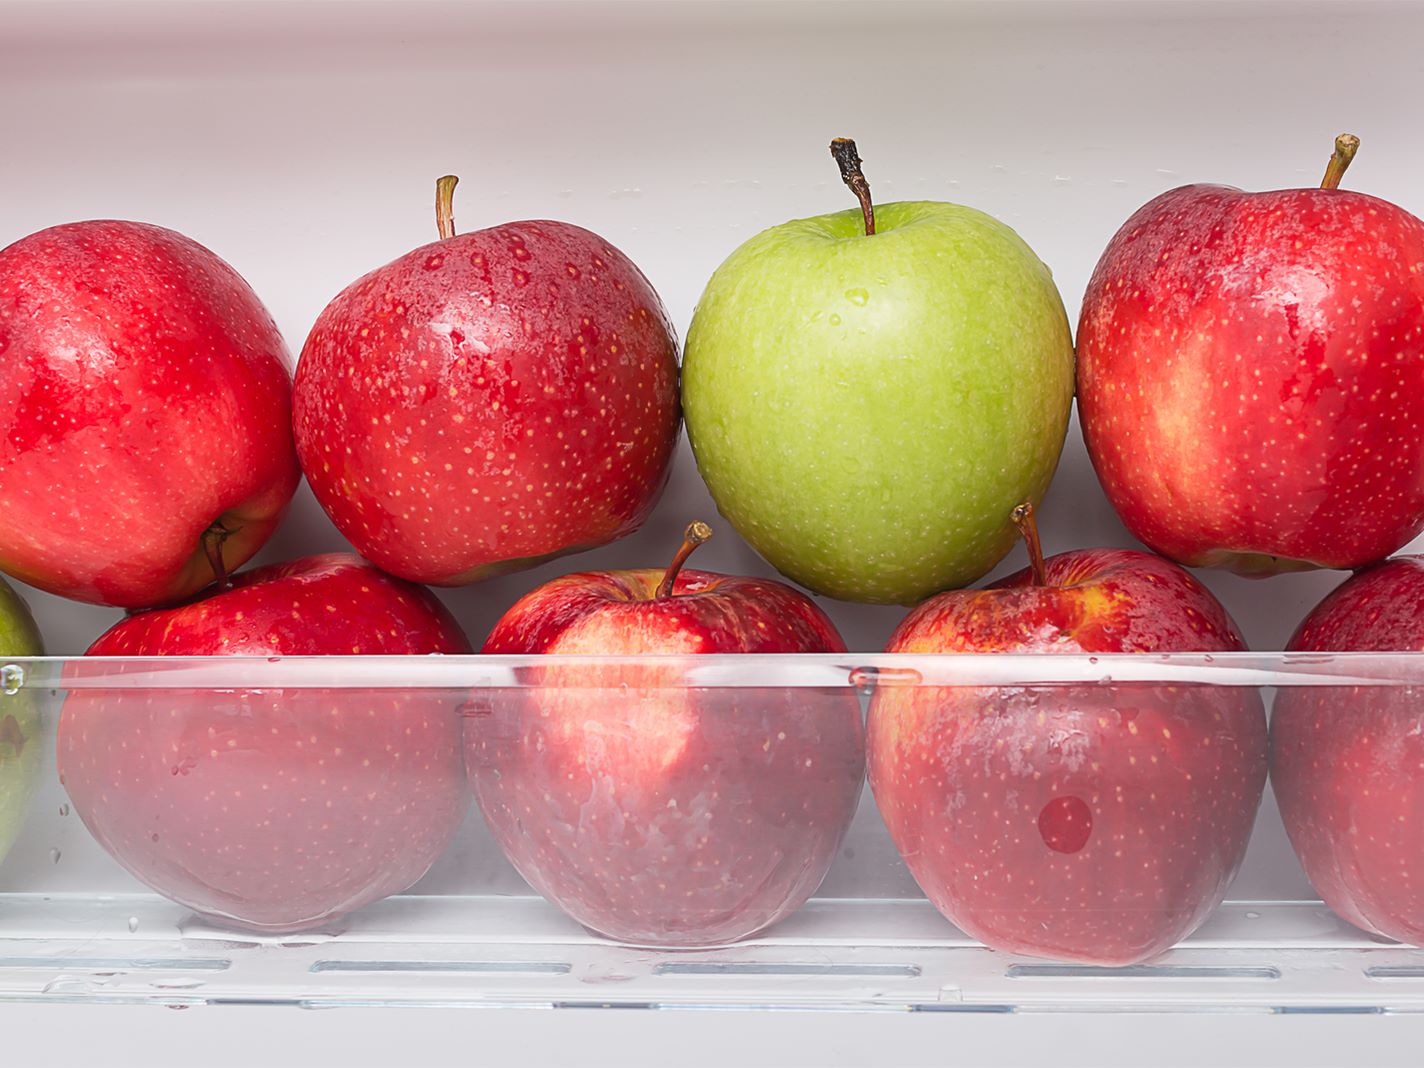
Store freshly picked apples in the refrigerator to help them stay fresh longer. Keep them in a perforated plastic bag to maintain humidity and prevent them from drying out.
Read more: How To Store Fresh Apples
Step 5: Checking and Sorting Stored Apples Regularly
Regularly checking and sorting your stored apples is crucial to maintaining their quality and freshness. Follow these steps to ensure your apples stay in optimal condition:
- Inspect for Spoilage: Periodically check your stored apples for any signs of spoilage, such as mold, soft spots, or a foul smell. Remove any spoiled apples immediately to prevent them from affecting the surrounding ones.
- Sort by Ripeness: As the storage period progresses, certain apples may become riper than others. Take the opportunity to sort the apples based on their ripeness levels. Use the ripest apples first and set aside the less ripe ones for later consumption.
- Avoid Overcrowding: Over time, the apples may naturally release ethylene gas, which can accelerate the ripening process. To prevent overripening and reduce the risk of bruising, ensure that the apples are not overcrowded in the storage container. Allow some space for air circulation between the apples.
- Rotate the Apples: To ensure that all the apples are exposed to even storage conditions, give them a gentle rotation during each inspection. This helps maintain their freshness and prevents any potential moisture buildup or bruising.
- Remove Any Damaged Apples: If you come across any apples that show signs of damage during your inspection, remove them immediately. Damaged apples can spoil quickly and affect the quality of the surrounding apples.
By regularly checking and sorting your stored apples, you can ensure that any issues are addressed promptly, and the remaining apples continue to stay fresh. Now that you know how to check and sort your apples, let’s move on to the next step to learn how to prevent them from ripening too quickly.
Step 6: Preventing Apples from Ripening Too Quickly
Apples naturally release a gas called ethylene, which can cause them to ripen and spoil more quickly. To prevent your stored apples from ripening too quickly, follow these steps:
- Separate Ripening Apples: As mentioned in the previous step, sorting your apples based on their ripeness is important. Keep the ripe apples separate from the less ripe ones. This helps to slow down the ripening process of the less ripe apples and allows you to use the ripe ones before they become overripe.
- Absorb Ethylene: Ethylene gas is the culprit behind accelerated ripening. To minimize its effects, place a small bowl of activated charcoal or baking soda near the storage containers. These materials can absorb the ethylene gas and help prolong the freshness of the apples.
- Avoid Mixing with Other Fruits: While it may be tempting to store your apples with other fruits, it’s best to keep them separate. Different fruits emit different levels of ethylene gas, and some fruits are more sensitive to it than others. Storing apples with other fruits can cause them to ripen faster or impact the flavor and texture of the other fruits.
- Avoid Temperature Fluctuations: Maintaining a stable and cool storage environment is crucial to preventing rapid ripening. Fluctuating temperatures can trigger the release of more ethylene gas and speed up the ripening process of the apples. Ensure that your storage area remains consistently cool and avoid exposing the apples to drastic temperature changes.
By following these steps, you can help prolong the shelf life of your stored apples and enjoy them at the optimal level of freshness. Now, let’s move on to the final step where we explore the various delicious ways you can use your stored apples in recipes.
Step 7: Using Stored Apples in Various Recipes
Now that you have successfully stored your apples and maintained their freshness, it’s time to put them to good use in a variety of delicious recipes. Here are some ideas to inspire you:
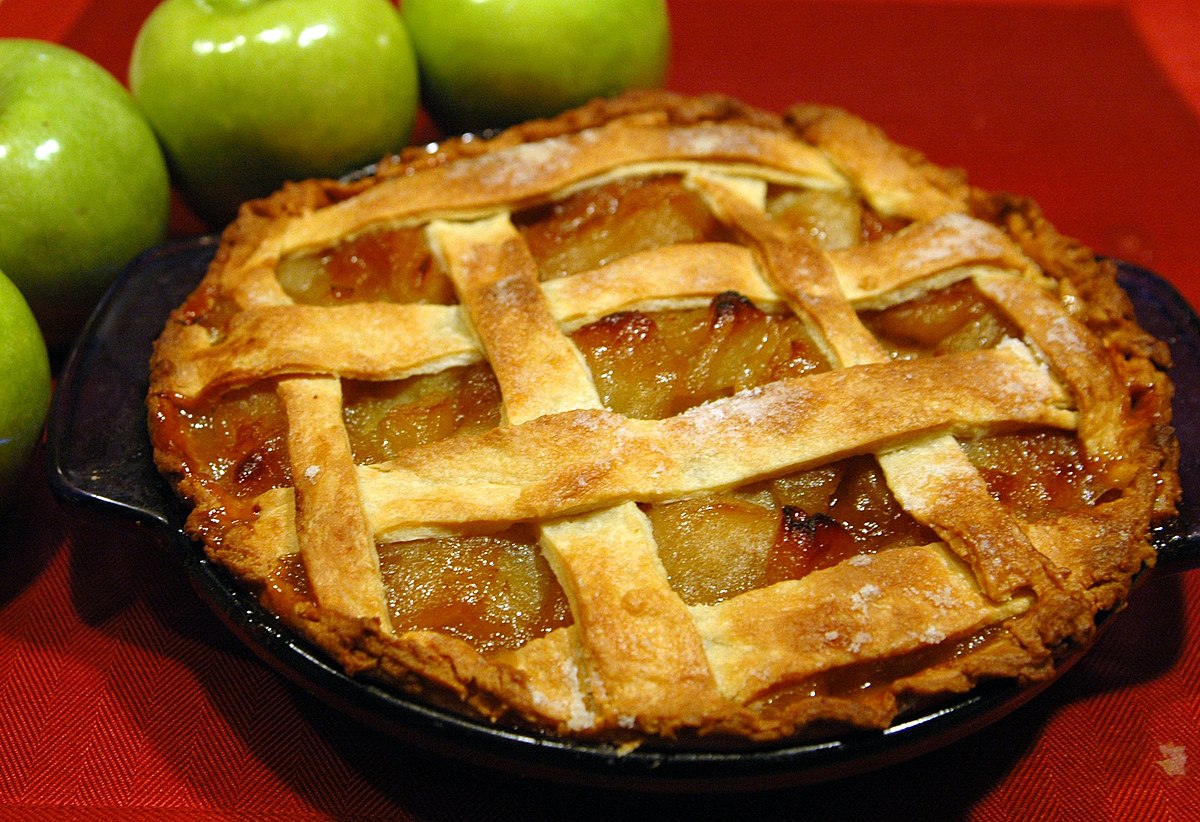
- Apple Pie: The classic apple pie is a timeless favorite. Use your stored apples to create a warm and aromatic pie with a flaky crust. Add a touch of cinnamon and nutmeg for a cozy fall flavor.
- Apple Crisp: Enjoy the sweet and tart flavors of your apples in a comforting apple crisp. Toss sliced apples with a crumbly mixture of flour, oats, brown sugar, and butter, and bake until golden and bubbly.
- Applesauce: Turn your apples into a homemade applesauce that can be enjoyed on its own, used as a topping for pancakes or yogurt, or incorporated into baking recipes. Simmer apples with a bit of water, sugar, and spices until soft, then blend until smooth.
- Caramel Apples: Take advantage of your stored apples by dipping them in rich and gooey caramel. Coat the apples with your favorite toppings, such as chopped nuts or sprinkles, for a fun and indulgent treat.
- Apple Salad: Combine crisp apple slices with a mix of greens, nuts, cheese, and a tangy vinaigrette for a refreshing and satisfying salad. This is a great way to incorporate the natural sweetness of apples into a savory dish.
- Apple Crumble: Similar to apple crisp, apple crumble features tender baked apples topped with a buttery crumble mixture of flour, sugar, and spices. Serve with a scoop of vanilla ice cream for a delightful dessert.
- Apple Butter: Transform your apples into a rich and velvety apple butter. Slow cook the apples with sugar, cinnamon, and other spices until they reduce and thicken into a smooth spread. Enjoy it on toast or as a filling for pastries.
These are just a few ideas to get you started, but the possibilities are endless when it comes to cooking and baking with your stored apples. Don’t be afraid to get creative and experiment with different recipes to fully enjoy the flavors of your freshly picked apples.
With these steps as your guide, you can successfully store your freshly picked apples and make the most out of their natural sweetness in a variety of culinary creations. Enjoy the fruits of your labor and savor the taste of those delicious apples year-round!
HTML Output is limited to 500 characters.
Conclusion
Congratulations! You have now learned the essential steps to store freshly picked apples and ensure their freshness for an extended period. By choosing the right apples, preparing them properly, selecting suitable storage containers, and creating optimal storage conditions, you can maintain the crispness and flavor of your apples for weeks to come.
Regularly checking and sorting your stored apples, as well as implementing measures to prevent rapid ripening, will help prolong their shelf life and prevent spoilage. And let’s not forget the best part – using your stored apples in a variety of delicious recipes! From apple pie to applesauce to caramel apples, there are countless ways to enjoy the flavors and versatility of stored apples in your culinary creations.
Remember to be creative and have fun experimenting with different recipes. The natural sweetness and refreshing taste of your stored apples will add a touch of magic to every dish. So go ahead, dive into the world of apple-inspired cooking and baking, and savor the fruits of your labor throughout the year.
By following these steps and leveraging the natural beauty of freshly picked apples, you can enjoy their delectable taste and reap the rewards of a bountiful harvest. So gather your apples, put your newfound knowledge into practice, and savor the joy that comes with storing and using your freshly picked apples!
HTML Output is limited to 500 characters.
Frequently Asked Questions about How To Store Freshly Picked Apples
Was this page helpful?
At Storables.com, we guarantee accurate and reliable information. Our content, validated by Expert Board Contributors, is crafted following stringent Editorial Policies. We're committed to providing you with well-researched, expert-backed insights for all your informational needs.

0 thoughts on “How To Store Freshly Picked Apples”