Articles
How To Store Apples At Home
Modified: August 24, 2024
Learn how to store apples at home with our informative articles. Find the best techniques to keep your apples fresh and delicious for longer.
(Many of the links in this article redirect to a specific reviewed product. Your purchase of these products through affiliate links helps to generate commission for Storables.com, at no extra cost. Learn more)
Introduction
Welcome to the world of apple storage! If you’re a fan of apples and want to enjoy them for an extended period, it’s essential to know how to store them properly. Whether you have a surplus from your own apple tree or simply bought a bulk supply from the local farmer’s market, storing apples correctly can help preserve their freshness and flavor.
Apples are a versatile fruit that can be enjoyed in various ways, from eating them fresh to using them in pies, sauces, and other delicious recipes. However, to get the most out of your apples, it’s crucial to understand how to store them at home. Proper apple storage can prolong their shelf life, prevent spoilage, and maintain their crispness and juiciness.
In this article, we’ll guide you through the steps to store apples at home effectively. We’ll cover topics such as selecting the right apples for storage, preparing them for storage, choosing the ideal storage location, and ways to check and rotate the apples to ensure they stay fresh for as long as possible.
So, if you’re ready to embark on this apple storage journey, let’s dive in and learn how to keep your apples in top-notch condition!
Key Takeaways:
- Properly storing apples at home involves choosing the right varieties, preparing them meticulously, and selecting the ideal storage location to maintain their freshness and flavor for an extended period. Get ready to embark on a rewarding apple storage journey!
- Regularly checking, rotating, and creatively using stored apples ensures minimal wastage and maximum enjoyment. From snacking on fresh apples to creating delectable recipes, make the most of your apple harvest and savor the bountiful rewards of your efforts.
Read more: How To Store Apple
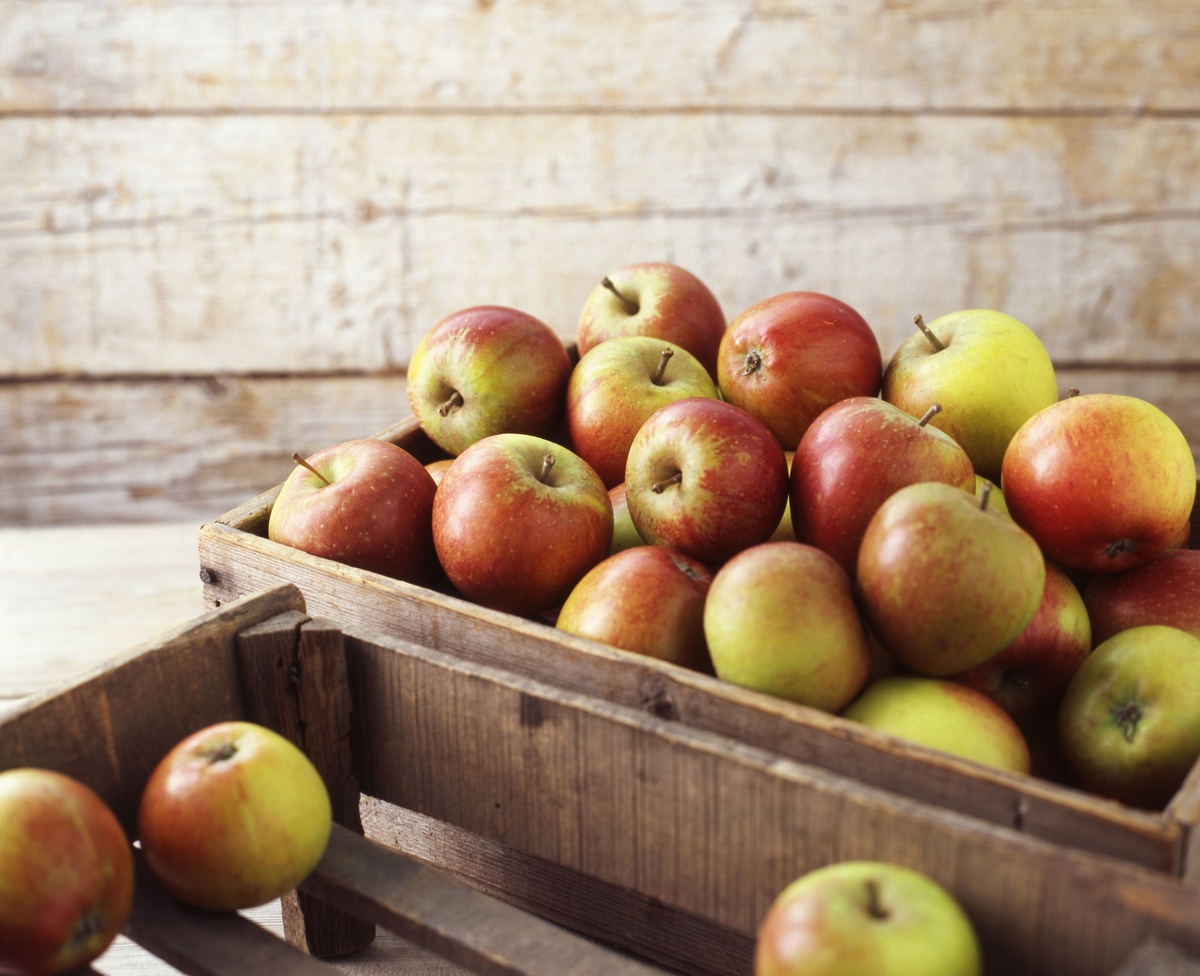
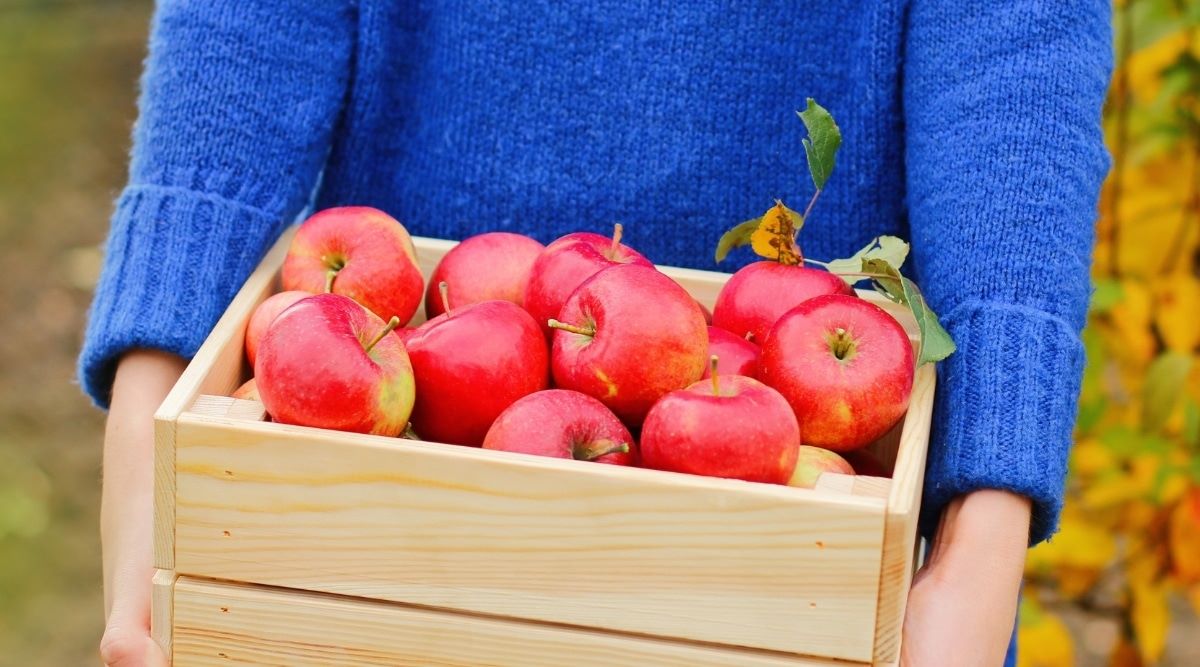
Choosing the Right Apples
When it comes to storing apples, not all varieties are created equal. Some apples are better suited for long-term storage, while others are best enjoyed immediately. To choose the right apples for storage, here are a few key considerations:
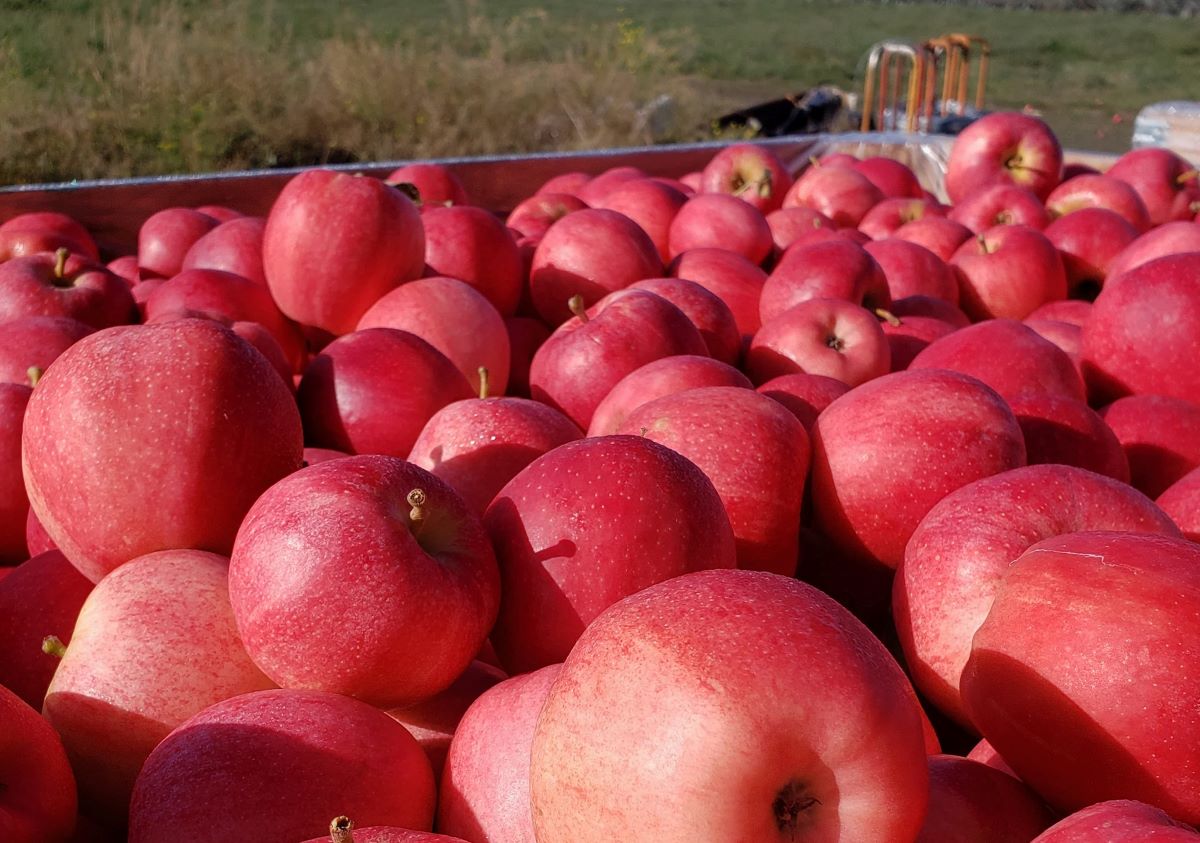
- Choose late-season apples: Late-season apples tend to have a thicker skin and higher sugar content, which makes them better candidates for storage. Varieties like Fuji, Granny Smith, and Rome apples are excellent choices for long-term storage.
- Look for firmness: Select apples that feel firm when gently pressed. Avoid apples with soft spots or bruises, as they are more likely to deteriorate quickly.
- Consider acidity: Apples with higher acidity levels, such as Granny Smith, tend to have a longer shelf life. The acid acts as a natural preservative, helping to slow down the ripening process and preventing spoilage.
- Avoid overly ripe apples: It’s best to avoid storing apples that are already very ripe. These apples are more prone to spoiling and can affect the quality of other apples stored with them.
Remember that different apple varieties have different flavors and textures, so consider your personal preferences when selecting apples for storage. If you plan on using stored apples for cooking or baking, choose varieties that hold their shape and texture well during the cooking process.
Once you’ve chosen the right apples, it’s time to prepare them for storage.
Preparing Apples for Storage
To ensure that your apples stay fresh and retain their quality during storage, it’s crucial to properly prepare them beforehand. Follow these steps to prepare your apples for storage:
- Wash and dry: Start by giving your apples a gentle wash to remove any dirt or debris. Use cold water and a soft brush if necessary. After washing, thoroughly dry the apples with a clean towel. Moisture on the surface can lead to premature rotting, so make sure they’re completely dry before storing.
- Inspect for damage: Carefully inspect each apple for any signs of damage or decay. Remove any apples with bruises, cuts, or soft spots. Damaged apples can quickly spoil and affect the surrounding apples, so it’s essential to remove them from the batch.
- Consider waxing: While not necessary, waxing the apples can help extend their shelf life. Food-grade wax forms a protective coating around the apple, reducing moisture loss and slowing down spoilage. You can find food-safe wax at your local grocery store.
- Sort by size: If you have different-sized apples, it’s a good idea to sort them before storage. This makes it easier to check and rotate the apples later on, ensuring that they’re used in the proper order.
- Handle with care: It’s important to handle the apples gently to avoid bruising or damaging them. Place them in a single layer in a sturdy container or basket, making sure there is enough space between the apples to allow for airflow.
By taking the time to properly prepare your apples, you’re setting them up for successful storage. Now that your apples are ready, let’s explore the best storage locations for them.
Choosing the Right Storage Location
Now that your apples are prepared for storage, it’s important to find the ideal location to keep them fresh and tasty. Here are a few factors to consider when choosing the right storage location:
- Temperature: Apples generally store well in cool temperatures. The optimal range is between 30 to 40 degrees Fahrenheit (-1 to 4 degrees Celsius). Avoid storing apples in areas that are too cold, such as the freezer, as it can cause the apples to become soft and lose their texture.
- Humidity: Apples prefer a moderate level of humidity. Aim for a humidity level of around 90 to 95%. This helps prevent the apples from drying out while reducing the risk of mold growth. In dry climates, consider using a humidifier or placing a bowl of water near the storage area to maintain adequate humidity.
- Avoid direct sunlight: Apples should be stored in a location away from direct sunlight. Sunlight can cause the apples to ripen too quickly and can lead to discoloration and loss of flavor.
- Ventilation: Apples need proper airflow to maintain their freshness. Choose a storage location that has good ventilation to prevent the buildup of trapped moisture, which can promote spoilage. Avoid storing apples in airtight containers or plastic bags that restrict airflow.
- Away from strong odors: Apples can absorb odors from nearby strong-smelling foods, so it’s best to store them away from pungent items like onions or garlic. This helps preserve the natural flavors of the apples.
Take a moment to evaluate your home and find the ideal location that meets these criteria. A cool basement, cellar, or unheated garage can often serve as suitable storage areas for apples. If you don’t have access to these spaces, consider storing them in the refrigerator.
Next, we’ll explore the different methods of storing apples, including using the refrigerator and a cool, dark place.
Storing Apples in the Refrigerator
If you have limited storage space or want to extend the shelf life of your apples, storing them in the refrigerator is a great option. Here are the steps to store apples in the refrigerator:
- Prep the apples: Make sure your apples are properly prepared by following the earlier steps of washing, drying, and inspecting them.
- Choose a breathable container: Select a breathable container, such as a perforated plastic bag or a paper bag, to store the apples in. These types of containers allow for some airflow while preventing moisture buildup.
- Place apples in the refrigerator: Arrange the apples in a single layer in the breathable container, making sure not to overcrowd them. Overcrowding can lead to accelerated ripening and potential spoilage.
- Select the coldest spot: Locate the coldest section of your refrigerator, usually the crisper drawer, and place the container of apples inside. This will ensure a more consistent temperature and help maintain the freshness of the apples.
- Monitor the apples: Regularly check the apples for any signs of decay or spoilage. Remove any apples that show signs of deterioration to prevent the spread of mold or rot to the other apples.
- Use within a few weeks: Apples stored in the refrigerator can typically stay fresh for up to a few weeks. However, keep in mind that the longer they are stored, the more their texture and flavor may diminish.
Storing apples in the refrigerator can help slow down the ripening process, keeping them crisp and fresh for a longer period. However, if you have a larger quantity of apples or prefer a different storage method, continue reading to learn about storing apples in a cool, dark place.
Store apples in the crisper drawer of the refrigerator to keep them fresh for longer. Keep them away from other fruits and vegetables as they release ethylene gas, which can cause apples to ripen faster.
Read more: How To Store Apples In Fridge
Storing Apples in a Cool, Dark Place
If you have ample space and prefer a more traditional method of apple storage, keeping them in a cool, dark place is an excellent option. Here’s how you can store apples in a cool, dark location:
- Prep the apples: Make sure your apples are clean, dry, and free from any visible damage.
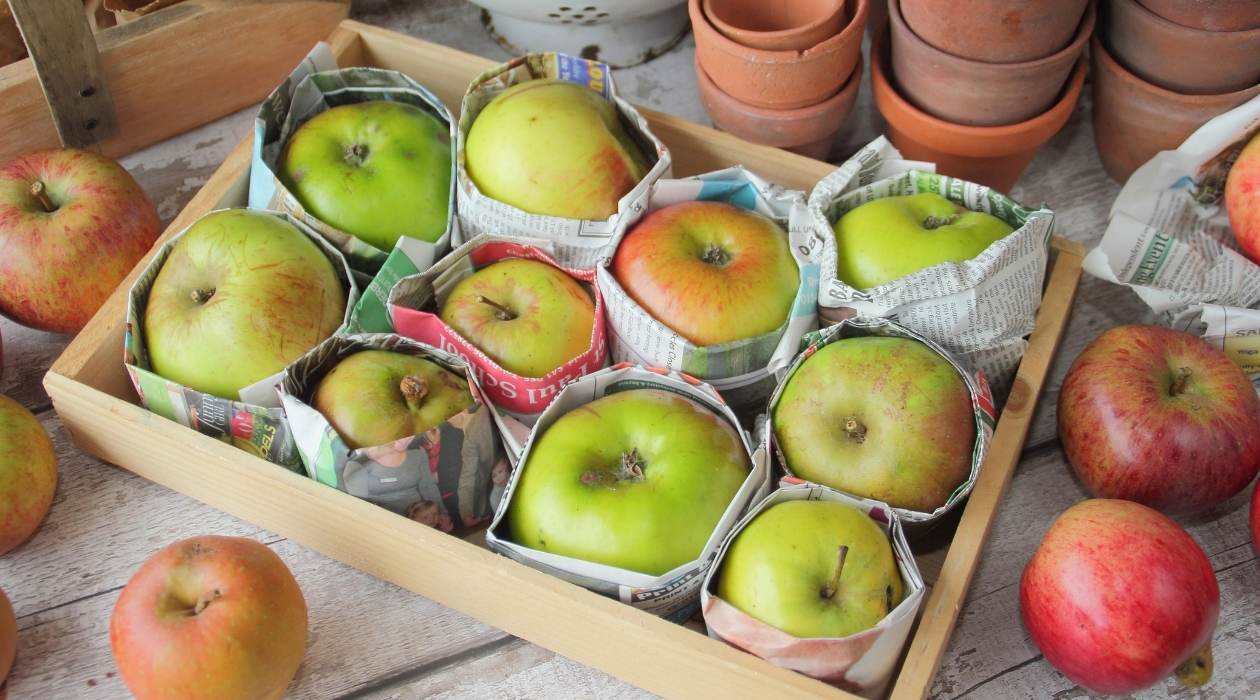
- Find the right storage containers: Choose sturdy containers such as bushel baskets, wooden crates, or even cardboard boxes. Ensure that the containers have good airflow to prevent moisture buildup.
- Layer the apples: Place a layer of apples in the container, making sure they don’t touch each other. To prevent possible spoilage, separate any varieties that are prone to rotting from others.
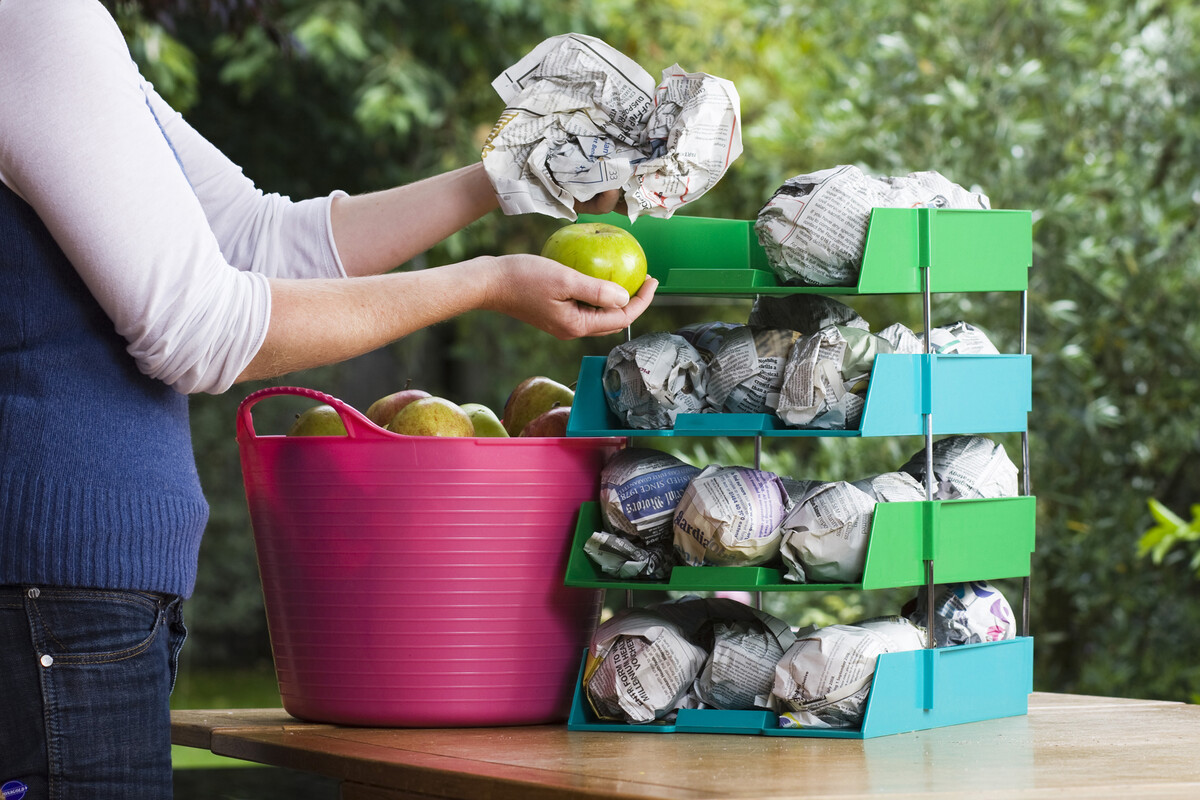
- Add dividers: Consider using dividers or layers of newspaper between the apples to prevent them from bruising and touching each other.
- Store in a cool, dark place: Find a cool storage area like a basement, cellar, or unheated garage. Aim for a temperature range of 30 to 40 degrees Fahrenheit (-1 to 4 degrees Celsius). Avoid areas with excessive light or fluctuations in temperature.
- Monitor and rotate: Check the apples regularly for any signs of spoilage or decay. Remove any damaged apples to prevent them from affecting the others. Additionally, rotate the apples occasionally to ensure they are used in the proper order.
- Avoid strong odors: Keep the apples away from strong-smelling items as they can absorb odors easily, affecting the flavor and quality of the fruit.
By storing apples in a cool, dark place, you create a favorable environment for longevity. The natural airflow and consistent temperature help slow down the ripening process and maintain the crispness of the apples.
Remember, regardless of the storage method you choose, it’s important to regularly check on your apples and remove any spoiling ones to prevent them from affecting the rest. Now that you have stored the apples, how can you ensure they are used before they spoil? Read on to find out.
Checking and Rotating Apples
Once you have stored your apples, it’s essential to regularly monitor them to ensure they are in good condition and use them before they spoil. Here are some tips for checking and rotating your stored apples:
- Inspect regularly: Take the time to inspect your stored apples at least once a week. Look for any signs of decay, such as soft spots, mold, or wrinkling. Remove any apples showing these signs immediately to prevent the spread of spoilage.
- Rotate the apples: To ensure that all your stored apples are used in the proper order, rotate them regularly. Move the apples from the bottom to the top or from the back to the front of the storage containers. This helps ensure that older apples are used first, reducing the risk of spoilage.
- Check for ripeness: As you rotate the apples, check for ripeness by gently pressing the flesh near the stem. Apples that yield slightly to the touch are ready to be enjoyed, while those that feel soft or mushy should be used immediately or discarded.
- Use bruised apples first: Apples that have suffered bruises or minor damage should be used before the undamaged ones. Bruised apples are more prone to spoilage and can affect the quality of the surrounding apples, so it’s best to use them as soon as possible.
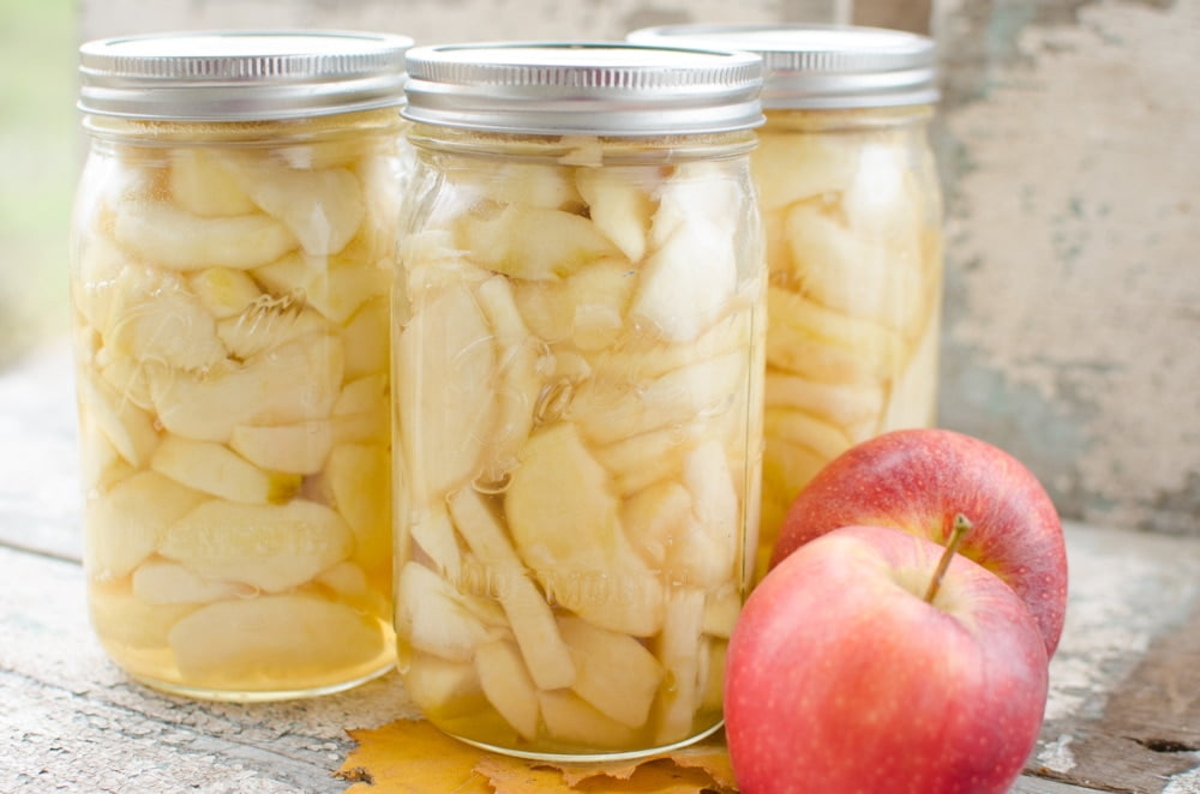
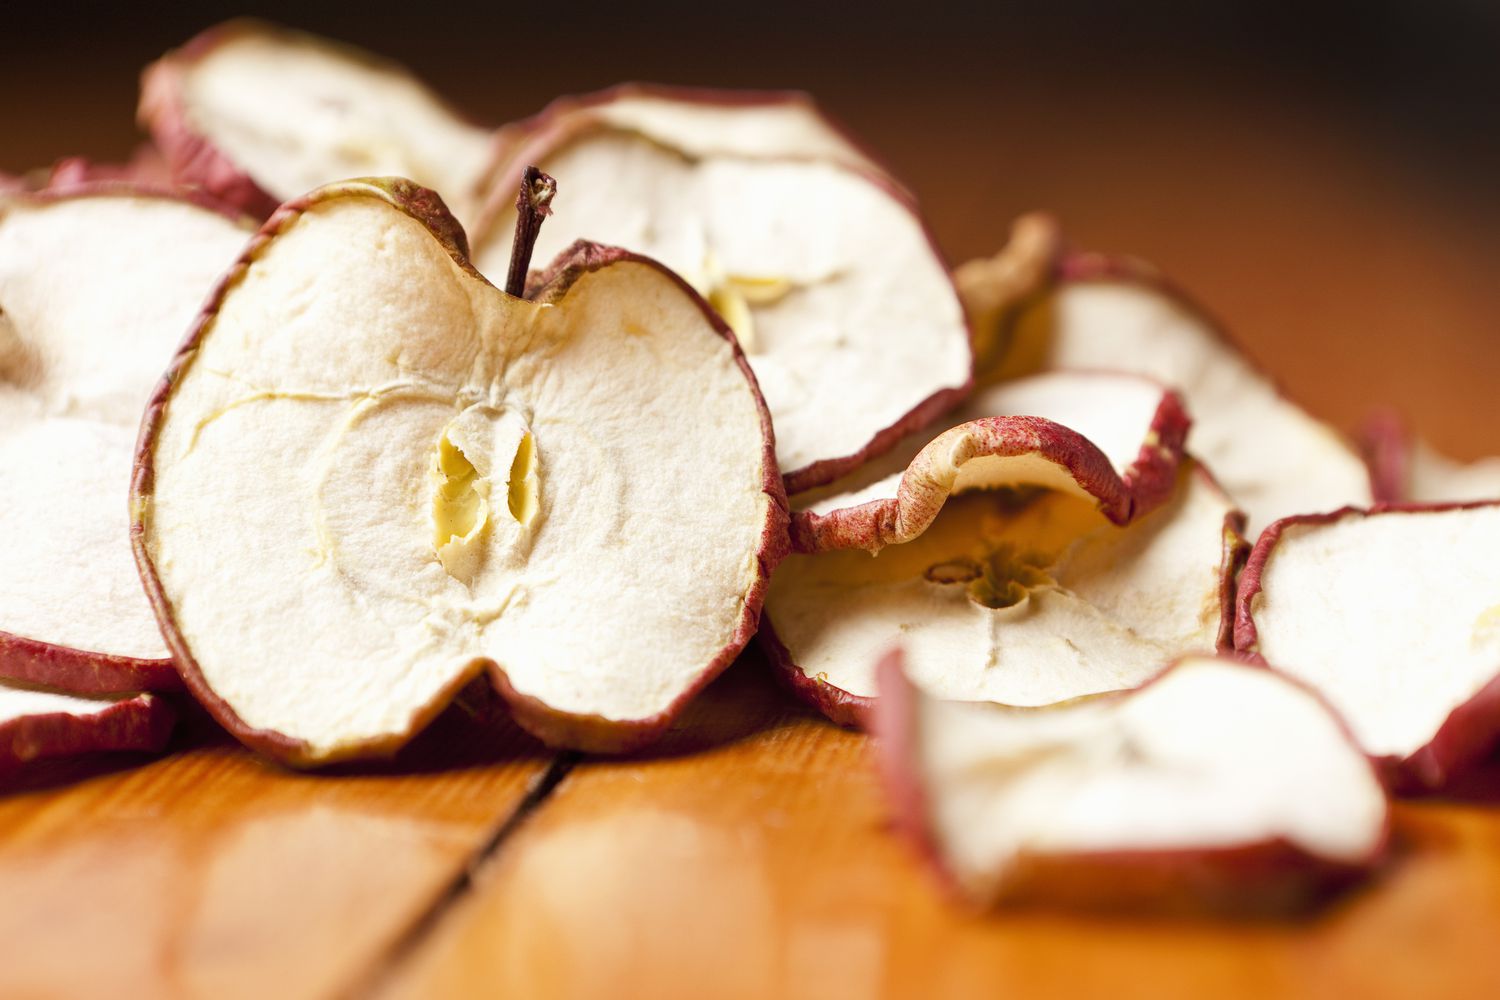
- Consider preserving or cooking: If you have a surplus of apples that you can’t consume before they spoil, consider preserving them by making applesauce, apple butter, or apple pie filling. These can be stored for longer periods and enjoyed at a later time.
By regularly checking and rotating your stored apples, you can ensure that they are used at their peak freshness and minimize wastage. Remember, the quality and longevity of stored apples may vary depending on the variety and storage conditions, so it’s important to be diligent in maintaining their quality.
Now that we’ve covered the essential steps for storing and managing your apples, you’re ready to enjoy the delicious fruits of your labor!
Using Apples Before They Spoil
Apples are a versatile fruit that can be enjoyed in numerous ways, from snacking on them fresh to incorporating them into various recipes. To make the most of your stored apples and prevent them from spoiling, here are some tips for using them effectively:
- Enjoy fresh: Apples are incredibly refreshing when eaten fresh. Take the opportunity to snack on them as a healthy and delicious treat throughout the day. Enjoy the crisp texture and natural sweetness of the fruit.
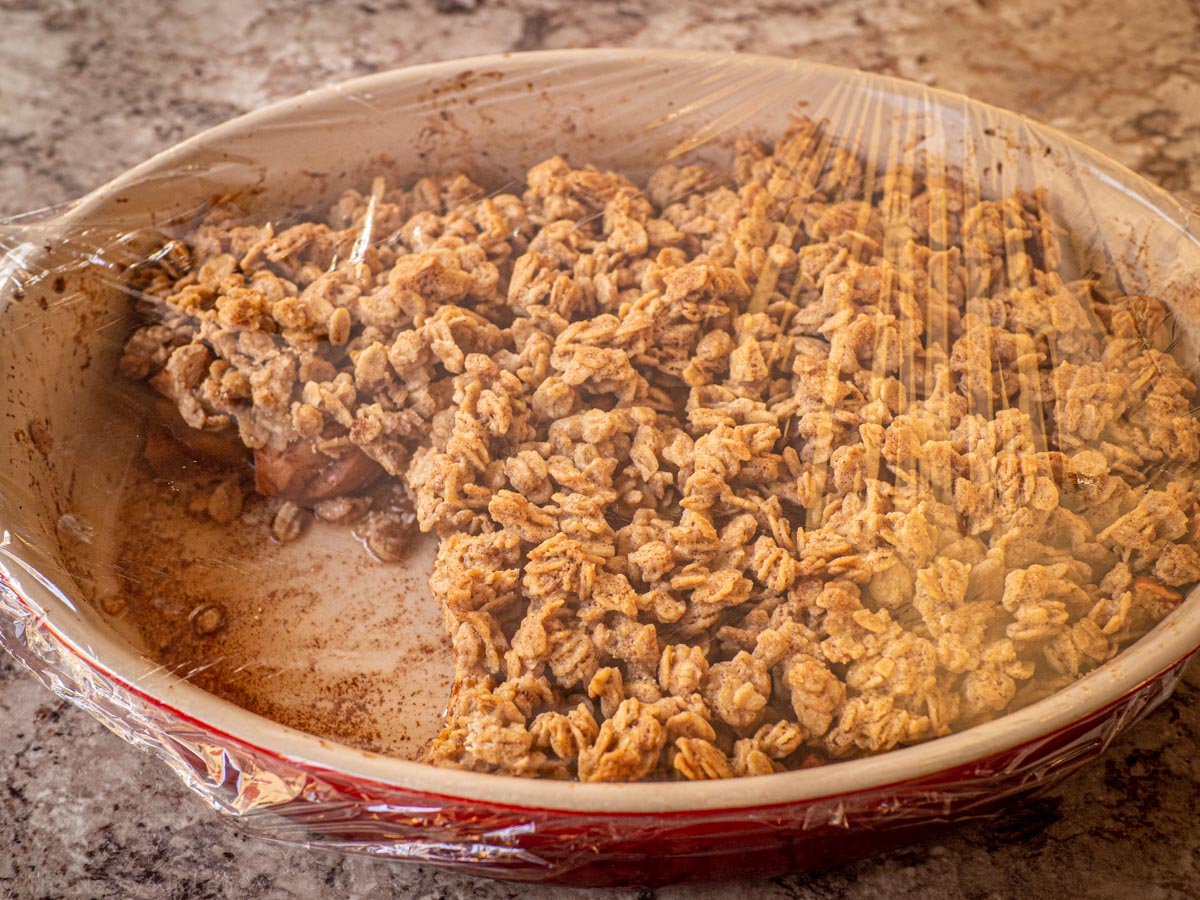
- Cook up a storm: Apples are fantastic ingredients for a wide range of culinary creations. From apple pies, apple crisps, and apple strudels to applesauce, apple muffins, and apple tarts, the possibilities are endless. Incorporate apples into your favorite recipes to savor their delightful flavor.
- Make homemade apple juice or cider: If you have an abundance of apples, consider making your own apple juice or cider. Use a juicer or blender to extract the juice and enjoy a refreshing and nutritious beverage.
- Preserve through canning or freezing: If you’re unable to use all your apples before they start to spoil, consider preserving them for later use. Canning or freezing apples allows you to enjoy them throughout the year. Slice or chop the apples and follow proper preserving techniques to maintain their quality.
- Share with others: If you find yourself with more apples than you can use, consider sharing them with family, friends, or neighbors. Spread the joy of fresh, flavorful apples and contribute to minimizing food waste.
By actively using your stored apples before they spoil, you not only get to savor their natural goodness but also make the most of your efforts in storing them properly. Experiment with different recipes and techniques to fully enjoy the versatility of this delightful fruit.
Remember, when using stored apples, always check for ripeness and any signs of spoilage before incorporating them into your dishes. By utilizing your apples creatively and in a timely manner, you ensure that none of their enticing flavors and nutrients go to waste.
Now that you’re armed with the knowledge of storing and utilizing apples, it’s time to put it into practice and savor the bountiful rewards of your apple storage endeavors.
Happy apple storing and usage!
Conclusion
Congratulations! You’ve now learned how to store apples at home effectively. By choosing the right apples, preparing them properly, selecting the ideal storage location, and staying mindful of checking and rotating the apples, you can extend their shelf life and maintain their freshness and flavor.
Whether you store your apples in the refrigerator or a cool, dark place, be sure to follow the recommended temperature and humidity guidelines. Regularly inspect your apples and remove any spoiled ones to prevent them from affecting the rest. And remember, there are numerous ways to enjoy your stored apples, from eating them fresh to using them in a variety of mouthwatering recipes.
By implementing these storage techniques, you can make the most of your apple harvest or bulk purchase, reducing waste and ensuring you have a supply of delicious apples for weeks or even months to come.
So don’t let those apples go to waste. Get creative in the kitchen, share them with others, and savor the wonderful flavors and textures that apples have to offer. Remember, the journey of storing and using apples is not only practical but also rewarding as you indulge in the fruits of your labor.
Now it’s time to get started. So go ahead, select those perfect apples, prepare them for storage, and embark on a delightful apple-storage adventure. Enjoy the abundance of flavors, the crispness of each bite, and the joy of preserving nature’s goodness.
Happy apple storing!
Frequently Asked Questions about How To Store Apples At Home
Was this page helpful?
At Storables.com, we guarantee accurate and reliable information. Our content, validated by Expert Board Contributors, is crafted following stringent Editorial Policies. We're committed to providing you with well-researched, expert-backed insights for all your informational needs.


0 thoughts on “How To Store Apples At Home”