Articles
How To Store Garlic Scapes In The Fridge
Modified: February 23, 2024
Learn how to store garlic scapes in the fridge to keep them fresh and flavorful for longer. Follow these simple tips and tricks in our informative articles.
(Many of the links in this article redirect to a specific reviewed product. Your purchase of these products through affiliate links helps to generate commission for Storables.com, at no extra cost. Learn more)
Introduction
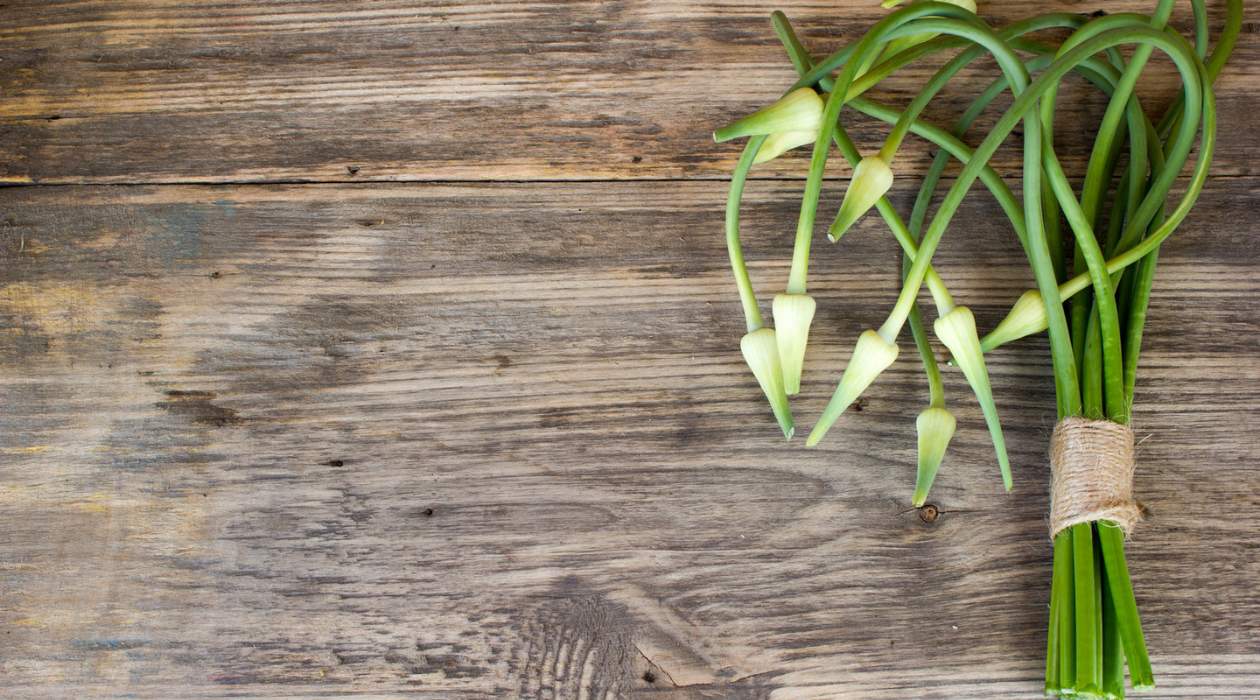
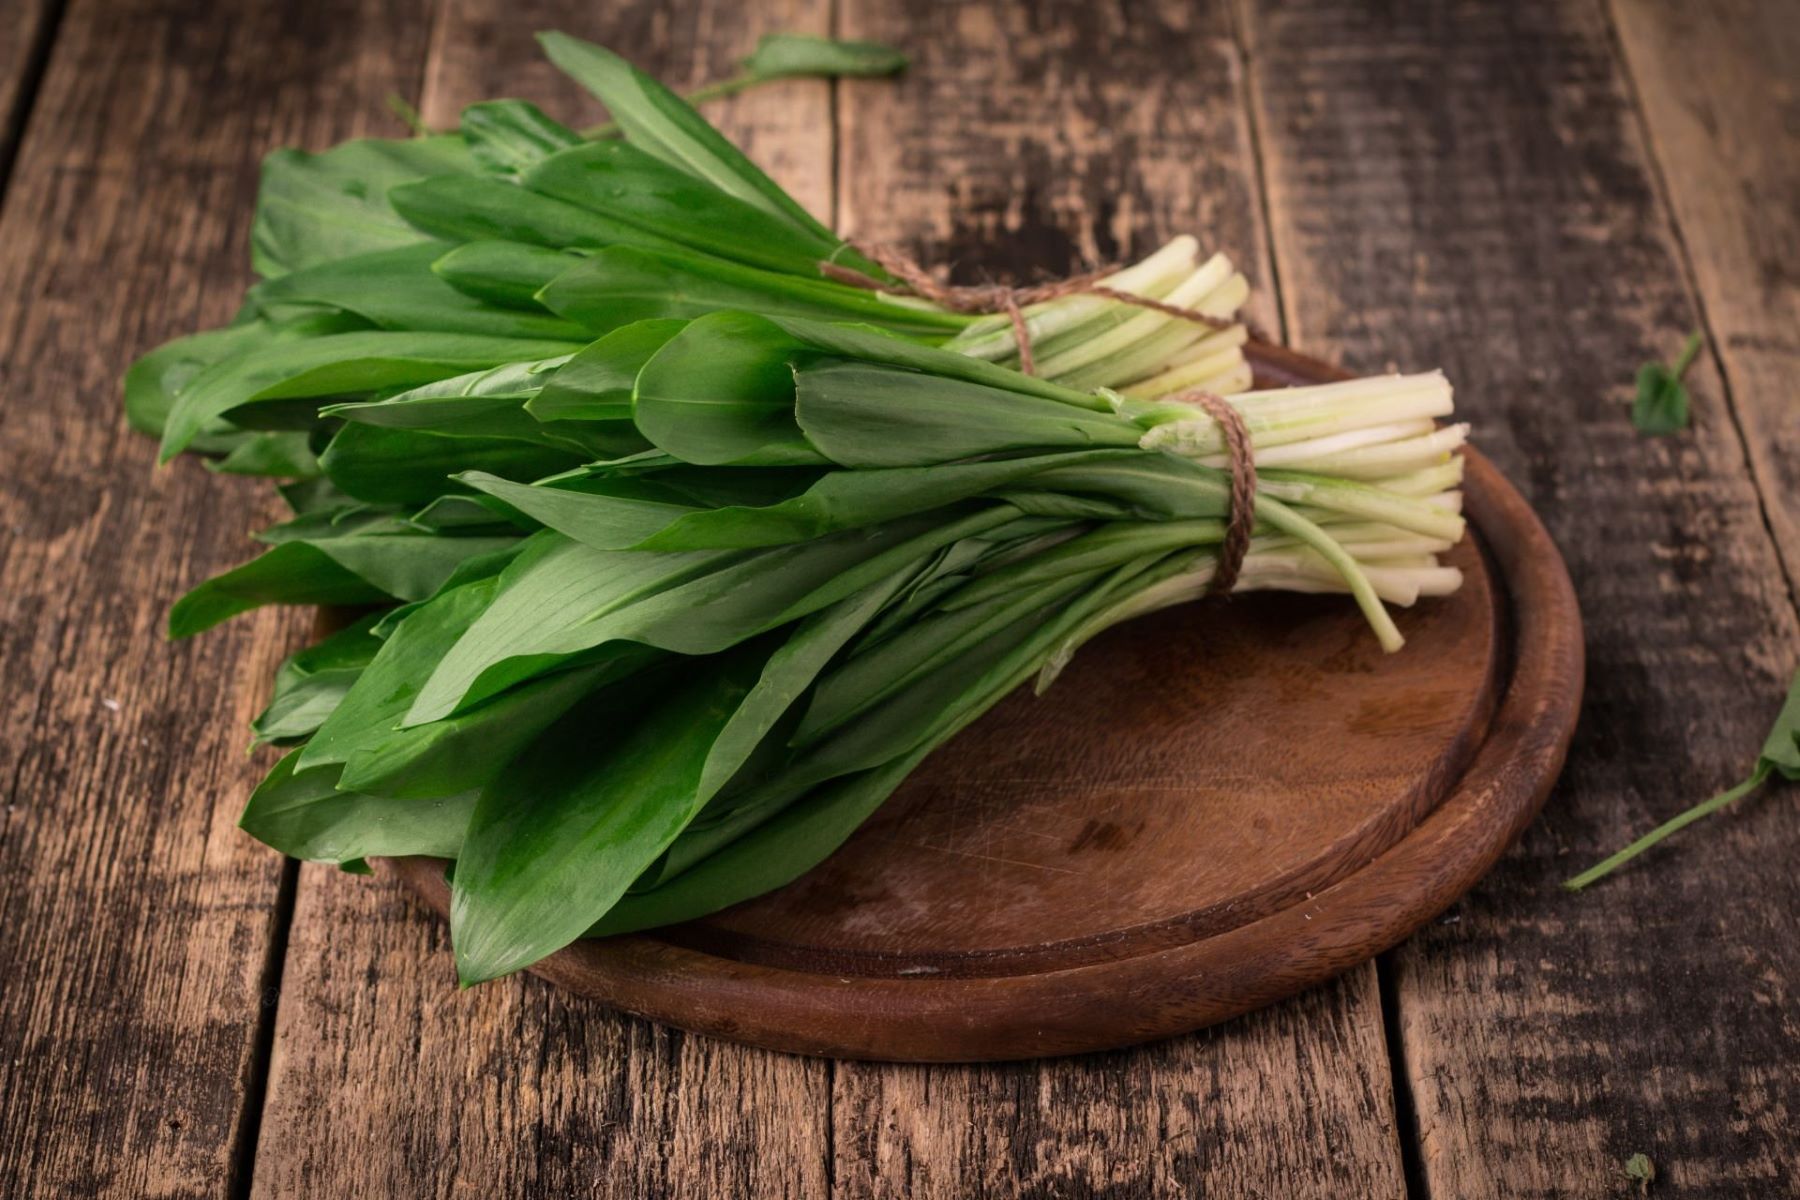
Garlic scapes are the curled shoots that emerge from the tops of garlic plants. These vibrant green, delicately flavored stalks are a delightful addition to any dish. But what happens when you have more garlic scapes than you can use immediately? Properly storing garlic scapes in the fridge can help extend their shelf life, allowing you to enjoy their unique flavor and texture for longer.
In this article, we will explore the reasons why you should consider storing garlic scapes, as well as different methods for doing so. Whether you want to preserve your harvest or have leftover scapes from the market, these simple storing methods will ensure that your garlic scapes stay fresh and retain their quality.
Before diving into the various storage methods, it’s important to understand why storing garlic scapes in the fridge is beneficial. Garlic scapes are delicate and have a relatively short shelf life. If left at room temperature, they can wilt and become less appetizing, losing their crunch and flavor. By storing them properly in the fridge, you can slow down the natural aging process and preserve their freshness, texture, and taste.
Not only does proper storage keep garlic scapes fresh, but it also allows you to have them readily available whenever you need them. Whether you plan to use them in a stir-fry, pesto, or as a garnish for salads, having stored garlic scapes at hand makes meal preparation much more convenient and enjoyable.
Now that you understand the importance of storing garlic scapes, let’s move on to the next section, where we’ll discuss how to choose and prepare garlic scapes for storage.
Key Takeaways:
- Extend the life of your garlic scapes by storing them in the fridge using simple methods like plastic bags, glass jars with water, or wrapping them in paper towels. Enjoy their unique flavor and health benefits year-round!
- Prevent waste and enjoy the convenience of having garlic scapes readily available for your culinary creations by properly storing them in the fridge. Choose fresh scapes, keep them cool, and use airtight containers to maintain their freshness.
Read more: How To Store Fresh Garlic Scapes
Why Store Garlic Scapes
Garlic scapes are not only delicious but also offer a range of health benefits. Whether you have an abundant harvest or want to prolong the availability of these flavorful shoots, storing garlic scapes in the fridge is the way to go.
One of the primary reasons to store garlic scapes is to prevent waste. If you find yourself with more scapes than you can use immediately, storing them properly will help avoid spoilage and ensure that none of these tasty shoots go to waste.
By storing garlic scapes, you also have the convenience of enjoying their unique flavor year-round. Depending on your location, garlic scapes may only be available during a specific season. Storing them allows you to extend their availability and enjoy their distinctive taste whenever you desire, regardless of the time of year.
Additionally, garlic scapes are packed with nutrients and health benefits. They contain antioxidants, vitamins, and minerals such as vitamin C, vitamin A, calcium, and iron. These compounds can help support your immune system, promote heart health, and provide anti-inflammatory benefits.
Furthermore, garlic scapes offer a versatile ingredient for various dishes. Their mild, garlic-like flavor adds a delicate touch to stir-fries, salads, soups, and more. By storing garlic scapes, you can always have them on hand to enhance your favorite recipes, bringing out their unique taste and texture.
Overall, storing garlic scapes is a practical way to prevent waste, extend their availability, and enjoy their numerous health benefits year-round. Now that you understand the importance of storing garlic scapes, let’s move on to the next section, where we’ll explore how to choose and prepare garlic scapes for storage.
Choosing and Preparing Garlic Scapes
Before storing garlic scapes, it’s important to choose fresh and high-quality shoots. Look for scapes that are firm, vibrant green, and free from any signs of wilting or yellowing. The fresher the scapes, the longer they will keep in the fridge.
When it comes to preparing garlic scapes for storage, start by trimming the ends. Cut off the tough, woody tips, as they are less desirable for eating. Then, if needed, remove any damaged or discolored sections from the scapes.
Next, give the scapes a good rinse under cold water to remove any dirt or debris. Pat them dry with a clean kitchen towel or paper towels. Make sure they are completely dry before storing, as moisture can promote spoilage.
Once you have chosen and prepared the garlic scapes, it’s time to move on to the different methods for storing them in the fridge. We will cover three common methods: storing garlic scapes in a plastic bag, storing them in a glass jar with water, and storing them wrapped in a paper towel.
Continue reading to find out how each method can keep your garlic scapes fresh for longer.
Methods for Storing Garlic Scapes in the Fridge
There are several effective methods for storing garlic scapes in the fridge, each with its own advantages. Choose the method that works best for you based on the available resources and your preference for storing the scapes.
Method 1: Storing Garlic Scapes in a Plastic Bag
This is one of the simplest and most common methods for storing garlic scapes. Place the cleaned and trimmed scapes in a resealable plastic bag. Squeeze out as much air as possible before sealing the bag. This helps prevent the scapes from becoming soggy or wilting.
Label the bag with the date to keep track of its freshness. Store the bag of garlic scapes in the crisper drawer of your refrigerator. The sealed bag will help maintain the scapes’ moisture and freshness for about a week.
Remember to check the bag periodically for any signs of spoilage and discard any scapes that have gone bad.
Read more: How To Store Garlic In Fridge
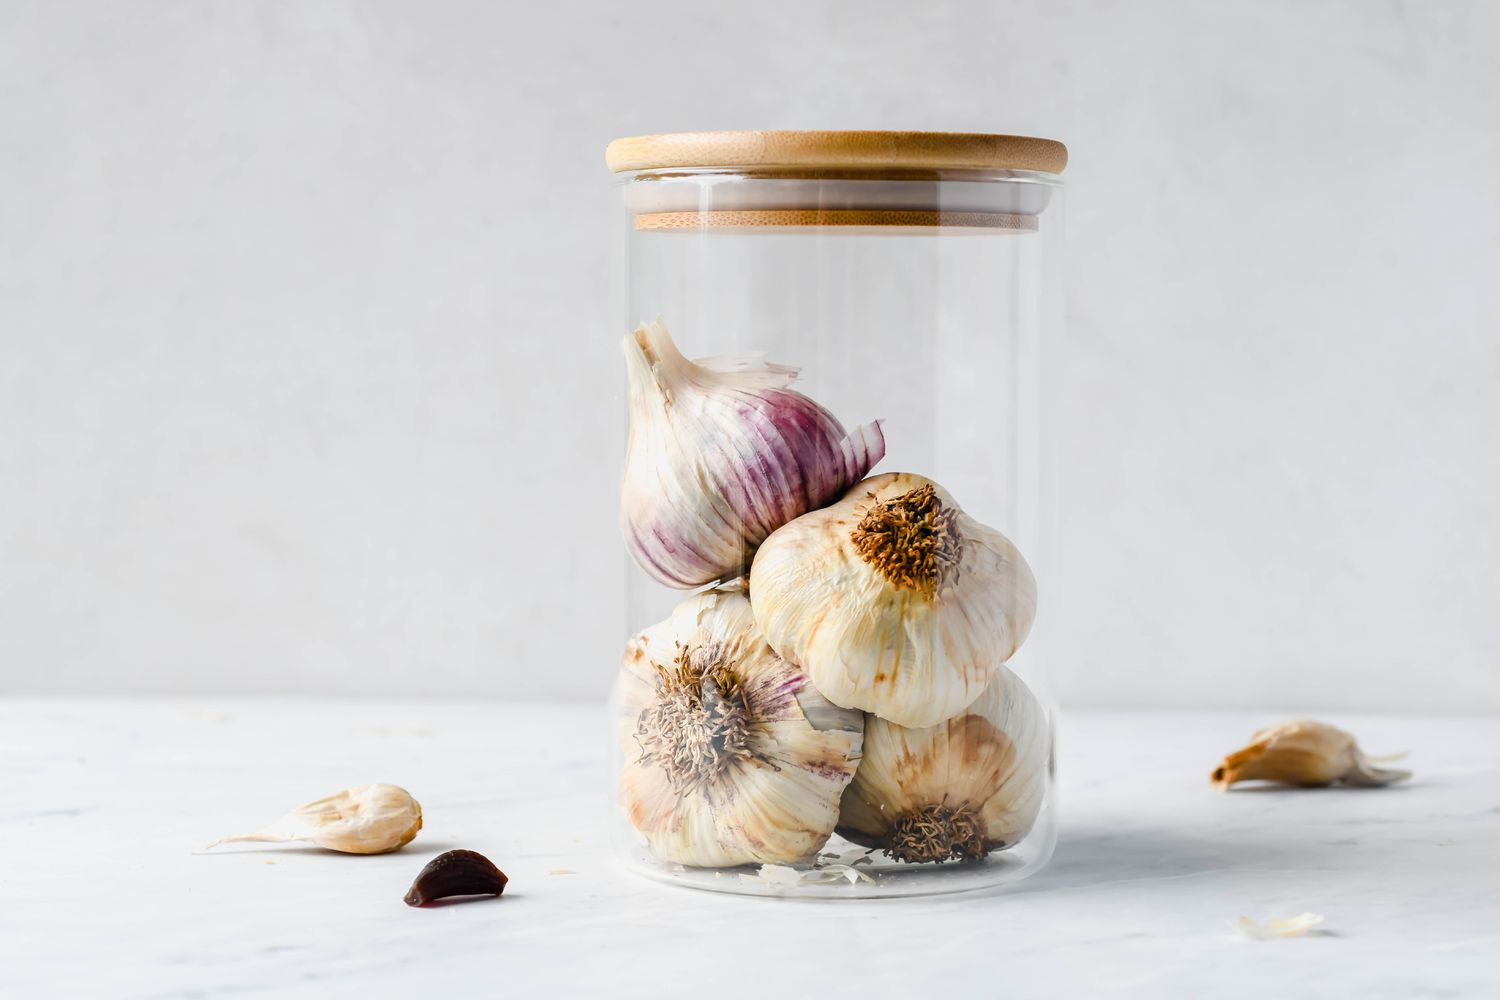
Method 2: Storing Garlic Scapes in a Glass Jar with Water
Another effective method is to store garlic scapes in a glass jar with water, similar to cut flowers. Fill a glass jar with about an inch or two of water and place the trimmed scapes in the jar, like a bouquet.
Place a plastic bag loosely over the top of the jar to create a mini greenhouse effect. This helps retain moisture and maintain the scapes’ freshness. Store the jar in the refrigerator, and change the water every few days to prevent it from getting stale.
This method can keep the garlic scapes fresh for up to two weeks. It also adds a decorative touch to your fridge, making the scapes easily accessible whenever you need them.
Method 3: Storing Garlic Scapes in a Paper Towel
If you prefer a dry storage method, you can store garlic scapes wrapped in a paper towel. Take a clean, dry paper towel and loosely wrap the scapes, creating a bundle. Place the wrapped scapes in a resealable plastic bag or an airtight container.
Label the bag or container with the date and place it in the fridge. This method helps absorb any excess moisture and keeps the scapes crisp and fresh. Stored this way, garlic scapes can last for about one week.
Make sure to check the scapes regularly for any signs of spoilage and discard any that have gone bad.
Now that you know the different methods for storing garlic scapes in the fridge, let’s move on to some tips for storing them properly and ensuring their freshness.
Method 1: Storing Garlic Scapes in a Plastic Bag
Storing garlic scapes in a plastic bag is a simple and effective way to keep them fresh in the fridge. Follow these steps to ensure proper storage:
- Start by choosing fresh and trimmed garlic scapes. Remove any damaged or discolored sections and give them a thorough rinse under cold water. Pat them dry with a towel or paper towels.
- Prepare a resealable plastic bag, ideally a freezer bag that provides a more airtight seal. Place the garlic scapes inside the bag, making sure not to overcrowd them.
- Squeeze out as much air as possible from the bag before sealing it. Removing excess air helps prevent the scapes from becoming soggy or wilting.
- Label the bag with the date to keep track of its freshness. This will help you to use them before they spoil.
- Store the bag of garlic scapes in the crisper drawer of your refrigerator. The cool, dark environment of the crisper drawer helps maintain their freshness and flavor.
- Check the bag periodically for any signs of spoilage. Remove any scapes that have gone bad to prevent them from affecting the others.
When using the stored garlic scapes, simply take out the desired amount, reseal the bag, and return it to the fridge. This method can keep the garlic scapes fresh for about a week, allowing you to enjoy their flavor and versatility in various dishes.
Remember to use the stored garlic scapes within the recommended time frame and discard any that have started to deteriorate or develop an off odor or appearance.
Now that you know how to store garlic scapes in a plastic bag, let’s explore another method: storing them in a glass jar with water.
Method 2: Storing Garlic Scapes in a Glass Jar with Water
If you prefer a method that keeps garlic scapes hydrated and extends their freshness, storing them in a glass jar with water is a great option. Follow these steps to store garlic scapes using this method:
- Start by choosing fresh and trimmed garlic scapes. Remove any damaged or discolored sections and give them a thorough rinse under cold water. Pat them dry with a towel or paper towels.
- Take a glass jar with a wide enough mouth to accommodate the length and thickness of the scapes. Fill the jar with about an inch or two of water.
- Place the garlic scapes in the jar, arranging them like a bouquet. Make sure the cut ends are submerged in the water but the top ends are exposed.
- Loosely cover the top of the jar with a plastic bag. This will create a mini greenhouse effect, helping to retain moisture and maintain the scapes’ freshness.
- Store the jar in the refrigerator. Make sure to place it in a spot where it won’t topple over or get bumped around.
- Change the water every few days to prevent it from becoming stale. This helps keep the scapes hydrated and extends their shelf life.
- Check the scapes periodically for any signs of spoilage. If you notice any scapes that have started to wilt or become slimy, remove them from the jar to prevent further deterioration.
Using this method, garlic scapes can stay fresh for up to two weeks, depending on their initial freshness. Not only does it keep them hydrated, but storing garlic scapes in a glass jar with water also adds an attractive touch to your fridge.
When you’re ready to use the stored garlic scapes, simply take out the desired amount, making sure to drain off any excess water. Rinse them briefly under cold water before incorporating them into your recipes.
Now that you know how to store garlic scapes in a glass jar with water, let’s move on to another method: storing them wrapped in a paper towel.
Store garlic scapes in the fridge by wrapping them in a damp paper towel and placing them in a plastic bag. This will help keep them fresh for up to 2 weeks.
Read more: How To Store Garlic Cloves In Fridge
Method 3: Storing Garlic Scapes in a Paper Towel
If you prefer a dry storage method for garlic scapes, storing them wrapped in a paper towel is a great option. This method helps absorb excess moisture and keeps the scapes crisp and fresh. Follow these steps to store garlic scapes using this method:
- Start by choosing fresh and trimmed garlic scapes. Remove any damaged or discolored sections and give them a thorough rinse under cold water. Pat them dry with a towel or paper towels.
- Take a clean, dry paper towel and loosely wrap the garlic scapes, creating a bundle. Make sure to wrap them gently to avoid bruising or crushing.
- Place the wrapped scapes in a resealable plastic bag or an airtight container. This helps prevent moisture from affecting the scapes while they are stored.
- Label the bag or container with the date to keep track of its freshness. This way, you’ll know when it’s time to use them.
- Store the bag or container in the refrigerator, preferably in the crisper drawer. The cool temperature will help maintain the scapes’ freshness and texture.
- Check the scapes regularly for any signs of spoilage. Discard any scapes that have started to decay or develop an off odor or appearance.
When using the stored garlic scapes, unwrap the desired amount and reseal the remaining scapes in the bag or container before returning them to the fridge. This method can keep the garlic scapes fresh for about one week.
Remember to use the stored garlic scapes within the recommended time frame to ensure the best flavor and quality. By utilizing this method, you can enjoy the convenience of having garlic scapes readily available for your culinary creations.
Now that you know how to store garlic scapes wrapped in a paper towel, let’s move on to some tips for storing garlic scapes properly to ensure their freshness and quality.
Tips for Storing Garlic Scapes Properly
To ensure that your stored garlic scapes remain fresh and flavorful, here are some helpful tips:
- Choose fresh scapes: Select scapes that are firm, vibrant green, and free from any signs of wilting or yellowing. The freshness of the scapes will contribute to their longevity in storage.
- Properly prepare the scapes: Trim off the tough, woody tips and remove any damaged or discolored sections. Giving the scapes a thorough rinse and ensuring they are completely dry before storing them helps prevent spoilage.
- Keep them cool: Store garlic scapes in the refrigerator, preferably in the crisper drawer. The cool temperature helps slow down the aging process and helps maintain their freshness.
- Monitor for spoilage: Check the stored garlic scapes regularly for any signs of deterioration. If you notice any scapes that have become slimy, discolored, or emit an unpleasant odor, discard them to prevent spoilage from spreading to the others.
- Use airtight containers: Storing garlic scapes in airtight containers or resealable plastic bags helps maintain their quality by preventing moisture loss and exposure to other odors in the fridge.
- Label and date: It’s important to label the storage containers or bags with the date. This helps you keep track of when the scapes were stored, allowing you to use them within the recommended timeframe.
- Rotate them regularly: If you have multiple batches or containers of garlic scapes, make sure to rotate and use the older ones first to prevent wastage.
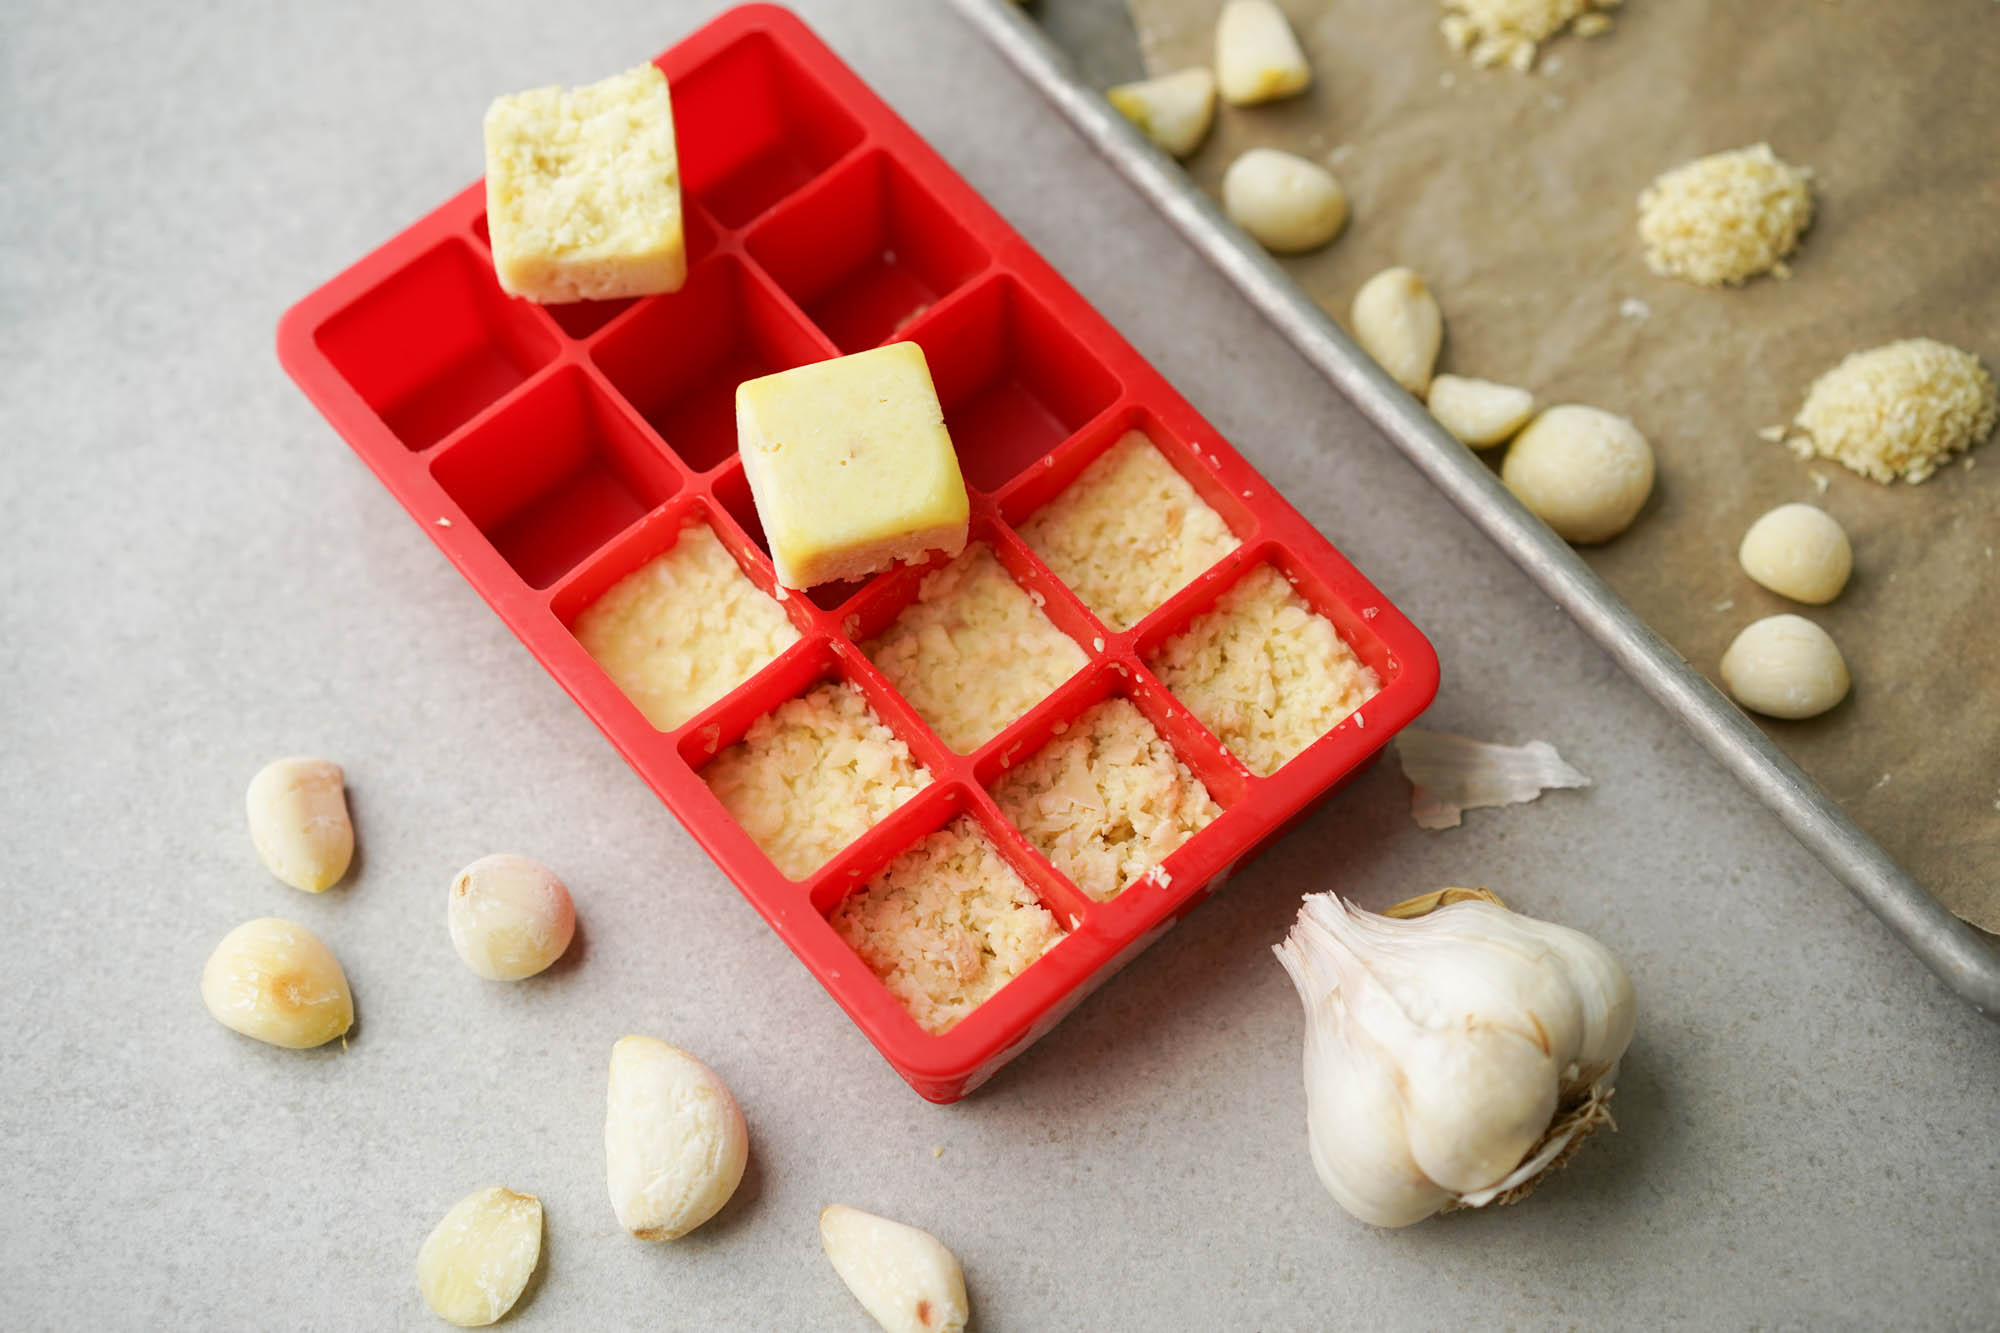
- Consider freezing: If you have an abundance of garlic scapes and won’t be able to consume them all within a week, consider freezing them. Blanche the scapes in boiling water for a minute, then transfer them to an ice bath to halt the cooking process. Once cooled, drain and place them in freezer-safe bags or containers. Frozen garlic scapes can last for several months.
By following these tips, you can ensure that your stored garlic scapes stay fresh and maintain their flavor for an extended period. Whether you choose to store them in a plastic bag, a glass jar with water, or wrapped in a paper towel, these guidelines will help you make the most of your garlic scapes.
Now that you are armed with the knowledge of proper garlic scape storage, you can confidently enjoy these delightful shoots in your favorite recipes whenever you desire.
Conclusion
Storing garlic scapes properly in the fridge is a practical and convenient way to preserve their freshness and extend their availability. Whether you have an abundance of scapes from your garden harvest or leftovers from the market, storing them using the methods described in this article will help you enjoy their unique flavor for longer.
By sealing garlic scapes in a plastic bag, you can keep them fresh for about a week. This method is simple and effective, making it a popular choice for storing scapes. Wrapping the scapes in a paper towel is another option that helps absorb moisture and maintain their crispness for up to one week.
If you prefer to keep the scapes hydrated, storing them in a glass jar with water provides an attractive display in your fridge while preserving their freshness for up to two weeks. Changing the water regularly is important to prevent it from becoming stale.
Remember to choose fresh scapes, properly prepare them, and store them in a cool environment. Regularly check for any signs of spoilage and discard any scapes that have gone bad. Labeling and dating the storage containers or bags will help you keep track of their freshness.
Whether you use garlic scapes in stir-fries, salads, soups, or pesto, having stored scapes readily available in the fridge allows you to elevate your recipes with their delicate garlic flavor and unique texture.
So, the next time you find yourself with an abundance of garlic scapes, don’t let them go to waste. Store them properly in the fridge, and you’ll be able to enjoy their deliciousness and reap their health benefits year-round.
Now that you’re equipped with the knowledge of how to store garlic scapes, it’s time to get creative in the kitchen and savor the flavors that these vibrant shoots bring to your culinary journey.
Frequently Asked Questions about How To Store Garlic Scapes In The Fridge
Was this page helpful?
At Storables.com, we guarantee accurate and reliable information. Our content, validated by Expert Board Contributors, is crafted following stringent Editorial Policies. We're committed to providing you with well-researched, expert-backed insights for all your informational needs.


0 thoughts on “How To Store Garlic Scapes In The Fridge”