Articles
How To Store Fudge
Modified: February 23, 2024
Learn the best techniques and tips for storing fudge properly. Read our informative articles to keep your fudge fresh and delicious.
(Many of the links in this article redirect to a specific reviewed product. Your purchase of these products through affiliate links helps to generate commission for Storables.com, at no extra cost. Learn more)
Introduction
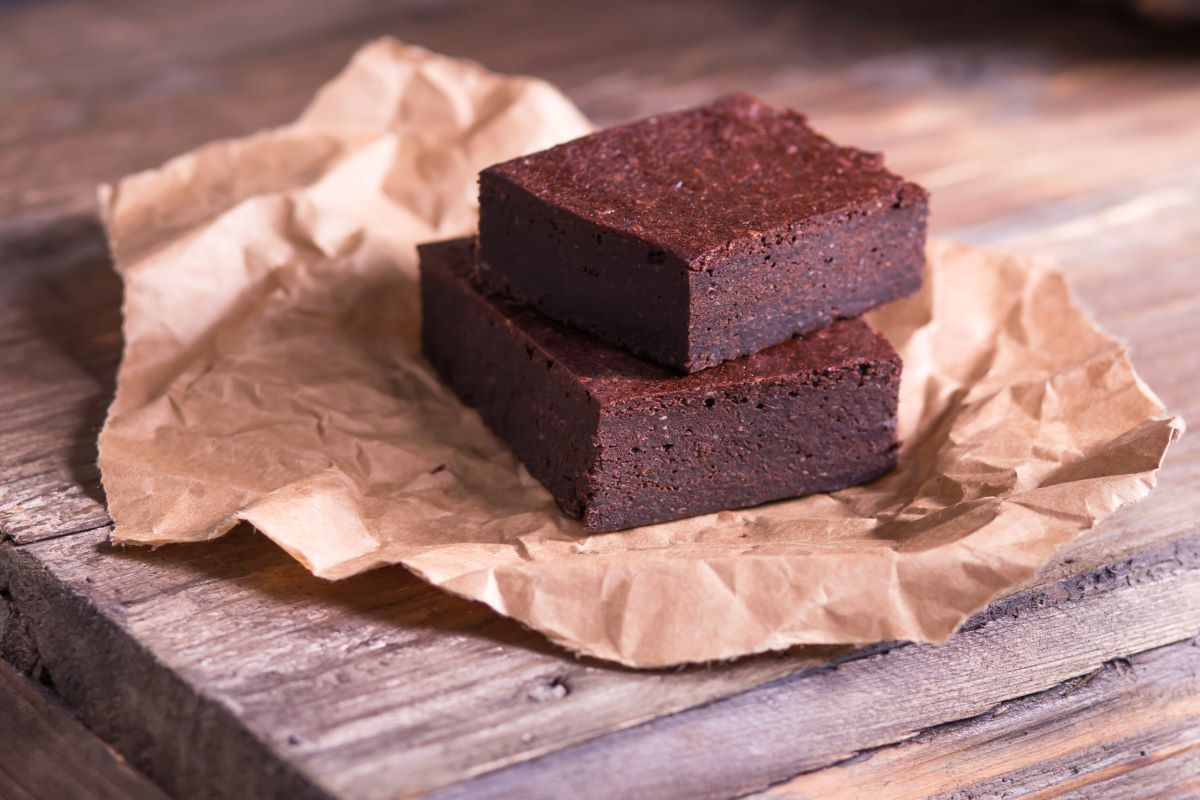
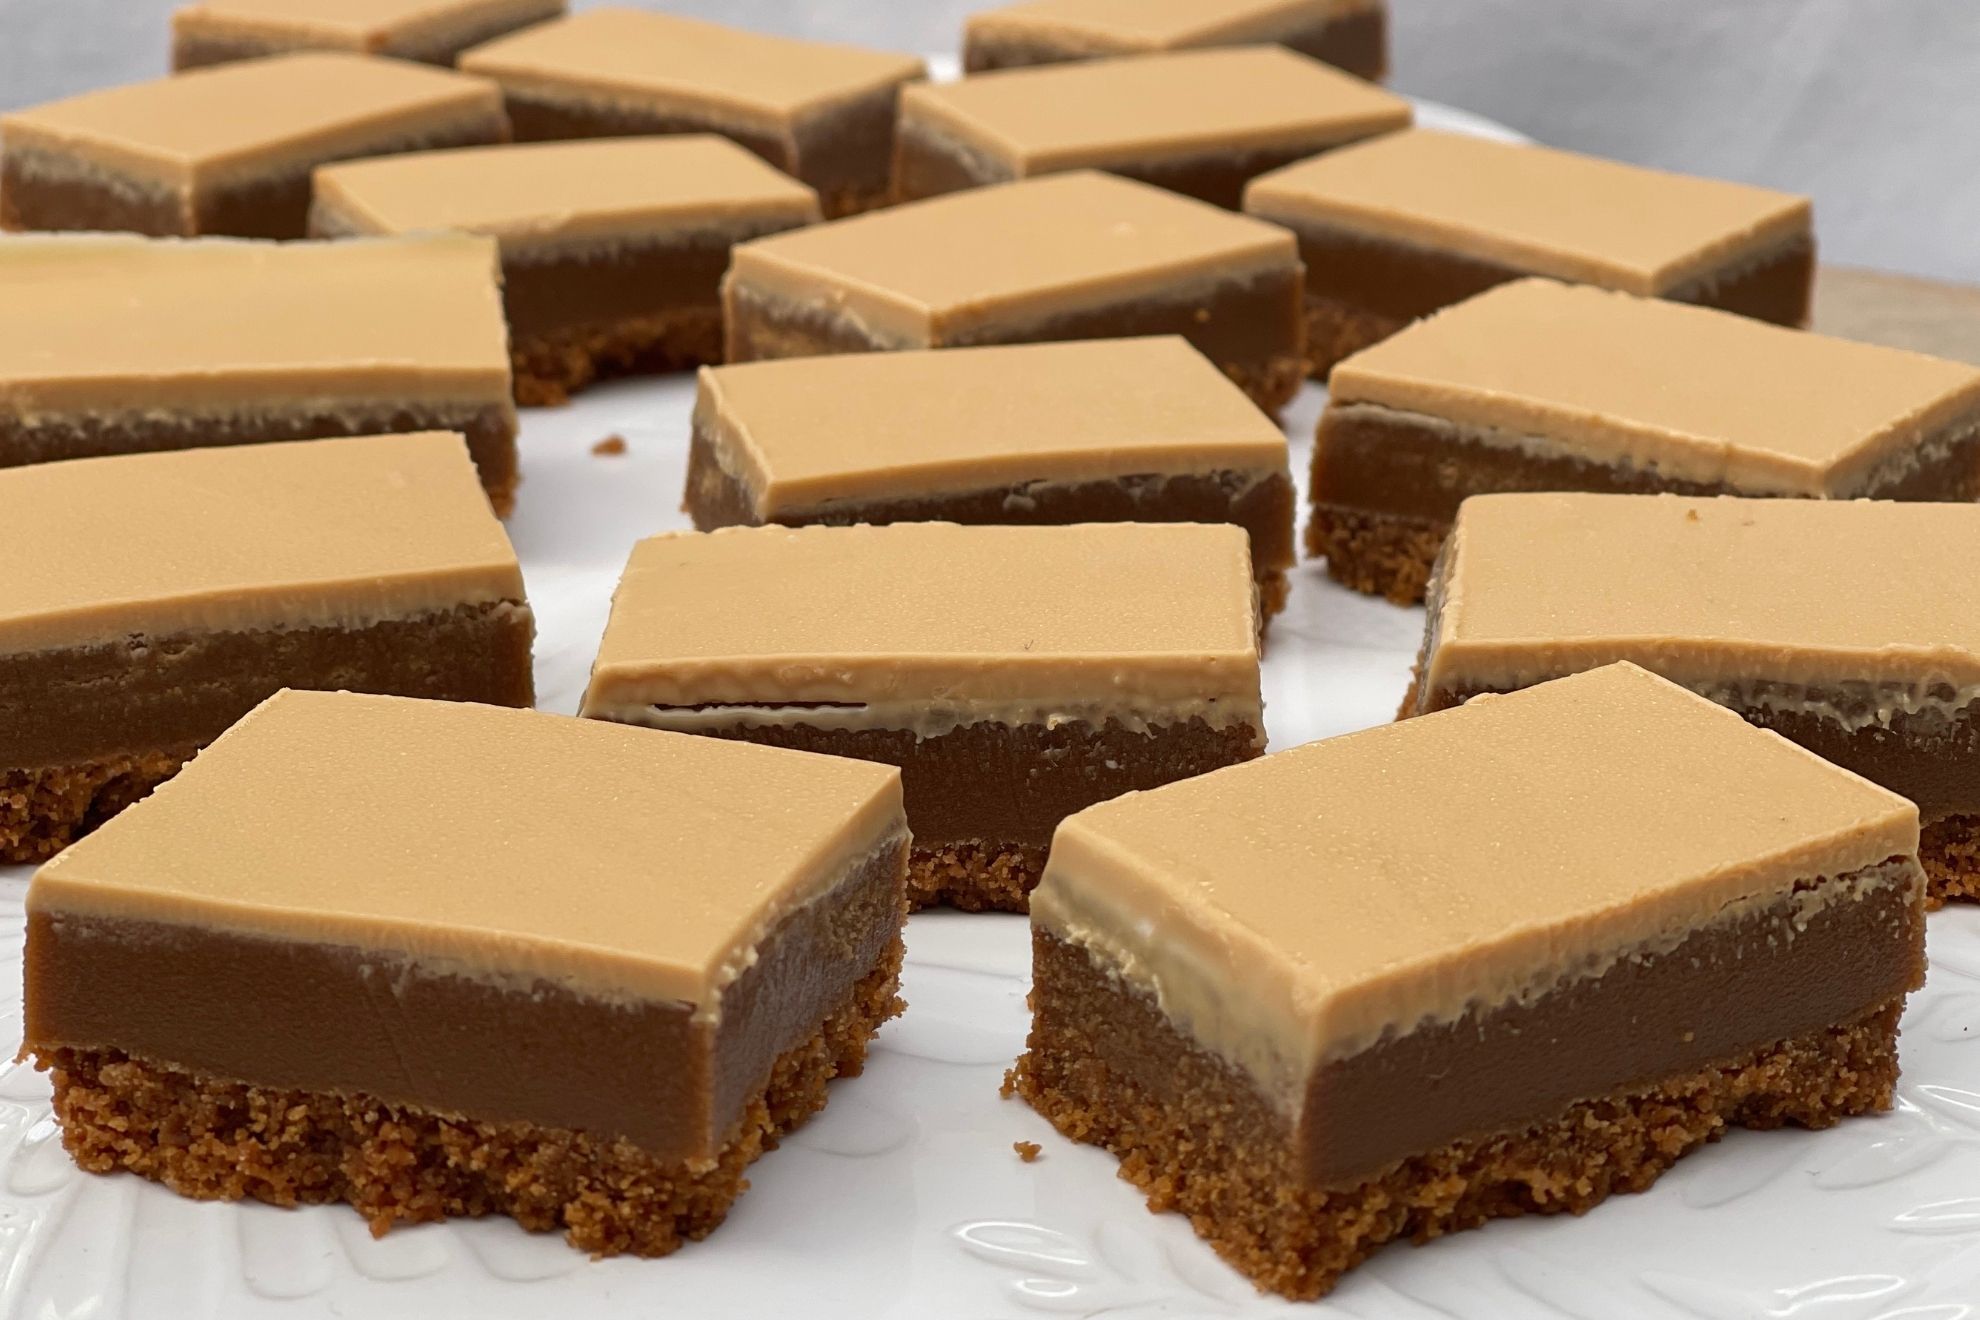
Welcome to the delightful world of fudge! Whether you’re a seasoned fudge fanatic or a curious beginner, learning how to properly store your fudge is essential to maintain its freshness and flavor. Fudge, with its smooth and creamy texture, is a beloved treat that can be enjoyed on its own or used as a topping for desserts.
When it comes to storing fudge, there are a few key factors to keep in mind. Fudge is made primarily from sugar, butter, and milk, which means it is sensitive to heat, humidity, and even changes in temperature. Properly storing fudge will help prevent it from becoming too soft, melting, or developing a grainy texture.
In this article, we will guide you through the process of storing fudge to ensure that it remains at its best. From preparing the pan to cooling and setting, we’ll cover each step in detail. So, let’s dive in and learn how to store fudge like a pro!
Key Takeaways:
- Properly storing fudge is crucial to maintain its freshness and texture. Follow the step-by-step process and use high-quality ingredients for the best results.
- Get creative with flavors and mix-ins to enhance your fudge storing experience. Remember to label and store fudge in a cool, dry place for optimal freshness.
Read more: How To Store Homemade Fudge
Ingredients
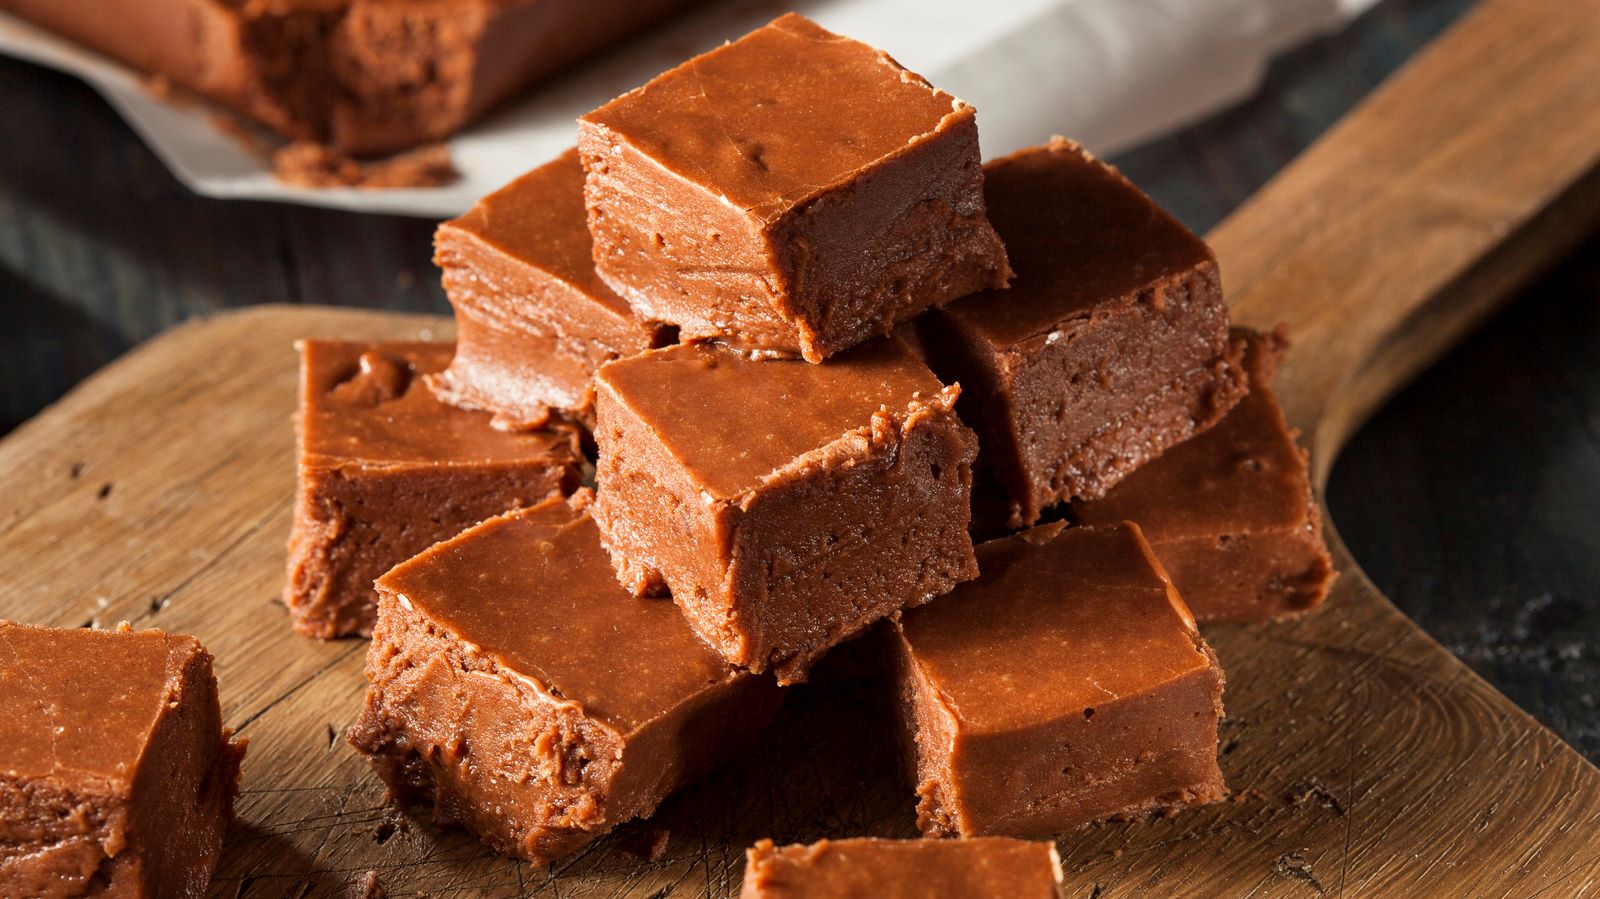
Before diving into the steps of storing fudge, let’s take a look at the key ingredients that go into making this delectable treat. The basic fudge recipe usually calls for the following ingredients:
- 2 cups of granulated sugar
- 1/2 cup of unsalted butter
- 1 cup of whole milk or heavy cream
- 1 teaspoon of pure vanilla extract
- Optional: 1/2 cup of nuts, such as walnuts or pecans
The combination of sugar, butter, and milk is what gives fudge its rich and smooth texture. The vanilla extract adds a hint of flavor, while the nuts provide a delightful crunch and additional taste. Keep in mind that these are the basic ingredients, and you can customize your fudge recipe by adding other flavorings or mix-ins.
It’s important to use high-quality ingredients for the best results. Fresh butter and milk will contribute to the overall taste and texture of the fudge, so try to opt for the best quality you can find. Additionally, using pure vanilla extract rather than artificial vanilla flavoring can elevate the flavor profile of your fudge.
Now that we have the ingredients ready, let’s move on to the equipment you’ll need for storing the fudge.
Equipment Needed
Properly storing fudge requires a few essential tools to ensure that it stays fresh and maintains its texture. Here are the equipment items you’ll need:
- A baking pan or dish: Choose a pan or dish that is suitable for the amount of fudge you have. It should be deep enough to accommodate the fudge and provide enough surface area for easy spreading.
- Parchment paper: This non-stick paper will help prevent the fudge from sticking to the pan. It also makes it easier to remove the fudge once it has set.
- Plastic wrap or aluminum foil: These materials are necessary for covering the fudge to protect it from air, moisture, and odors.
- An airtight container: This can be a plastic or glass container with a tight-fitting lid. It should be large enough to hold the fudge without squishing or deforming it.
- Labels or markers: These are optional but can be helpful for indicating the date the fudge was made or stored.
Having these equipment items on hand will make the process of storing fudge much easier and more efficient. Now that we’re all set with the necessary tools, let’s move on to the step-by-step instructions for storing your fudge.
Step 1: Preparing the Pan
Before you pour the fudge mixture into the pan, it’s important to prepare the pan properly to prevent the fudge from sticking or becoming difficult to remove. Follow the steps below to prepare the pan:
- Choose a baking pan or dish that is suitable for the amount of fudge you have. Consider the depth and size of the pan to ensure it can accommodate the fudge without overflowing.
- Line the pan with parchment paper. Cut a piece of parchment paper that is slightly larger than the size of the pan, allowing some excess to hang over the edges. This will make it easier to lift the fudge out of the pan later.
- Grease the parchment paper lightly with butter or cooking spray. This will further prevent the fudge from sticking to the pan.
Once you have prepared the pan, you are now ready to move on to creating the fudge mixture. This first step may seem simple, but it plays a crucial role in ensuring that your fudge comes out smoothly and can be easily stored without any complications.
Continue to the next step to learn how to create the perfect fudge mixture.
Step 2: Creating the Fudge Mixture
Now that the pan is prepared, it’s time to create the delicious fudge mixture that will be poured into it. Follow these steps to make the perfect fudge mixture:
- In a medium-sized saucepan, combine the granulated sugar, unsalted butter, and milk.
- Place the saucepan over medium heat and stir the mixture continuously until the sugar has completely dissolved and the butter has melted.
- Once the mixture starts to boil, reduce the heat to low. Let it simmer for around 5-7 minutes, stirring occasionally. Make sure the mixture doesn’t burn or stick to the bottom of the pan.
- After simmering for a few minutes, remove the saucepan from the heat and add the vanilla extract. Stir well to incorporate the flavoring.
- Optional: If you want to add nuts or any other mix-ins, this is the time to do so. Gently fold in the nuts or mix-ins until they are evenly distributed throughout the fudge mixture.
Creating the fudge mixture requires careful attention and patience. It’s important to stir continuously and maintain the right heat level to prevent the sugar from crystallizing or the mixture from burning. Once the mixture is ready, it’s time to move on to the next step: pouring and spreading the fudge.
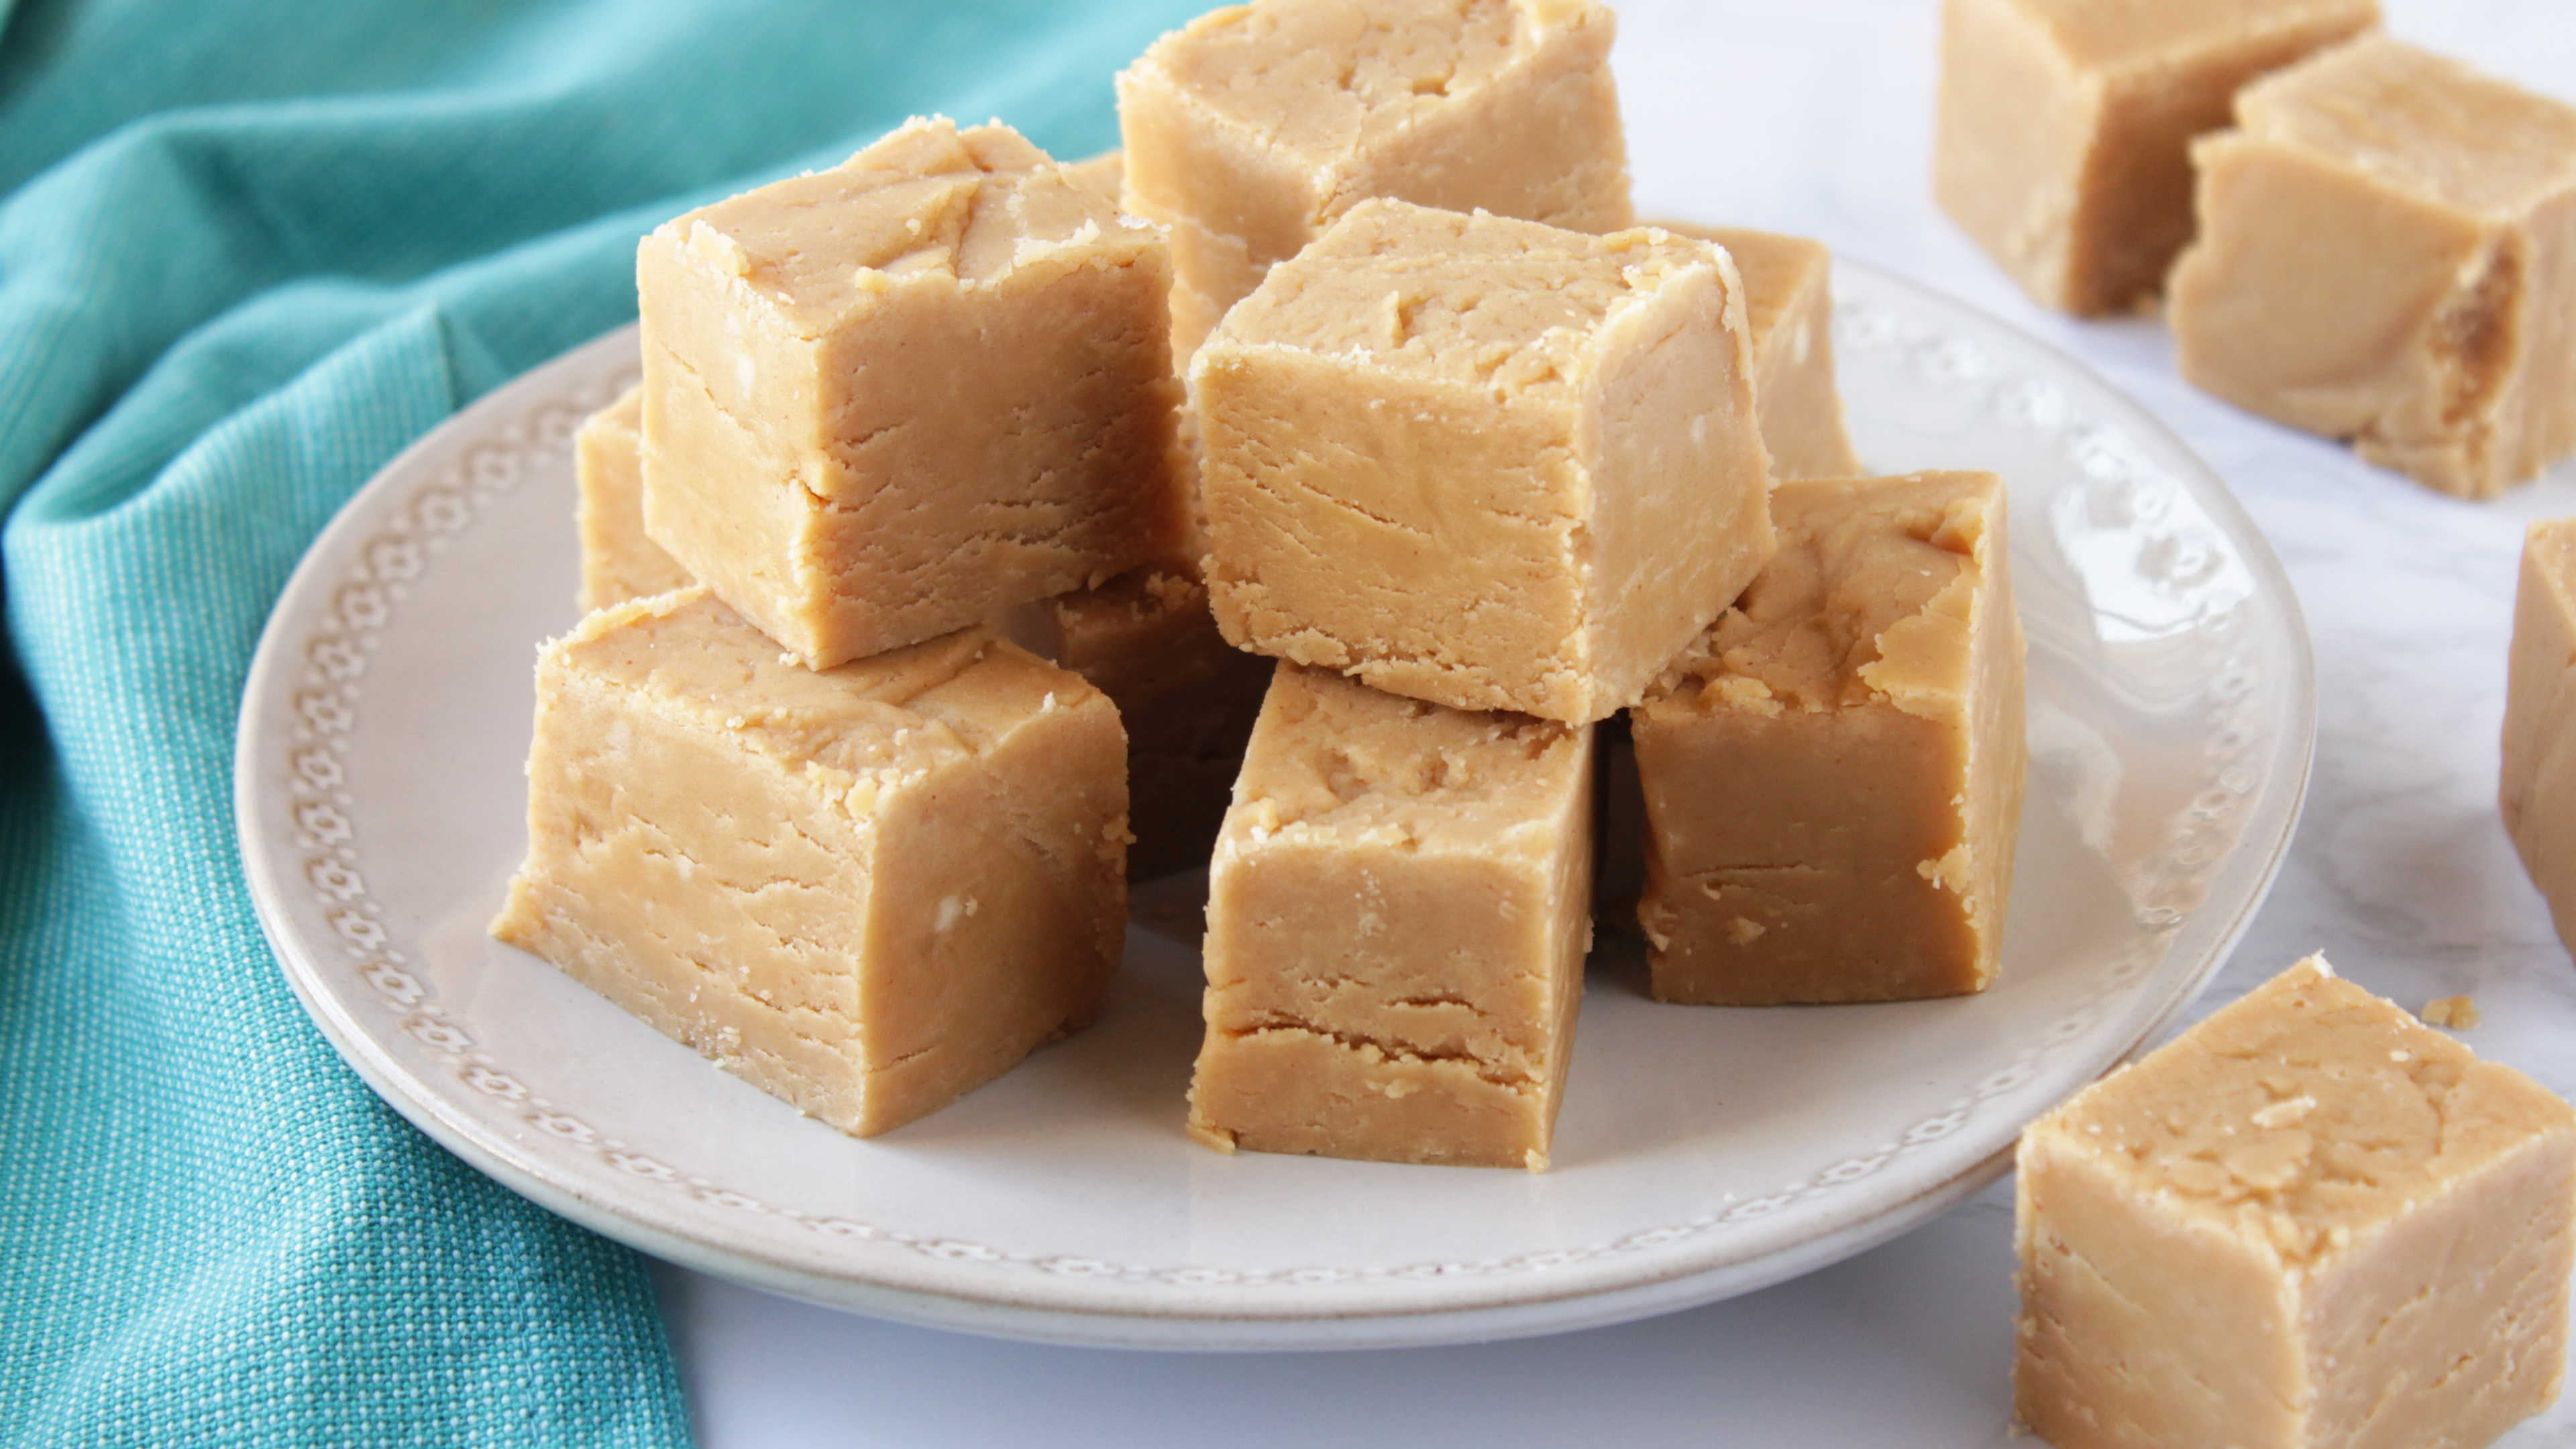
Store fudge in an airtight container at room temperature for up to 2 weeks, or in the refrigerator for up to 1 month. To prevent it from drying out, place a piece of wax paper between layers of fudge.
Read more: How To Store Fudge In Freezer
Step 3: Pouring and Spreading the Fudge
With the fudge mixture prepared, it’s time to pour it into the prepared pan and spread it out evenly. Follow these steps to pour and spread the fudge:
- Retrieve the prepared pan with the parchment paper.
- Slowly pour the fudge mixture into the pan, aiming for the center.
- Using a rubber spatula or the back of a spoon, spread the fudge mixture evenly across the pan, ensuring that it reaches all corners.
- Smooth the top of the fudge surface with the spatula or spoon for a clean and even finish.
Take your time while pouring and spreading the fudge to achieve a uniform thickness throughout the pan. The smoother and more even the surface, the better the fudge will look and taste once it sets.
Now that the fudge is spread out in the pan, it’s time to move on to the next step: cooling and setting the fudge.
Step 4: Cooling and Setting the Fudge
After pouring and spreading the fudge mixture in the pan, it needs to cool and set properly to achieve the desired texture. Follow these steps to cool and set the fudge:
- Allow the fudge to cool at room temperature for about 2 hours. This will help it firm up slightly.
- Once the fudge has cooled, place the pan in the refrigerator. Let it chill for at least 2-3 hours or overnight.
- During the cooling and setting process, avoid touching or disturbing the fudge to prevent it from developing a grainy texture.
It’s essential to give the fudge ample time to cool and set to ensure that it retains its smooth and creamy consistency. The chilling process also helps the flavors meld together, enhancing the overall taste of the fudge.
Now that the fudge has cooled and set, it’s time to proceed to the final step: storing the fudge.
Step 5: Storing the Fudge
Once the fudge has cooled and set to perfection, it’s time to store it properly to maintain its freshness and taste. Follow these steps to store your fudge:
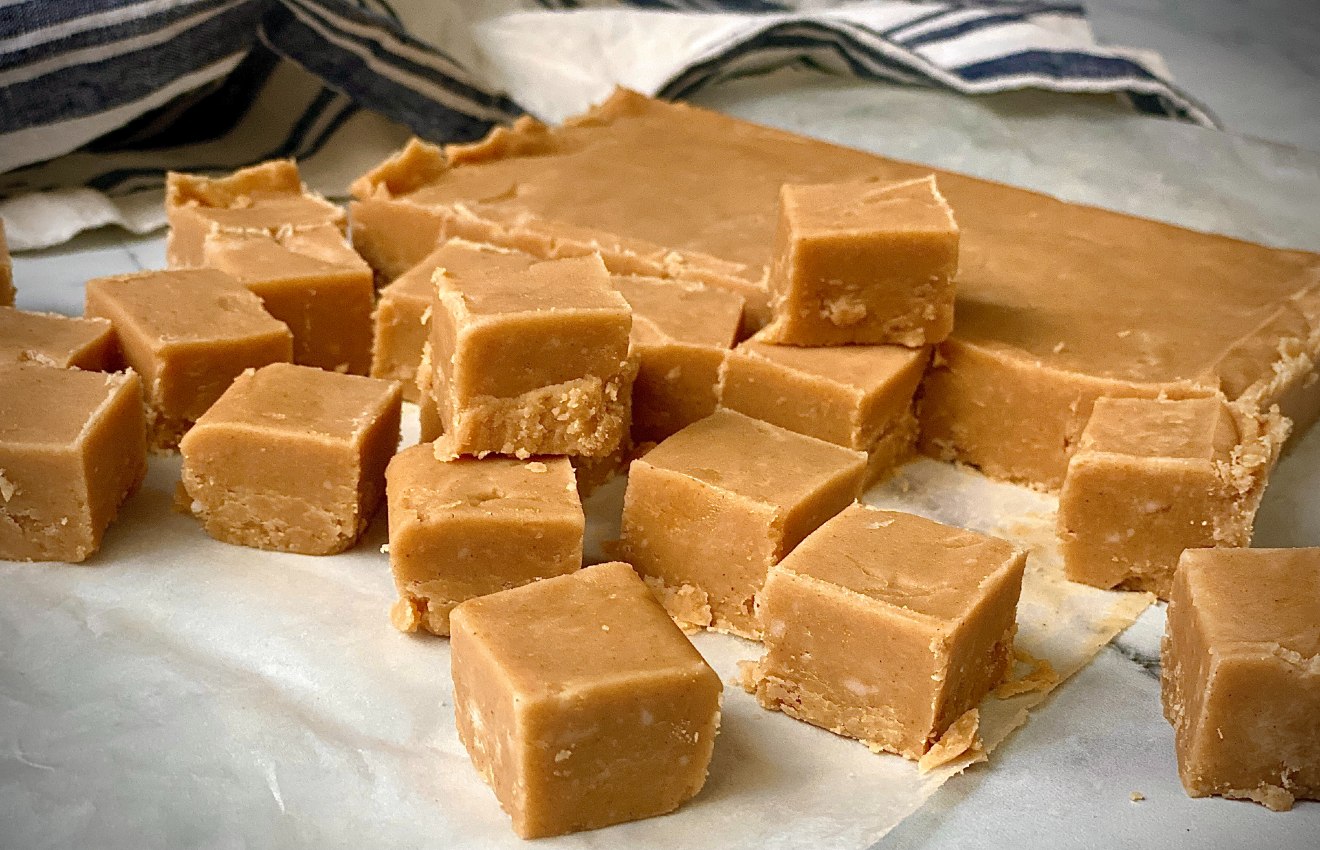
- Carefully lift the fudge out of the pan using the parchment paper as handles. Place it on a clean cutting board or a flat surface.
- Cut the fudge into individual pieces or desired shapes using a sharp knife. This will make it easier to access and serve the fudge later.
- Prepare an airtight container that is large enough to hold all the fudge pieces without overcrowding.
- Place a layer of plastic wrap or aluminum foil at the bottom of the container to prevent the fudge from sticking.
- Arrange the fudge pieces in a single layer inside the container, making sure they are not touching each other.
- Separate each layer of fudge with additional layers of plastic wrap or parchment paper.
- Close the container tightly with its lid to create an airtight seal, ensuring that no air can enter.
- Store the container of fudge in a cool, dry place away from direct sunlight and heat sources. A pantry or cupboard is ideal for storing fudge.
Properly stored fudge can last for about 1 to 2 weeks at room temperature. If you need to store it for longer, you can keep it in the refrigerator for up to 3 weeks, or in the freezer for up to 3 months. When refrigerating or freezing fudge, wrap each piece individually in plastic wrap and place them in an airtight container or freezer bag.
Remember to label the container with the date you stored the fudge to keep track of its freshness. It’s also a good idea to write down any additional flavorings or mix-ins you added to the fudge for future reference.
Now that you know how to store fudge properly, you can enjoy it at your own pace and savor its creamy goodness whenever you like!
Tips and Variations
Storing fudge may seem like a simple process, but there are a few tips and variations you can keep in mind to enhance your experience. Here are some helpful tips and variations for storing fudge:
- For optimal freshness, consume the fudge within the recommended storage time. Remember that fudge tends to lose its quality and flavor over time.
- If you prefer a softer fudge texture, store it at room temperature. On the other hand, if you prefer a firmer fudge, store it in the refrigerator.
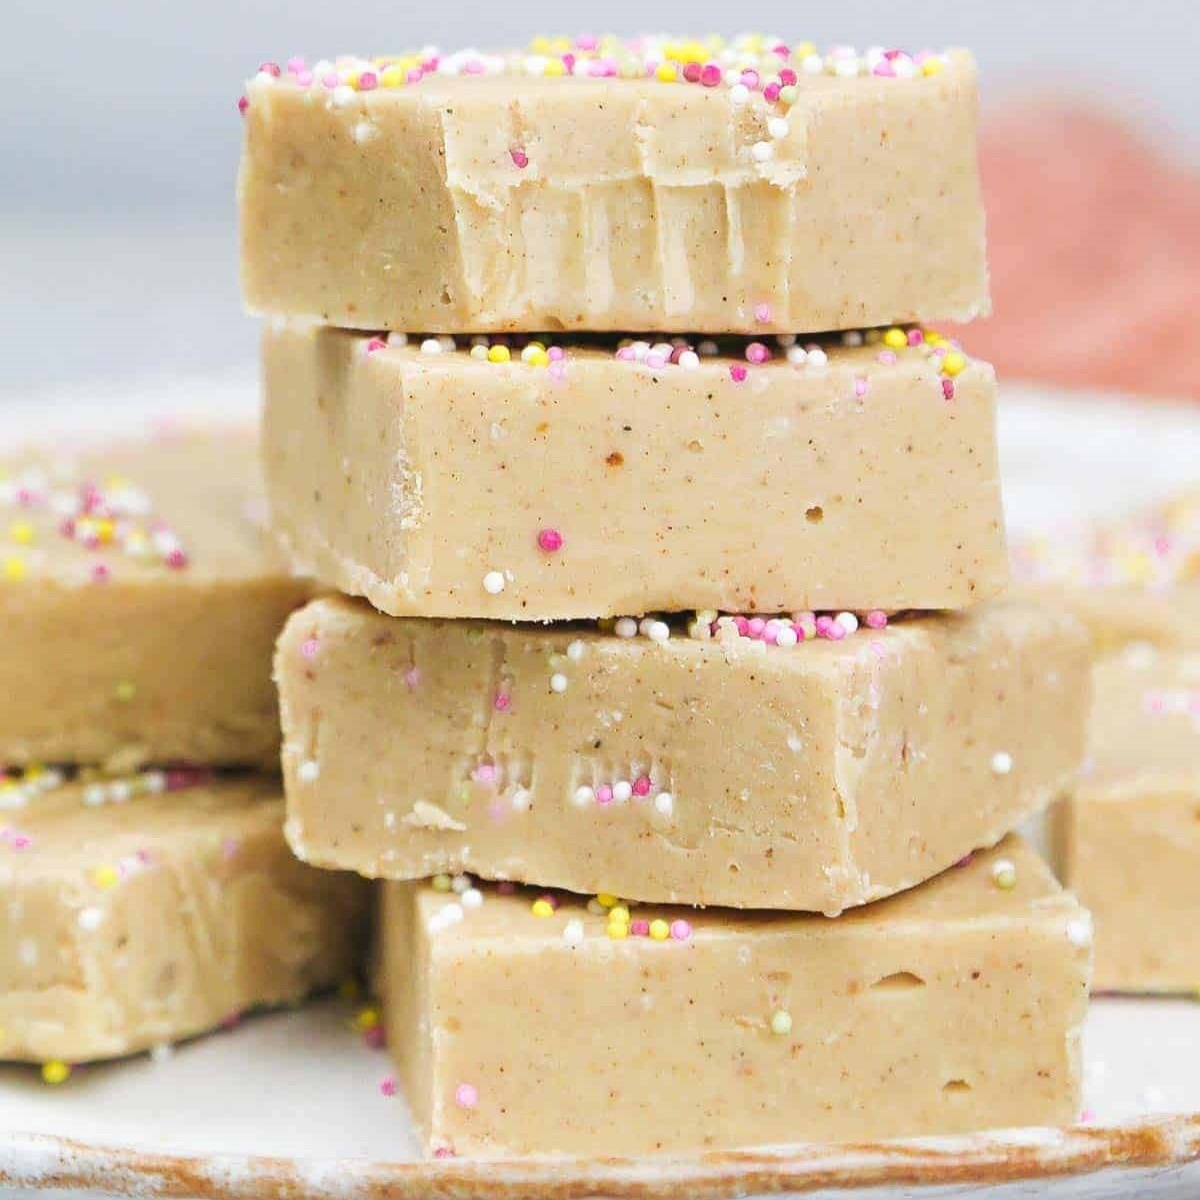
- Consider adding flavor extracts or spices to your fudge mixture for variety. Peppermint extract, almond extract, or cinnamon can add a delightful twist to traditional fudge.
- Experiment with different mix-ins such as crushed cookies, dried fruits, or even chunks of chocolate for added texture and flavor.
- To prevent the fudge from absorbing unwanted odors, store it in an airtight container away from strong-smelling foods.
- If you plan to freeze fudge for an extended period, wrap each piece tightly in plastic wrap and place them in a freezer-safe container or bag.
- When thawing frozen fudge, allow it to come to room temperature gradually to avoid condensation on the surface.
- If your fudge becomes too soft or sticky during storage, place it in the refrigerator for a short period to firm it up.
Remember that these tips and variations are meant to enhance your fudge storing experience. Feel free to get creative and find what works best for your taste preferences and storage needs.
With these tips and variations in mind, you can now confidently store your fudge and enjoy it whenever the craving strikes!
Read more: How To Store Fudge To Keep It Fresh
Conclusion
Learning how to properly store fudge is essential to maintain its freshness, texture, and flavor. By following the step-by-step process and keeping a few key tips in mind, you can enjoy delicious fudge that will stay at its best for as long as possible.
From preparing the pan to creating the perfect fudge mixture, spreading it evenly, and allowing it to cool and set, each step contributes to the overall success of storing fudge. Taking the time to arrange the fudge in an airtight container and storing it in a cool, dry place ensures its longevity.
Remember to label your fudge container with the date it was stored, and consume it within the recommended time frame to enjoy it at its freshest. Don’t be afraid to get creative with flavors and mix-ins to make your fudge even more irresistible.
With these guidelines and variations in mind, you’re now equipped with the knowledge and confidence to store fudge like a pro. Whether you’re making fudge for yourself or as a gift, proper storage ensures that your sweet treat remains delicious and intact.
So, go ahead and whip up a batch of your favorite fudge recipe, follow the steps outlined in this article, and savor every bite of your perfectly stored fudge. Enjoy!
Frequently Asked Questions about How To Store Fudge
Was this page helpful?
At Storables.com, we guarantee accurate and reliable information. Our content, validated by Expert Board Contributors, is crafted following stringent Editorial Policies. We're committed to providing you with well-researched, expert-backed insights for all your informational needs.


0 thoughts on “How To Store Fudge”