Furniture
How To Hatch Eggs With A Heat Lamp
Modified: October 20, 2024
Learn how to hatch eggs with a heat lamp and create a cozy furniture setup for your little ones. Ensure their comfort and safety with our expert tips and guidance.
(Many of the links in this article redirect to a specific reviewed product. Your purchase of these products through affiliate links helps to generate commission for Storables.com, at no extra cost. Learn more)
Introduction
Welcome to the world of egg incubation! Whether you are a hobbyist breeder or want to witness the miracle of life firsthand, hatching eggs with a heat lamp can be an exciting adventure. With the right setup and careful monitoring, you can successfully hatch a variety of eggs, including those of chickens, ducks, and other poultry.
In this article, we will guide you through the process of using a heat lamp to hatch eggs. We’ll cover everything from preparing the incubation setup to troubleshooting common issues that may arise. So let’s get started!
Before we dive into the details, it’s important to note that egg incubation requires attention to key factors such as temperature, humidity, and egg turning. These variables play a crucial role in ensuring the viability and health of the developing embryos.
Now that you have a basic understanding, let’s move on to preparing the incubation setup.
Key Takeaways:
- Create a nurturing environment by carefully monitoring temperature, humidity, and egg turning to increase the chances of a successful hatch when using a heat lamp for egg incubation.
- Select high-quality, fertile eggs, and provide gentle care throughout the incubation process to maximize the potential for healthy and successful hatching with a heat lamp.
Read more: How To Store Eggs For Hatching
Preparing the Incubation Setup
Creating the right environment for egg incubation is essential for a successful hatch. Here are the steps to follow:
- Selecting the Incubator: There are various types of incubators available, including styrofoam incubators, cabinet incubators, and homemade ones. Choose one that suits your needs and budget.
- Cleaning and Disinfecting: Before using the incubator, it’s crucial to thoroughly clean and disinfect it to eliminate any potential pathogens. Use a mild bleach solution or a recommended poultry disinfectant.
- Calibrating the Thermometer: Accurate temperature control is vital, so ensure your thermometer is properly calibrated. Test it against a reliable source, such as a digital thermometer.
- Setting Up the Heat Source: Position the heat lamp or heat source in a way that provides uniform heat distribution within the incubator. A heat pad or a radiant heat panel are alternatives to heat lamps.
- Placing a Hygrometer: Monitoring humidity is equally important. Place a hygrometer in the incubator to measure the moisture levels accurately.
- Adding a Water Source: To maintain the ideal humidity level, include a water source such as a sponge or a shallow dish with water. This will provide necessary moisture during the incubation period.
- Setting Up Ventilation: Proper ventilation is crucial to ensure fresh airflow within the incubator. Adjust the vents or openings according to the recommendations provided with your specific incubation device.
Once you have set up the incubator, it’s time to select and collect the eggs.
Choosing and Collecting the Eggs
When it comes to selecting and collecting eggs for incubation, there are a few key factors to consider. Follow these steps to ensure you choose the best eggs for hatching:
- Egg Quality: Choose eggs that are of good quality. This means selecting eggs that are clean, without cracks or deformities, and free from any abnormalities or diseases.
- Fertility: Only fertile eggs can successfully hatch. If you have a rooster present with your hens, it’s likely that the eggs will be fertile. However, if you are unsure of the fertility, you can perform the “egg candling” process to check for signs of embryo development before placing them in the incubator.
- Freshness: Fresh eggs have a higher chance of hatching successfully. Aim to collect eggs within a week of laying. Avoid using eggs that are too old, as they may have a decreased chance of viability.
- Storage: If you are unable to immediately place the collected eggs in the incubator, store them in a cool and dry location. Ensure the eggs are stored pointy end down and marked with the date of collection.
Once you have carefully chosen and collected the eggs, it’s time to set up the heat lamp and begin the incubation process.
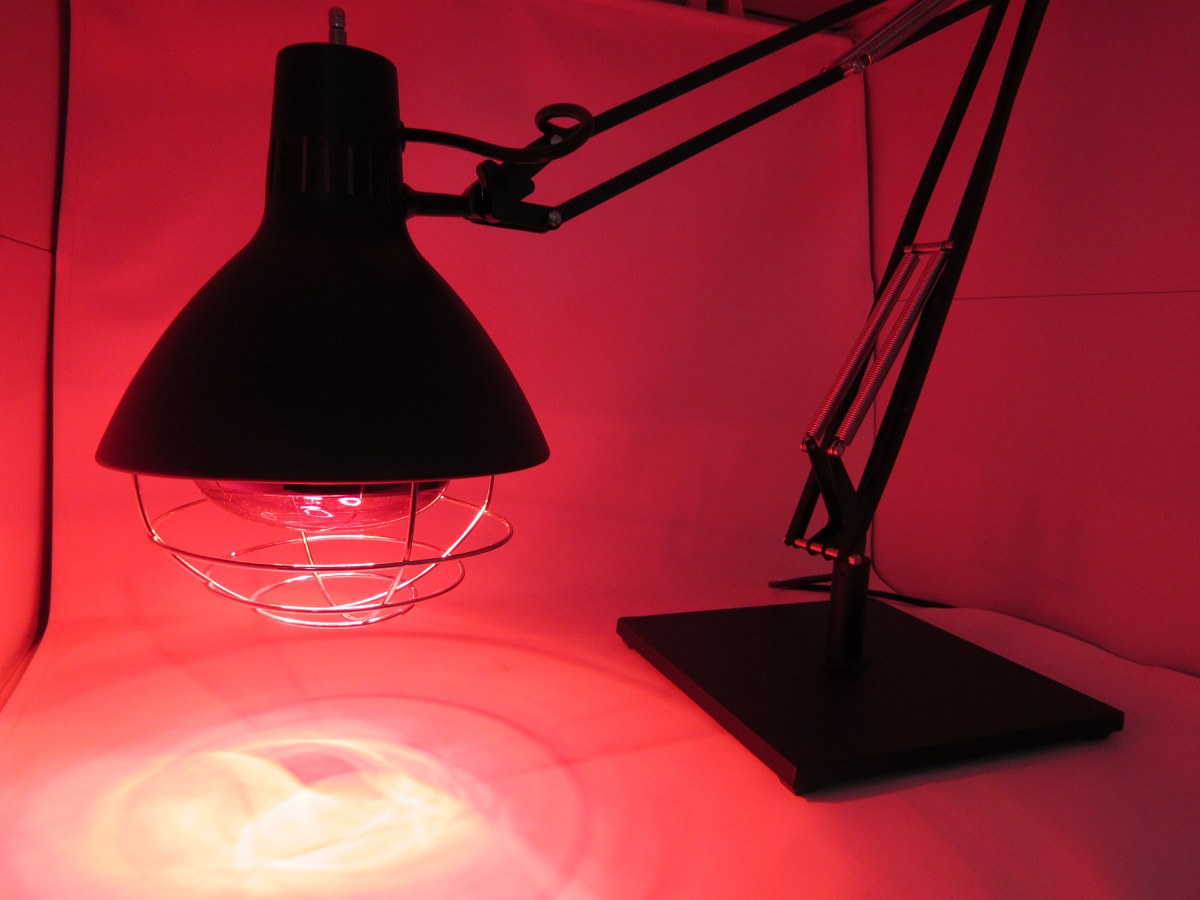
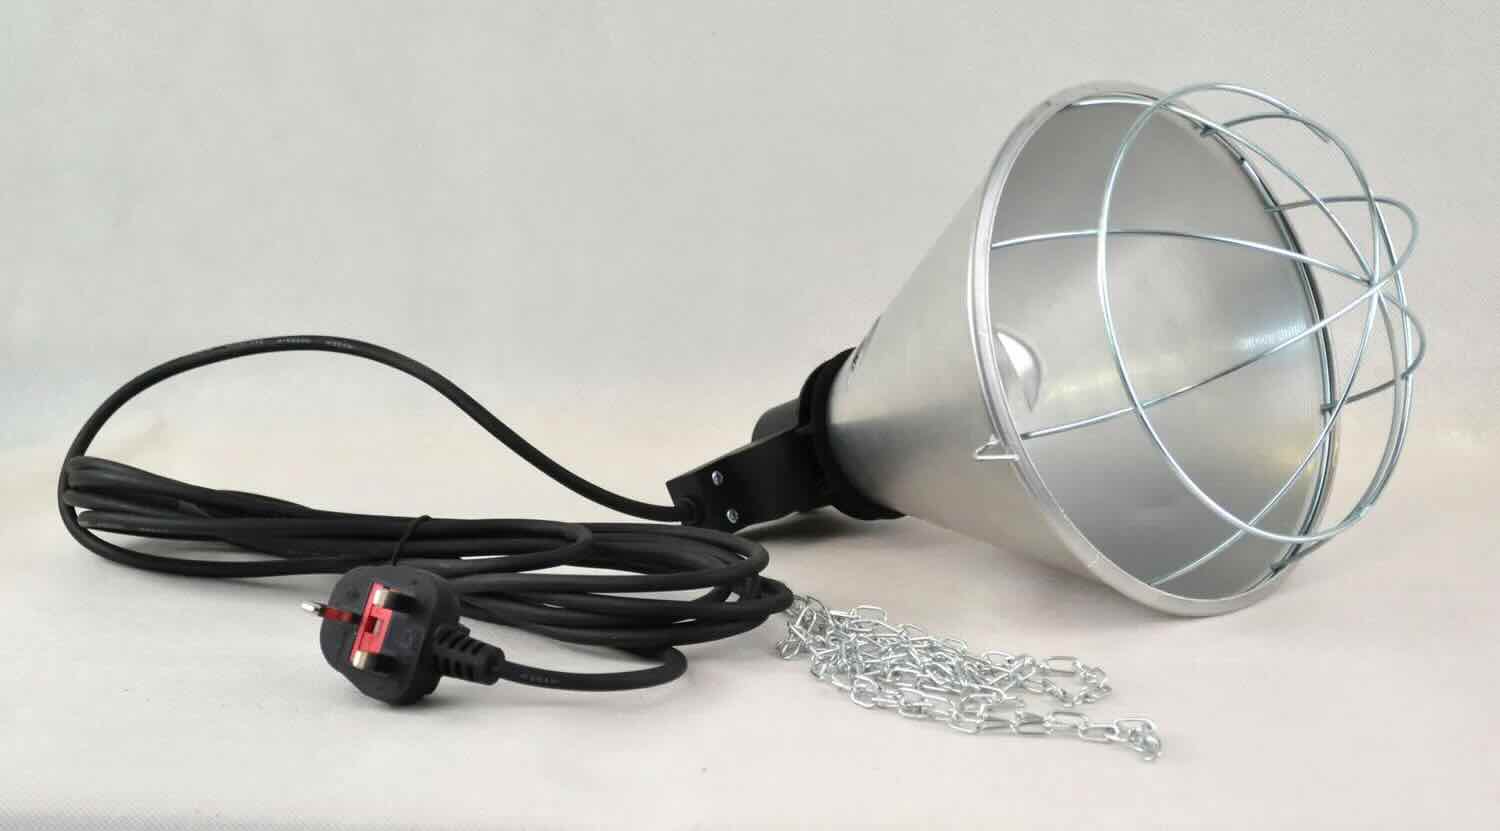
Setting Up the Heat Lamp
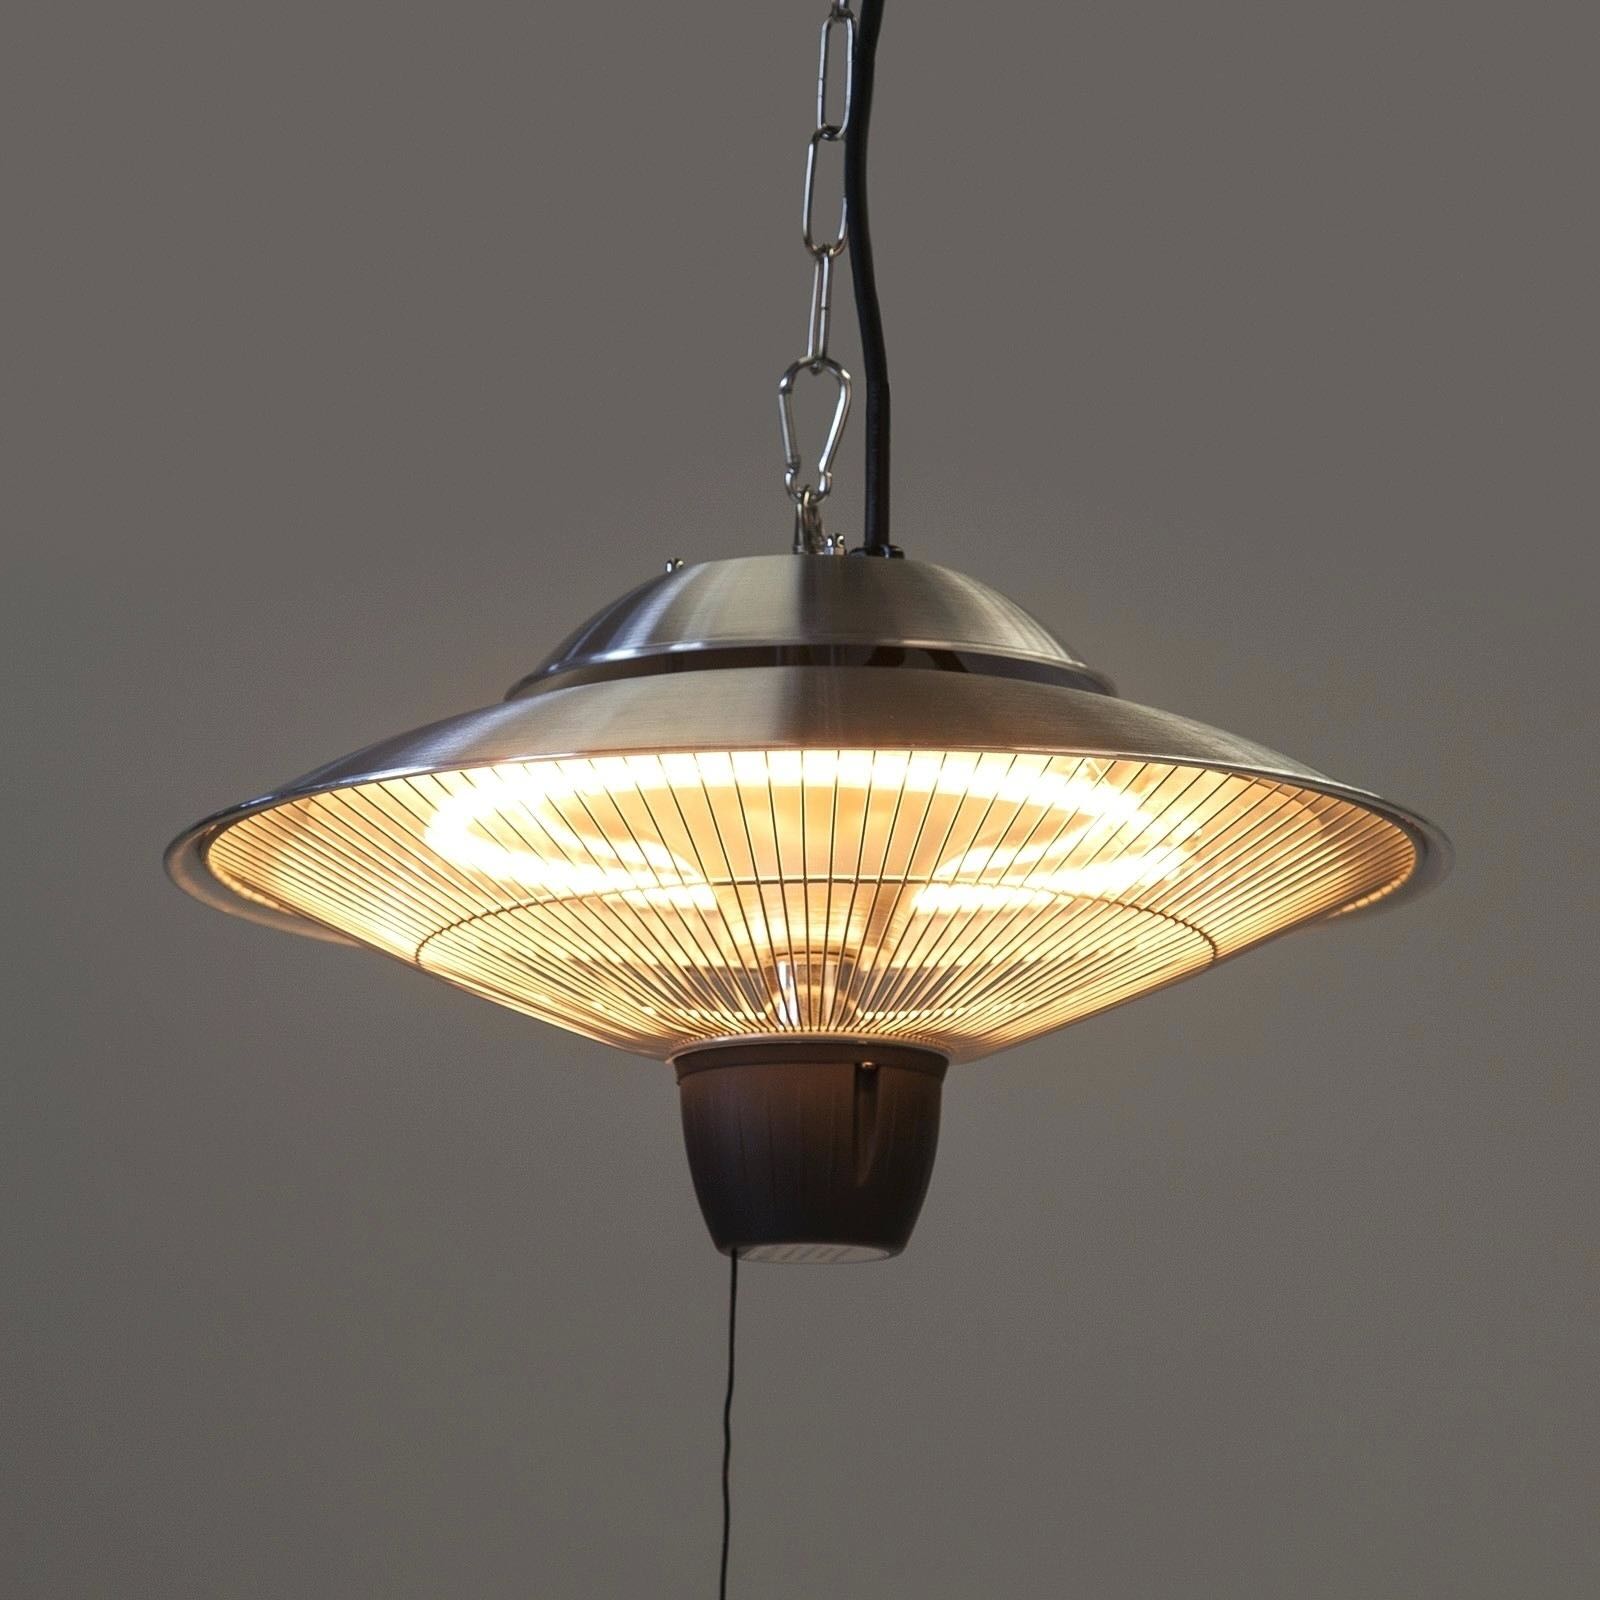
The heat lamp is a crucial component of your incubation setup, as it provides a controlled source of heat for the eggs. Follow these steps to properly set up the heat lamp:
- Positioning the Lamp: Place the heat lamp in a secure location above the incubator, ensuring it is stable and will not fall or cause any hazards. Position it so that it provides adequate heat coverage to the entire incubator.
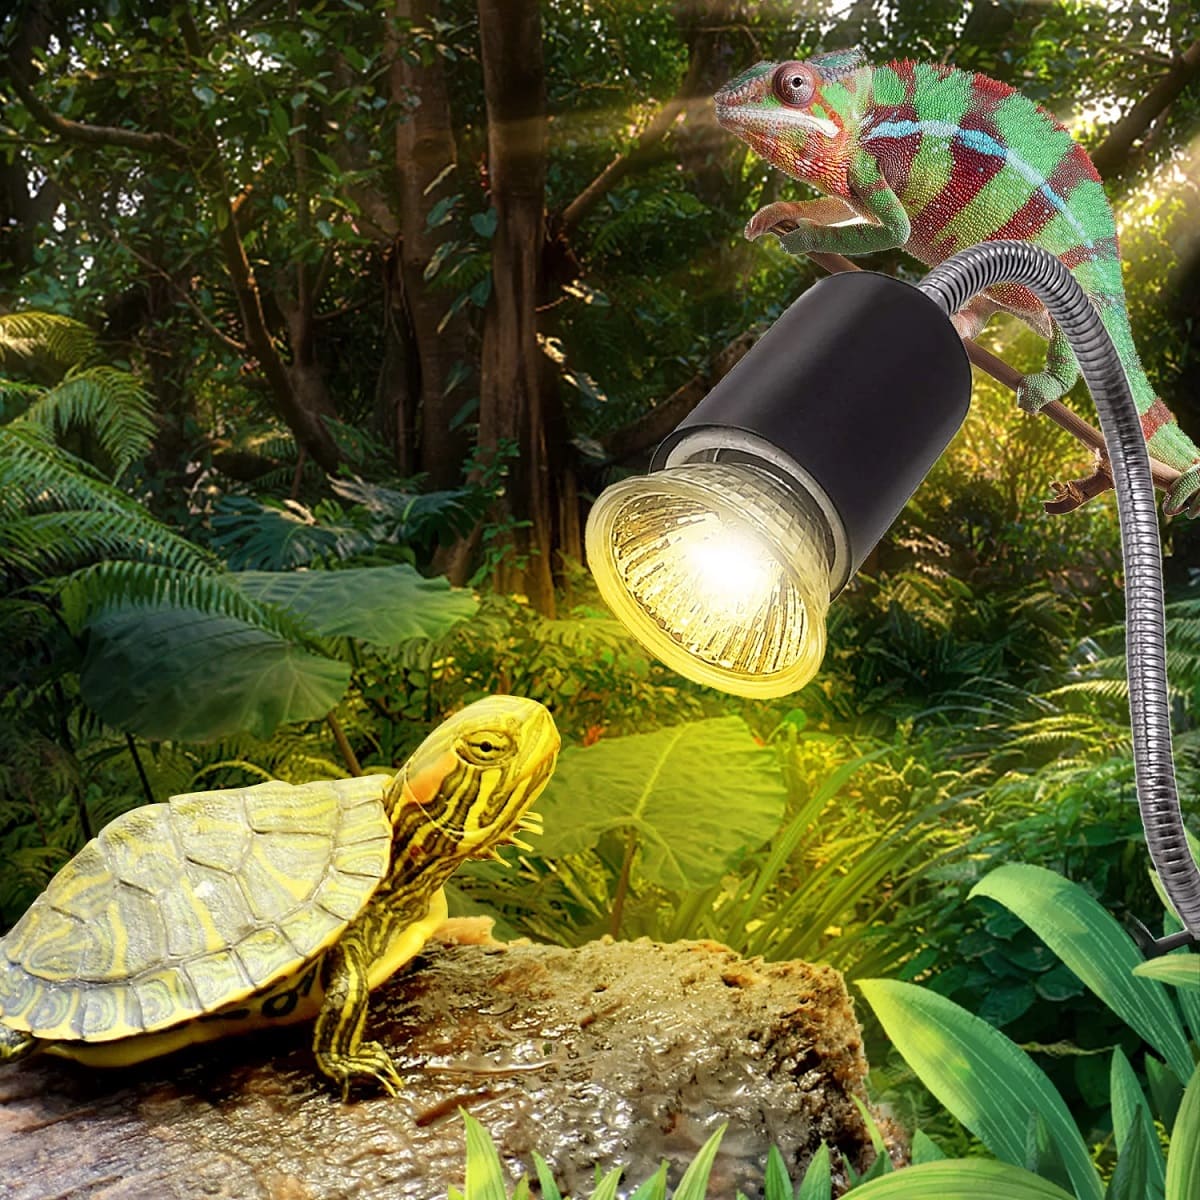
- Installing a Heat Source: Depending on the type of heat lamp you have, you may need to install a specific type of bulb or heating element. Follow the manufacturer’s instructions for proper installation.
- Adjusting the Height: The height of the heat lamp can affect the temperature inside the incubator. Experiment by raising or lowering the lamp to achieve the desired temperature. Use a thermometer to monitor the temperature inside the incubator and make adjustments accordingly.
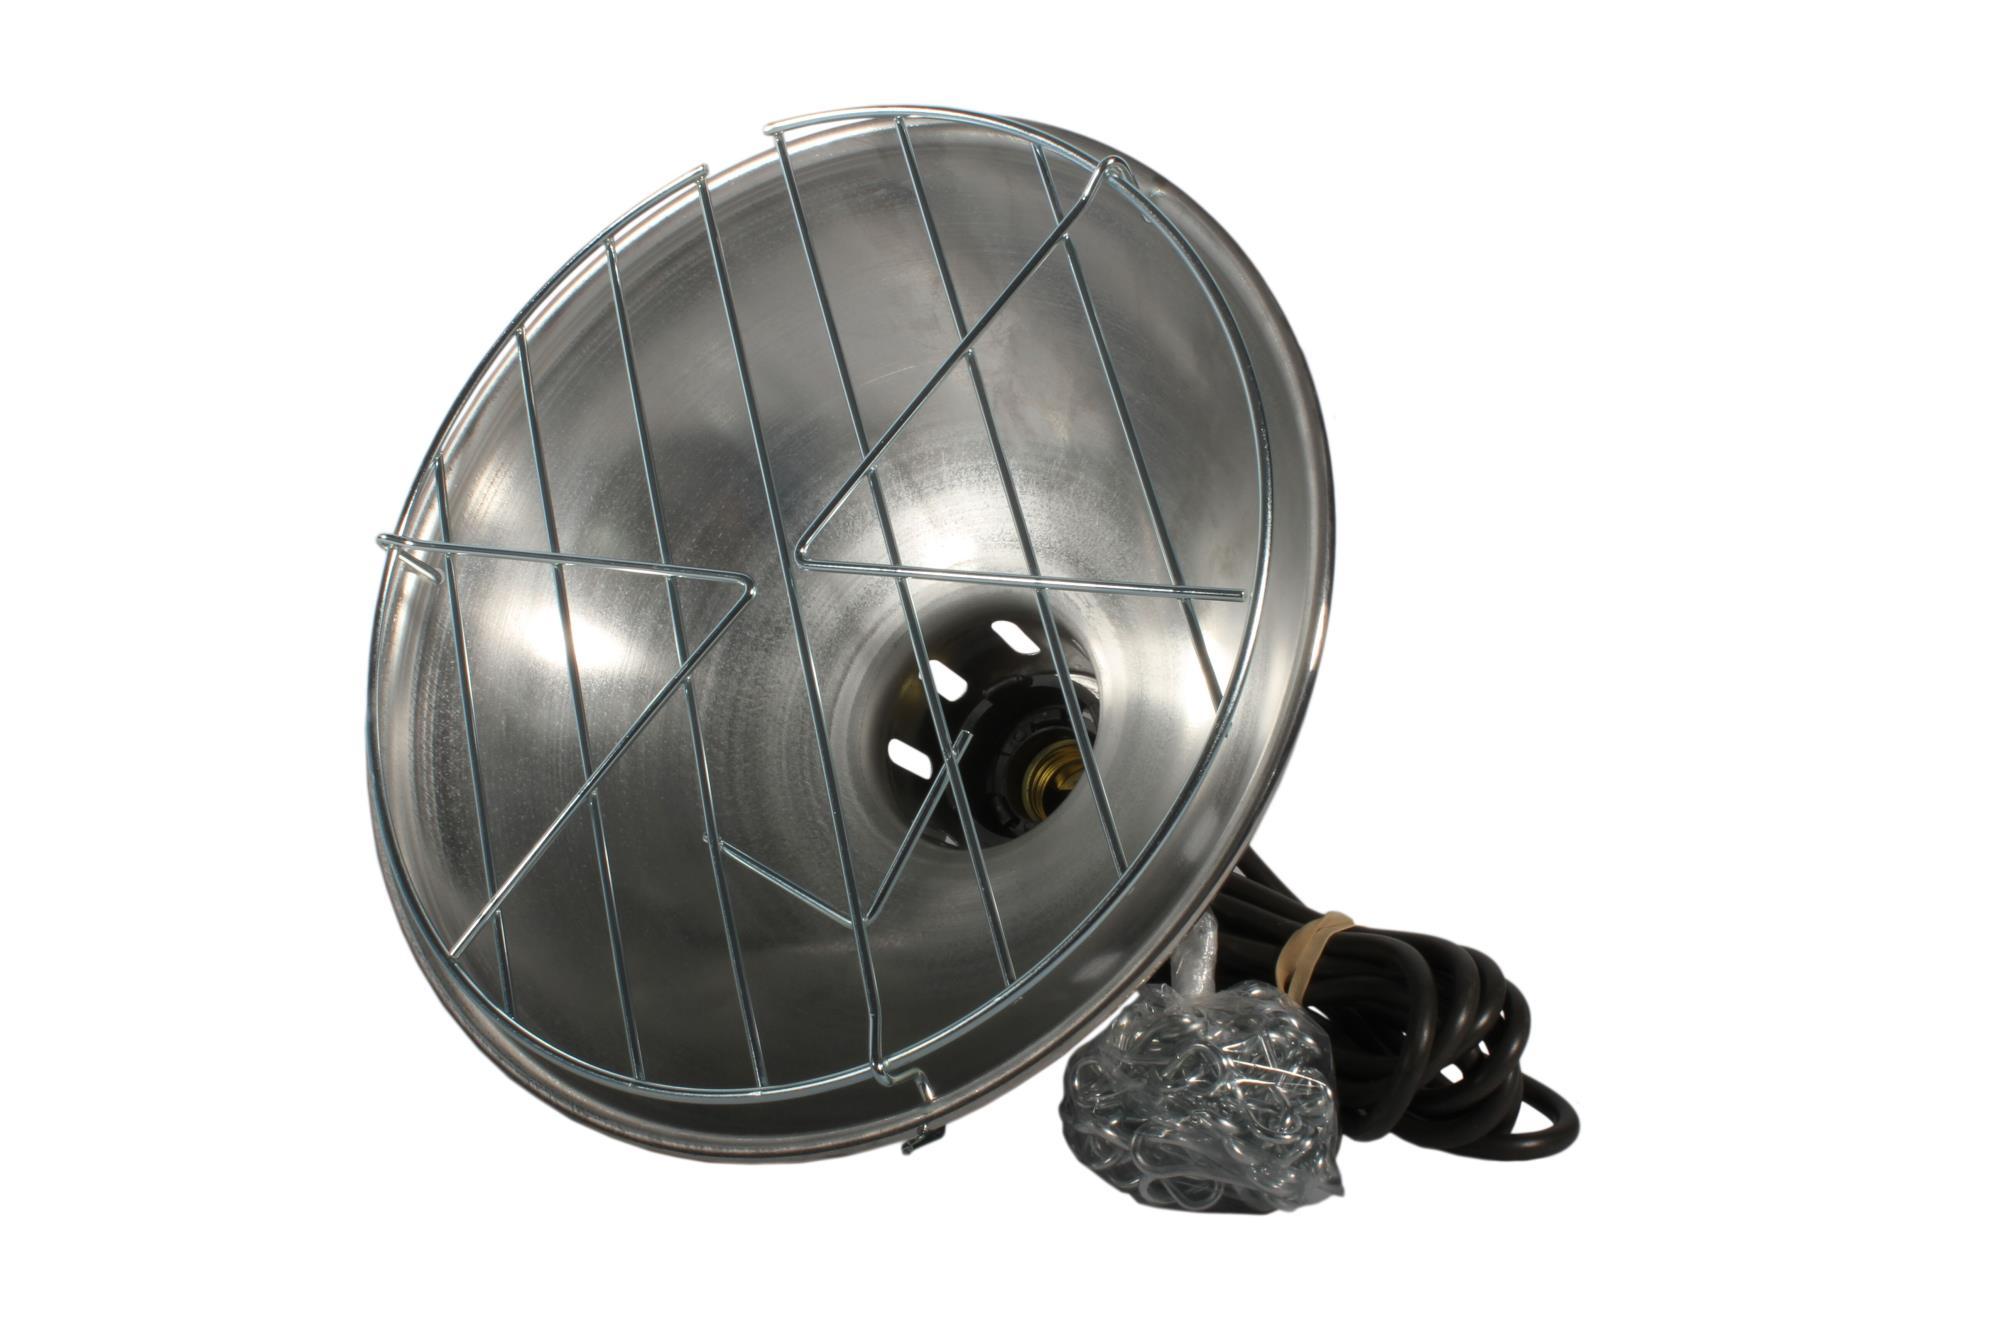
- Protective Measures: It’s important to take precautions to avoid accidents or harm. Install a protective guard around the heat lamp to prevent direct contact with the eggs or any flammable materials.
- Backup Heat Source: Consider having a backup heat source available in case of power outages or unforeseen circumstances. This could be a spare heat lamp or an alternative heating method, such as a heating pad.
Once the heat lamp is properly set up, it’s time to monitor and adjust the temperature to create an ideal environment for the developing embryos.
Monitoring and Adjusting Temperature
Maintaining a consistent and appropriate temperature is crucial for the successful development of the eggs. Follow these steps to monitor and adjust the temperature in your incubator:
- Temperature Range: Different types of eggs require different temperature ranges for optimal incubation. Research the specific temperature requirements for the type of eggs you are incubating and aim to maintain a consistent temperature within that range.
- Thermometer Placement: Place the thermometer probe at the same height as the eggs inside the incubator. This will give you an accurate reading of the temperature experienced by the eggs.
- Initial Temperature Setup: Start with the recommended temperature for the eggs you are hatching. Typically, the temperature for chicken eggs ranges between 99 to 101 degrees Fahrenheit (37 to 38 degrees Celsius).
- Thermostat Adjustment: Use the thermostat or temperature control mechanism on your incubator to adjust the temperature. Make small adjustments at a time and allow the temperature to stabilize before making further changes.
- Temperature Fluctuations: Keep in mind that temperature fluctuations can occur due to factors like room temperature, heat lamp intensity, and ventilation settings. Regularly monitor the temperature and make necessary adjustments to ensure a steady and consistent environment.
- Heat Lamp Positioning: If you notice the temperature is consistently higher or lower than the desired range, adjust the height or intensity of the heat lamp accordingly. Raising the lamp height will decrease the temperature, while lowering it will increase the temperature.
- Regular Temperature Checks: It’s important to regularly check the temperature inside the incubator using the thermometer. Monitor the temperature at different times of the day to ensure it remains within the desired range.
Remember, maintaining a stable and consistent temperature is crucial for the health and development of the eggs. By monitoring and adjusting the temperature as needed, you will create an ideal environment for successful incubation.
Read more: How To Store Hatching Eggs
Monitoring and Adjusting Humidity
In addition to temperature, maintaining the right humidity levels is vital for the successful hatching of eggs. Here are some steps to help you monitor and adjust the humidity in your incubator:
- Recommended Humidity Range: Different types of eggs have specific humidity requirements during the incubation process. Research the optimal humidity range for the type of eggs you are hatching and aim to maintain humidity levels accordingly. For example, chicken eggs generally require a humidity range of 50-55% during incubation.
- Use a Hygrometer: Place a hygrometer inside the incubator to monitor the humidity levels accurately. It should be positioned at the same height as the eggs for reliable readings.
- Adding Water Source: To increase humidity levels, you can add a water source such as a sponge or a shallow dish with water to the incubator. This will provide the necessary moisture to maintain the desired humidity level.
- Adjusting Ventilation: The ventilation settings in your incubator play a crucial role in regulating humidity. Adjust the vents or openings to control the airflow and prevent excessive moisture loss or buildup. This will help maintain the ideal humidity levels.
- Water Evaporation Rate: Monitor the rate of water evaporation in your incubator. If the humidity is too low, you may need to increase the surface area of the water source or use a humidifier to add moisture. Conversely, if the humidity is too high, decrease the surface area or limit the water source to prevent excessive humidity.
- Seasonal Considerations: Keep in mind that humidity levels can be influenced by external factors such as weather conditions. Adjust your incubator settings accordingly during different seasons to maintain the recommended humidity range.
- Regular Humidity Checks: Regularly check and monitor the humidity levels in the incubator to ensure they remain within the desired range. Make adjustments as necessary to maintain optimal conditions.
By closely monitoring and adjusting the humidity levels throughout the incubation process, you are providing an environment that is conducive to the successful development and hatching of the eggs.
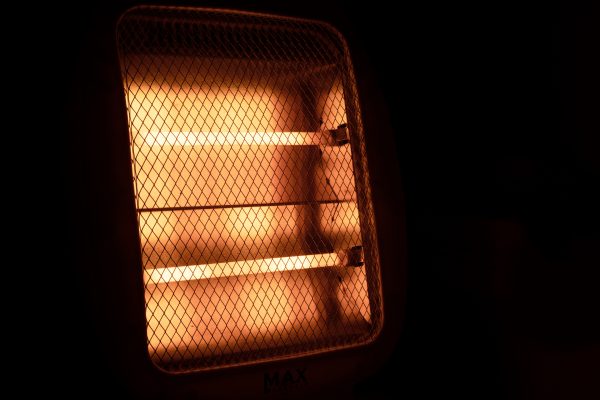
Make sure to regularly check the temperature under the heat lamp to ensure it stays consistent. Fluctuations in temperature can affect the hatching process.
Turning the Eggs
Egg turning is a critical part of the incubation process as it helps prevent the embryo from sticking to the shell and promotes even development. Follow these steps to properly turn the eggs:
- Frequency of Turning: Eggs should be turned multiple times a day to ensure proper development. The recommended frequency is typically three to five times per day.
- Consistency: Aim to turn the eggs at regular intervals throughout the day to maintain consistency. For example, you can turn them in the morning, afternoon, and evening.
- Marking the Eggs: It’s important to mark one side of each egg with an “X” and the other side with an “O” to keep track of which side has been turned up or down. This ensures that you don’t accidentally skip a turning or over-rotate an egg.
- Turning Technique: Gently roll the eggs between your fingers, ensuring that you rotate them at least 180 degrees. Be careful not to shake or jolt the eggs excessively, as this can harm the developing embryos.
- Turning Tools: If you have a large batch of eggs, you may find it helpful to use automated turning devices or specially designed incubators that facilitate automatic egg rotation.
- Consistency: Maintain a consistent turning schedule until day 18 of incubation. At this point, stop turning the eggs and allow them to position themselves in preparation for hatching.
Turning the eggs regularly helps ensure that the developing embryos receive even heat distribution and proper oxygenation. It also mimics the natural behavior of birds that would shift their eggs frequently while brooding. Remember to maintain a consistent turning schedule until the designated time, and then allow the eggs to prepare for hatching.
Caring for the Eggs
While the eggs are incubating, it’s essential to provide proper care to maximize the chances of a successful hatch. Here are some important aspects to consider when caring for the eggs:
- Cleanliness: Keep the incubation environment clean and free from dirt, debris, and bacteria. Regularly check and remove any soiled or cracked eggs to prevent contamination.
- Handling: Handle the eggs with care to avoid unnecessary movement or shaking. Rough handling can disrupt the development of the embryos and negatively impact their chances of hatching.
- Observation: Take time to observe the eggs during the incubation process. Look for signs of proper development, such as veins becoming visible during the candling process. Remove any eggs that show signs of abnormal development or bacteria growth.
- Record-keeping: Keep a record of important details such as the date of incubation, egg type, and any observations you make during the process. This information can be helpful for future reference and troubleshooting.
- Patience: Incubation is a process that requires patience. Avoid the temptation to constantly check on the eggs or open the incubator unnecessarily. Excessive temperature and humidity fluctuations can disrupt the incubation process.
- Minimize Disturbances: Limit disturbances to the incubation area and avoid frequent temperature adjustments. The developing embryos require a stable environment to thrive and hatch successfully.
- Avoid Chemical Exposure: Keep the incubation area away from harsh chemicals, fumes, and strong odors that may harm the eggs or the developing embryos.
By providing proper care and attention to the eggs throughout the incubation process, you are increasing the likelihood of a successful hatch. Remember to maintain cleanliness, handle the eggs gently, observe their development, keep records, exercise patience, and create a disturbance-free environment.
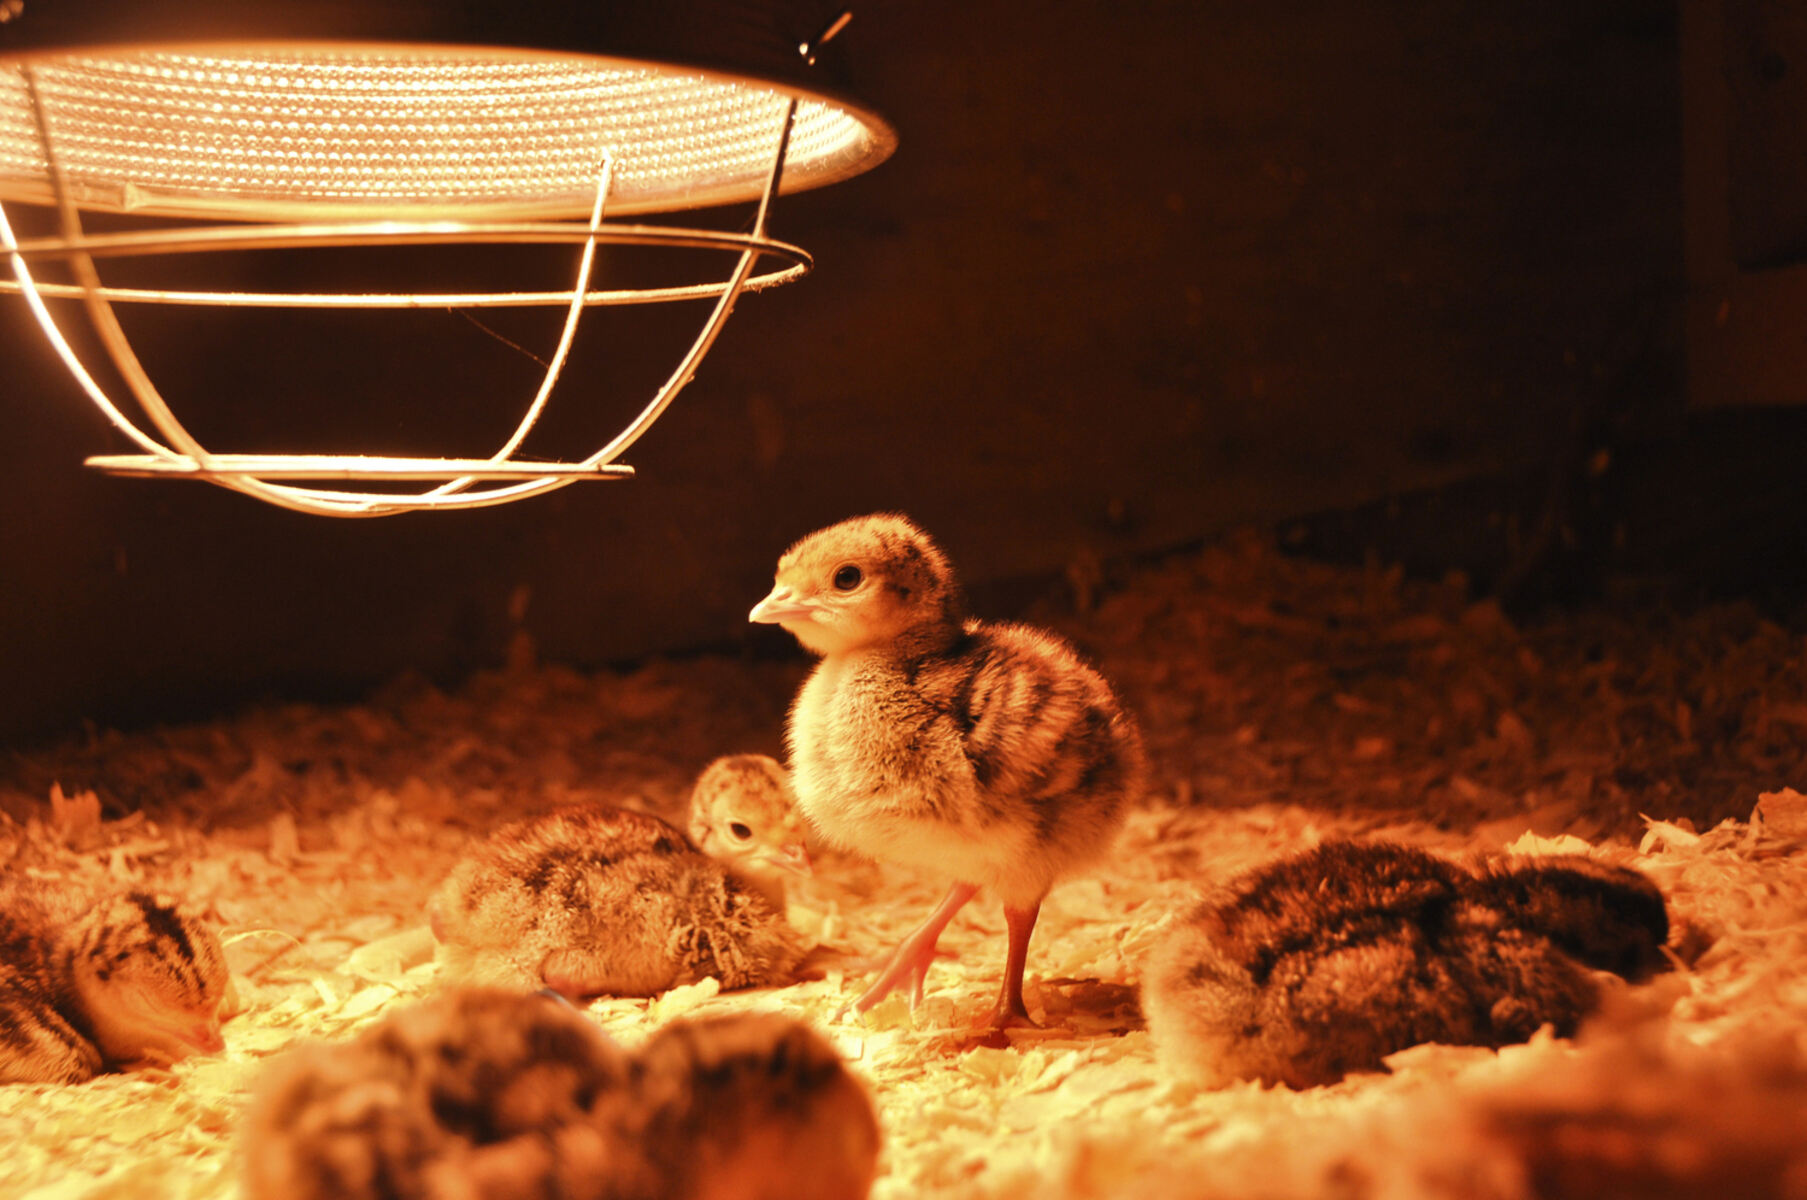
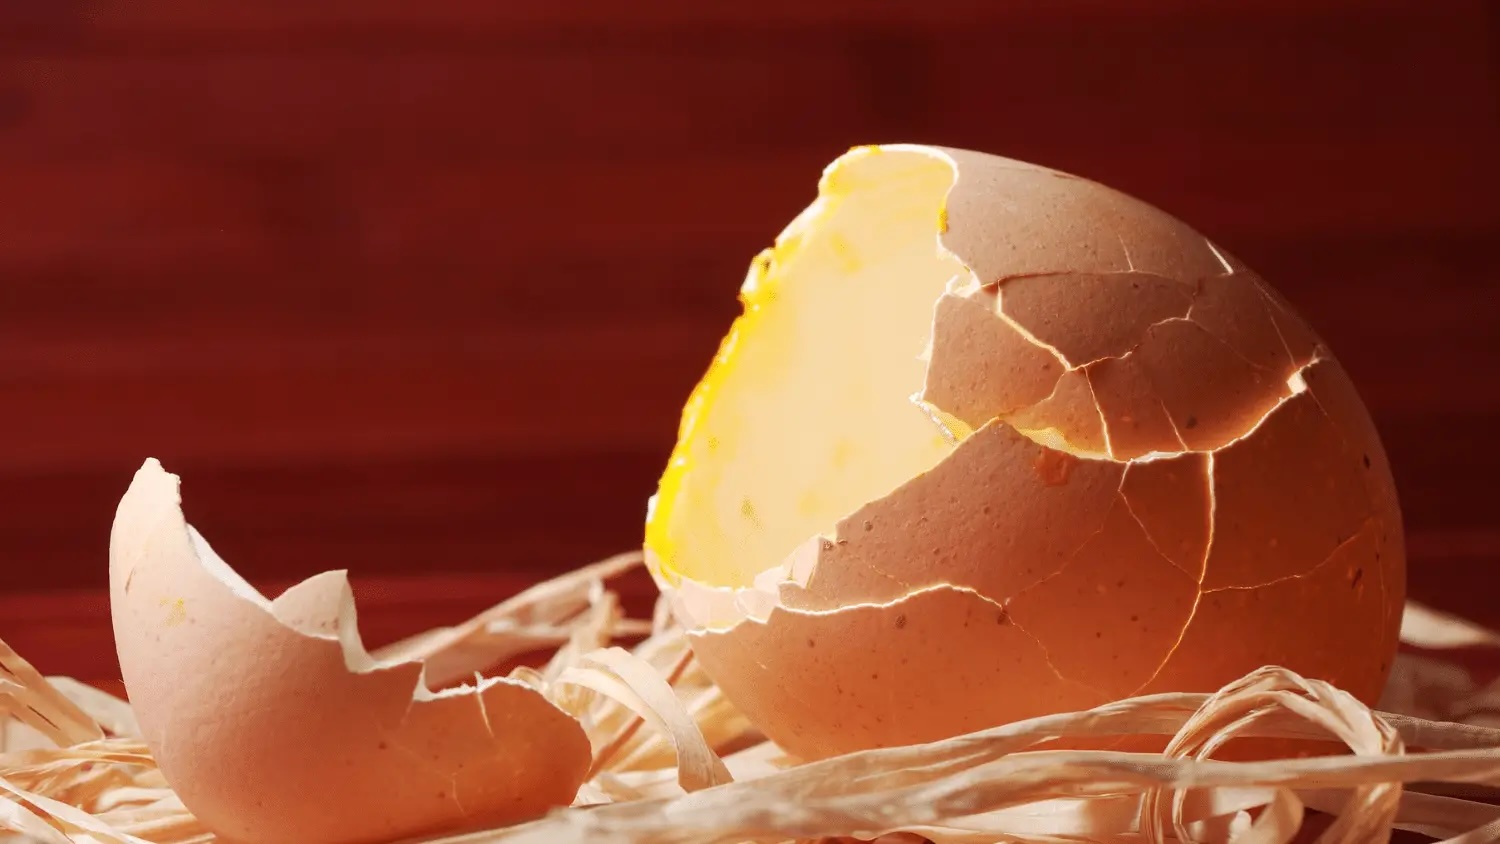
Hatching Process
The hatching process is an exciting and rewarding culmination of the incubation journey. Here’s what you can expect during the hatching process:
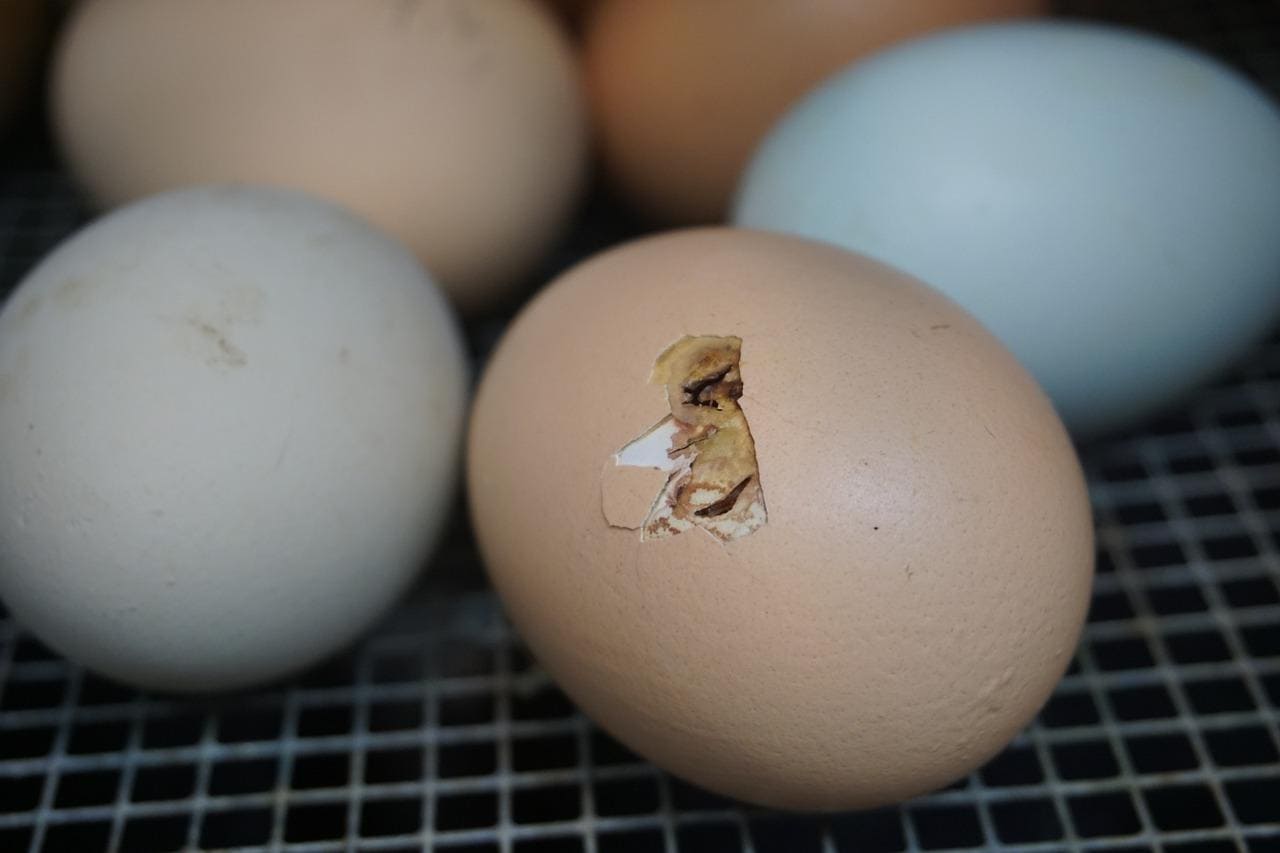
- Pipping: Pipping refers to the moment when the chick begins to crack a small hole, known as the pip, on the shell. This process can take anywhere from 12 to 24 hours after the chick starts to position itself for hatching.
- Hatching Time: Once the chick has pipped, it may take anywhere from 24 to 48 hours for it to fully emerge from the shell. During this time, the chick will break through the shell by using its egg tooth – a tiny, temporary protuberance on its beak.
- Assisting Hatch: It is crucial to allow the chicks to hatch on their own whenever possible. While it can be tempting to assist, it is important to remember that the hatching process is a natural and necessary stage of development for the chicks. Only intervene if absolutely necessary and with proper guidance from an experienced avian veterinarian.
- Drying and Resting: Once the chick has fully hatched, it will likely be wet and tired. Allow it to rest in the incubator until its feathers dry completely. Avoid removing the chick prematurely, as it needs time to regain strength and prepare for its transition to a brooder.
- Brooder Transition: After the chicks have dried and rested, carefully transfer them to a clean and warm brooder. Provide them with proper warmth, food, and water to ensure a smooth transition and continued growth.
- Caring for Hatchlings: Monitor the hatchlings closely during the first few weeks. Ensure they have access to fresh water, appropriate nutrition, and a clean living environment. Consult a poultry veterinarian for any concerns or questions regarding their health and well-being.
Remember, the hatching process is a natural and delicate phase in the life of the chicks. While it is exciting to witness, it is crucial to provide a nurturing and supportive environment for the newly hatched chicks as they begin their journey into the world.
Read more: How To Store Quail Eggs For Hatching
Troubleshooting Common Issues
Although egg incubation can be a rewarding experience, it is not without its challenges. Here are some common issues that may arise during the incubation process and how to troubleshoot them:
- Inconsistent Temperature: If you notice temperature fluctuations in your incubator, double-check the accuracy of your thermometer. Make sure it is properly calibrated and positioned at the same height as the eggs. Adjust the heat lamp or heat source as needed to maintain a stable temperature within the recommended range.
- Low Humidity: If the humidity levels in your incubator are consistently low, try increasing the surface area of the water source or using a humidifier. Alternatively, check the ventilation settings and adjust them to prevent excessive moisture loss.
- High Humidity: If the humidity levels are consistently high, decrease the surface area of the water source or remove excess water containers from the incubator. Adjust the ventilation to allow for better airflow and moisture evaporation.
- Late or No Hatch: If the eggs do not hatch within the expected timeframe, there may be several reasons for this. It could be due to incorrect temperature or humidity levels, inadequate turning, or poor egg quality. Review your incubation process, ensure proper environmental conditions, and evaluate egg quality for better results in subsequent incubations.
- Egg Candling Issues: If you’re having difficulties candling the eggs to check for development, ensure that you are in a dark room and using a suitable light source. Hold the egg gently and position it properly to get a clear view of the contents. If candling doesn’t provide clear results, consult an experienced poultry breeder or veterinarian for assistance.
- Deformed Chicks: If you notice deformities in the hatched chicks, it may be due to genetic abnormalities, nutritional deficiencies, or improper incubation conditions. Consult a poultry veterinarian or breeder to determine the cause and take appropriate measures to prevent future deformities.
It’s important to remember that troubleshooting issues during egg incubation can be a learning experience. Each incubation attempt provides an opportunity to refine your techniques and make improvements for better hatch rates in the future. Consulting experienced breeders, joining poultry forums, and seeking advice from professionals can also be helpful in resolving any challenges you may encounter along the way.
Conclusion
Congratulations on learning the ins and outs of hatching eggs with a heat lamp! By following the steps outlined in this guide, you have gained valuable knowledge on preparing the incubation setup, choosing and collecting eggs, setting up the heat lamp, monitoring temperature and humidity, turning the eggs, and caring for them throughout the process.
Remember, successful egg incubation requires attention to detail, patience, and a nurturing environment. It’s important to maintain consistent temperature and humidity levels, regularly monitor the eggs, and provide proper care during the hatching period. By doing so, you can increase the chances of a successful hatch and witness the joy of new life.
However, it’s essential to keep in mind that each incubation attempt may have unique challenges and outcomes. Learning from each experience and seeking guidance from experienced breeders or veterinarians can help improve your techniques and overcome any difficulties you may encounter.
Whether you are a hobbyist or aspiring poultry breeder, hatching eggs with a heat lamp can be a fascinating and fulfilling endeavor. Enjoy the journey and the wonder of witnessing new life emerge from the shells.
Happy hatching!
Frequently Asked Questions about How To Hatch Eggs With A Heat Lamp
Was this page helpful?
At Storables.com, we guarantee accurate and reliable information. Our content, validated by Expert Board Contributors, is crafted following stringent Editorial Policies. We're committed to providing you with well-researched, expert-backed insights for all your informational needs.