Articles
How To Store Quail Eggs For Hatching
Modified: August 28, 2024
Learn how to properly store quail eggs for hatching in this informative article. Discover effective techniques and tips to ensure successful incubation and healthy chicks.
(Many of the links in this article redirect to a specific reviewed product. Your purchase of these products through affiliate links helps to generate commission for Storables.com, at no extra cost. Learn more)
Introduction
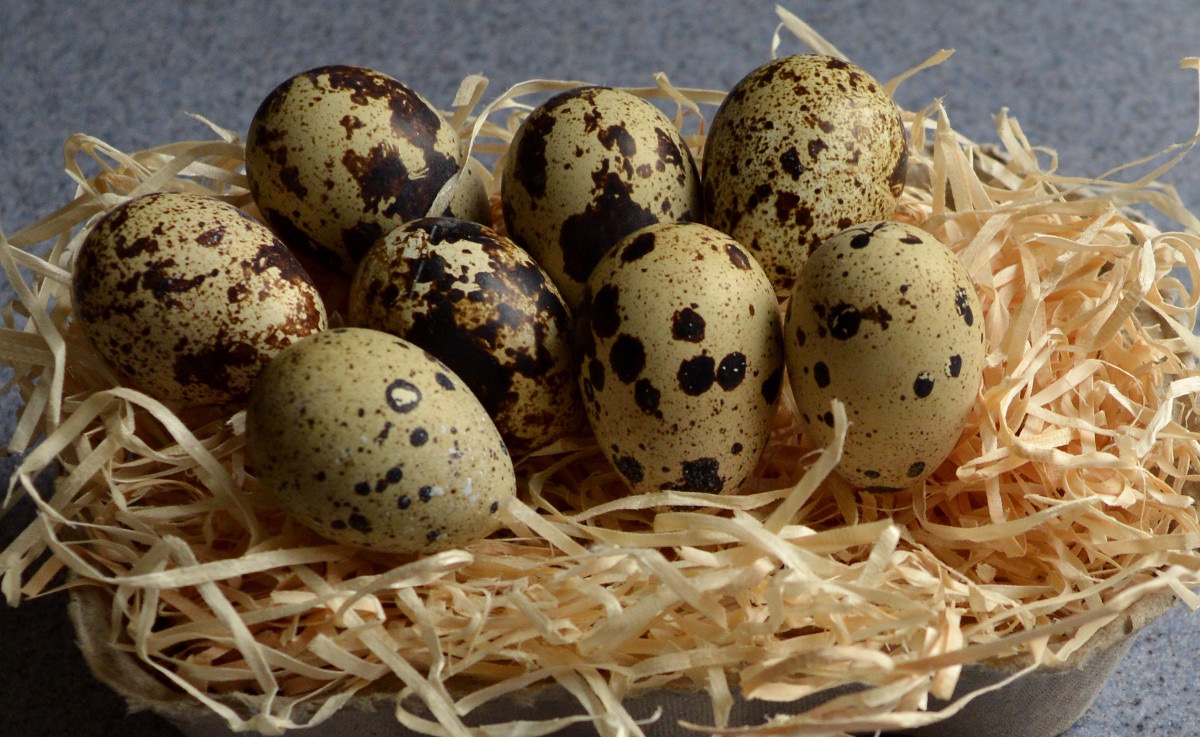
Quail eggs have gained popularity among poultry enthusiasts for their health benefits and delicious flavor. If you are a quail breeder or simply enjoy raising quails, you may be interested in learning how to store quail eggs for hatching. Storing quail eggs allows you to extend their shelf life and control the timing of incubating them for optimal success.
Proper storage is crucial for maintaining the viability of quail eggs and increasing the chances of successful hatching. In this article, we will guide you through the process of storing quail eggs, from selecting and collecting them to creating the ideal storage conditions. We will also discuss common mistakes to avoid and provide step-by-step instructions on hatching quail eggs from storage.
Understanding how to store quail eggs for hatching will not only benefit quail breeders but also those who are interested in preserving the freshness and quality of quail eggs for culinary purposes. Let’s dive in and explore the benefits and factors to consider before storing quail eggs.
Key Takeaways:
- Properly storing quail eggs for hatching extends their shelf life, allows for controlled incubation timing, and increases hatch rates, benefiting both breeders and culinary enthusiasts.
- Attention to egg quality, cleanliness, and suitable storage conditions is crucial for successful quail egg storage and hatching. Avoid common mistakes and check viability before incubation for optimal results.
Read more: How To Store Quail Eggs
Benefits of Storing Quail Eggs for Hatching
Storing quail eggs for hatching offers several advantages for quail breeders and enthusiasts. Here are some of the key benefits:
- Extended Shelf Life: Quail eggs have a relatively short shelf life of around 2 to 3 weeks when stored under normal conditions. However, by properly storing the eggs, you can extend their freshness for several weeks, allowing you to accumulate a larger quantity before incubation.
- Controlled Incubation Timing: Storing quail eggs gives you the flexibility to control the timing of incubation. This is especially useful if you want to stagger the hatching process or synchronize it with other breeding activities. By storing eggs, you can start the incubation process whenever you are ready.
- Increased Hatch Rates: Proper storage conditions significantly improve the hatchability of quail eggs. By maintaining optimal temperature and humidity levels, you can enhance the viability of the embryos and increase the chances of successful hatching.
- Protection from External Factors: Quail eggs are sensitive to temperature fluctuations, excessive humidity, and physical damage. Storing the eggs in a controlled environment shields them from these external factors, reducing the risk of spoilage or deterioration.
- Year-Round Quail Breeding: Storing quail eggs allows you to breed quails throughout the year, regardless of their natural breeding seasons. This opens up opportunities for continuous production and ensures a steady supply of quail chicks.
These benefits highlight the importance of proper quail egg storage techniques. In the following sections, we will explore the factors to consider before storing quail eggs and provide you with guidelines for selecting and preparing the eggs for storage.
Factors to Consider Before Storing Quail Eggs
Before you embark on storing quail eggs for hatching, it is essential to consider a few key factors to ensure the best possible outcome. Here are some factors to keep in mind:
- Egg Quality: Only store eggs that are of high quality and free from any cracks, deformities, or abnormalities. Eggs with visible flaws or damage should not be stored as they are less likely to hatch successfully.
- Egg Age: Fresh quail eggs have a higher chance of successful hatching compared to older eggs. Aim to store eggs that are no older than 7 to 10 days, as older eggs have a decreased viability due to natural deterioration.
- Cleanliness: Ensure that the quail eggs you plan to store are clean and free from any dirt or debris. Dirty eggs can harbor bacteria, which can negatively impact their viability during storage and incubation.
- Storage Duration: Consider how long you plan to store the quail eggs. While eggs can be stored for several weeks, it is best to incubate them within 2 to 3 weeks for the highest chances of success. The longer the eggs are stored, the lower their viability becomes.
- Storage Space: Determine the available storage space you have for the quail eggs. Choose appropriate storage containers that can accommodate the number of eggs you want to store. Ensure that the containers have good ventilation and provide enough space for air circulation.
- Environmental Factors: Make sure you have a suitable storage location where you can control the temperature and humidity levels. Extreme temperature fluctuations and high humidity can negatively impact egg viability. Aim for a storage temperature of around 50 to 60 degrees Fahrenheit (10 to 15 degrees Celsius) and a humidity level of 60 to 70 percent.
Considering these factors before storing quail eggs will help increase the chances of successful hatching. In the next section, we will discuss how to select and collect quail eggs for storage in detail.
Selecting and Collecting Quail Eggs for Storage
Selecting and collecting quail eggs for storage requires attention to detail to ensure the best quality eggs for successful hatching. Here are the steps to follow:
- Select Healthy Parent Stock: Start by selecting healthy and productive quails as your parent stock. Good genetics and overall health of the parent birds contribute to the quality of their eggs.
- Observe Nesting Behaviors: Observe the nesting behaviors of your quails to identify where they lay their eggs. Quails often prefer creating nests in secluded areas, such as under bushes or in sheltered corners. Provide nesting materials, such as straw or shredded paper, to encourage their nesting behavior.
- Collect Eggs Daily: Collect the quail eggs daily to ensure their freshness and prevent any spoilage. Quail eggs should ideally be collected within a few hours of being laid.
- Handle Eggs with Care: Handle the eggs with care to avoid any damage. Cracked or damaged eggs should not be stored for hatching as they have a lower chance of success. Gently place the eggs in a clean container, avoiding any sudden movements or rough handling.
- Label the Eggs: Using a non-toxic marker or pencil, label each egg with the date it was collected. This will help you keep track of their age and prioritize which eggs to use first during incubation.
- Inspect for Quality: Before storing the eggs, inspect them for any visible defects, such as cracks or deformities. Remove any eggs that do not meet the quality standards to prevent them from affecting the viability of the other eggs.
- Wash If Necessary: If an egg is dirty, you can gently clean it with a damp cloth or sponge. However, avoid using water or any cleaning agents as this can remove the natural protective coating on the eggshell.
By following these steps, you can ensure that you are collecting and selecting the highest quality quail eggs for storage. In the next section, we will discuss how to prepare the quail eggs for storage to maximize their viability.
Preparing Quail Eggs for Storage
Properly preparing quail eggs for storage is crucial to maintain their viability and freshness throughout the storage period. Follow these steps to prepare your quail eggs for storage:
- Gently Clean the Eggs: If the quail eggs are dirty or have any debris on them, gently wipe them clean with a damp cloth or sponge. Avoid using water or any cleaning agents as this can remove the protective bloom on the eggshell.
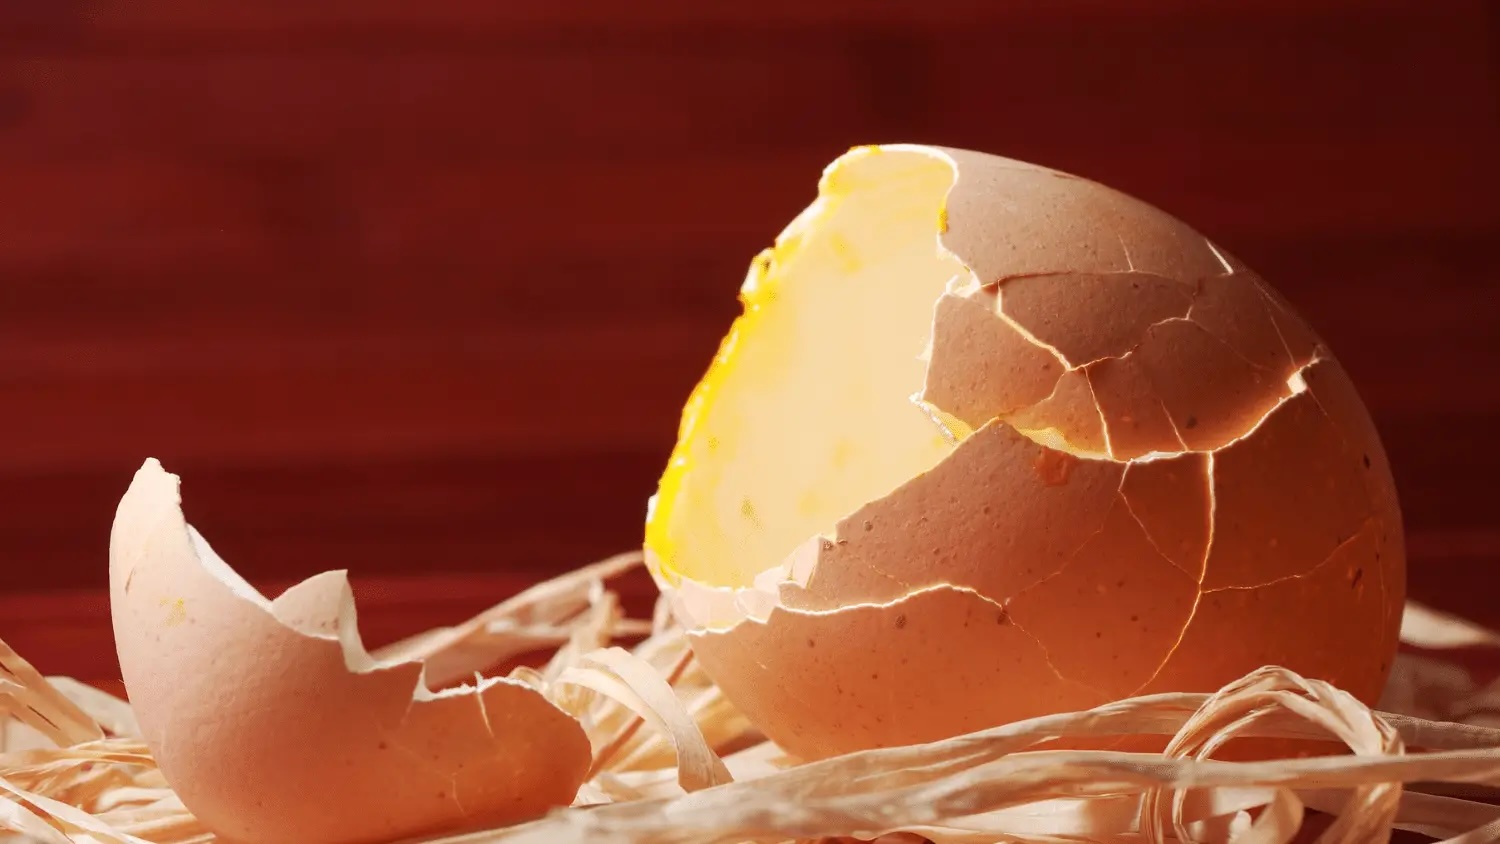
- Inspect for Cracks: Thoroughly inspect each egg for any cracks or damage. Discard any eggs with cracks, as they are less likely to hatch successfully. Cracked eggs pose a higher risk of bacterial contamination and reduced viability.
- Allow Eggs to Rest: Allow the freshly collected eggs to rest at room temperature for a few hours before storing them. This allows the eggs’ internal temperature to stabilize, reducing the risk of condensation during storage.
- Egg Positioning: Store the eggs with the pointed end facing downward. This helps keep the air cells properly positioned, which is critical for the healthy development of the embryo.
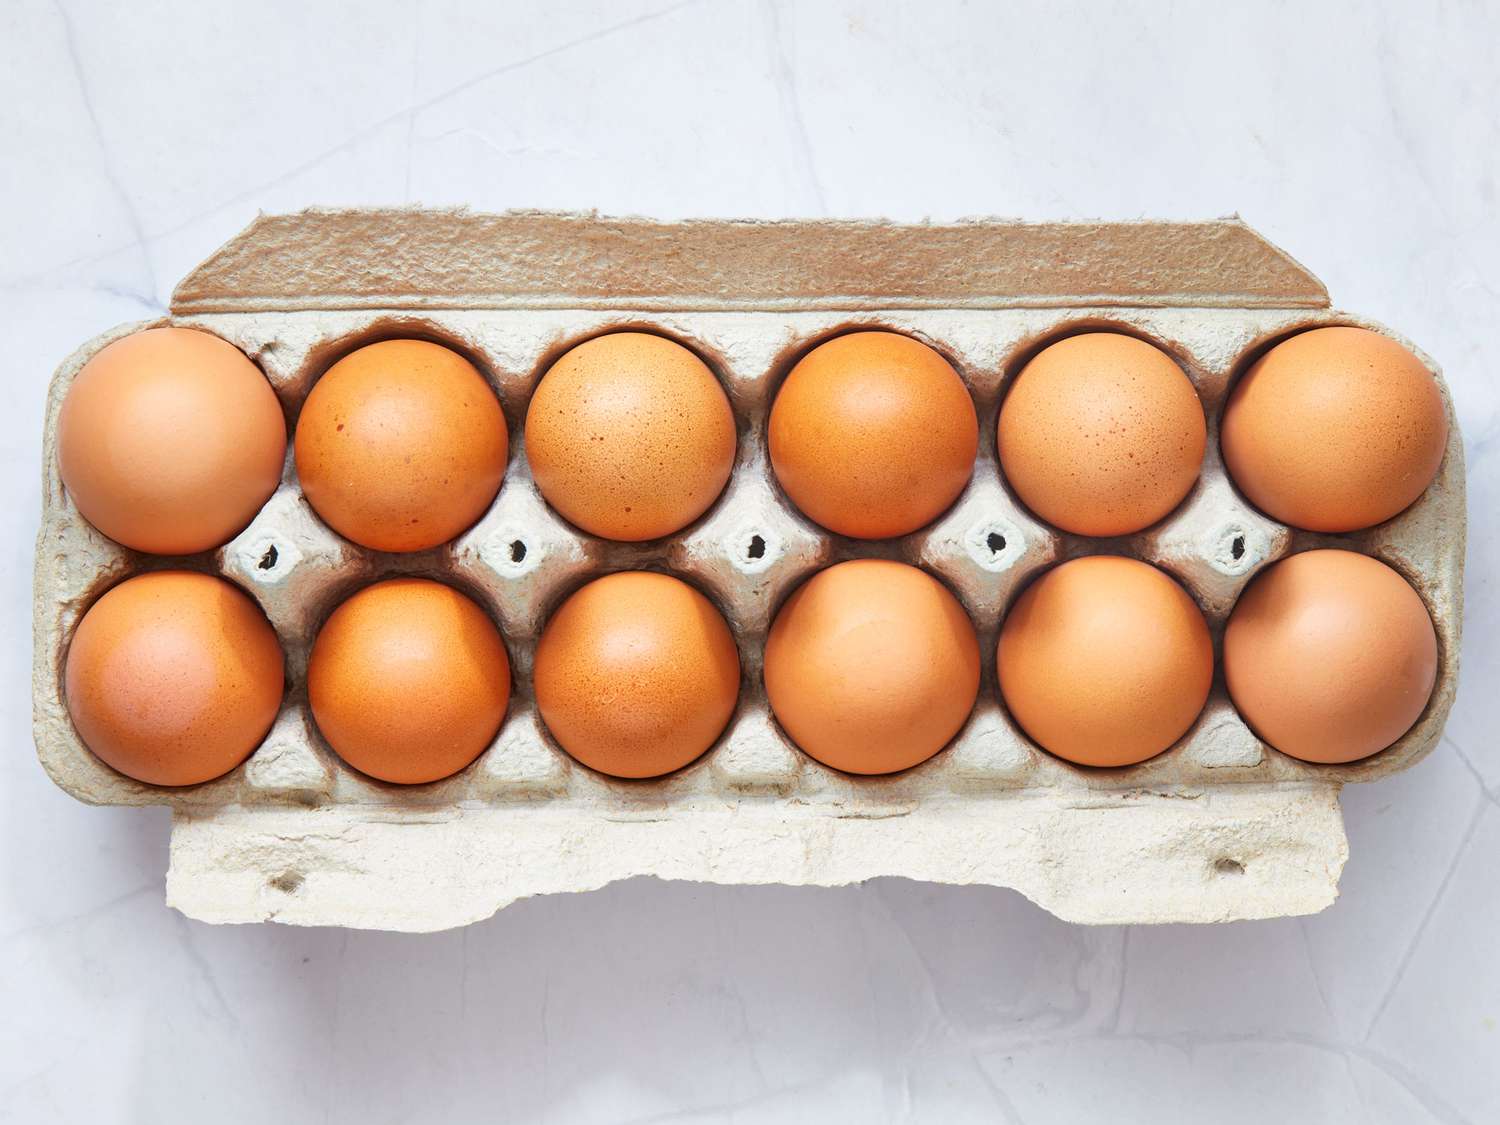
- Use an Appropriate Storage Container: Select a suitable storage container for your quail eggs. Consider using cardboard egg trays or breathable egg cartons, which provide adequate ventilation and prevent moisture buildup. Avoid using airtight containers, as they can lead to humidity build-up and compromise egg quality.
- Label and Date the Eggs: Label each storage container with the date of egg collection. This allows you to monitor the age of the eggs and use them in the order collected, prioritizing the freshest eggs for incubation.
- Store in a Cool Location: Place the storage container in a cool location with a consistent temperature. Ideally, the temperature should be around 50 to 60 degrees Fahrenheit (10 to 15 degrees Celsius). Avoid storing the eggs in areas that are prone to temperature fluctuations or direct sunlight.
By following these preparation steps, you can ensure that your quail eggs are in optimal condition for storage. In the next section, we will discuss the suitable storage conditions for quail eggs to maintain their viability.
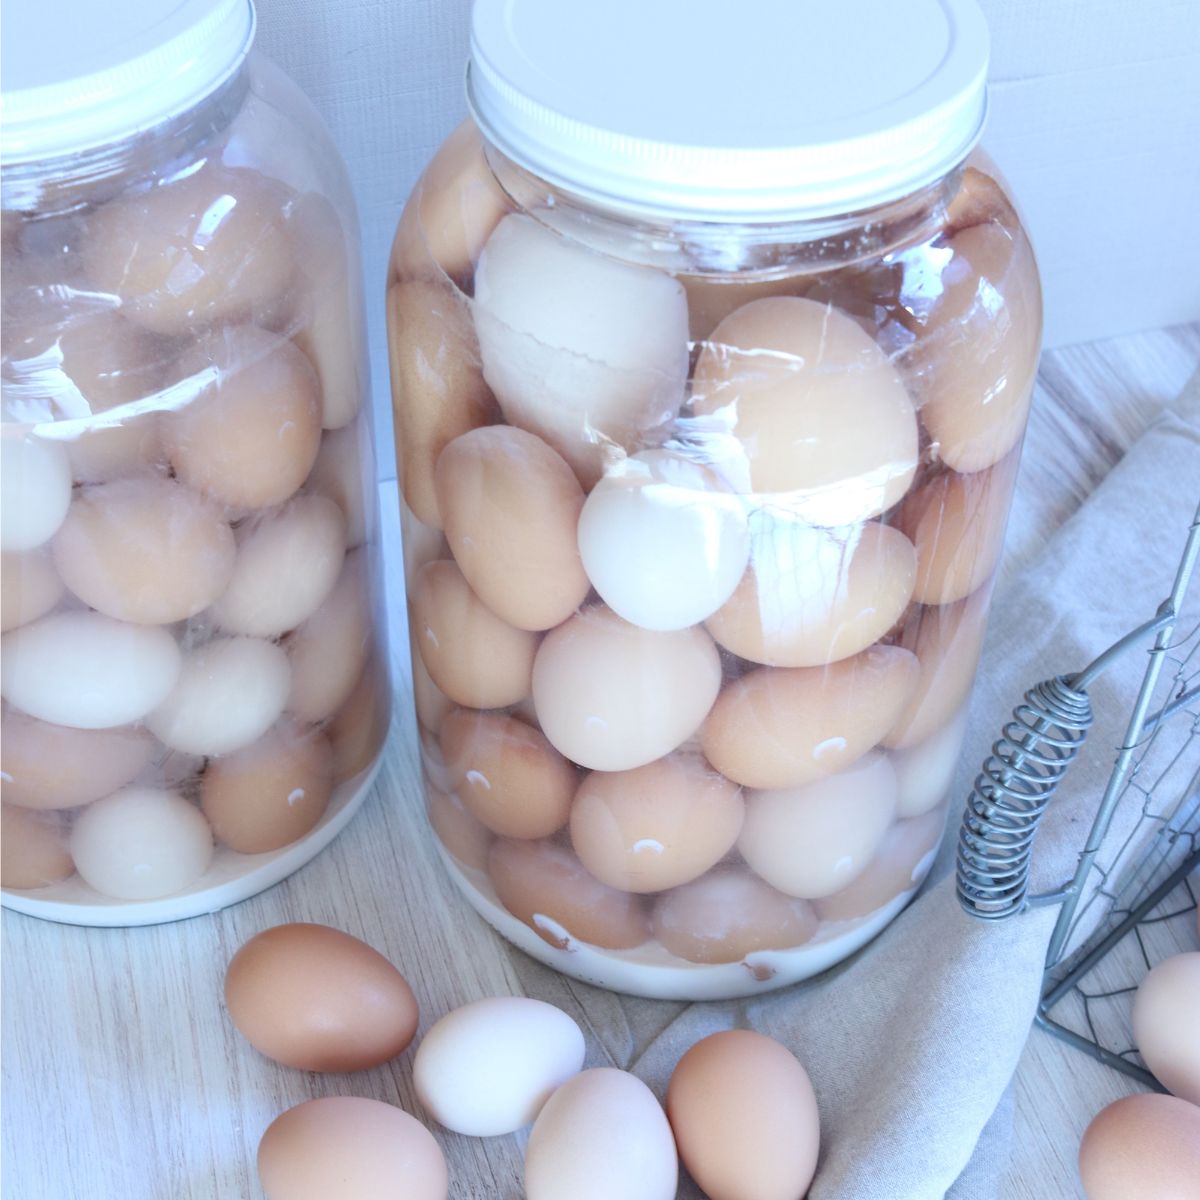
Store quail eggs for hatching in a cool, humid environment, ideally between 55-60°F and 60-70% humidity. Turn the eggs daily to prevent the yolk from sticking to the shell.
Read more: How To Store Eggs For Hatching
Suitable Storage Conditions for Quail Eggs
Creating suitable storage conditions is crucial for maintaining the viability of quail eggs during the storage period. The following factors should be considered when determining the storage conditions:
- Temperature: Quail eggs should be stored in a cool environment with a consistent temperature. The ideal temperature for storing quail eggs is around 50 to 60 degrees Fahrenheit (10 to 15 degrees Celsius). Avoid exposing the eggs to extreme temperature fluctuations or storing them in areas that are too hot or too cold.
- Humidity: The humidity level in the storage environment plays a significant role in egg preservation. Aim for a humidity level of around 60 to 70 percent. Excessive humidity can lead to mold growth and spoilage, while low humidity can cause the eggs to dry out. Use a hygrometer to monitor and adjust the humidity levels if necessary.
- Ventilation: Proper ventilation is essential for preventing moisture buildup and maintaining air circulation. Use storage containers that allow sufficient airflow to prevent the accumulation of condensation and mold. Avoid using airtight containers as they can compromise the freshness of the eggs.
- Storage Containers: Choose storage containers that are specifically designed for egg storage, such as cardboard egg trays or breathable egg cartons. These containers provide proper airflow and help maintain the shape and quality of the eggs. Avoid overcrowding the eggs in the containers to ensure adequate ventilation.
- Storage Duration: Quail eggs have limited viability, so it is recommended to use them for incubation within 2 to 3 weeks of storage. The longer the eggs are stored, the lower their hatchability becomes. It is best to hatch the eggs as soon as possible for optimal results.
By adhering to these storage conditions, you can help prolong the freshness and viability of quail eggs, leading to higher hatch rates. However, it’s important to periodically check the condition of the stored eggs and discard any that show signs of spoilage or deterioration. In the next section, we will discuss common mistakes to avoid when storing quail eggs.
Common Mistakes to Avoid When Storing Quail Eggs
Storing quail eggs for hatching requires attention to detail and adherence to proper techniques. Avoiding common mistakes will help maximize the viability and success of the stored eggs. Here are some mistakes to avoid:
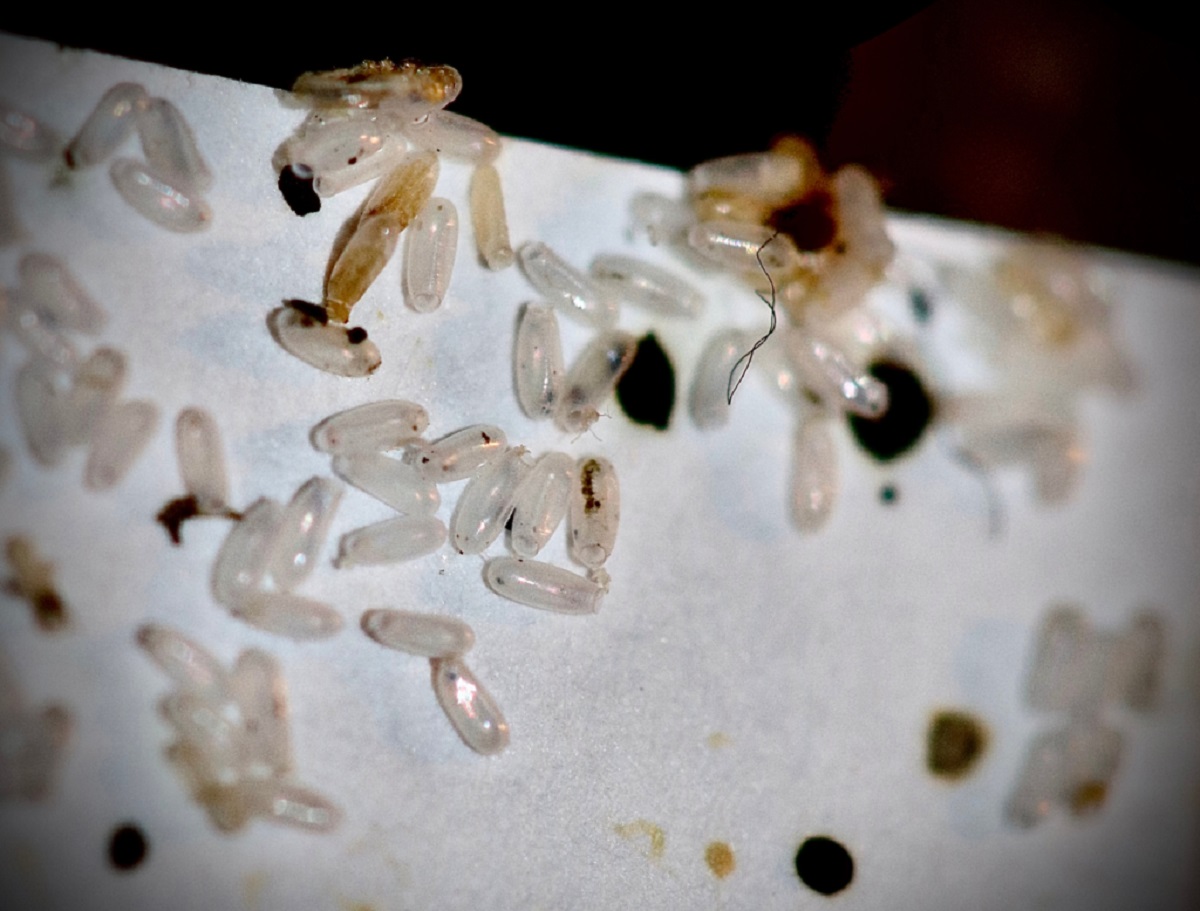
- Using Dirty or Cracked Eggs: It is crucial to only store clean, undamaged quail eggs. Dirty eggs can harbor bacteria, while cracked eggs have a lower chance of successful hatching. Discard any eggs that are dirty or have cracks to prevent contamination and increase the chances of success.
- Storing Eggs for Too Long: While quail eggs can be stored for a few weeks, it is best to use them for incubation within 2 to 3 weeks. The longer the eggs are stored, the lower their viability becomes. Avoid storing eggs for extended periods to ensure optimal hatch rates.
- Incorrect Storage Temperature: Maintaining a consistent and appropriate storage temperature is crucial. Avoid storing quail eggs in areas with extreme temperature fluctuations or in locations that are too hot or too cold. The ideal storage temperature is around 50 to 60 degrees Fahrenheit (10 to 15 degrees Celsius).
- Excessive Humidity: While humidity is important for preserving egg quality, excessive humidity can lead to mold growth and spoilage. Aim for a humidity level of around 60 to 70 percent. Use a hygrometer to monitor and adjust humidity levels if necessary.
- Poor Ventilation: Proper airflow and ventilation are essential for maintaining egg freshness. Avoid using airtight storage containers that restrict airflow. Instead, choose breathable containers like cardboard egg trays or egg cartons that allow for proper ventilation and prevent moisture buildup.
- Mixing Old and Fresh Eggs: Avoid mixing old quail eggs with fresh ones during storage. Older eggs have reduced viability, and mixing them with fresh eggs can decrease the overall hatchability. Store eggs separately based on their collection date and prioritize using the freshest eggs first.
- Neglecting Regular Inspection: It is important to periodically inspect the stored eggs for signs of spoilage or deterioration. Remove any eggs that show mold growth, unpleasant odors, or other abnormalities. Regular inspection helps maintain the quality and viability of the stored eggs.
By avoiding these common mistakes, you can ensure that your stored quail eggs are in the best possible condition for successful hatching. In the next section, we will discuss how to check the viability of quail eggs before incubation.
Checking Egg Viability Before Incubation
Before incubating your stored quail eggs, it is important to assess their viability to increase the chances of successful hatching. Here are some methods you can use to check the egg viability:
- Candling: Candling is a widely used method to determine the fertility and development of quail eggs. In a darkened room, hold the egg against a bright light source, such as a flashlight or a candler. Look for signs of a developing embryo, such as blood vessels, shadows, or movement inside the egg. Infertile eggs will appear clear or with only a small air cell.
- Egg Weight: Weighing the eggs can provide an indication of their viability. As eggs age, they lose moisture, which results in weight loss. Comparing the weight of stored eggs to the weight of freshly collected eggs can give you an idea of their freshness and potential viability.
- Float Test: The float test can help determine if an egg is more likely to hatch or if it has gone bad. Fill a container with water and gently place the egg into the water. If the egg sinks to the bottom and lays flat, it is most likely viable. If it floats or stands upright, it may be no longer viable due to gases produced during decomposition.
- Smell Test: While not foolproof, the smell test can provide some indication of an egg’s freshness. A fresh and viable egg will have a neutral or slightly earthy smell. If the egg emits a strong, foul odor, it is likely rotten and should be discarded.
Performing these tests before incubation can help you identify any non-viable eggs and remove them from the batch. It is important to note that these tests are not 100% accurate, and there can still be some viable eggs that do not show obvious signs of development or floatation. However, they can give you a general assessment of the eggs’ viability.
Once you have determined the viability of the eggs, you can proceed with the incubation process. In the next section, we will provide step-by-step instructions on how to hatch quail eggs from storage.
Steps to Hatch Quail Eggs from Storage
After properly storing and assessing the viability of your quail eggs, you can proceed with the incubation process to hatch the eggs. Follow these steps to hatch quail eggs from storage:
- Prepare the Incubator: Set up your incubator according to the manufacturer’s instructions. Ensure that the temperature and humidity levels are properly calibrated and stable before placing the eggs inside.
- Place the Eggs: Carefully transfer the quail eggs, with the pointed end facing downward, into the incubator. Ensure that there is sufficient space between the eggs to allow for proper airflow and even heat distribution.
- Monitor Temperature and Humidity: Regularly monitor and adjust the temperature and humidity levels in the incubator. The recommended temperature for hatching quail eggs is around 99 to 101 degrees Fahrenheit (37 to 38 degrees Celsius), with a humidity level of 50 to 60 percent.
- Rotate the Eggs: Quail eggs should be rotated multiple times a day to prevent the embryos from sticking to the inner membrane. Manual rotation or using an automatic egg turner can help facilitate even development in the eggs.
- Keep the Incubator Closed: Avoid unnecessary opening of the incubator, as it can lead to temperature and humidity fluctuations. Only open the incubator when necessary, such as for egg inspection or turning.
- Egg Inspection: Periodically inspect the developing eggs to ensure they are progressing well. Remove any eggs that show signs of spoilage, mold, or abnormal development, as they can potentially harm the other eggs.
- Prepare for Hatching: As the incubation period comes to an end, usually around 16 to 18 days for quail eggs, prepare for hatching by providing a hatching tray or a separate section with a slightly lower temperature and increased humidity.
- Observe Hatching: During the hatching process, it is important not to interfere or assist the chicks unless absolutely necessary. Allow the chicks to break through the eggshell and emerge on their own. Premature assistance can hinder their development.
- Transfer Hatchlings: Once the chicks have fully hatched and dried off, transfer them to a brooder or a suitable rearing setup with appropriate temperature, bedding, food, and water.
By following these steps, you can increase the chances of successful hatching from your stored quail eggs. It is important to note that hatching rates can vary, and not all eggs may successfully hatch. However, proper storage and incubation techniques can greatly enhance hatching success.
Congratulations on your journey to hatch quail eggs! In the next section, we will conclude this article.
Read more: How To Store Hatching Eggs
Conclusion
Storing quail eggs for hatching can be a rewarding and beneficial practice for quail breeders and enthusiasts. By storing quail eggs properly, you can extend their shelf life, control the timing of incubation, and increase the chances of successful hatching. Additionally, storing quail eggs allows for year-round quail breeding and provides a steady supply of quail chicks.
Before storing quail eggs, it is important to consider factors such as egg quality, cleanliness, storage duration, and available storage space. Selecting and collecting only high-quality eggs and handling them with care are crucial steps to ensure the best possible outcome. Preparing the eggs for storage involves gentle cleaning, inspecting for cracks, and allowing the eggs to rest at room temperature.
Creating suitable storage conditions is essential for maintaining the viability of quail eggs. This includes maintaining a cool and consistent temperature, keeping humidity levels in check, and ensuring proper ventilation. Avoiding common mistakes such as using dirty or cracked eggs, storing eggs for too long, and neglecting regular inspection will help optimize the storage process.
Before incubating the stored quail eggs, it is advisable to check their viability through methods such as candling, egg weight comparison, the float test, and the smell test. Once you have confirmed their viability, you can proceed with the incubation process by setting up the incubator, monitoring temperature and humidity, rotating eggs, and maintaining a closed incubator environment.
As the incubation period nears its end, prepare for hatching by creating a separate area with slightly different conditions. Allow the chicks to hatch naturally and then transfer them to a suitable brooder setup for further growth and development.
In conclusion, knowing how to store quail eggs for hatching is a valuable skill for quail breeders and those interested in preserving the freshness and quality of quail eggs. By following the proper storage and incubation techniques outlined in this article, you can increase the likelihood of successful hatching and enjoy the experience of raising quails.
Frequently Asked Questions about How To Store Quail Eggs For Hatching
Was this page helpful?
At Storables.com, we guarantee accurate and reliable information. Our content, validated by Expert Board Contributors, is crafted following stringent Editorial Policies. We're committed to providing you with well-researched, expert-backed insights for all your informational needs.

0 thoughts on “How To Store Quail Eggs For Hatching”